How to Draw a Cute Ghost (Easy Step-by-Step Drawing Tutorial for Beginners)
Hi! In this step-by-step tutorial, you’ll learn how to draw a cute ghost using simple shapes. This easy ghost drawing for beginners only takes a few minutes!
It's super easy, so everyone can follow along, even if you're new to drawing. It consists of just 6 simple steps, and all you need is a pencil, a black pen, and 3 markers.
Let's get started!
Disclaimer: In the name of full transparency, please be aware that this blog post contains affiliate links and any purchases made through such links will result in a small commission for me (at no extra cost for you).
Drawing Materials I Used
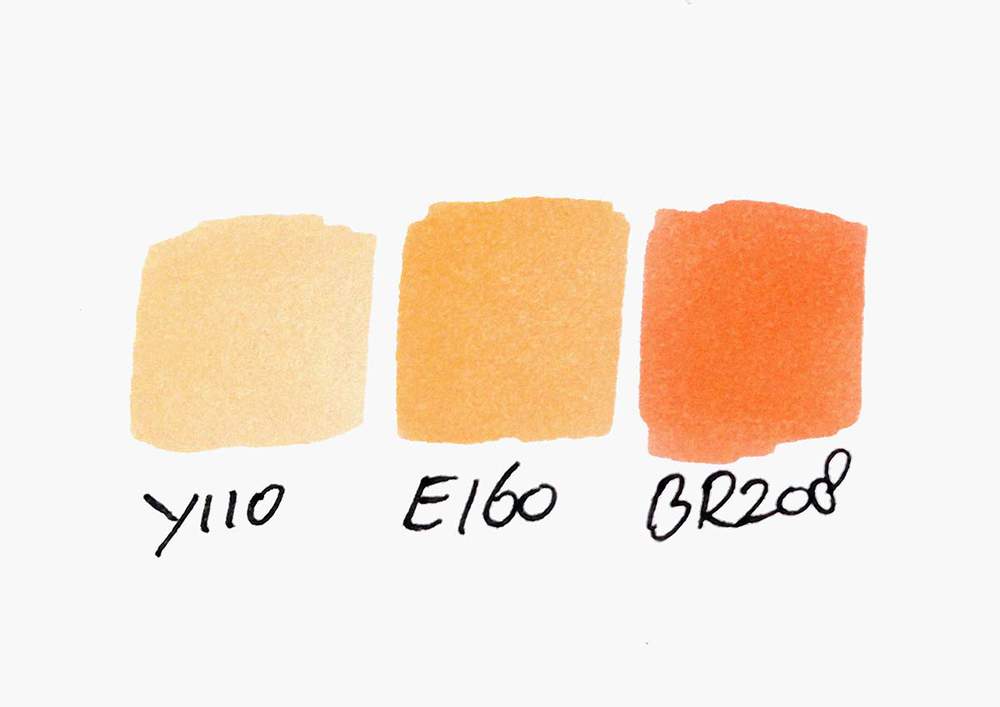
To make this drawing, I used Ohuhu Honolulu markers in the colors Grayish Yellow (Y110), Soft Sun (E160), and Black Brown (BR208).
You can also buy these colors separately on their website.
I used a Tombow Fudenosuke Brush Pen to outline the sketch.
And I made this drawing on Canson Illustration Manga Paper.
How Do You Draw an Adorable Ghost?
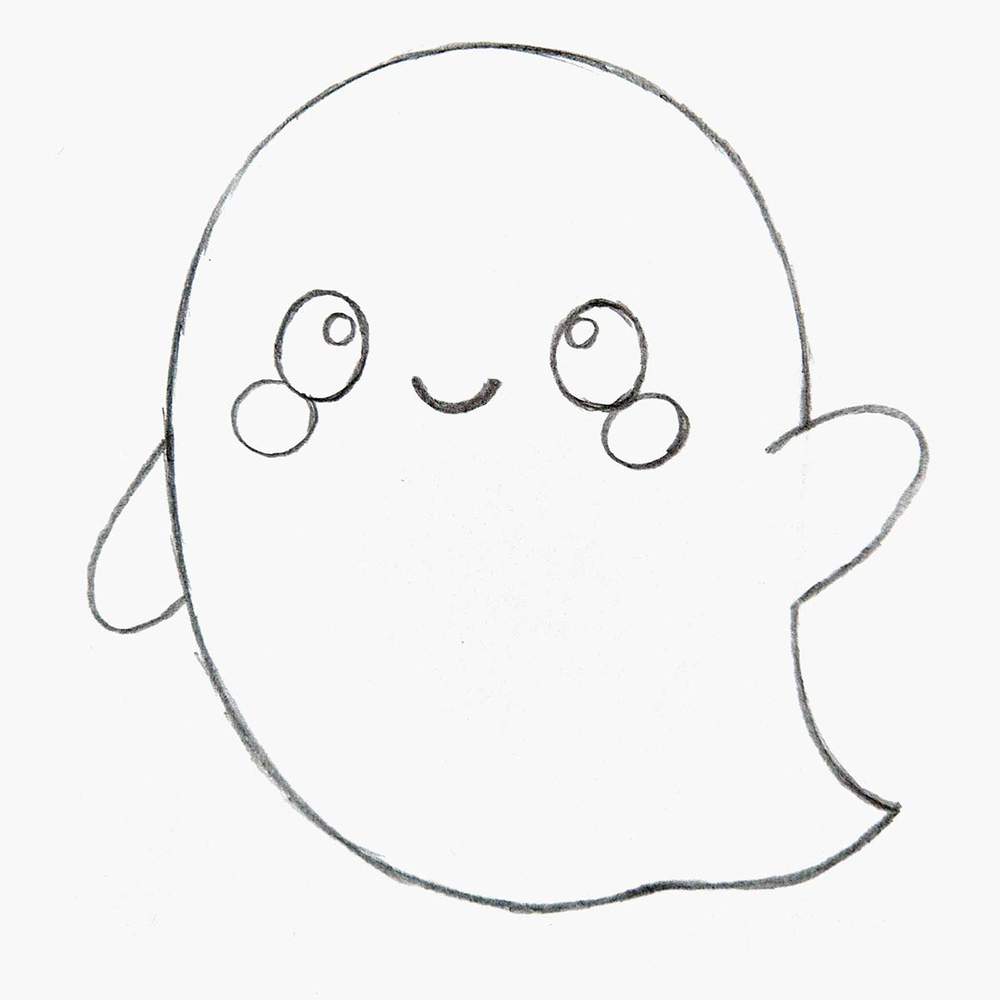
Step 1: Sketch the Outline of the Cute Ghost
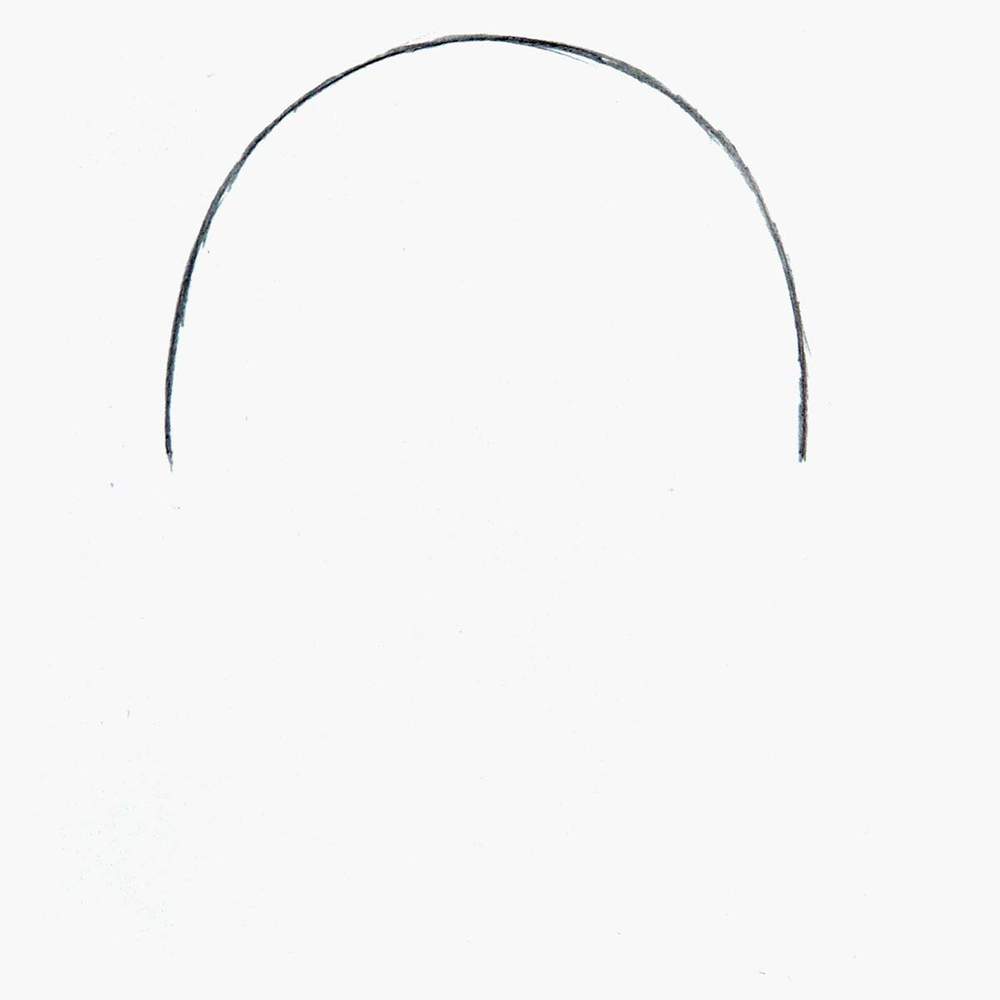
To sketch the outline of our cute ghost, I first drew a big curve towards the top of the paper. It's shaped like the top half of a circle.
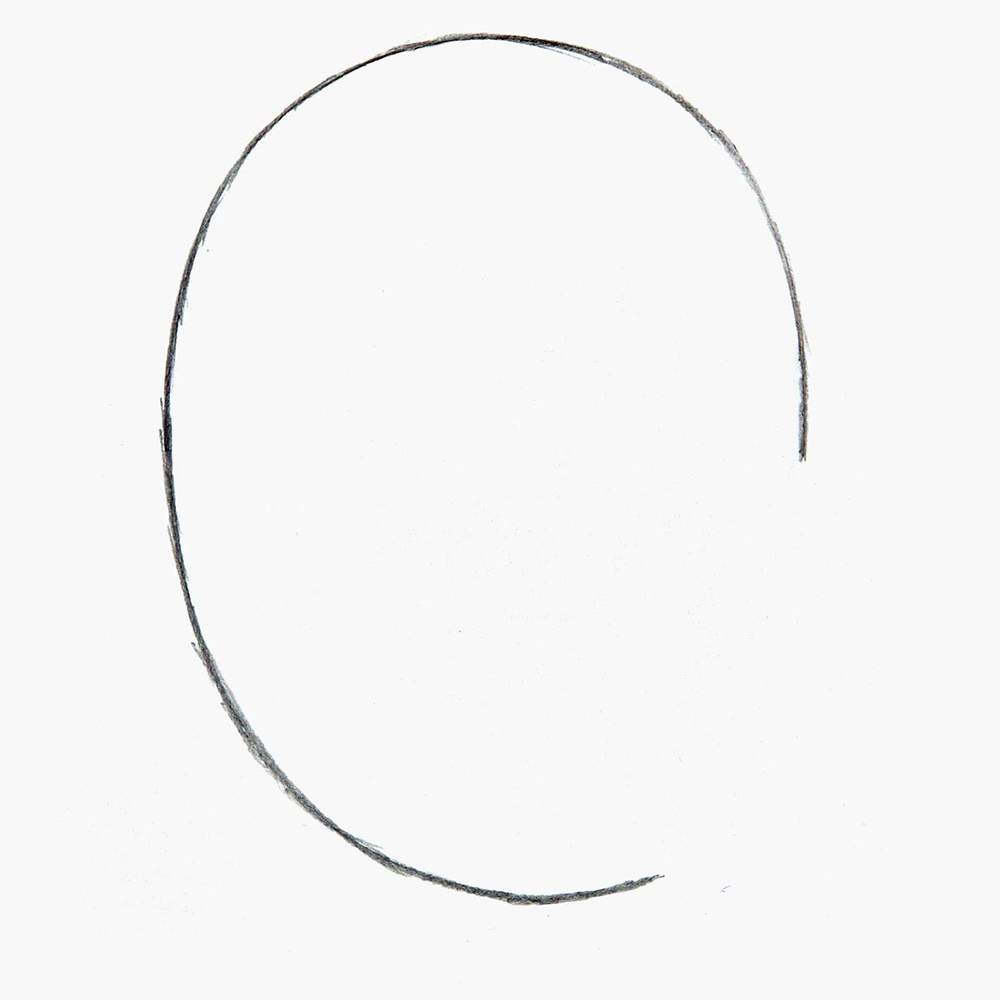
Next, I extended the left side downwards and curved it to the right and slightly up. It looks almost like an upside-down egg shape.
Then, I added a hook shape to the right side to form the tail. Well, not a real tail, more like the ghost’s body fading away.
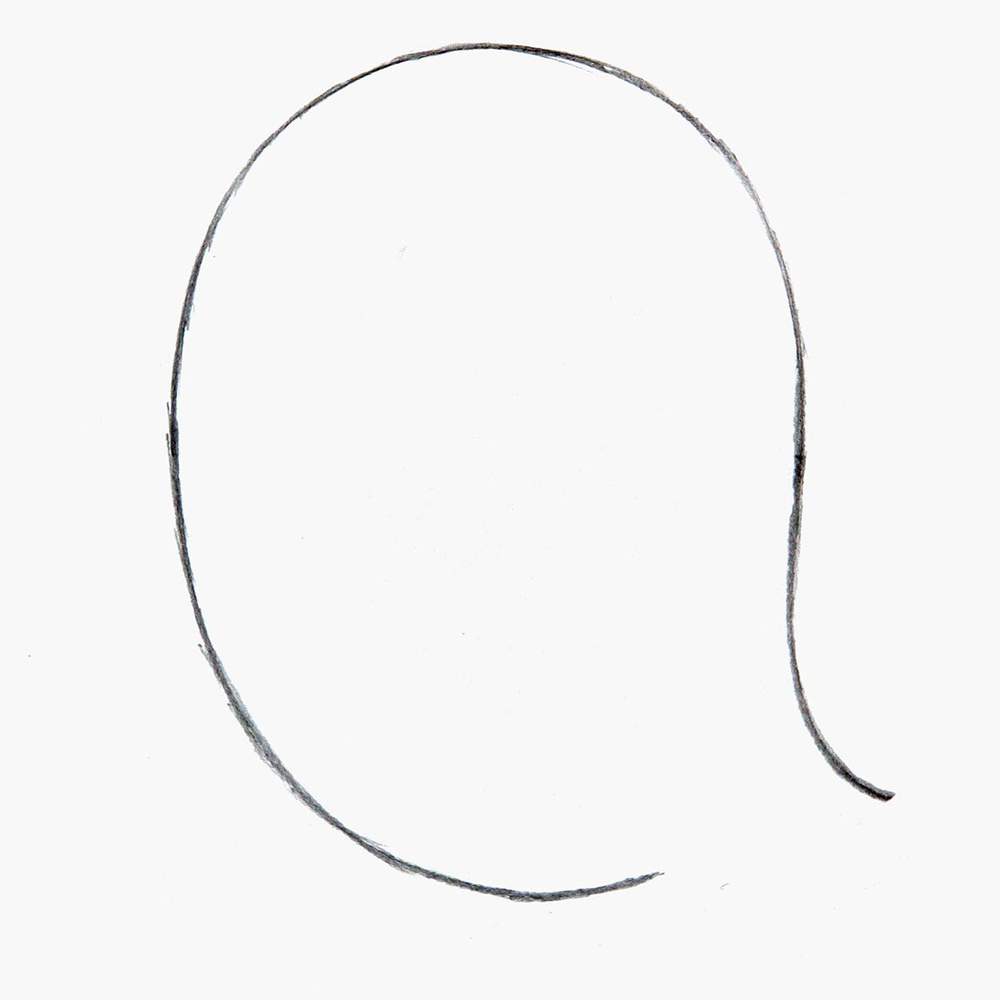
And to complete the outline, I added a short line to connect the bottom of the "tail".
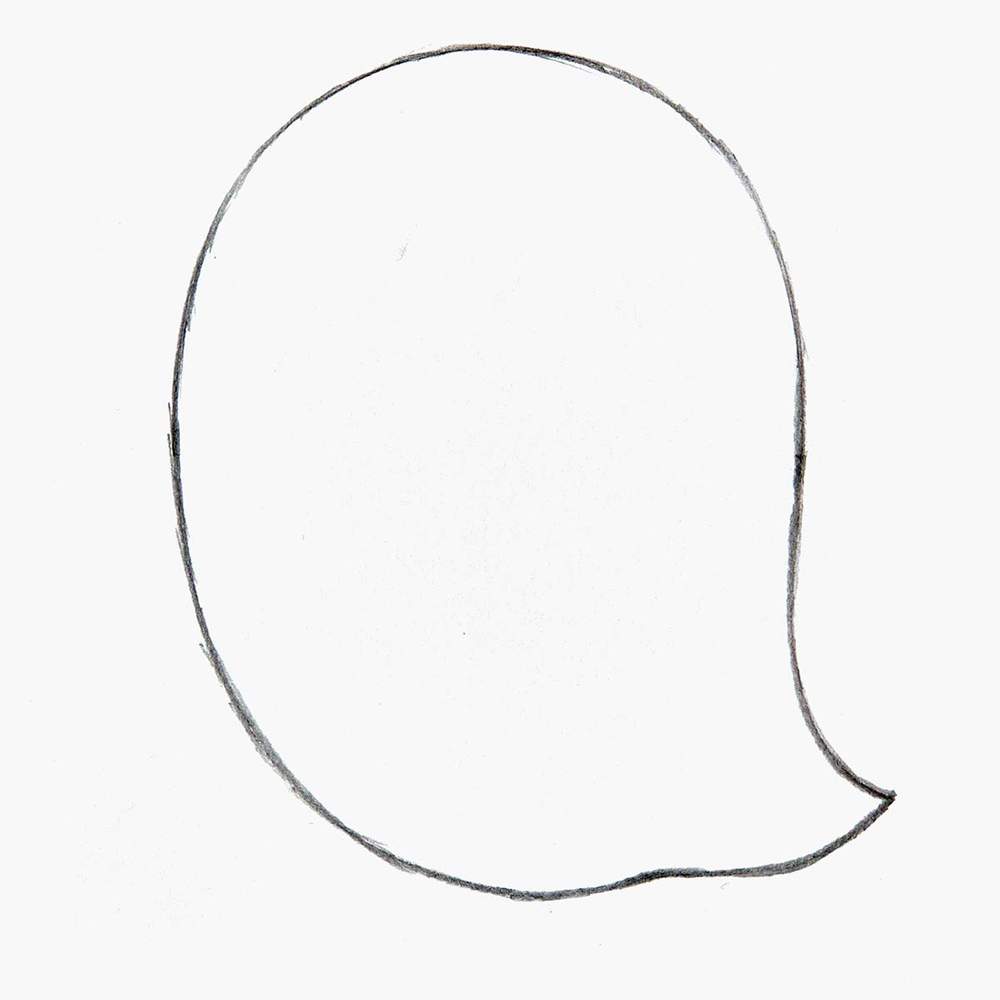
Step 2: Add the Ghost’s Arms
After that, I added two bean-shaped arms to either side of the body of the ghost. I drew his right arm pointing up as if he's waving.
Step 3: Draw the Ghost’s Face
Next, I added 2 small circles in the middle of the top half of the ghost. These will be his eyes.
I also added a small circle to the top of each of his eyes.
And I erased the part of the outline that overlaps with his right arm.
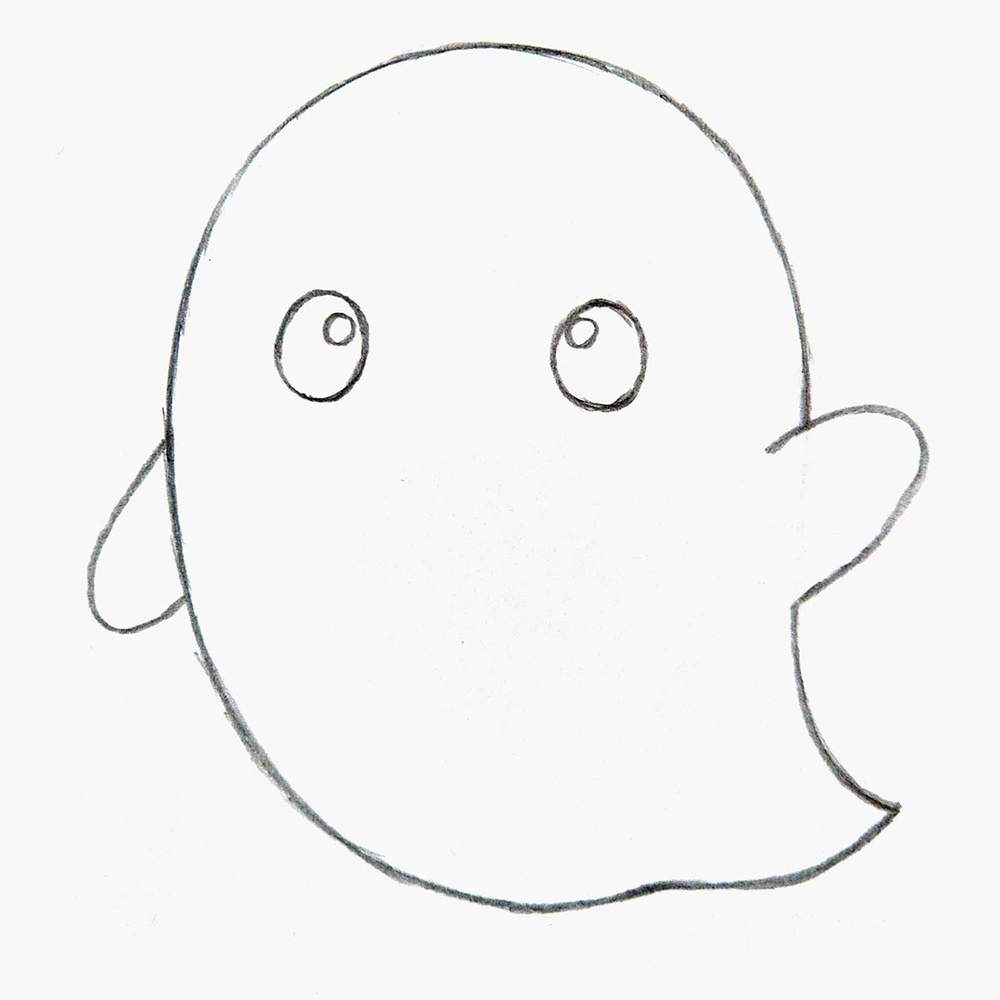
Then, I added his mouth, which is just a small curved shape, and his blush spots, which are two circles below his eyes.
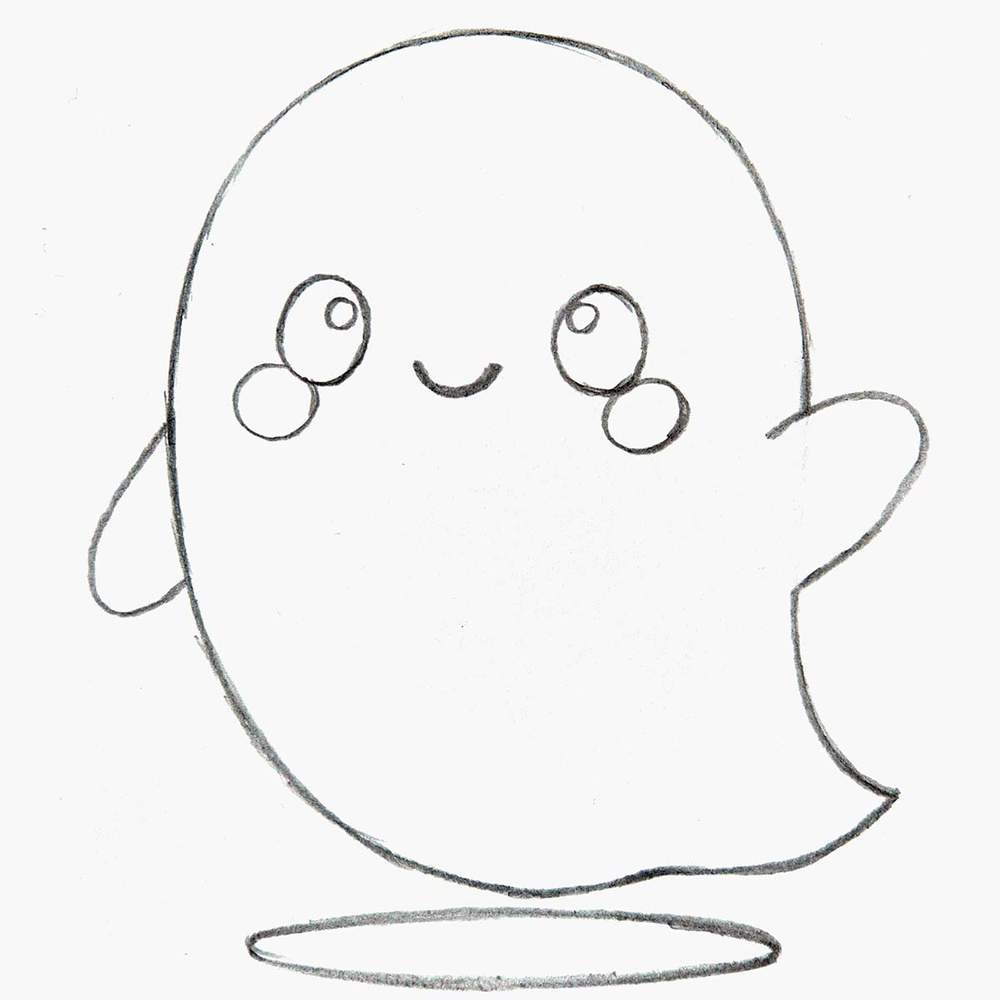
Step 4: Add a Shadow Below the Ghost
And to complete the sketch, I added an ellipse shape to mark his shadow.
I didn't connect the shadow to his body to show that he's floating.
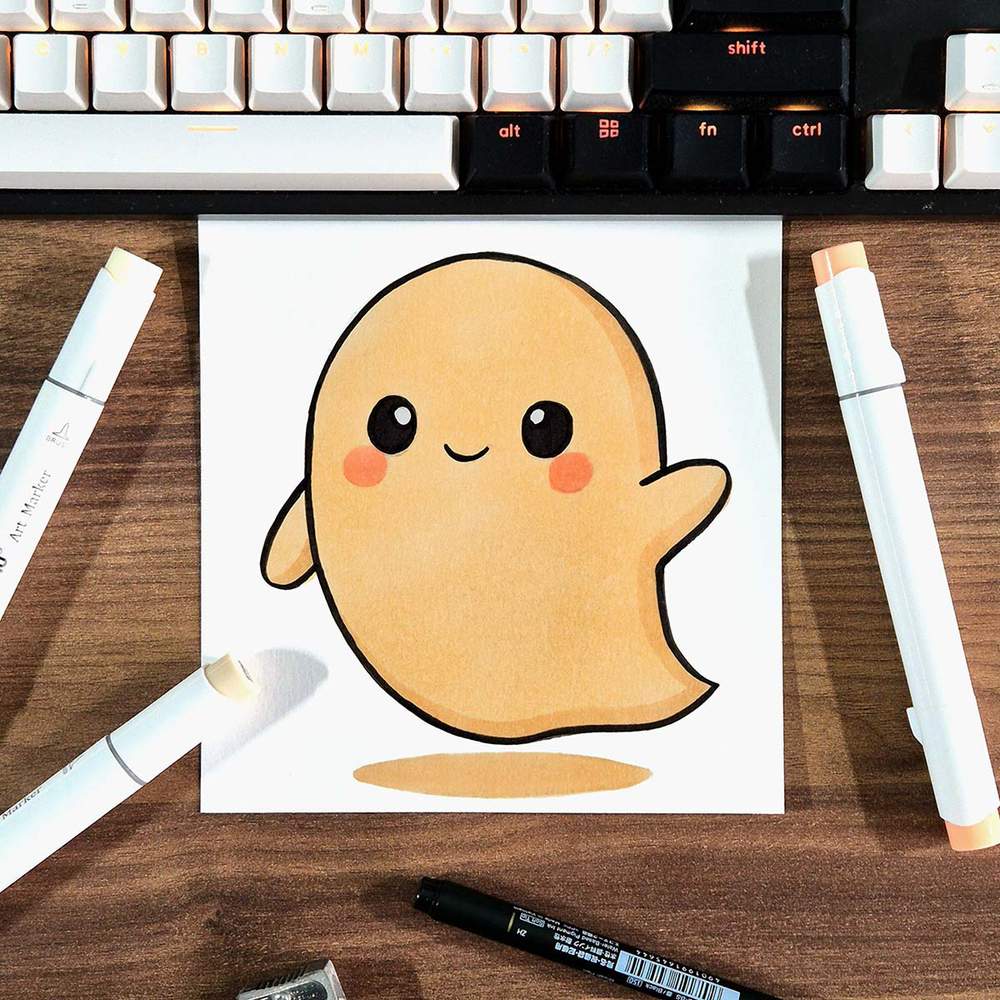
Step 5: Outline the Ghost with a Black Pen
Before coloring the ghost, I like to outline it first with a black brush pen.
I first erased the whole sketch and then outlined it, except for his blush spots and the shadow.
I also colored his eyes, except for the 2 sparkles at the top.

You could leave it here and call it done, but I like to color my drawings.
Step 6: Color Your Cute Ghost Drawing
To color our adorable ghost, I used 3 alcohol based Ohuhu markers.
I started by coloring the whole ghost with Grayish Yellow (Y110).

Next, I added shadows to the right and bottom edges with Soft Sun (E160), and I colored his blush spots with Black Brown (BR208).

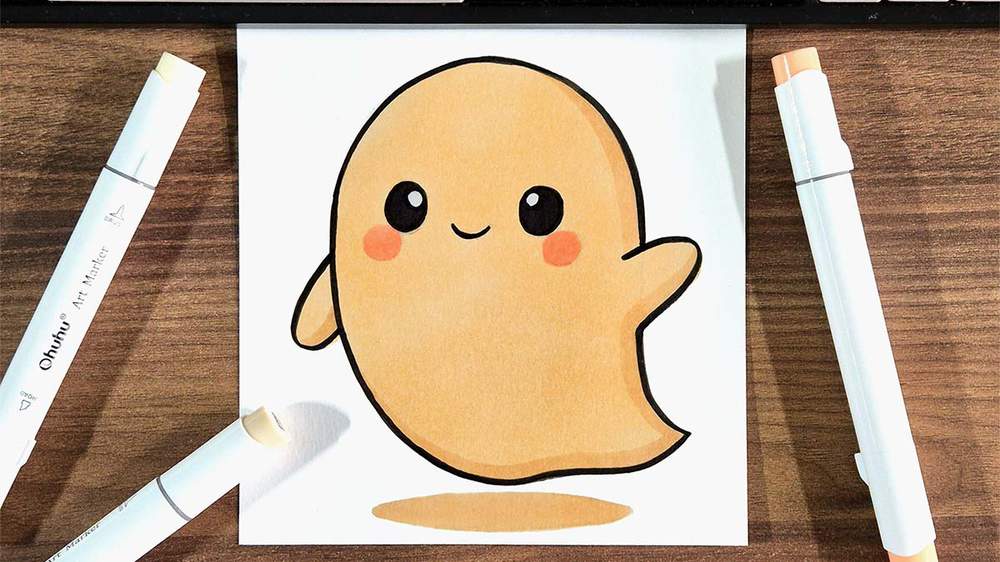
Finished Cute Ghost Drawing!
And that’s how to draw a cute ghost! This simple ghost drawing is perfect for beginners and a great Halloween art idea.
I hope you had fun drawing your little friend!
Want to continue drawing? Check out my other step-by-step drawing guide!
Thank you!
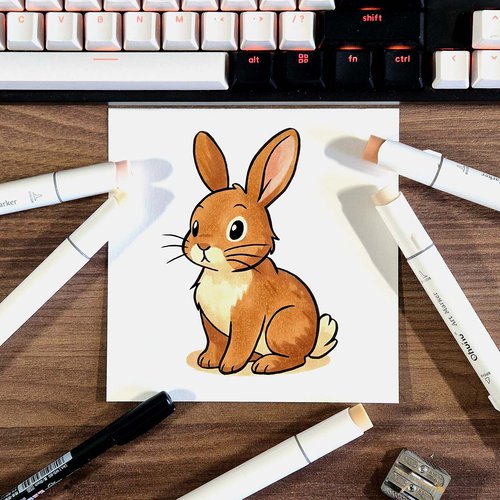
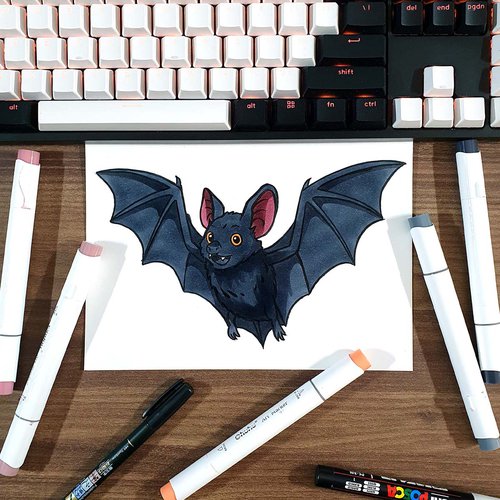
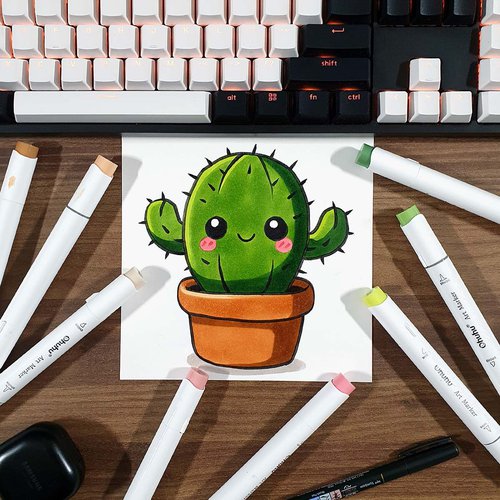
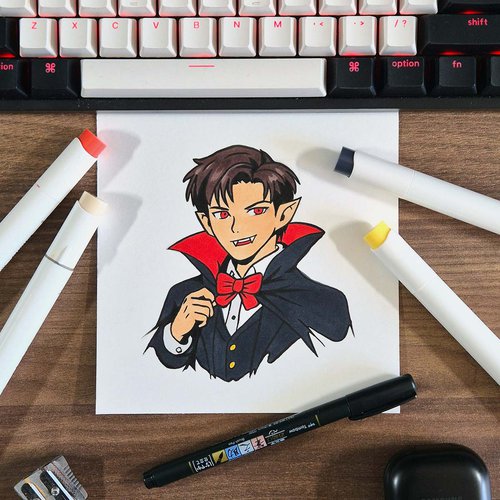
Articles You Might Also Like

I love bringing cars to life with alcohol markers and colored pencils.
Whether you're just starting out or looking to improve your skills, I'm here to help!
Click here to learn more about me.


Be the first to comment!
Comments
There are no comments yet.