How to Draw Shmee's Ford Mustang Shelby GT500 Step-by-Step
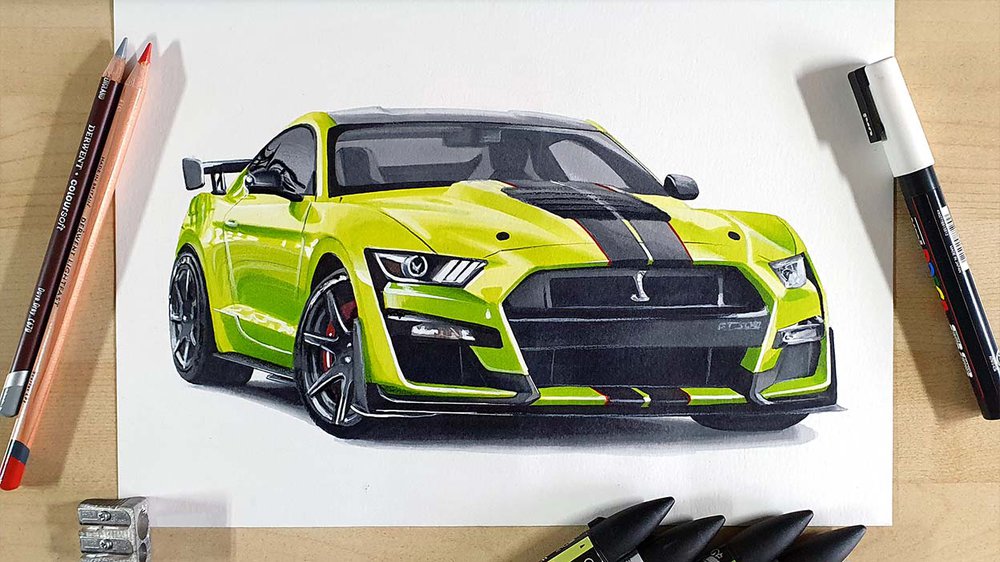
In this tutorial, I'm going to show you step-by-step how I made this simple and realistic drawing of Shmee150's incredible Ford Mustang Shelby GT500!
Disclaimer: In the name of full transparency, please be aware that this blog post contains affiliate links and any purchases made through such links will result in a small commission for me (at no extra cost for you).
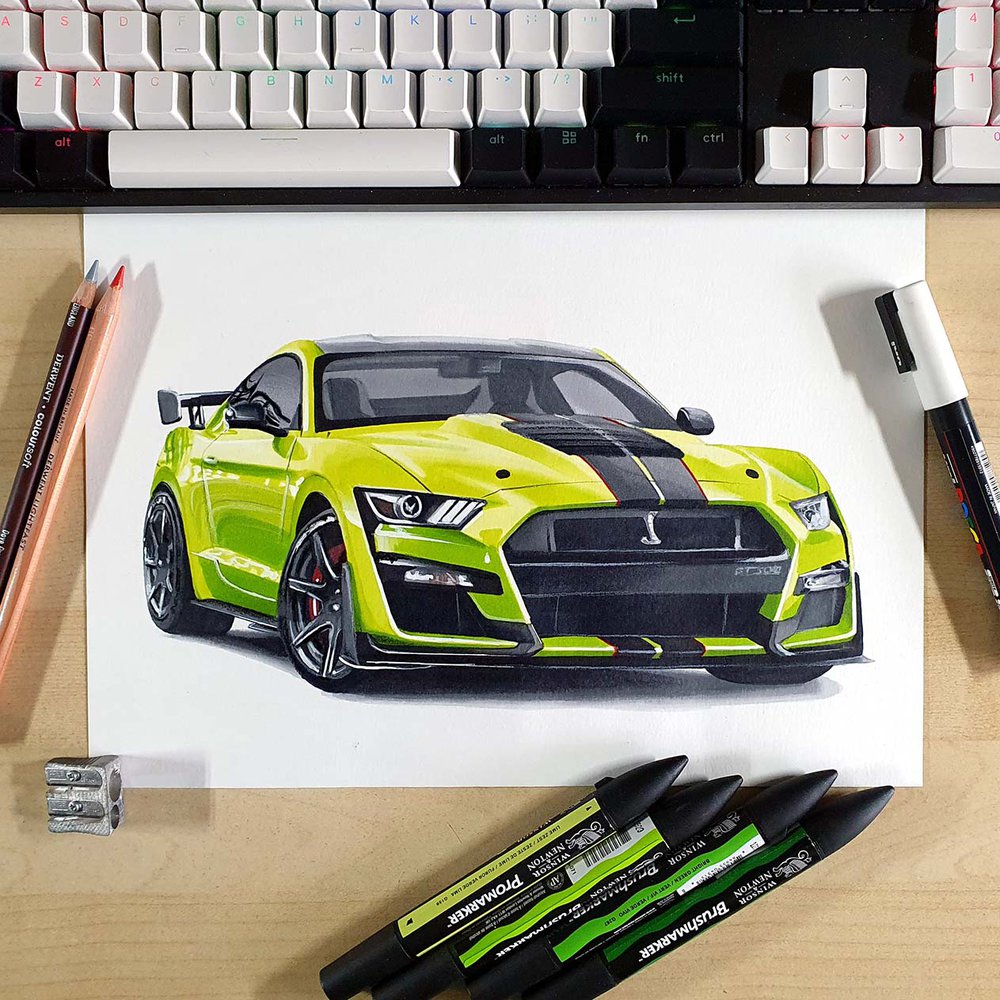
Drawing Supplies I Used in this Tutorial
To draw Shmee's GT500, I used the following art supplies:
A graphite pencil, a ruler, a kneaded eraser, and a regular eraser;
Ohuhu Honolulu markers in the colors Neutral Grey 02 (CG020), Neutral Grey 03 (CG030), Neutral Grey 05 (CG050), Neutral Grey 07 (CG070), Neutral Grey 7 (NG07), Black (120), Lipstick Red (R170), Geranium (R8), Apricot (Y10), Lemon Green (G070), Limeade (G080), Absinthe (GY5), and Bronze Green (GY42);
Derwent Coloursoft pencils in the colors White, Dove Grey, and Black;
And a white Posca PC-3M.
Reference Photos I Used to Draw Shmee's GT500
To make this drawing of Shmee150's Ford Mustang GT500, I used 3 reference photos.
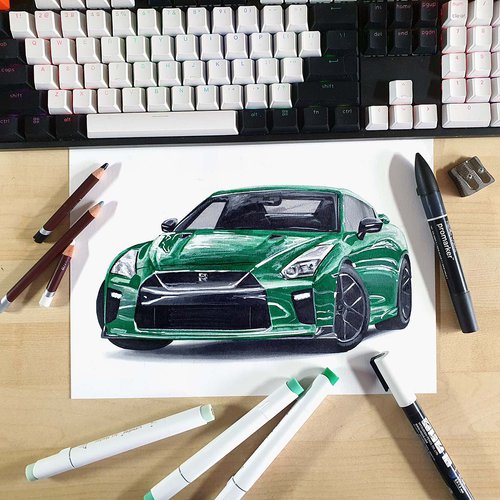
I used the photo below (4th slide) to get the proportions right.
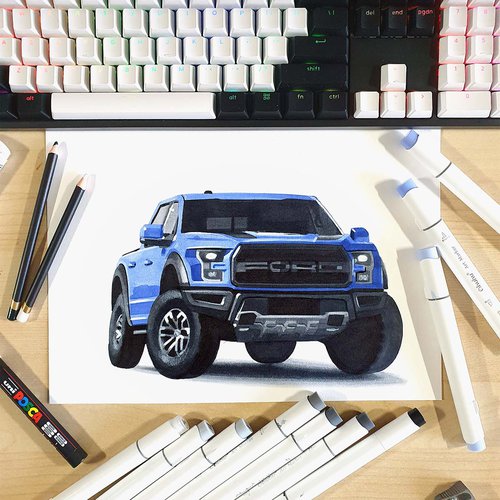
I used this photo (2nd slide) for the reflections and the lighting.
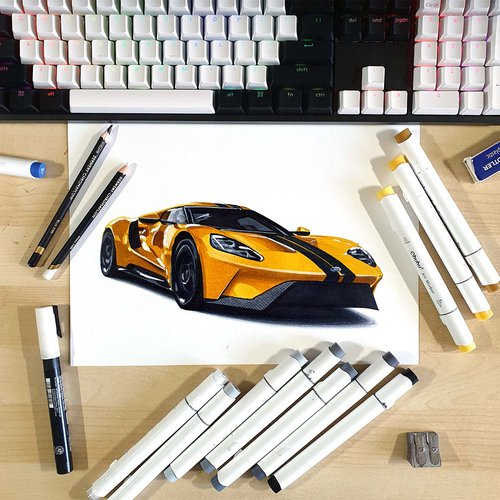
And I used this photo as a reference for the spec of Shmee's GT500.
How Do You Draw Shmee's Ford Mustang Shelby GT500?
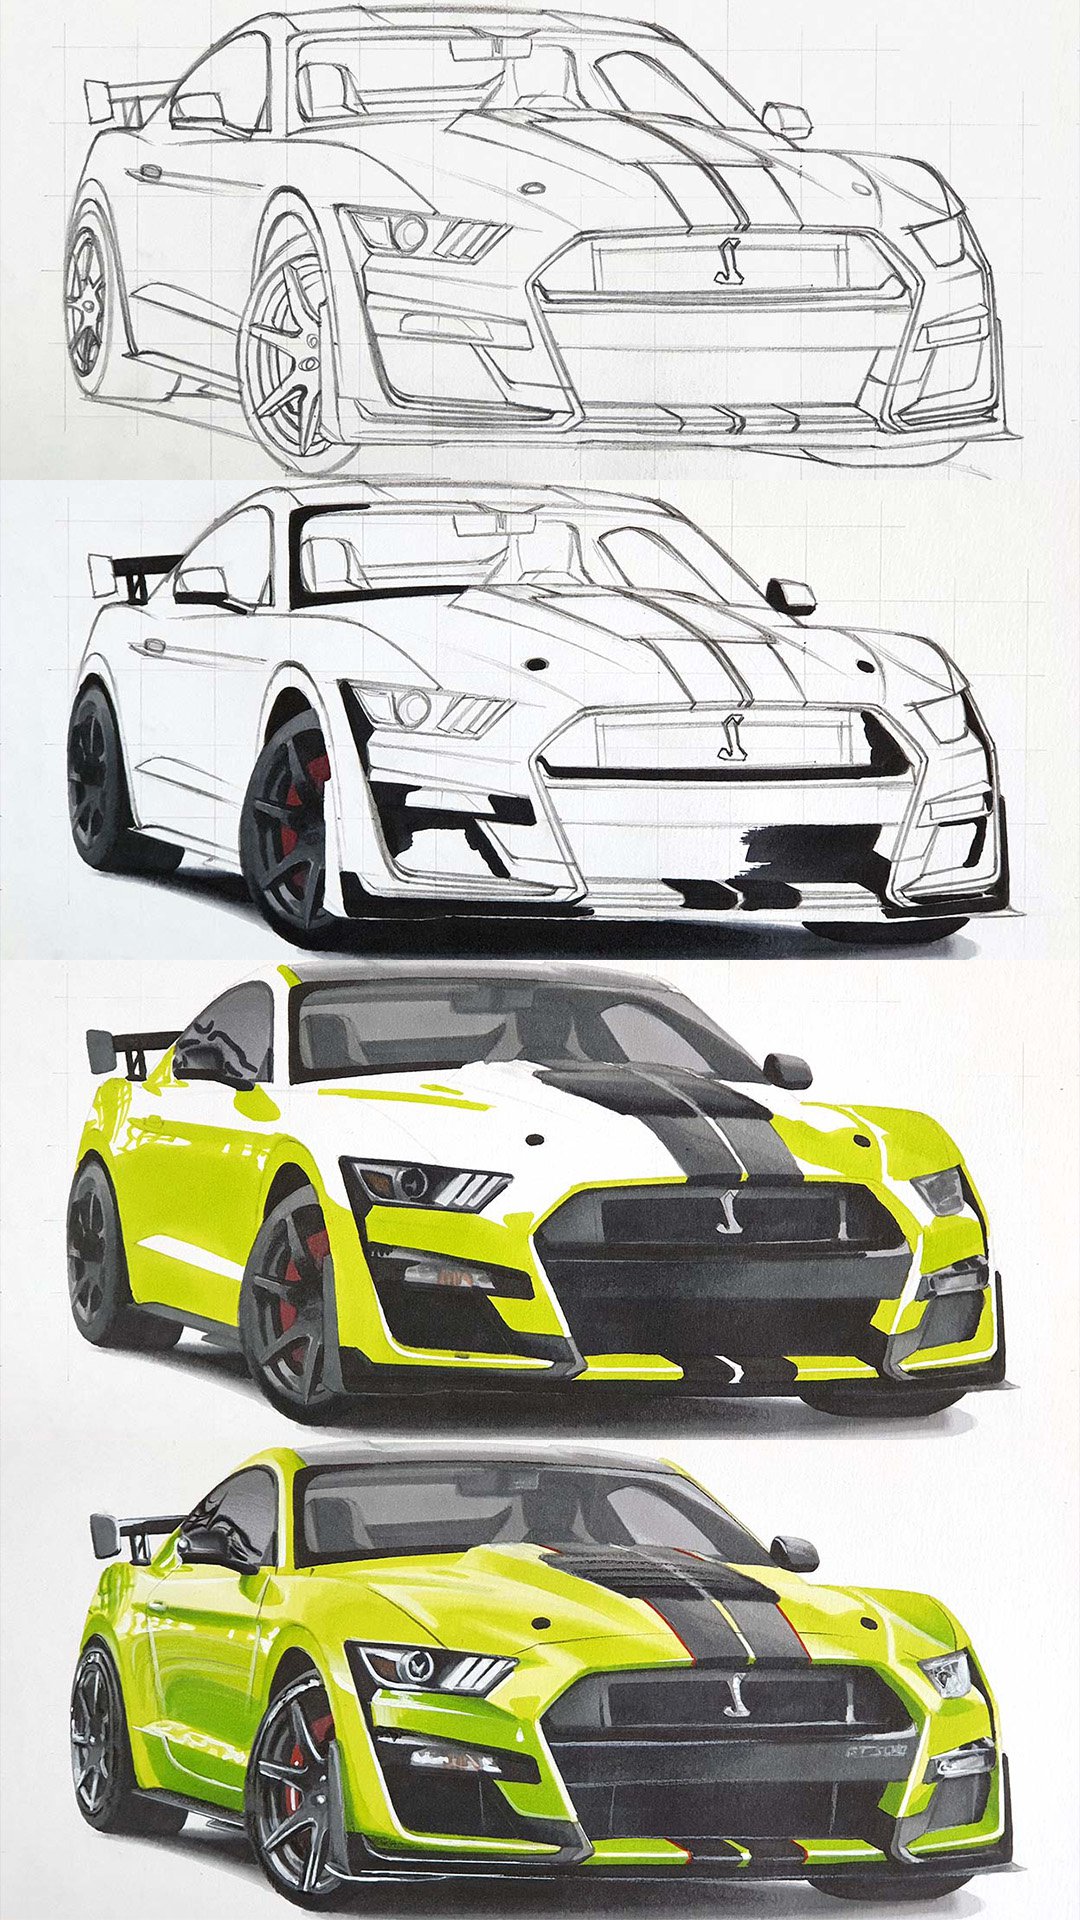
To make a realistic drawing of Shmee's Ford Mustang Shelby GT500, I first gathered a few reference photos for the perspective, proportions, lighting, reflections, and spec.
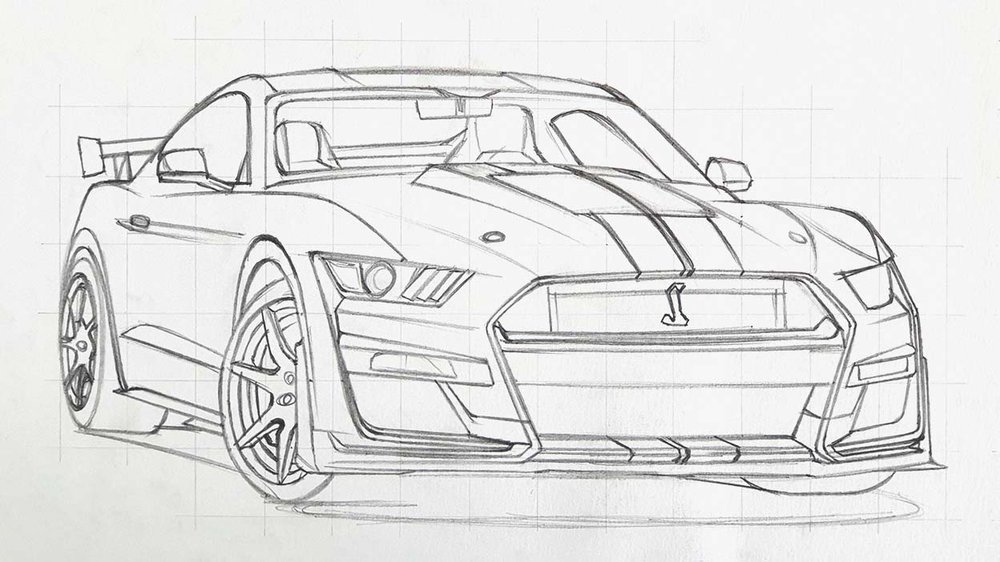
After that, I created a sketch of the outline of the car using the grid method.
Next, I color the car with alcohol markers starting with the black and the grey parts, before moving on to the main body of the car.
Lastly, I added some details with colored pencils and highlights with a Posca paint marker.
Step 1: Sketch the Basic Outline of the GT500
The first step with drawing a car is sketching the outline of it.
This can be difficult and time-consuming. So, to make it a bit easier and quicker, I like to use the grid method. However, if that's not your thing, here are a few more sketching techniques you can use.
For the grid method, I make sure that my reference photo is the same size and aspect ratio as my paper which is A4-size.
After that, I overlay a grid of 15 by 10.5 Squares. This amount works well with the size of my paper and results in squares of 2 by 2 cm.
With my grid overlay tool, you can easily add a grid overlay on your reference photo.
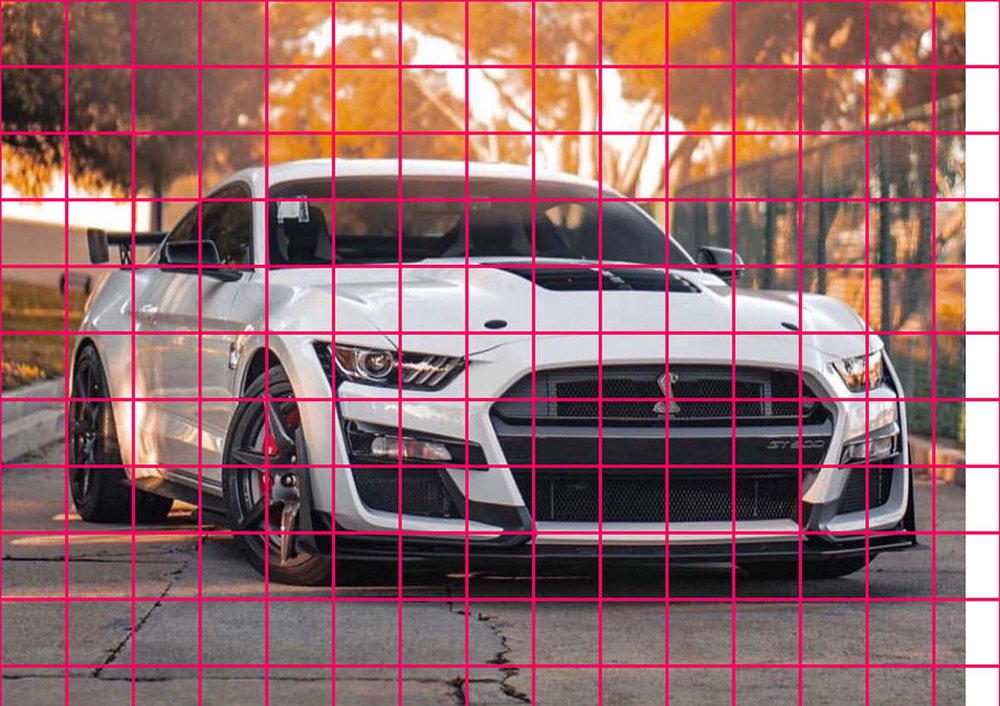
Next, I recreate that grid on my piece of paper using my ruler to measure where each of the grid lines will be and precisely sketch them in. I only sketched the squares I needed for the drawing.
It's important that you do this as precisely as you can as this forms the basis of your sketch.
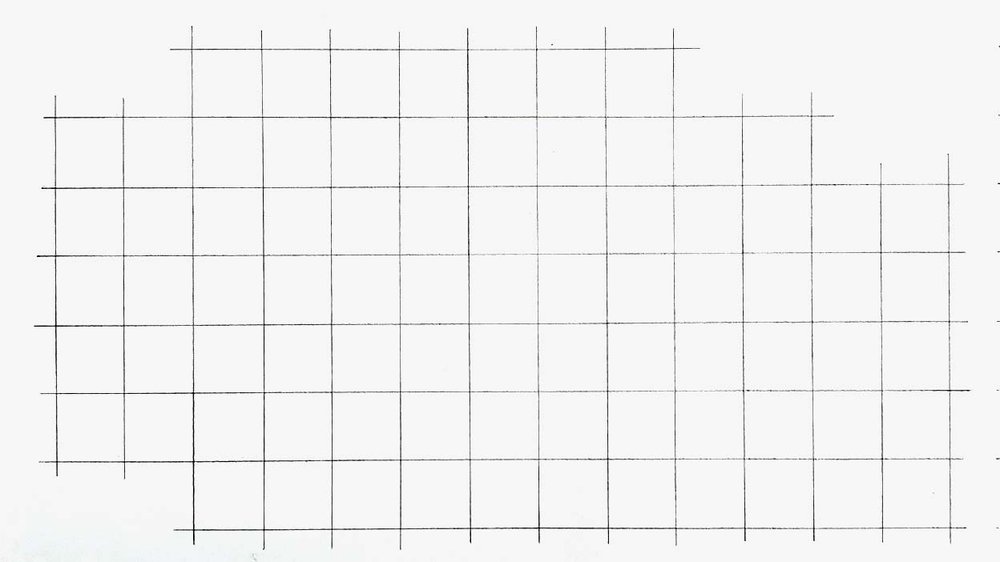
Now that the grid is in place, it's time to sketch the basic shape of the GT500.
I like to start on the left and work my way up and around the car until the basic shapes are all sketched.
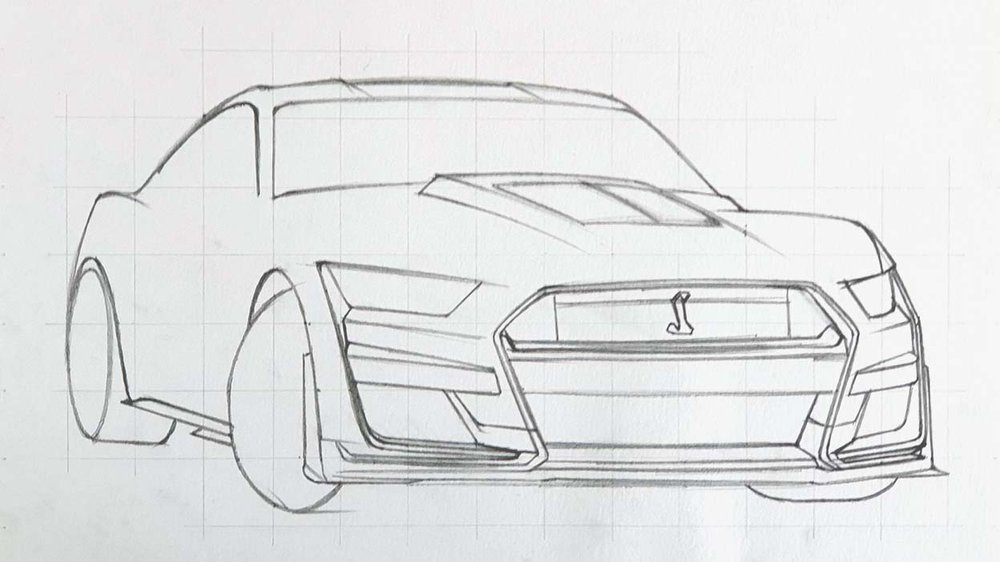
Step 2: Sketch the Details of Mustang GT500
Now that the basics of the car are there, it's time to sketch in all the details of Shmee's GT500.
I don't do this in any specific order. I just go around the car and sketch all the details I see until I've covered them all.
Step 3: Color All Pure Black Parts on the Shely GT500
Shmee's GT500 is a very detailed car, compared to others I've made for tutorials like this one.
To make it look less complicated, I always like to color all pure black parts first. This is very easy to do and for some reason it makes the drawing look simpler.

My go-to alcohol markers for blending, rich color payoff, and amazing value. The brush tips feel super natural to draw with — a must-have for smooth gradients and realistic shading!
- Brush + chisel tips
- Great for beginners & advanced artists
- Budget-friendly alternative to Copics
Step 4: Color The Carbon Fiber Wheels of the GT500 Track Pack
After that, I like to get the wheels done right away.
I started by coloring both wheels with Neutral Grey 05 (CG050). For the front wheel, I left the brake caliper uncolored for now.

Next, I used Neutral Grey 07 (CG070) and Neutral Grey 7 (NG07) to add some depth and darker tones to the wheels. I first darkened most of both wheels with Neutral Grey 07 (CG070) before I went in with the Neutral Grey 7 (NG07).
I also colored the brake caliper with Lipstick Red (R170) first and then with Geranium (R8) to darken it.

Step 5: Color the Shadow Underneath the Ford Mustang
Next, I colored the shadow of the GT500.
I started by coloring the outside edge with Neutral Grey 02 (CG020).

After that, I used Neutral Grey 05 (CG050) to color the bit in between the Neutral Grey 02 (CG020) and Black.

And lastly, I blended the different shades of grey together. To blend the Neutral Grey 05 (CG050) into the Neutral Grey 02 (CG020), I went over the edge where they meet with Ice Grey. And for the Black and Neutral Grey 05 (CG050) edge, I did the same but with Neutral Grey 07 (CG070).

Step 6: Color the Side Skirt of Shmee's GT500
After that, I colored the side skirt. And for that I used Neutral Grey 07 (CG070).

Step 7: Color the Front of the GT500
Next up, I colored the front of the GT500. As the front of this car is sooooo detailed, I split it up into 3 parts: the left bit, the middle, and the right.
The Left 3rd
I first colored the darkest bits with Neutral Grey 07 (CG070). These include the grill, the grey bit to the right and below the grill, the fin on the left, and a bit of the top of the light above the bumper.

Then, I used Neutral Grey 05 (CG050) to color the top bit of the light, and I used Neutral Grey 03 (CG030) to color the light itself.
I also used Neutral Grey 7 (NG07) to darken the grill, the grey part to the right of the grill, and the left of the grey part below the grill.

Lastly, I added some details to the light with Neutral Grey 05 (CG050) and Neutral Grey 07 (CG070), and after that, I added in the orange bit with Apricot (Y10).

The Middle Part
Next, I colored the middle of the front bumper.
I first colored the lightest parts with Neutral Grey 03 (CG030).

After that, I colored the darkest parts with Neutral Grey 7 (NG07).

And lastly, I used Neutral Grey 07 (CG070) to color the rest and blended that into the Neutral Grey 7 (NG07) parts.

The Right 3rd
I started by coloring the girl with Neutral Grey 07 (CG070), and I colored some details in the light and the bit below the grill.

Then, I colored the grey bit to the left of the grill with Neutral Grey 05 (CG050), and I added some details to the light and the bit around it with Neutral Grey 05 (CG050), Neutral Grey 07 (CG070), and Neutral Grey 7 (NG07).

And that's the front all done!

Step 8: Color the Headlights of the Ford Mustang GT500
Next, I colored the headlights.
I first colored the lightest parts of the left headlight with Neutral Grey 02 (CG020), and I colored the right headlight with Neutral Grey 03 (CG030).

Next, I colored the darker parts in the left headlight with Neutral Grey 05 (CG050) and Neutral Grey 07 (CG070), and I added some details in the right headlights using the same colors.

Lastly, I added some really dark parts with Neutral Grey 7 (NG07) in the left headlight, and I added the orange tone in the blinker light with Apricot (Y10).

Step 9: Color the Vents and Stripes on the Hood of the GT500
Next up, I colored the vents and stripes on the hood.
I started by coloring the vents with Neutral Grey 05 (CG050), except for the line across the center. I colored that with Neutral Grey 03 (CG030).

After that, I added a gradient from Neutral Grey 7 (NG07) on the bottom right to Neutral Grey 07 (CG070) in the middle and Neutral Grey 05 (CG050) on the top right.
I also colored the stripes with Neutral Grey 05 (CG050).

Lastly, I darkened the bottom left of the stripes with Neutral Grey 07 (CG070) and blended that with Neutral Grey 05 (CG050).

Step 10: Color the Windshield and the Interior of the Mustang
After that, I colored the interior and the windscreen.
I first colored the darkest parts with Neutral Grey 07 (CG070), which include the headrests of the seat, the parcel shelf, the B-pillar, the headlining, the rearview mirror, and the bottom left of the A-pillar.

Next, I used Neutral Grey 05 (CG050) to color the rear window and the lighter parts of the seats. When the ink dried, I added a second layer on the lighter parts of the seats to make them slightly darker than the rear window.

And lastly, I colored the top half of the A-pillar and the right side window with Neutral Grey 03 (CG030).

Step 11: Color the Side windows of the Shelby GT500
Next, I colored the side window of the Mustang GT500.
I started by coloring the whole side window with Neutral Grey 03 (CG030).

After that, I darkened the top half with Neutral Grey 05 (CG050) and blended that into the Neutral Grey 03 (CG030). I also colored the window triangle with Neutral Grey 05 (CG050).

Finally, I added a few Neutral Grey 7 (NG07) reflections.

Step 12: Color the Door Mirrors of the Ford Mustang GT500
Next up, I colored the door mirrors.
I first colored both of them with Neutral Grey 03 (CG030).

Then, I darkened the top right half of the left mirror with Neutral Grey 05 (CG050), Neutral Grey 07 (CG070), and Neutral Grey 7 (NG07), and I darkened the bottom half of the right one using the same markers.

Step 13: Color the Roof of Shmee's Shelby GT500
Next, I colored the roof of Shmee's Mustang with Neutral Grey 03 (CG030).

And after that, I colored the bottom half with Neutral Grey 05 (CG050).

Step 14: Color the Rear Wing of the Mustang GT500
After that, I colored the endplate of the rear wing with Neutral Grey 07 (CG070).

Step 15: Color the Main Body of Shmee's Lime Green GT500
Now all that's left to color is the main body which I did in 4 stages.
I first colored the darker parts with Limeade (G080).

After that, I used Lemon Green (G070) to color the remainder.

Then, I darkened some parts with Absinthe (GY5) and added some reflections on the hood of the car with Limeade (G080).

And finally, I used Bronze Green (GY42) to add just a little bit more depth in some places.
And that's the car all colored!

Step 16: Add Details with Colored Pencils on the Mustang GT500
Now it's time to add some details that I couldn't achieve with the markers. And to do so I used the White, Dove Grey, and Black Derwent Coloursoft colored pencils.
I mainly added some details to the wheels and all edges of the grey parts. I also added some details in the headlights.

Step 17: Add Highlights on the Ford Mustang Shelby GT500
Now, the last step in drawing Shmee's Mustang Shelby GT500 is adding some pure white details with a Posca paint marker.
I mainly added highlights on the headlights, the wheels, some reflections on the car, and some edges of body panels.
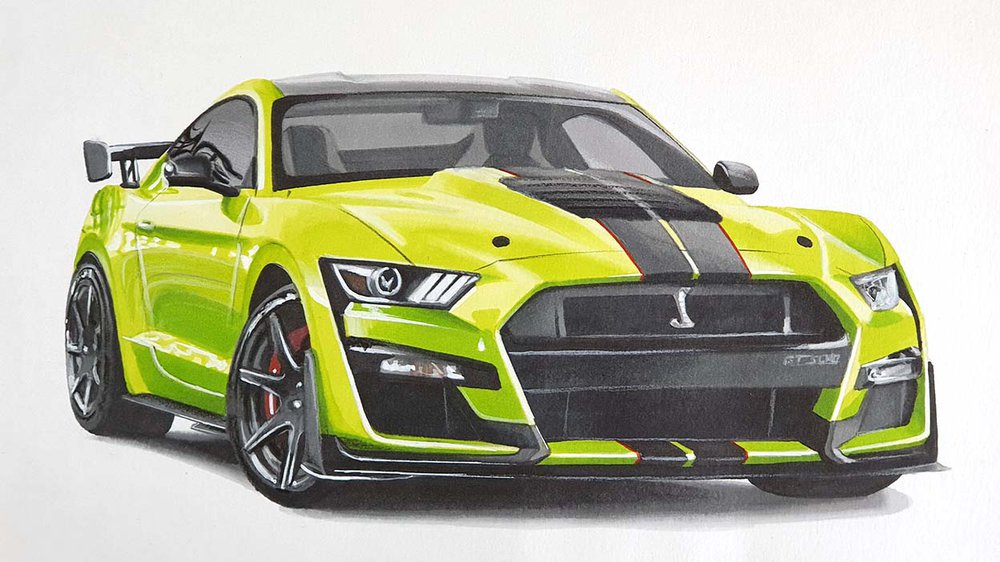
And That's How I Drew Shmee's Ford Mustang GT500
Of course, there are hundreds of ways to draw a car. This is just the workflow that works best for me. And I think that'll work well for you too!
If any questions came up when following along, don't hesitate to ask them by placing a comment below!
I would really appreciate it if you could share this with a friend or two. It would help me out a lot!
Want insider tips, tutorials, and mini-courses for car drawing? Click here.




Be the first to comment!
Comments
There are no comments yet.