5 Ways to Sketch a Car with Accurate Proportions
Whether you're a budding artist or a seasoned pro looking to refine your skills, mastering the art of accurately sketching cars is a rewarding challenge.
In this article, we'll explore five different methods that can help you achieve precision and proportion in your car sketches. From the Grid Method to the Basic Shapes Method, each technique offers a unique approach to tackle the complexities of automotive design.
Let's dive in and discover how these methods can enhance your sketching skills!
And if you want to know how to draw a car step-by-step, make sure to check out this article.
How to Draw Cars with Accurate Proportions
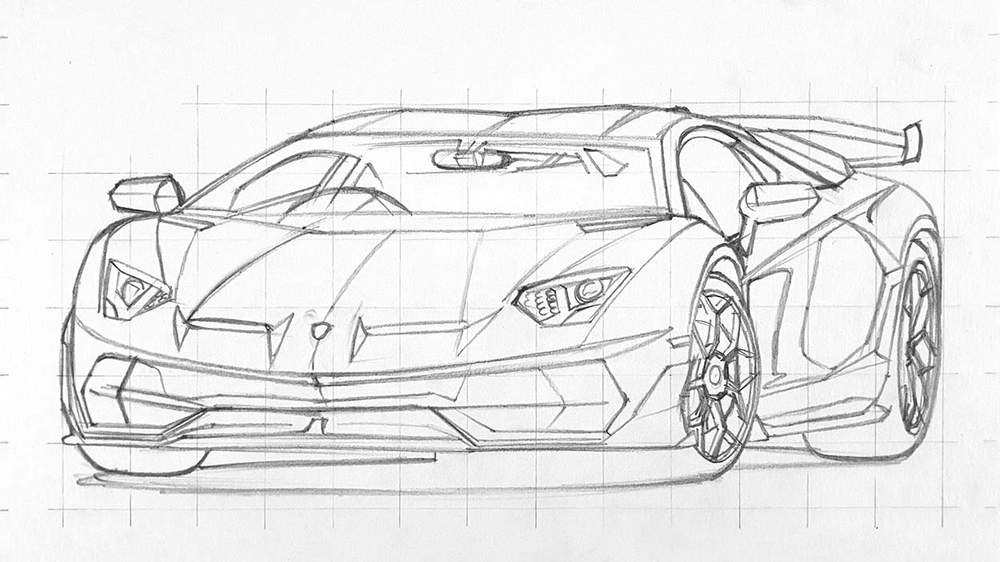
1. The Grid Method

The Grid Method is an effective technique for beginners and experienced artists alike, simplifying the process of sketching cars with accurate proportions. Here's how to use it:
Create a Grid on Your Reference Image: Start by overlaying a grid of equal squares on a photo of the car you wish to sketch. This grid will serve as your guide.
Draw a Corresponding Grid on Your Drawing Paper: On your sketch paper, draw a similar grid, ensuring each square corresponds in size and number to the grid on your reference image.
Sketch Section by Section: Focus on drawing the car one grid square at a time. This method allows you to concentrate on smaller, manageable sections, making it easier to maintain accurate proportions.
Gradually Build Your Sketch: As you complete each square, the car's shape and details will start to come together. Ensure each part aligns correctly with adjacent squares.
Refine and Detail: Once the basic outline is complete, you can erase the grid lines and add details, refining the sketch to bring your car to life.
Advantages:
- Simplifies Complex Shapes: Breaking down the car into smaller sections makes it easier to tackle complex shapes.
- Ensures Proportional Accuracy: The grid acts as a reference point, helping maintain correct proportions throughout your sketch.
Ideal For: This method is particularly useful for beginners or those struggling with getting the proportions right in their car sketches.
For a more in-depth exploration of the Grid Method and how it can improve your car sketching skills, check out our detailed guide: How to Get the Proportions Right Using the Grid Method.
2. The Wheel Method
The Wheel Method is particularly effective for sketching cars in side view. This method relies on accurately representing the wheels, which are key to getting the proportions right. Here's how to use it:
Draw a Row of Circles for Wheels: Begin by sketching a row of circles along the base of your paper. These circles represent the wheels of the car and should be equal in size to the actual wheels of the car model you're drawing.
Align One Wheel with a Circle: When you start sketching the car, ensure that at least one of the car's wheels aligns perfectly with one of the circles you've drawn. This sets a foundational scale for your sketch.
Use Circles as a Proportional Guide: The size of these circles helps you to determine the rest of the car's proportions accurately. As you sketch, use these circles as a reference to ensure that each part of the car is in correct relation to the wheels.
Sketch the Car's Body: With the scale set by the wheels, you can now confidently sketch the car's body. Ensure that the body lines and features align proportionally with the circles.
Advantages:
- Ideal for Side Views: This method is best suited for sketching side views of cars, where the wheels are a prominent feature.
- Simplifies Proportionality: By using the wheels as a reference, you can more easily maintain the correct proportions throughout your sketch.
Ideal For: Artists who find it challenging to get the scale and proportion of car wheels right in their sketches, especially in side views.
3. Measuring Keypoints
The Measuring Keypoints Method offers a precise approach to sketching cars, focusing on the car's distinct lines and features. This method is about identifying and transferring key reference points onto your sketch. Here's how to implement it:
Identify Keypoints on the Car: Start by examining your reference image and identify keypoints where the car's body lines intersect, start, or end. These keypoints could include areas like the edges of headlights, the apex of curves, or where body lines meet.
Measure and Mark Keypoints on Your Paper: Measure the distance between these keypoints on your reference image. Then, carefully transfer these measurements to your drawing paper, marking where each keypoint will be.
Sketch From Keypoints: Begin your sketch by drawing lines between these keypoints. This process helps in forming the basic structure and outline of the car.
Refine Your Sketch: Once the basic structure is in place, you can start refining the sketch, adding curves, lines, and details that define the car's unique characteristics.
Advantages:
- Precision in Proportions: This method allows for a high level of precision, ensuring that each part of your sketch is proportionally accurate.
- Captures Unique Features: By focusing on keypoints, this method helps in capturing the distinctive features and lines of the car.
Ideal For: Artists who seek precision and detail in their car sketches, particularly useful for capturing cars with unique or complex body lines.
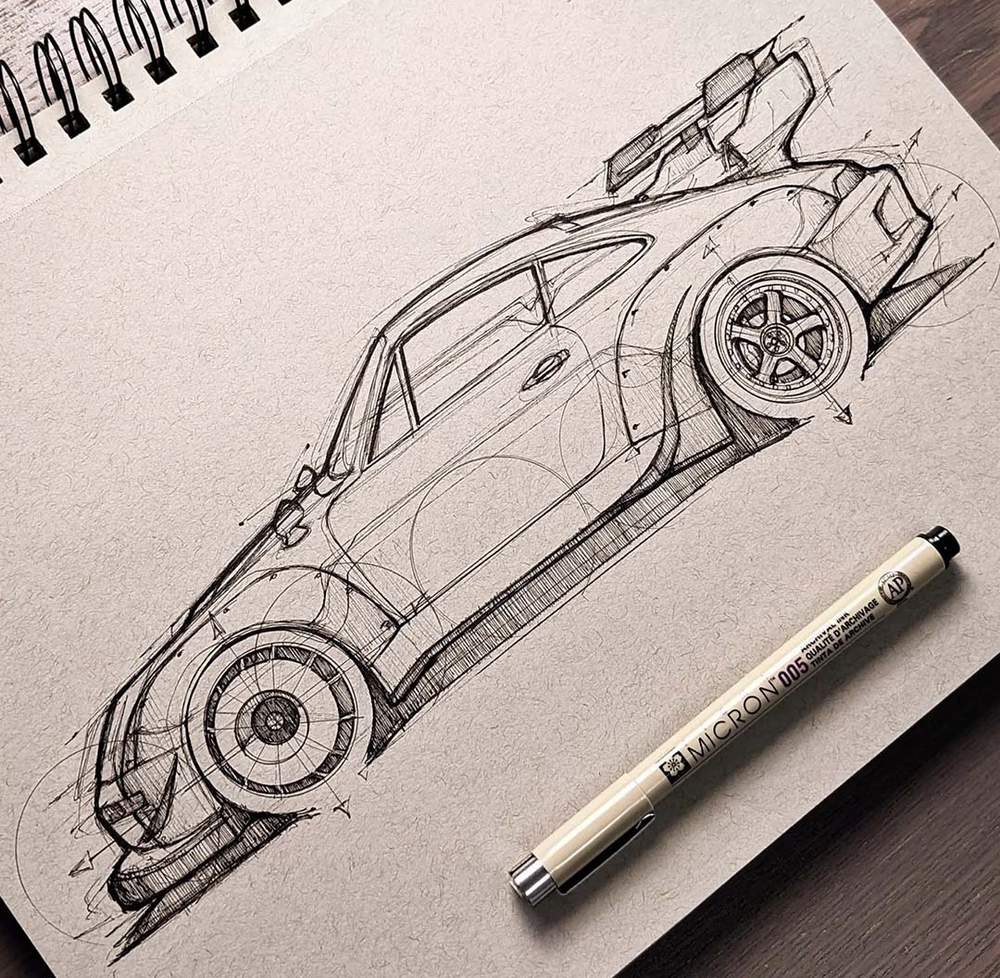
4. The Brick Method
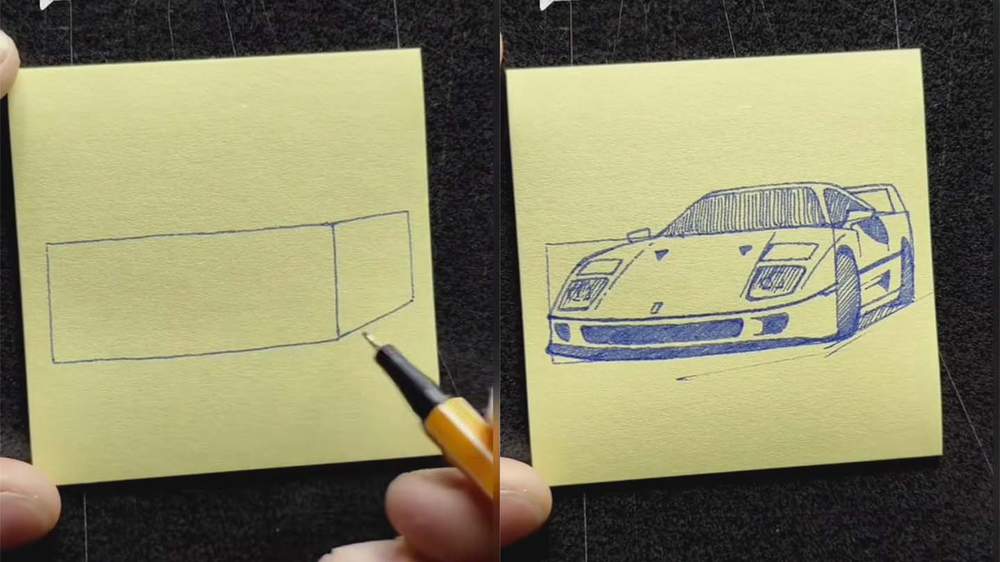
The Brick Method is a straightforward yet effective approach to sketching cars, particularly helpful for beginners. This method involves starting with a basic shape that resembles a brick, laying the groundwork for further detailing. Here's how it works:
Sketch a Brick Shape: Begin by drawing a simple rectangular 'brick' shape. This shape should roughly match the size and proportions of the car you're sketching. It acts as the car's basic foundation.
Add the Cabin on Top: On top of this brick shape, sketch the outline of the car's cabin. This is usually a smaller rectangle or trapezoid, depending on the car's design.
Refine the Basic Shapes: With the basic shapes of the brick and cabin in place, start refining these shapes to more closely resemble the car's body. This includes smoothing out corners, adjusting proportions, and adding characteristic curves.
Detail Your Sketch: Finally, add details like windows, wheels, and other features. As you add these details, your initial 'brick' transforms into a more accurate and detailed car sketch.
Advantages:
- Simplifies Complex Shapes: This method breaks down the car into simpler shapes, making it easier to manage the overall proportions.
- Provides a Strong Foundation: Starting with a brick shape ensures that your sketch has a solid and proportionate base to build upon.
Ideal For: Beginners or anyone who struggles with getting the basic proportions of a car right in their sketches.
5. The Basic Shapes Method
The Basic Shapes Method is an intuitive approach to drawing cars, especially beneficial for those who find it challenging to start with complex car shapes. This method involves breaking down the car into fundamental geometric shapes. Here's how to approach it:
Identify Rectangular and Triangular Shapes: Look at your reference image and identify the basic geometric shapes within the car's design. Most cars can be broken down into rectangles, triangles, and occasionally circles (for wheels and curves).
Sketch These Basic Shapes on Paper: Start your sketch by drawing these basic shapes as you see them in the car. This step forms the foundational layout of your car sketch.
Analyze How Shapes Fit Together: Pay attention to how these shapes fit together and relate to each other. This understanding is crucial in maintaining the correct proportions and angles in your sketch.
Refine Shapes into Car Features: Gradually, start refining these basic shapes into more detailed car features. This includes smoothing edges, adding curves, and detailing elements like windows, wheels, and headlights.
Add Final Details and Refinements: As your car's shape becomes more defined, add the final details and refine the sketch to enhance its realism and accuracy.
Advantages:
- Eases the Process for Beginners: Breaking the car down into basic shapes makes the sketching process less intimidating and more manageable.
- Helps Maintain Proportions: This method ensures that the overall proportions of the car are accurate from the start.
Ideal For: Beginners or artists who find it challenging to capture the complex shapes and proportions of cars in their sketches.
Articles You Might Also Like
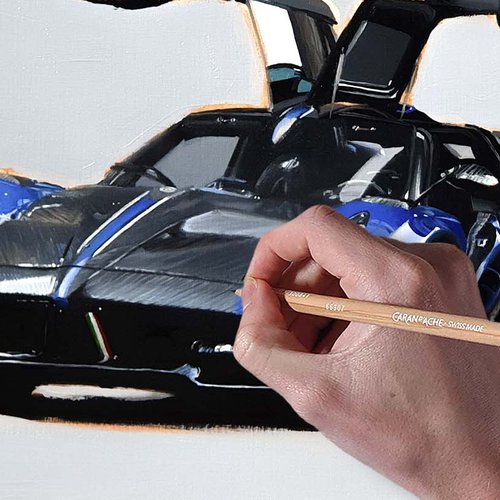
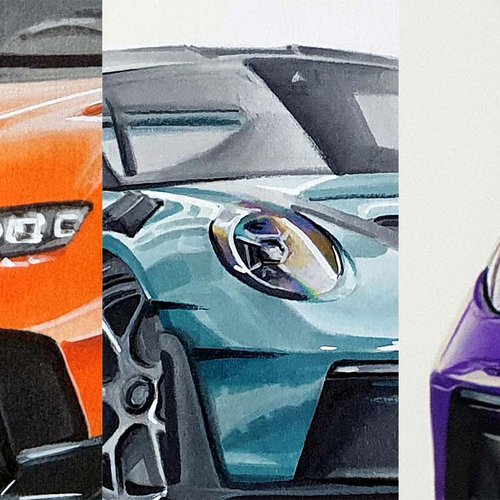
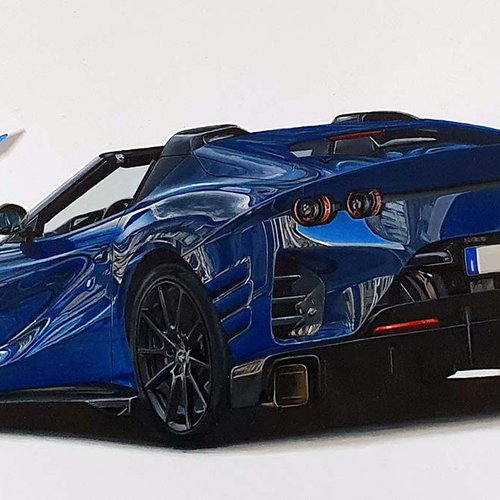

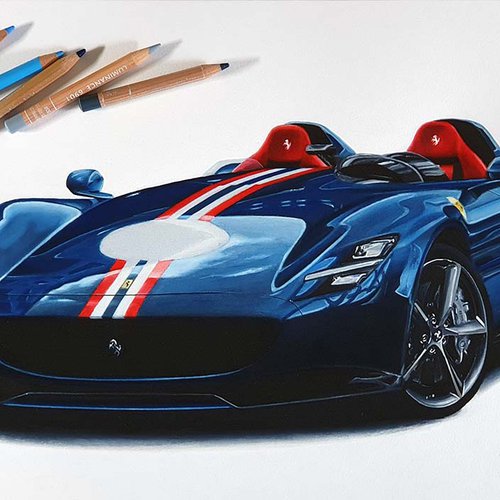
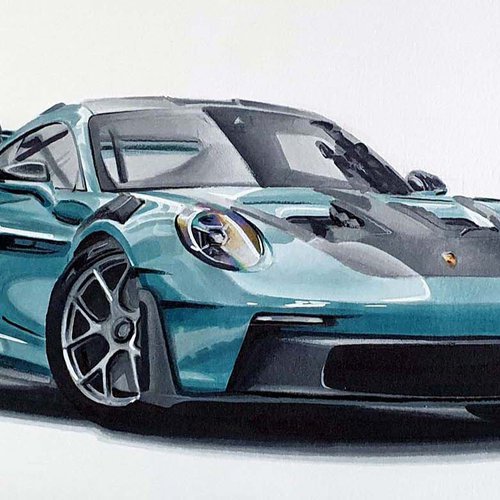
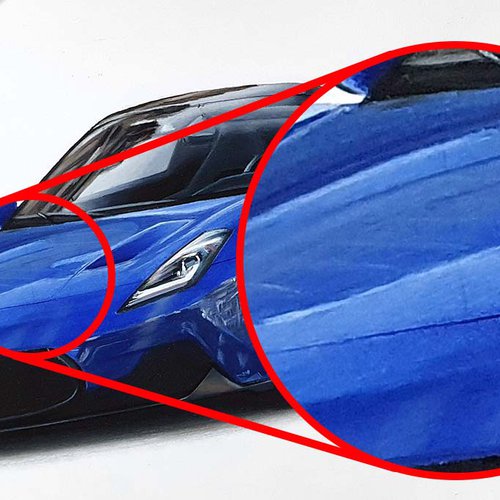

I love bringing cars to life with alcohol markers and colored pencils.
Whether you're just starting out or looking to improve your skills, I'm here to help!
Click here to learn more about me.


Be the first to comment!
Comments
There are no comments yet.