How To Draw Goku From Dragon Ball Z - Step-By-Step Tutorial
This post is all about how to draw Goku from Dragon Ball Z step by step and is perfect for anime fans who want to learn how to create a Goku drawing with markers.
In this tutorial, I'll show you how to draw Goku from Dragon Ball Z in 7 simple steps.
I'll show you exactly how to sketch Goku using simple shapes, and then, how to outline and color him using a fineliner and alcohol markers, even if you are a beginner.
I've broken down the whole drawing into easy-to-follow steps so you can easily follow along and create your own Goku drawing fan art.
Whether you're a beginner who wants to learn how to draw anime characters or you're a Dragon Ball Z fan who wants to create Goku fan art, this guide is perfect for you.
Let's get started and create your very own Goku drawing!
Disclaimer: In the name of full transparency, please be aware that this blog post contains affiliate links and any purchases made through such links will result in a small commission for me (at no extra cost for you).
In This Guide
- Drawing supplies & colors I used
- Sketching Goku from scratch
- Outlining Goku with a fineliner
- Coloring Goku with markers
- More step-by-step guides you'll like
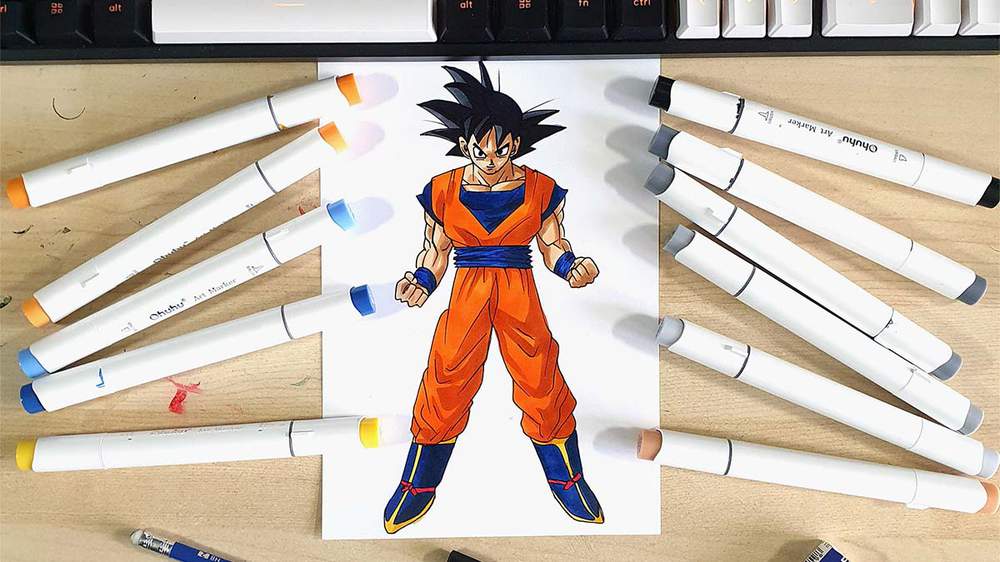
Drawing Supplies I Used To Draw Goku
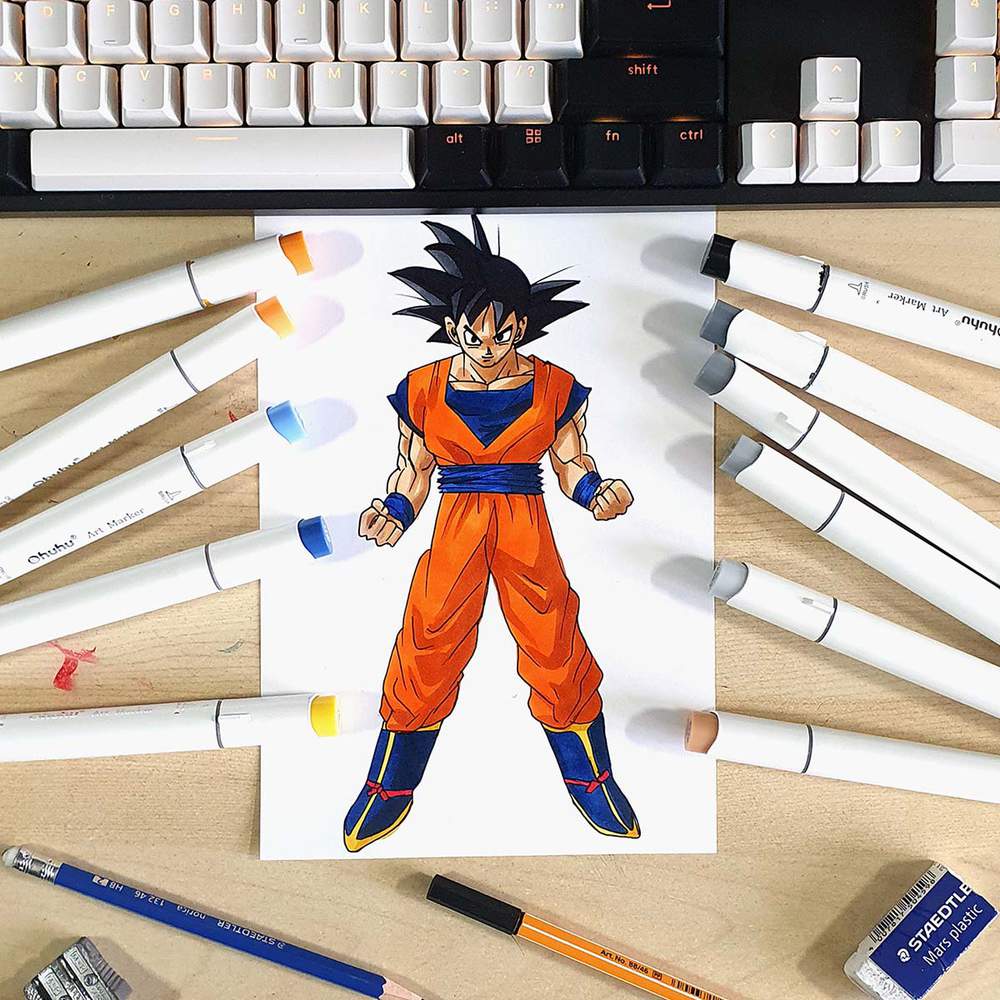
To make this Goku drawing, I used Ohuhu Honolulu markers in the colors Soft Sun (E160), Dark Suntan (E110), Lemon Yellow (Y6), Melon Yellow (YR33), Apricot (Y10), Tiger Lily (YR172), Coral Red (R3), Neutral Grey 07 (CG070), Neutral Grey 6 (NG06), Black (120), Brilliant Blue (PB2), and Napoleon Blue (PB4).
I also used a black fineliner, a graphite pencil, and an eraser.
And I made this drawing on A4-sized Canson Illustration Manga paper, which I cut in half.
How Do You Draw Goku From Dragon Ball Z?
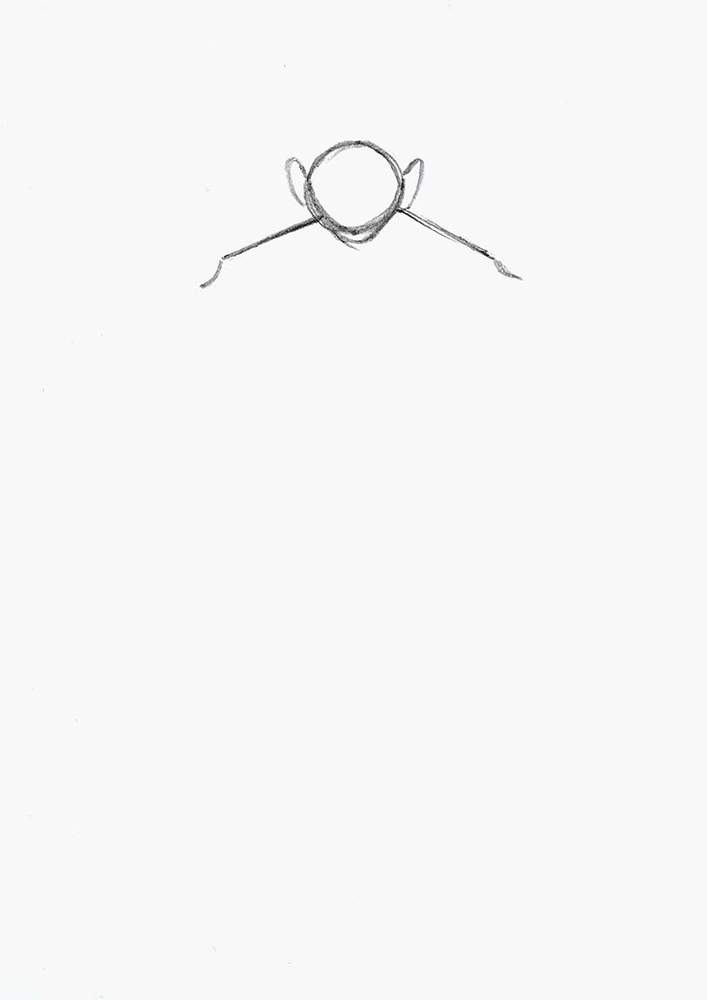
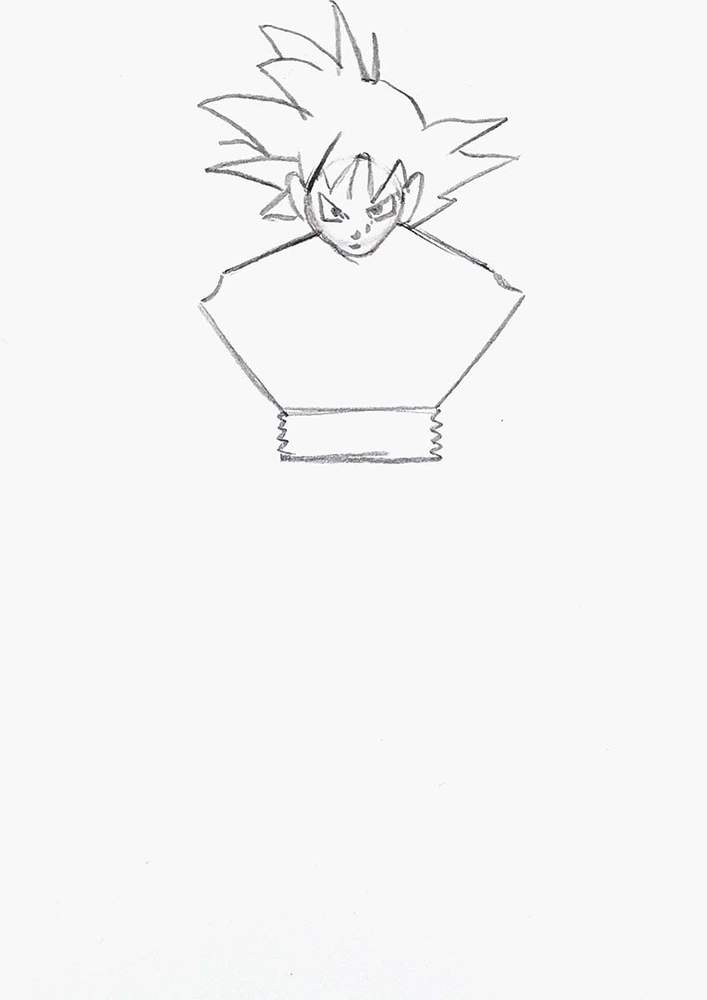
Step 1: Sketch Goku's Head & Upper Body
To start, I sketched a small circle with a line on each side, representing Goku's muscular shoulders.
Don't worry, the small circle will be his face, not his head size.

Next, I added his ear and chin, and drew a short curved line on both sides of his shoulders, kinda like a hook.
After that, I added his spiky hair, making his head look more normal-sized.
I also sketched the outline of his upper torso, which is just 3 straight lines like the bottom half of a hexagon.
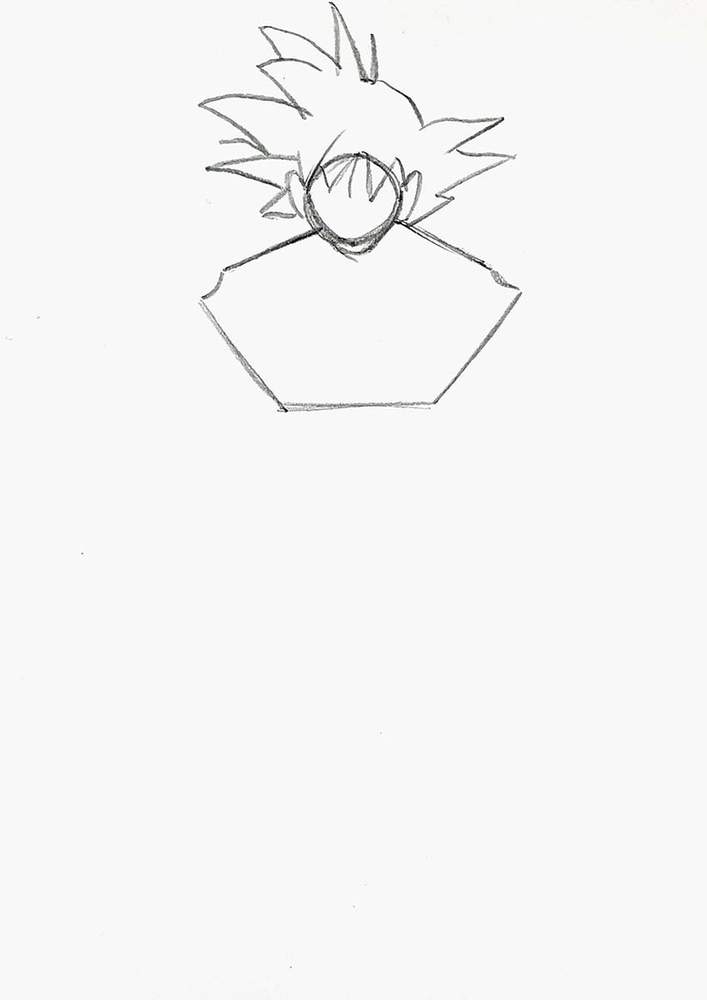
Lastly, I sketched his eyes, nose, and mouth, and added the outline of his waistband.
His left eye looks more like a triangle, and his right eye is more of a tilted rectangle.
For his nose and mouth, I just marked some tiny shapes. They don't need to look perfect as long as they are in the right place.
And his waistband is made up of a zigzag line on either side and a straight line on the bottom.
Step 2: Sketch The Outline Of Goku's Arms & Legs
After that, I sketched the beginnings of Goku's arms and legs.
I first sketched 2 short lines on either side of his upper torso, pointing down and getting slightly closer to each other at the bottom.
I also sketched two long straight lines for his legs, kinda like an A shape without the horizontal line.

Next, I sketched two lines on the inside of his legs, shapes like a narrow teepee.
I also added 2 more short lines on both arms, pointing diagonally down and out towards the edges of the paper.
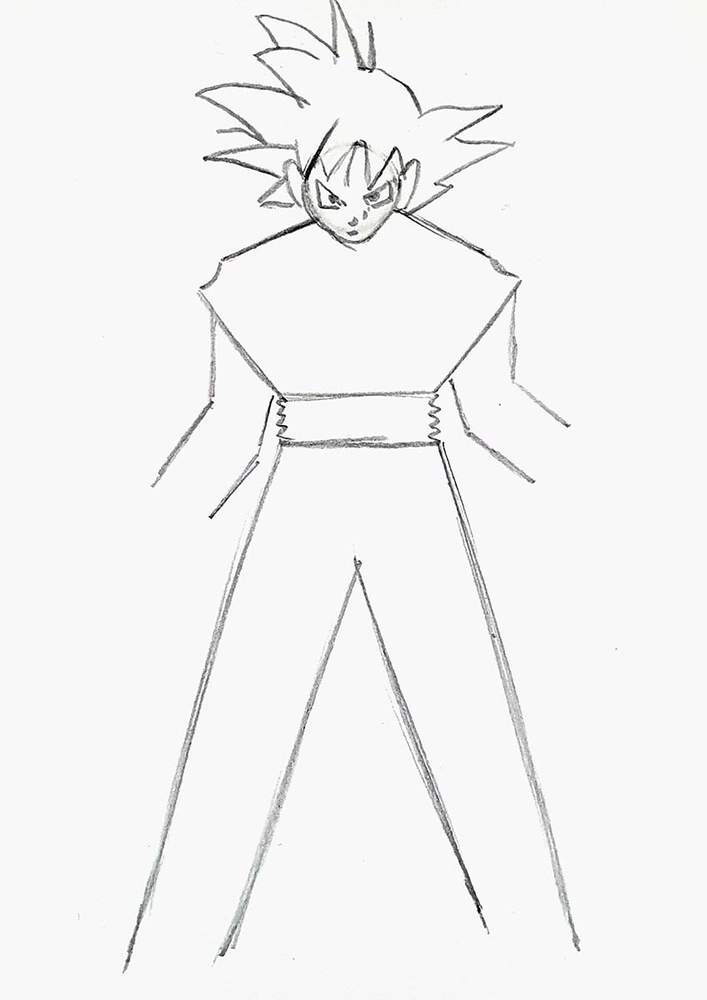
Lastly, I added the outline of his pointy boots at the bottom of his legs and sketched a zigzag line on the ends of his arms, which will become his fists.
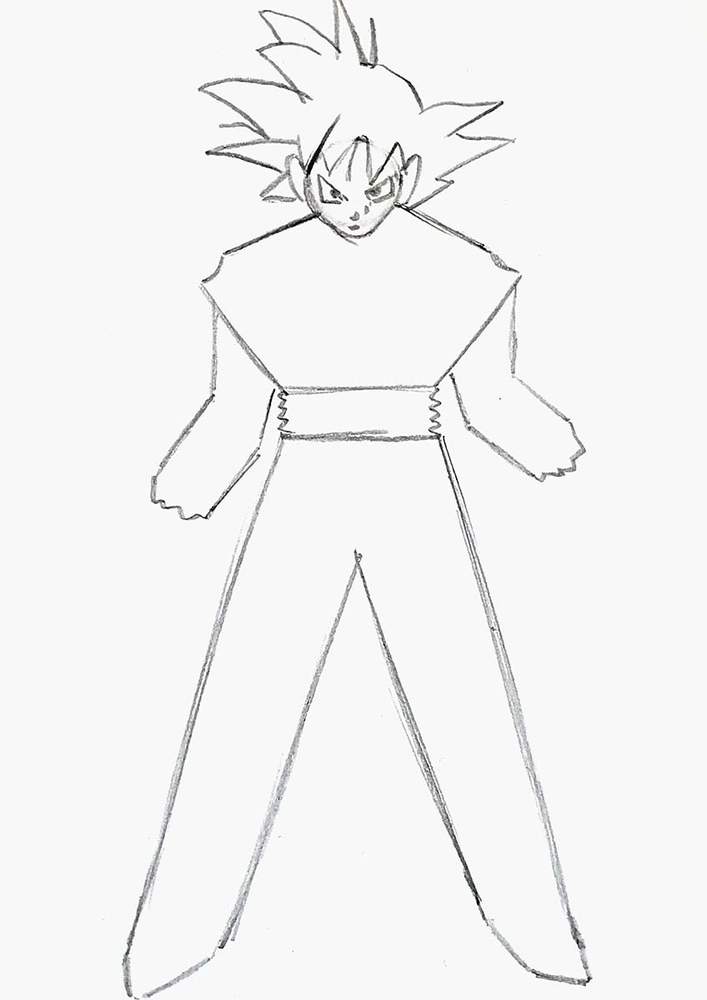
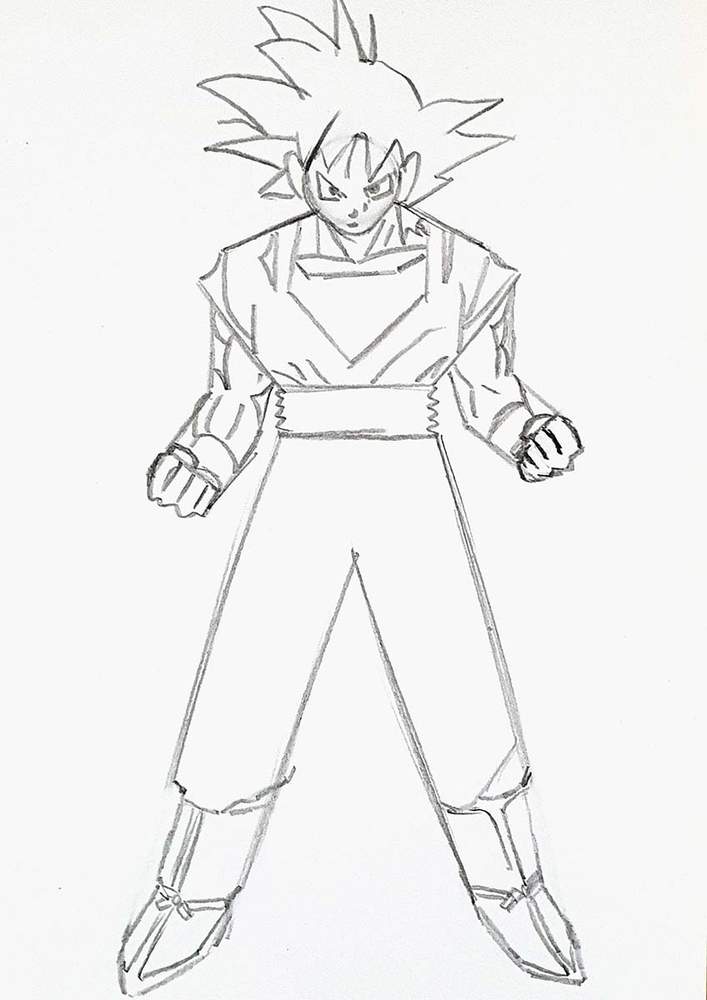
Step 3: Sketch Goku's Muscles
Next, I sketched Goku's muscles and hands.
For his hands, I sketched 4 parallel rectangles with a smaller, rounded rectangle above them to represent the thumb.
The muscles on his arms are mostly curved lines. I first added the big line of his biceps, then I added the smaller ones. I also added a curved line around his wrists, which will become his sweatbands.
And I sketched his collarbones. I first sketched a simple upside-down house shape for his clothes. And then I added his collar bones.
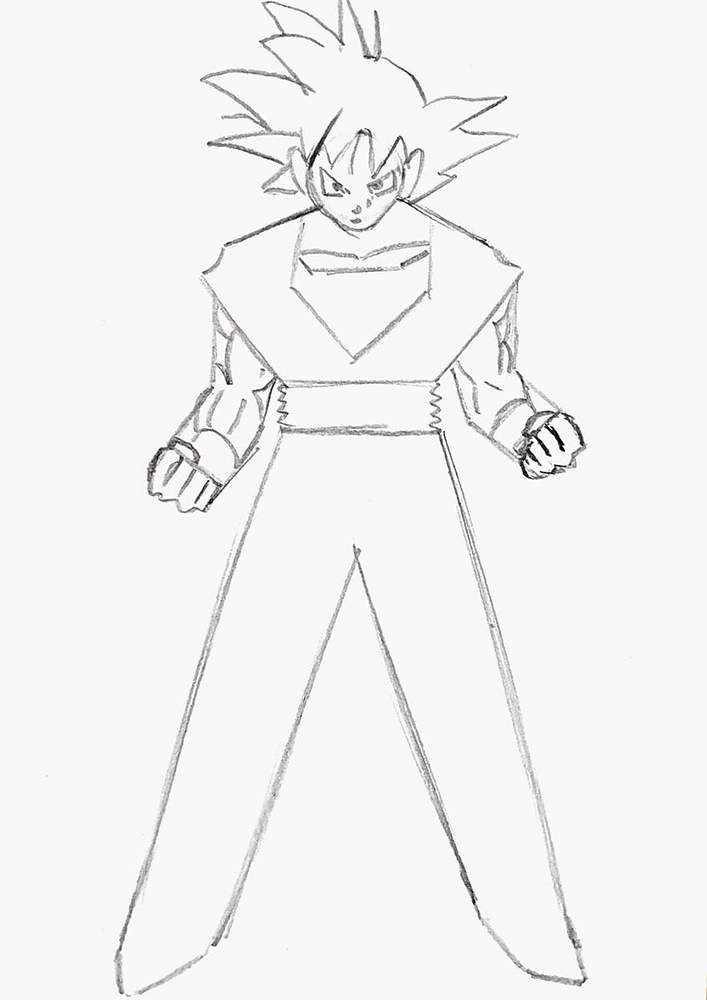
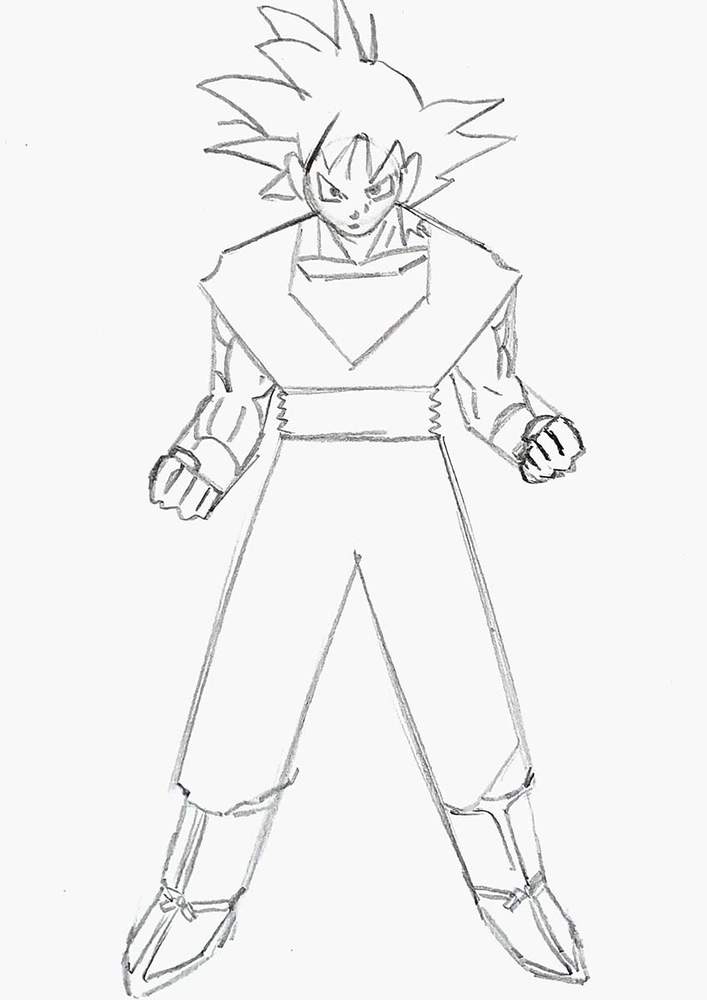
Step 4: Sketch Goku's Boots
In the previous step, I forgot to sketch his neck muscles, so I did that in this step...
I also started sketching his boots.
I refined the outline of them as well as the bottom of his pants.
Then, I added all the details to his boots, like the laces and the outline for the yellow detailing around the edges.
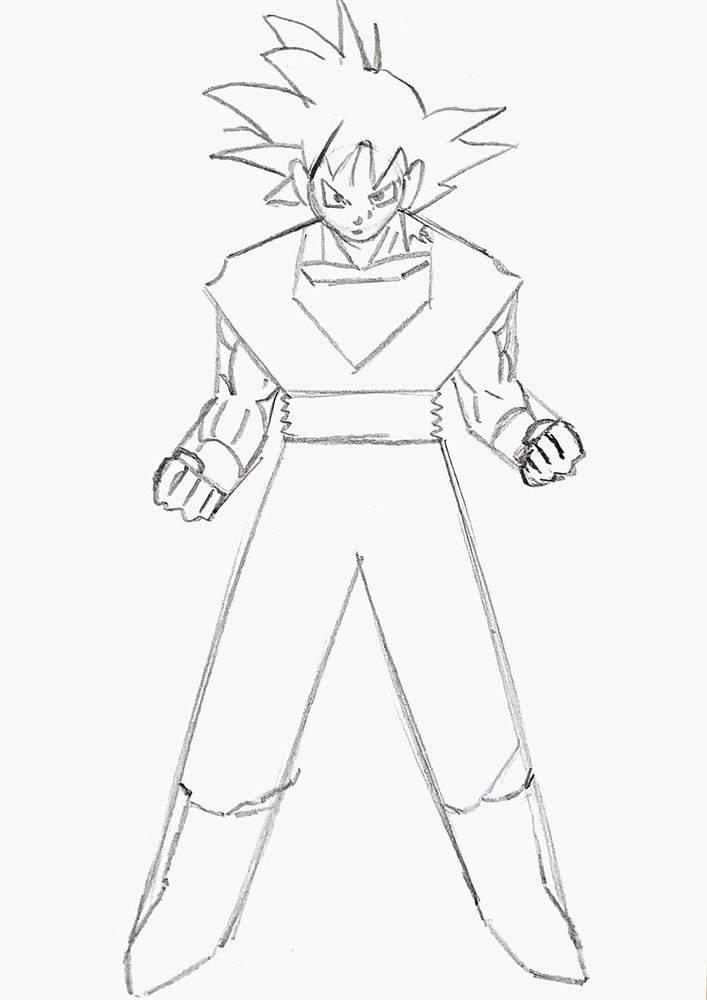
Step 5: Sketch The Wrinkles In Goku's Clothing
To finish off the sketch, I drew all the wrinkles in his clothes.
This makes him look so much more "real".
I first did his top and focused on the parts that would be wrinkly in real life. For example, where the waistband is, there will be more wrinkles. And where his clothes wrap around his shoulders, there will be more wrinkles, too.
If you're not sure where to add wrinkles, just look at yourself in the mirror and notice where your clothes wrinkle. You can then replicate those in your Goku drawing.
And then I added wrinkles and folds to his pants using the same technique.
And that's the Goke sketch all done!
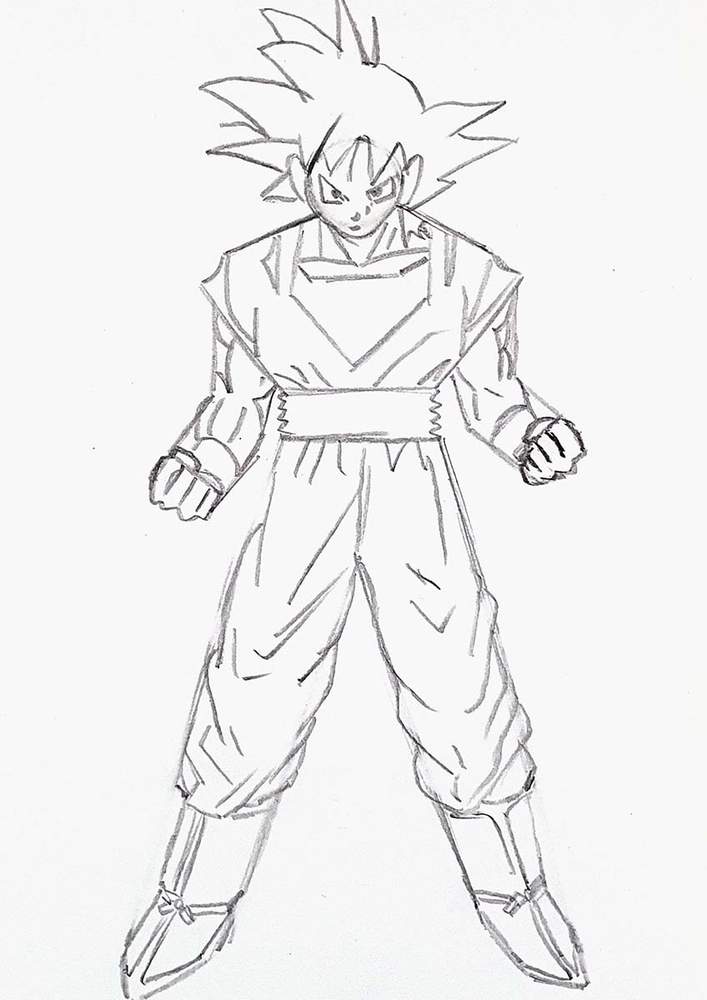
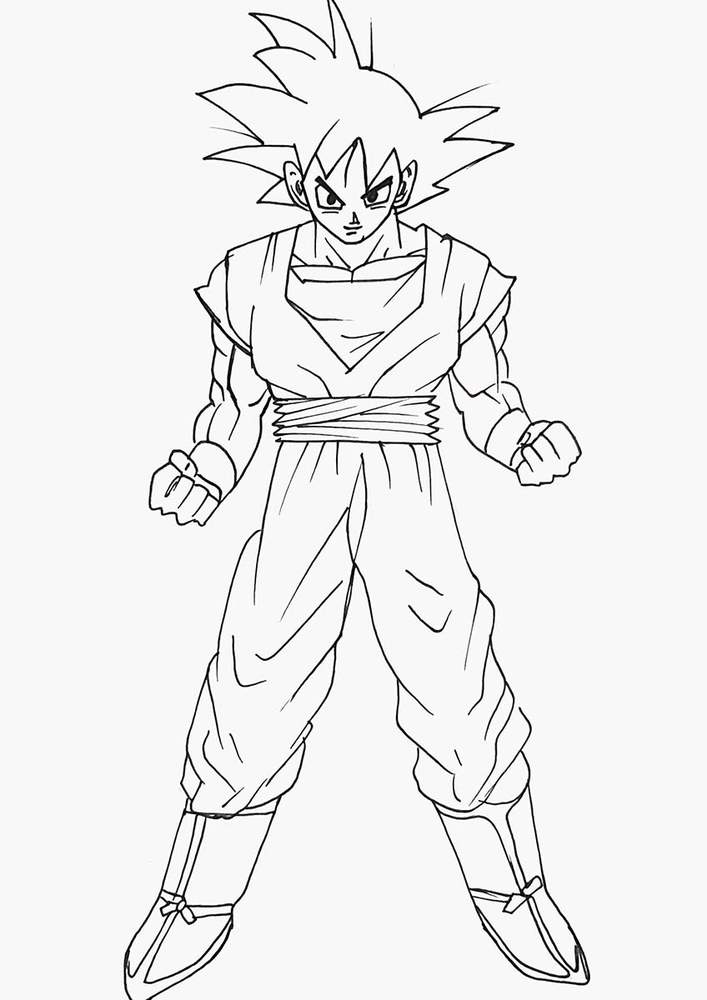
Step 6: Outline Goku With A Fineliner
To prepare the sketch for coloring, I like to outline it with a black fineliner. Any fineliner will do. You just need to make sure it doesn't smudge too much when coloring over them with alcohol markers later. These fineliners work great. You just need to let them dry for a bit, otherwise they will smudge.
With the fineliner, I just go over every line of the sketch.
I also added some overlapping lines to his waistband to give it more detail.
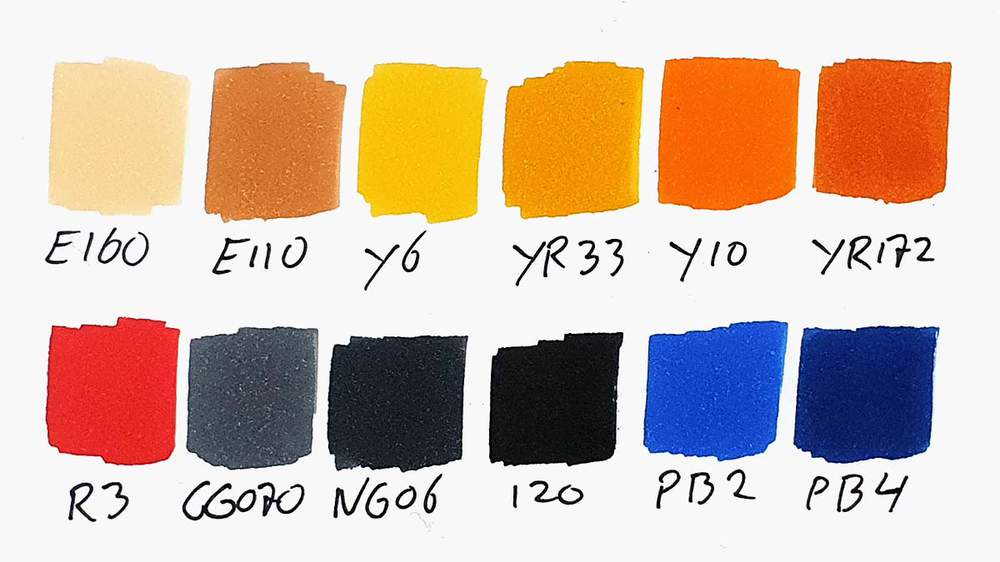
Step 7: Color Goku With Markers
Now it's time to start coloring Goku.
I used:
- E160 to color his skin;
- CG0707 to color his hair;
- PB4 to color the blue of his shirt and boots;
- PB2 to color his blue waistband and wristbands;
- Y10 to color his orange clothing;
- Y6 to color the yellow bits of his boots;
- and R3 to color the red bits of his boots.
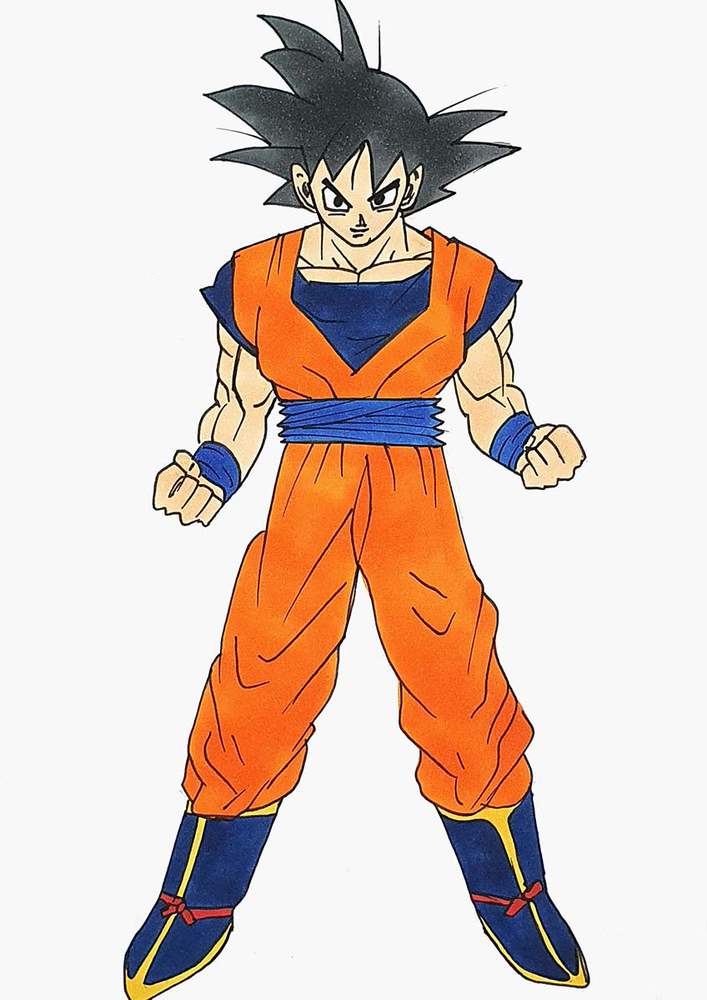
Next, I added some more depth by using some darker colors.
I used:
- E220 to add shadows on his skin;
- Black to add shadows on his hair;
- PB4 to add shadows on his waistband and wristbands;
- NG06 to add shadows on his blue shirt, boots, waistband, and wristbands;
- YR172 to add shadows on his orange clothing;
- and YR33 to add shadows on the yellow details on his boots.
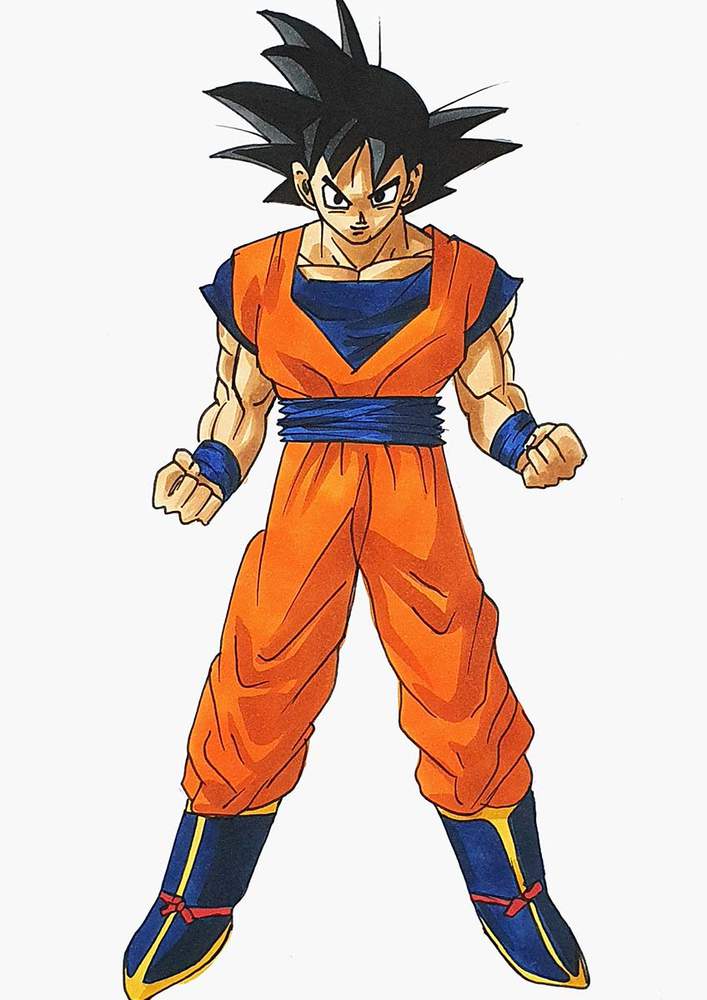
And that's how to create fan art of Goku from Dragon Ball Z.
I hope you enjoyed this tutorial on how to draw Goku!
If you did, you might like some of my other tutorials as well.
Thank you!
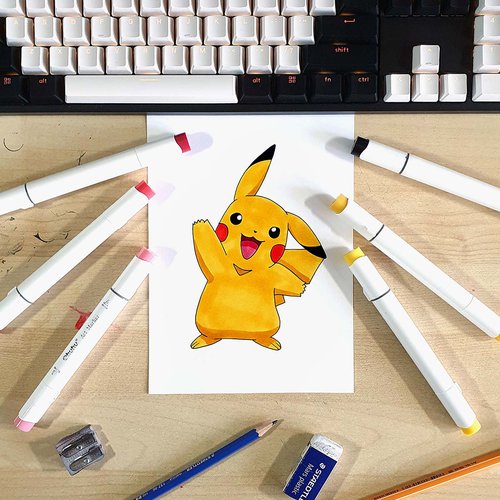
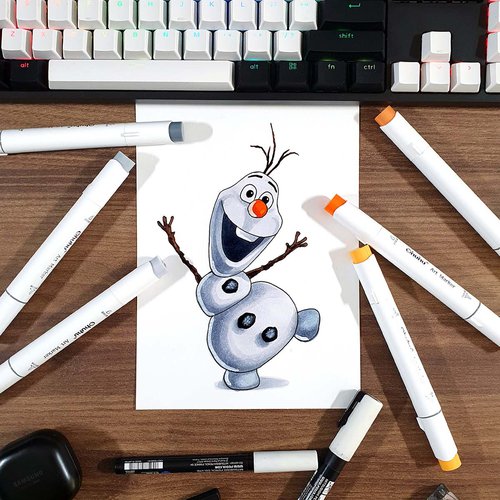
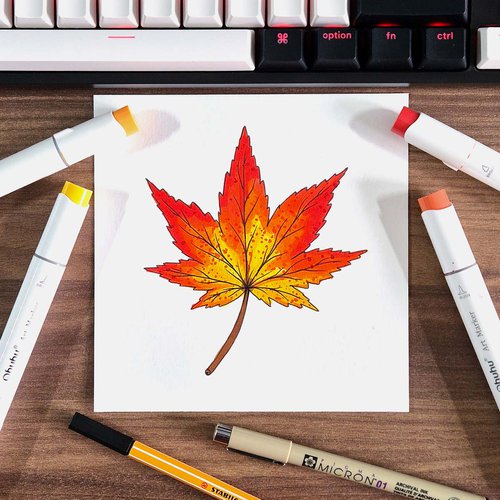
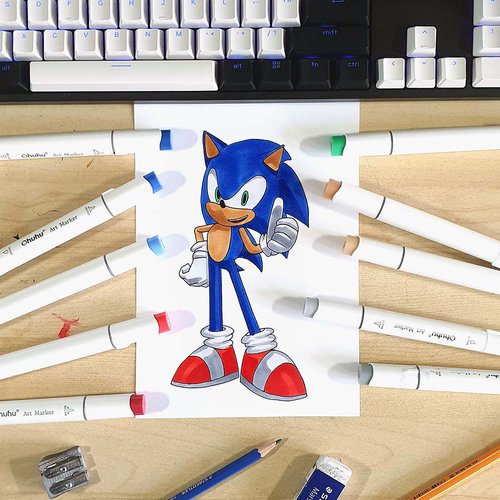
Articles You Might Also Like

I love bringing cars to life with alcohol markers and colored pencils.
Whether you're just starting out or looking to improve your skills, I'm here to help!
Click here to learn more about me.


Add a comment
Comments
Boy this is incredible