How To Draw Sonic The Hedgehog - Simple Step-By-Step Tutorial
This guide is all about how to sketch and color Sonic the Hedgehog with a pencil and markers and is perfect for beginners who want to create Sonic fan art.
Want to draw Sonic but don't know how? In this guide, I'll show you step for step how to draw your favorite blue hedgehog, Sonic. I'll show you how to sketch his slim and athletic build, his swept-back quills, his white gloves, and, of course, his large connected eyes. And after that, I'll also show you how to use alcohol markers to give Sonic his characteristic colors.
I've broken the full process up into simple steps with plenty of photos to guide you along. Just take your time and look closely at the photos. If you do this, you can make this Sonic drawing too.
Without further ado, let's get started on this Sonic drawing.
Disclaimer: In the name of full transparency, please be aware that this blog post contains affiliate links and any purchases made through such links will result in a small commission for me (at no extra cost for you).
In This Guide
- Drawing supplies & colors I used
- How to sketch Sonic with a pencil
- How to outline Sonic with a fineliner
- How to color Sonic with markers
- More step-by-step guides you'll like
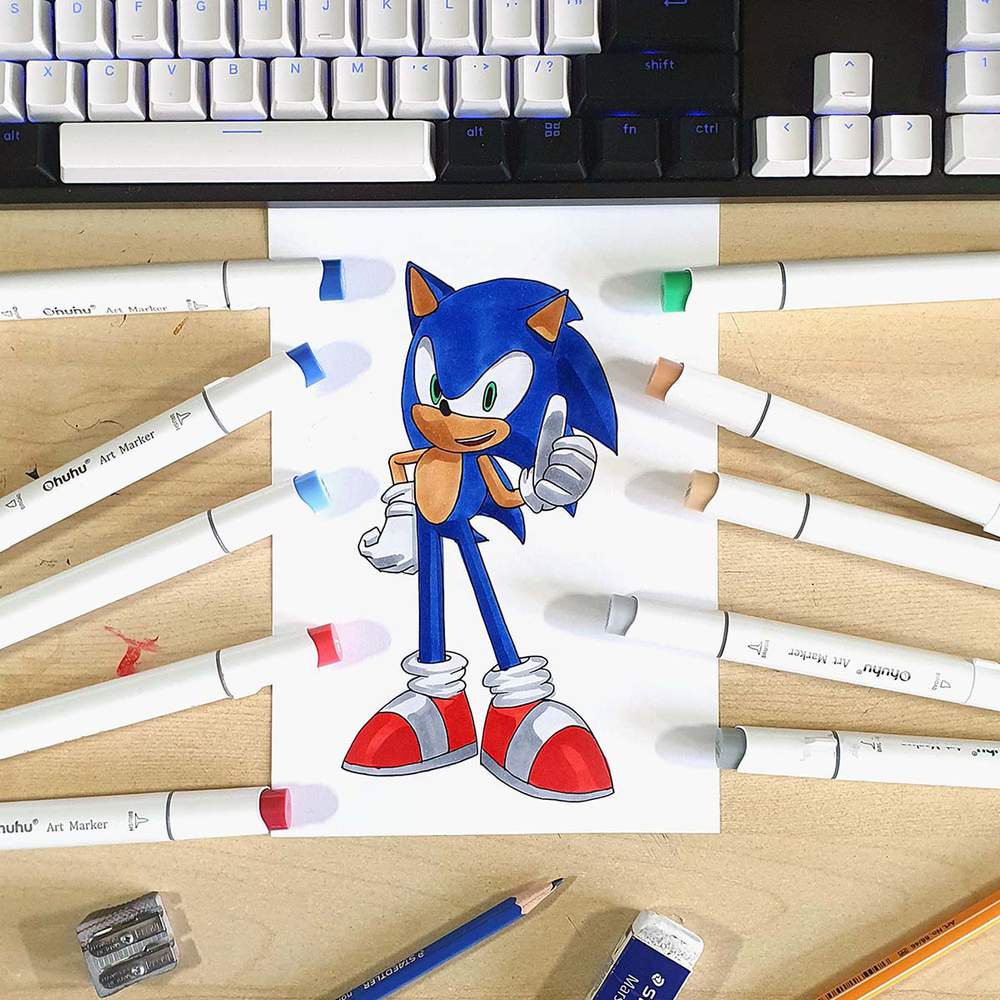
Drawing Supplies I Used To Draw Sonic
To sketch Sonic, I used a standard graphite pencil with an eraser on the back.
And I used A4-sized Canson Illustration Manga paper, which I cut in half, to draw on. This paper works especially well with alcohol markers. But if you're not planning on using those, you can just use printer paper.
To outline the sketch, I used a Stabilo Point 88 fineliner. But these Pigma Micron pens are also really nice.
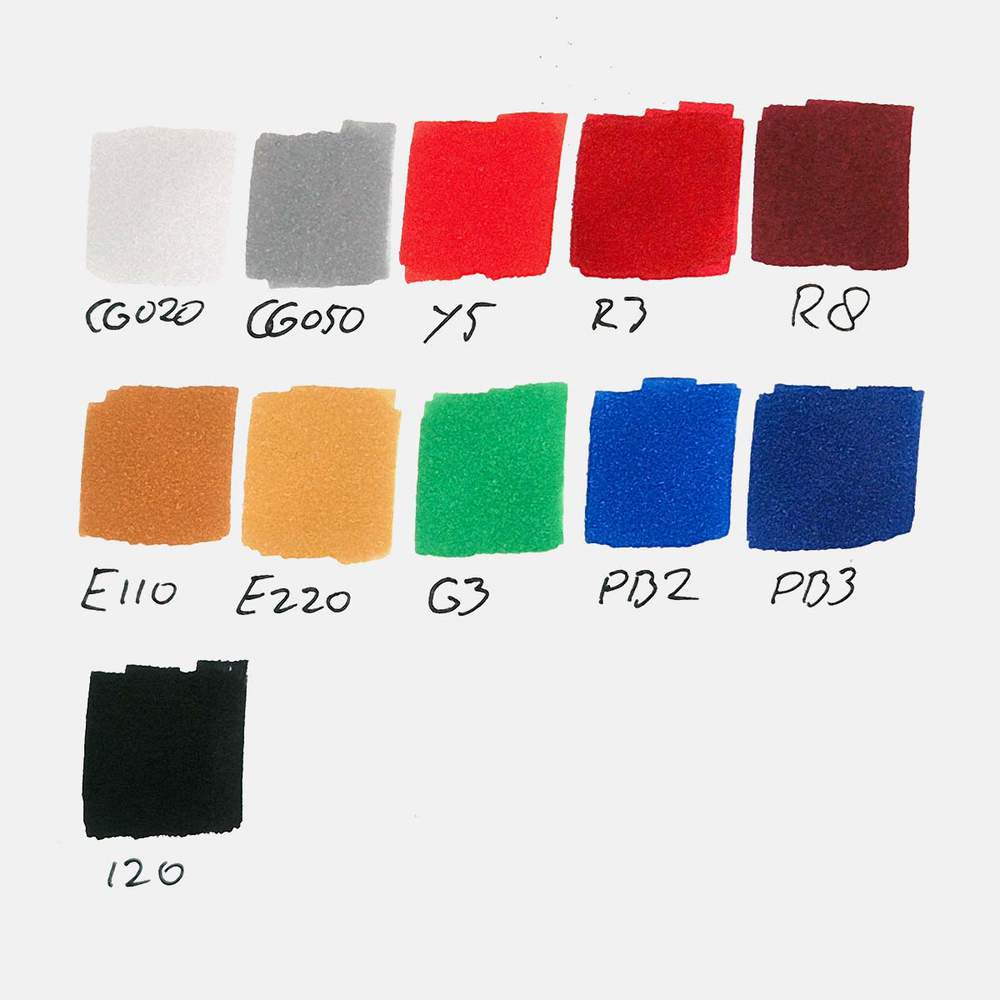
And to color Sonic, I used 11 Ohuhu Honolulu markers in the colors Neutral Grey 02 (CG020), Neutral Grey 05 (CG050), Rouge Orange (Y5), Coral Red (R3), Geranium (R8), Sand (E220), Dark Suntan (E110), Ocean Green (G3), Brilliant Blue (PB2), Cobalt Blue (PB3), and Black (120).
You can buy these colors separately or as part of the 320 set.
Below, I've included an image of how all these colors look, so you can match them to your markers if you already have some.
How To Draw Sonic?
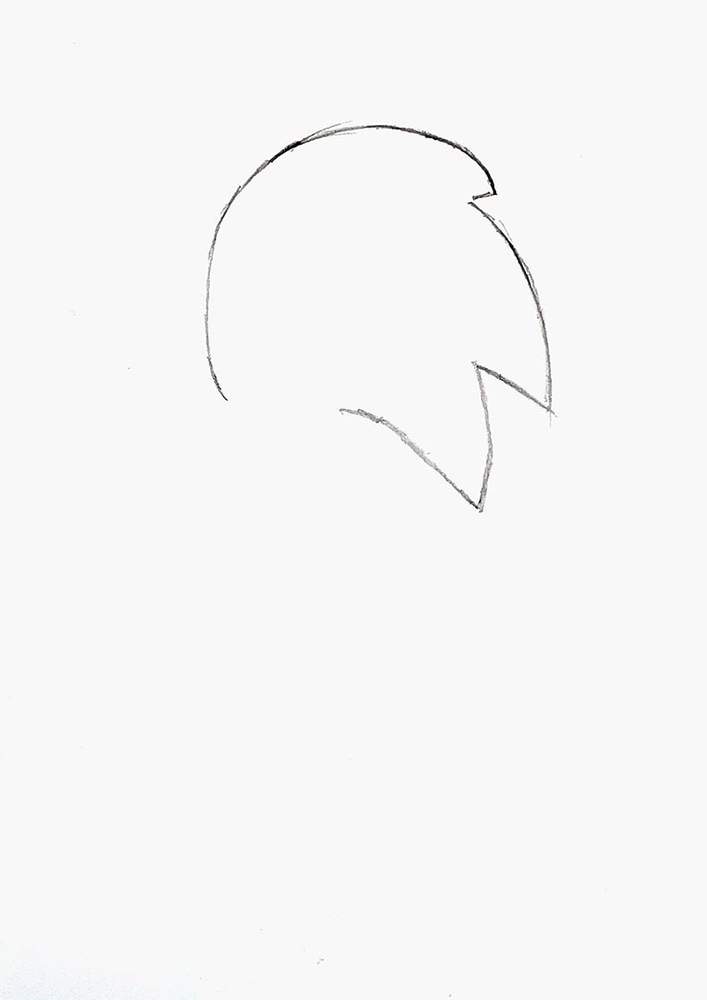
Step 1: Sketch The Outline Of Sonic's Head With The Spiky Quills
To start sketching Sonic, I first sketched the outline of his head with, of course, his characteristic swept-back quills.
I started by sketching the left and top sides of his head. This looks just like half a circle that is a little bit flat on the left side.
Next, I added his three swept-back quills, with the first one pointing more towards the right, and the second and third ones pointing down.
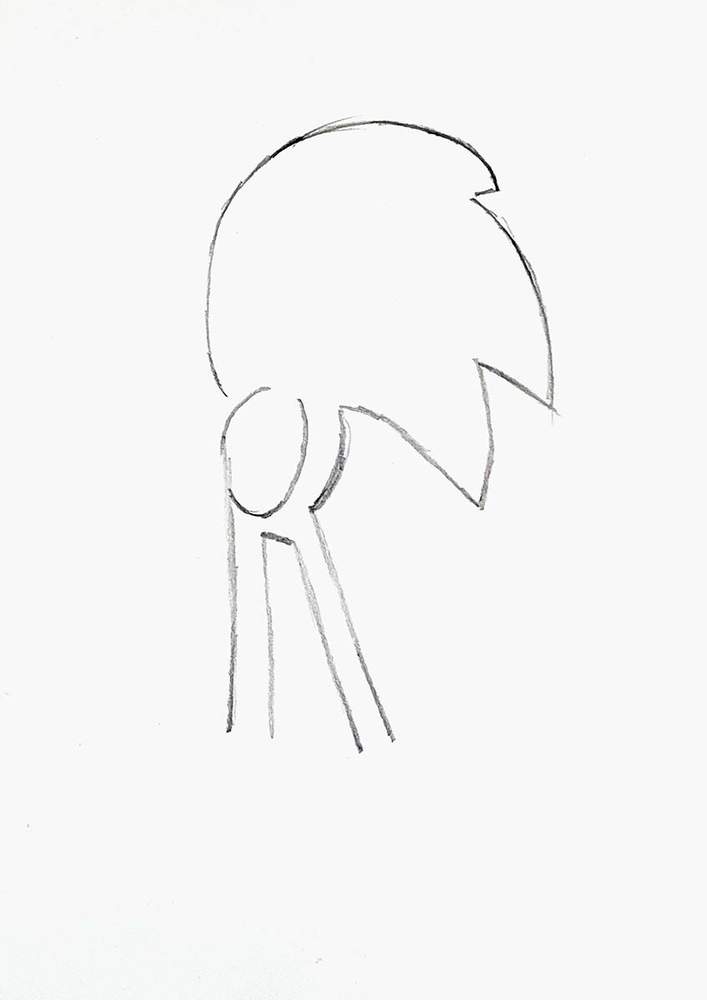
Step 2: Sketch Sonic Slim And Athletic Body & Legs
Next, I sketched Sonic's body.
This is just a small circle. I only sketched the left and right parts of this circle, as his head connects at the top and his legs at the bottom.
On the left, I extended the circle downwards with a straight line, which will become his leg.
Below the parts of the circle, I added a short line, which is the part between his left and right legs.

Next, I sketched the oval for his tan belly and drew his legs with three additional straight lines, creating 2 sets of narrow parallel lines.
Step 3: Sketch Sonic's Face
After that, I sketched the outline of Sonic's muzzle just above the oval on his belly.
His muzzle is round at the bottom and flat at the top.
I also added his pointed ears, which are just triangles on his head, one on the top left edge, and one on the top right.

Then, I added his large connected eyes, which are just two big ovals that connect in the center just above his muzzle.
I also sketched a bean shape for his nose and drew triangles in his ears to mark the lighter tan-colored parts.

To finish his face, I sketched his pupils and mouth.
His pupils are just two small ovals looking directly at you with one smaller oval inside them. And I drew his mouth on the right side of his muzzle, and since he's smiling, it kinda looks like a banana.

Step 4: Sketch Sonic's Iconic Red Shoes
On the bottom of his legs, I added these layered ellipses, which are the top bits of his shoes or his socks. I'm not quite sure...

After that, I sketched the outline of his shoes. These are just 3 curved lines for each shoe, and given his convident stance, the point down and outwards.

Next, I marked the white stripes across his red shoes with 2 more curved lines running across each shoe.

Step 5: Sketch Sonic's Arms
After that, I sketched Sonic's arm.
His arm on the left has 2 L-shapes and his arm on the right 2 hockey-stick shapes. Both arms connect to either side of where his head connects to his body.

Next, I added the first bit of his gloves, which looks like layered ellipses, similar to the top part of his shoes (or his socks, still not sure...).

Then, I added the outline of his white gloves.
His left glove is more blocky with his pinky sticking out, and his right glove is just a rounded outline of the letter "b" since he's giving you a big thumbs up for drawing him.

Lastly, I added some lines for his fingers, which is easier than you think.
I just added a few short lines on the bottom of his glove on the left, and on the right one, which is giving you a thumbs up, I added more round lines as his fingers are curled up.

Step 6: Sketch Sonic's Tail & Back Spike
To finish the sketch of Sonic, I added his tail spike and his back spike, which looks like a shark fin.

Step 7: Outline Sonic With A Black Fineliner
Before we start coloring, I like to outline the sketch with a black fineliner. This makes coloring it a lot easier, imo.
To outline my drawings, I like to use a black fineliner. Both the Stabilo Point 88 pens and the Pigma Micron pens work really well for this since they don't smudge when coloring over the ink with markers if you let the ink first dry properly.
Once I had completed the outline, I erased the pencil sketch. This leaves a super clean outline to color in next.

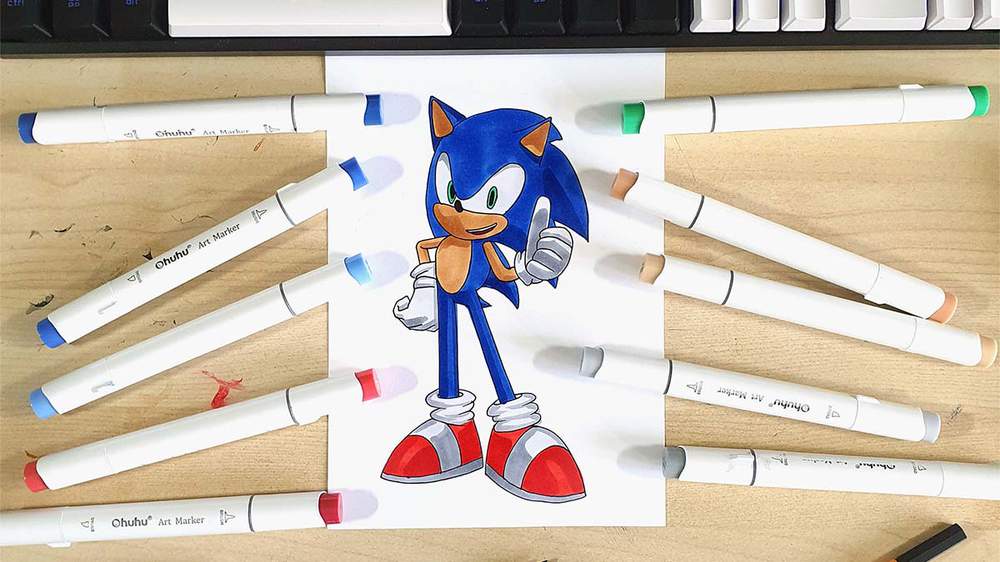
Step 8: Color Sonic With Markers
Now it's time to start adding the colors! My favorite part.
I used:
- CG020 to color the white parts of his shoes, his gloves, his teeth, and his eyes;
- Black to color his pupils and nose;
- G3 to color his irises;
- PB2 to color all the blue parts of his body;
- E220 to color his muzzle, the inside of his ears, his tan belly, and his arms;
- R8 to color the inside of his mouth;
- and Y5 to color the red of his shoes.

After that, I added another layer to add more depth to the colors.
I used:
- CG050 to add shadows to the light grey/white parts and to color the bottom edge of his shoes;
- PB3 to add some dark blue shadows on his body;
- E110 to add some shadows on the inside of his ears, his arms, his snout, and his belly;
- and R3 to add dark red shadows on his shoes.

And that's how to create fan art of Sonic.
I hope you enjoyed this tutorial on how to draw Sonic the Hedgehog!
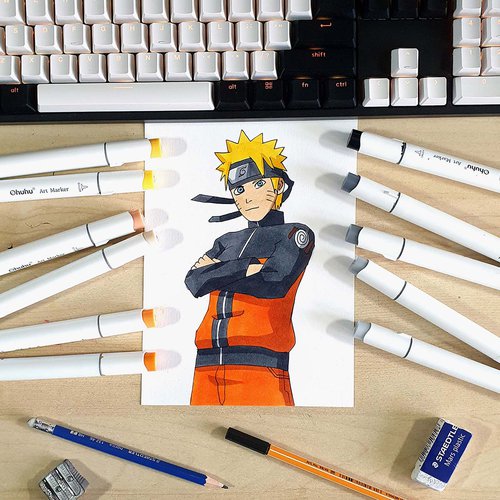
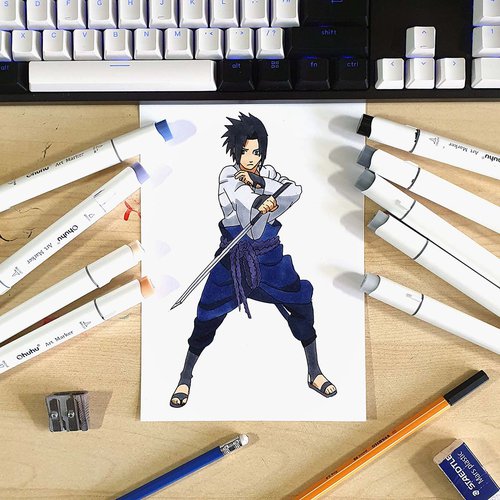
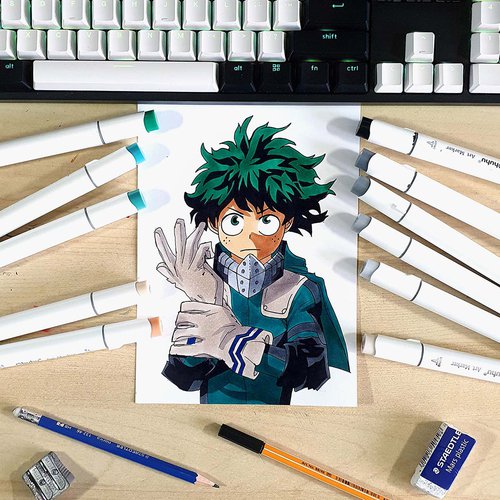
If you did, you might like my other step-by-step drawing guides. I've made tutorials for all sorts of things like anime characters, cars, cute things, and more.
Thank you!
Articles You Might Also Like

I love bringing cars to life with alcohol markers and colored pencils.
Whether you're just starting out or looking to improve your skills, I'm here to help!
Click here to learn more about me.


Be the first to comment!
Comments
There are no comments yet.