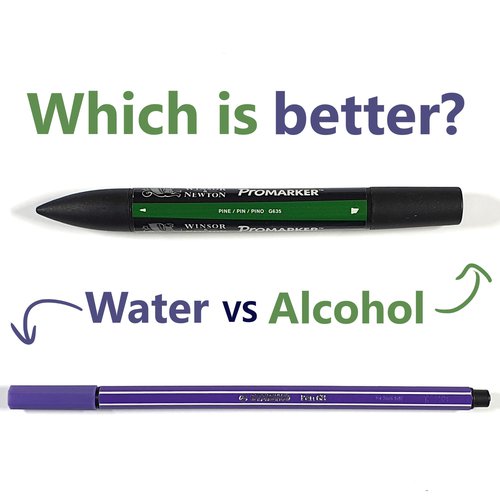
How to Use Alcohol Markers - A Beginner Guide
When I started using alcohol-based markers I Didn't know how to use them.
I mean I had watched a few videos, but those were just about the bare minimum to get started. They were mainly just about coloring so that it doesn't look streaky.
Everything else I learned by experimenting and just making drawings.
I wish someone had made an extensive guide about how to use alcohol-based markers. So that's why I decided to write an article covering the ins and outs of using alcohol markers.
I hope this will help you get started with alcohol markers!
Btw, here is a list of the best alcohol markers (in my opinion).
Disclaimer: In the name of full transparency, please be aware that this blog post
contains affiliate links and any purchases made through such links will result in a
small commission for me (at no extra cost for you).
What Paper is Best for Alcohol Markers?
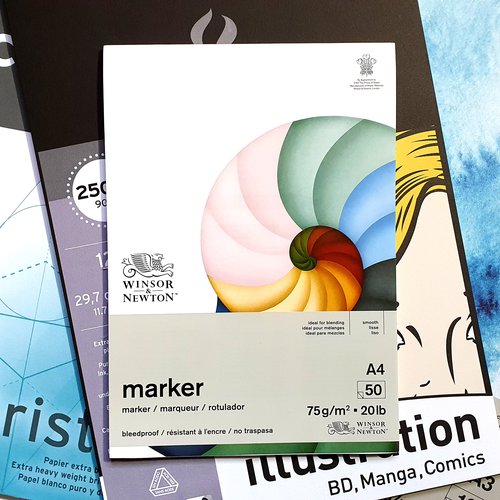
There are essentially two types of paper that work well with markers: 75 gsm marker paper with a special coating on the back to prevent the ink from bleeding through the paper and 250 gsm very smooth paper which works well for blending and drawing solid and even colors.
Winsor & Newton 75 gsm Bleedproof Marker paper

The bleedproof paper of Winsor and Newton is best for people who are completely new to drawing with alcohol-based markers. It is very cheap and the markers behave very predictably on this paper. This paper also uses less ink when drawing as it is very thin and has a bleed-proof layer on the back of it.
It is, however, more difficult to get a smooth blending with this paper. And because The paper is very thin you can easily get bends in it.
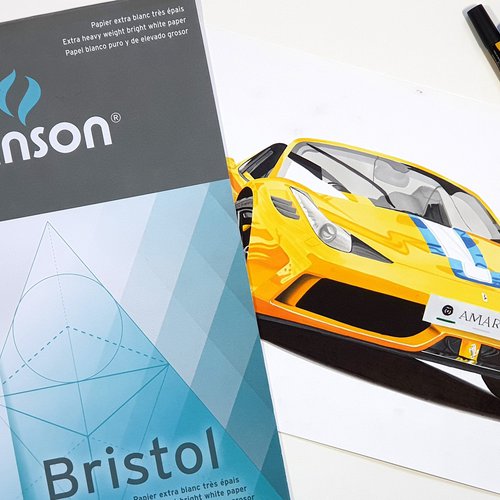
Once you've figured out how the alcohol markers work it is definitely worth it to upgrade to a thicker paper like the Canson Bristol or the Canson Illustration paper.
Canson Bristol 250 gsm paper
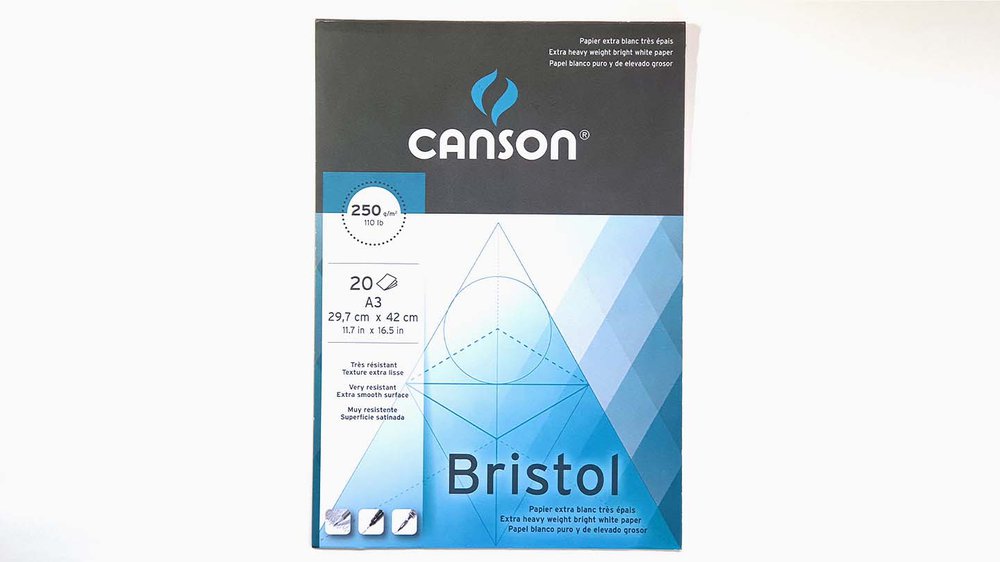
Canson Bristol paper is really good for blending and drawing solid shapes more easily without looking uneven or streaky.
This paper is a bit less bleed-proof proof as the ink can create fuzzy lines when it soaks into the paper. But if you draw quick enough and don't layer too much when the ink is wet this won't be a problem. This paper also uses more ink compared to thinner paper as more ink soaks into the paper when drawing.
I think this paper is really worth it as it makes the drawing look a lot better than the cheaper paper.
You can read my full review here.
Check out this article for a more in-depth list of papers that works well with alcohol markers.
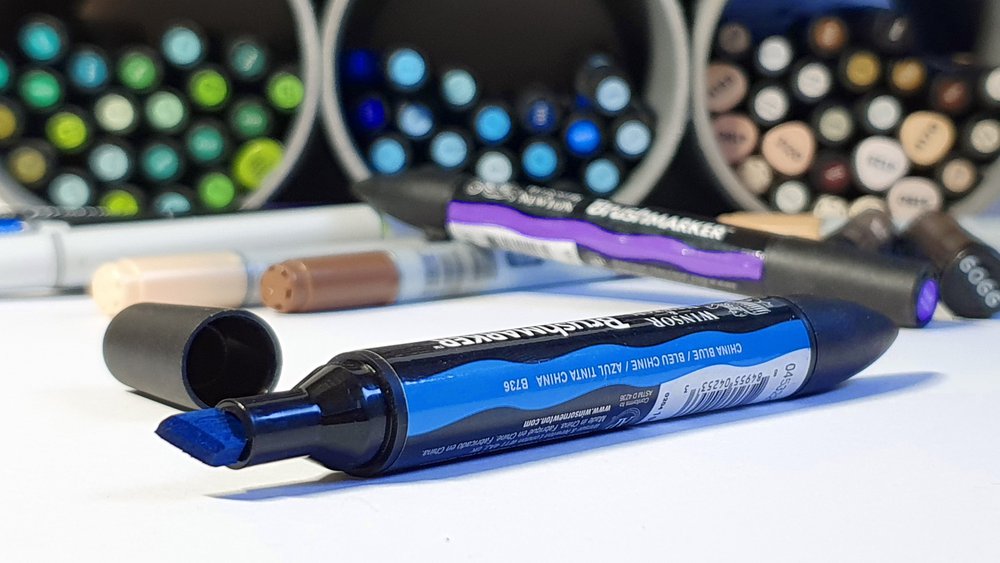
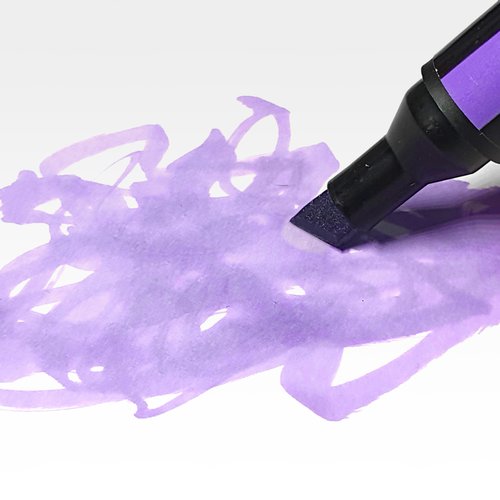
How to Color with Alcohol Markers?
Drawing with alcohol-based markers isn't as straightforward as just holding the marker on the paper and start moving back and forth.
Most markers have multiple nibs that are good for different things and drawing using the back-and-forth motion won't give you the solid and even look you might have wanted.
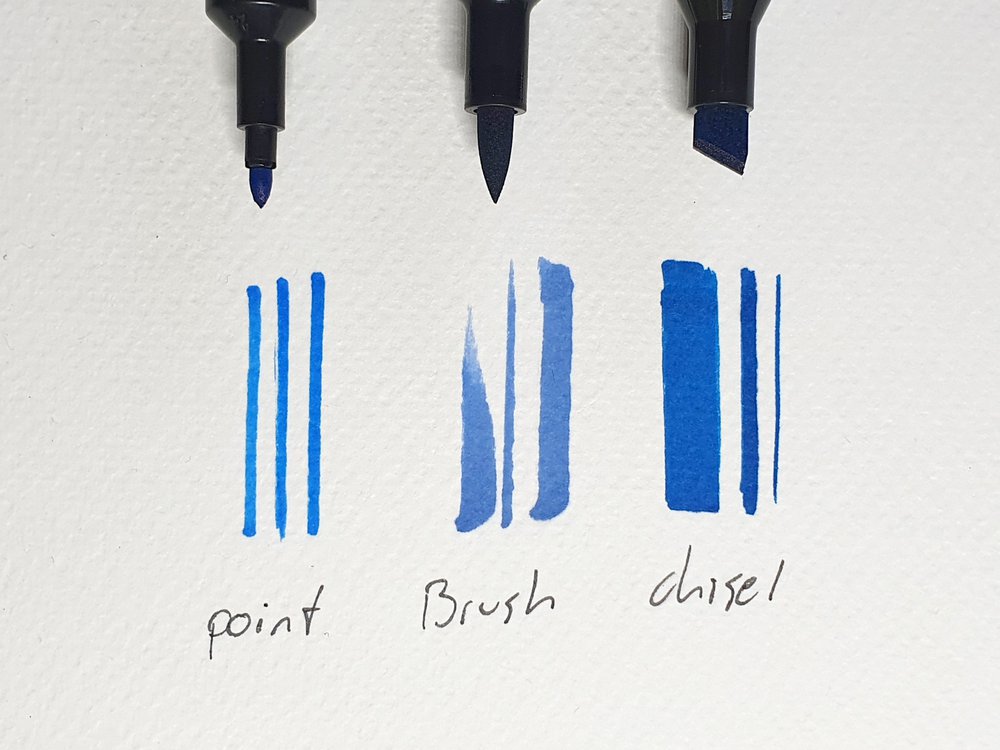
Using the Different Nibs
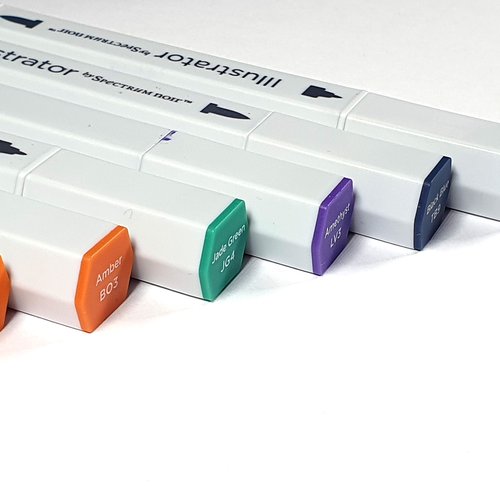
Most alcohol-based markers have multiple tips. Often you'll find markers have a fine point and a broader chisel tip. But some markers have a brush nib instead of the chisel or fine point.

The fine point of the alcohol marker is really good for drawing details and coloring small areas.
The broader chisel nib works best for coloring large areas. But the chisel tip can also be very useful for coloring details as well. You can hold the marker in a lot of different ways to create varying line widths with the chisel nib.
The brush nib is the most versatile of the three. As the name suggests the brush nib is kind of brush-like. It has a fine point that is good for drawing details, but it can also bend to draw thicker lines to color large areas quickly. The brush tip works well for blending too as it leaves soft lines. It is however quite difficult to draw lines of a consistent thickness.
Drawing Solid Colors
To create smooth and solid colors you need to color quite quickly as the ink dries fast. When the ink is still wet all the lines you draw will blend together resulting in a solid color without any streaks. But if you fail to color the whole area fast enough you will be left with some uneven spots.
This isn't unfixable, however. To get rid of the unevenness and streaks you just layer a layer on top of it. This will even out most of the streaks and spots. And as said before thicker paper makes it a lot easier to draw solid and even colors as it holds more ink and thus dries slower.
Coloring with markers works best if you use small circular motions to color an area, especially if the area is rather big. But if you're quick enough and the area you need to cover is relatively small it doesn't really matter how you color it. You can use straight lines, follow the contours, or do whatever you want.
How to Layer Alcohol Markers?
Mixing New Colors
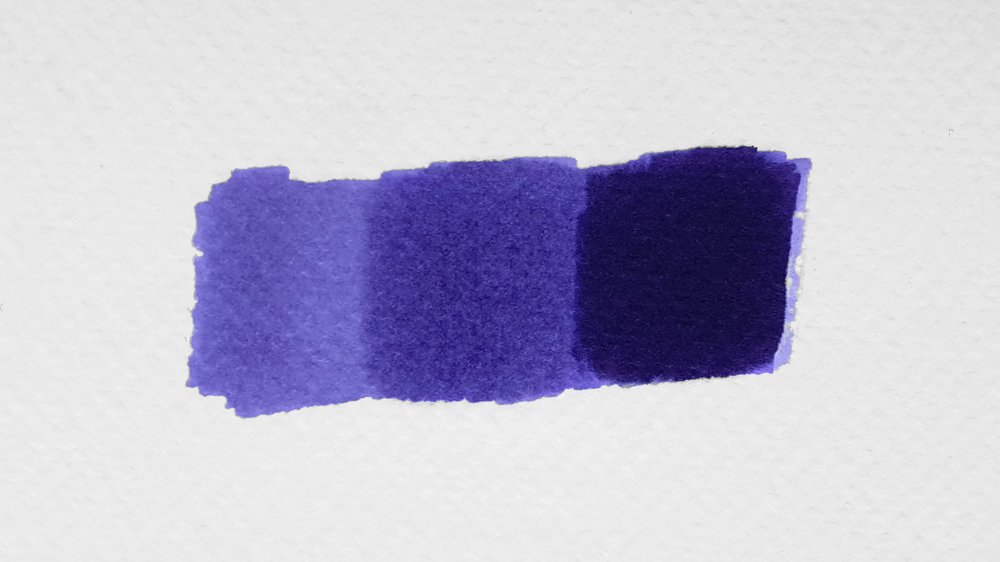
You can easily create new colors by layering two different colors on top of each other. For example, you can create a bright orange by first coloring an area yellow and then layering a bright pink on top of the yellow.

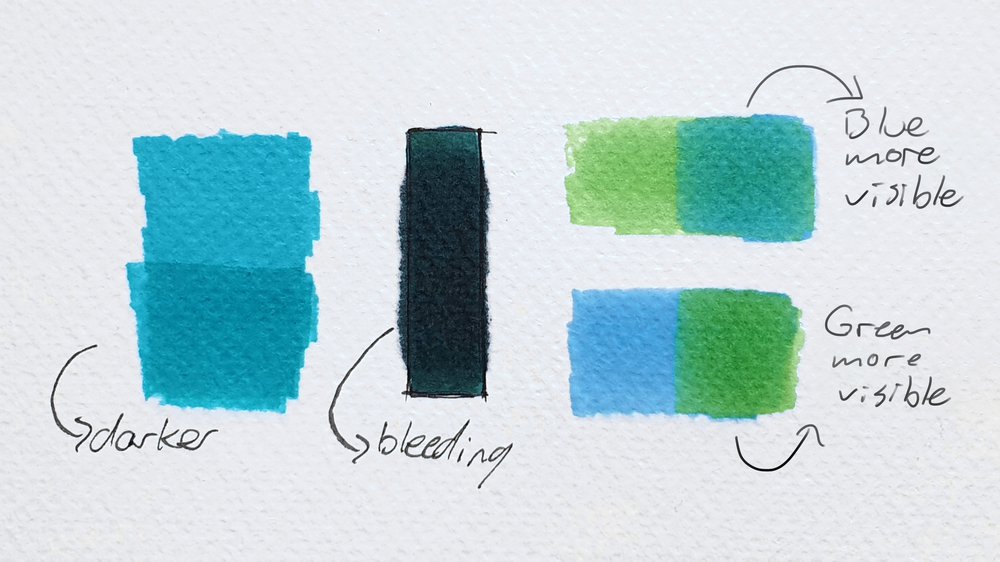
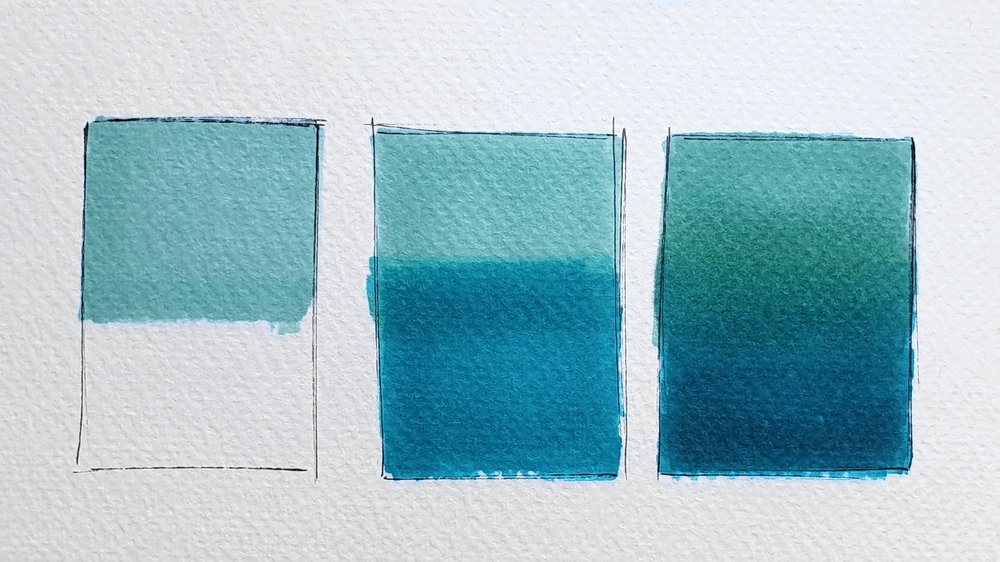
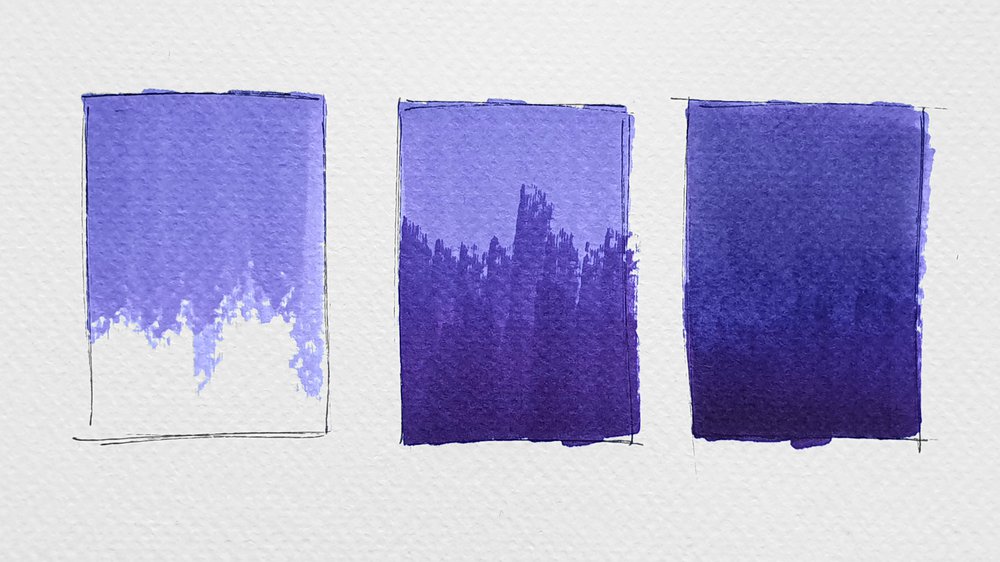
Darkening a Color
Sometimes you'll need a darker version of a color you have. If it's just a little bit darker you can easily make that color by just layering several layers of that color. If you want to create a slightly dark red but you only have a regular red you can layer 5 or so layers of that color on top of each other to create a darker shade. This works best on thin marker paper.

Lightening Colors
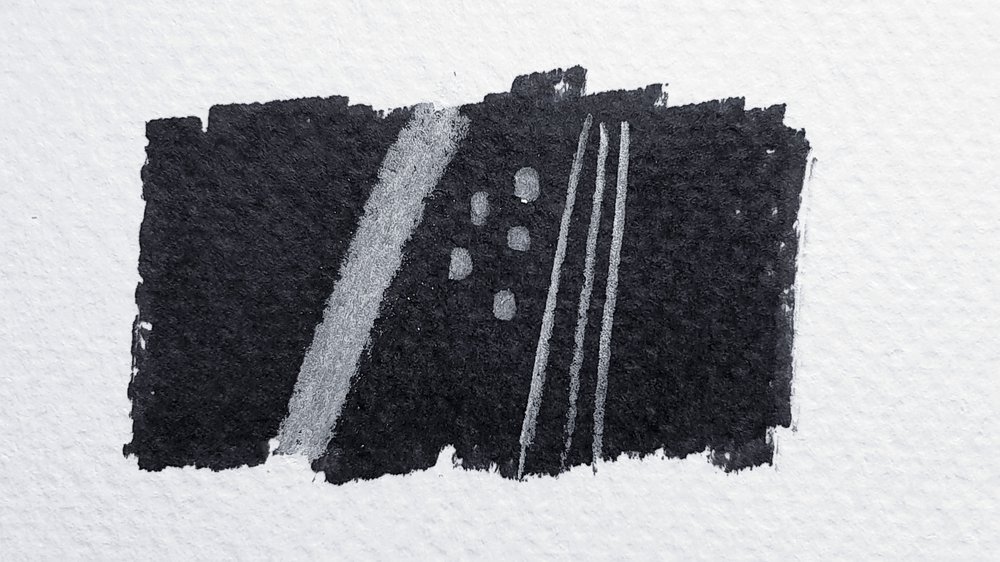
Believe it or not but you can actually lighten something you've already drawn by going over it with a lighter marker. This only works on thick paper, however.
If you've drawn an area fully black, for example, and you want to create some lighter details you just draw those details with a lighter marker. You do need to layer a lot of it while it's wet so that the lighter ink can push the darker ink away.
This technique can be a little bit unpredictable because you need a lot of ink which might result in some bleeding.

You can find more alcohol marker techniques in this article.
Some Things to Take into Account
There are some things you need to keep in the back of your head when layering with alcohol-based markers.
First of all, if an area you've drawn is a bit spotty on one side but the other side looks fine, you can't just go only over the spotty side to make it look smoother and more even. If you do that you'll get an area that's darker than the other area and sometimes you'll get a darker line between those areas.
Another one to remember is when you layer you shouldn't go over the same spot too much. This will make the ink bleed a lot. It's better to first let it dry a bit or fully and then go over it again.
The last one to keep in mind is when you layer multiple colors the last one you've used will most of the time be the one that will be the most visible, especially on thicker paper.
There are some exceptions though. When you layer a light color on top of a dark color the darker color will likely be more visible. And some colors might be stronger in general, like red is often stronger than yellow.
How to Blend Alcohol Markers?
Blending is something you'll likely need to do very often. Blending can be difficult, especially if you're new to alcohol markers. But it is not that sophisticated actually. You basically just need two different colors and you overlap them a bit and then blend the middle with both markers alternately until it looks good.
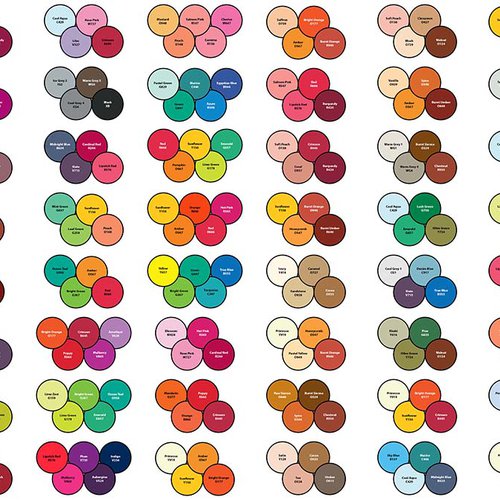
The Color Selection
You can't just blend any two colors. Well, I mean you can, but sometimes it will be very difficult. For example when you want to blend black with a very light grey. That will be almost impossible.
If there is a huge difference between the colors you want to blend it is better if you use one or more transition colors. This will make it a lot easier to make the transition look smooth.
Let's use the example of blending light grey to black. To achieve that more easily you could use a middle tone grey and a dark grey alongside the light grey and the black.

The Overlapping Method
There are mainly two different techniques when it comes to blending alcohol markers. For the first one, you overlap two different colors.
You start by coloring the lightest side of the transition to a little bit over halfway if you're using just 2 colors. If you use 3 colors color about a third and with 4 colors about a fourth and so on.
Then you color the next darker side of the transition, overlapping the lighter side a little bit.
After that, you blend the middle where the two colors meet with the lightest marker first and then the darker marker again until it looks good.
If you have more than 2 colors you repeat those steps for the remaining colors.
For thin paper, it's important that the ink is still wet so you'll need to work fast. For thicker paper, you can let it dry and go over it again to blend, but it's still best and easiest to blend if the ink is still wet.
The Flicking Method
To blend colors using the second technique you quickly draw parallel lines with the chisel nib or the brush nib starting at the lightest part.
You draw lines towards the darker side and when you're over half you quickly flick the marker up, away from the paper. You do this until you've covered the full with.
And then you do the same for the darker marker, but then towards the lighter side.
Keep alternating between the colors until it looks blended.
How to Shade with Alcohol Markers?
Shading and creating darker values is quite easy with alcohol markers. There are multiple methods to achieve this.
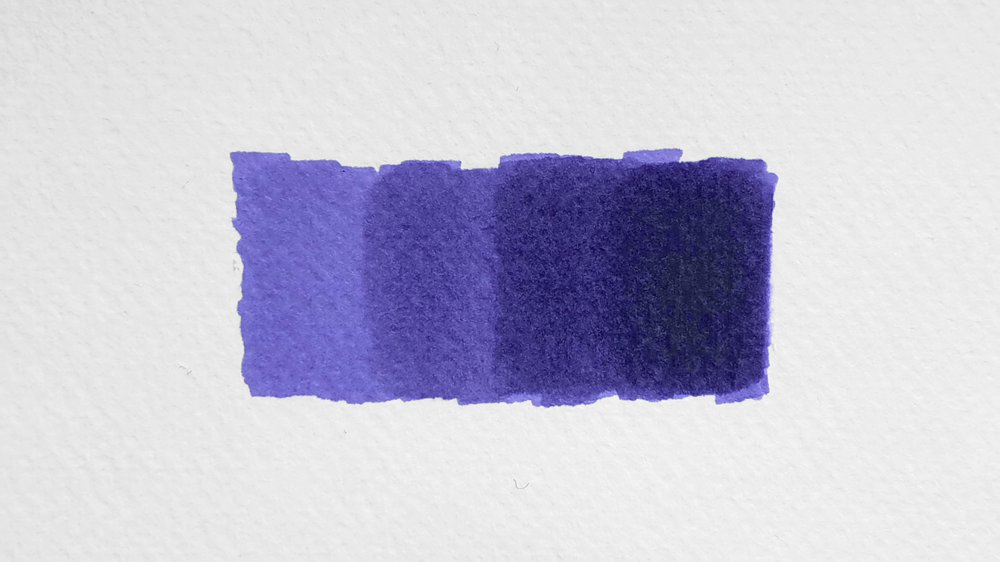
Shading by Layering
You can also darken a color by layering multiple layers of that color on top of each other. However, you can't create shades of that color that are way darker for that you either use a darker color or a grey.
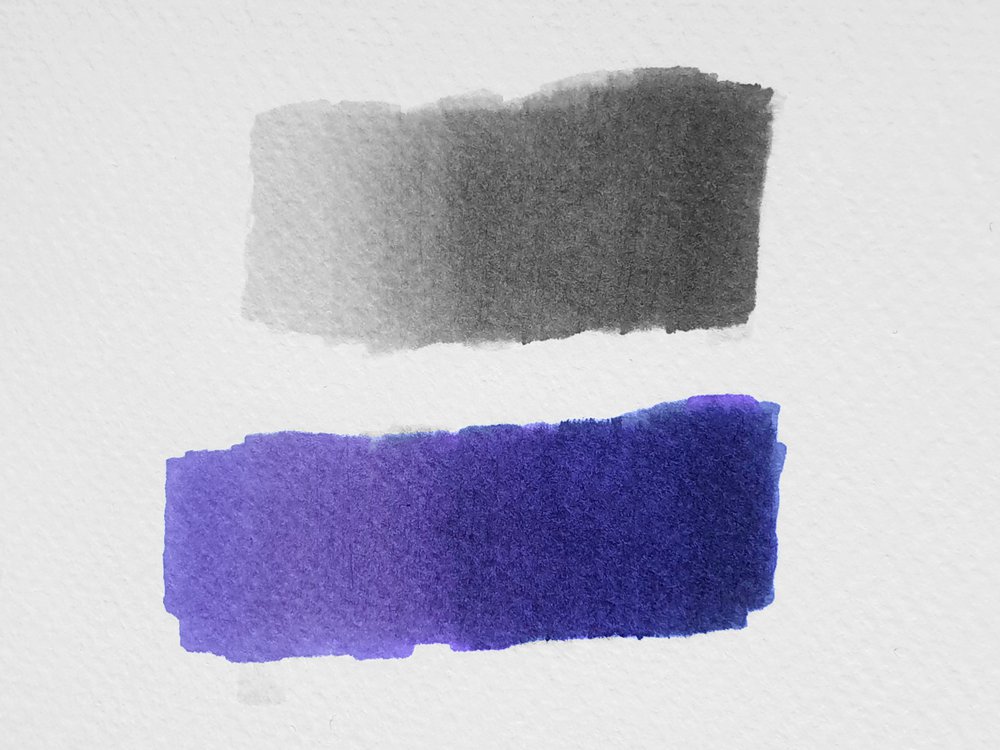
Shading with Grey Tones
What you do is just color the areas you want to be darker with a grey marker. The darker grey the marker the darker the color will look.
You don't need to use grey, you can use any color. You should color the grey first because if you first color everything and then darken it with grey the actual color will look very desaturated.
After you've drawn everything that's darker with a grey tone, you just color over it with a colored marker. If you're using thicker paper it is important that you only lightly and quickly go over it otherwise the colors will bleed a bit and strange lines might appear.
Shading with Darker Values
Of course, you can also shade by using a darker version of the same color. If you've colored an area light blue for example you can shade using a darker blue.
How to Make Alcohol Markers Not Bleed?
Bleeding happens when there is too much ink on one area of the paper. It will often happen when blending or layering.
To prevent it from happening you should wait for the ink to dry before going over it again, even if this means the blending you did won't look perfect. You can easily make it look better by layering on top of it when it's dry.
You can prevent bleeding by using quick motions when drawing. By doing that the marker won't give off too much ink so it won't bleed.
You can find more useful tips for using alcohol markers in this article.
How to Add Highlights on an Alcohol Marker Drawing?
To draw highlights when coloring with alcohol-based markers you can leave white spots, but that does make the coloring more difficult, especially because you need to be kind of quick when drawing with markers. And I often forget that I need to leave a specific spot white and end up covering it anyway.
But don't worry, there are a few easy things you can do to add highlights on top of markers.
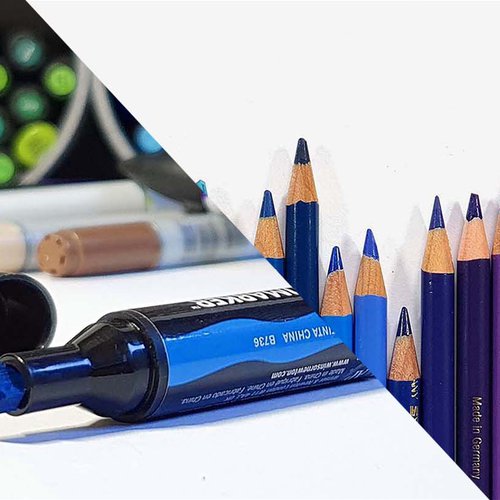
Use a White Pencil
The first method is using white colored pencils. If the highlight isn't just bright white, but just a bit lighter a white pencil is a great medium to achieve this. You can easily draw over markers with it. This is by far the easiest as almost everyone has a white pencil.
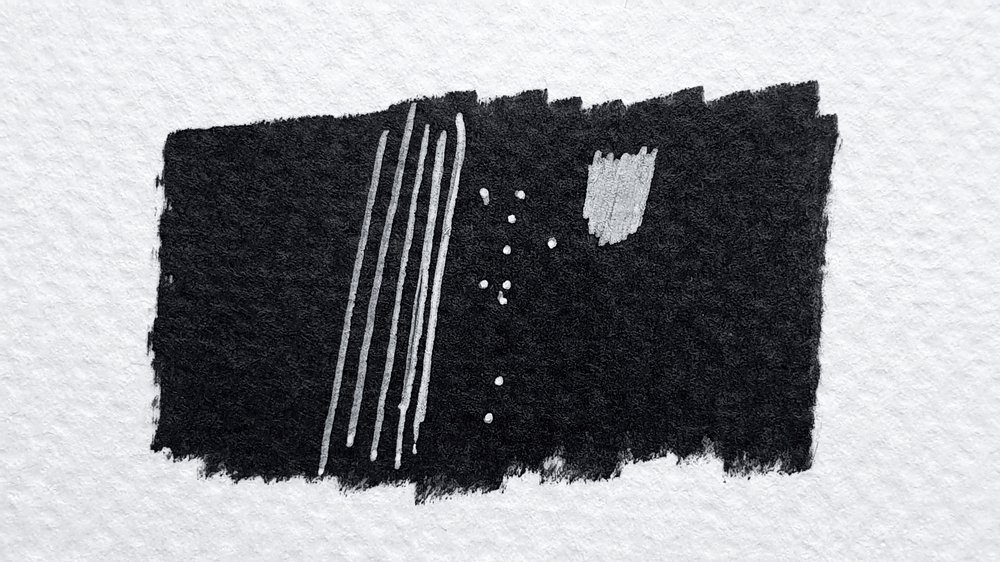
Use a White Gel Pen
The second option is to use a white gel pen. This is a very popular medium to draw highlights, even though it is not very archival. It is quick and very effective. You can draw small highlights very easily. The Sakura Gelly Roll is well-known among artists for adding highlights.
Use a Paint Marker
You can also use a paint marker like a Posca pen to draw highlights on top of markers. This is a bit more expensive than a gel pen, about 4 USD, but it is also a lot more archival.
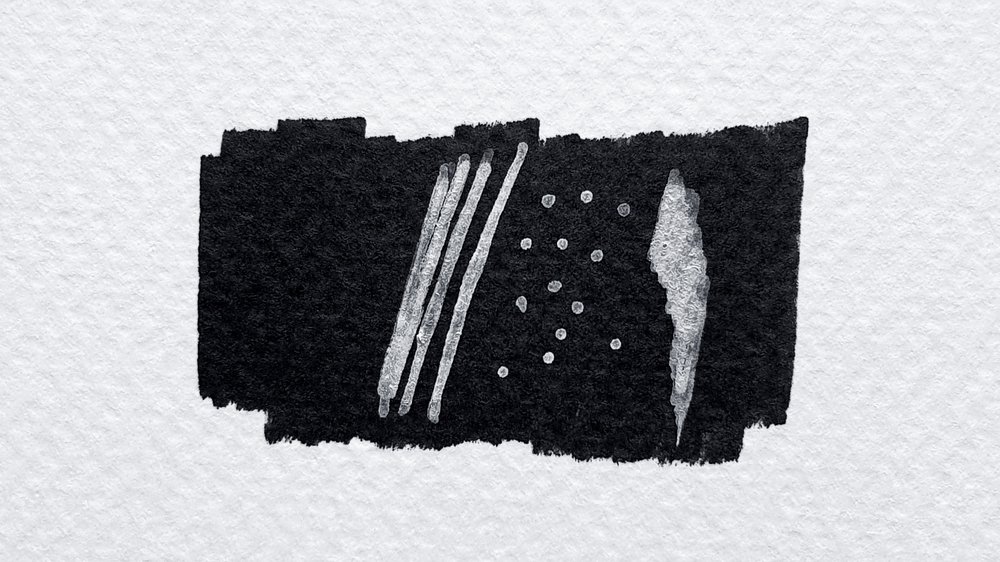
Use Copic Opaque White
The Copic Opaque White is specially developed to use on top of markers and to be very archival. This is an excellent medium for adding highlights on top of markers. But as it is Copic it's not the cheapest, but it does work really well.
Tags
Articles You Might Also Like


I love bringing cars to life with alcohol markers and colored pencils.
Whether you're just starting out or looking to improve your skills, I'm here to help!
Click here to learn more about me.


Be the first to comment!
Comments
There are no comments yet.