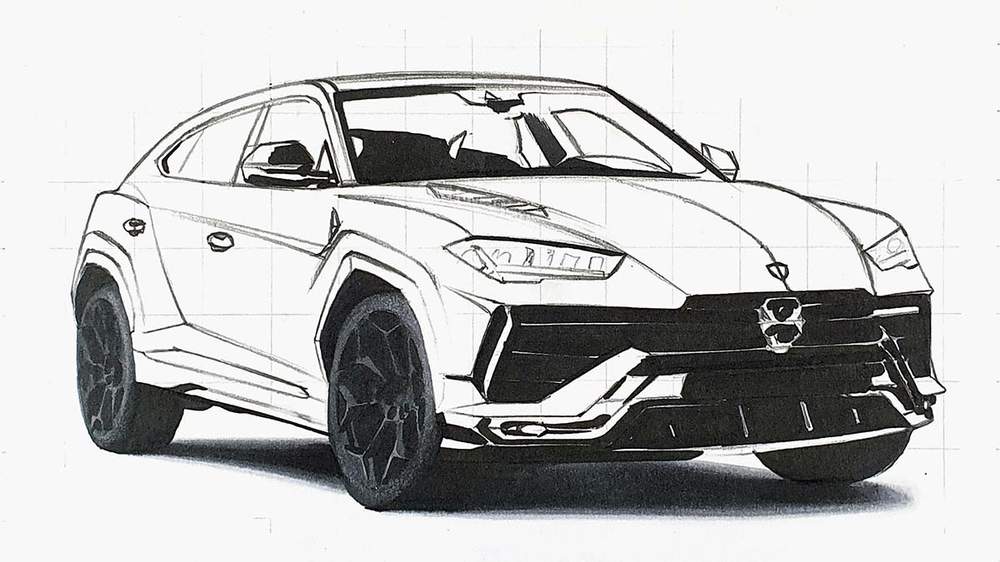
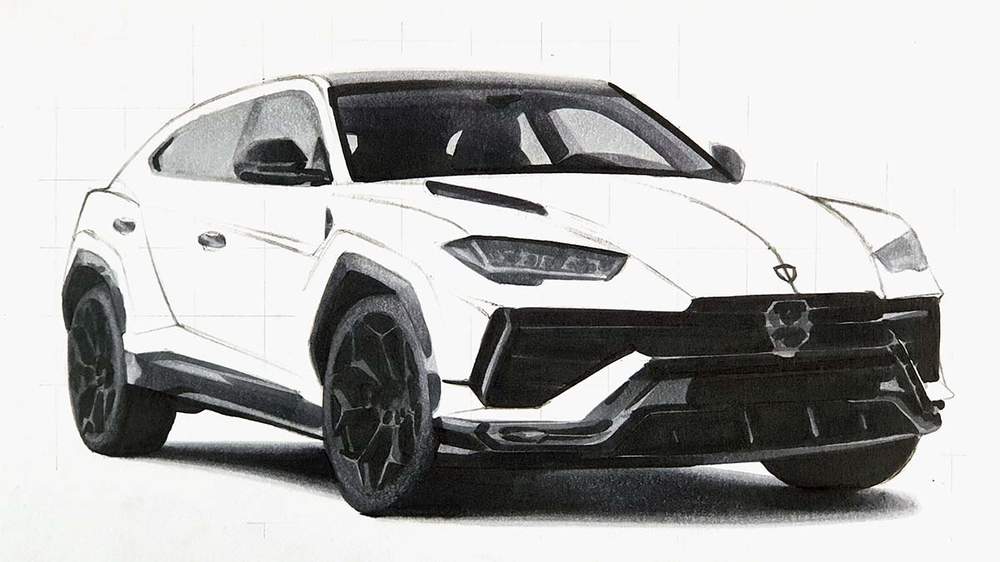
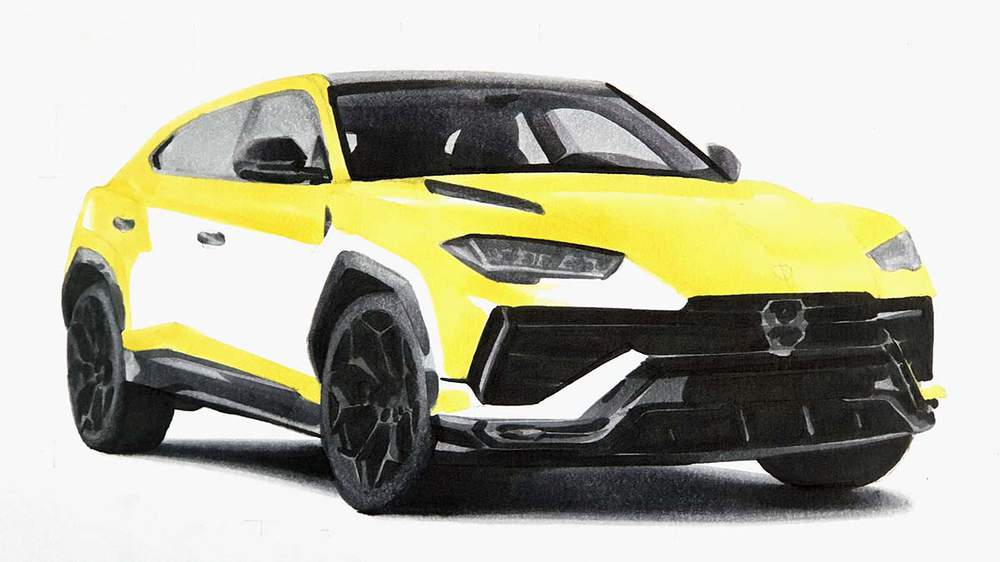
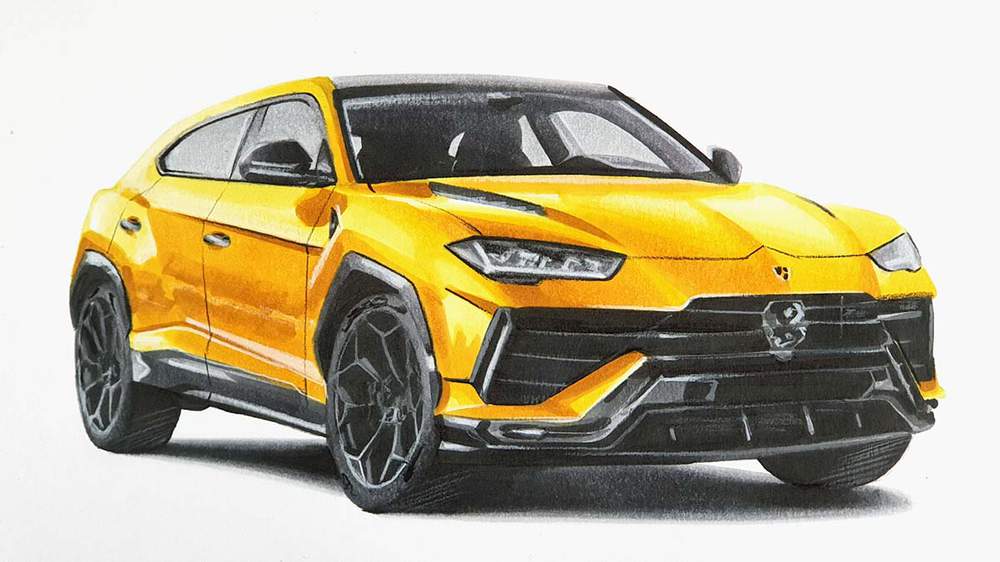
How to Draw a Lamborghini Urus Performante - Step-by-Step Tutorial
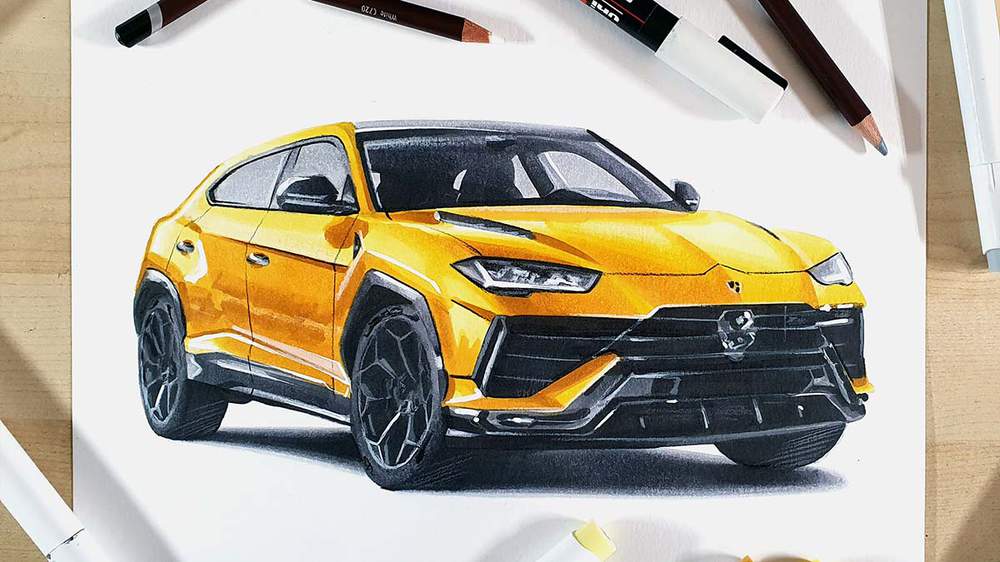
In this week's car drawing tutorial, I'll show you how to draw the Lamborghini SUV, the Urus Performante.
Disclaimer: In the name of full transparency, please be aware that this blog post contains affiliate links and any purchases made through such links will result in a small commission for me (at no extra cost for you).
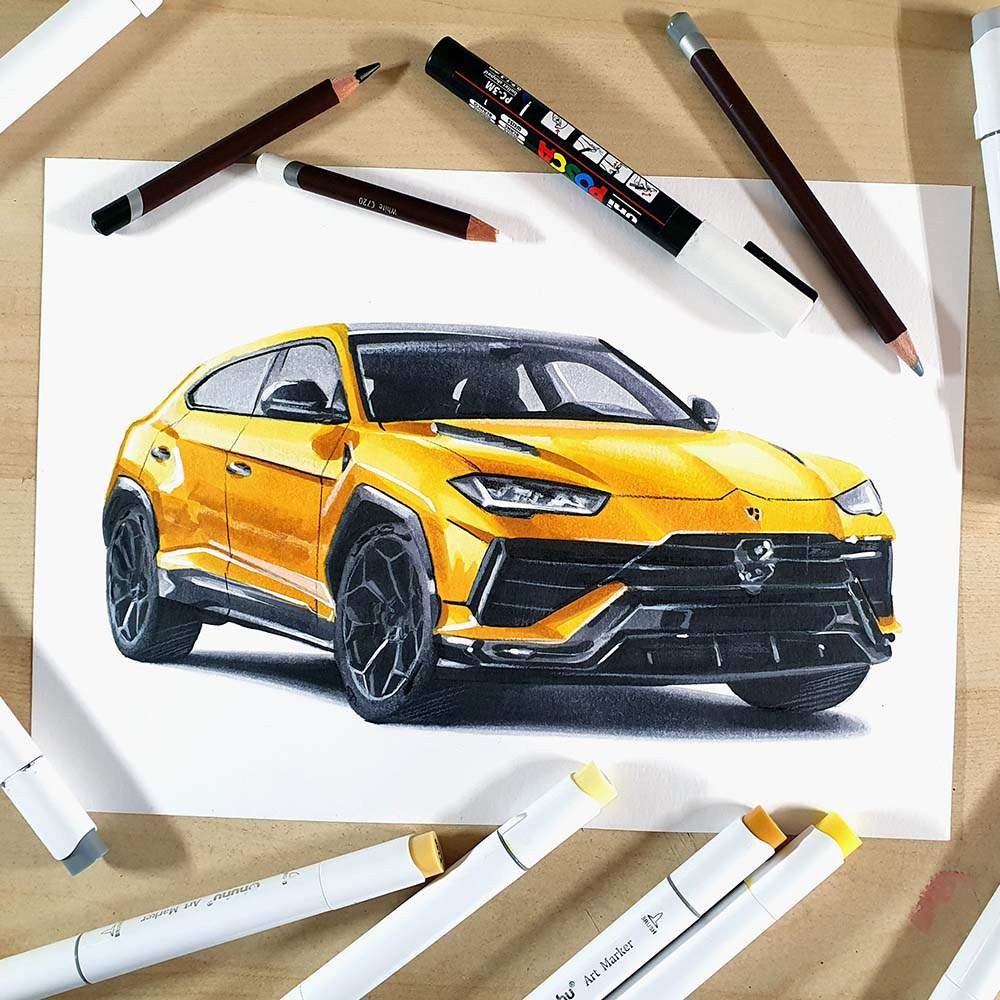
Drawing Supplies I Used to Draw the Lamborghini Urus
To draw this Lamborghini truck, I used the following art supplies:
- A graphite pencil, a ruler, a kneaded eraser, and a regular eraser;
- Ohuhu Honolulu markers
in the colors Neutral Grey 03 (CG030), Deep Cool Grey (BG060), Neutral
Grey 07 (CG070), Warm Grey 13 (WG130) as a black, Calamansi (Y040), Acid Yellow (Y070), Nugget (Y140), and Shallow Orange Cafe (Y180). I also used the colorless blender. Get a 10% discount code here;
- Derwent Coloursoft pencils in the colors White and Black;
- And a white Posca PC-3M.
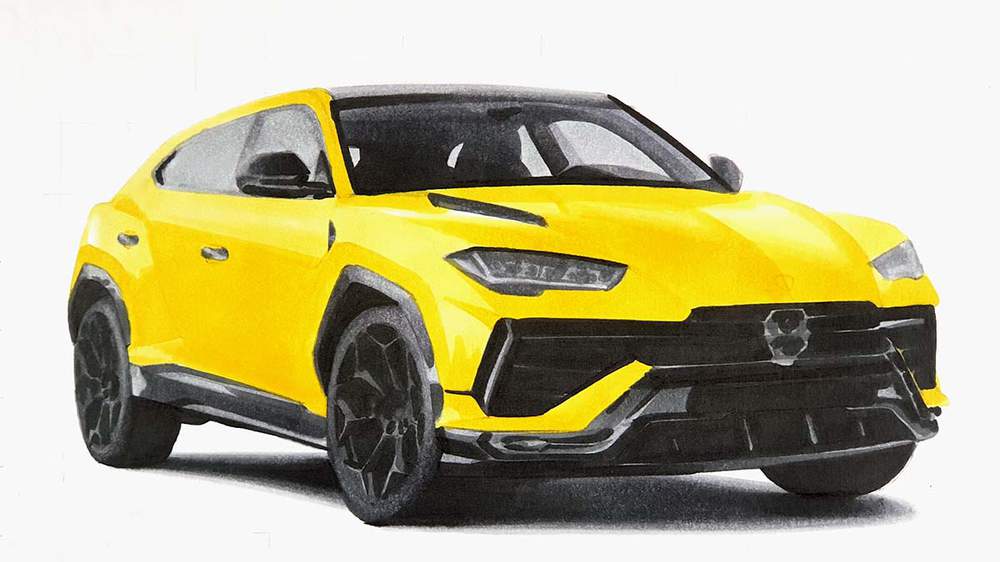
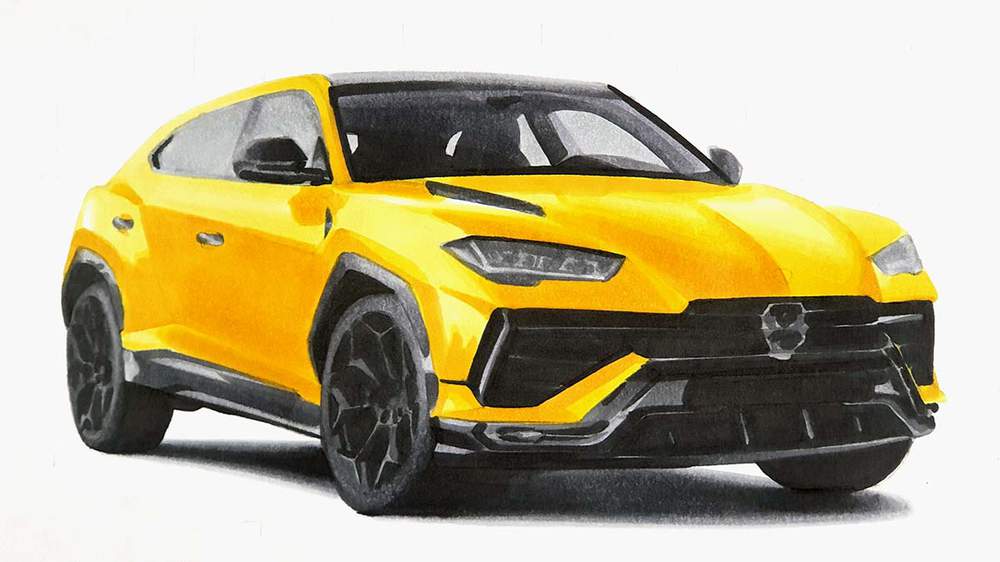
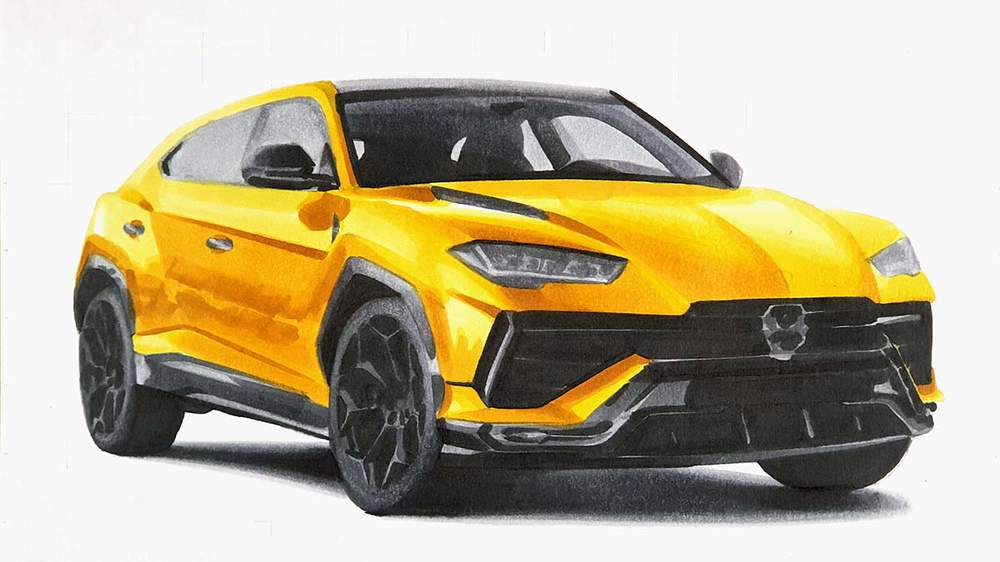
Reference Photos I Used to Make This Drawing
To create this Lamborghini Urus drawing, I used 3 reference photos: 1 for the proportions, 1 for the color, and 1 for the reflections. Learn more about how I choose reference photos to ensure my drawings turn out well.
I used this photo as a reference for the proportions.
I used this photo as a guide for the Reflections
And I used this photo as a color reference.
How Do You Draw a Lamborghini Urus?
To make a realistic drawing of a Lamborghini Truck/Urus, you start by sketching the outline of the car. Then, you add details like body lines and headlights to your sketch.
Next, you use alcohol markers to color the black parts, then all the grey parts, and lastly the main body (which is yellow in this case).
After that, you add details with a few colored pencils to your drawing to make it look more realistic and refined.
Lastly, you add some bright white highlights with a paint marker to make your drawing come to life.
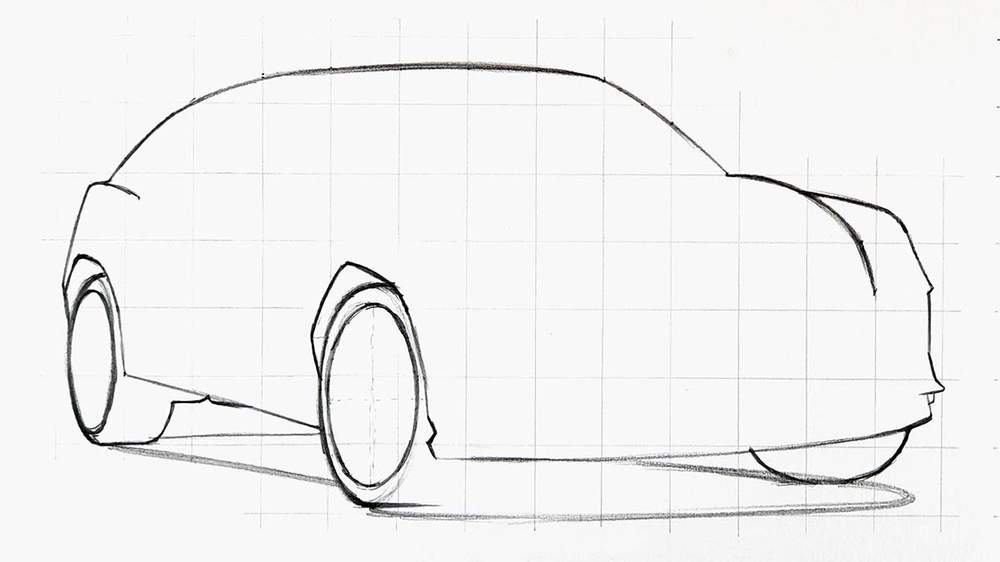
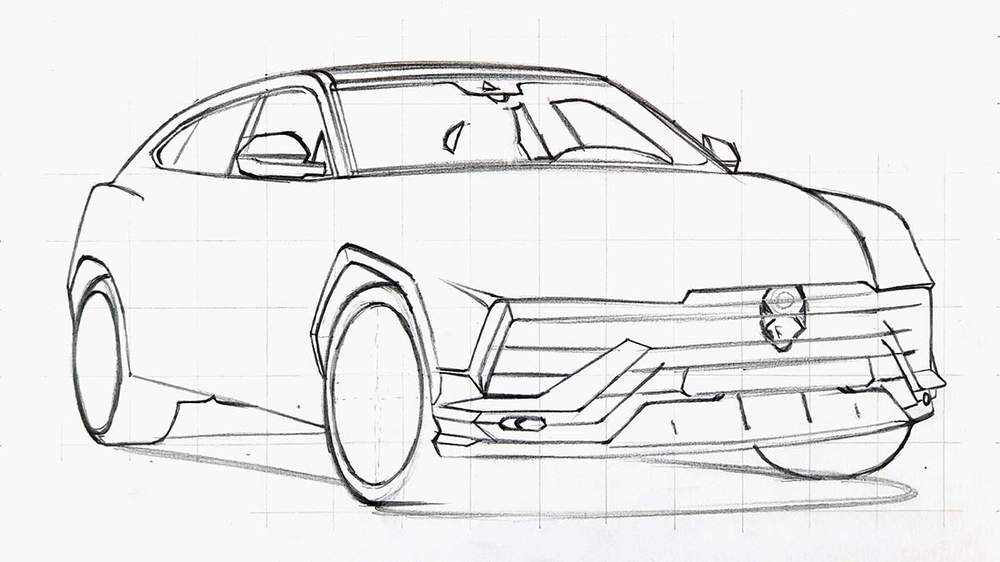
1. Sketch the Outline of the Lamborghini Urus Performante
The first step in drawing a realistic Lamborghini Urus is to create an accurate sketch of the outline of the car and the basic car proportions. This can be quite tricky, especially when free-handing it.
That's why I like to use a sketching technique called the grid method to make it a bit easier. You can read more about this technique here. There are many car sketching techniques you give a try, like these ones.
To use this method you first create a grid overlay on the reference photo. After that, you recreate that same grid on your piece of paper. I made the grid 15 by 10.5 squares as that works well with the size of the paper (A4) I'm using for this drawing.
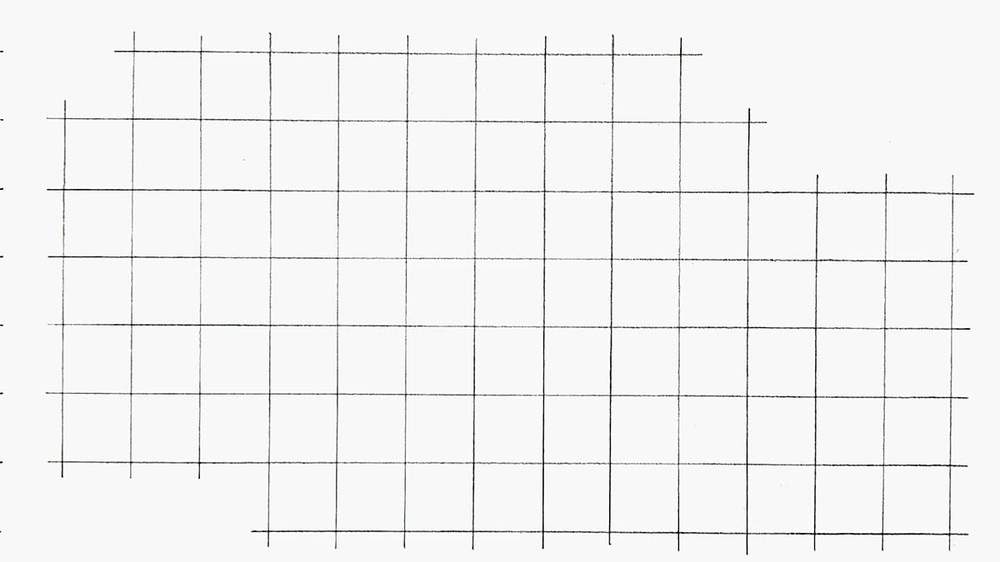
Next, you start sketching the outline of the Urus. I always start on the left side for some reason. But just pick a point and work your way around the car from there. If you're unsure how to start, check out my full tutorial on this technique.
2. Sketch the Body Lines and Other Details of the Lamborghini Truck
Now that the outline is done, it's time to sketch the rest of the Urus.
I started by sketching all the details on the front of the car.
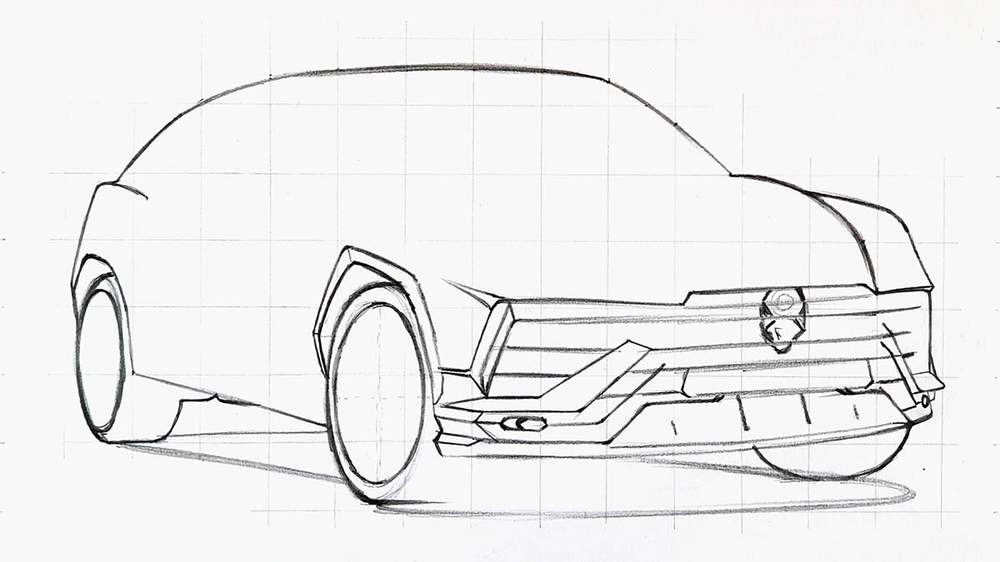
Next, I sketched the windows and the interior.
After that, I sketched all body lines and other missing elements and details.
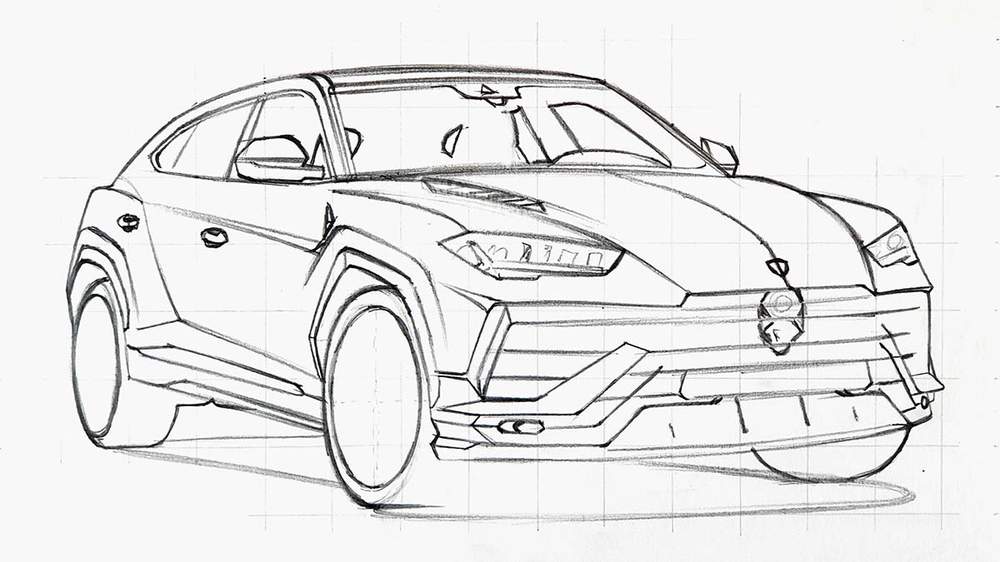
And lastly, I sketched the wheels.
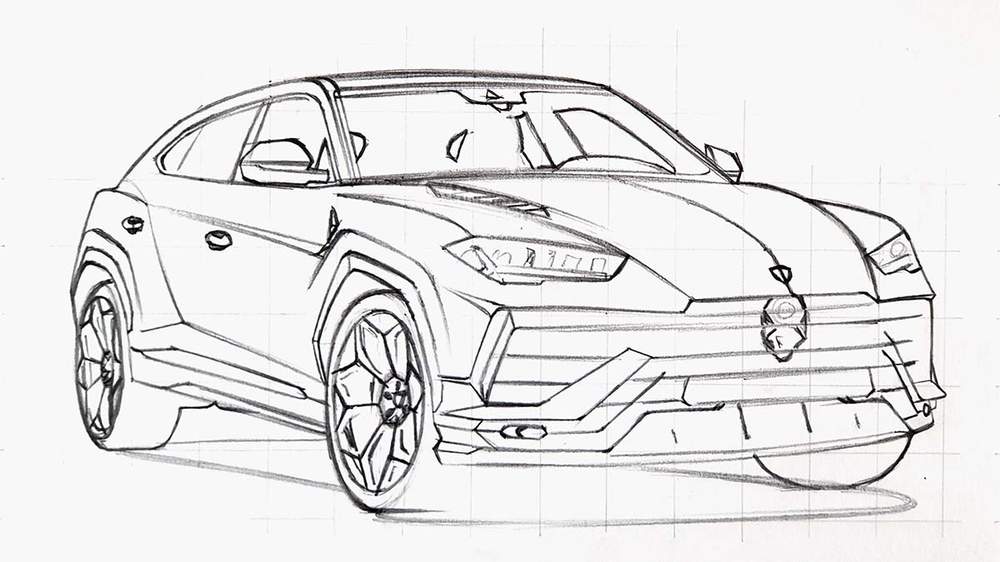
3. Color All Black Parts of the Lamborghini SUV
To make the drawing look a lot less overwhelming, I like to start by coloring all pure black parts.

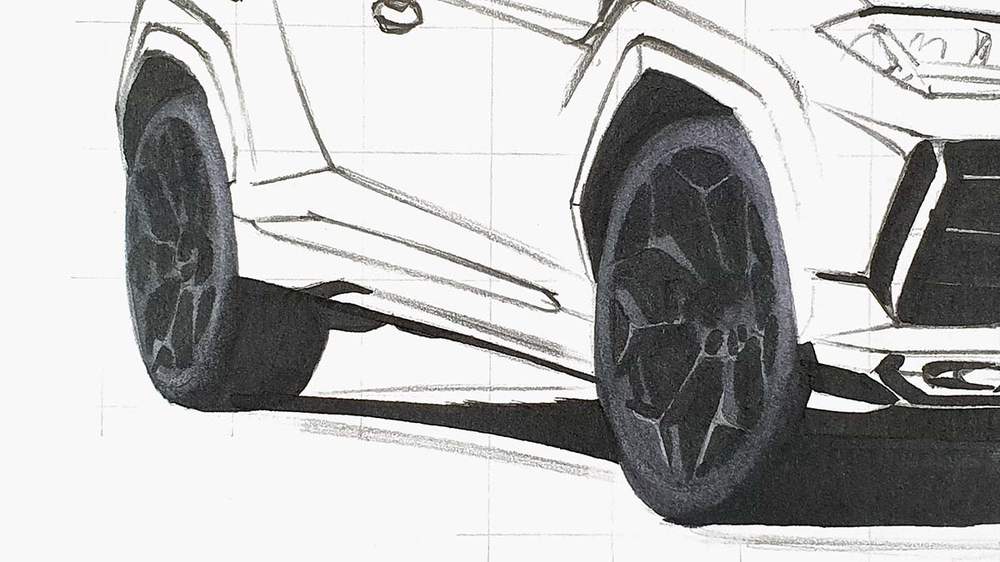
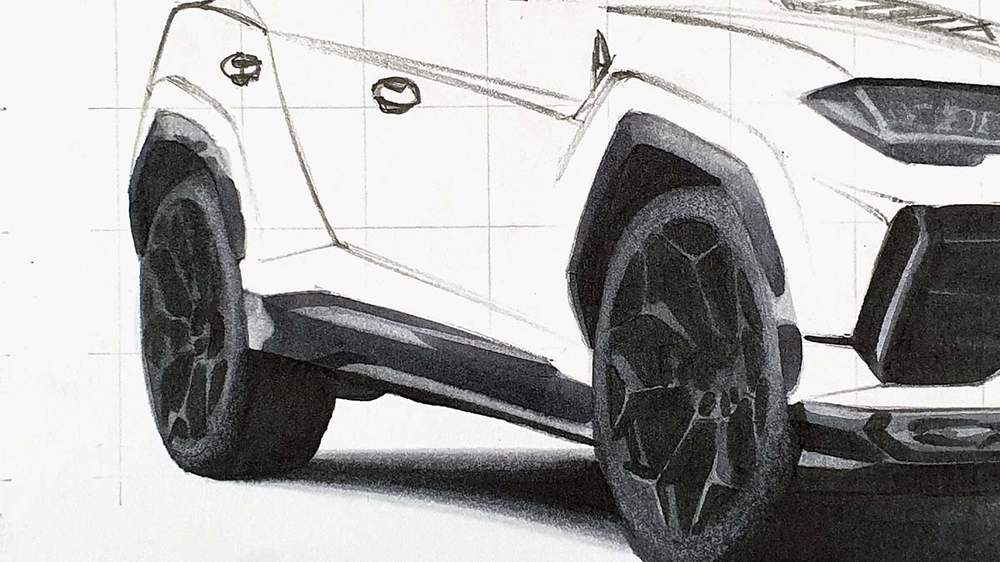
4. Color the Wheels of the Lamborghini Urus
Next, I color the wheels.
I started by coloring both wheels with BG060.
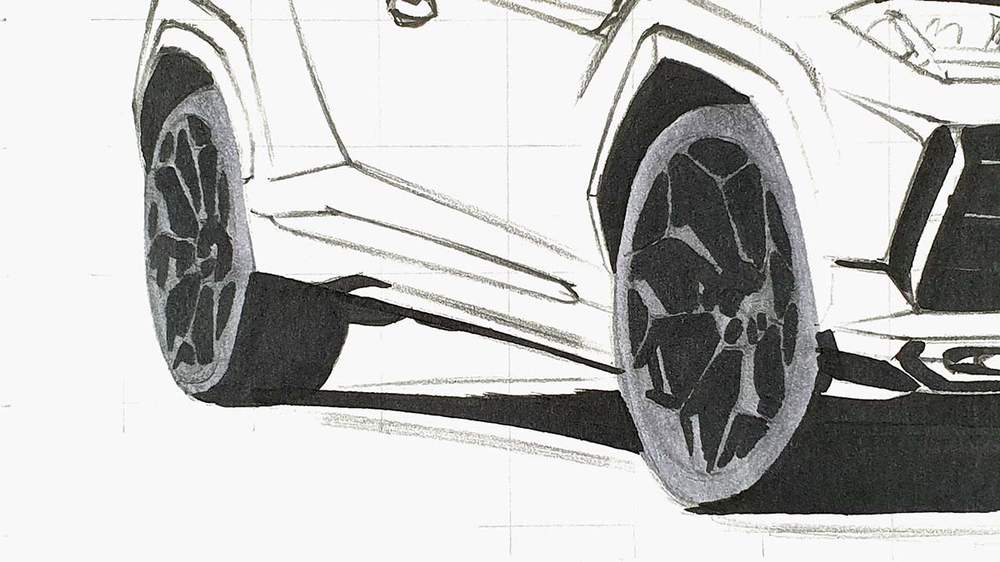
after that, I used CG070 to darken most of it except for a few lighter edges on the spokes.
5. Color the Shadow of the Lamborghini SUV
Next up, I colored the shadow underneath the Urus Performante.
I first colored the whole shadow light grey with CG030.

Then, I used BG060 to make the shadow a bit darker while leaving a lighter edge on the outside.
After that, I did the same with CG070.

Lastly, I blended the layers of grey together.
I first blended the edge of the CG070 with BG060. Then I blended the edge of the BG060 with CG030. And lastly, I blended the edge of the CG030 with the colorless blender.
If you like to know more about how to blend alcohol markers, check out this article I made.
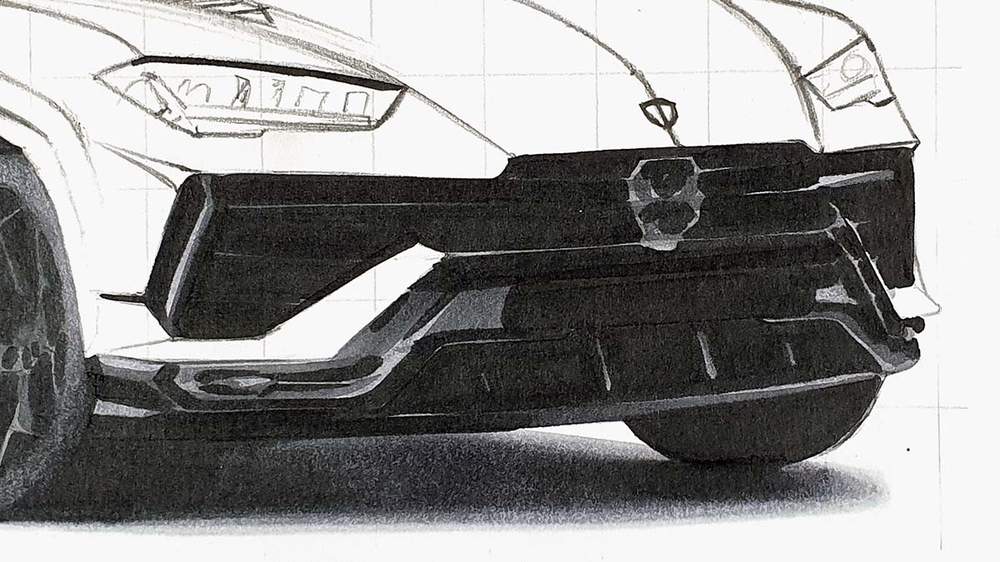
6. Color the Front of the Lamborghini Truck
After that, I started coloring the front of the truck. I started by coloring everything with BG060.
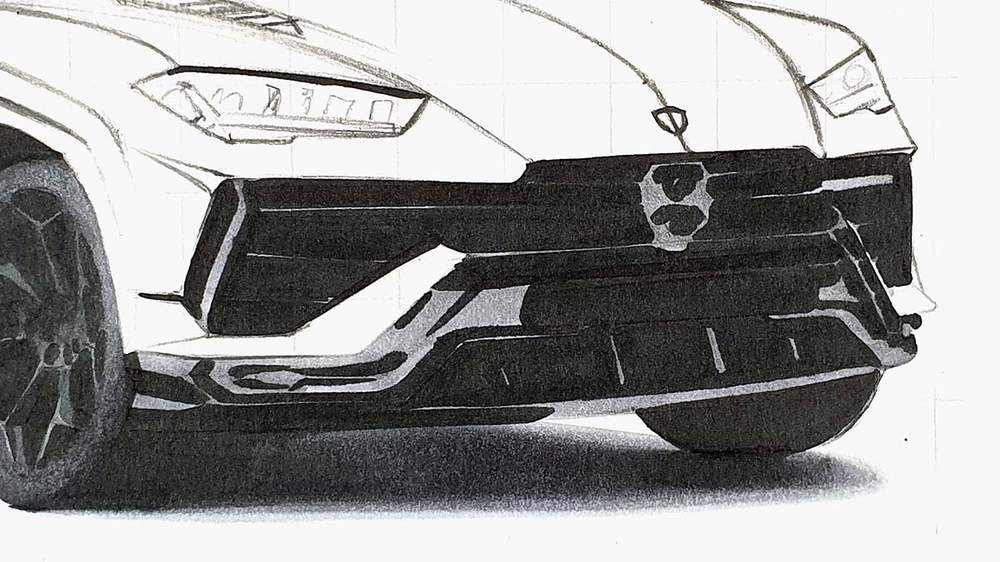
Then, I used CG070 to add some darker tones to add more depth and reflections the the parts on the front.
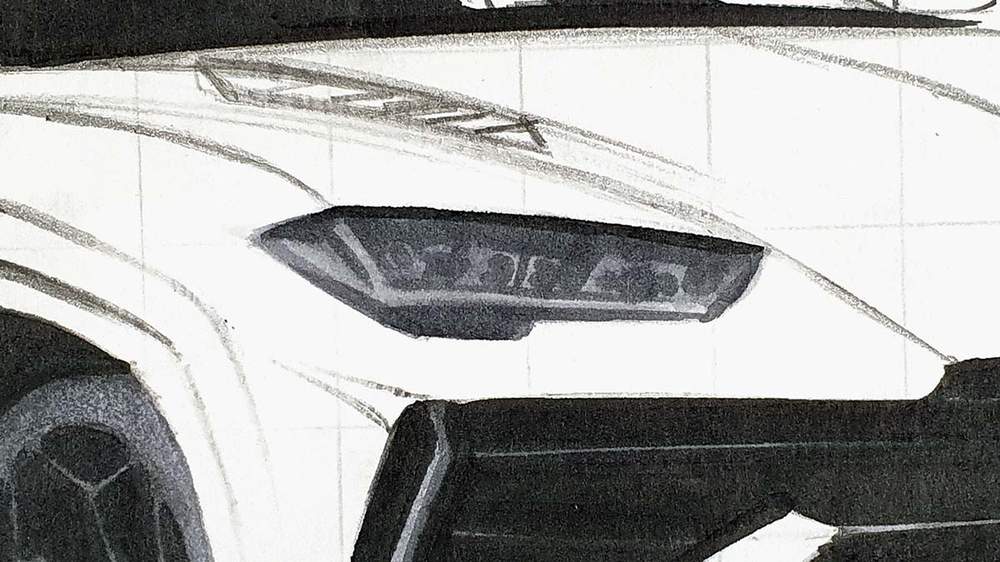
7. Color the Headlights of the Lamborghini Urus Performante
Next, I colored the headlights.
I started by coloring both headlights with CG030.
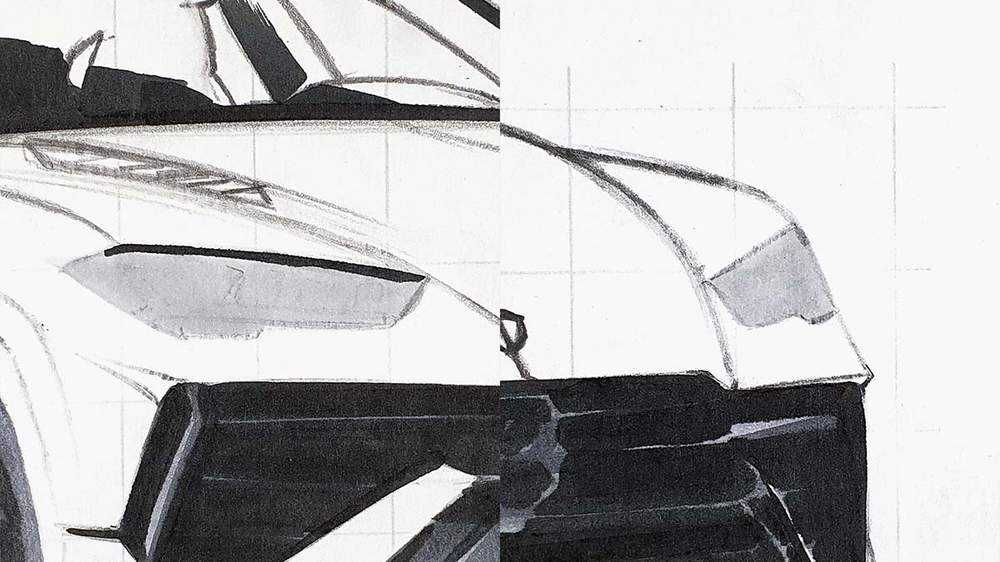
After that, I added some darker tones and details to create the shapes and reflections in the lights with BG060.
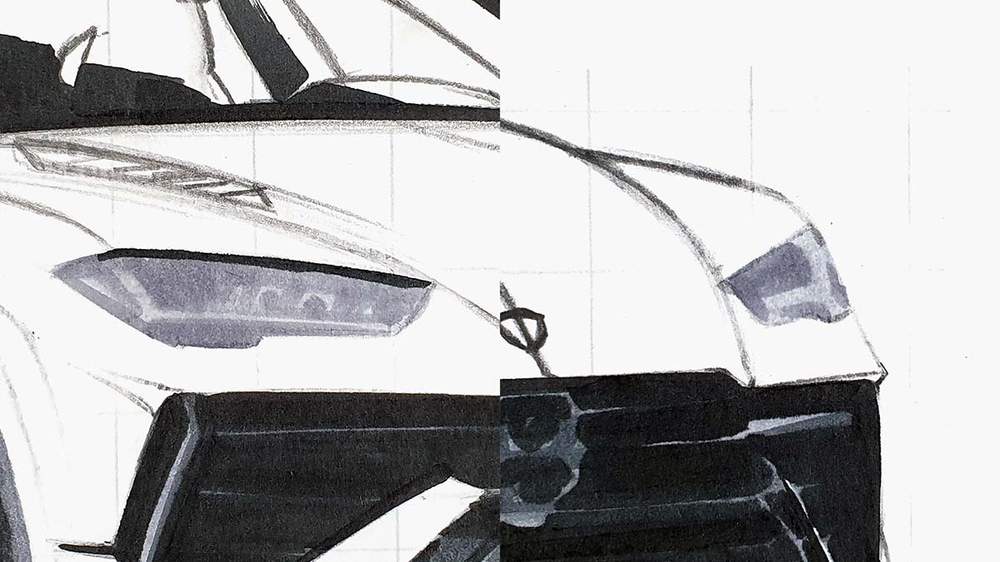
Lastly, I used CG070 to add more darker tones and details in the left headlight.
8. Color the Wheel Arches and the Side Skirt of the Urus Performante
After that, I colored the wheel arches and the side skirt with CG030.
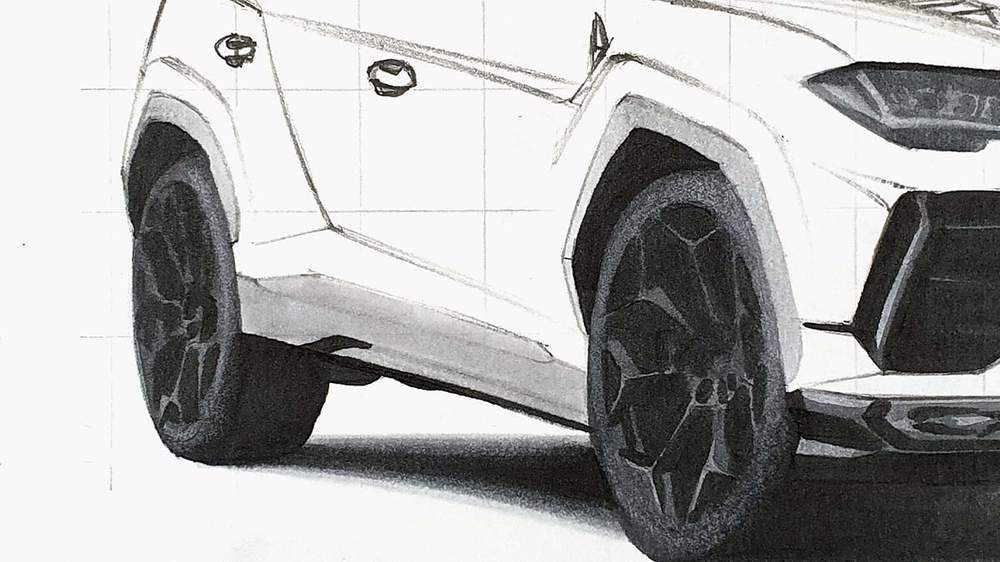
Then, I used BG060 to add more depth.
I colored the left and the right of the rear arch.
I colored the left, the top right, and the bottom right of the front arch and I blended the top part with CG030.
I also colored the side skirt with CG060. I left a lighter edge a bit toward the top of the side skirt and one on the bottom as well as a light reflection spot on the far left.

To finish the side skirt and the wheel arches off, I used CG070.
I again colored the left and the right of the rear side skirt. But this time I also added some darker spots to the bottom half of the top bit.
I also colored the left and the bottom right of the front arch while leaving a light spot toward the bottom right. And I blended the right bit to ward the top into the lighter greys.
I then used CG070 to add some darker spots to the side skirt too. I colored most of the side skirt and left a light reflection toward the top left, the far left, and the bottom edge.
9. Color the Door Handles of the Lamborghini Urus
Next, I colored the door handles.
I first colored both of them with CG030.
Then, I used CG070 to color the bottom left and the top right.
Lastly, I used BG060 to blend the dark grey into the lighter grey.

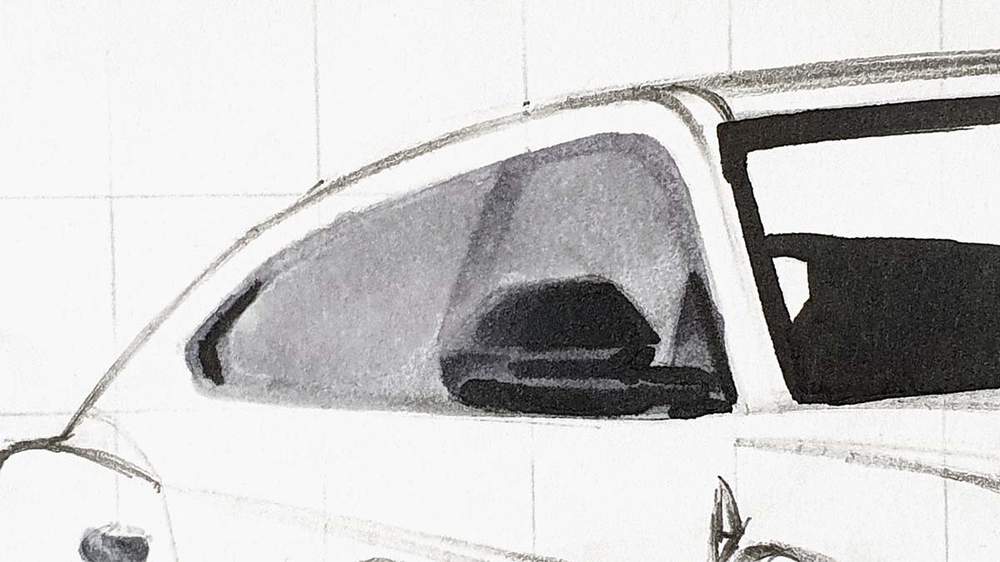
10. Color the Side Windows of the Lamborghini Truck
Next up, I colored the side windows and the left mirror of the Lamborghini Urus.
I first colored both parts with CG030.

After that, I used BG060 to darken the window sills on the left, the bottom right, and the top right.
I also used it to darker all of the left mirror.
lastly, I used CG070 to add darker tones to the mirror and blend the black on the top into the lighter grey toward the right. And I colored the top of the window triangle to the right of the mirror.
11. Color the Windshield of the Lamborghini SUV
Next, I colored the windshield and the right mirror.
I started by coloring the lightest parts: the side windows and rear window bits you can see through the windshield, and the mirror cap.
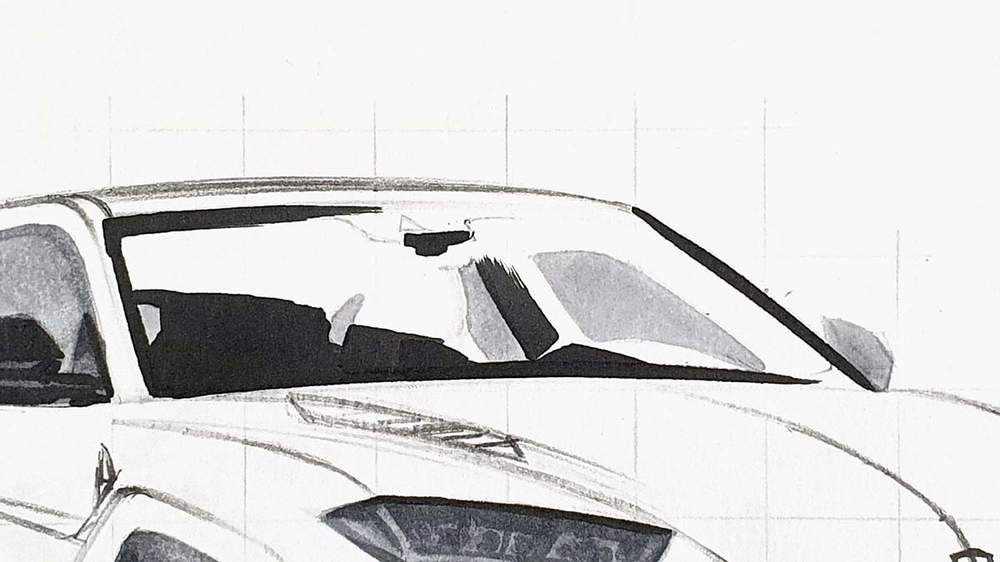
Then, I used BG060 to color the remainder of the windshield and the mirror cap while leaving a small lighter edge to the top.

Lastly, I used CG070 to color the top edge of the windshield and to darken the left half of the interior while leaving the top of the windshield a bit lighter. I also colored the mirror cap and left a light edge to the left and the right.

12. Color the Vents on the Hood and the Side of the Lamborghini Urus
After that, I colored the vent on the hood and the vent behind the front wheel.
I first colored both of them with BG060. Then I added the details with CG070.

13. Color the Main Body of the Lamborghini Urus Performante
All grey parts are now finally done which means it's time to color the main body of the Lamborghini Urus Performante.
I started by coloring the lightest parts first with Y040.
Then, I colored the rest of the car with Y070. I also blended some of this darker yellow on the front of the car and the A-pillar.
After that, I used Y140 to add some dark yellow tones. I used it to darken the area around the left headlights as well as the side of the car plus a few other places here and there.
Lastly, I used Y180 to add just a few dark yellow spots. I added some weird reflections on the side of the car, I darkened the reflection below the left mirror, and I added some darker tones around the left headlight plus.
14. Add Details to Your Lamborghini Urus Drawing with Colored Pencils
The whole Urus is now colored, but it looks a bit rough and lacks details. That's where the white, grey, and black colored pencils come into play.
I started by refining the wheels and the front of the car with the Derwent Colorsoft Dove Grey pencil.
After that, I added the highlights with the White pencil. I added highlights to the front of the car, the bottom and top of the wheels, the headlights, and the side of the car.
Lastly, I used the Black pencil to add some panel gaps and add detailing to the tires.
15. Finish off Your Urus Performante Drawing with White Highlights
To finish it all off, I used the white Posca PC-3M white paint marker to add a few super bright white highlights.
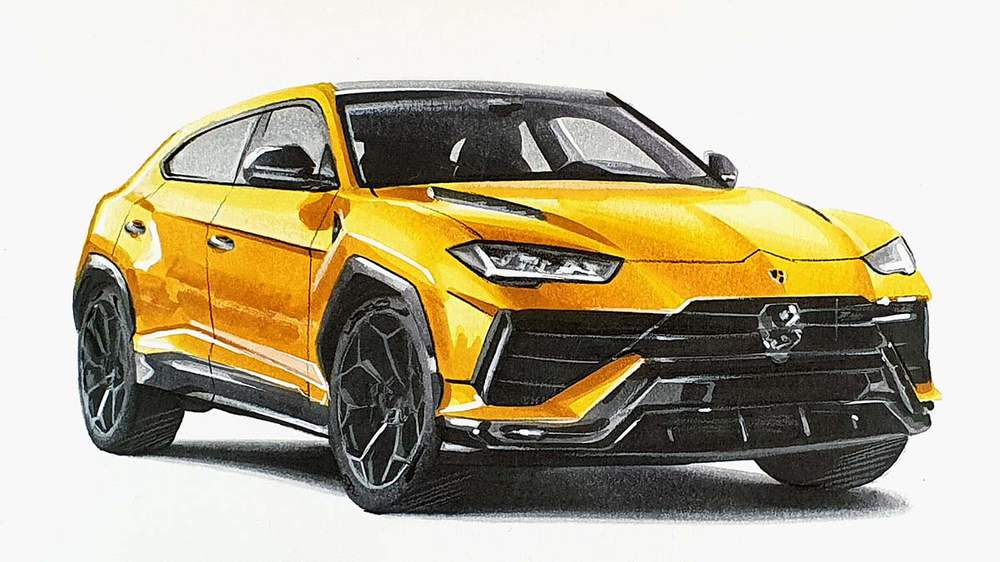
Your Lamborghini Urus Performante Drawing is Done!
And that's how I draw realistic cars like the Lamborghini Urus Performante.
I hope this helped you! If so, I'd appreciate it if you'd share this article with someone who might also like it. It would help me out a lot!
Thank you for taking the time to read this tutorial!
Tags
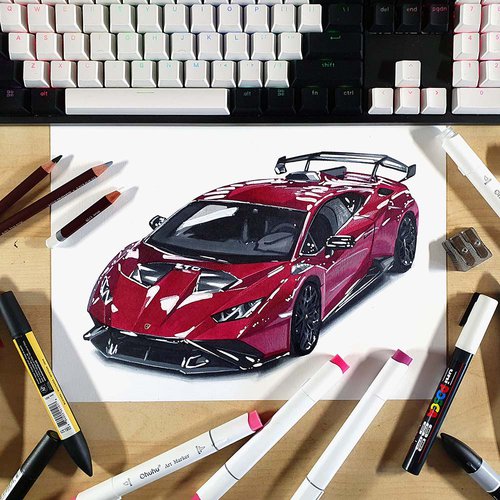
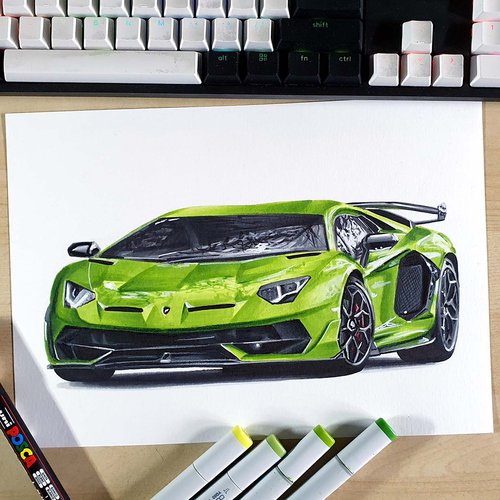
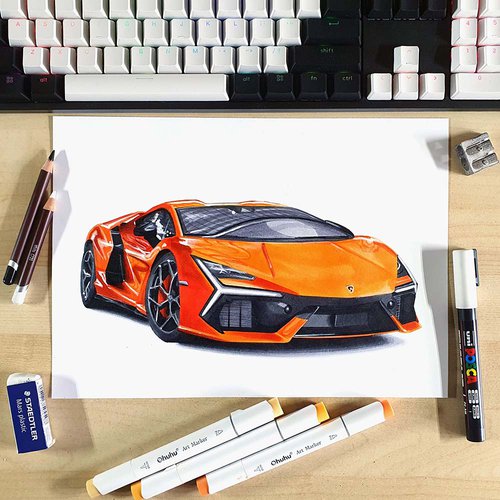
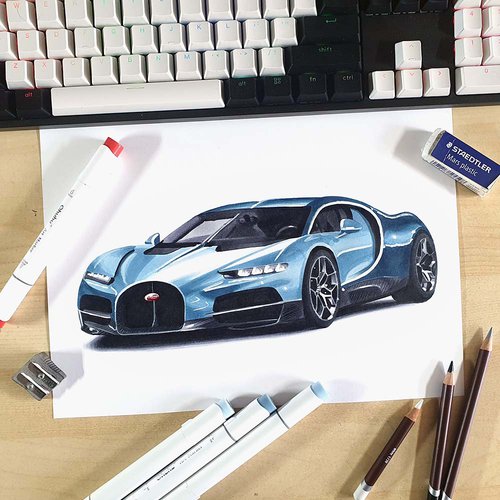
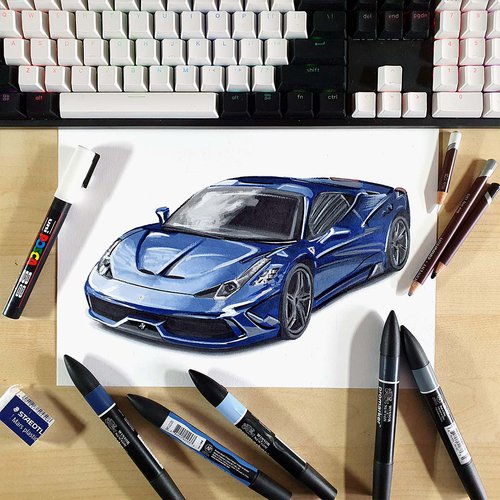
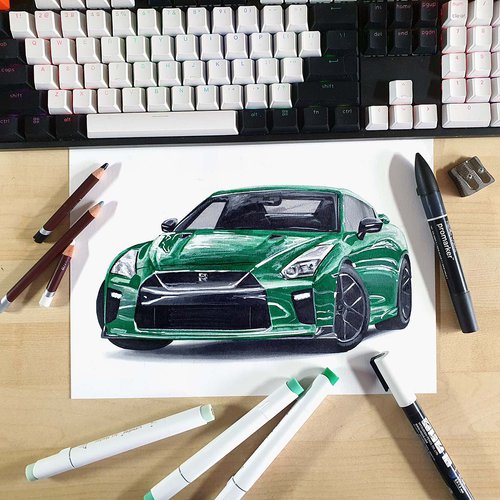
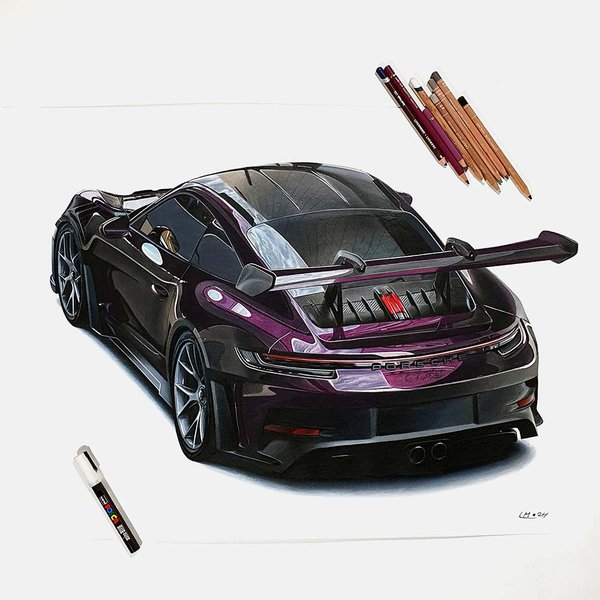
Articles You Might Also Like

I love bringing cars to life with alcohol markers and colored pencils.
Whether you're just starting out or looking to improve your skills, I'm here to help!
Click here to learn more about me.


Add a comment
Comments
Wow these drawings are really cool