How to Draw a Dolphin Swimming in the Ocean Step by Step
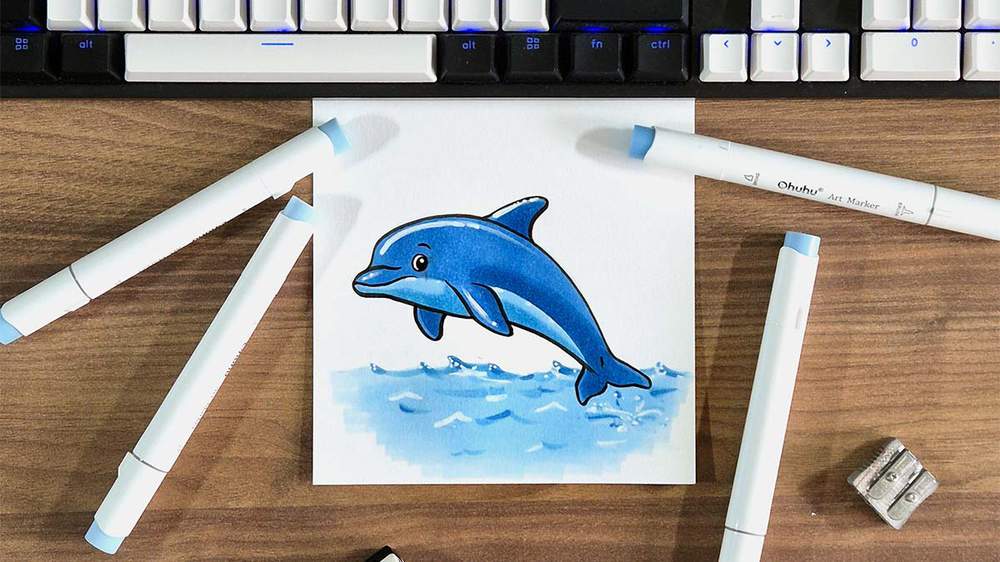
In this drawing guide, I'll show you how to draw a swimming dolphin with just a few drawing supplies.
To create this drawing, you only need a pencil, a black pen, 4 blue markers, and a white highlighter pen.
Let's get started!
Disclaimer: In the name of full transparency, please be aware that this blog post contains affiliate links and any purchases made through such links will result in a small commission for me (at no extra cost for you).
In This Guide
- Drawing supplies & colors I used
- Sketching the dolphin using simple shapes
- Outlining the dolphin with a brush pen
- Coloring the dolphin with markers
- More step-by-step guides you'll love
Drawing Supplies I Used for this Dolphin Drawing
To make this breaching dolphin drawing, I only used a few art supplies.
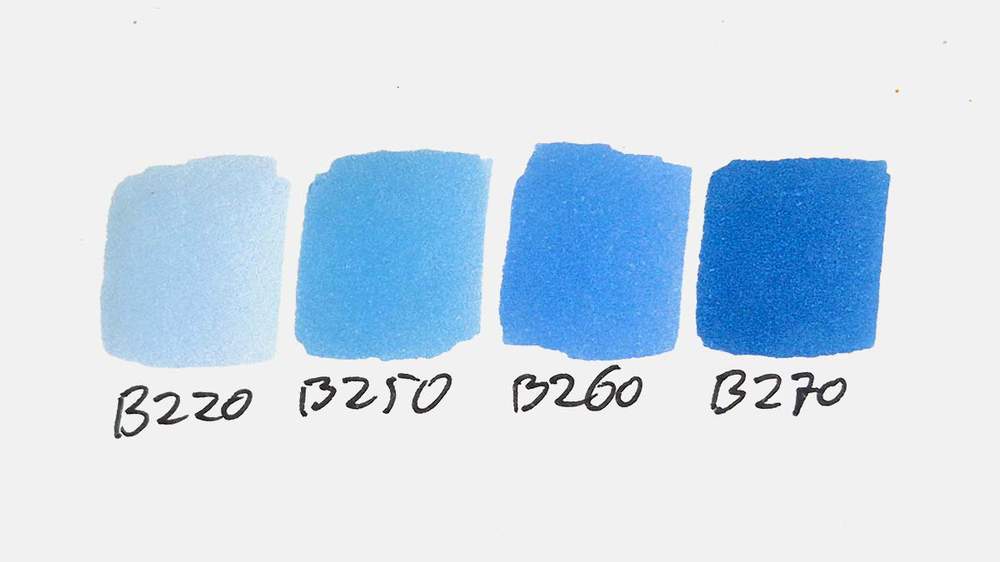
I used 4 Ohuhu Honolulu markers in the colors Pale Grayish Blue (B220), Light Blue (B250), Smoky Blue (B260), and Vivid Blue (B270). You can buy these colors here.
Or you can buy a set to start with.
I used a Tombow Fudenosuke Brush Pen to outline the sketch.
I also used a white Posca PC-3M paint pen to add white highlights.
And I made this drawing on Canson Illustration Manga Paper.
I also used a regular graphite pencil and an eraser.
How Do You Draw a Breaching Dolphin?
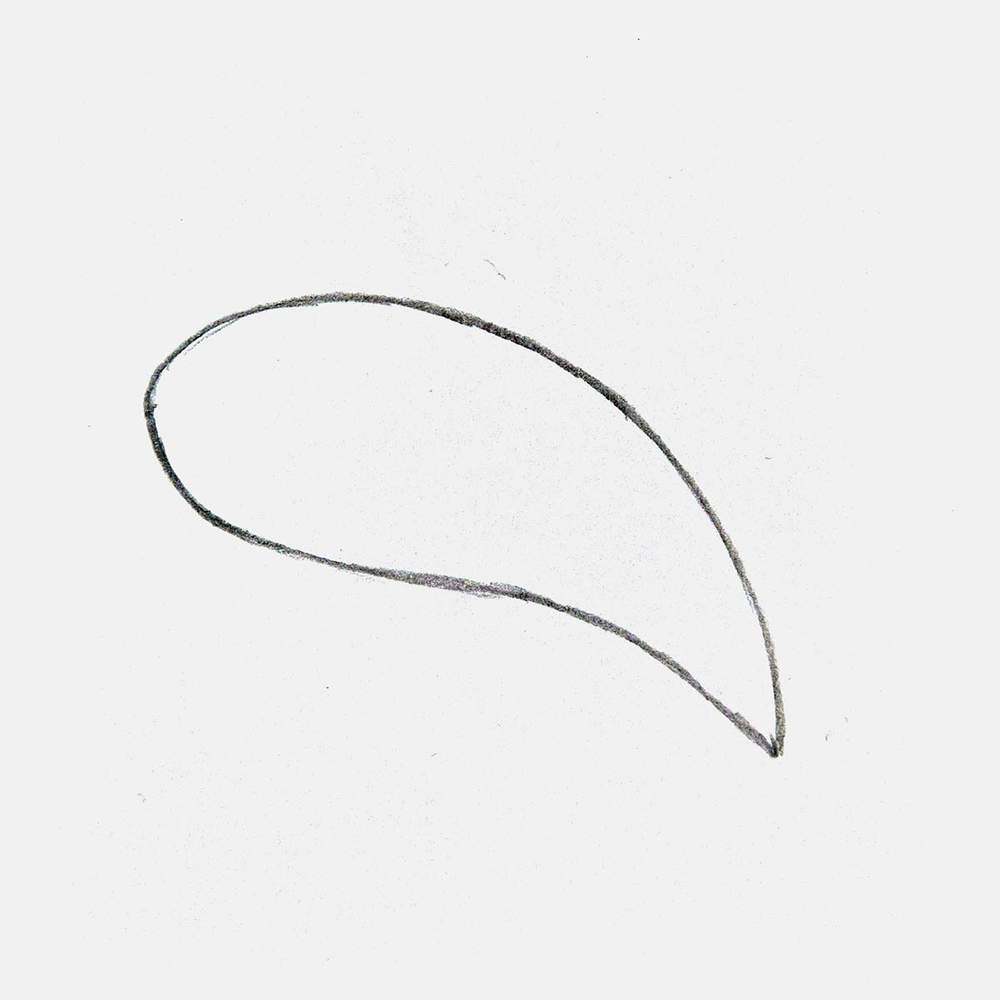
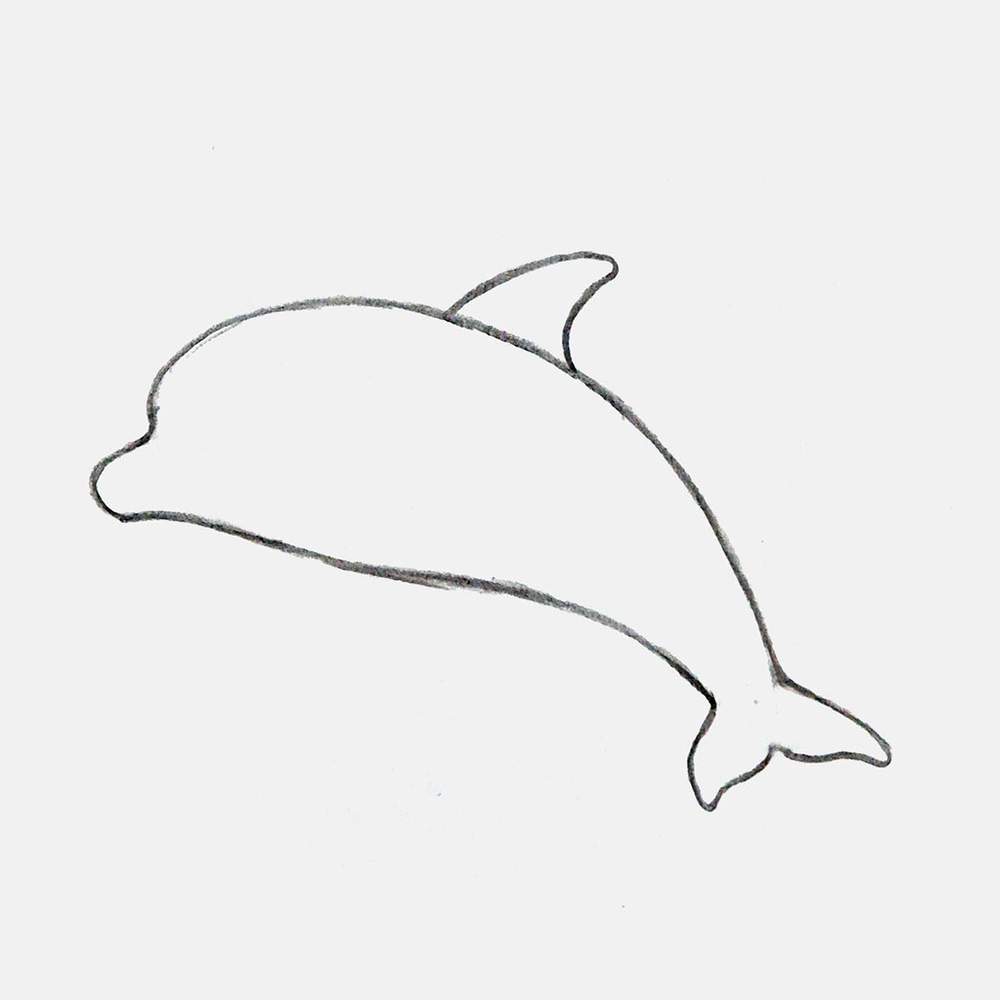
Step 1: Sketch a Drop-like Shape for the Dolphin's Body
To start the sketch of the dolphin, I first drew the basic shape.
It looks kinda like an elongated water droplet with the tail pointing down.
I positioned this shape in the center of my paper.
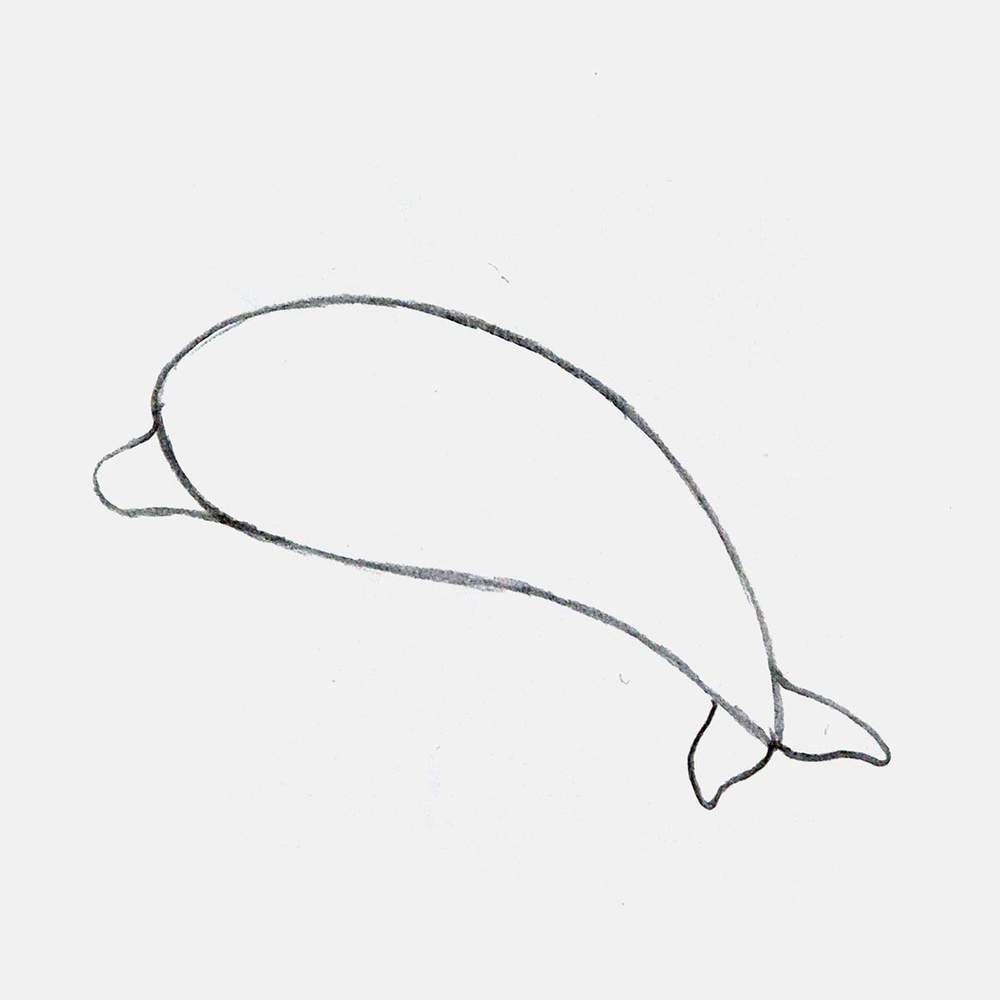
Step 2: Add a Beak and the Tail Flukes of the Dolphin
After that, I added the shape of the dolphin's beak on the left, and on the tail, I added the tail flukes.
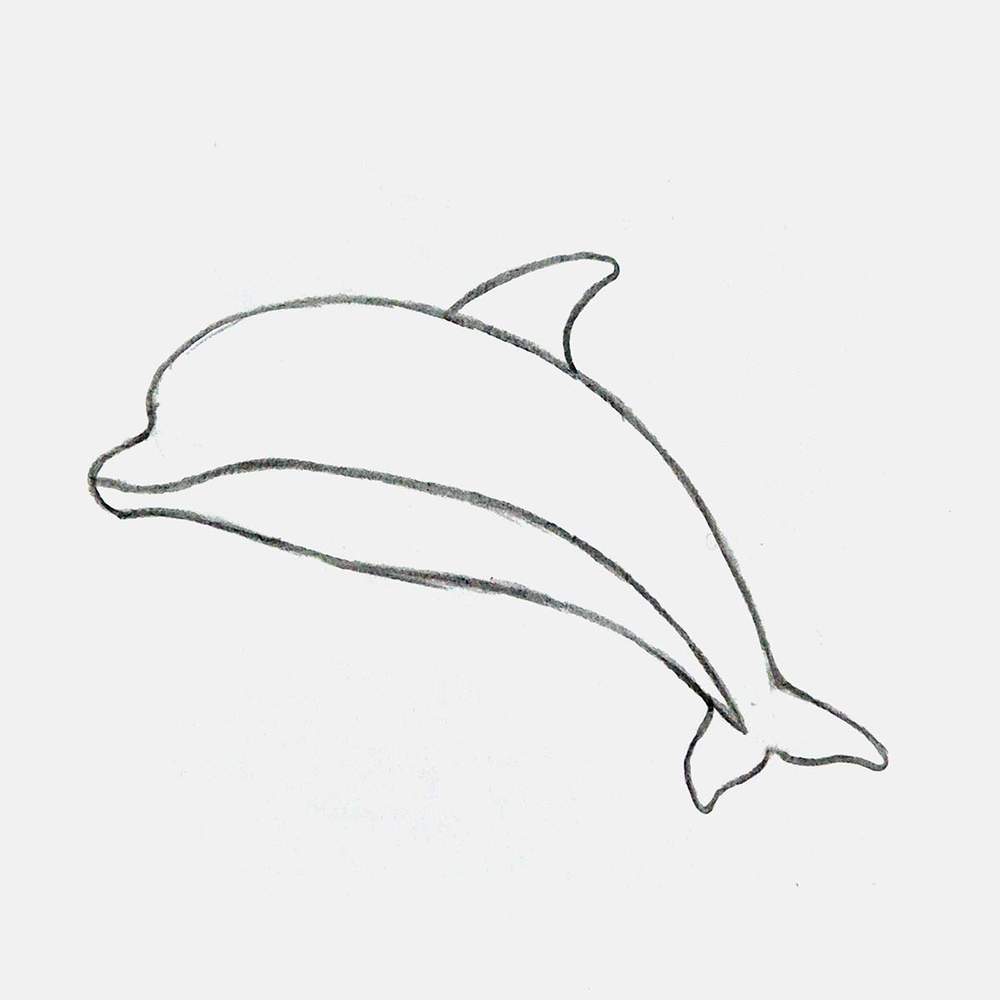
Step 3: Draw the Dolphin's Dorsal Fin
Next, I added the fin on the Dolphin's back, the dorsal fin.
I placed it a little more towards the head of the dolphin and further from the tail.
I also erased the construction lines on the beak and the tail.
Step 4: Add the Countershading Line & Flippers of the Dolphin
Then, I added the line that divides the darker top half from the lighter bottom half of the dolphin.
I started that line at the beak, following the mouth, then it goes slightly up, and finally, it connects to the tip of the tail.
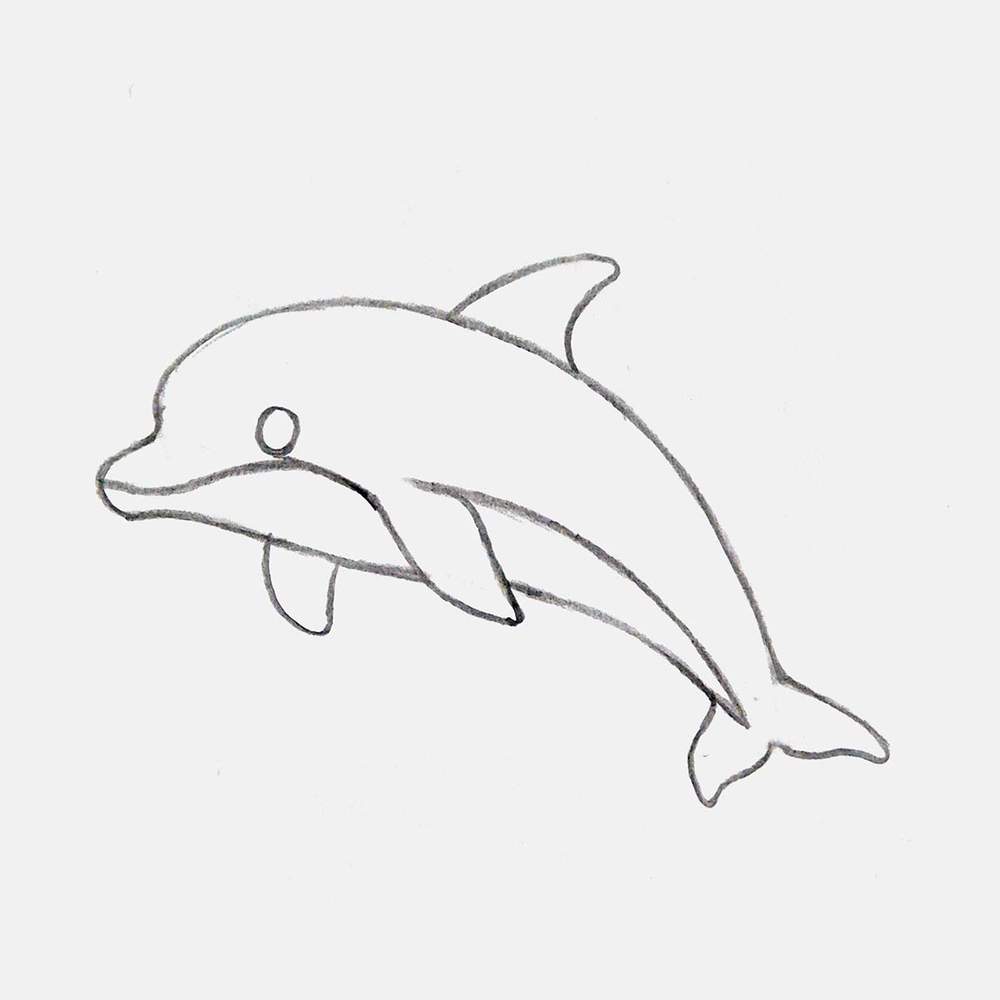
After that, I added both side flippers.
The right side flipper of the dolphin sticks out the bottom on the left, and the left side fin is attached to the countershading line.

Step 5: Sketch the Dolphin's Face
The only thing missing on the dolphin are its eyes.
I sketched a small circle in front of the side fin and just above the countershading line. This is the dolphin's eye.
Next, I added the pupil, the eyebrow, and a wavy line above the beak.
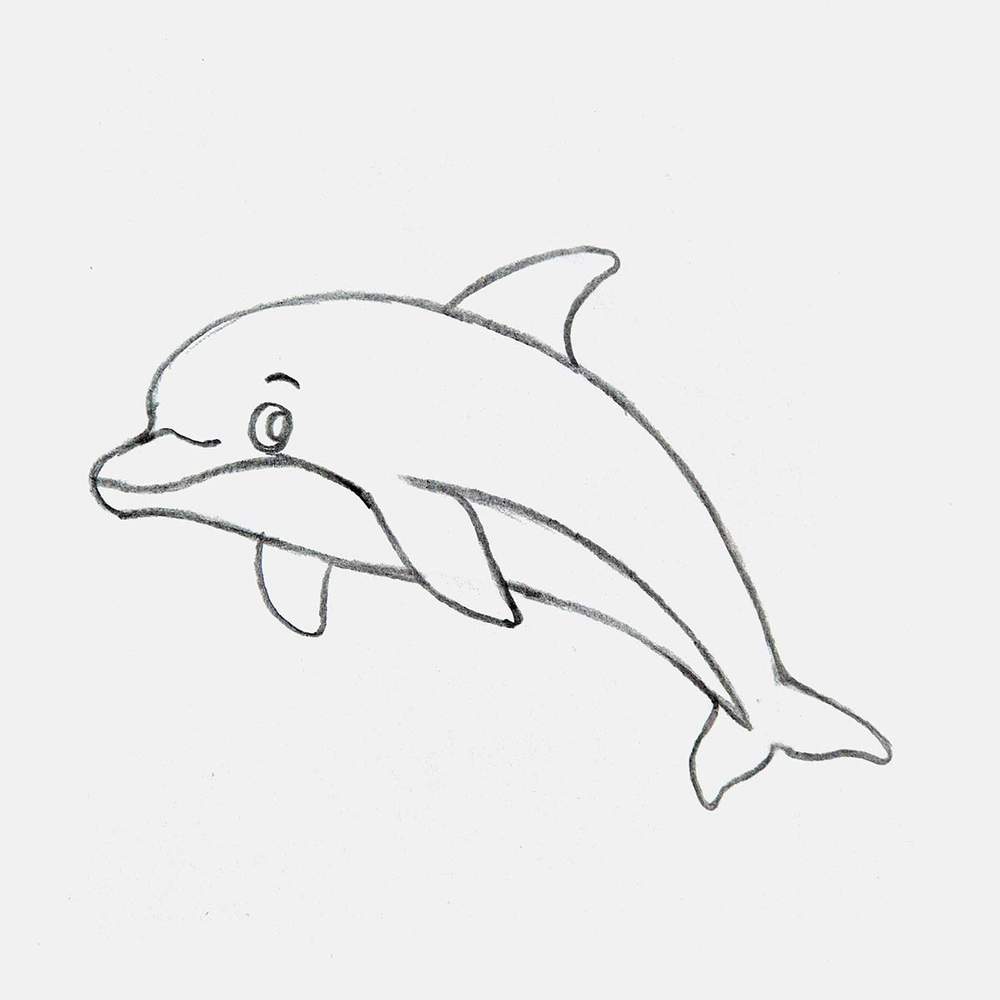
And that's the dolphin all sketched!
Step 6: Add Waves and the Splash Caused by the Dolphin's Breaching
I thought it would be weird to draw a dolphin and not add some water and waves, so that's what I did in this step.
I added a wavy or scribbly line on the horizon, which is about where the tail of the dolphin is.
I also added a few small waves below, and a splash, of course, from where the dolphin jumped out of the water.
The splash is just made up of short lines pointing outwards from a point below the tail of the dolphin.
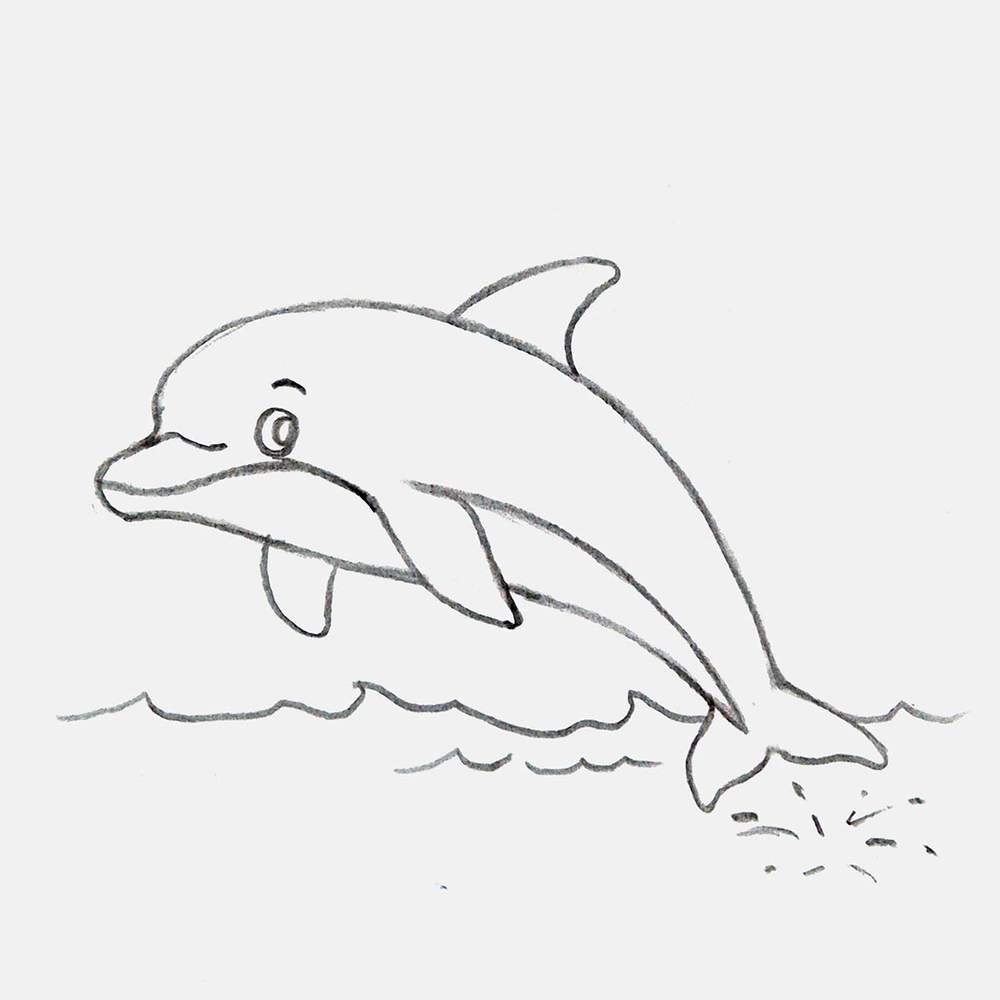
Now, the sketch of the breaching dolphin is done!
Step 7: Outline the Dolphin with a Black Pen
To prepare the drawing for coloring, I like to outline the sketch with my Tombow Fudenosuke Brush Pen.
For this swimming dolphin drawing, I only outlined the parts of the dolphin as I thought it would be weird to give the ocean waves a harsh black outline.
I also only outlined the mouth part of the countershading line.
And to make sure the pencil sketch does not show through the ink of the markers I'll be using to color with, I lightened the sketch. That's why you only see the black outline of the dolphin in this photo.
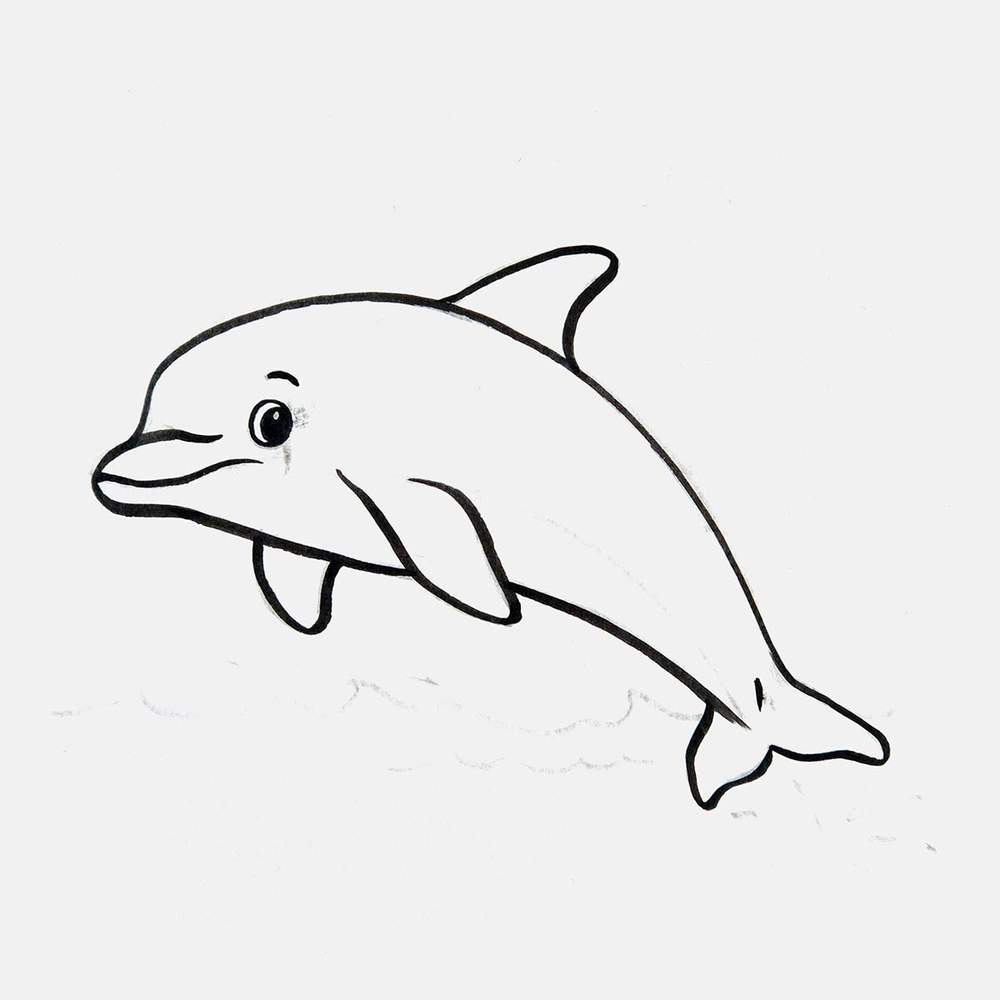
Make sure to let the black ink dry first before you try to erase your sketch. I was too impatient and smudged the dolphin's eye... :(
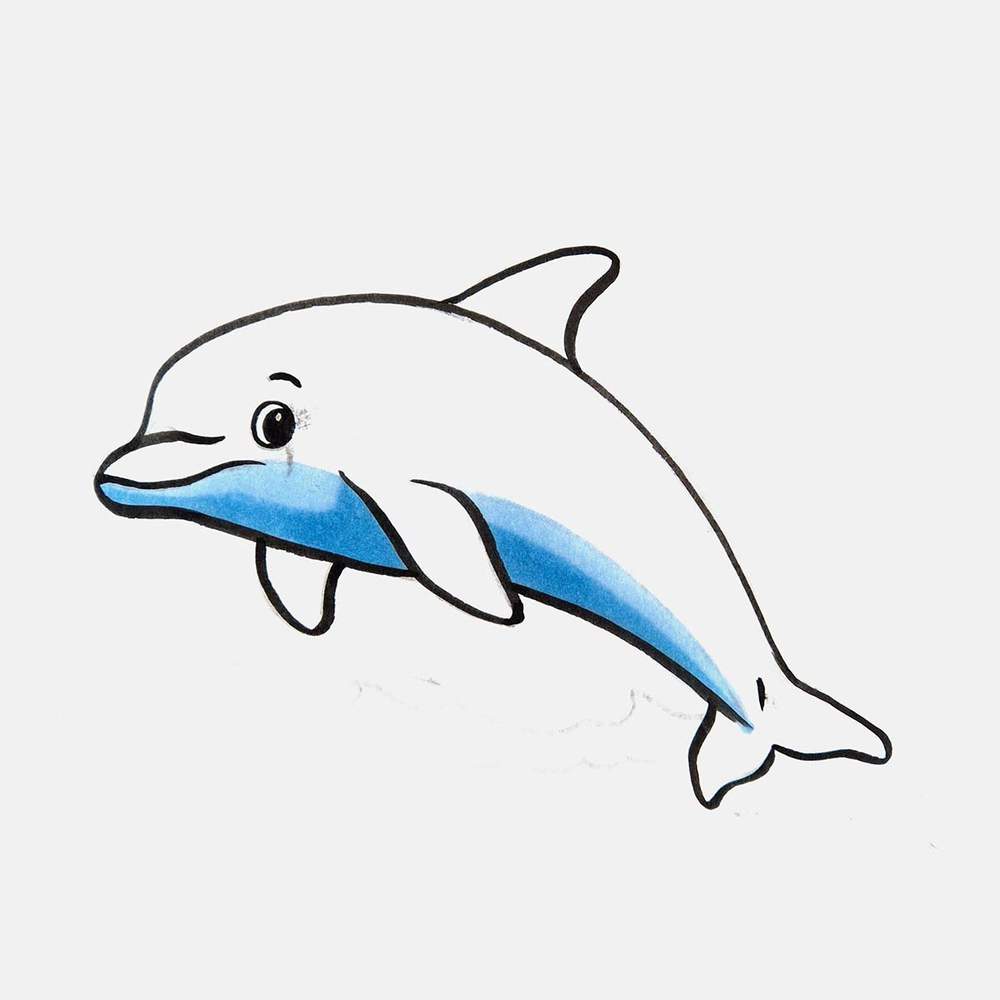
Step 8: Color Your Dolphin with Markers
With the sketch now outlined, I colored the dolphin with my markers.
To do this, I used my favorite alcohol based markers: Ohuhu Honolulu markers.
I used just 4 different shades of blue: Pale Grayish Blue (B220), Light Blue (B250), Smoky Blue (B260), and Vivid Blue (B270). You can buy these colors here.
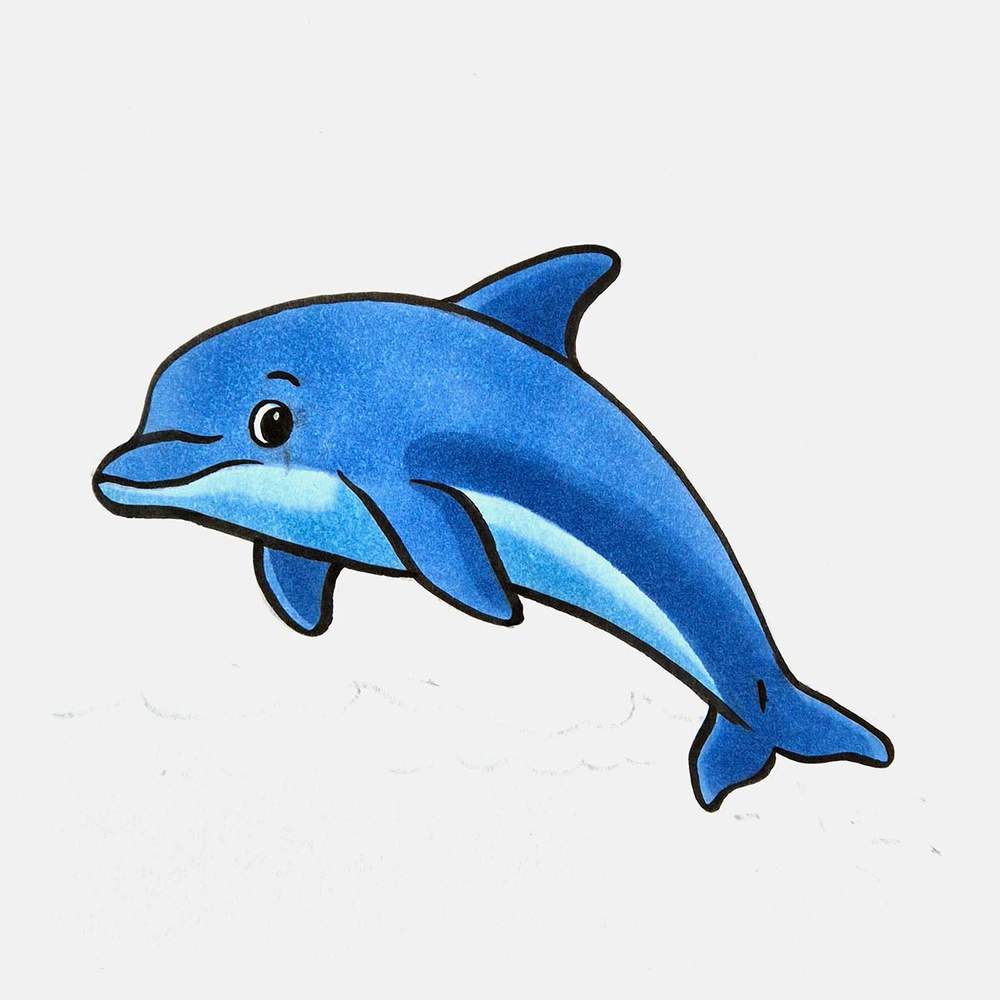
To start off, I used Pale Grayish Blue (B220) to color the bottom or the belly of the dolphin.

Next, I added some shading to the lower half using the slightly darker Light Blue (B250).
After that, I colored the top side of the dolphin with Smoky Blue (B260).
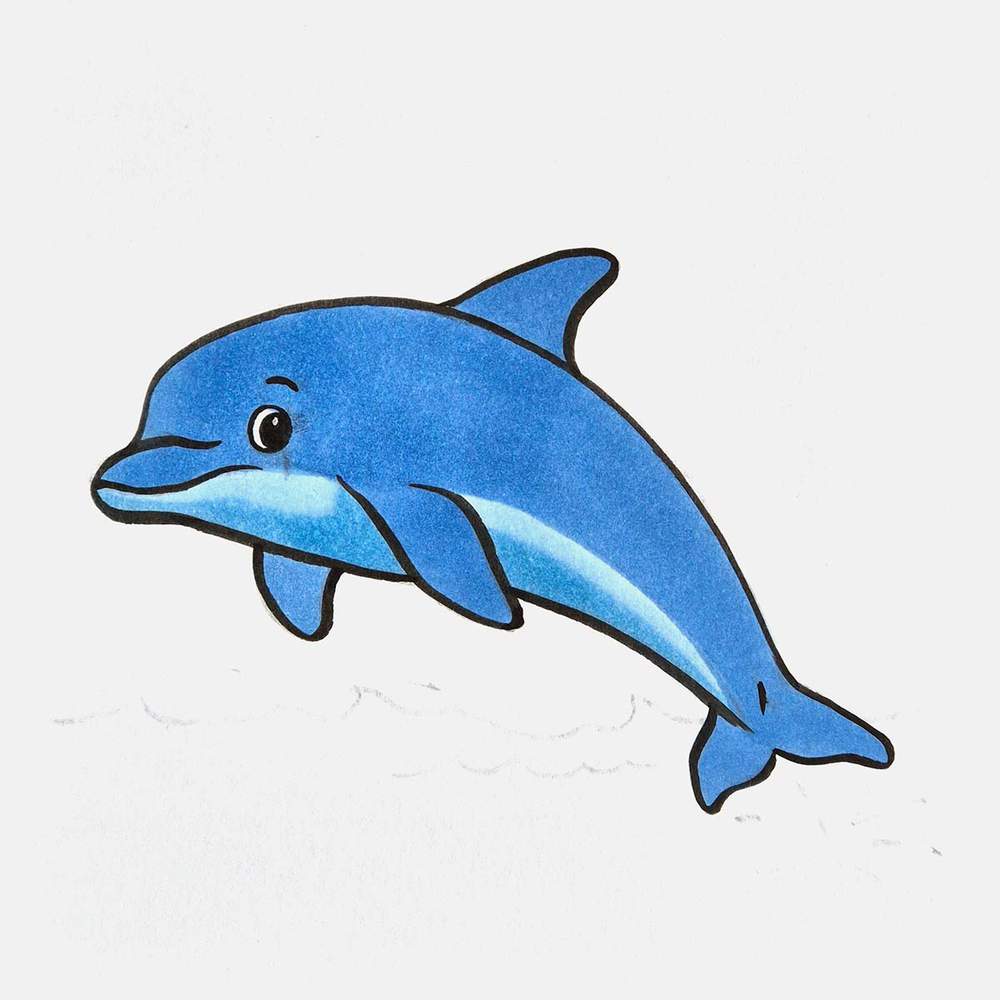
And added some darker shading to the bottom right side of its body and the right side of the fins using Vivid Blue (B270).
Step 9: Color the Ocean with Markers
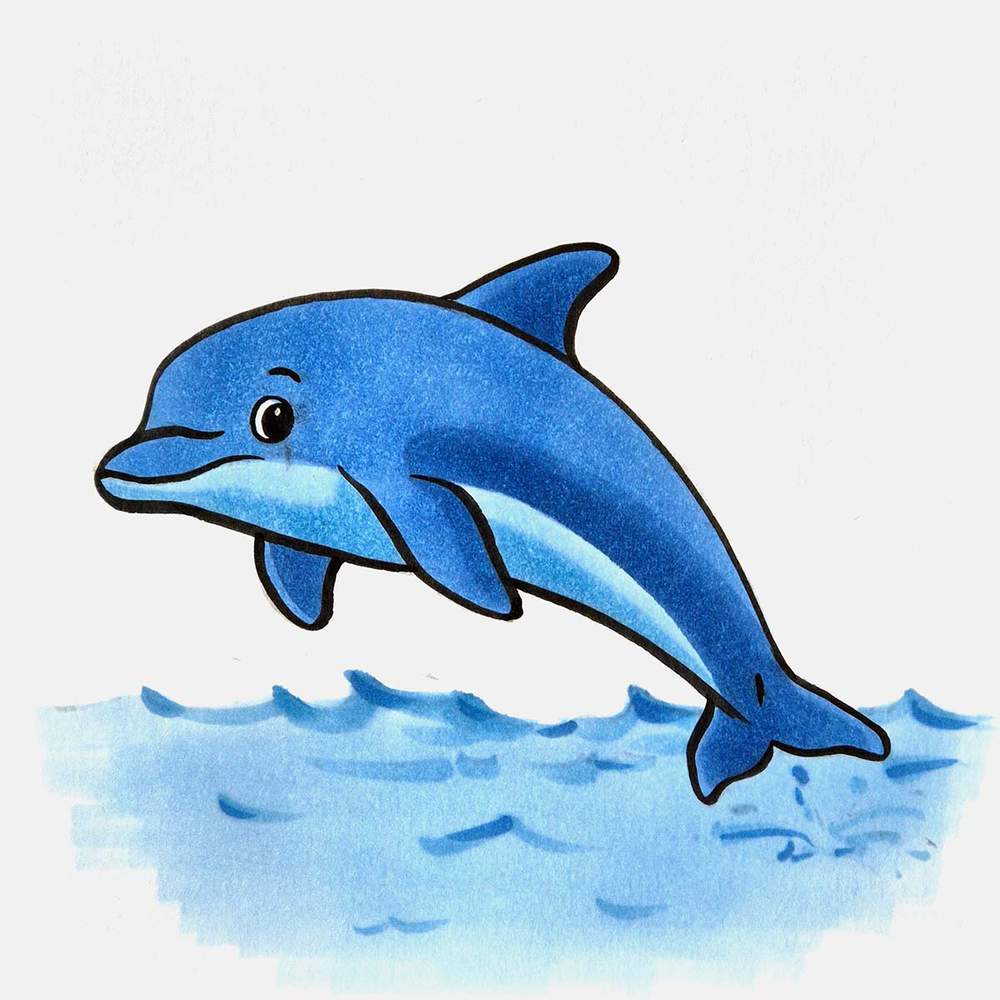
Next up, I colored the ocean water with Pale Grayish Blue (B220).
I didn't color all the way to the edge. Honestly, no other reason than that I just thought it would look nice.

Next, I added some waves and splashes with Light Blue (B250).
I added some more waves than I sketched, as there weren't enough in my opinion.

And lastly, I added some shading to the right side of most waves with the darkest blue: Vivid Blue (B270).
I also added some dark splashes.
Step 10: Add Highlights & Details to Your Breaching Dolphin Drawing
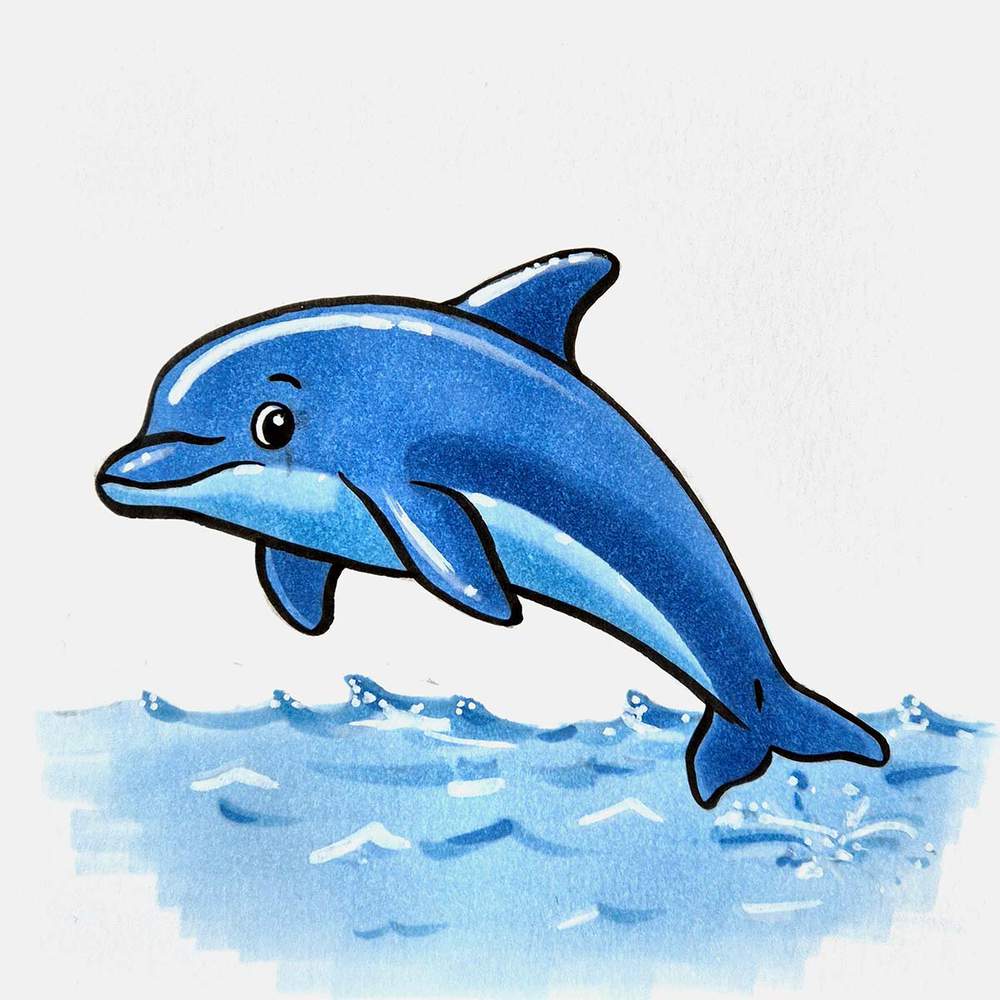
The dolphin drawing already looks quite good, but there's one simple thing we can do to make it look better and more fun.
Adding white highlights.
I love this step. It always adds so much life to any drawing.
To add white highlights, I used my white Posca PC-3M paint marker.
I added highlights on the front edge of the fins and its head, and one small dot in its eye.
I also added more waves and splashes with the white paint marker, and I added some dots at the tips of the waves to make them look foamy.
Your Swimming Dolphin Drawing is Finished!
And that's how you easily draw a beautiful and fun breaching dolphin with just a few art supplies.
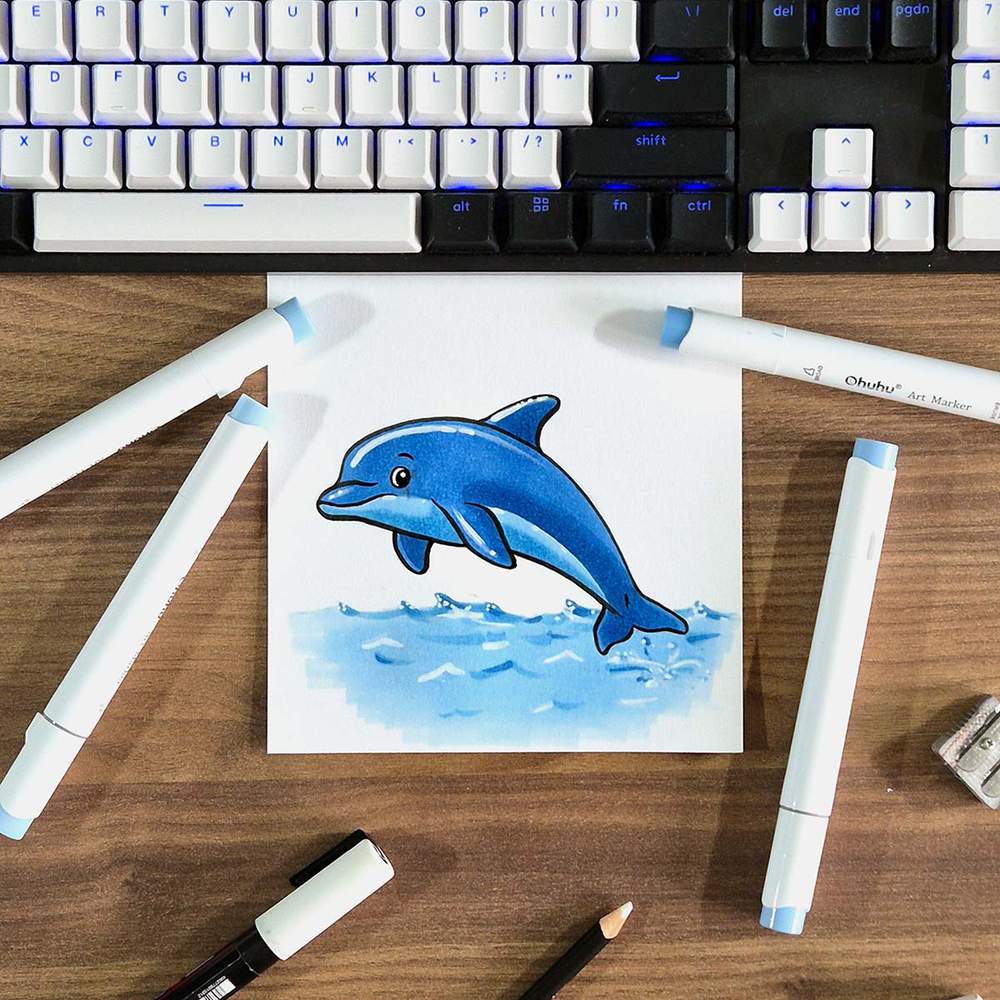
I hope you had as much fun as I did drawing this, and I hope yours turned out just as well!
If you enjoyed this drawing tutorial, you might also like these other ones I created, or click on one below.
Articles You Might Also Like


I love bringing cars to life with alcohol markers and colored pencils.
Whether you're just starting out or looking to improve your skills, I'm here to help!
Click here to learn more about me.


Be the first to comment!
Comments
There are no comments yet.