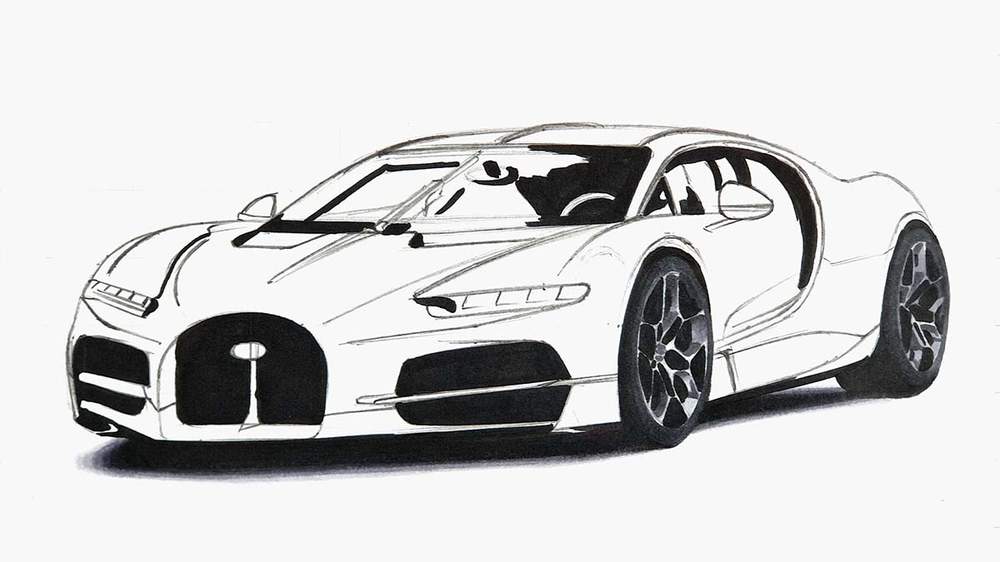
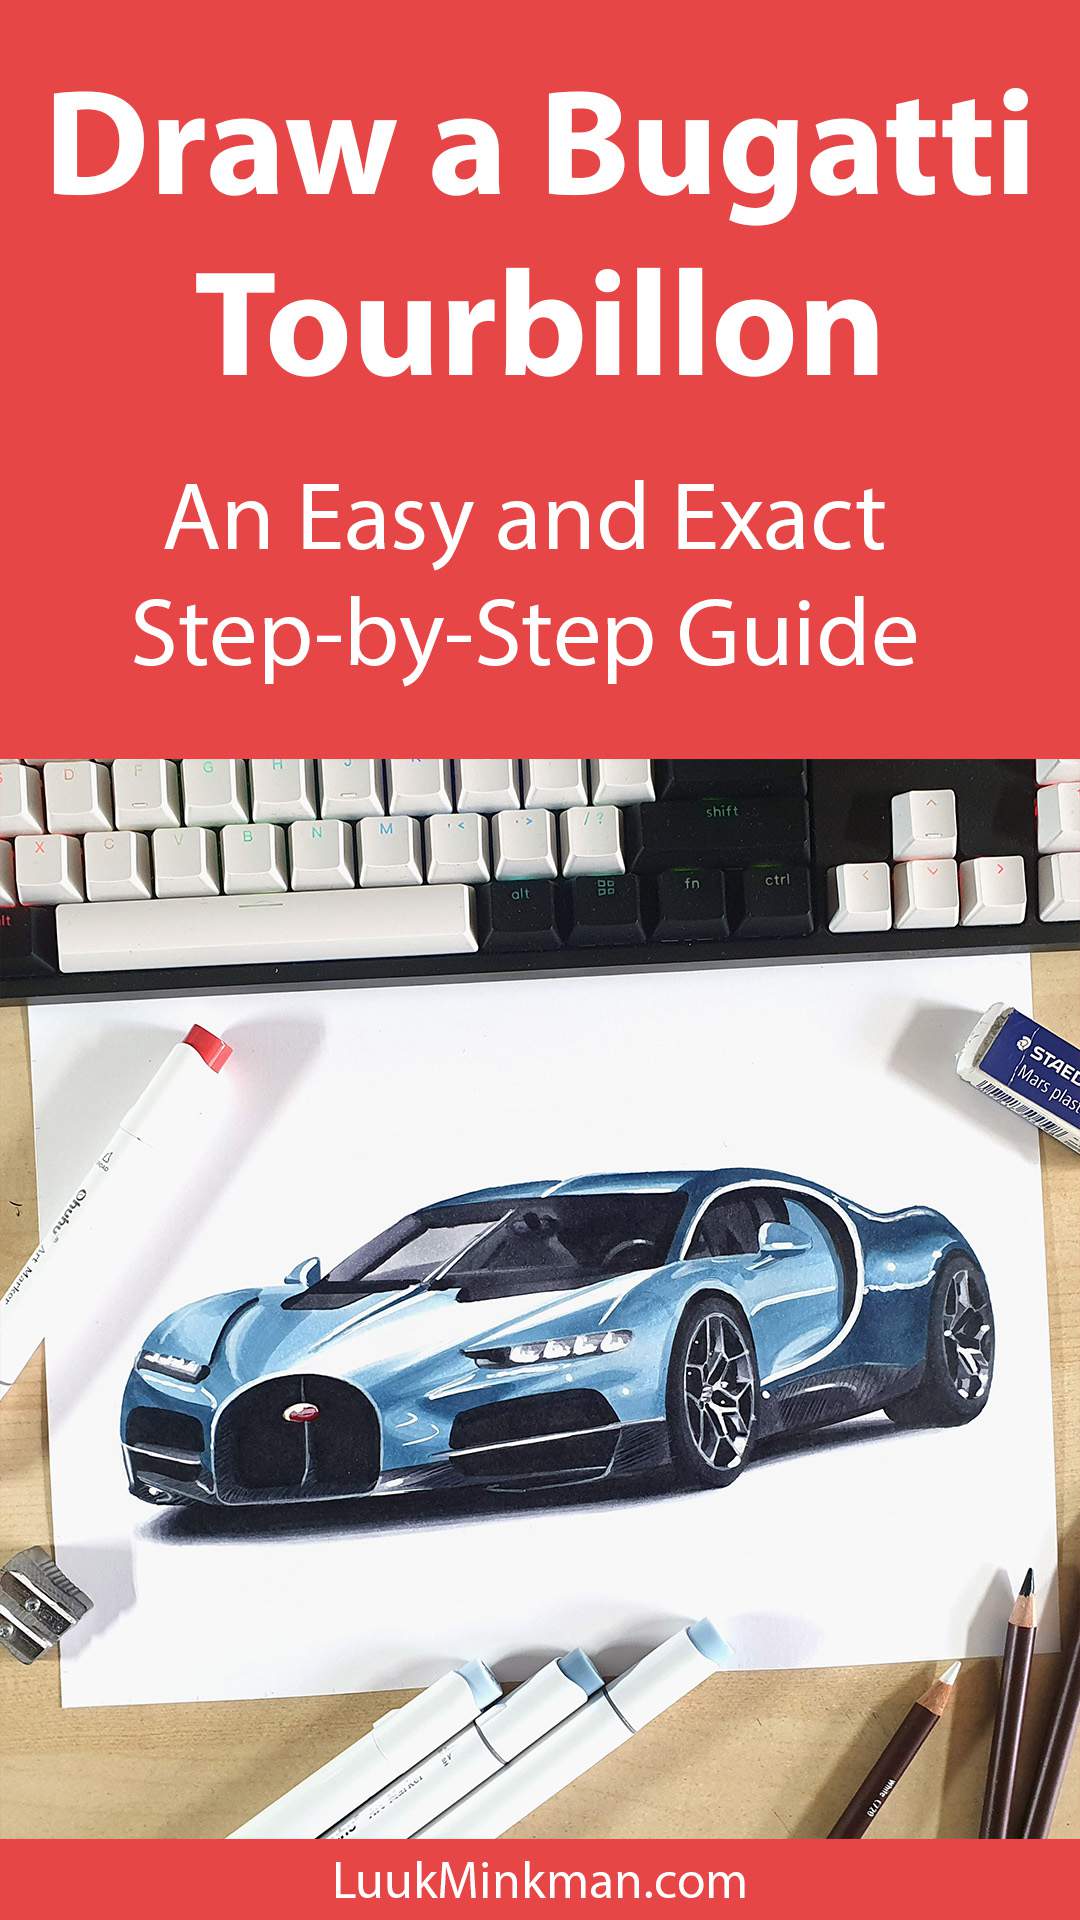
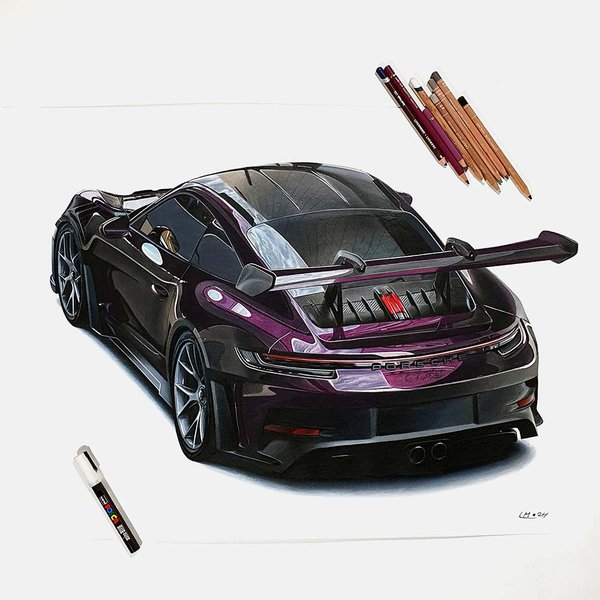
Easy Step-by-Step Bugatti Tourbillon Drawing Tutorial
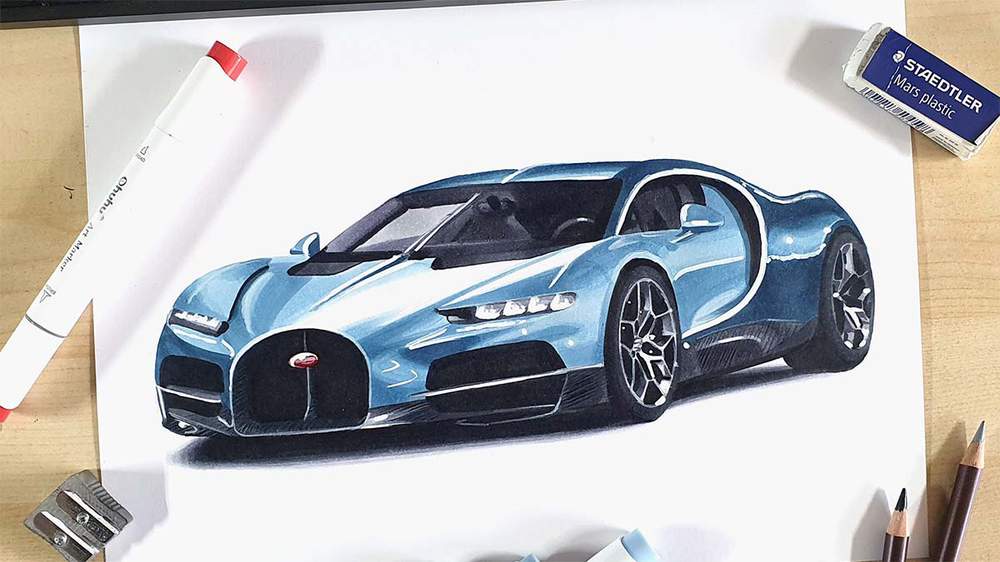
When Bugatti released the Tourbillon 7 days ago, I knew I had to draw it!
So in this week's tutorial, we'll break down the sleek lines and dynamic curves of this stunning vehicle, guiding you step-by-step to bring it to life on your own piece of paper.
Grab your markers, and let's draw this high-speed machine together!
Disclaimer: In the name of full transparency, please be aware that this blog post contains affiliate links and any purchases made through such links will result in a small commission for me (at no extra cost for you).
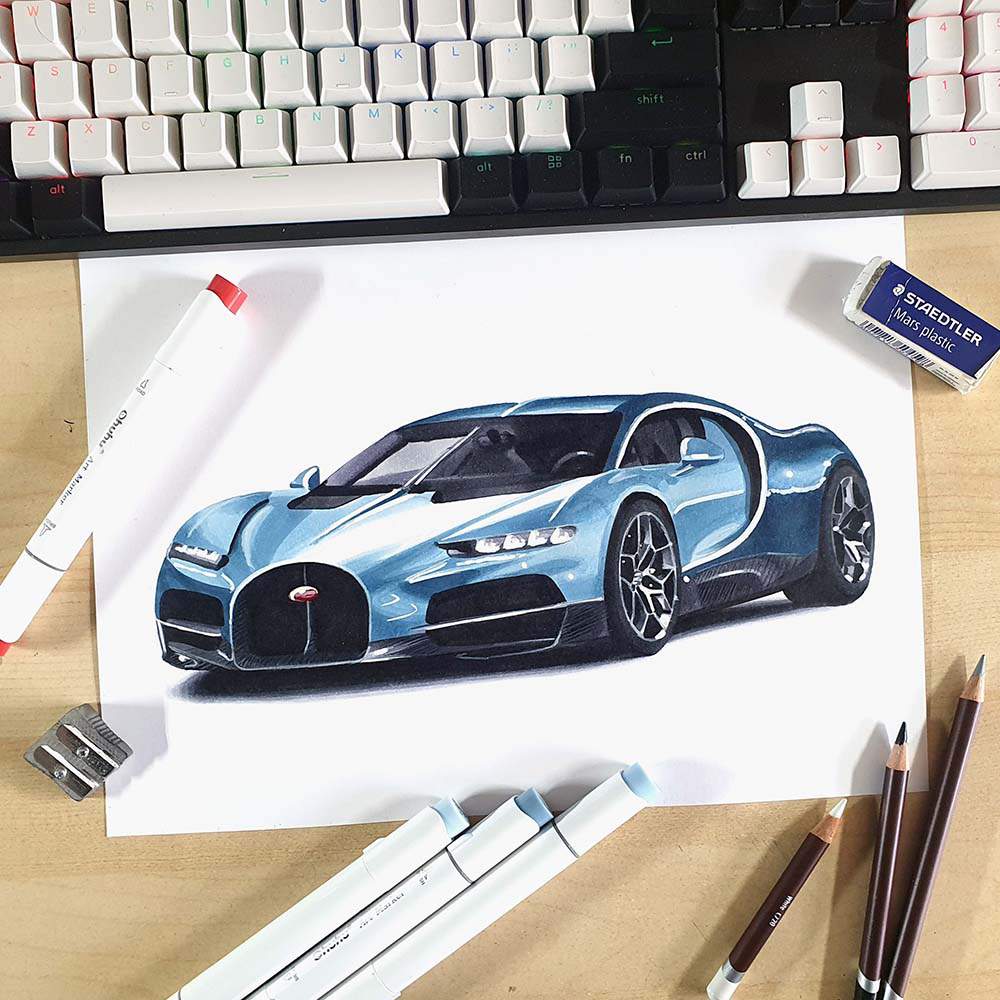
Drawing Supplies I Used in this Tutorial
To draw the Bugatti Tourbillon, I used the following art supplies:
- A graphite pencil, a ruler, a kneaded eraser, and a regular eraser;
- Ohuhu Honolulu markers in the colors Neutral Grey 03 (CG030), Deep Cool Grey (BG060), Neutral Grey 07 (CG070), Warm Grey 13 (WG130) or Black, Blue Grey 03 (MG030), Blue Grey 06 (MG060), Blue Grey 09 (BG100), Bright Red (R180), and the Colorless Blender (0). You can also buy these colors individually here;
- Derwent Coloursoft pencils in the colors White, Dove Grey, and Black;
- And a white Posca PC-3M.
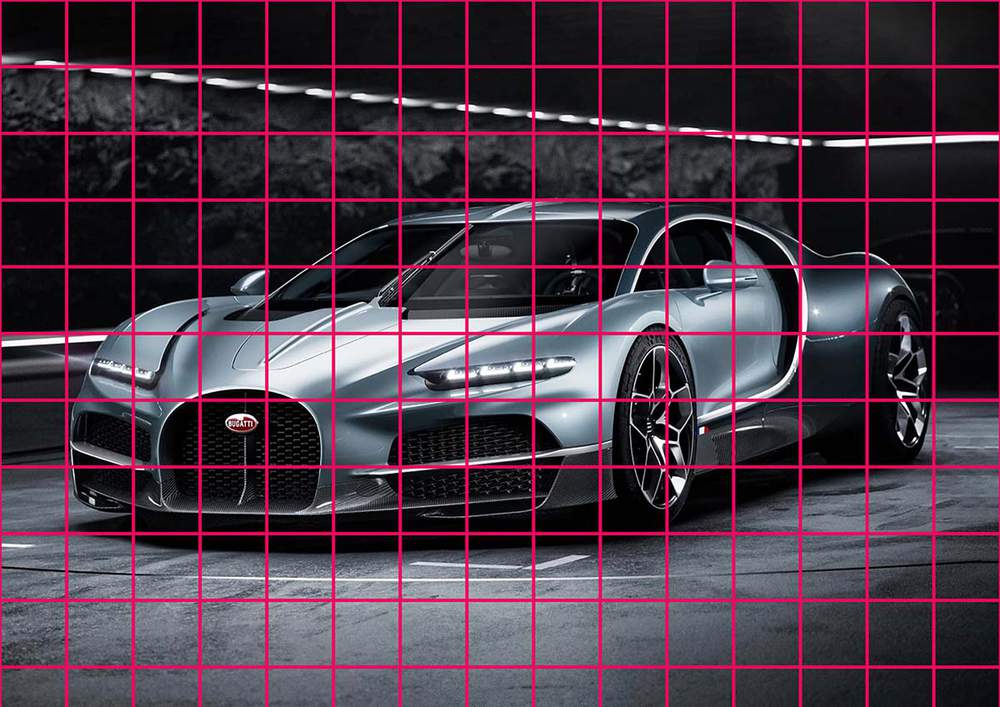
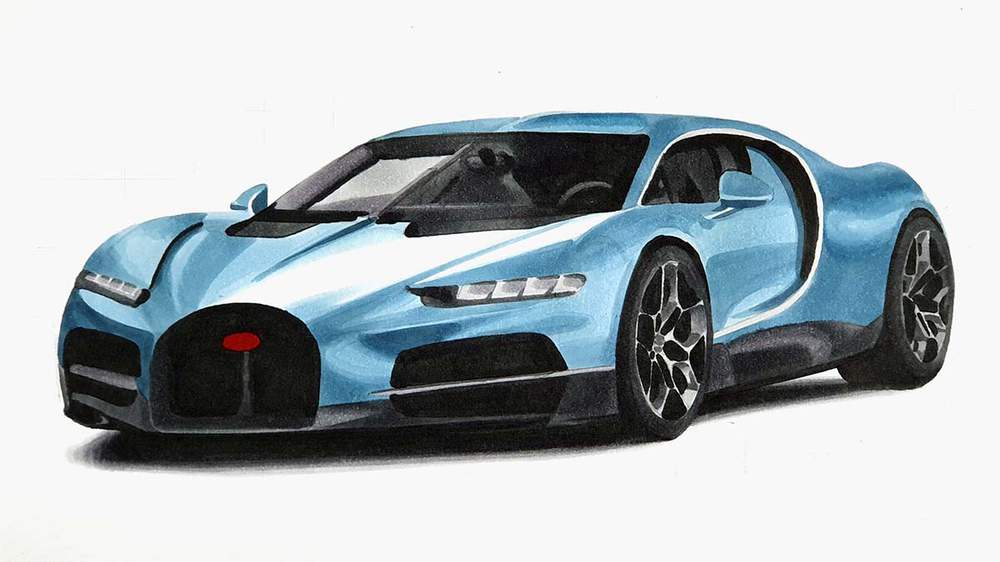
Reference Photo I Used to Create the Bugatti Tourbillon Drawing
For this drawing, I used the photo below as a reference for the perspective and the lighting.
How Do You Draw a Realistic Bugatti Tourbillon?
I first gathered a few reference photos for the perspective, proportions, lighting, reflections, and color to make a realistic drawing of the Bugatti Tourbillon.
After that, I created a sketch of the outline of the car using the grid method.
Next, I colored the car with alcohol markers starting with the black and the grey parts, before moving on to the main body of the Tourbillon.
Lastly, I added some details with colored pencils and highlights with a Posca paint marker.
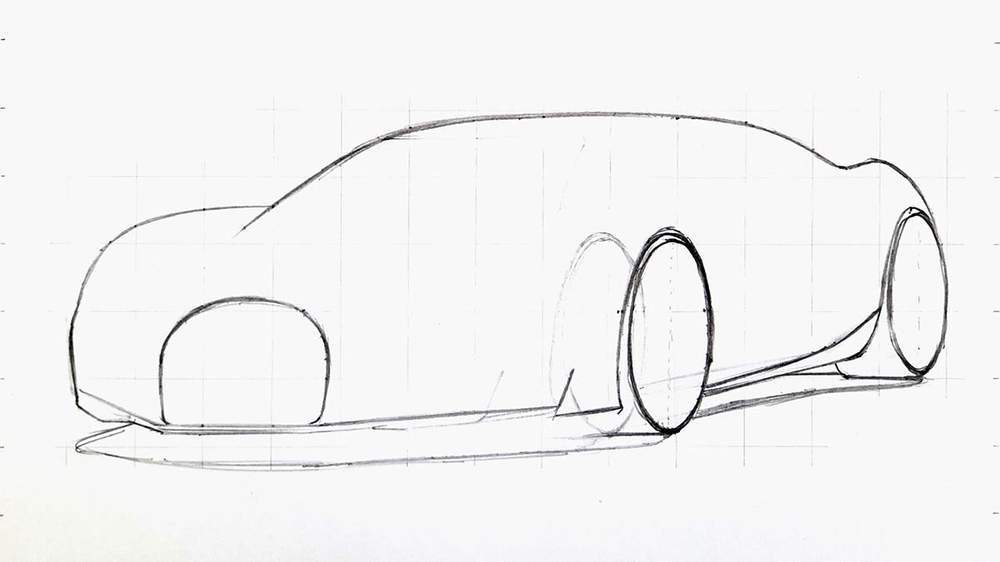
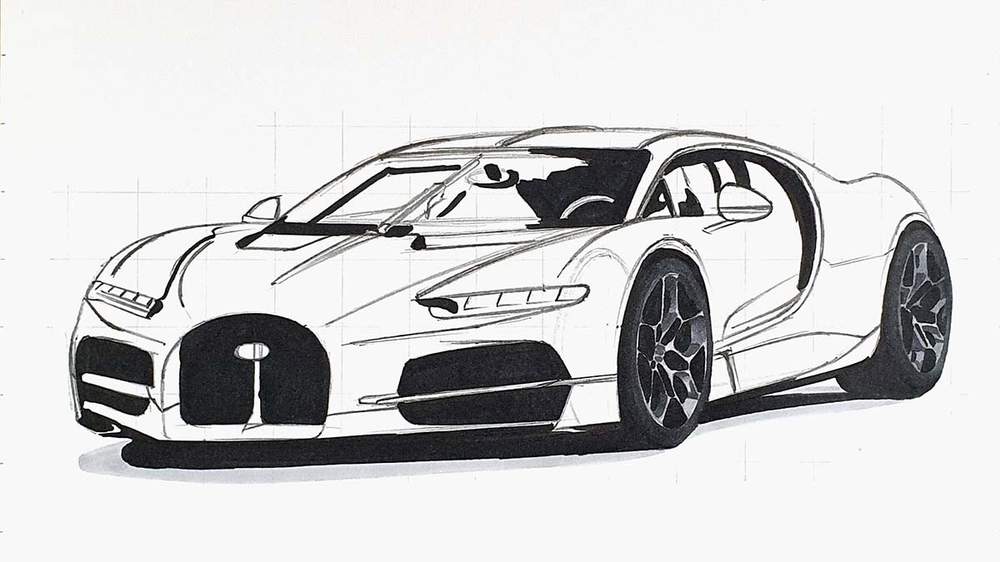
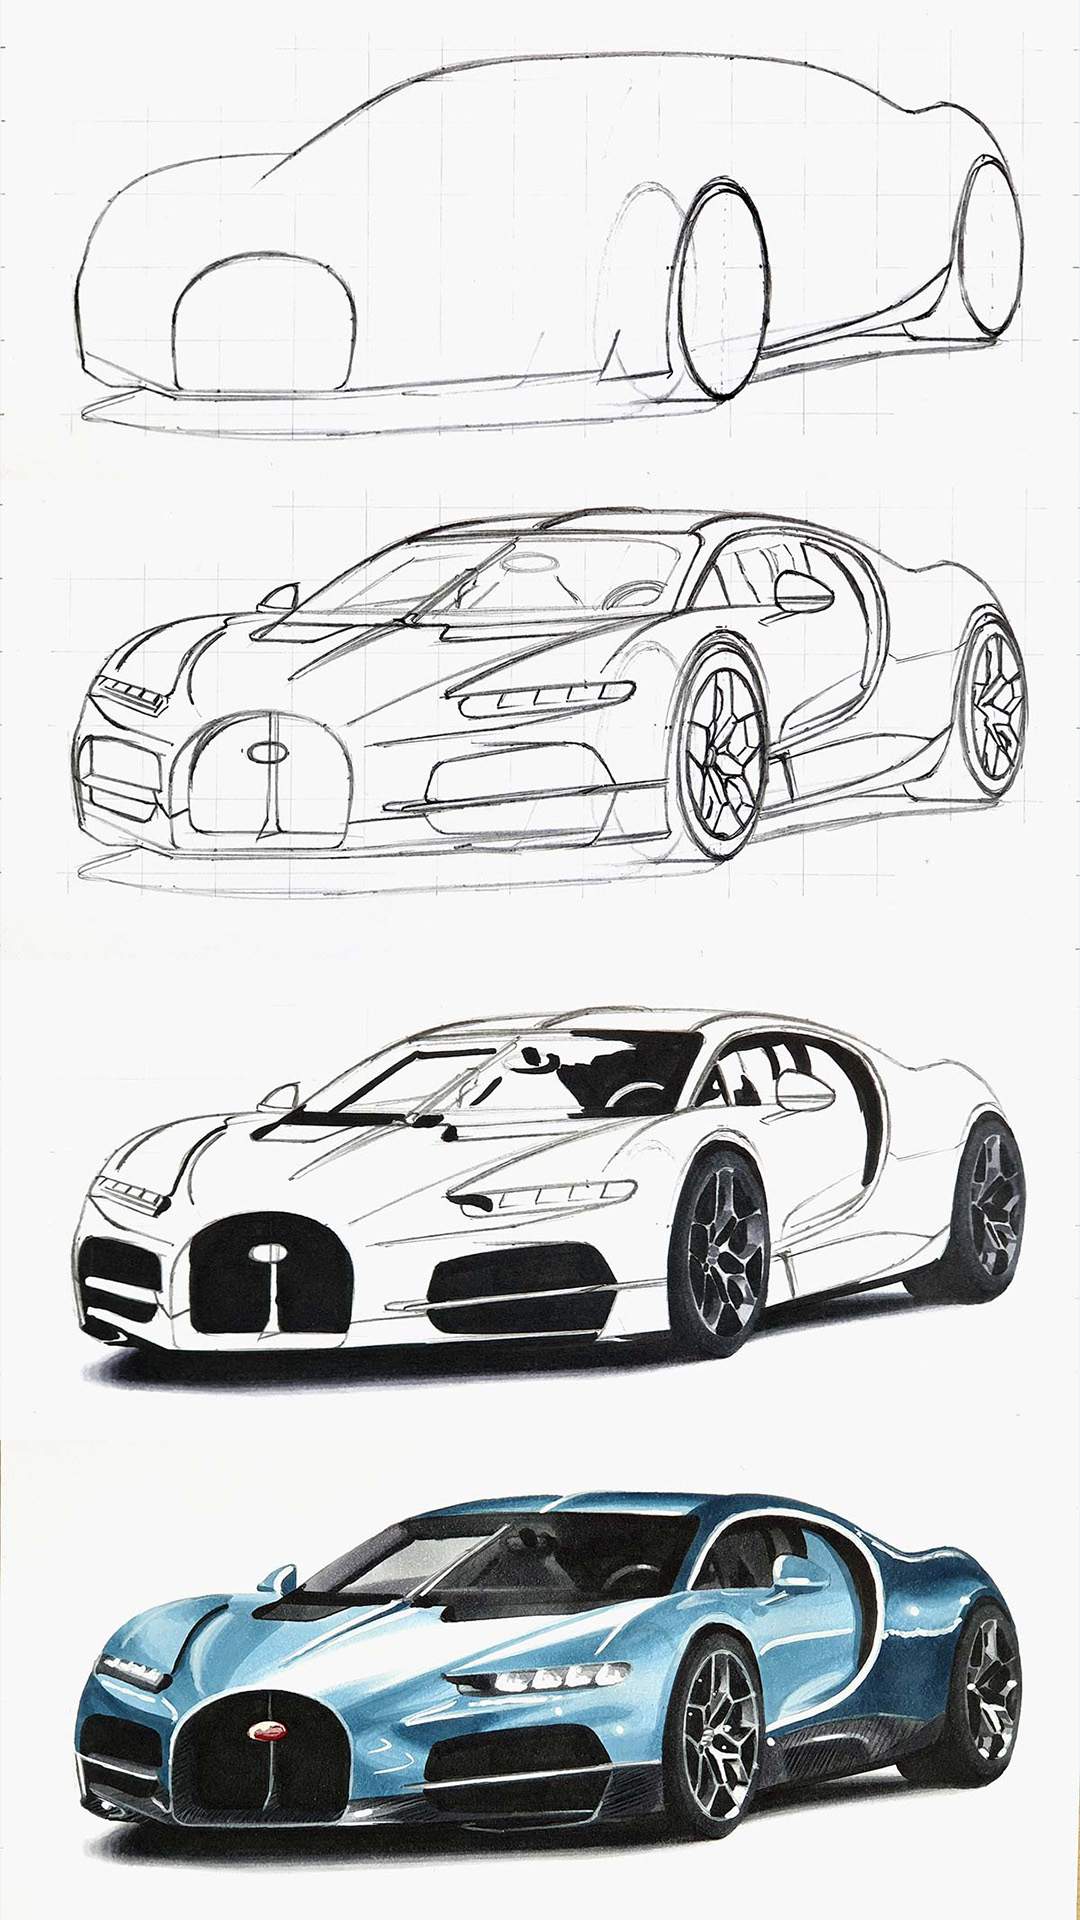
Step 1: Sketch the Outline of the Bugatti Tourbillon
The first step, as with any car drawing, is to sketch the outline of the Bugatti Tourbillon. This is also by far the most important one. If your sketch isn't quite accurate, your drawing won't look realistic in the end.
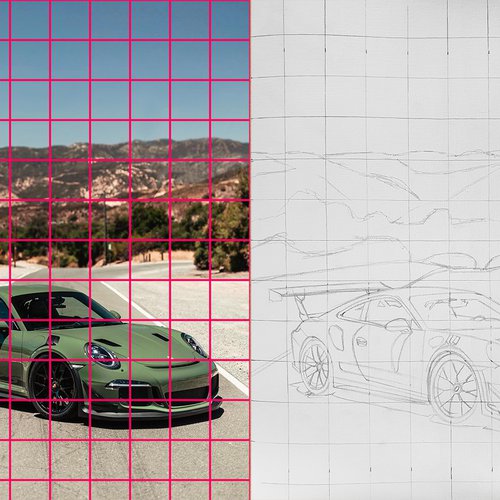
It can be pretty difficult to sketch a car like the Tourbillon accurately, luckily there are a few techniques that make this a lot easier. In today's car drawing tutorial, I'll be using the grid method. If you're new to this technique or want to learn how to use it, check out the tutorial below that I made.
The first thing I did was resize the reference photo to the same size and aspect ratio as the paper I'm going to draw on which is A4 size and has an aspect ratio of approximately 7:5.
Next, I overlayed a grid on the photo with 15 by 10.5 squares.
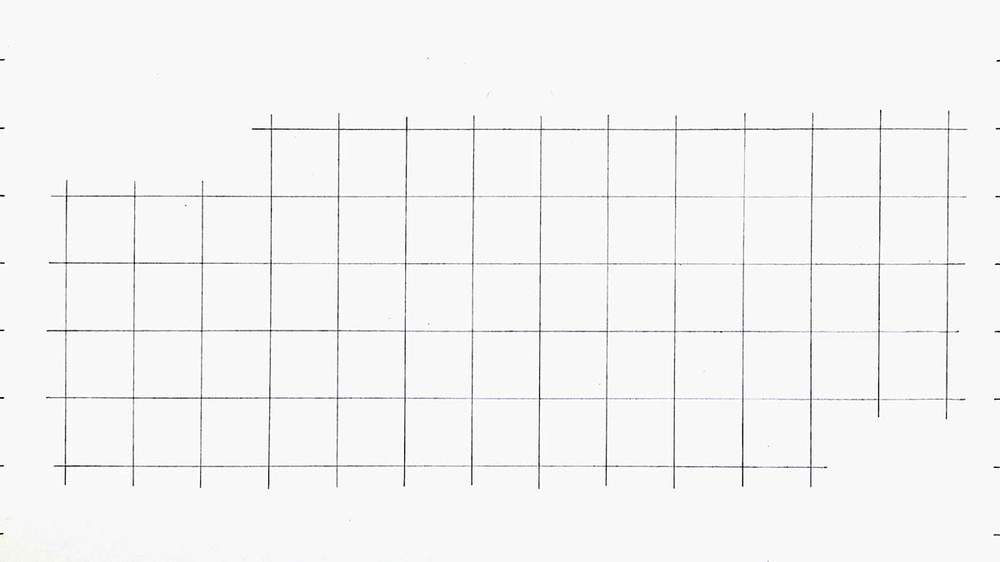
After that, I recreated that grid on my paper. I only sketched the squares I needed to sketch the car, but that's not necessary.
Now that all preparations are done, it's time to start sketching the Bugatti Tourbillon.
I like to start with the basic outline of the car. I start on the left and mark where the outline of the Tourbillon crosses any grid lines. After that I sketch a line through those points. I do that for the whole outer edge of the car until the outline is fully connected.
Sometimes it's easier to sketch the outline by sketching some other parts too. For example, the outline on the bottom was easier to sketch if I also sketched the grill and some other layers of the front splitter.
During this step, I also sketched the outline of the wheels. I started by marking the top and the bottom (these are usually on the same vertical line). And I marked the far left and far right side of the tire. This makes it easier to sketch a more accurate ellipse in the shape of the wheel.
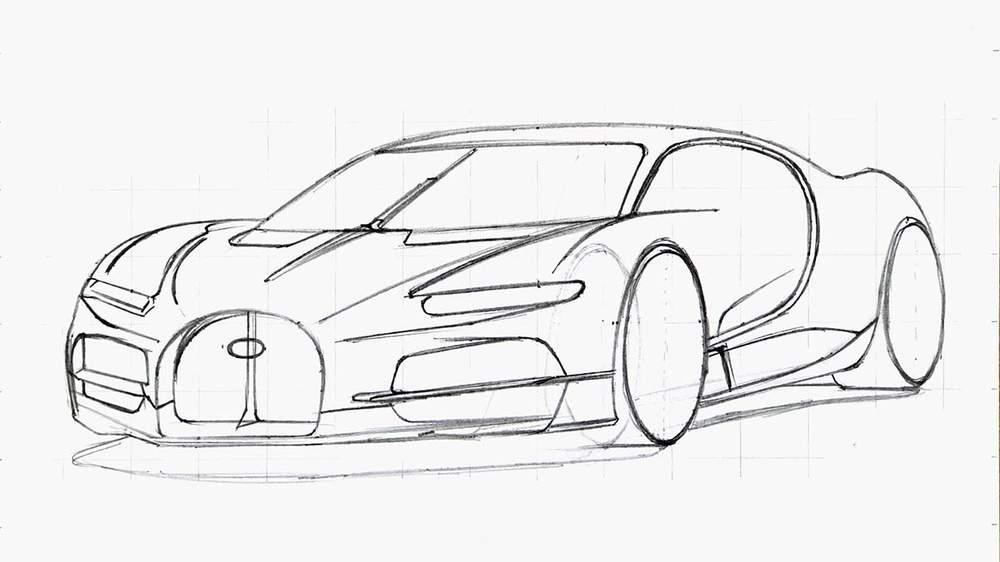
Now that the basic outline is done, it's time to start adding parts like the lights and more grills, add the body lines, and add other details.
During this step, I looked carefully at the reference photo while marking where all the parts should be.
I started at the front and worked my way to the rear/side of the car until I had sketched every single thing there was to sketch.
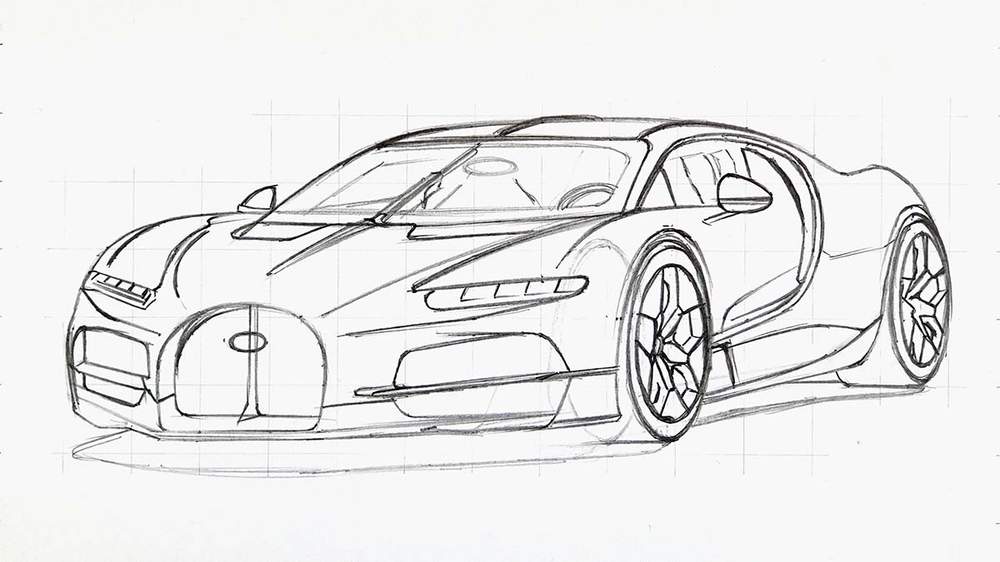
Step 2: Color All Pure Black Parts of the Bugatti Tourbillon
After some careful sketching, the car sketch was finally complete! Now, it's time to start coloring in this beast of a car.
I always find it difficult to start coloring as the sketch can look quite overwhelming and I don't want to mess it up.
So I start with the easiest thing I can do: coloring all pure black parts.
After coloring all black parts, there's suddenly a lot more structure to the drawing and I find it easier to color the rest of the car.
To color the black parts I used the Warm Grey 13 Ohuhu Honolulu marker as I don't have a black one... And to be honest, this marker is darker than the black Promarker.
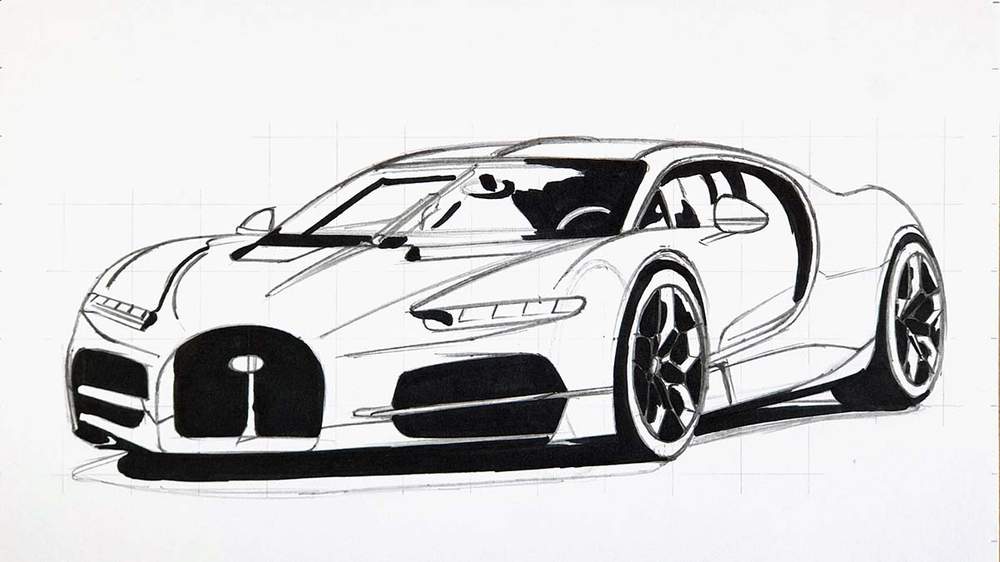
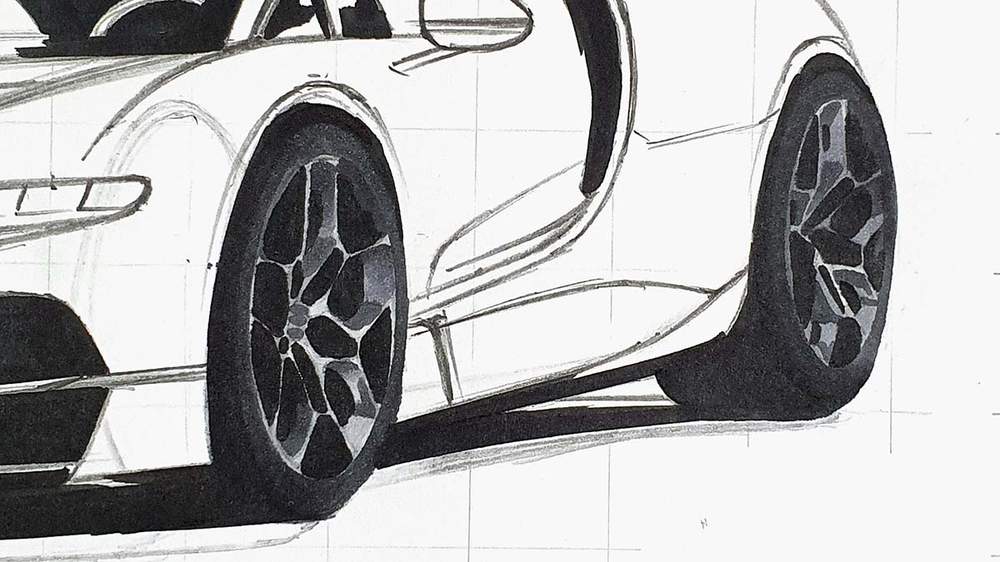
Step 3: Color the Wheels of the Bugatti Tourbillon
The wheels can look quite daunting and leaving them uncolored for a long time won't make that any better. So, I like to get them done right at the beginning so I don't have to worry about them anymore.
In the previous step we already colored most of the negative space in the wheels which makes this step a lot easier.
I started by coloring both wheels with Neutral Grey 03.
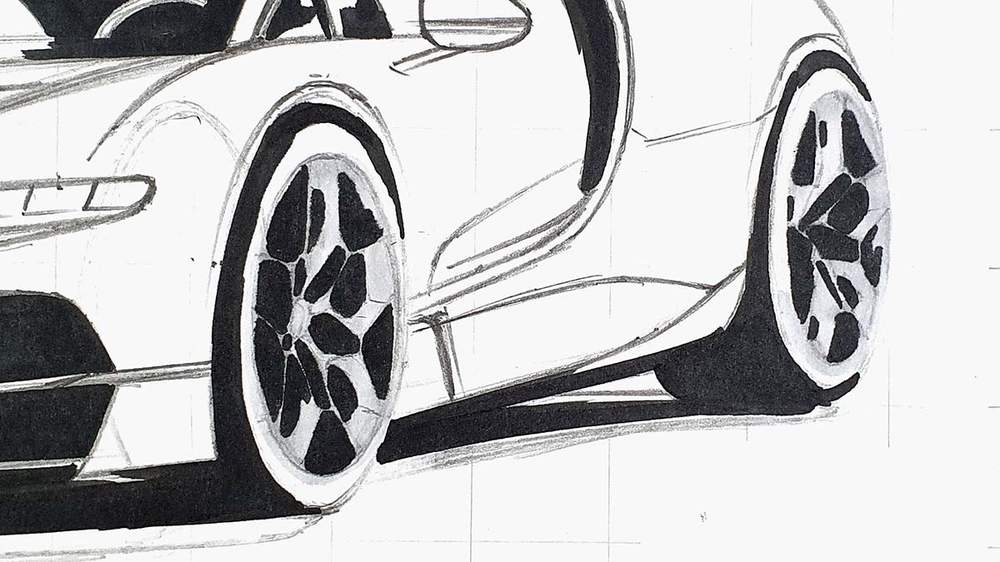
After that, I used Deep Cool Grey to color the mid-tone parts of both wheels.
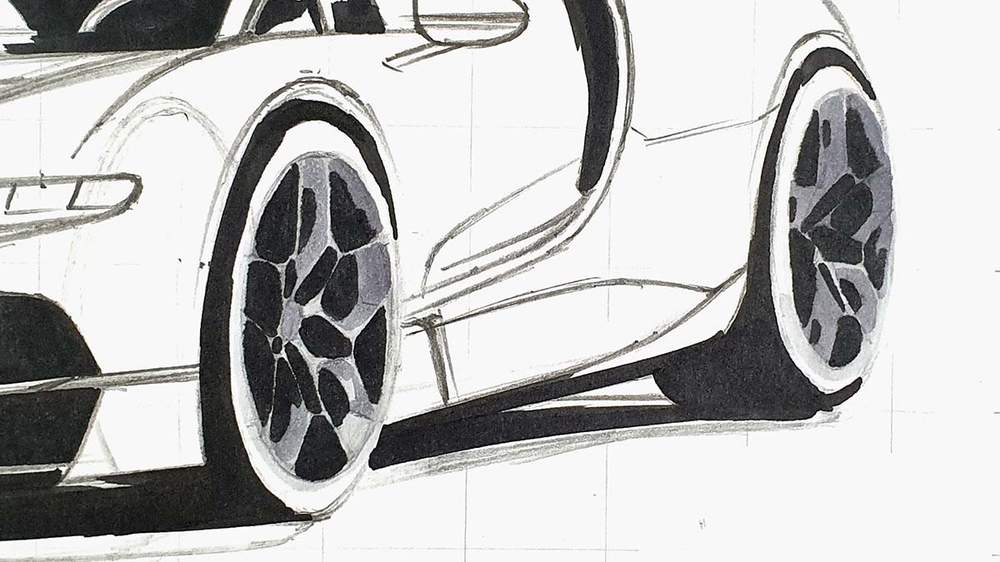
And lastly, I used Neutral Grey 07 to add the dark tones to the rims and the spokes, and I colored both tires.
Step 4: Color the Shadow of the Bugatti Tourbillon
Next up, I colored the shadow of the Bugatti.
I started by coloring the whole shadow with Neutral Grey 03.
After that, I used Deep Cool Grey and Neutral Grey 07 as transition colors between the lights grey and the black.

Lastly, I blended all the greys together to form a smooth gradient from white to black.
I started by blending the egde of the Neutral Grey 07 with Deep Cool Grey. Then, I blended the edge of the Deep Cool Grey with Deep Cool Grey3. And lastly I blended the Neutral Grey 03 into the white of the paper with the Colorless Blender.
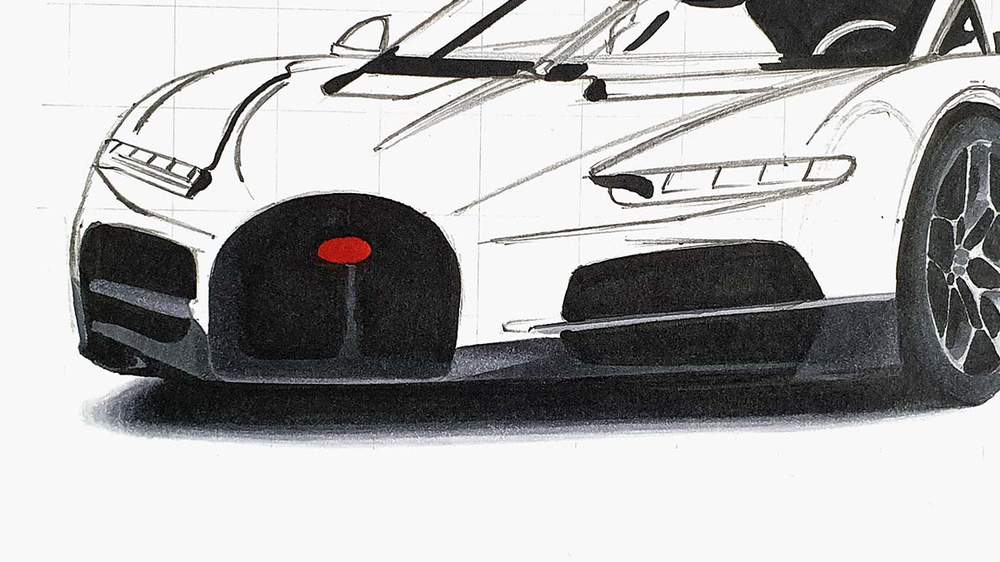
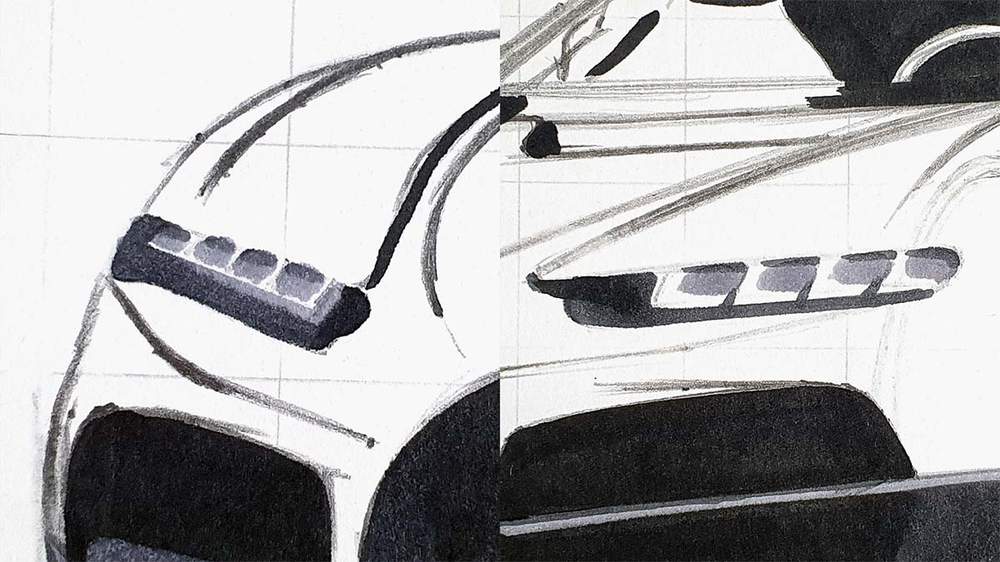
Step 5: Color the Carbon Fiber parts on the Front of the Bugatti Tourbillon
After that, I colored the carbon fiber on the lower front of the Tourbillon.
I first colored the whole bit with Deep Cool Grey.

Next I used Neutral Grey 07 to darken most of it and I smoothened out the edges with Deep Cool Grey. I also colored the logo with Bright Red.
Step 6: Color the Carbon Fiber parts on the Side of the Bugatti Tourbillon
Next, I did the same for the carbon fiber side skirt.
I first colored it with Deep Cool Grey.
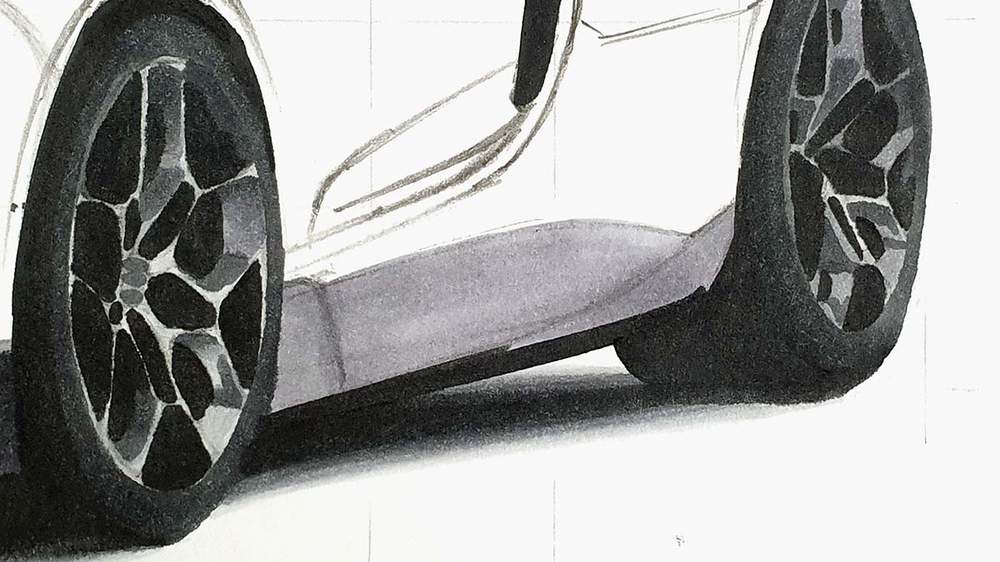
Then, I used Neutral Grey 07 to darken most of it except for the lighter reflection. On some places a layered the Neutral Grey 07 a few more times to make it look darker.

Step 7: Color the Headlights of the Bugatti Tourbillon
Next up, I colored both headlights.
I started by coloring the darkest parts with Neutral Grey 07, which include the bottom edge of the lights and a few lines at the top.
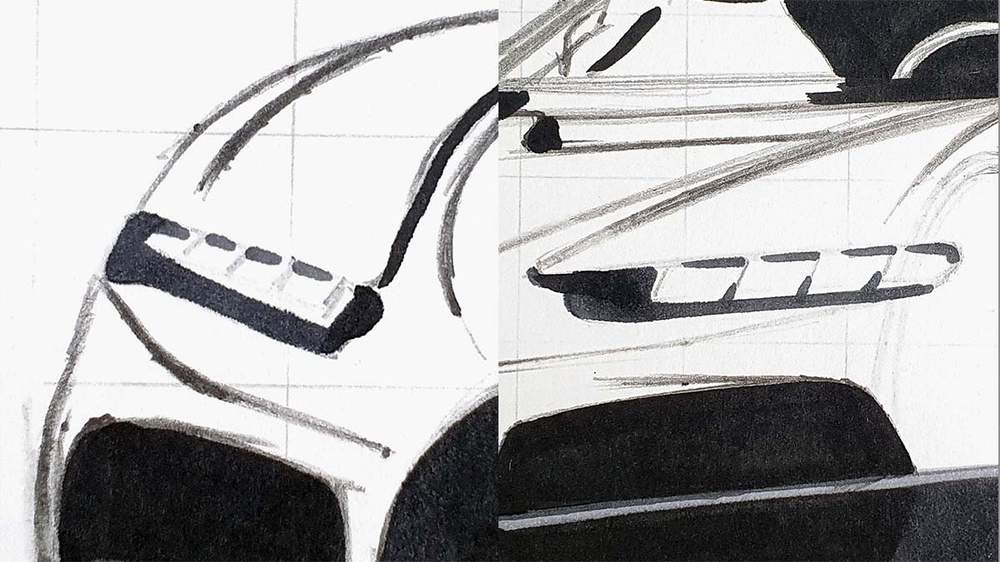
After that, I used Deep Cool Grey to color everything but the bright white L-shapes of the lights.
Lastly, I colored the lightest parts with Neutral Grey 03.
We'll add the white back in in the last step. For some reason I like to have the headlights fully colored first, even though I'm going to make the L-shapes white again.

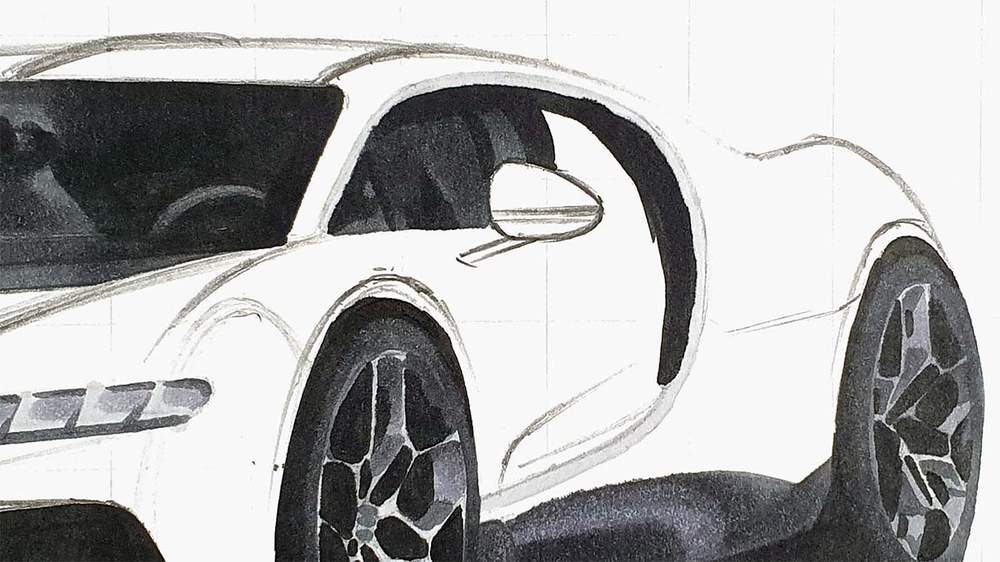
Step 8: Color the Windshield and the Interior of the Bugatti Tourbillon
After that, I colored the windshield and the interior of the Bugatti Tourbillon.
I first colored the darkest parts (which happen to be mostly on the right side over the windshield wiper) with Neutral Grey 07. I also colored the top bit of the windshield on the left side with it as well as the right edge of the left A-pillar. And I colored the dark grey shapes just below the windshield.
On some parts, I added multiple layers to add some darker nuances to make some interior parts still distinguishable.
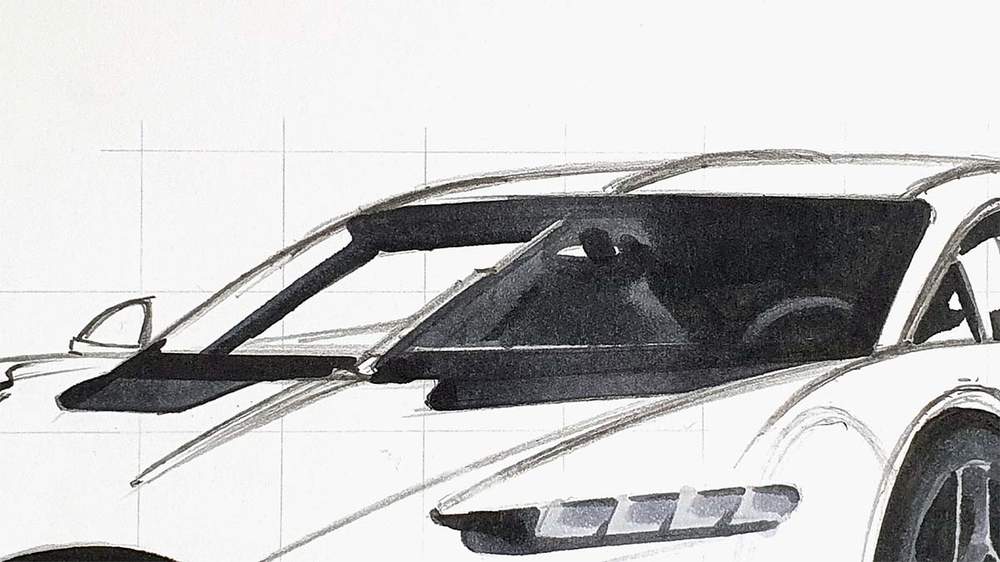
Next, I used Deep Cool Grey to color the remainder except for the side window. For the side window, I used Neutral Grey 03.
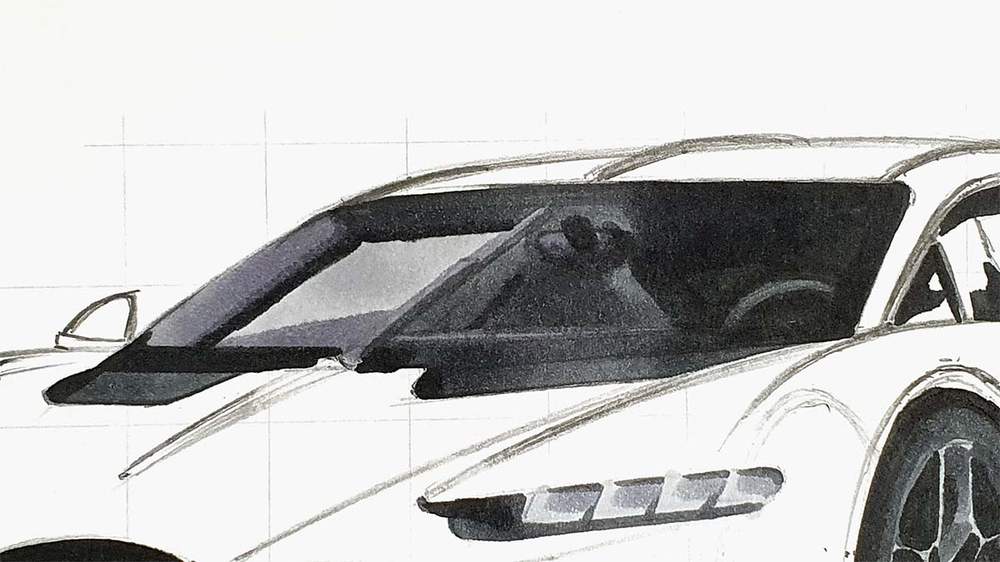
Step 9: Color the Side Window of the Bugatti Tourbillon
Next up, I colored the side window with Neutral Grey 07.
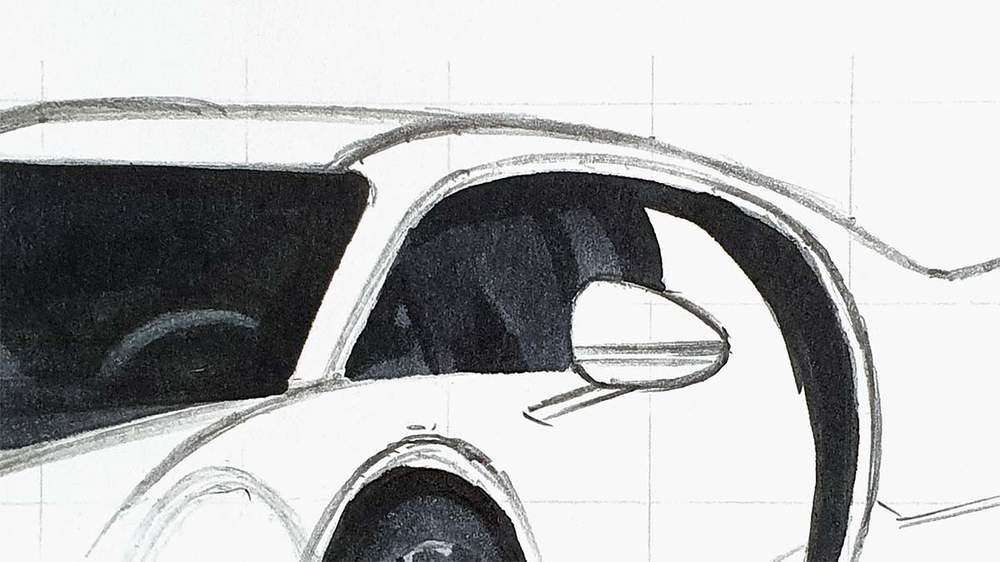
Step 10: Color the C-Shape Chrome Part Around the Door of the Bugatti Tourbillon
After that, I colored the signature C-shape chrome parts around the door with Neutral Grey 03.
Step 11: Color the Front Half of the Main Body of the Bugatti Tourbillon
All grey and black parts are done which means it's time to color the main body of the car. I've divided the main body of the Tourbillon into 2 sections: the lighter front and the darker rear.
First off, I colored the lighter front as I like to work from left to right.
I started by coloring the whole front with Blue Grey 03 except for the white reflection running across the top of the front of the car.
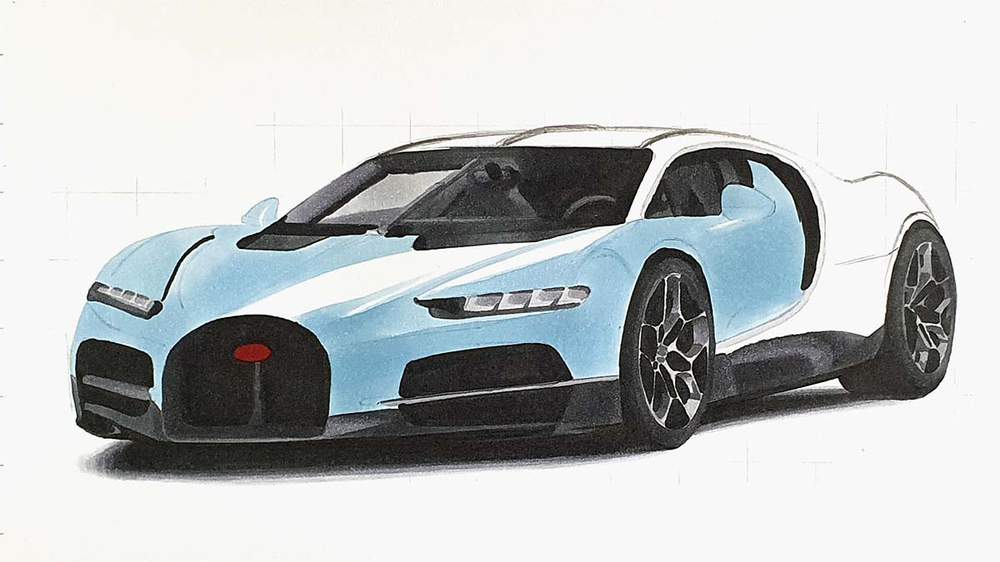
Next, I used Blue Grey 06 to add darker tones to the front of the Tourbillon. I blended this into the lighter grey-blue by going over the edges with Blue Grey 03. I also blended the edges of the Blue Grey 03 with the white reflection by smoothening the edges with the Colorless Blender.
Lastly, I used Blue Grey 07 to add some dark tones to the front.
I used it:
- to add a dark edge to the panel above the left headlight;
- to darken the bottom left of the front bumper;
- to add a dark reflection to the top left of the right grill;
- to darken some parts of the door mirrors;
- and to add a dark reflection to the left of the C-shaped grill on the side of the car.
I used it very sparsely to not overdo it.

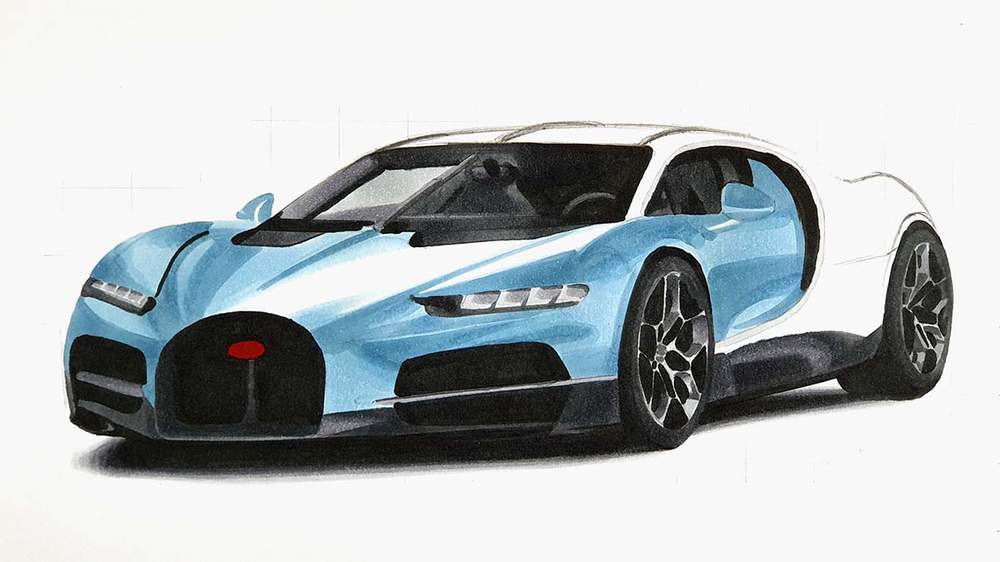
Step 12: Color the Rear Half of the Main Body of the Bugatti Tourbillon
After that, I colored the rear half of the Bugatti.
I started by coloring the lightest parts with Blue Grey 03.
After that, I colored the remainder with Blue Grey 06 and blended that into the Blue Grey 03.
Lastly, I used Blue Grey 09 to add a lot of depth. I colored everything below the light reflection on the rear/side, I colored the part above that too that flows around the top of the car into the A-pillar, and I colored the top of the roof.
And again I blended this into the lighter blue-grey.
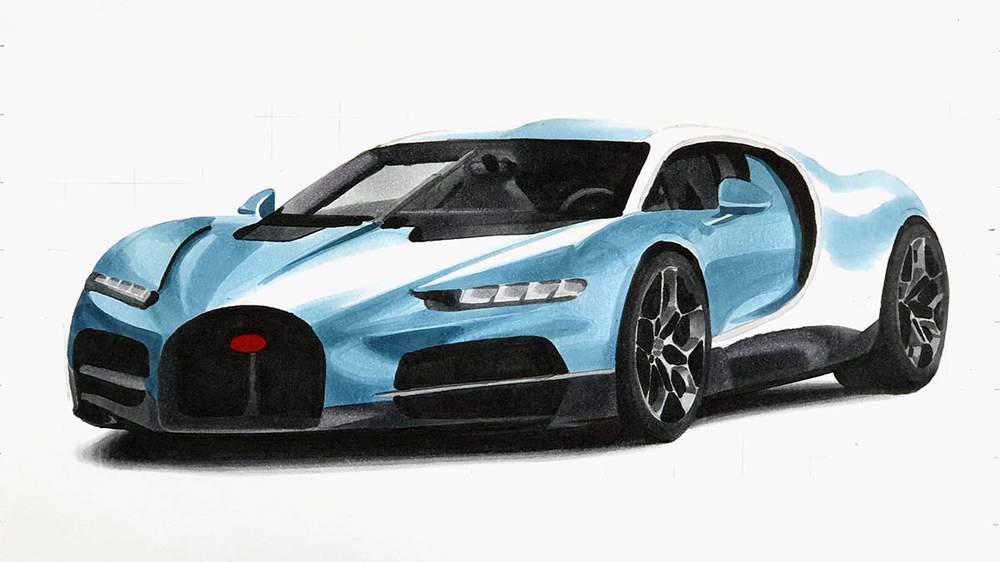
Step 13: Add Details to Your Bugatti Tourbillon Drawing
The Bugatti Tourbillon is now fully colored! However, it could do with some refinement and details.
And that's where the White, Dove Grey, and Black Derwent Coloursoft pencils come in handy.
I used the White pencil to:
- refine the rim and the spokes of the front wheel and a little bit on the rear wheel;
- refine the C-shape that I kinda messed up with the Blue Greys...;
- add the light of the headlights back in;
- refine panel edges on the front of the car;
- add white to the Bugatti logo and mimic the lettering;
- add a few light reflections all over the car;
- refine the windshield wiper;
- and to lighten some of the light blue-grey parts a bit.
I used the Black pencil to:
- add a carbon fiber texture to the carbon fiber parts on the front and the side of the Tourbillon;
- and to refine the spokes of the front wheel a bit more.
I used the Dove Grey pencil to:
- enhance the carbon fiber texture;

Step 14: Add White Highlights to Finish Off Your Bugatti Tourbillon Drawing
And to finish the drawing off I used the White Posca PC-3M to add some bright white highlights.
I added highlighted to:
- the logo;
- the carbon fiber parts on the front and the side;
- both wheels;
- the headlights;
- the C-shape around the door (I fully colored it with the paint marker);
- the Door mirrors;
- the windshield wiper;
- the roof fin thing;
- the dark blue-grey part;
- and the light blue-grey part on the side and the front.
Yes, I did add highlights on almost every part of the Bugatti Tourbillon.
But it makes it look so much better in my opinion.
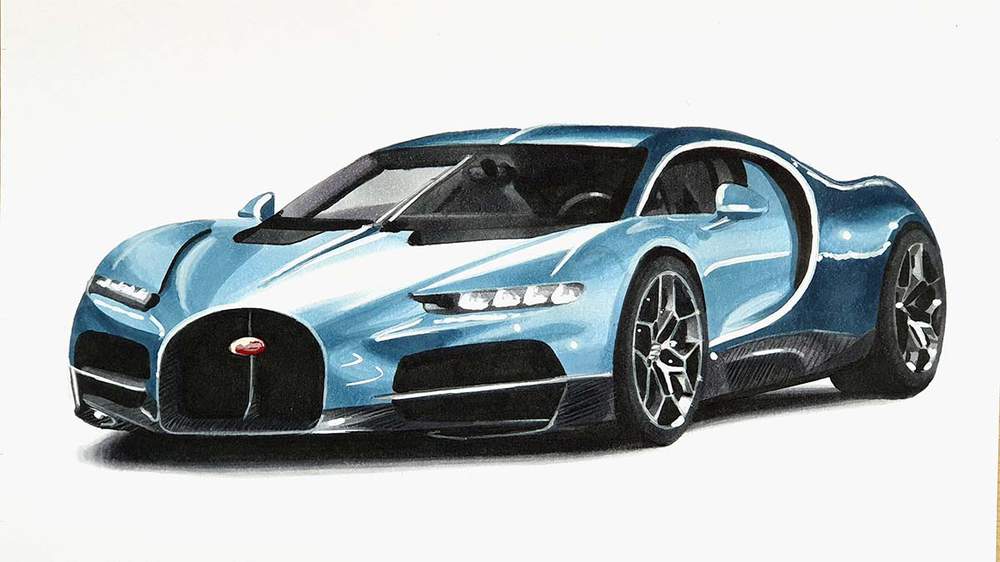
And That's How I Draw Cars Like the Bugatti Tourbillon
The Bugatti Tourbillon drawing is finished! I'm really happy with how this drawing came out. I hope yours turned out great too!
I hope you found this tutorial useful! If you did, please consider sharing it with others who might enjoy it. It would mean a lot to me!
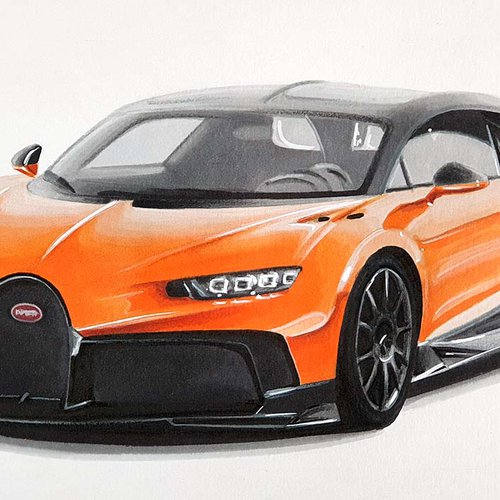
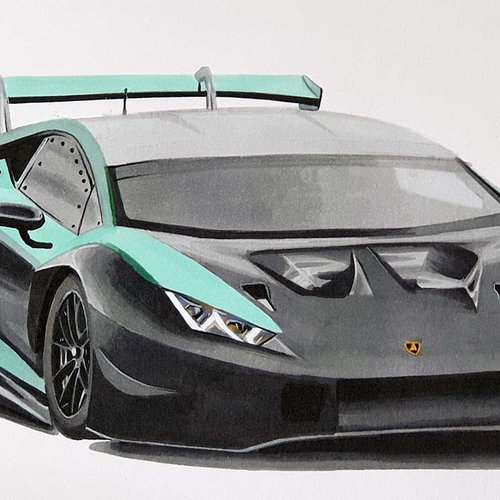
Make sure to check out my other step-by-step car drawing guides!
Have a nice day!
Tags
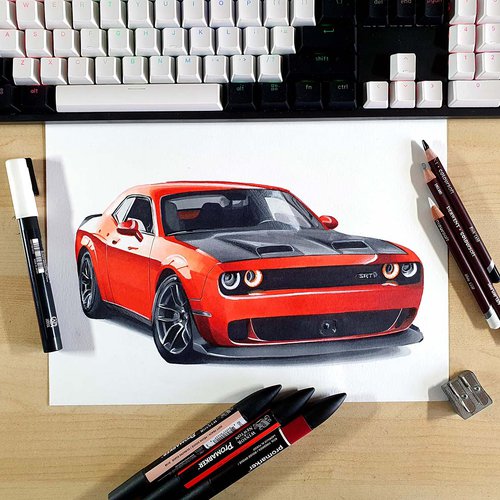
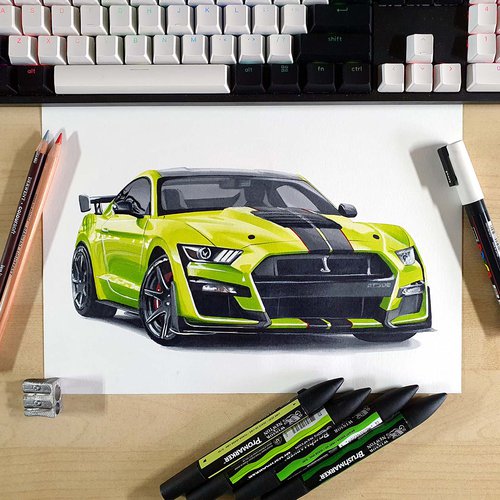
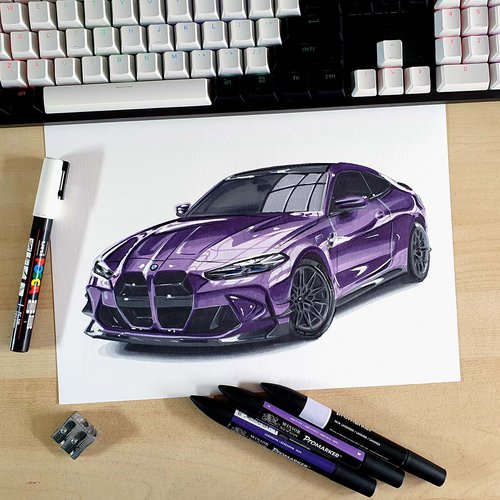
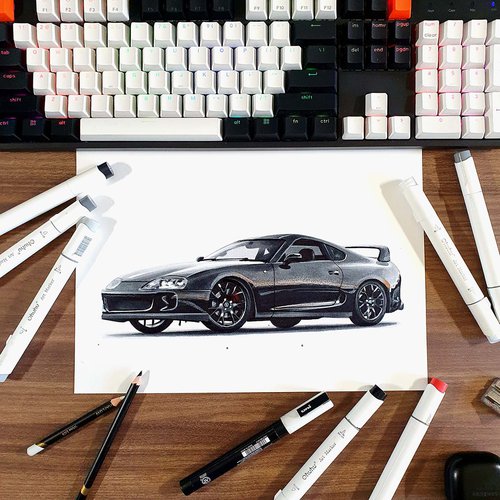
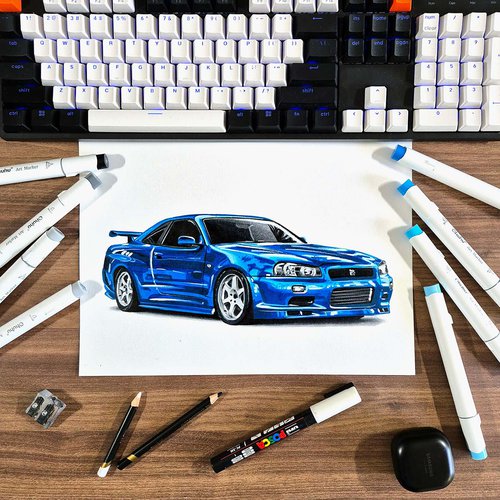
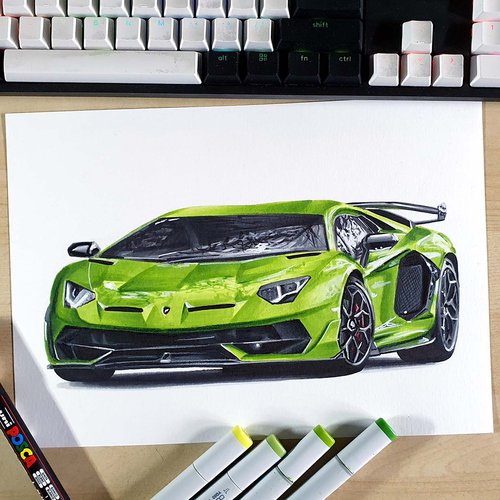
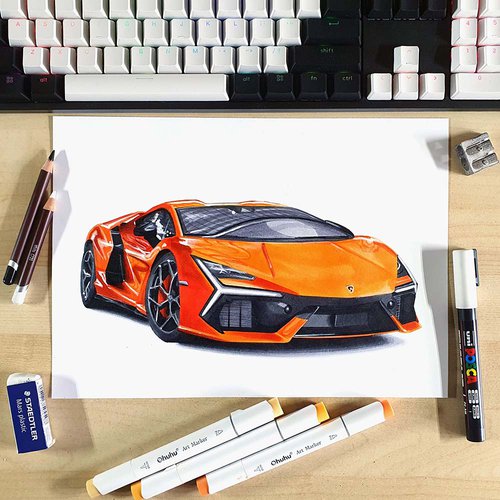
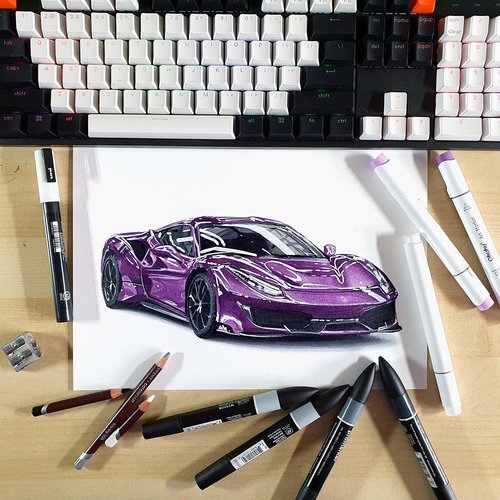
Articles You Might Also Like


I love bringing cars to life with alcohol markers and colored pencils.
Whether you're just starting out or looking to improve your skills, I'm here to help!
Click here to learn more about me.


Be the first to comment!
Comments
There are no comments yet.