How To Draw A Mushroom - Realistic Step-By-Step Tutorial
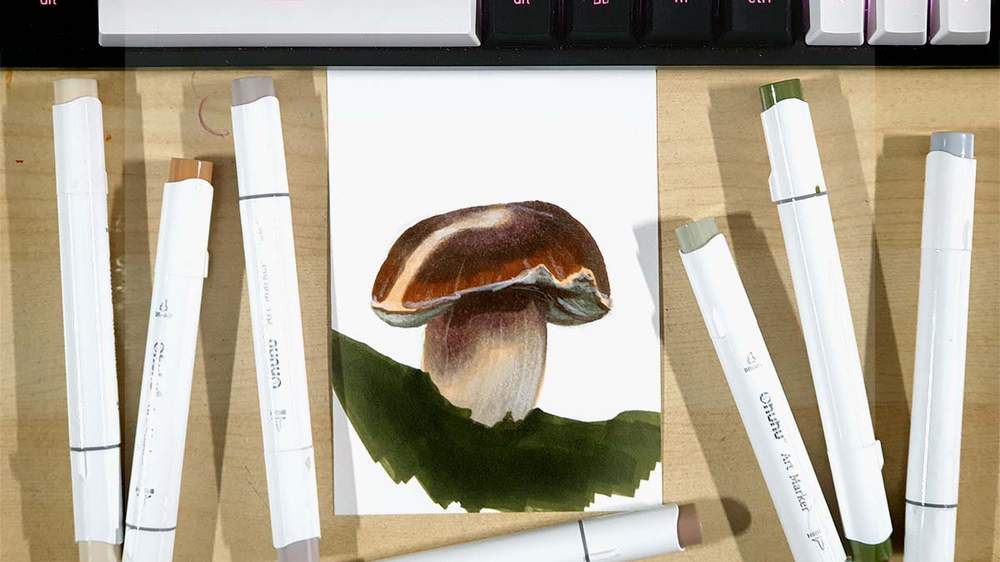
In this drawing tutorial, I'm going to show you how to draw a simple yet realistic-looking mushroom with markers.
This drawing isn't as difficult as it might seem at first. I've broken everything up into many easy-to-follow steps so you can draw one just as well as I did.
Let's get started!
Disclaimer: In the name of full transparency, please be aware that this blog post contains affiliate links and any purchases made through such links will result in a small commission for me (at no extra cost for you).
Drawing Materials I Used To Create This Mushroom Drawing
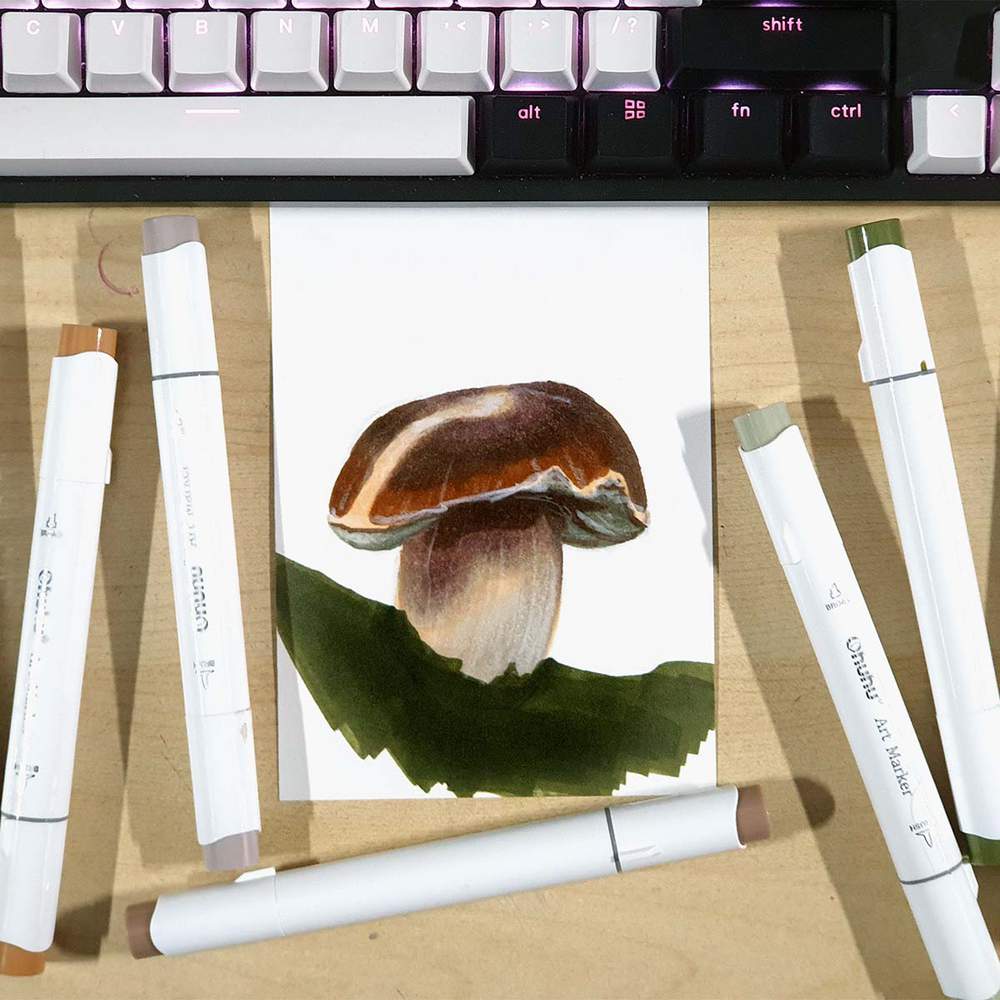
To make this drawing, I used my favorite markers: Ohuhu Honolulu markers.
I used the colors CG030 Neutral Grey 03, E160 Soft Sun, E260 Leather, E310 Dark Brown, E400 Cocoa Brown, E432 Vert Celadon, E434 Dragon Well Tea, and G300 Dark Olive.
If you're on a tighter budget, these Caliart markers seem like a good and cheap alternative.
I also used a white Derwent Chromaflow pencil to add a few details.
And I made this drawing using my favorite marker paper: Canson Illustration Manga.
How To Draw A Mushroom?
To draw a mushroom, you first mark the top, left, and right edges. Then you sketch the cap and the stem. After that, you sketch the edge of the cap. Next, you color the mushroom using earth-toned markers. Lastly, you add just a few details with a white pencil.
Step 1: Sketch The Cap & The Base Of The Mushroom
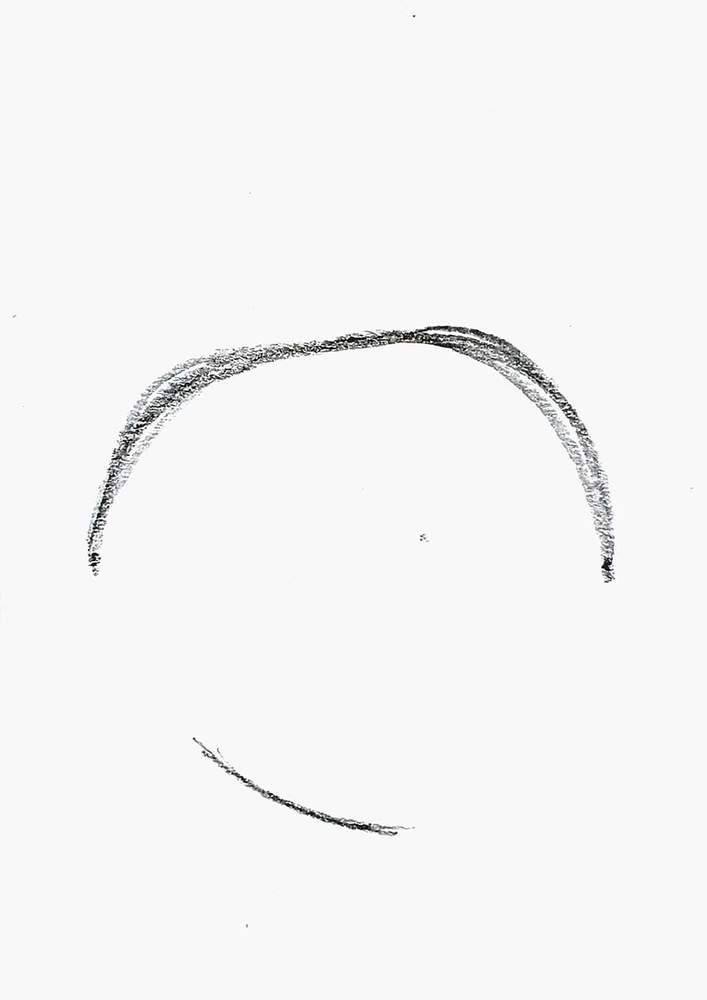
I first marked the top, left, and right edges of the cap of the mushroom.

Then, I sketched the outline of the cap as well as the bottom of the base of the mushroom.
I sketched the base of the mushroom a bit tilted as it is on a slope.
Step 2: Sketch The Stem Of The Mushroom
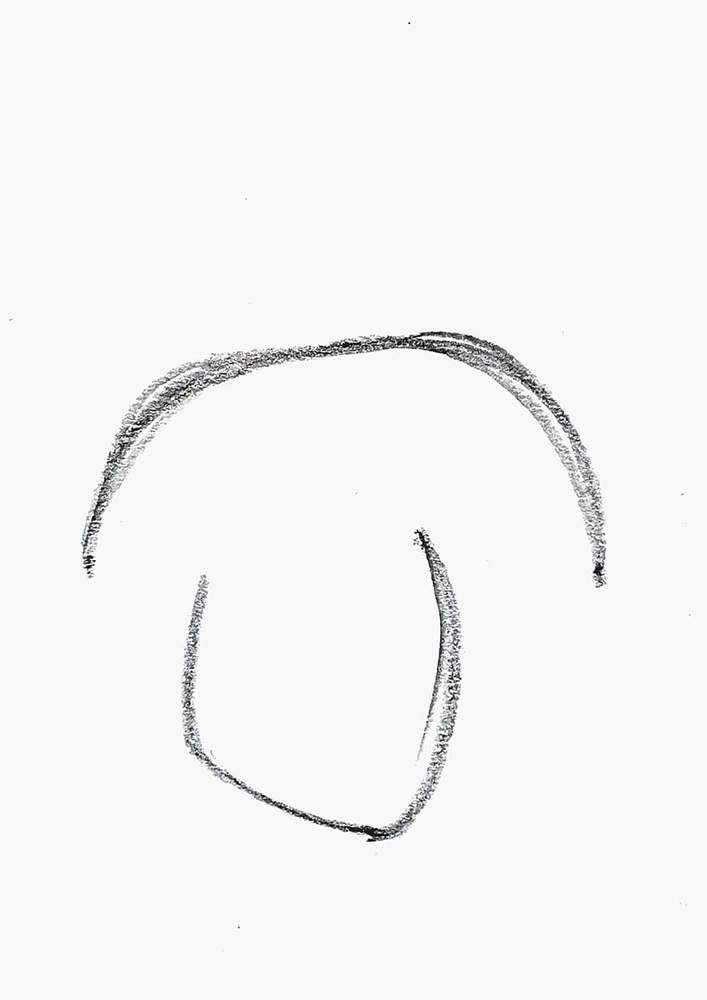
Next, I sketched the stem. I made the left edge go straight up and the right edge curve outwards and up.
Step 3: Sketch The Edge Of The Cap Of The Mushroom
Then, I sketched the edge of the cap of the mushroom. From left to right, I made it go slightly down, then up, and down again to the right corner, kind of like a wave.
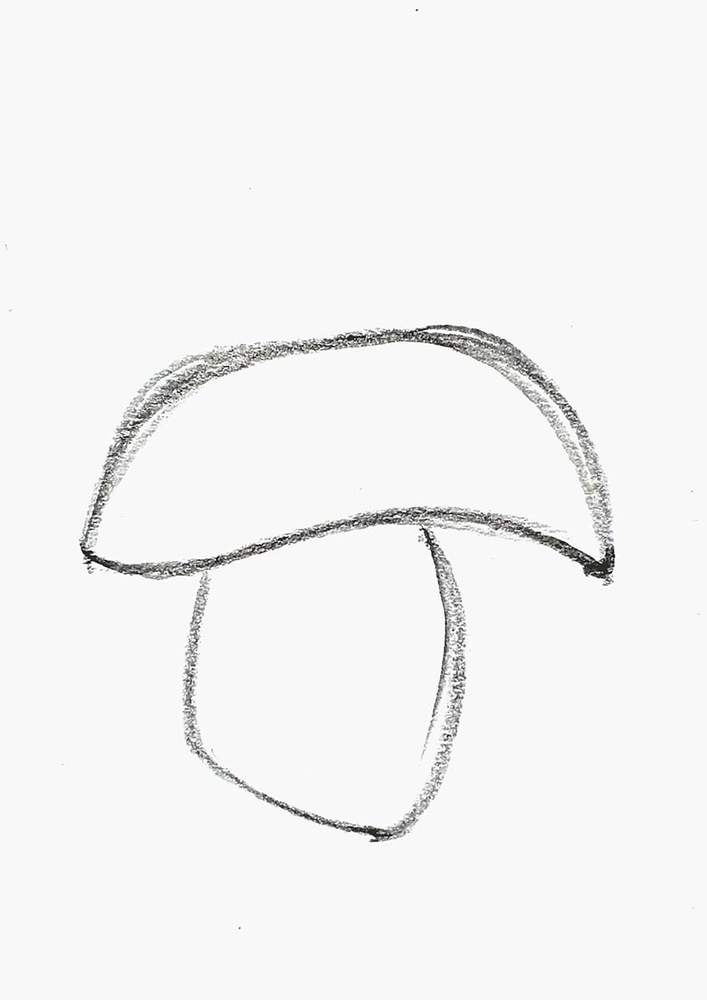
Next, I added a curved line below the edge on the left where the underside of the cap is showing a bit.
I also sketched a line that curves downwards below the edge to the right of the stem. This is where the edge continues behind the stem of the mushroom.
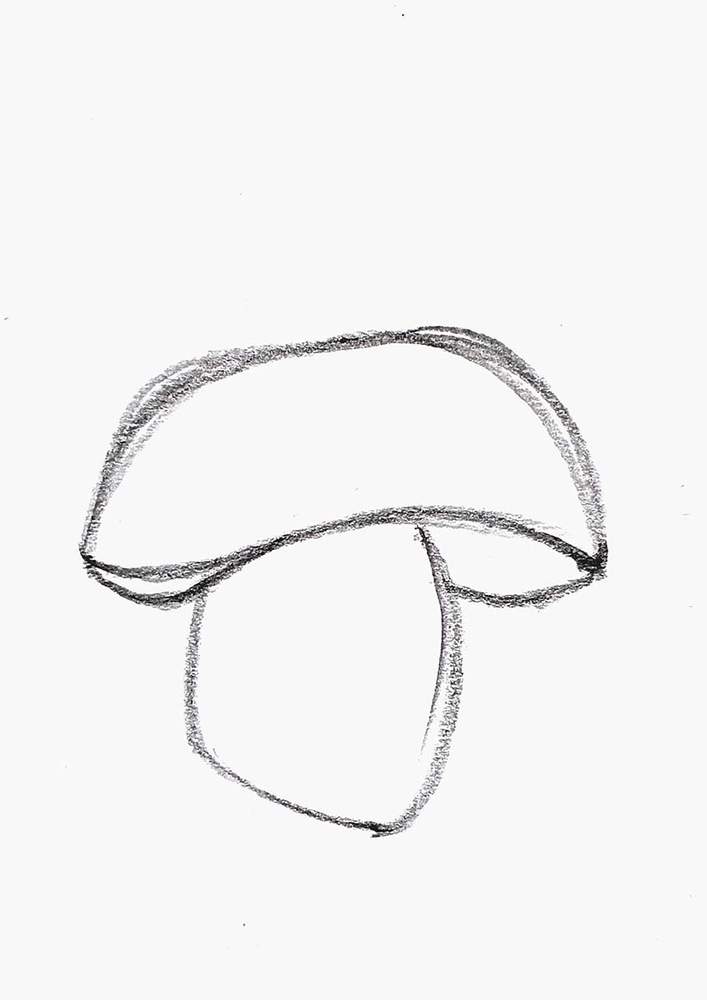
Lastly, I lightened my sketch to get it ready for coloring.
Step 4: Color The Mushroom With Markers
Now that the sketch is done, we can start coloring the mushroom.
I started by coloring the lightest brownish parts: the stem, the edge of the cap, and a line on the cap.
To do this, I used E160 Soft Sun.
I added two bits on the edge of the cap where there are bits eaten out of the cap to make the mushroom look a bit more dynamic and interesting.

After that, I colored the underside of the cap with E432 Vert Celadon and the lower half of the cap with E260 Leather while leaving the edge light brown.
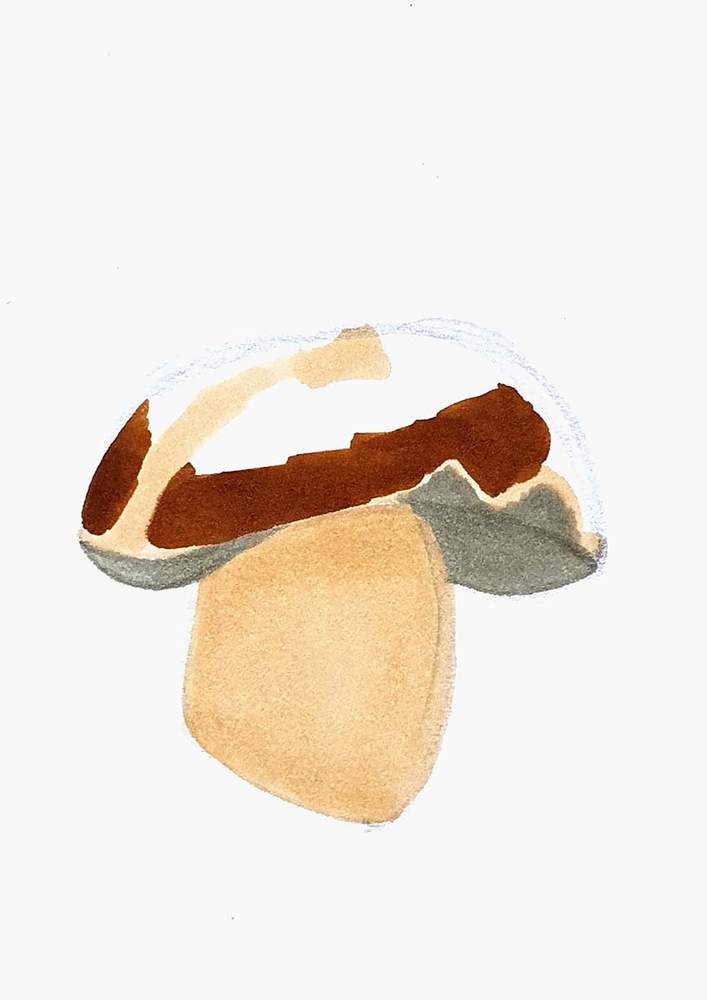
Next, I used E310 Dark Brown to color most of the remainder of the cap except for the top middle, and I used E434 Dragon Well Tea to darken the underside of the cap.
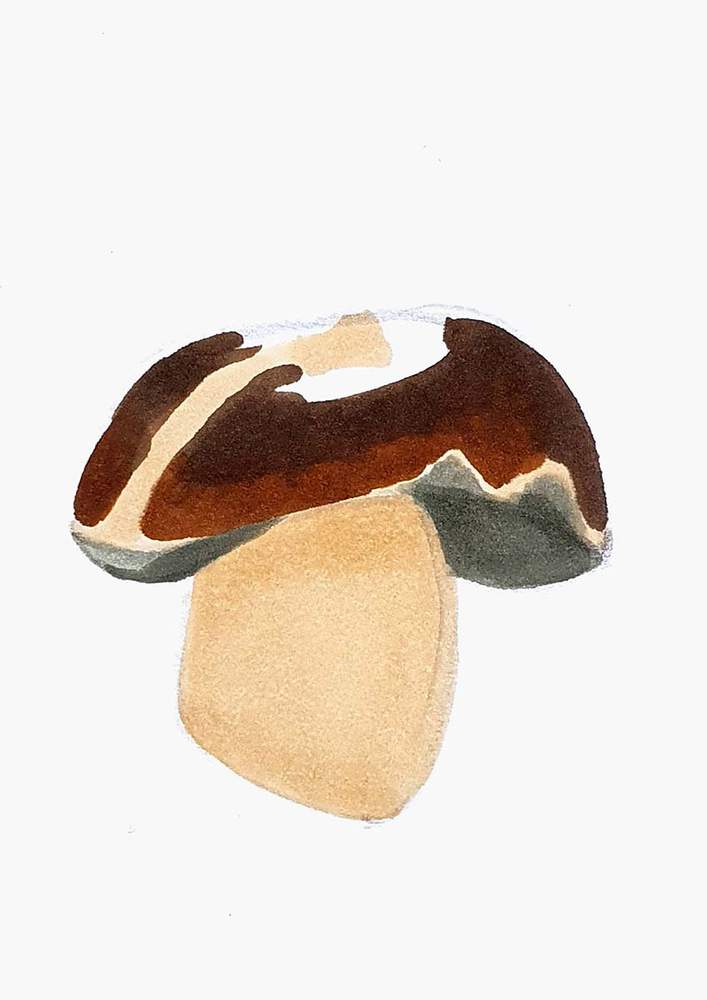
Then, I used E400 Cocoa Brown to color the top of the cap and to add a shadow on the stem caused by the cap.
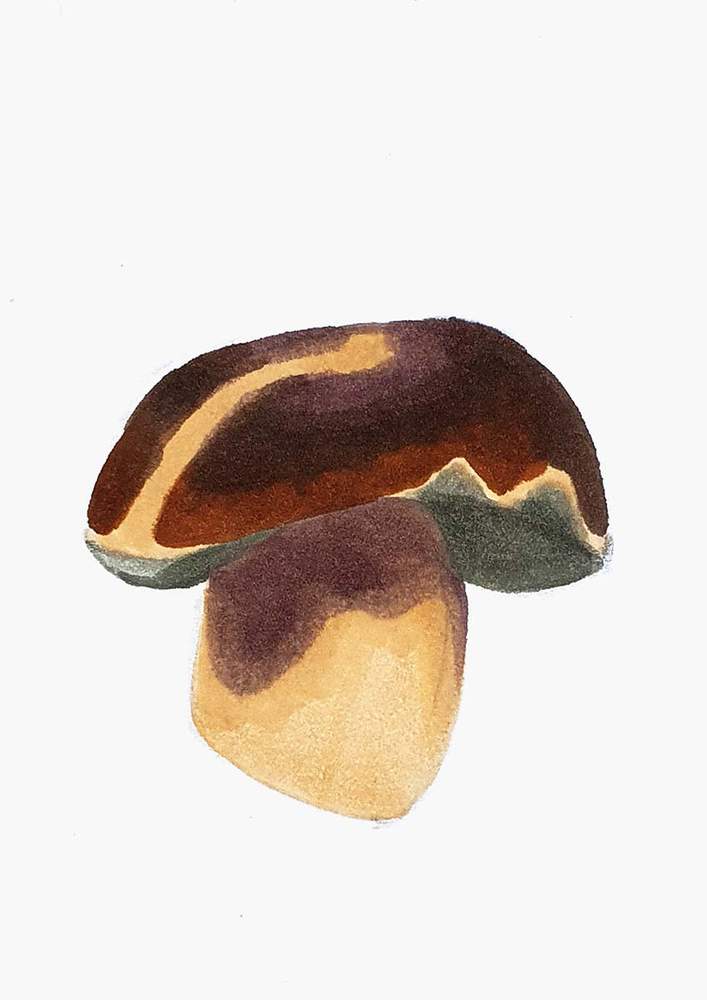
After that, I used E310 Dark Brown to make the top of the shadow darker and to add shadows on the gills on the underside of the cap.
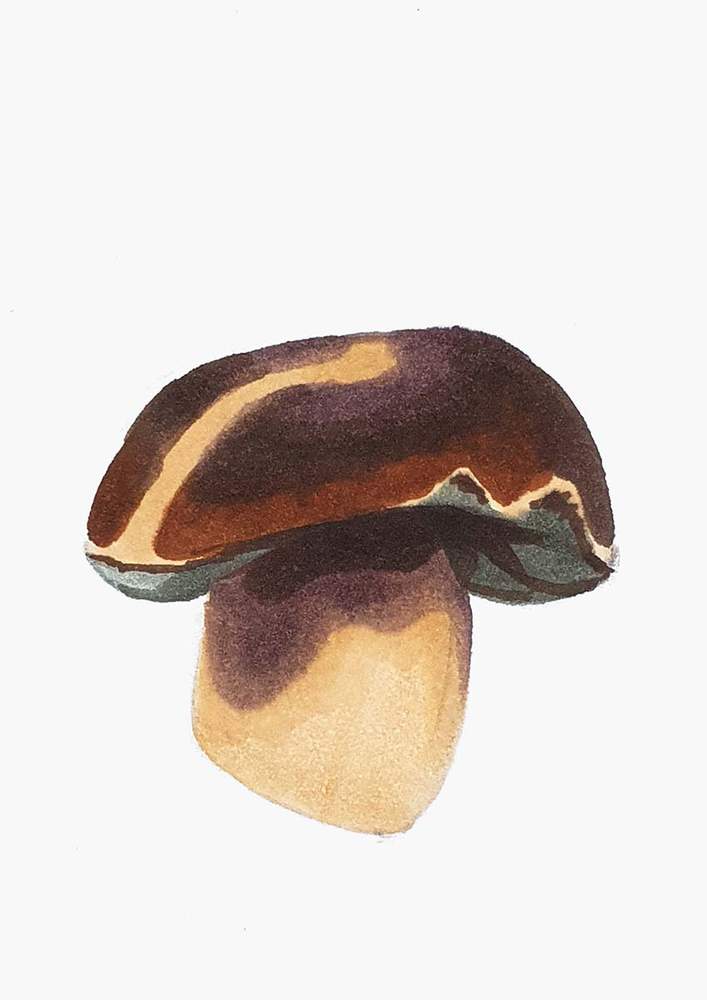
Next, I used CG030 Neutral Grey 03 to make the bottom right of the stem a lot more grey and I used G300 Dark Olive to color the ground where the mushroom is standing on.
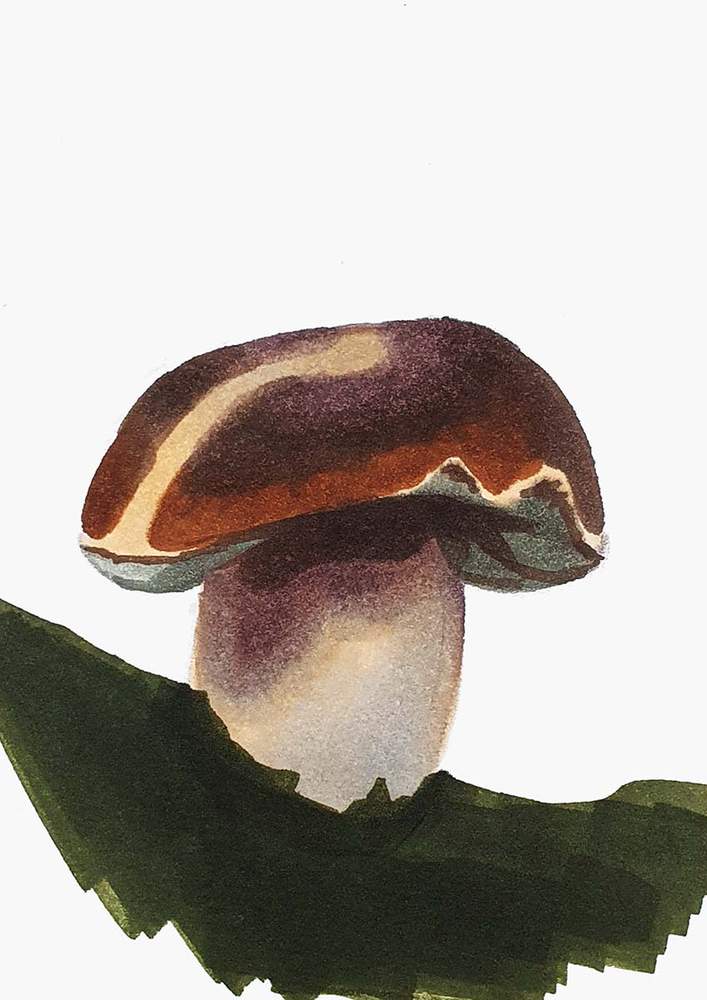
Step 5: Add A Few Highlights & Details With A White Pencil
To finish the mushroom drawing off, I added a few white highlights and ridges on the cap, the stem, and the gills of the mushroom.
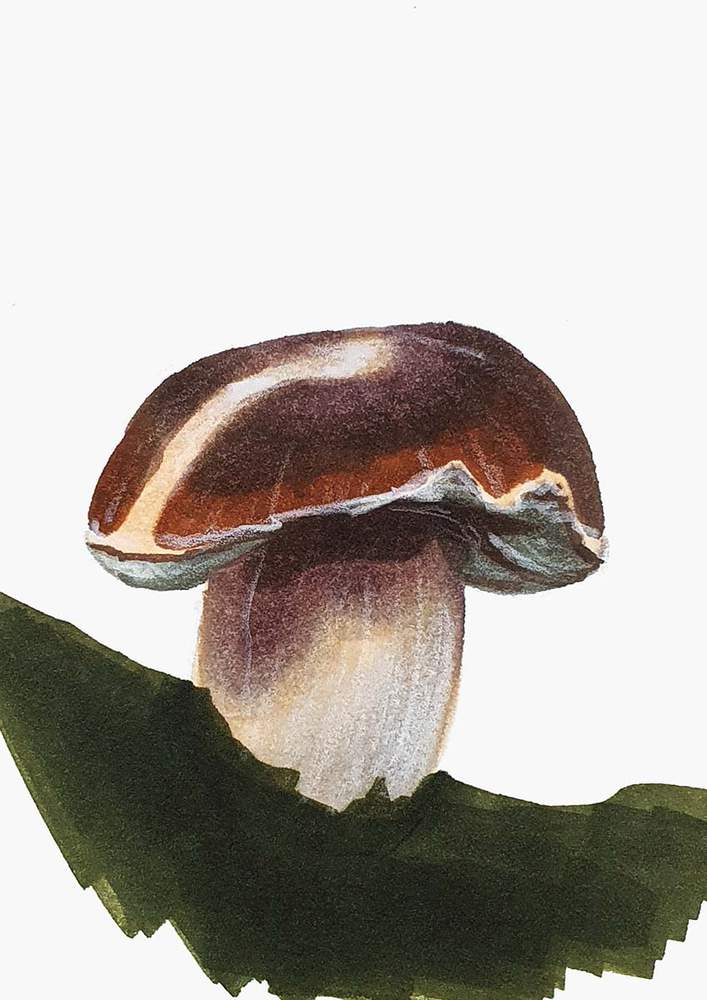
And that's how you draw a mushroom.
I hope you found this helpful and let me know how your drawing turned out!
I'll see you in my next drawing tutorial!



Be the first to comment!
Comments
There are no comments yet.