How to Draw a Rose Step by Step - Simple yet Realistic
This guide shows you how you can draw a good-looking rose from scratch.
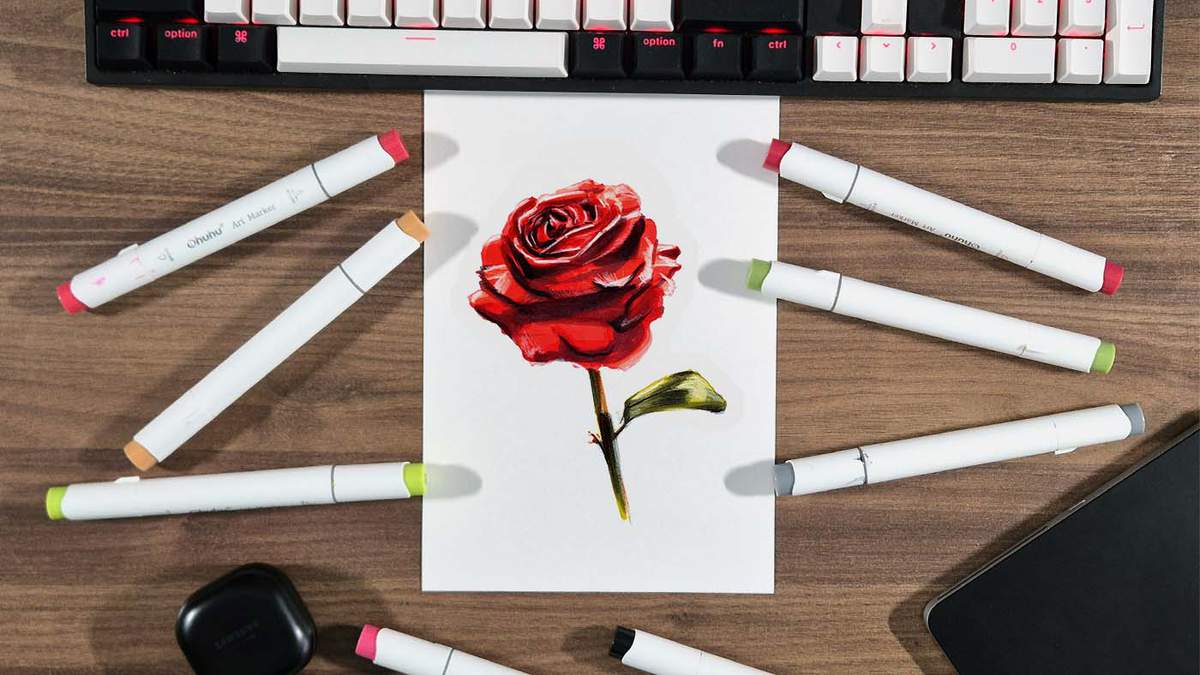
In this drawing guide, I'll show you how to draw a rose that's easy to draw and realistic.
The whole guide is broken up into easy-to-follow steps with plenty of guiding photos. I'll teach you how to sketch an accurate rose from scratch and then how to use alcohol markers to color and shade it to look realistic.
Let's get started!
I just wanted to let you know that this post contains affiliate links, and any purchases made through these links will result in a small commission for me and don't cost you anything extra.
In This Guide
- The reference photo
- Drawing supplies and colors I used
- How to draw a rose step by step
- How to create an accurate rose sketch from scratch
- How to color a rose with markers
- Adding details with colored pencils
- More guides you'll love!
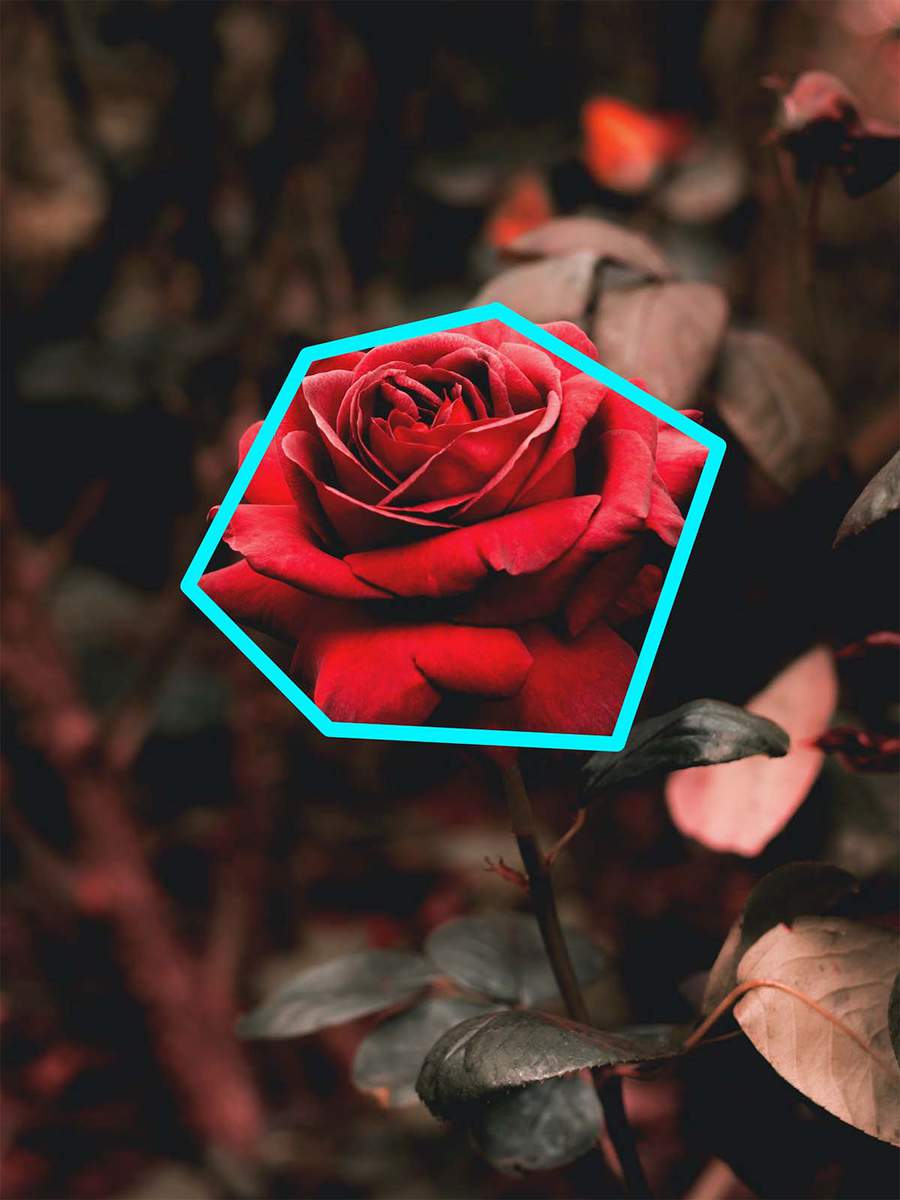
The Reference Photo for This Rose Drawing
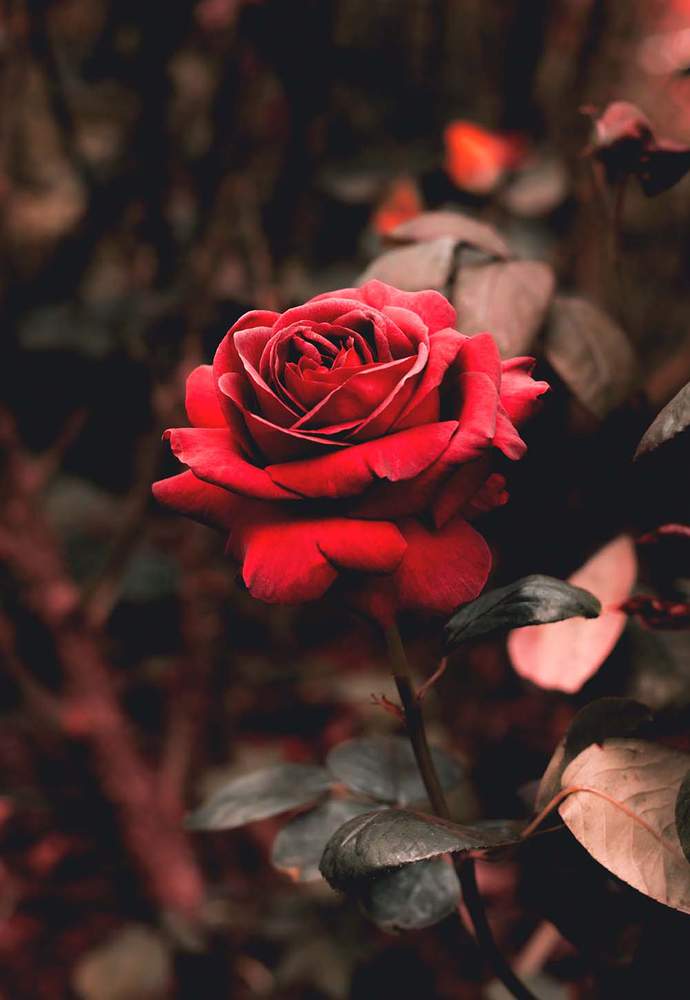
For this tutorial, we're going to draw the rose from the photo below. I found it on Unsplash, which is a great source for reference photos, btw. I use it all the time for my step-by-step guides.
Drawing Supplies I Used to Draw this Realistic Rose
To sketch the rose, I used a regular graphite pencil. You could also choose to use this pencil to shade it, but I like to give my drawings some color.
Before coloring my drawing with markers, I like to lighten the sketch to prevent the lines from showing through the ink. I found that a kneaded eraser is perfect for this. You just roll it across your sketch, and it will lighten it evenly.
I used Canson Illustration Manga paper to draw on, which works really well for alcohol markers. I use it all the time.
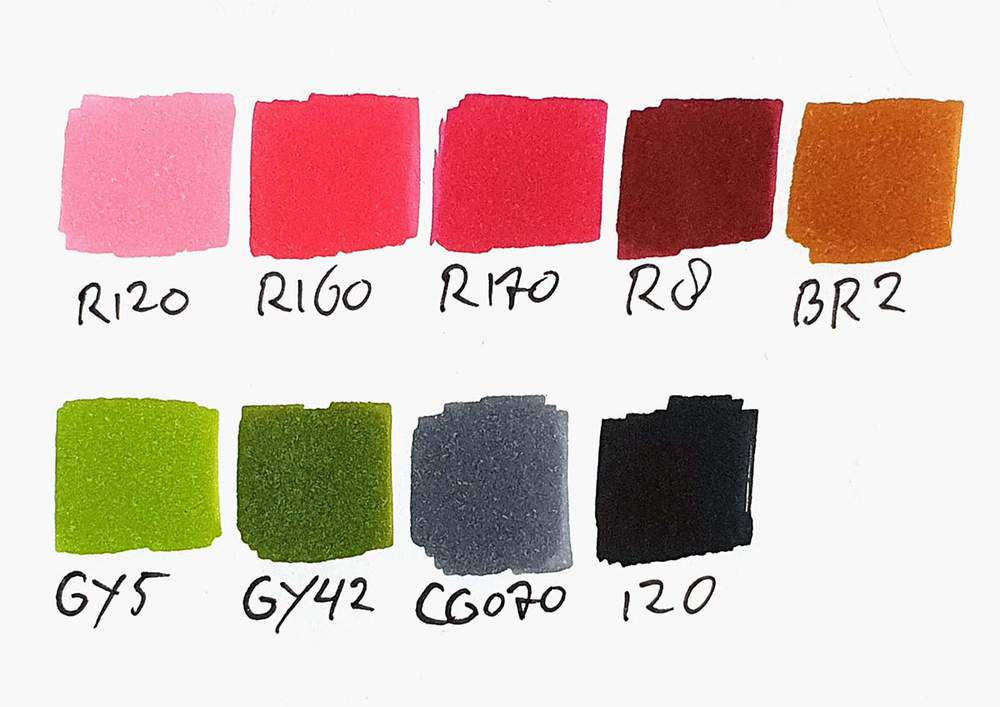
To color this rose drawing, I used 9 Ohuhu Honolulu markers: Light Prawn (R120), Cadmium Red (R160), Lipstick Red (R170), Geranium (R8), Potato Brown (BR2), Absinthe (GY5), Bronze Green (GY42), Neutral Grey 07 (CG070), and Black (120).
You can buy these colors separately or as part of the 320 set. Or you can buy them on Amazon if you prefer.
In the image below, you can see what all the colors look like, and if you already have some markers, you can match them to the ones I used.
I also used a white and a black Derwent Coloursoft colored pencil to add some highlights and details at the end to make it look more realistic.
How Do You Draw a Rose Step by Step?
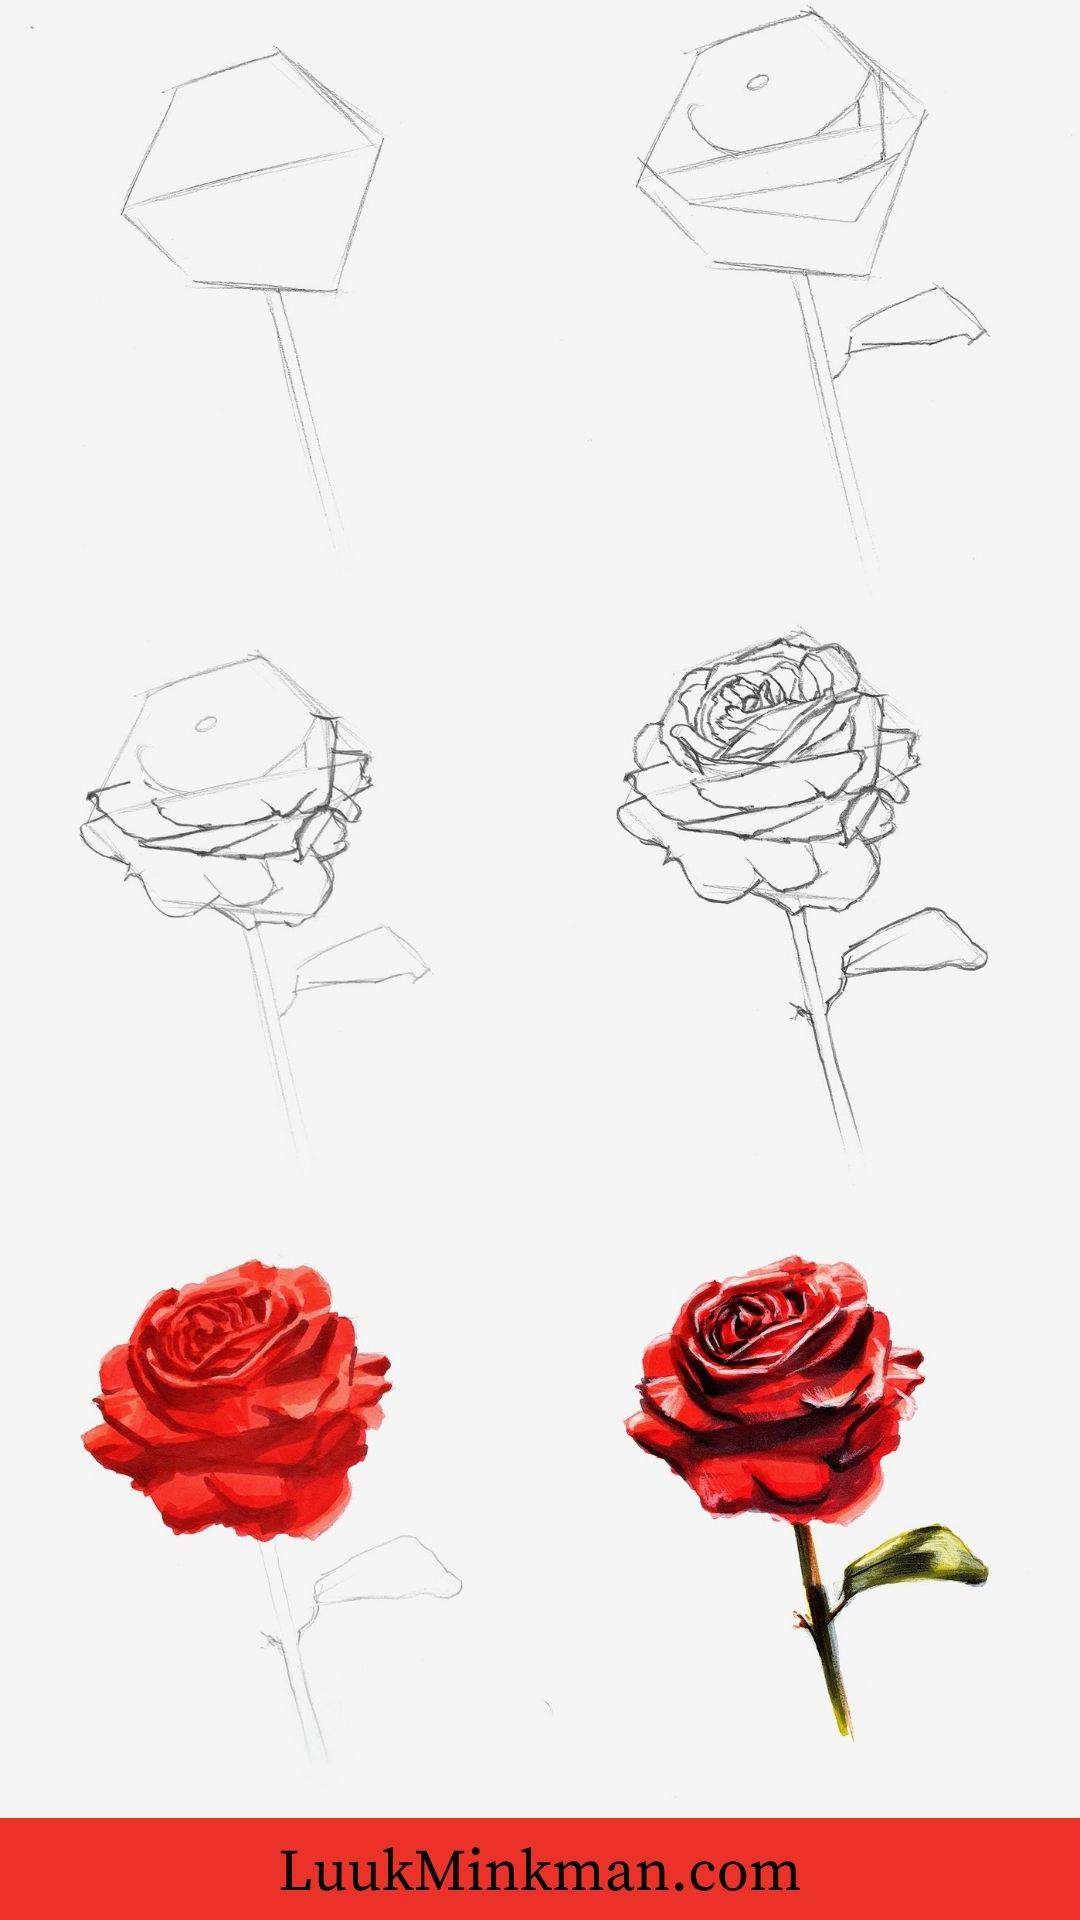
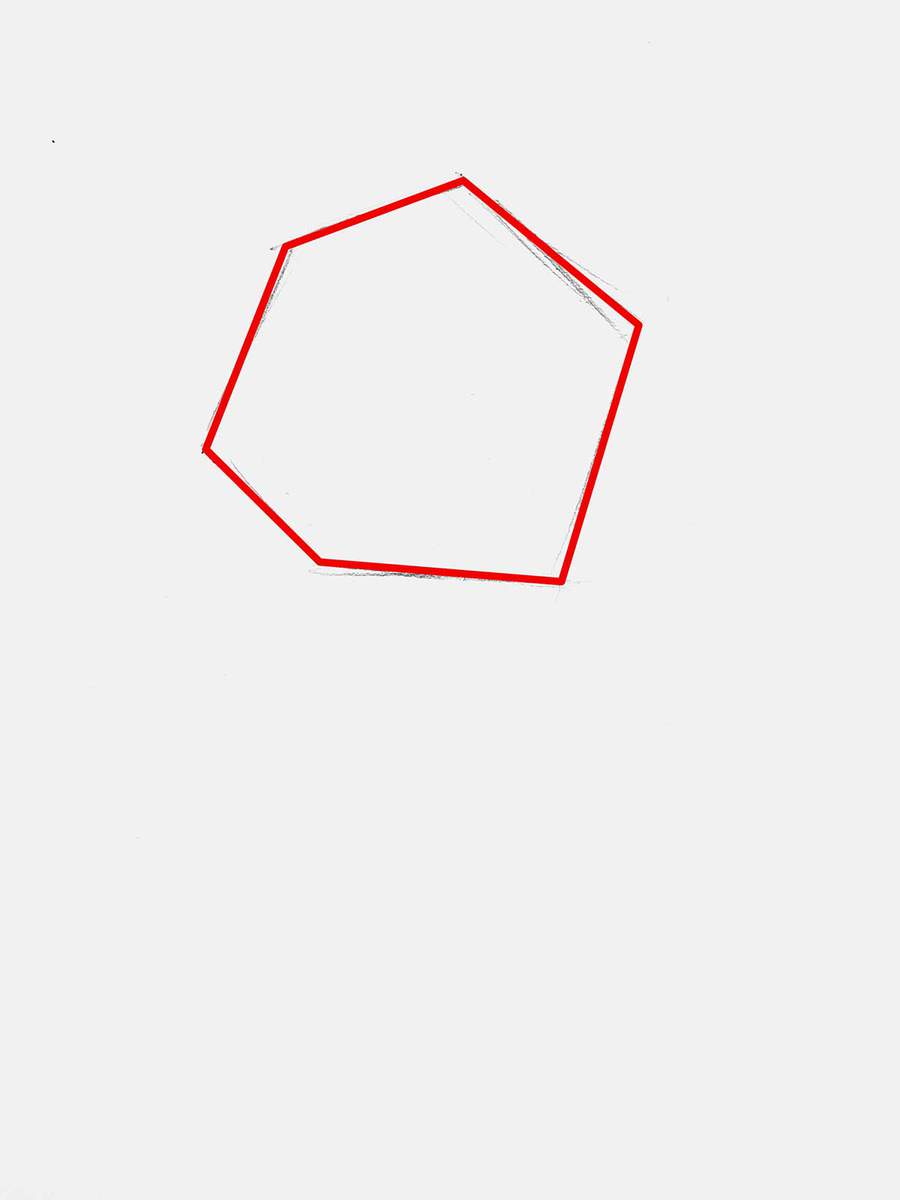
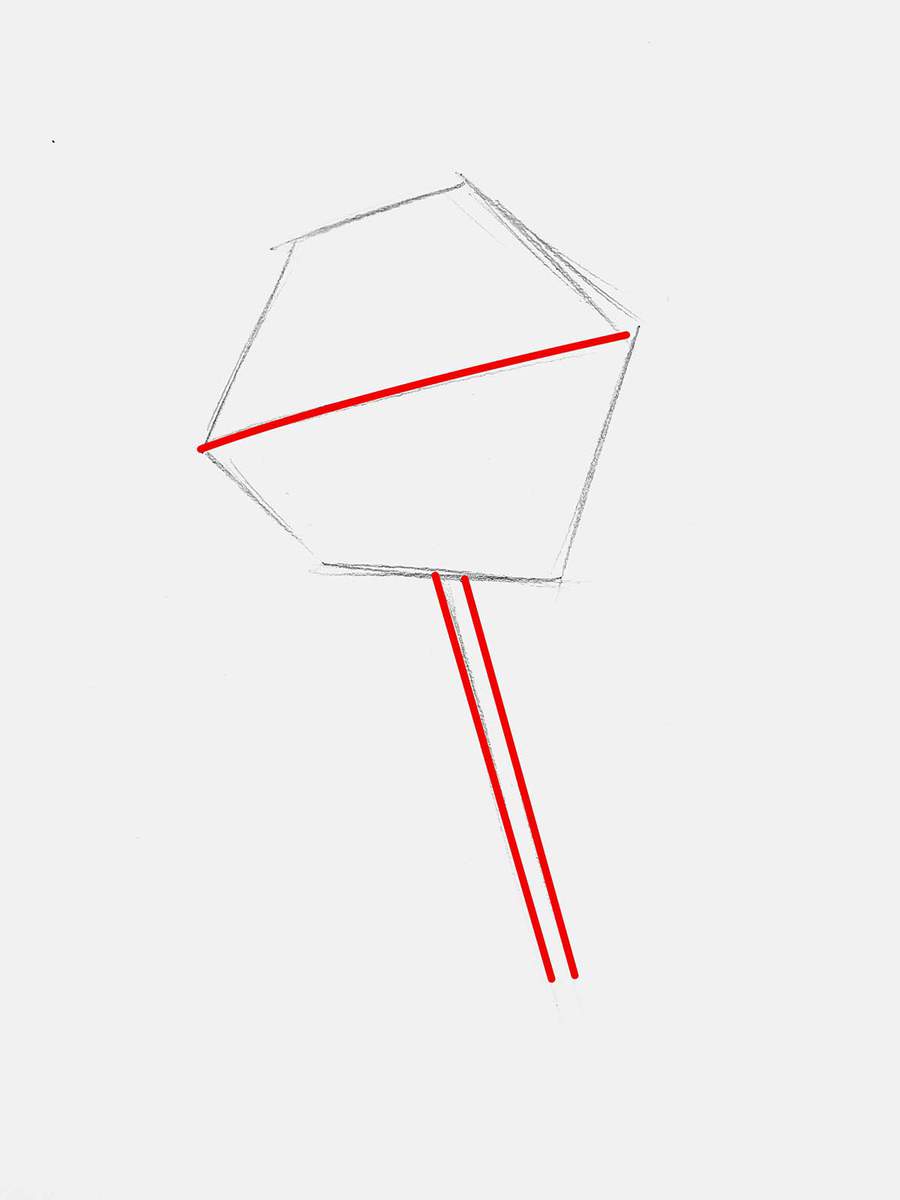
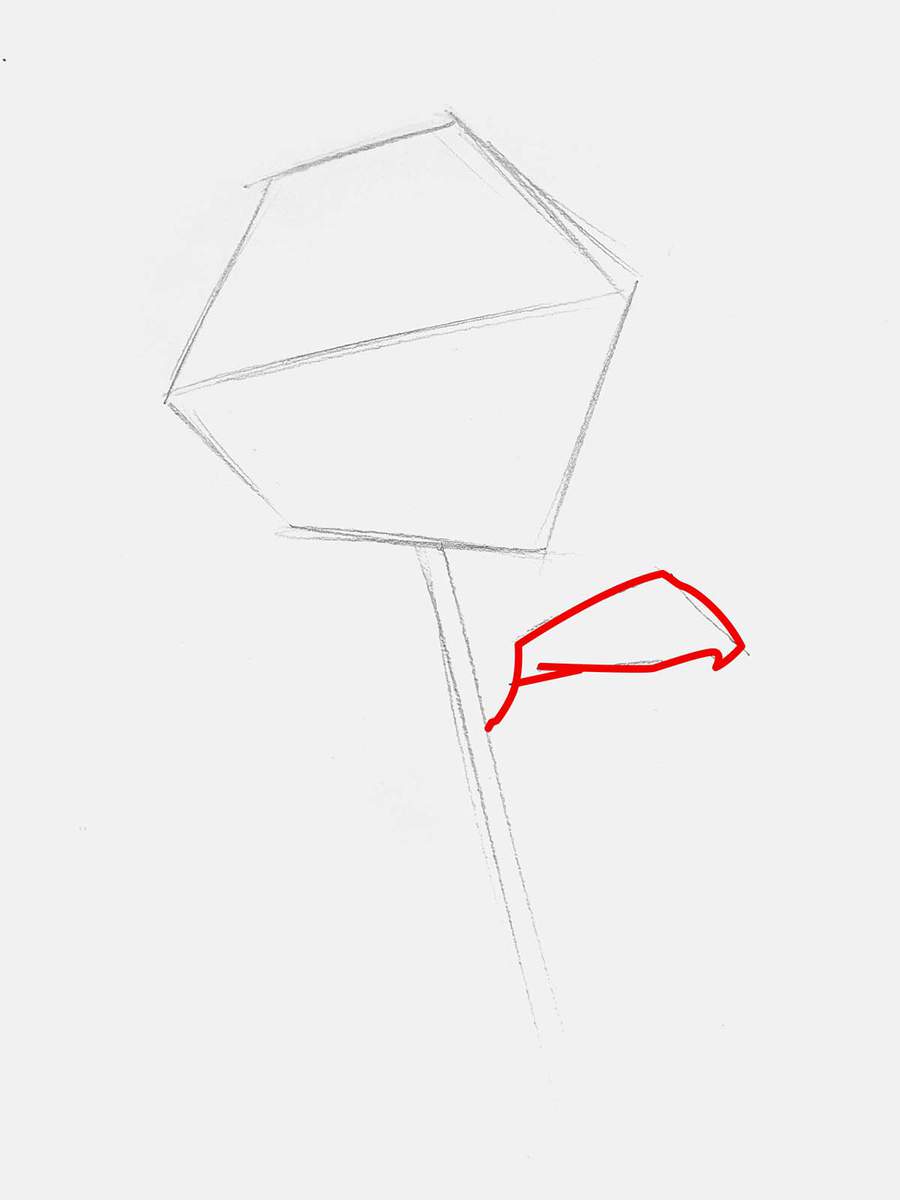
In this rose drawing guide, I'll first show you how to accurately create the sketch. In the images for this part, I've marked the added sketch lines in red. This will make it a lot easier for you to spot what to add to your sketch.
After the sketch is complete, I will show you how to realistically color and shade the rose drawing.
And to finish the rose drawing, I added just a few small highlights, shadows, and details with a black and a white colored pencil.
Step 1: Sketch the Basic Shapes of the Rose
To sketch the rose, I first identified the basic shape of the rose. It looks a lot like a wonky hexagon, which is pretty easy to draw.
In the image below, you can see what I marked as the basic shape of the rose.
After having defined this shape, I sketched it onto my drawing paper, somewhere towards the top to leave some room for the stem.
After that, I identified more basic shapes, like the stem and this line that is created by the petals that runs across the center, and I sketched those onto my paper as well.
In the reference photo, the rose has this little leaf that I wanted to add. But as it's a little too high on the stem, I moved it down to make it fit our composition a little better.
For now, I just roughly marked out the shape of the leaf. We will refine the in a later step.
After adding the tiny leaf on the stem, I wanted to add some more guiding lines for the petals. After looking for a while at the reference photos, I found some more shapes and lines I could add to make sketching the petals a bit easier.
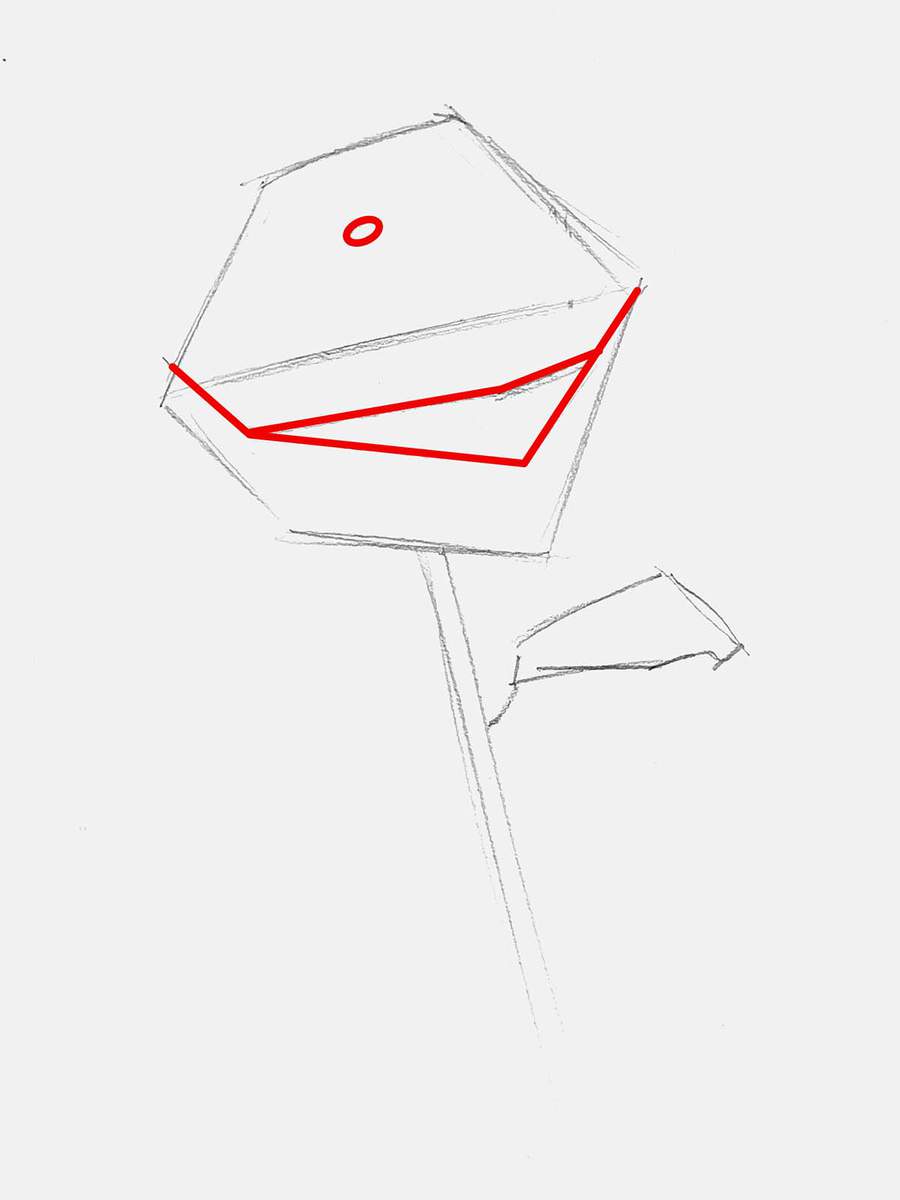
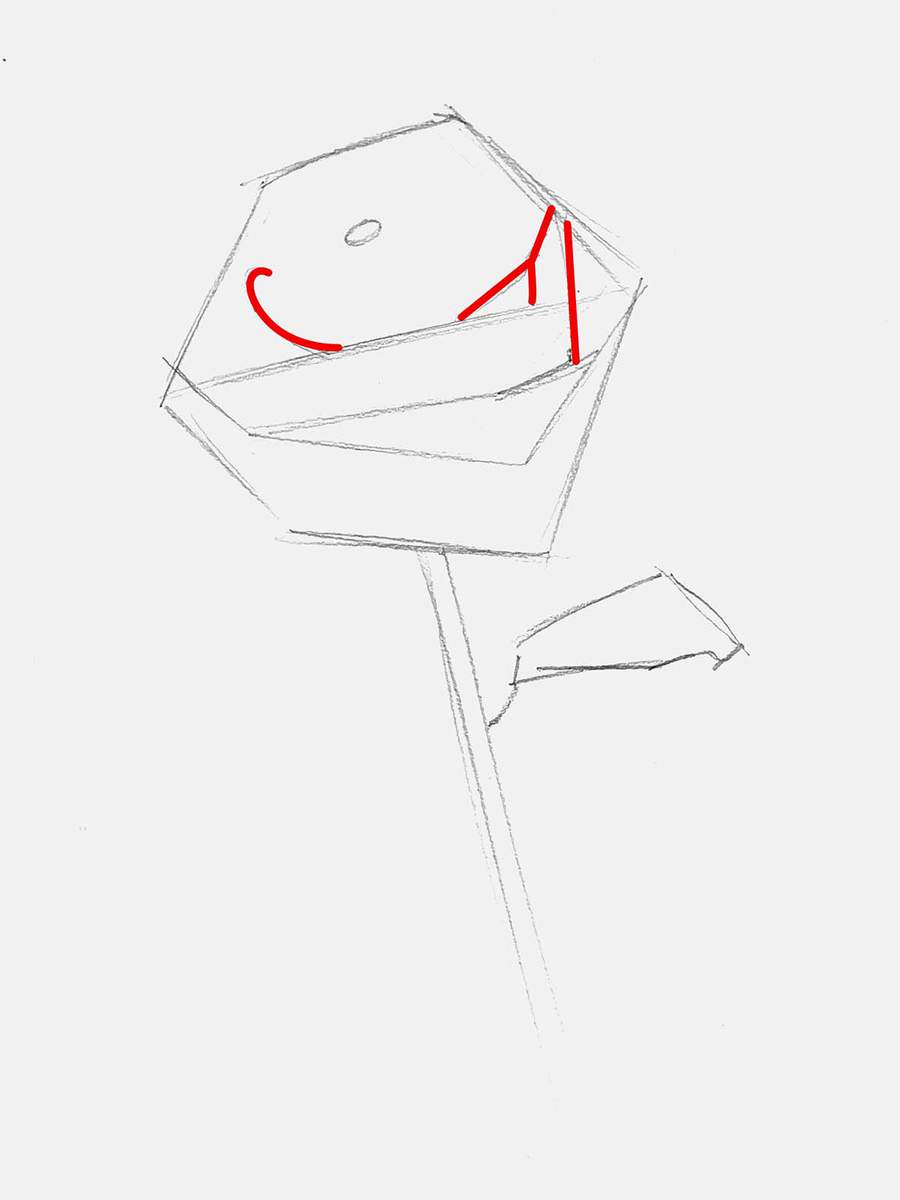
And that's all for the basic shape and construction lines. Now, we have to turn this into a detailed rose sketch.
Step 2: Sketch the Petals of the Rose
When I first made this step-by-step rose drawing guide, I made the steps waaay too big for this part. So, now that I'm updating it, I made the steps smaller and easier to follow.
First, I added the row of petals on the bottom of the rose flower. Don't worry about making it perfect. It's a flower. It's natural and organic. It can look a thousand ways. Plus, imperfections make organic things look more real.
You can kinda see the sections I broke this row of petals into. And when sketching them, I made sure not to make the lines super smooth. I added a few bumps, sharp corners, and imperfections to them. As I said before, this will make it look more realistic in the end.
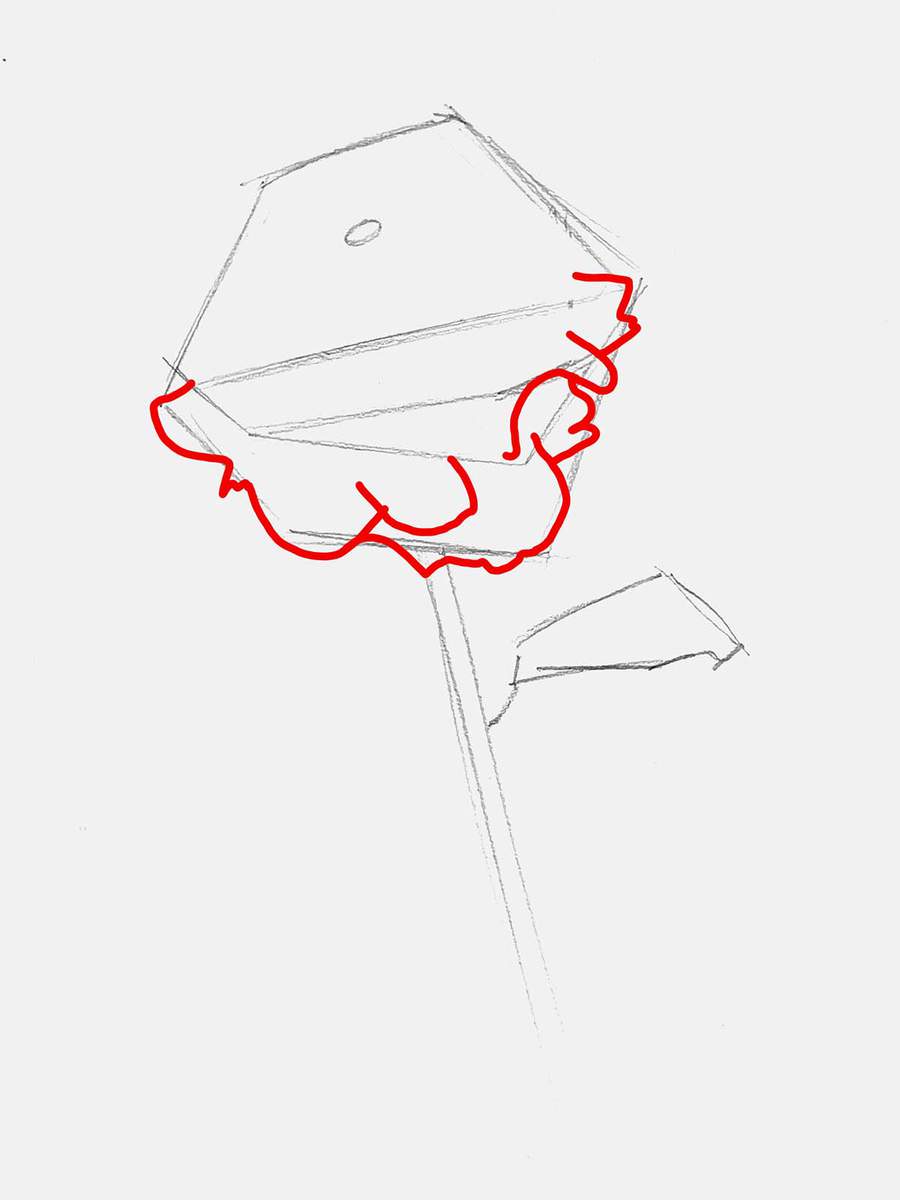
Next, I used the guiding lines and added some more petals, just above the ones we just sketched. I again made sure to add some imperfections and wobblyness to the lines.
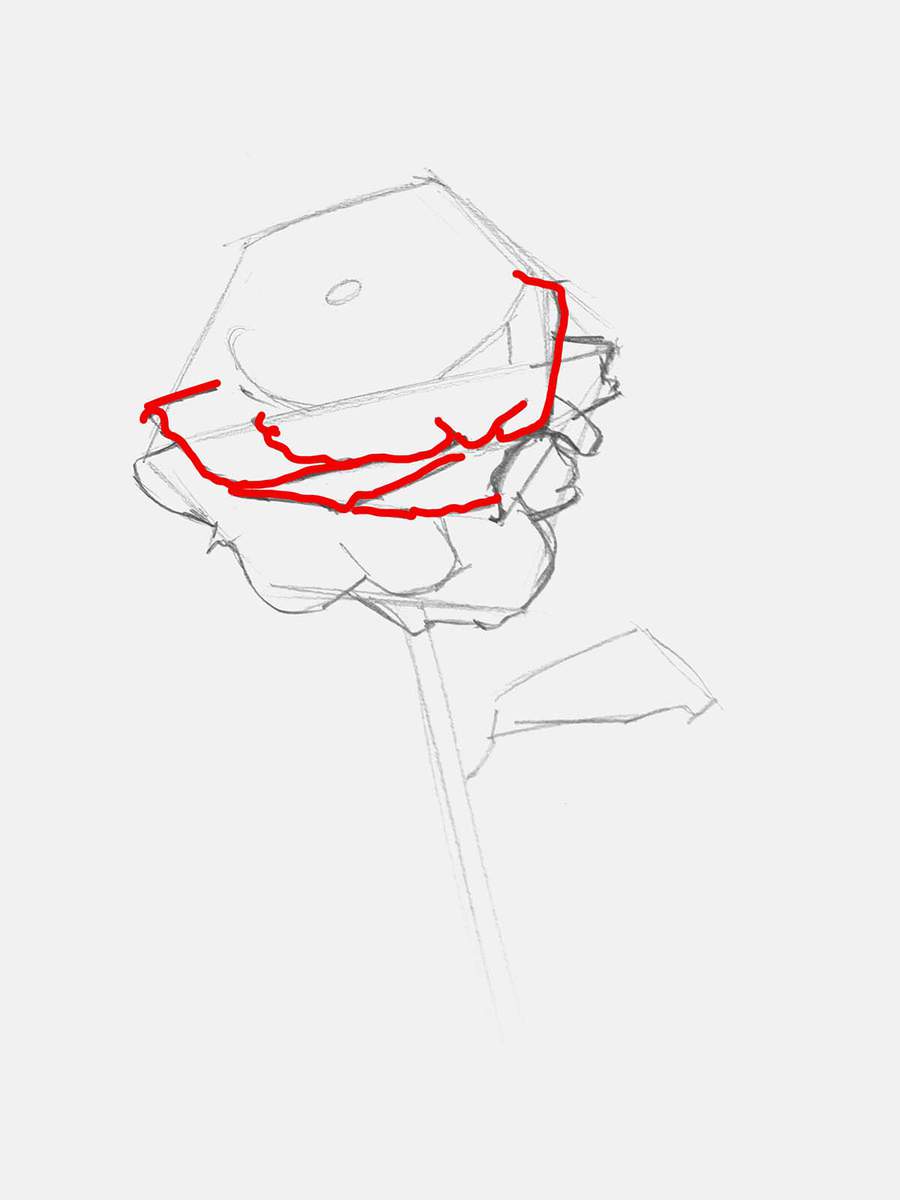
We're getting close ot the center of the rose now, which is more dense.
But before we get there, I first added the outer row of petals. Don't forget to make them wobbly, uneven, and organic.
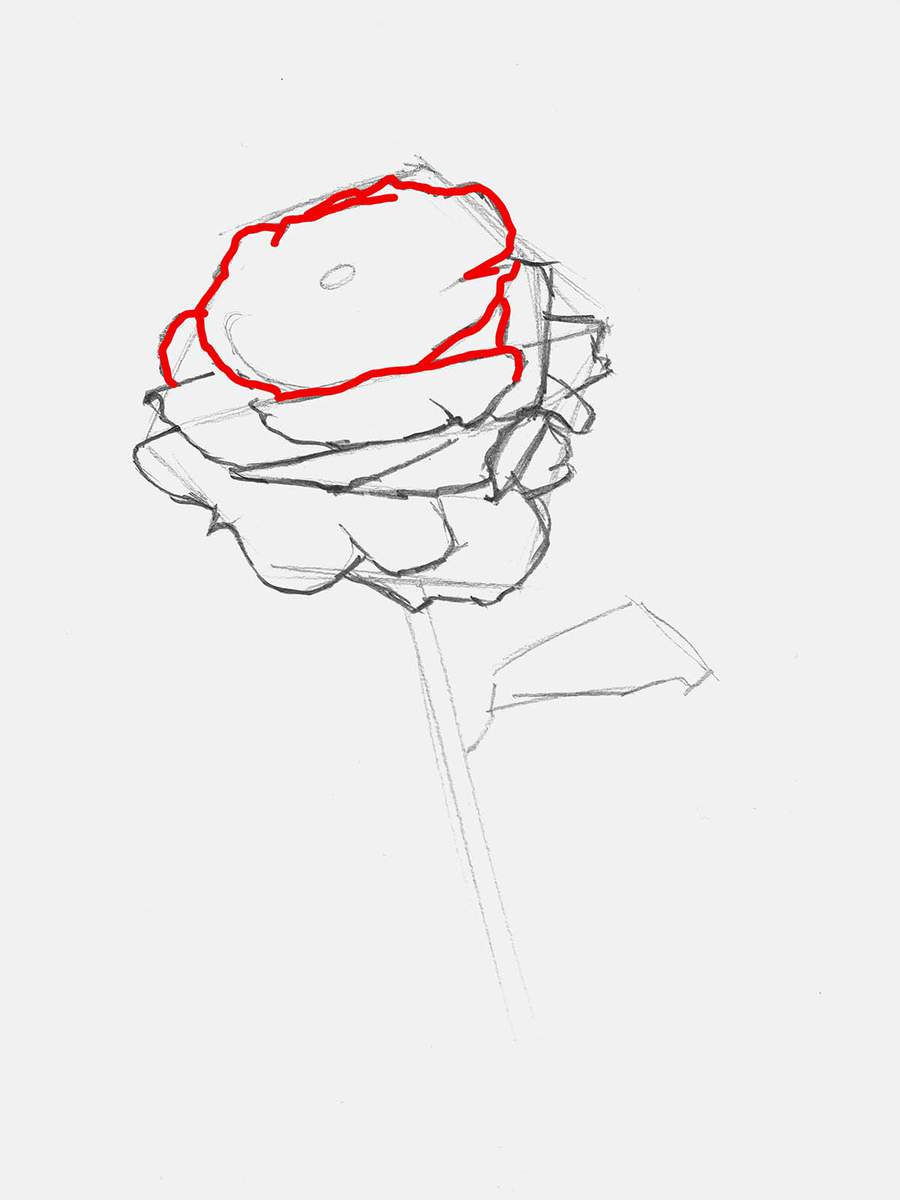
Next, I added another row on the inside.
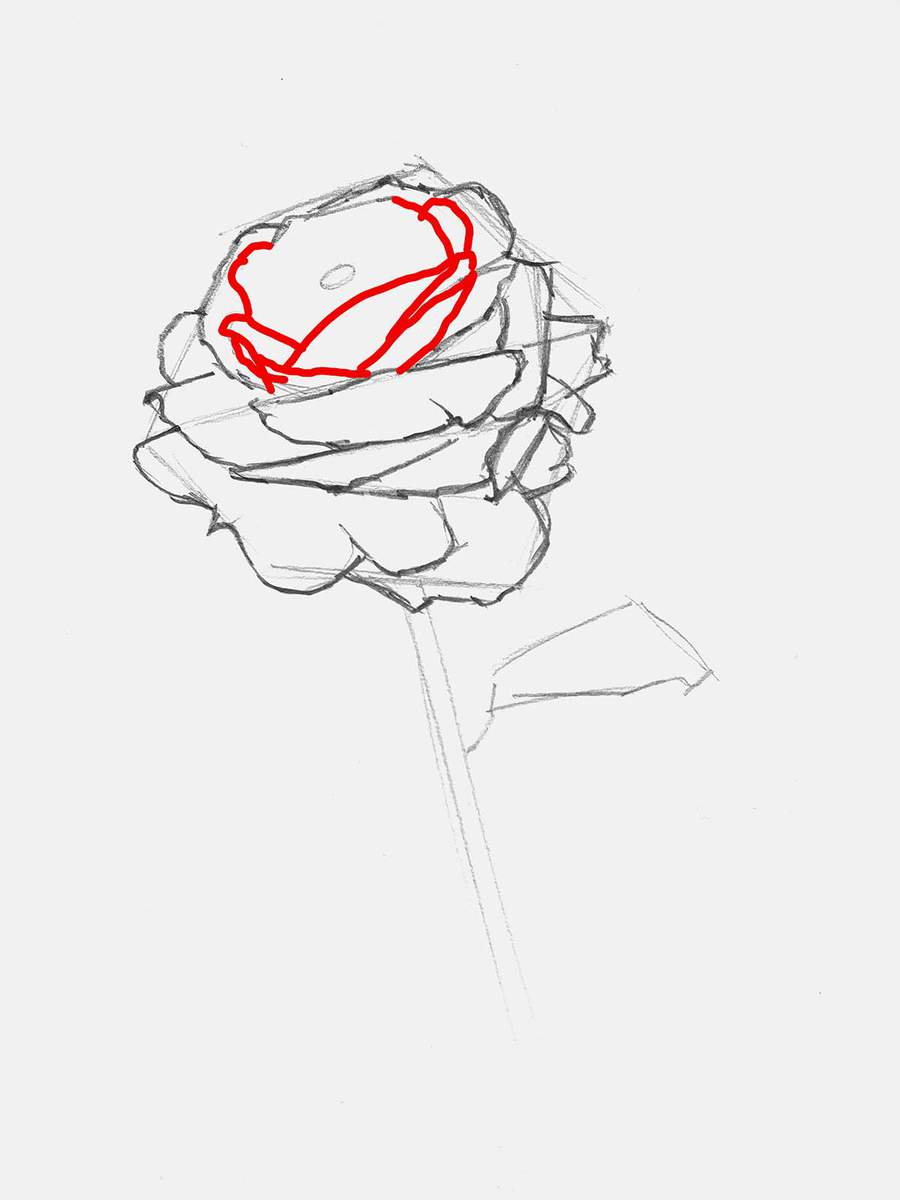
Now come the center-most petals, the most dense part of any rose.
The petals here have become a lot smaller, and the details are way more dense. I tried my best to focus on the bigger lines first.
Just take your time, and sketch each petal one at a time.
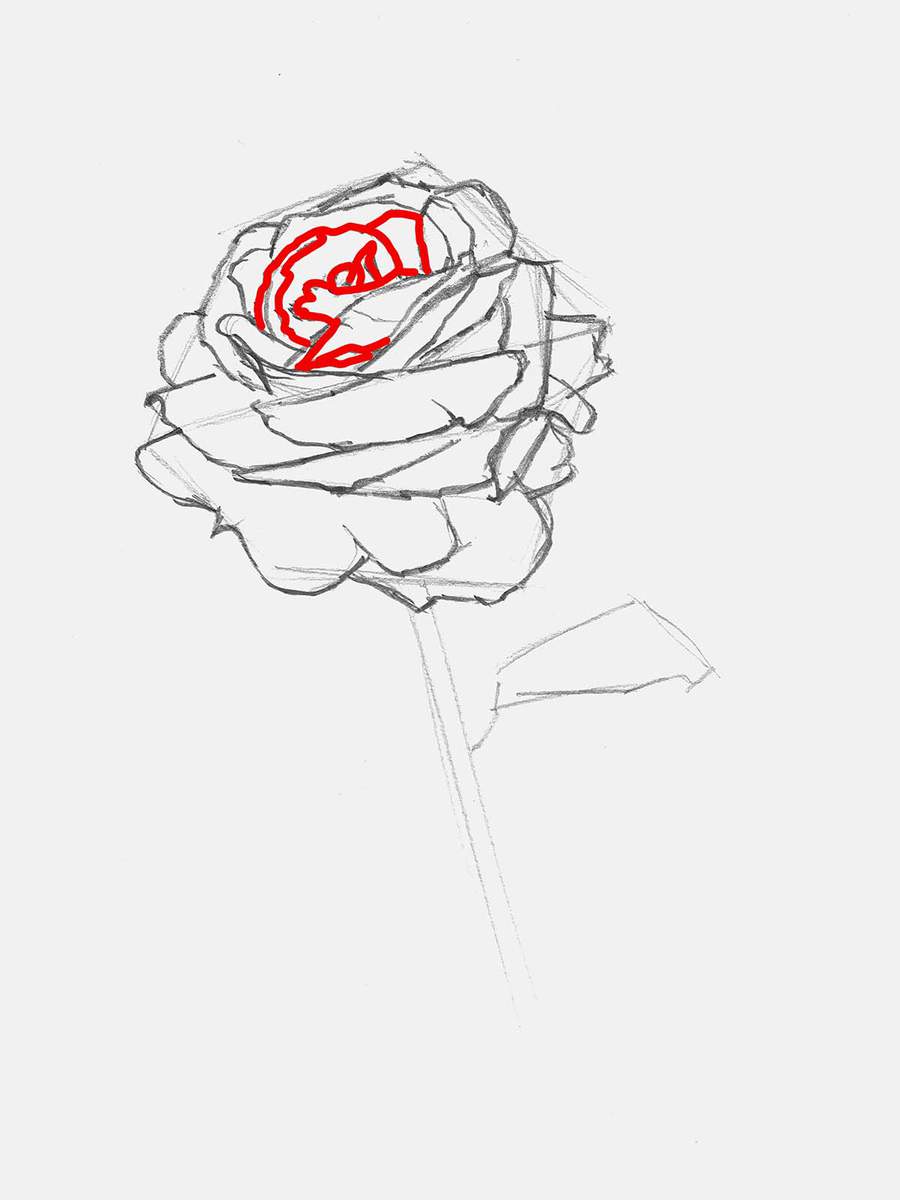
And to finish the petals of this rose, I added just a few details in the center. The lines were getting pretty close to each other, so I made the red marker line narrower, which does make it a little bit more difficult to see.
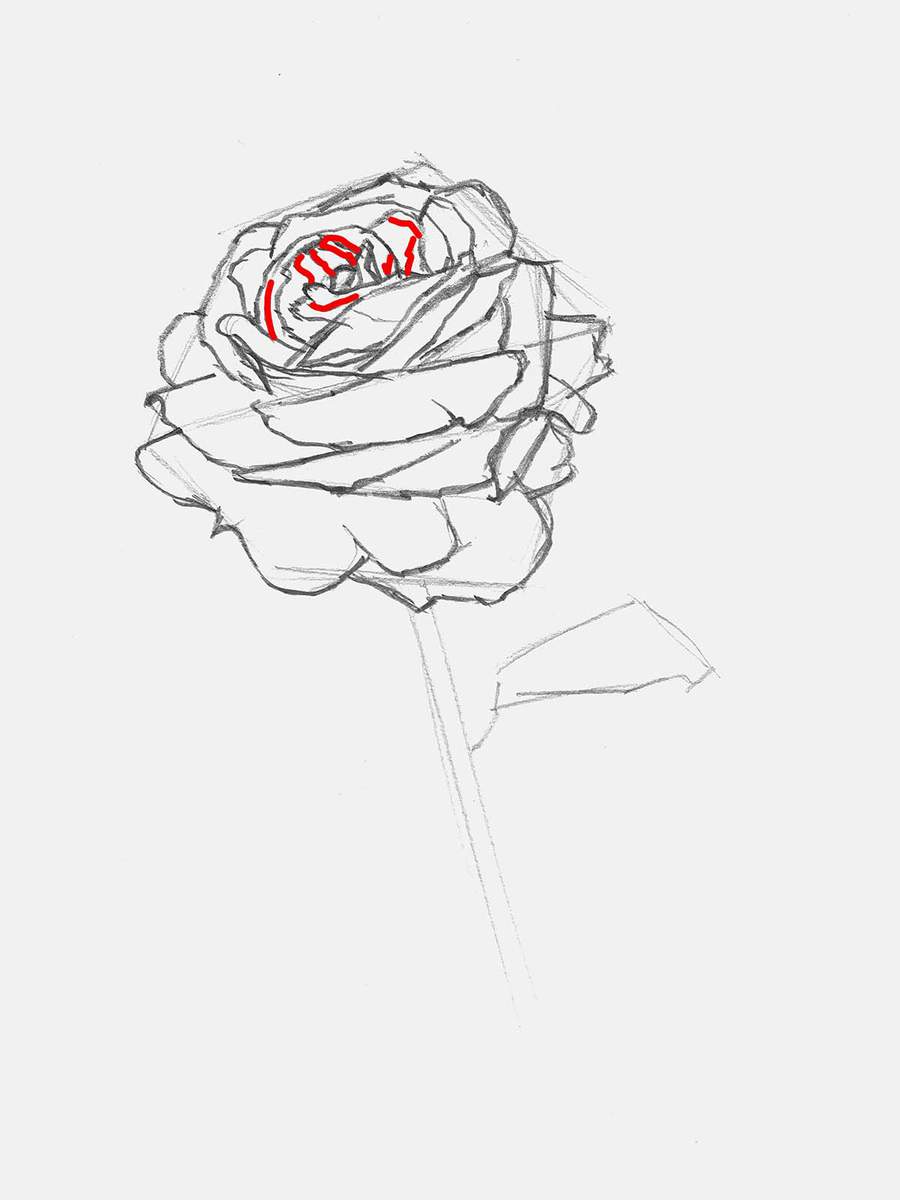
And without any of the red lines, it looks like this:
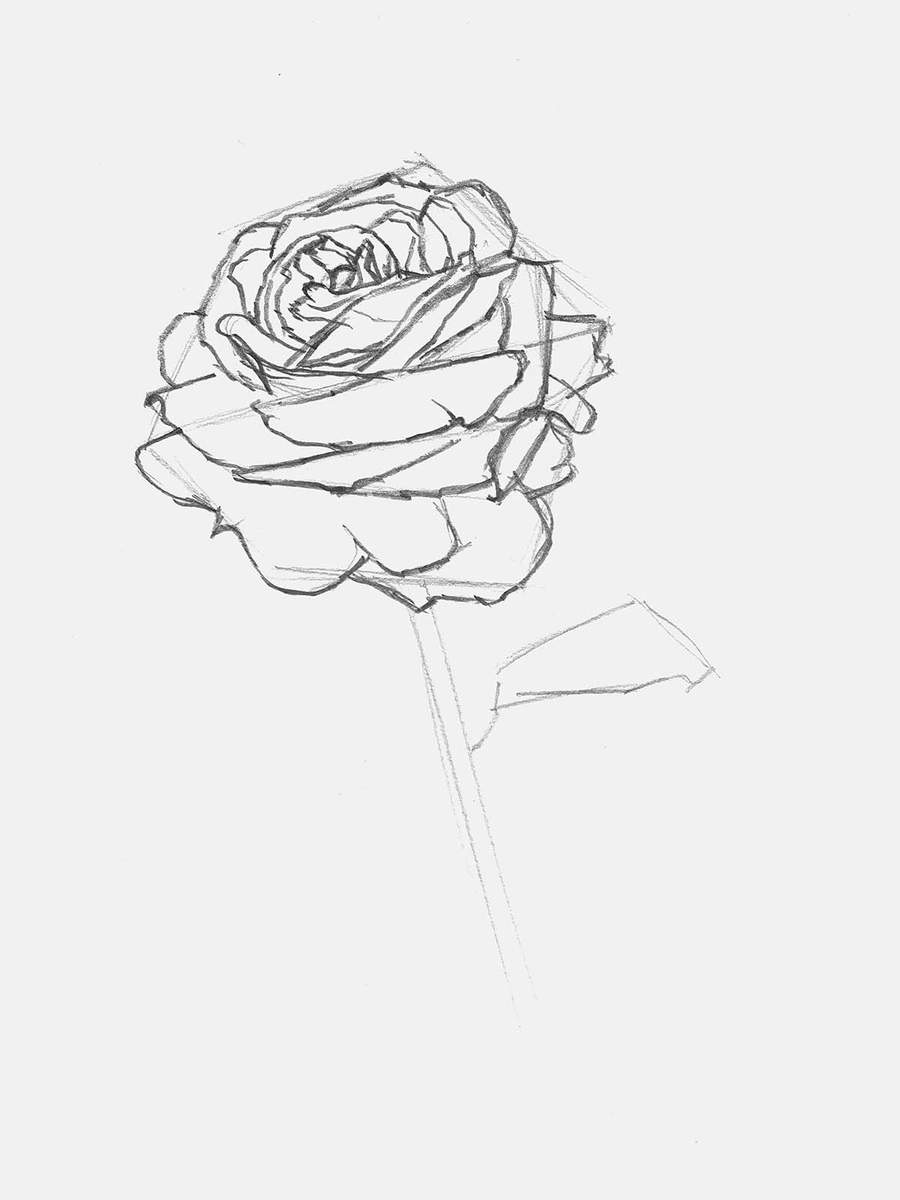
Doesn't it look good already?!
Step 3: Refine the Stem and the Leaf of the Rose
Next up, we're going to refine the stem and the little leaf
I refined the shape of the leaf on the right of the stem to be more organic, wobbly, and clear, and I added this remainder of a fallen-off leaf on the other side of the stem.
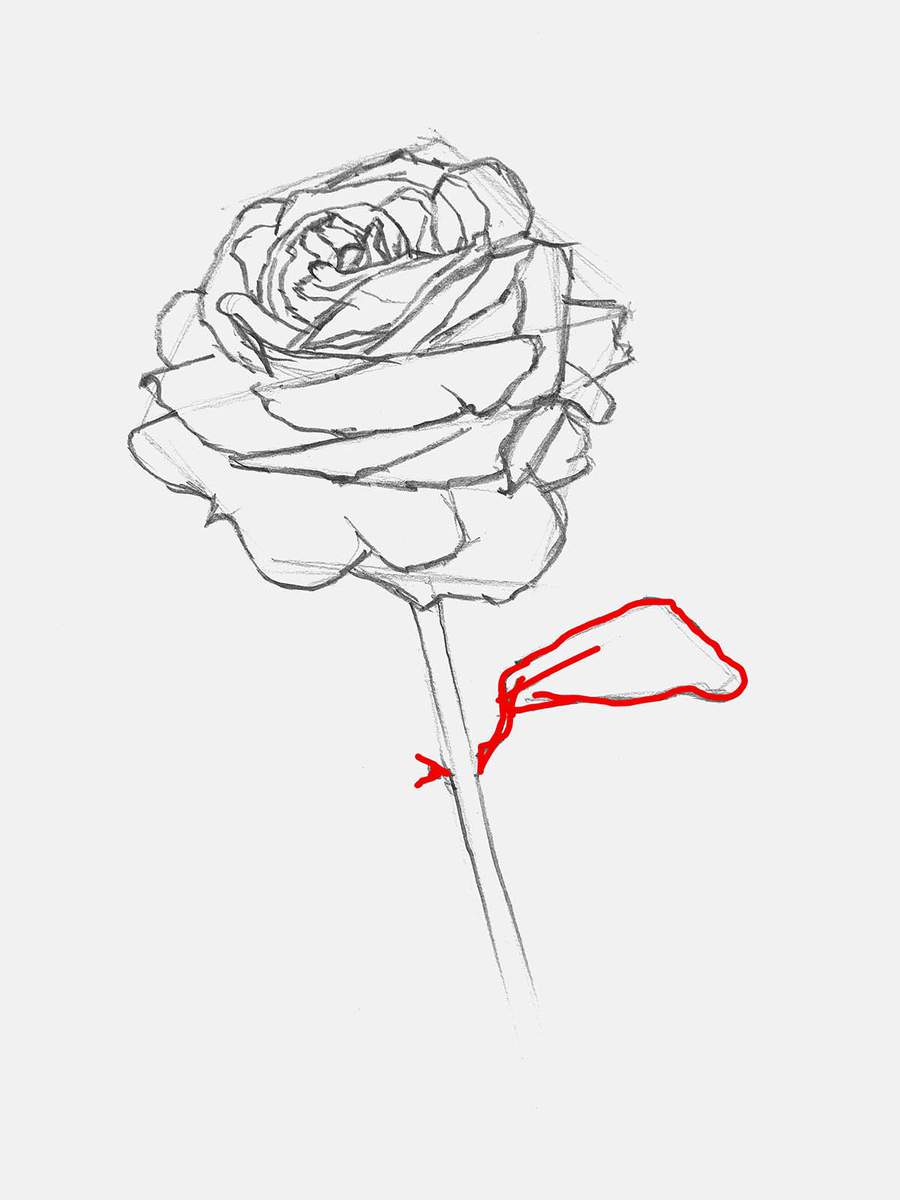
And that completes our detailed rose sketch!
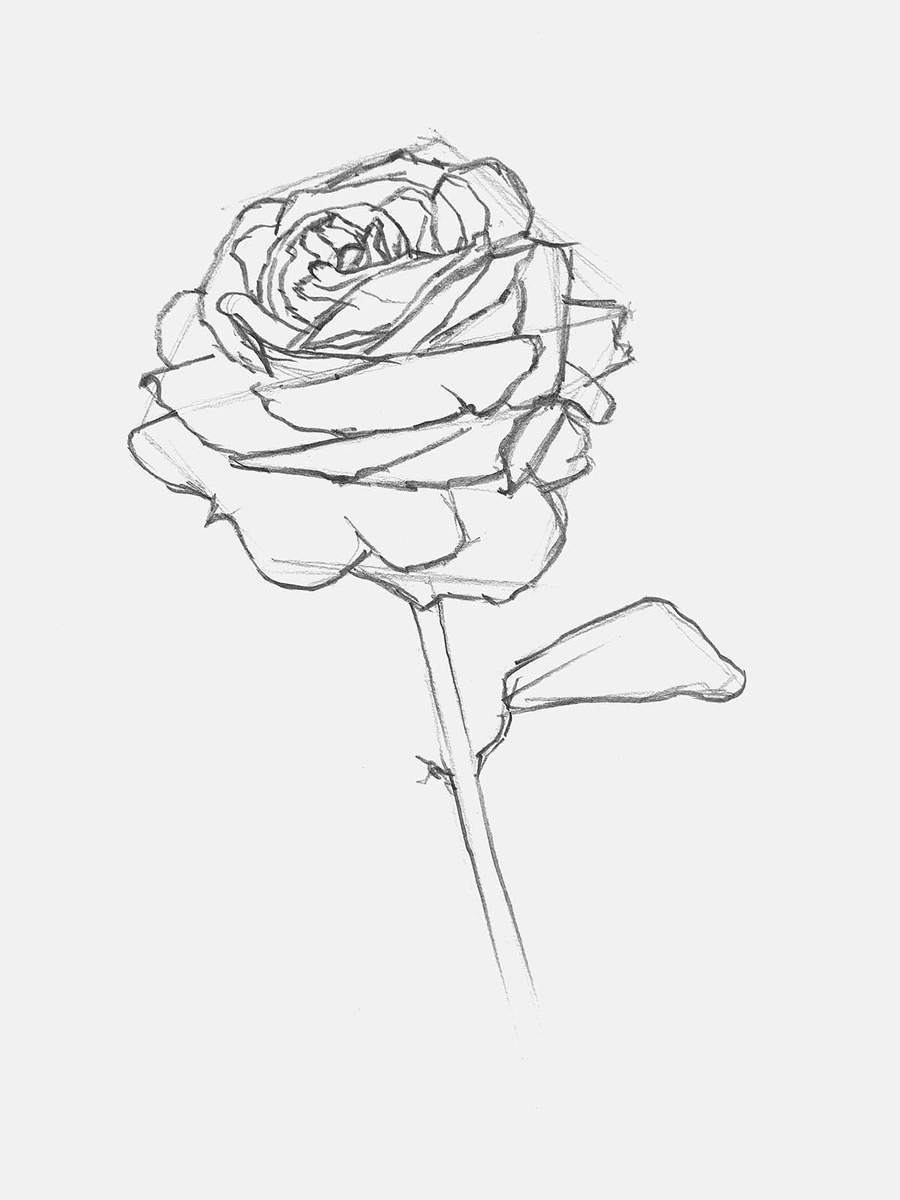
Step 4: Color the Rose Petals with Markers
Now that the sketch is done, it's time to start coloring. But before we do that, you'll need to erase your sketch lightly to make the sketch lines not show through the markers when it's done.
A kneaded eraser is perfect for doing this. You just roll it across your sketch, and it will lighten it evenly.
Once you've done that, we're going to color the flower part of the rose. I like to start with the lightest colors and work my way toward the darker tones.
I started by coloring the lightest parts with Light Prawn (R120).
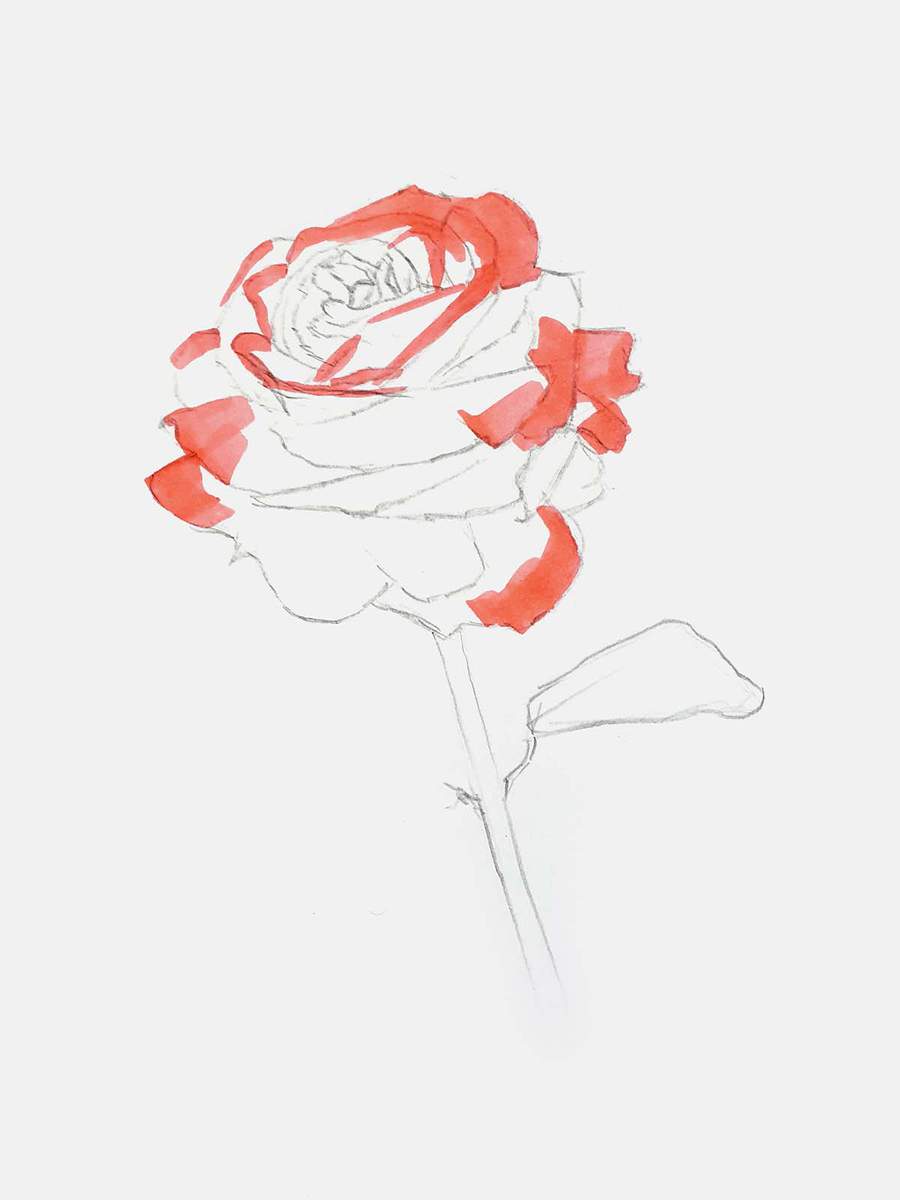
Then I colored the rest of the flower with Cadmium Red (R160). I also used Light Prawn (R120) to blend the edges between the light and darker pink/red shades.
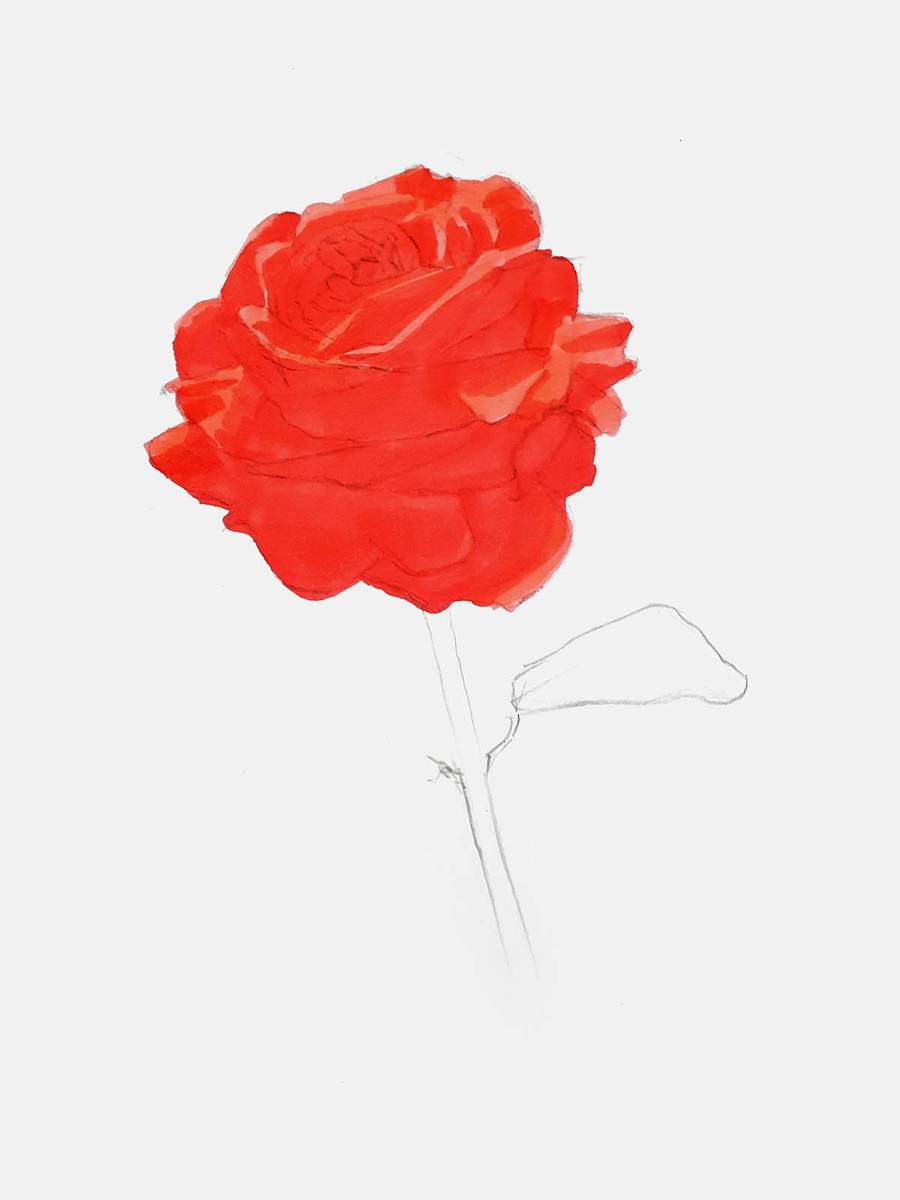
Next, I colored the darker parts with Lipstick Red (R170).
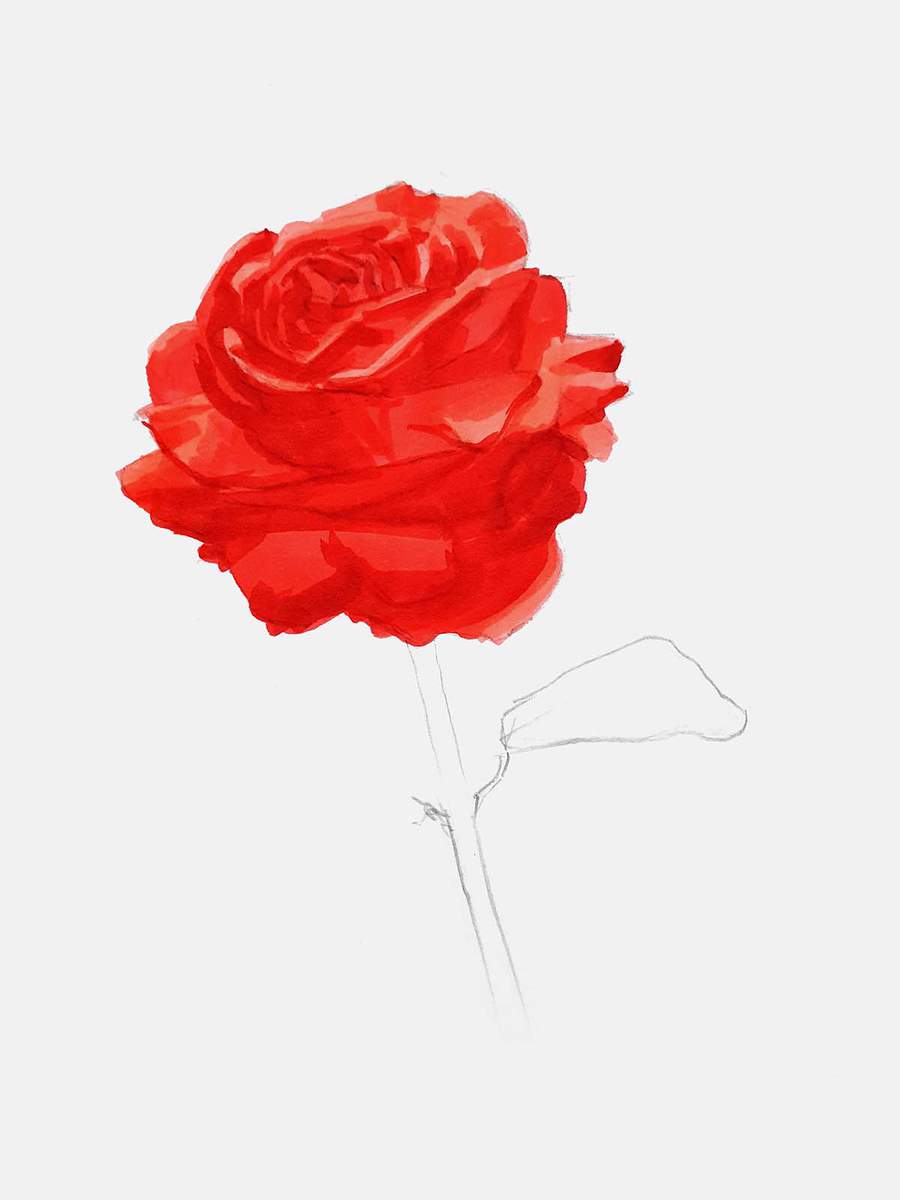
I then added more depth to the darkest parts by coloring them Geranium (R8).
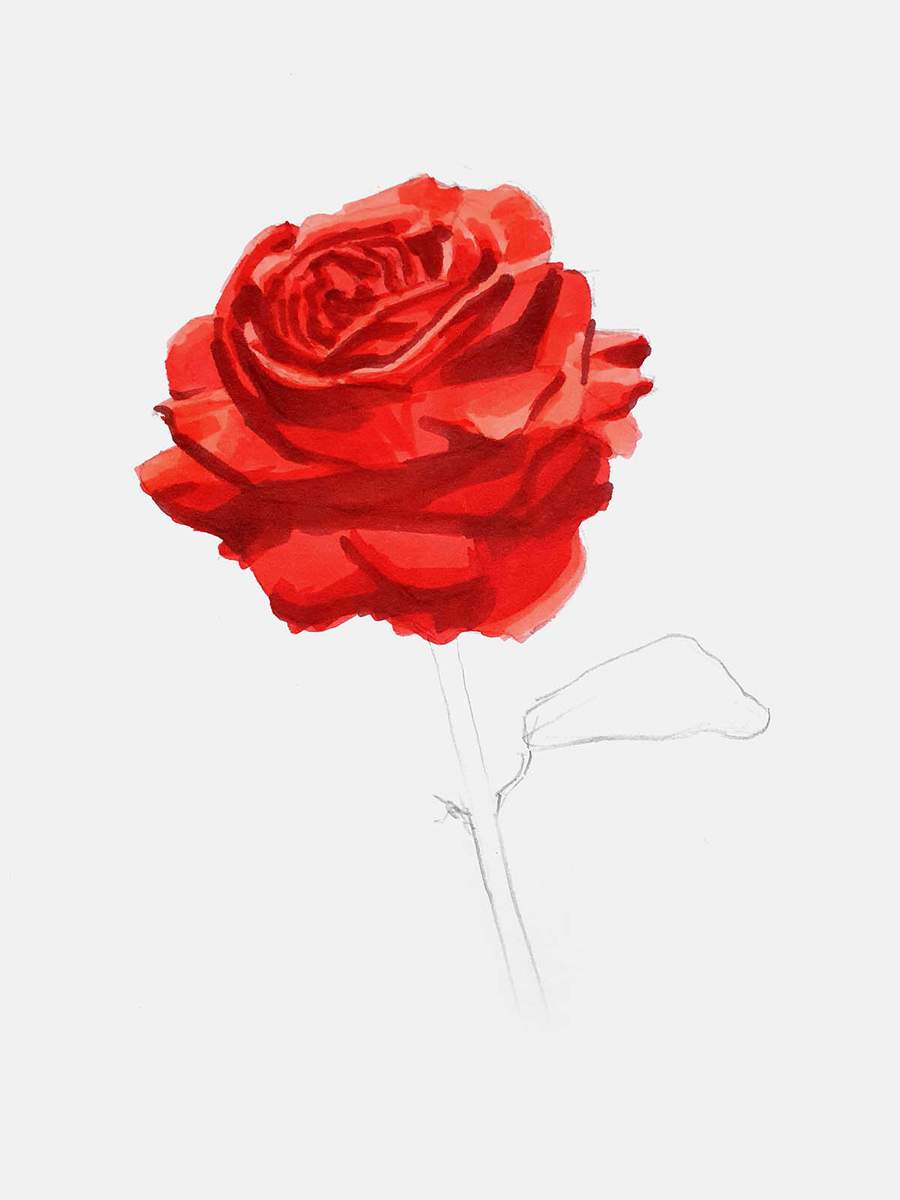
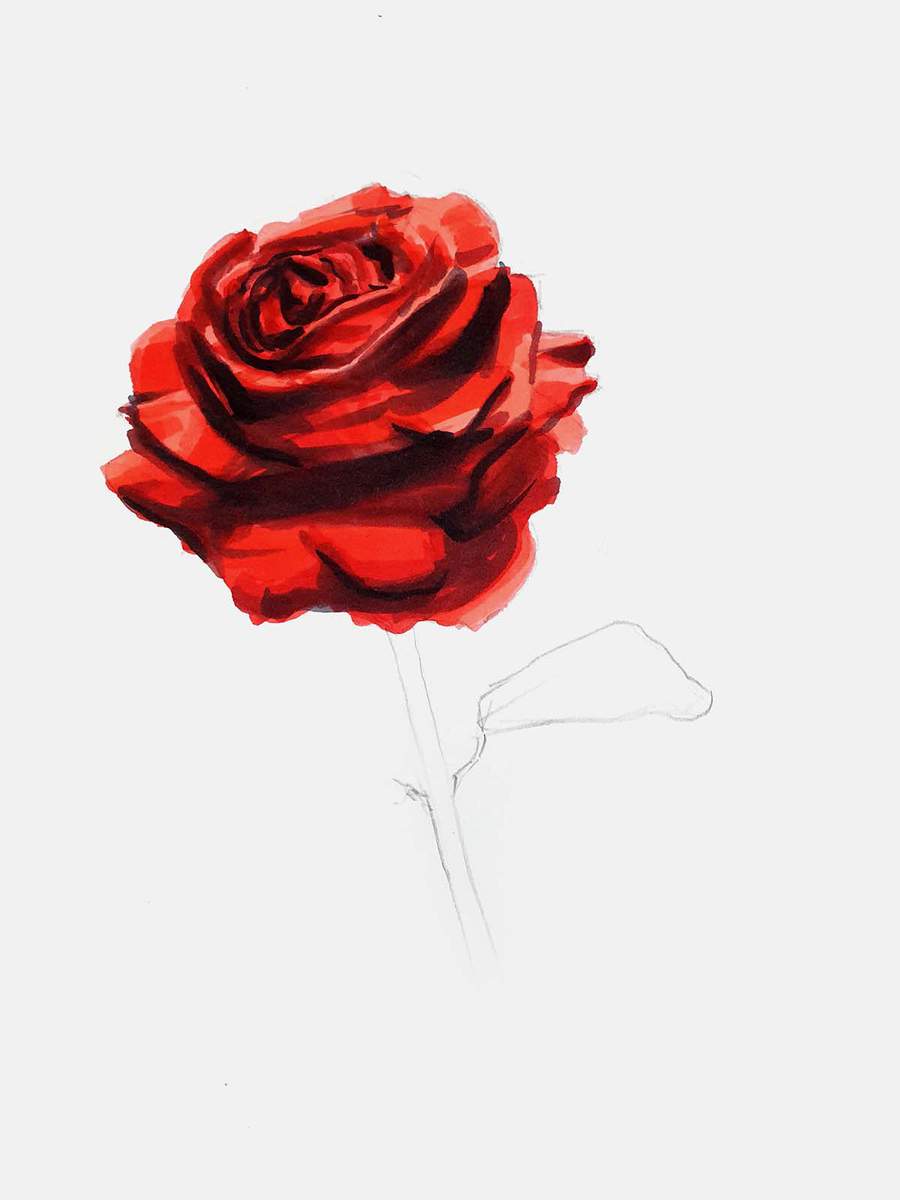
And to add even more depth and contrast, I used Neutral Grey 07 (CG070) and a little bit of Black (120) for the really dark parts. Don't overuse the black. It gets really dark very fast... (I might have gone a little too far, but the more I look at it, the more I like it.)
Step 6: Color the Stem and the Leaf of the Rose with Markers
Now that the flower is colored, it's time to color the stem too.
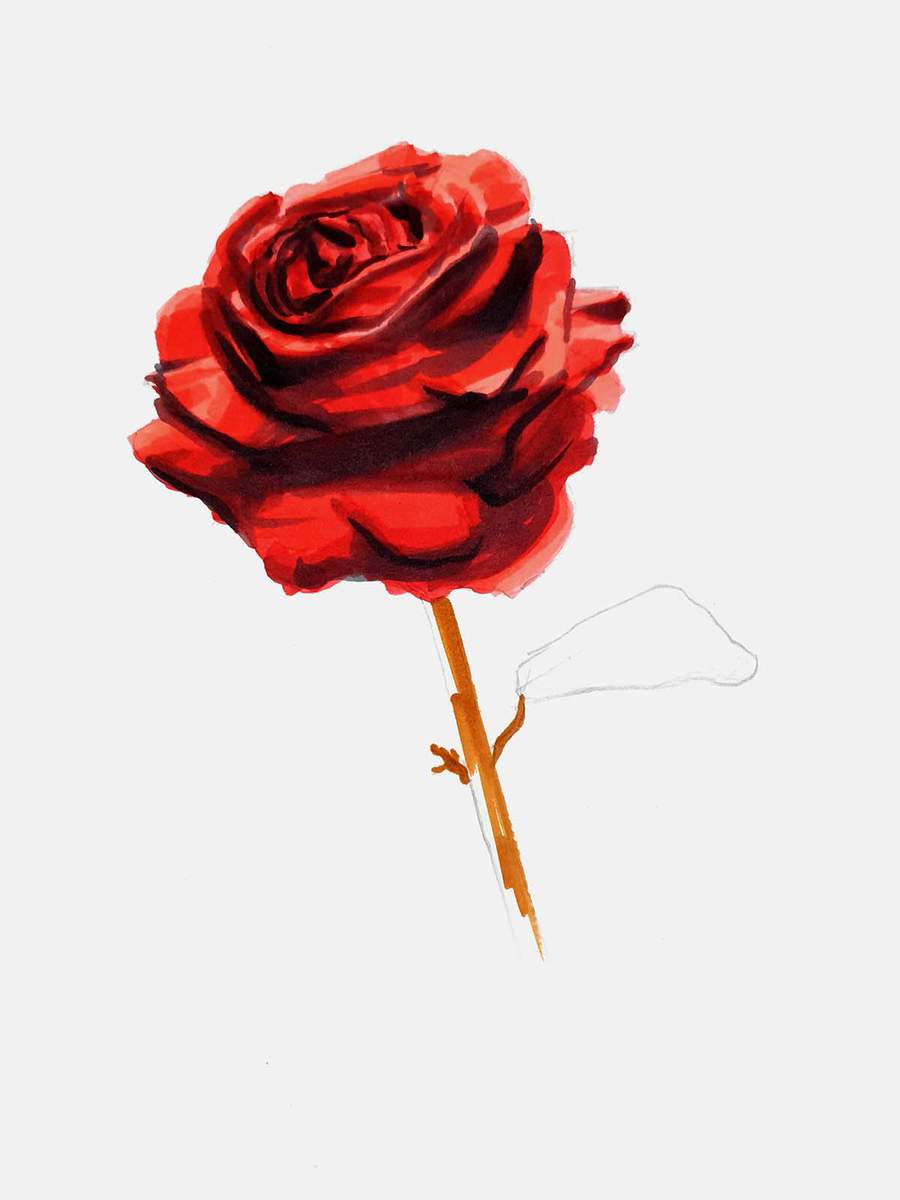
I started by coloring the stem with Potato Brown (BR2).
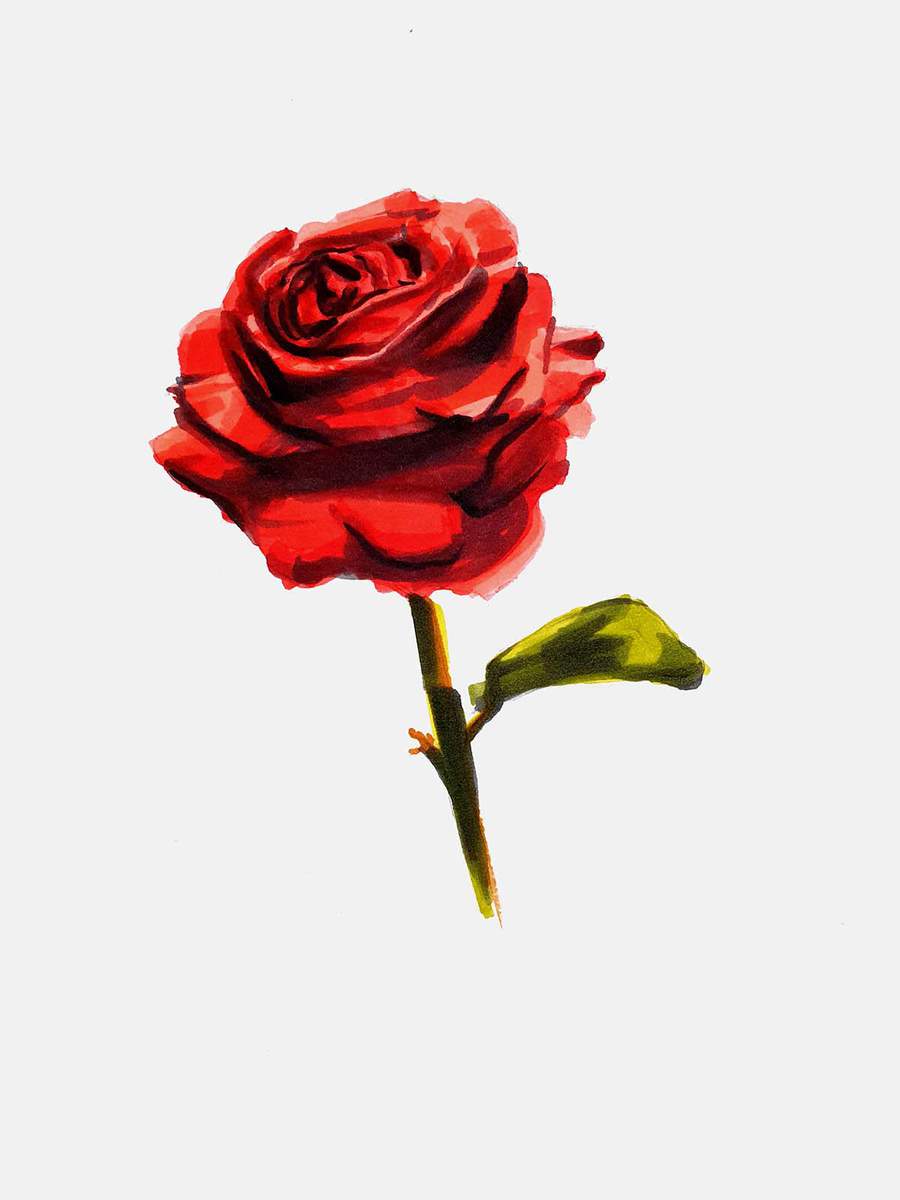
Then I colored the stem and the leaf with Absinthe (GY5), and I darkened half of it with Bronze Green (GY42).
And to create more depth, I used Neutral Grey 07 (CG070) to darken half of the stem and some parts of the leaf.
Step 7: Add some Details with Colored Pencils
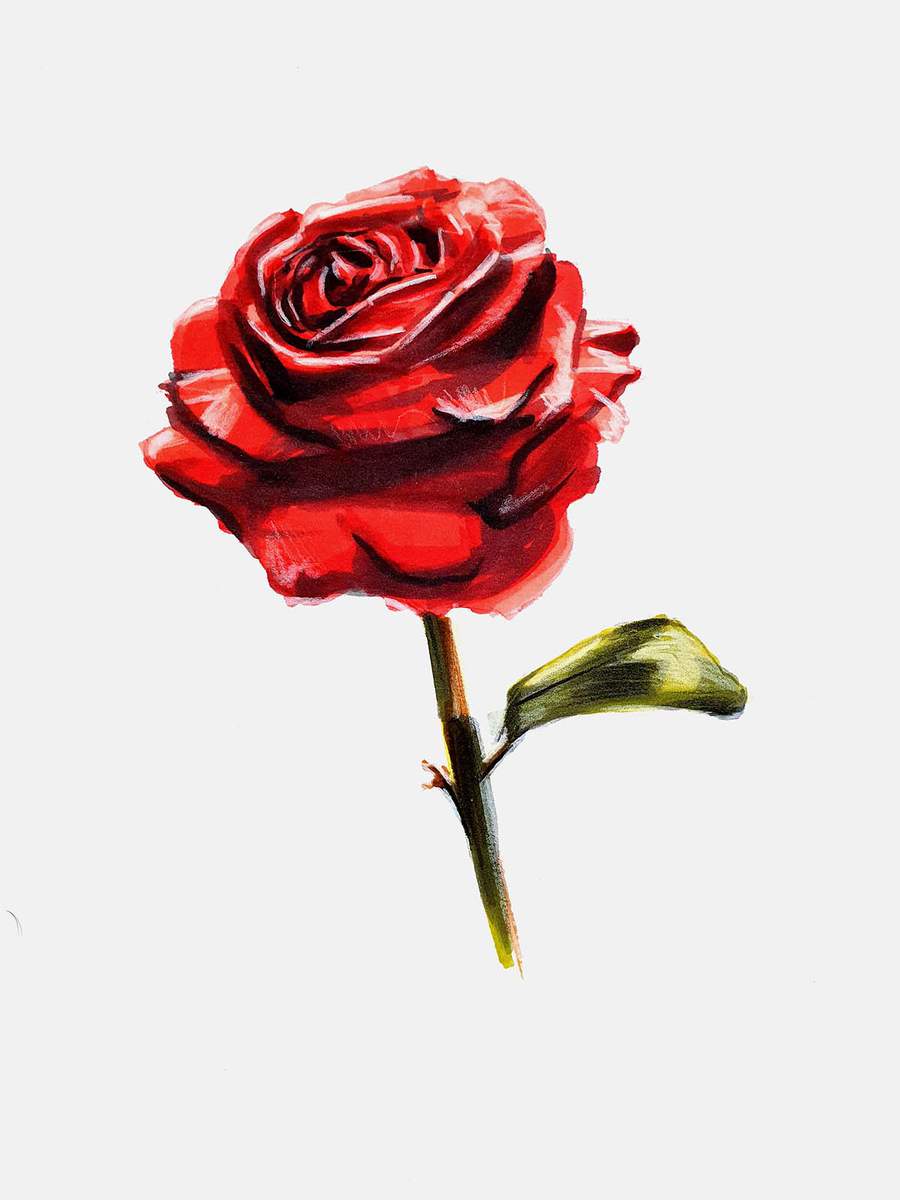
Your rose drawing is fully colored now, but to make it that little bit better and more realistic, we're going to add some white highlights and a few deeper shadows with a white and a black colored pencil.
I mostly used the white colored pencil to add highlights and details on the edges of the petals, especially in the center.
And I used the black colored pencil to add some black lines on the part that connects the stem to the leaf and on the other bit to the left of it. I also added a center line on the leaf itself and lightly shaded some parts to make them darker.
Your Rose Drawing is Now Done!
You've now successfully drawn a realistic rose!!! (Hopefully.)
Just look at how beautiful this drawing turned out! I hope yours turned out as well (or close to) mine. But if it didn't, don't worry. Drawing takes a lot of practice. I can show you the exact steps, but practicing is what will actually make you better.
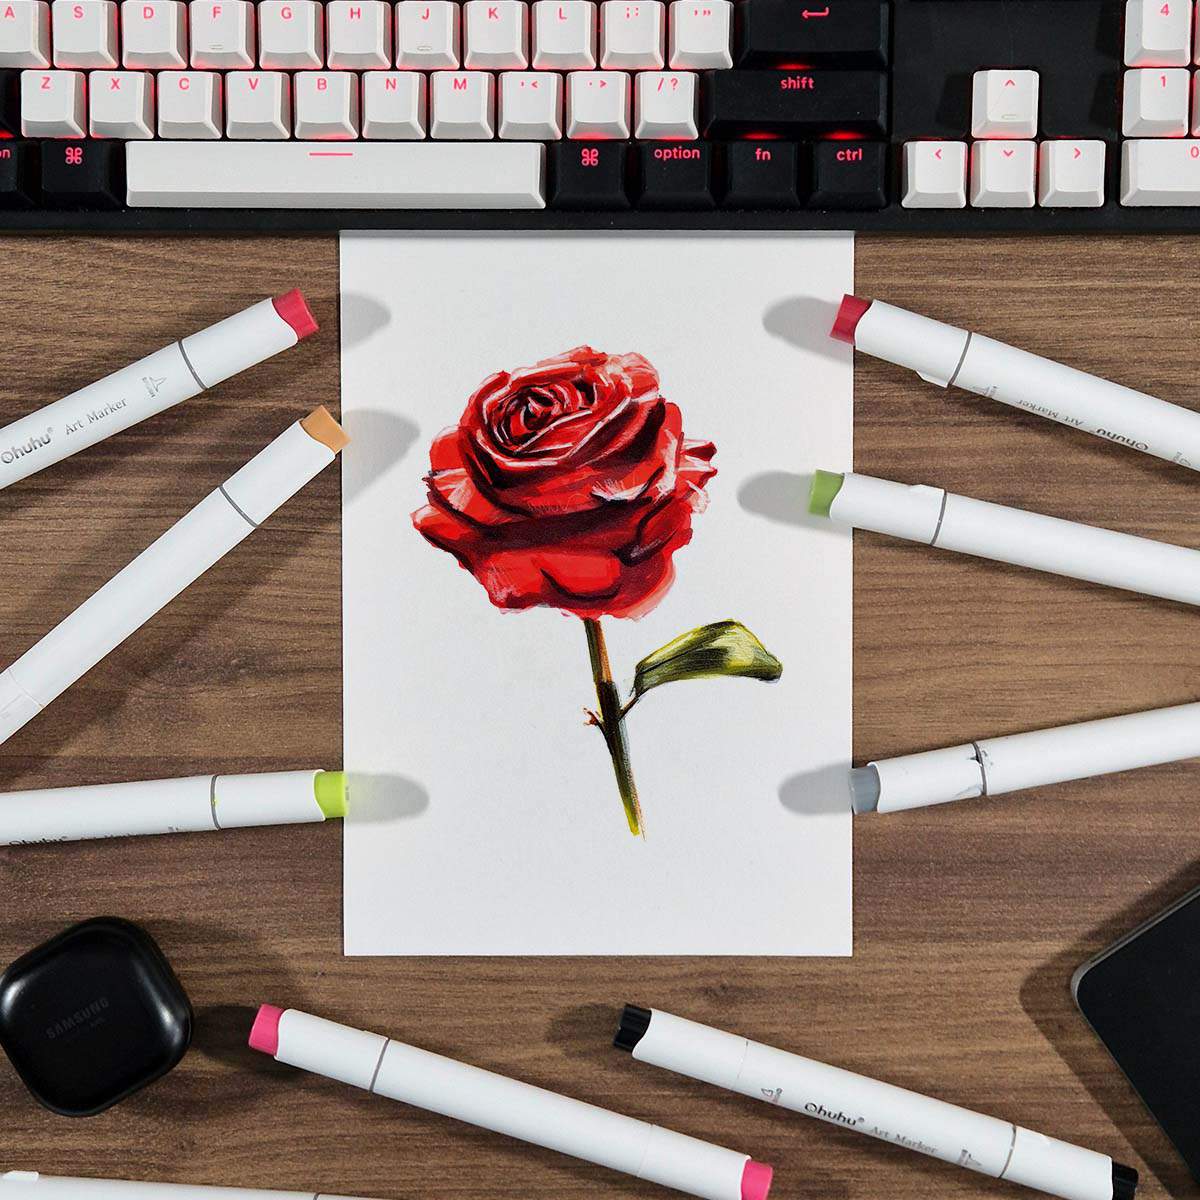
I hope you enjoyed this rose drawing guide, and I hope you learned some new techniques you can use in your drawings.
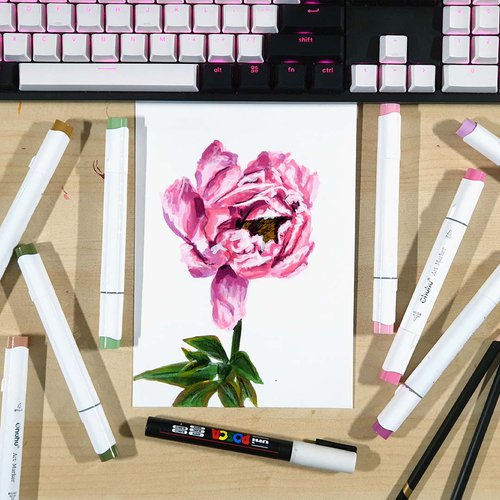
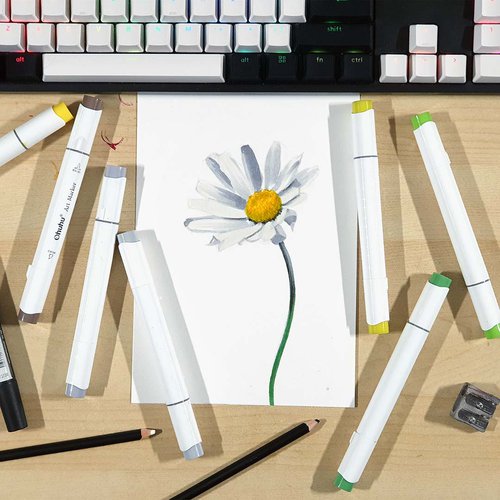
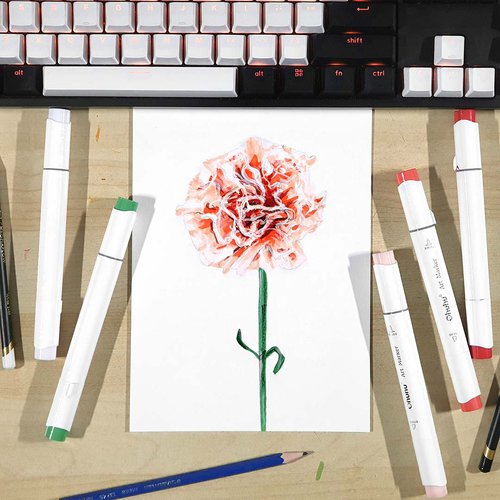
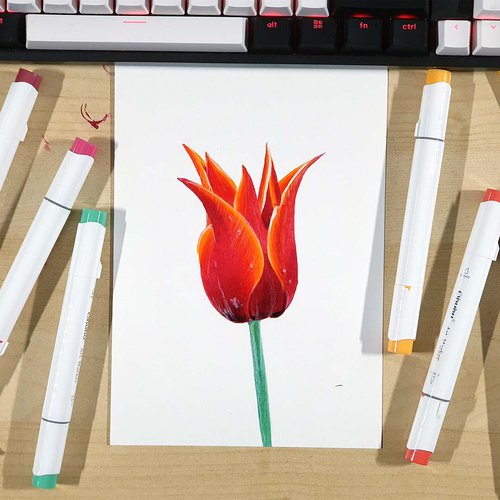
If you found this guide helpful, you might also like my other flower drawing guides. (This orchid drawing and this peony drawing are my favorites!)
Articles You Might Also Like



I love bringing cars to life with alcohol markers and colored pencils.
Whether you're just starting out or looking to improve your skills, I'm here to help!
Click here to learn more about me.


Add a comment
Comments
hi I am 13 years old and this really helped thanks so much and this took very little time!!
That is amazing you just upped my art skills