The Only Colored Pencil Guide You'll Ever Need - How To Use Colored Pencils

Colored pencils have been around for a while, and they are by far my favorite medium to create art with.
However, they can be quite intimidating if you're just starting out. I definitely struggled with them a lot in the beginning, but they turned out to be my favorite medium to draw with in the end.
To save you the struggles I had in the beginning, I created this guide on how to use colored pencils.
Disclaimer: In the name of full transparency, please be aware that this blog post contains affiliate links and any purchases made through such links will result in a small commission for me (at no extra cost for you).
- Choosing the Right Colored Pencils
- Selecting the Best Paper for Your Needs
- Common Colored Pencil Techniques
- Mixing Colors with Colored Pencils
- Techniques for Realistic Colored Pencil Drawing
- How to Prevent Smudging
- Fixing Mistakes
- Using Colored Pencils in Mixed Media Drawings
- Organizing Your Colored Pencils
1. Choosing the Right Colored Pencils
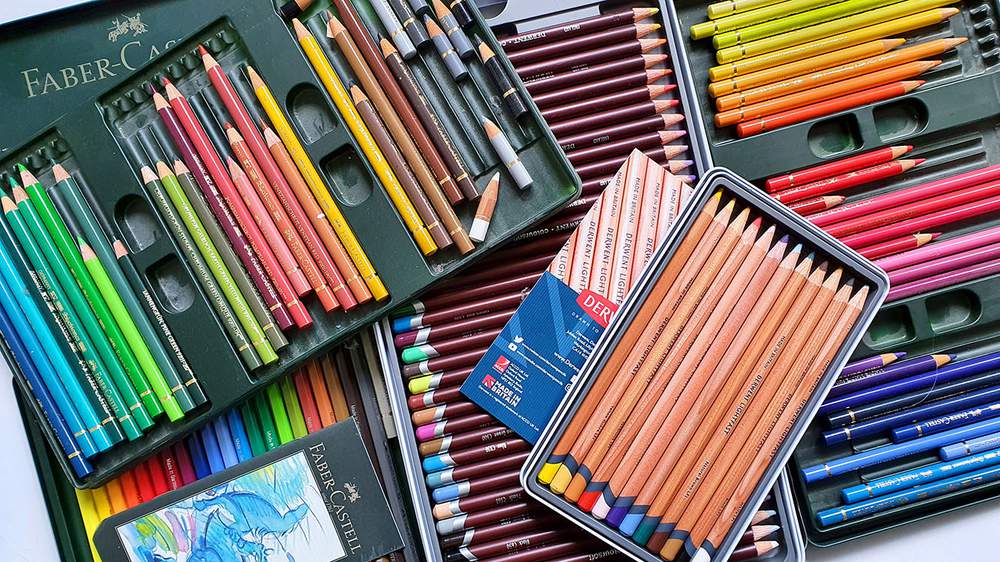
The first thing you need to start drawing with colored pencils is of course the colored pencils itself.
Different Types of Colored Pencils
Colored pencils come in multiple different types: wax-based colored pencils, oil-based colored pencils, watercolor pencils, and pastel pencils.
Wax-based colored pencils are made with a wax binder, which gives them a soft and creamy consistency. This means they lay down color smoothly and blend effortlessly, but they can also be prone to breaking if too much pressure is applied.
Oil-based colored pencils on the other hand are made with an oil binder which gives them a harder texture compared to wax-based pencils. They hold their point longer and are less prone to breakage. They are perfect for fine details and sharp lines.
Watercolor Pencils are a unique breed. When used dry, they behave much like regular colored pencils. But add a bit of water, and they transform, allowing you to create watercolor-like effects. They're versatile and excellent for artists who love to experiment with different techniques and styles.
Pastel pencils are also quite different compared to the more regular colored pencils. Pastel pencils have a way more powdery lead and as the name suggests they are a kind of pastel. These are great for blending and layering, but they also smudge really easily and the lead can break easily if you're not careful when sharpening.
If you want to know more about these types of colored pencils and how they compare, make sure to check out this article.
Brand Recommendations
Selecting a brand often comes down to personal preference, but here are some of my favorites:
Prismacolor Premier Soft Core: These are known for their ability to effortlessly blend, but their overall quality lacks a bit. They are fairly cheap (especially in the US), which makes them a great option for beginners.
Faber-Castell Polychromos: These oil-based pencils are renowned for their quality and ability to draw the finest details. These were the pencils I started out with, and I still very much like them, despite being a little challenging to blend.
Caran d'Ache Luminance: A top-tier brand offering impeccable lightfastness and a luxuriously creamy texture. These are like the Prismacolor Premier pencils but with a much better build quality and lightfast pigment.
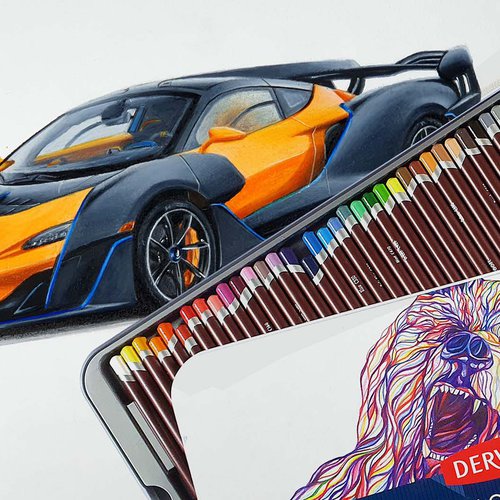
Derwent Lightfast: As the name suggests, these are particularly known for their resistance to fading, ensuring your artwork stays vibrant for years. They are a middle ground between blending well and being able to draw fine details.
For a full list of the best colored pencils, make sure to check out this article I wrote, and if you're on a tighter budget, check out this list of the best cheap colored pencils.
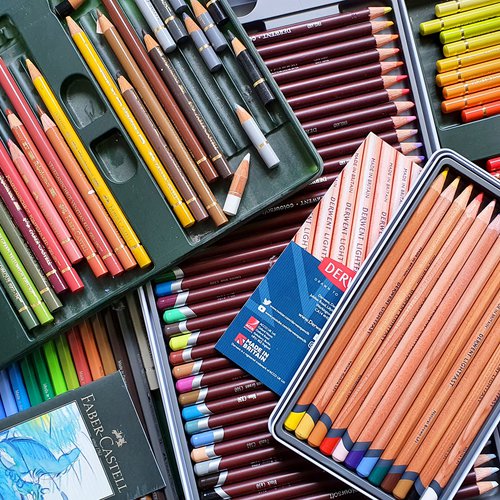
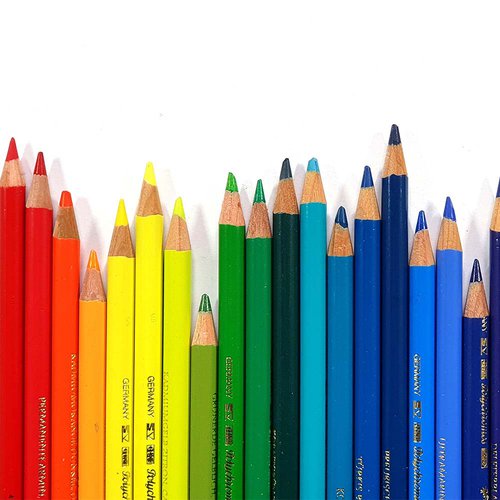
How Many Colored Pencils Do You Need?
When starting out, between 12 and 24 colored pencils are more than enough. Though coloring becomes definitely easier the more colors you have.
With 12 to 24 pencils, you need to layer more to achieve the desired colors, which is a bit more work, but you can always buy more colored pencils later if you decide that you like using them.
I also wrote a more in-depth article discussing how many colored pencils you need to make good drawings.
2. Selecting the Best Paper for Your Needs
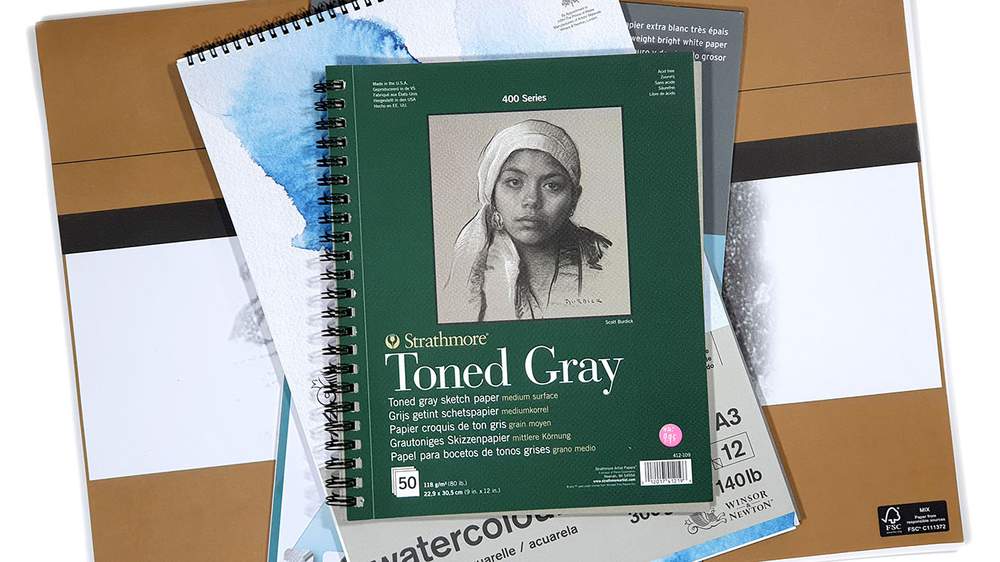
The paper you use for your artwork plays a critical role in the outcome of your colored pencil creations. The right paper can make your colors pop, make blending easier and smoother, and ensure the longevity of your artwork.
Many people neglect the importance of paper when using colored pencils. However, in my experience using the right paper can make a world of difference in the outcome of your drawings.
Don't make this mistake and choose a paper that works well with colored pencils.
Also, make sure to take a look at these other common mistakes people make when using colored pencils.
The Impact of Paper Texture
Smooth: Smooth papers offer a fine-grained surface. They are best for detailed work, allowing you to lay precise lines. It's also perfect for blending seamlessly. However, they might not hold as many layers of colored pencil as a more textured paper would.
Rough: This type of paper has a noticeable texture or 'tooth'. The toothier the paper, the more it can grip the colored pencil, which can be beneficial for layering. However, it can be challenging to achieve fine details on very rough paper, and blending smoothly might be a little more difficult.
Weight and Thickness Considerations
Lightweight: Best for sketches or preliminary drawings. However, these papers might not withstand heavy layering or blending without tearing or pilling. They also bend and fold really easily when drawing. Lightweight paper is often quite cheap which makes it perfect for experimenting.
Heavyweight: These are thick, robust papers that can handle a lot of work. They're resistant to tearing and can endure heavy layering and blending. This weight is especially preferable if you're working on a piece you intend to last. However, heavyweight paper is typically more expensive.
My Favorite Paper for Colored Pencils
Bristol Vellum Paper: Its slightly textured surface is compatible with the creamy nature of wax-based pencils, allowing for multiple layers and smooth blending.
Daler & Rowney Fine Grain Heavyweight: My personal favorite, this paper boasts a consistent texture that's well-suited for the firmer application of oil-based pencils, making details pop and blending a breeze.
Here's a full list of my favorite brands of paper for colored pencil drawings.
In essence, your choice of paper should resonate with your artistic intentions. Whether you prioritize detail or layering, there's a paper out there that aligns with your goals. The combination of colored pencil type and paper can drastically alter your final result, so don't be shy about experimenting until you find the perfect match.
3. Common Colored Pencil Techniques
Mastering the techniques of colored pencils can elevate your artwork from simple sketches to vivid illustrations. The beauty of these techniques is that they can be combined, modified, and experimented with, offering endless possibilities.
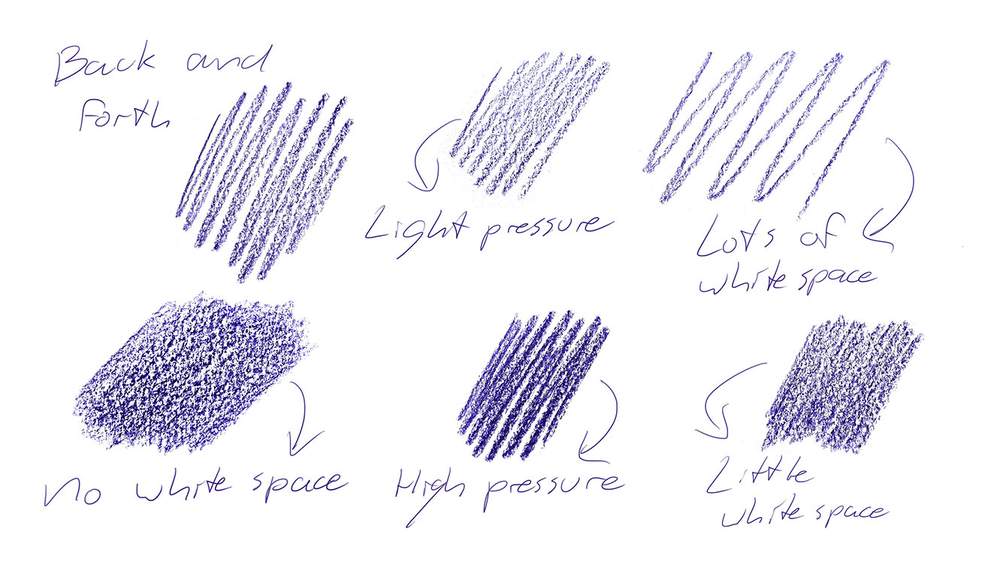
Basic Colored Pencil Techniques
Drawing with colored pencils isn't just about coloring inside the lines. Different strokes can create a variety of textures and depth:
Hatching: This technique involves drawing closely spaced parallel lines. The closer these lines are, the denser the color appears. Adjusting the distance can help achieve various shading effects.
Cross-Hatching: It's an extension of hatching. Here, you draw a second set of lines crossing over the first, creating a grid-like pattern. This technique is excellent for building up color and texture.
Stippling: A time-consuming but rewarding technique. It involves placing tiny dots on the paper, with their density determining the darkness or lightness of an area.
To explore these techniques in detail and see them in action, check out this in-depth guide.
Building Depth and Dimension
One of the challenges of 2D art is making it appear three-dimensional. Here's how you can create that illusion:
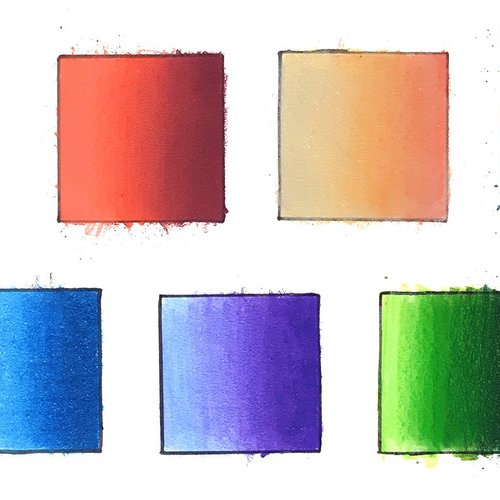
Gradients: Transitioning smoothly from one color to another or from dark to light adds depth. Start with heavy pressure and gradually lighten your touch.
Layering: Layering involves placing colors on top of each other. This technique can be used to mix colors, enhance vibrancy, or adjust tones. For example, layering blue over yellow will create a green shade.
Contrast: The juxtaposition of light and dark areas makes your image pop, adding to its depth. Don't be afraid to go really dark in the shadows and bright in the highlighted areas.
Check out this article for a more in-depth view of all the different ways you can add depth into your artwork.
4. Mixing Colors with Colored Pencils

Using color effectively is both an art and a science. In colored pencil drawings, understanding how to manipulate colors can elevate your work, bringing depth, emotion, and realism.
Mixing Colors
Instead of relying solely on the pencils' original shades, create new hues by layering:
Layering: Begin with a light layer of one color and then add another color on top. For instance, layering blue over yellow will produce shades of green. Adjusting the pressure and order of layers can yield different results.
Color Theory Basics: Familiarize yourself with the color wheel. Understanding complementary colors (those opposite each other on the wheel) can help in creating shadows and depth. For example, a bit of purple over yellow can make it look like a shadow on a yellow object.
Blending Techniques
Merging colors seamlessly is the key to achieving a lifelike look:
Layering: Simply add colors lightly, one on top of the other, until the desired shade or gradient is achieved.
Burnishing: Using a colored pencil to apply heavy pressure over an area to mix and smooth out colors. This gives a polished, glossy appearance.
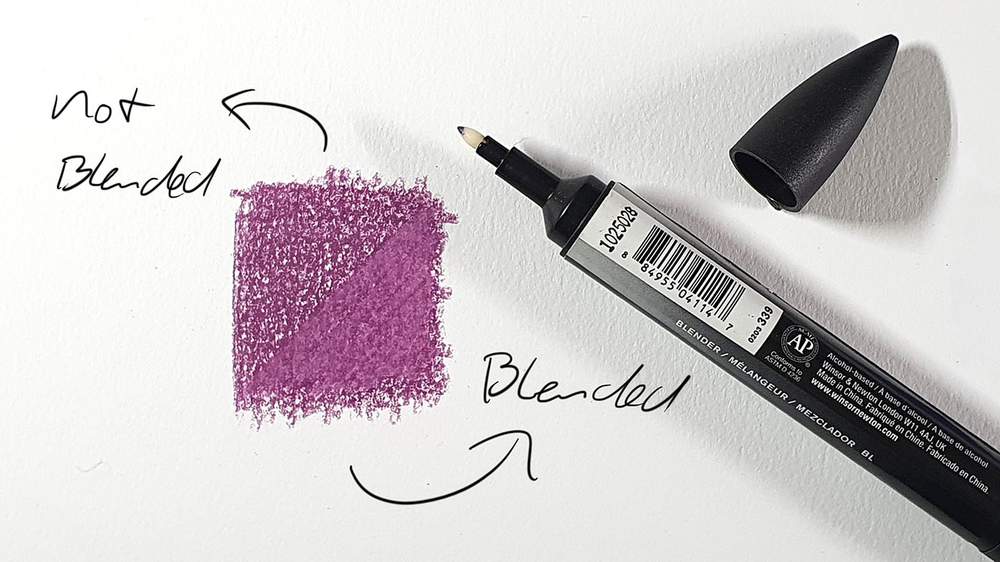
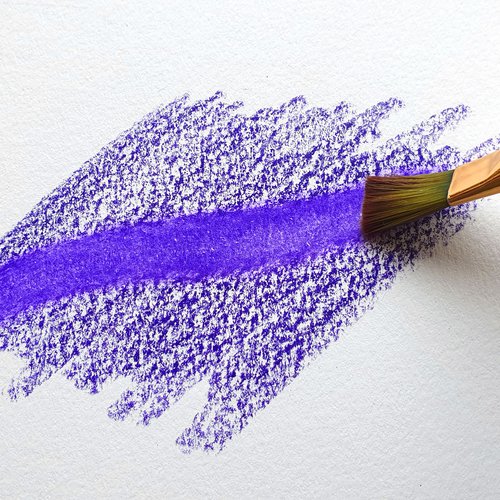
Using Solvents: Dabbing a solvent like rubbing alcohol or odorless mineral spirits on a brush and gently applying it over your drawing can dissolve the pencil's binder, allowing colors to blend seamlessly. Always test on a scrap piece of the same paper before using it on your main artwork.
Creating Smooth Transitions: For a gradient effect, start with heavy pressure on one color, reduce the pressure as you move along, and then start the next color with light pressure, increasing as you go. This technique is particularly effective for skies, sunsets, and backgrounds.
Make sure to keep your pencils sharp while blending, this makes it a lot easier to fill in the tooth of the paper. Btw, if you're interested here's an article I made with more colored pencil tips.
For a comprehensive dive into blending and the myriad of techniques available, check out this article listing all blending techniques.
5. Techniques for Realistic Colored Pencil Drawing
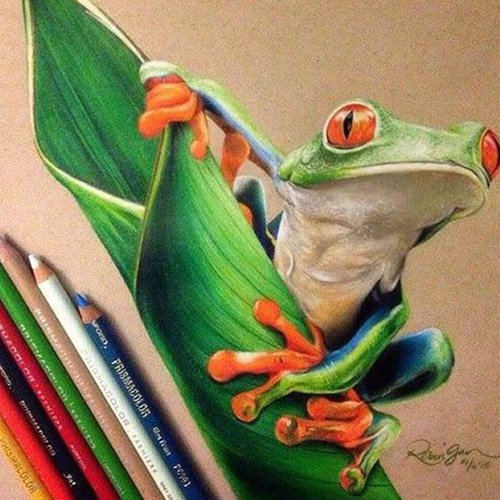
The allure of colored pencils lies in their ability to capture realism. When wielded with precision and skill, they can create images that are strikingly lifelike.
Shading
Understanding shading is paramount in giving your art a three-dimensional feel:
Light Source Identification: Before you begin shading, determine where the light in your scene is coming from. This will guide where your highlights and shadows fall.
Form Shading: For a rounded object, start with light shading, gradually increase the pressure for the mid-tones, and then reduce the pressure again for the highlights.
Cast Shadows: These are the shadows objects cast due to a light source. They help anchor objects to their surroundings, making them appear grounded.
Glazing
Glazing, in the realm of colored pencils, means applying a thin layer of a light or transparent color over an already colored area:
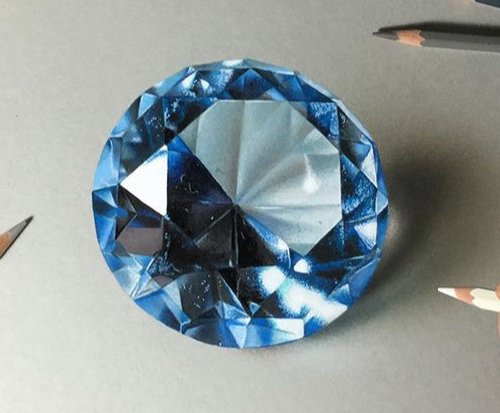
Depth Creation: Glazing can add depth and complexity to colors. For instance, glazing a light blue over a grey can give a metallic feel.
Vibrancy Enhancement: A light layer of a vibrant hue over a dull color can make the color pop.
Highlighting
Highlights breathe life into drawings, making subjects appear luminous:
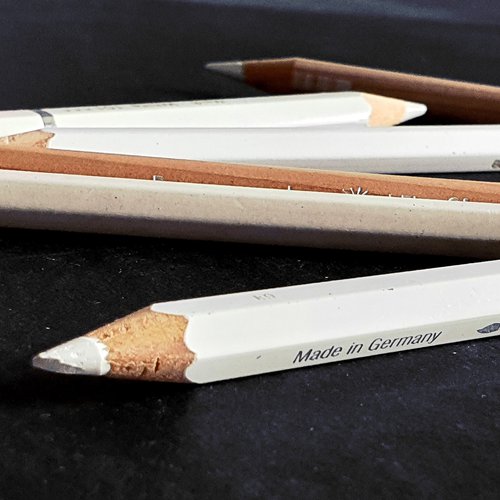
Using Lighter Pencils: White or cream pencils can be used to add highlights. However, remember to preserve areas of the paper for intense highlights.
Erasing Method: If you forgot to preserve the paper for a highlight, gently erasing a colored area can create a highlight. Specialized erasers, like kneaded erasers, are excellent for this purpose.
Contrast: Making the areas around a highlight darker can make the highlight appear more radiant.
- White Paint Pens: These are great for adding really bright highlights, and the best thing is you don't need to preserve any white areas.
Check out this guide I made on how to create realistic drawings using colored pencils if you're interested.
6. How to Prevent Smudging
No matter how detailed and intricate your drawing, unintended smudges can detract from its overall appearance. Fortunately, there are several strategies you can employ to keep your artwork pristine.
Hand Barrier: Place a sheet of clean paper or a thin piece of plastic under your drawing hand. This prevents the natural oils and sweat from your hand from smearing the pencil work below.
Work from Left to Right (or Vice Versa for Lefties): If you're right-handed, begin your drawing on the left and work your way to the right. This ensures that your hand isn't resting on already colored sections. For left-handed artists, the opposite applies.
Fixative Sprays: Once a section of your drawing is complete, you can use a workable fixative spray to set the colors. This creates a protective layer over your colored pencil, reducing the risk of smudging. Always use in a well-ventilated area and follow the manufacturer's instructions.
Lift-off Technique: Instead of dragging your hand over the drawing, lift it off the paper when moving to a new section. This simple practice reduces the potential for smudging.
Clean Hands: Before you start, ensure your hands are clean. Dirt, grime, or lotion can transfer to the paper and affect your colors.
7. Fixing Mistakes
I make tons of mistakes when using colored pencils, even after almost a decade of experience... But the beauty of colored pencils is that there's always a way to correct or camouflage those mistakes.
Here's how you can address common errors:
Gently Erase
Kneaded Eraser: This pliable tool can lift off colored pencil pigment gently without damaging the paper. Mold it into a point for precision erasing or flatten it for broader areas.
Electric Eraser: This is a more powerful tool, especially for stubborn areas. It rotates at the push of a button, providing more effective erasing than manual methods.
Eraser Pencils: Perfect for fine detail work, these are pencils with an eraser instead of lead. They allow for precision erasing in tight spots or intricate designs.
Using Colorless Blenders or White Pencils
Camouflaging: Sometimes, rather than erasing, it's easier to blend the mistake into the surrounding area using a colorless blender or a colored pencil. This smooths out hard edges and integrates the erroneous color.
Lightening Areas: If you've applied a color too dark, a white pencil can be used on top to lighten the area, essentially "diluting" the color.
Layering Over Errors
Darker Shades: If you've made a minor mistake in a lighter color, simply go over it with a darker shade or a different hue to transform it into a purposeful part of the artwork.
Texture Creation: Turn that mistake into a texture or a pattern. For example, a stray mark can be turned into a leaf, a freckle, or a shadow.
If Nothing Else works
- White Paint Pen: Use a white paint pen and just color your mistake white. This works best if just a small mistake
- Just Leave It: How hard it sometimes is, just leaving your mistake as it is is often the best choice. And if your mistake is way too significant you can always start over.
For a deeper dive into techniques and insights on fixing those pesky errors, you might want to check out this more in-depth article I made.
8. Using Colored Pencils in Mixed Media Drawings
Colored pencils are a great medium for mixed media art.
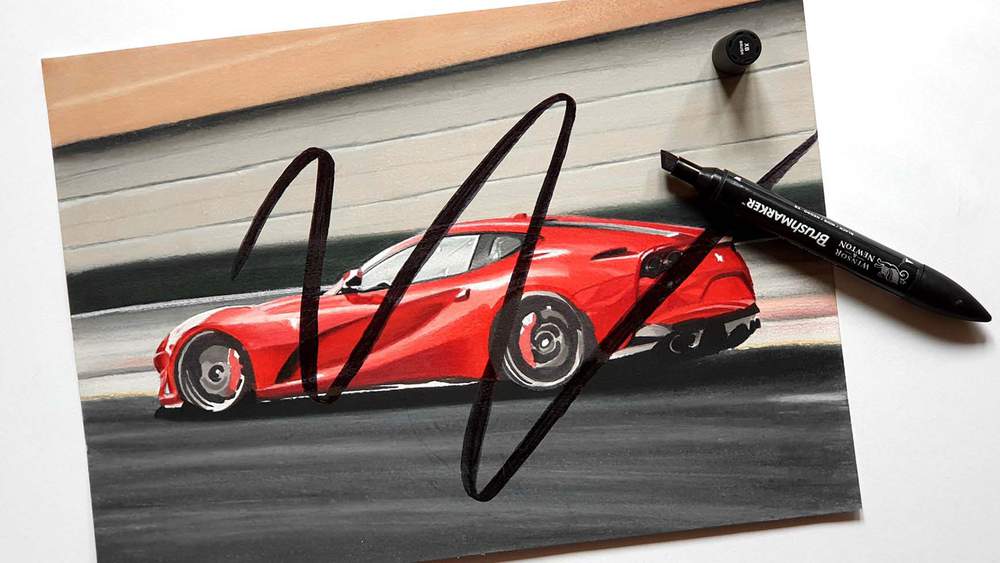
Colored Pencils and Alcohol Markers
Blending colored pencils with alcohol markers introduces a captivating synergy of textures and tones in artistic endeavors. This combination of media works perfectly for me and I use it all the time.
The alcohol markers lay down a smooth and vibrant base layer, offering quick drying and seamless coverage. Colored pencils can then be delicately applied over the marker surface, enhancing the artwork with fine details, intricate lines, and subtle shading.
The combination allows artists to achieve a nuanced and layered effect, as the pencils adhere effortlessly to the marker's surface.
This pairing provides a versatile platform for creating depth and dimension in illustrations, offering both the bold strokes of markers and the precision of colored pencils, resulting in a visually engaging fusion of two distinct mediums.
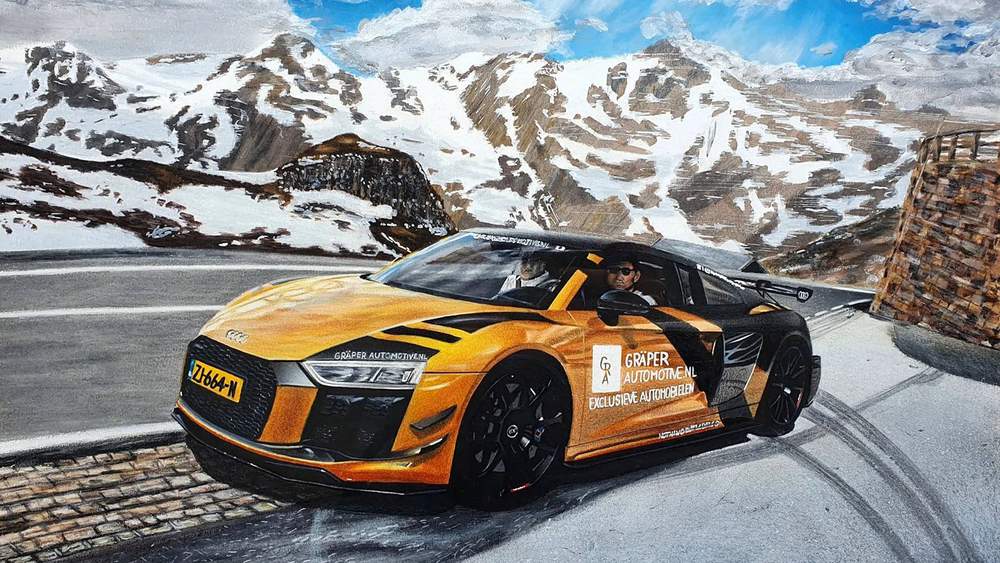
Colored Pencils and Acrylic Paint
Combining colored pencils with acrylic paint offers a dynamic mixed-media approach, allowing artists to achieve unique textures and details in their creations.
The versatility of acrylics provides a vibrant and fast-drying foundation, while colored pencils can be applied over the dry paint to enhance intricate patterns, fine lines, or subtle shading.
This combination adds depth and complexity to the artwork, as the pencils can be used to emphasize specific areas or create intricate designs that might be challenging with paint alone.
The tactile nature of colored pencils also allows for precision and control, enabling artists to finesse their work with intricate details, making the fusion of these two mediums an exciting avenue for creative expression.
If you'd like to know more about using colored pencils in mixed media artworks, check out this article.
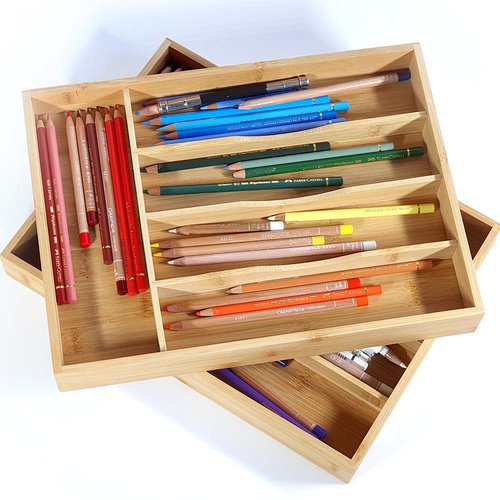
9. Organizing Your Colored Pencils
After gathering more and more colored pencils over time it can be a challenge to keep them organized. At some point, the tin most colored pencils come in won't be sufficient enough anymore.
I personally really like to store and sort them in wooden cutlery trays. You can store them in a compact space and you can easily grab them whenever you need them.
For a more in-depth guide on how I store my colored pencils, check out this article. And if you're curious about more ways to store your colored pencils, then you should give this article a read.
Articles You Might Also Like
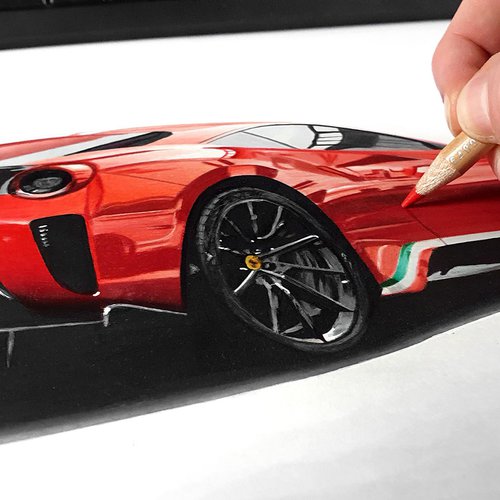

I love bringing cars to life with alcohol markers and colored pencils.
Whether you're just starting out or looking to improve your skills, I'm here to help!
Click here to learn more about me.


Be the first to comment!
Comments
There are no comments yet.