How To Draw Naruto - Easy-To-Follow Step-By-Step Guide
This guide is all about how to draw Naruto Uzumaki from the Naruto manga and anime series and is perfect for beginners and anime fans who want to learn how to create a Naruto drawing with markers.

In this drawing tutorial, I'm going to show you how to draw Naruto in 10 steps and plenty of supporting images.
I've broken the whole process from sketching to coloring up into simple steps so you can easily follow along and create your own Naruto fan art!
First, we'll start by sketching Naruto using simple shapes. Then, we'll outline the sketch with a black markers. And lastly, I'll show you how to color Naruto with some alcohol-based markers.
It doesn't matter if you're a beginner or a Naruto fan who wants to learn how to draw anime characters, this guide is perfect for you.
Let's get started and create your very own Naruto drawing!
Disclaimer: In the name of full transparency, please be aware that this blog post contains affiliate links and any purchases made through such links will result in a small commission for me (at no extra cost for you).
In This Guide
- Drawing supplies & colors I used
- How to sketch Naruto
- Outlining your Naruto drawing
- Coloring Naruto with markers
- More drawing guides you'll love
Drawing Supplies I Used In This Tutorial
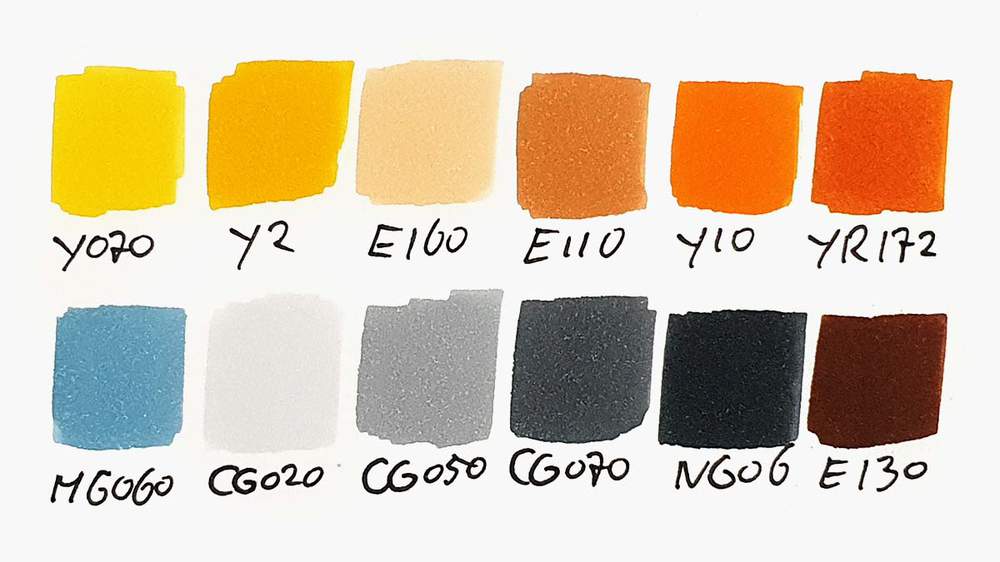
To make this Naruto drawing, I used Ohuhu Honolulu markers in the colors Blue Grey 06 (MG060), Acid Yellow (Y070), Sunflower (Y2), Soft Sun (E160), Dark Suntan (E110), Apricot (Y10), Tiger Lily (YR172), Neutral Grey 02 (CG020), Neutral Grey 05 (CG050), Neutral Grey 07 (CG070), Neutral Grey 6 (NG06), and Copper (E130).
You can buy these colors in the 320 set on Ohuhu's website or on Amazon, or you can buy these colors individually on Ohuhu.com.
In the image below, you can see what the colors look like, so you can match them to your own markers if you already own some.
I also used a black fineliner and a graphite pencil with an eraser.
And I made this drawing on Canson Illustration Manga paper, which I cut in half.
How To Draw Naruto Step by Step?
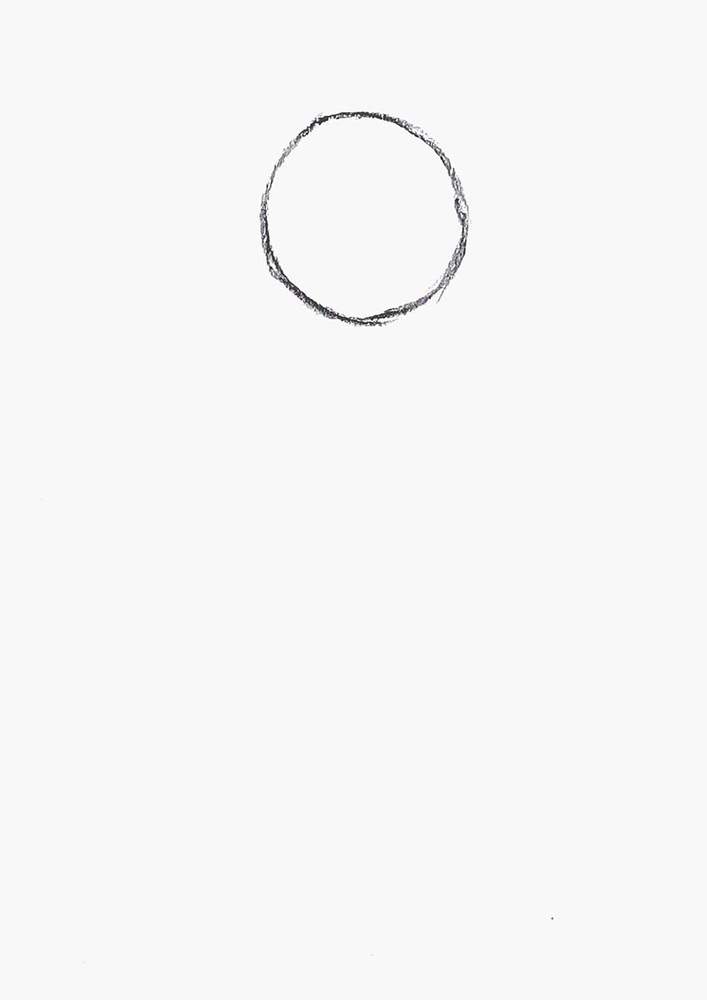
Step 1: Sketch A Circle
To start sketching Naruto, I first drew a rough circle at the top of the paper, about 1/4 of the width of the paper.
This is the start of his head.
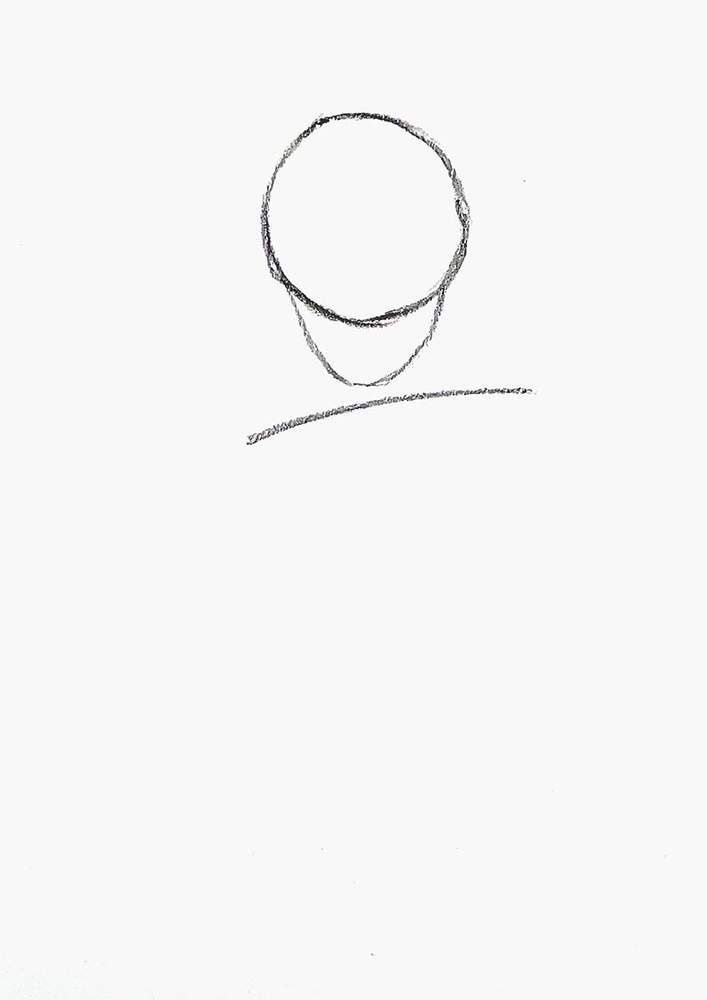
Step 2: Sketch His Chin & Shoulder Line
Next, I sketched his chin below the circle and his shoulder line below that.
As Naruto doesn't look at us head-on, his chin is slightly towards the left of the middle of the circle, and you can see his jaw bones on the right.
The shoulder line curves downwards a bit as he has relaxed shoulders, and his shoulder on the left is a little lower than the one on the right.
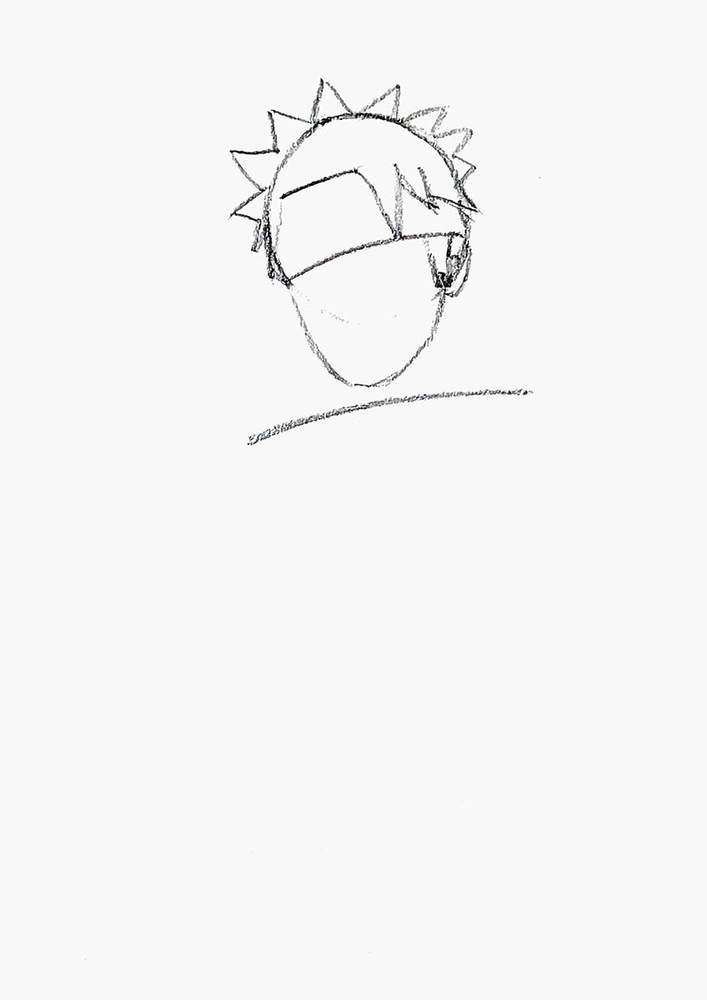
Step 3: Sketch Naruto's Hair & Headband
After that, I sketched his headband. It's about a third of the height of the circle and covers the center third. The left edge is a bit lower, and the right edge is a bit higher.
After drawing the headband, I erased the bottom half of the circle, as it isn't needed anymore.
Then, I sketched his hair, which consists mostly of triangular spikes. I added those on the outside of the top half of the circle, and also a few coming down either side of the headband.
I also sketched his ear on the right, essentially just a mirrored C-shape slightly covered by the hair.
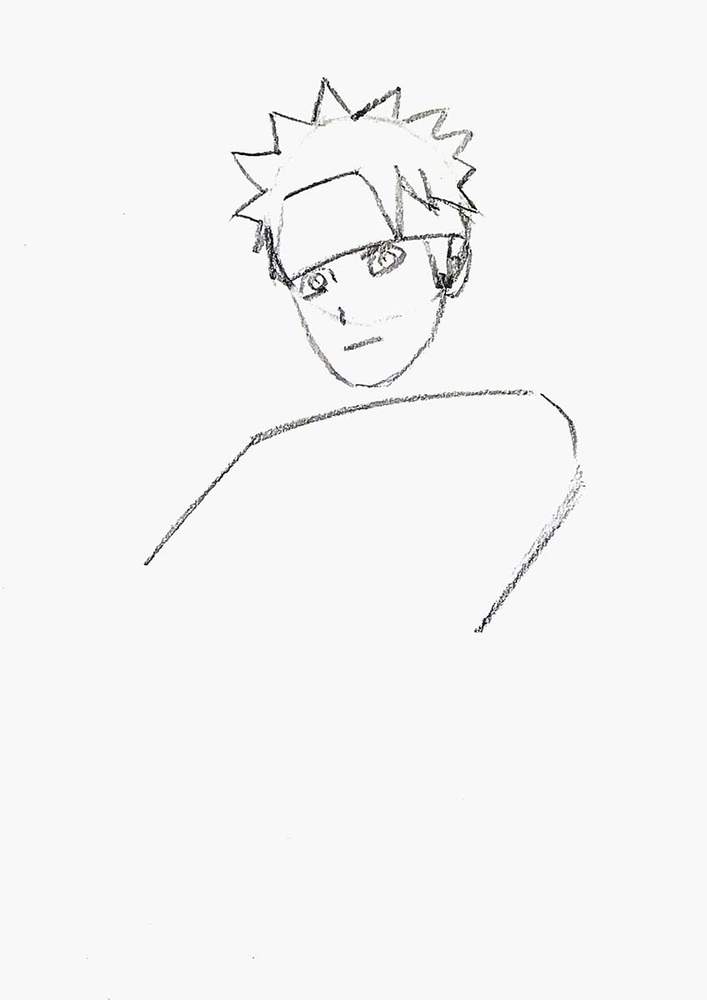
Step 4: Sketch Naruto's Face & His Upper Arms
Next, I sketched Naruto's facial features. Well, most of them.
I sketched his eyes, which were probably the most difficult to position correctly. To sketch the outline of his eyes, start with the bottom edge. Then draw a straight line on the inner edge and a straight line for the top edge parallel to the bottom edge. And lastly, add a diagonal line for the outer edge of his eyes.
And to complete his eyes, I added a circle with a dot in the center.
His nose is just one tiny vertical line, and his mouth is one straight, slightly tilted line.
I also sketched his upper arms. On the left, it's just one line going diagonally down to the left from the end of the shoulder line. On the right, I added a curve from the right edge of the shoulder line, pointing down first before adding the diagonal line.
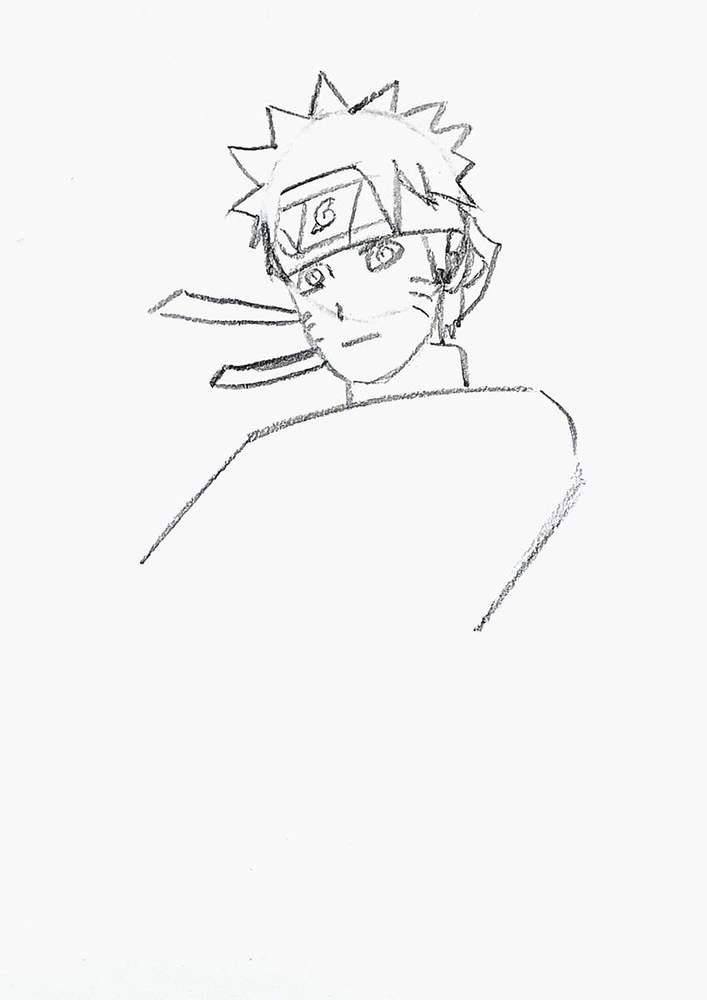
Step 5: Sketch Naruto's Neck, Whiskers, and The Details Of His Headband
Next, I sketched the details of his headband as well as the strings flying behind his head.
I also sketched his neck and his whiskers (which I forgot in the previous step...).
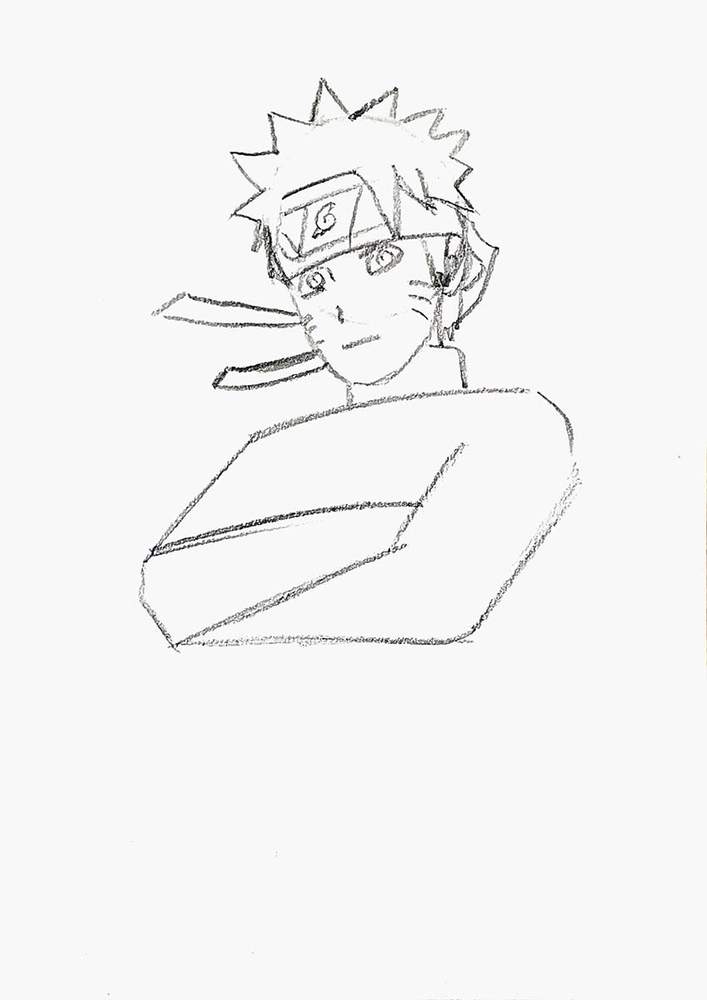
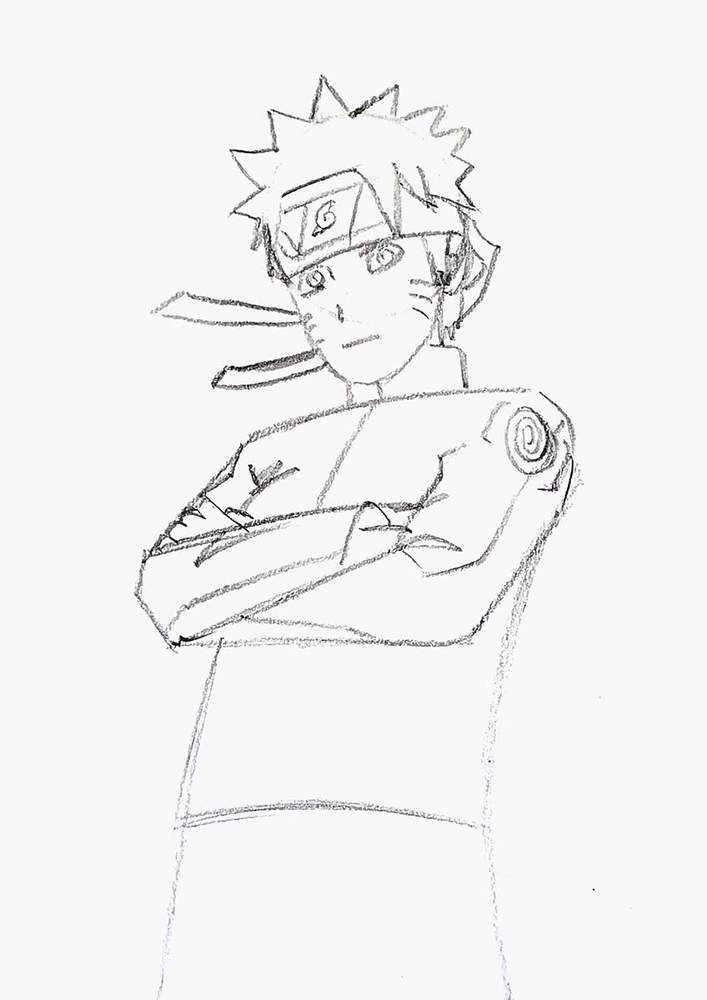
Step 6: Sketch Naruto's Arms
After that, I sketched the basic outline of Naruto's crossed arms, which consists mostly of a bunch of straight lines.
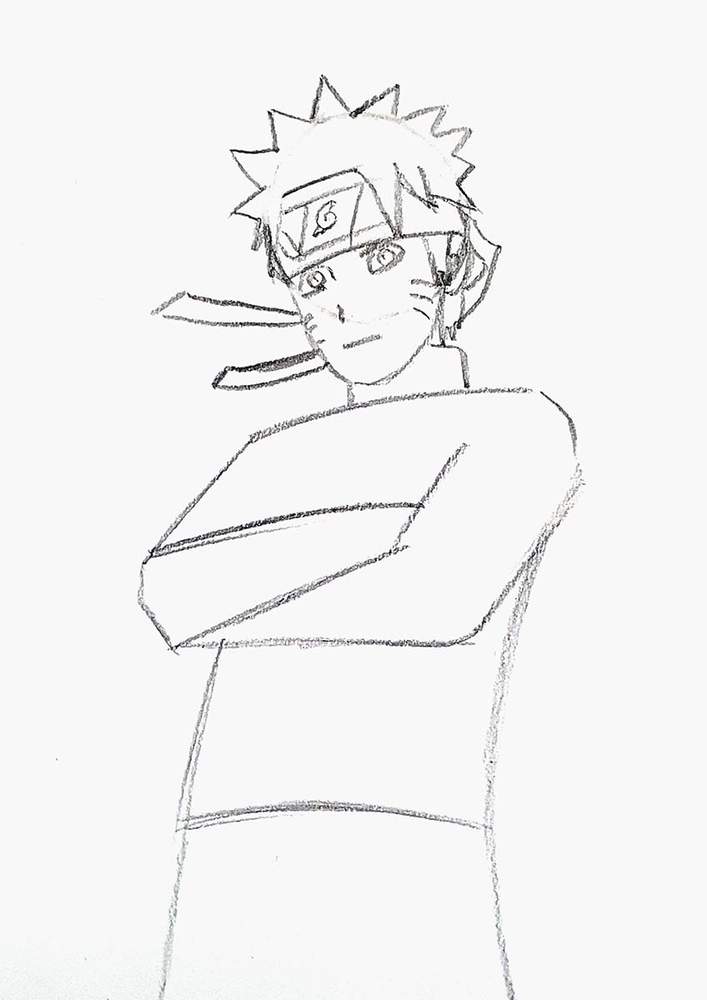
Step 7: Sketch The Basic Shape Of The Rest Of Naruto's Body
Then, I sketched the basic outline of the rest of his body. There are just 2 lines starting from both shoulders, pointing down and slightly curved to the left.
I also sketched the top edge of his pants/belt.
Step 8: Add Details To His Clothing
Lastly, I added all the details to his clothing like wrinkles, zippers, seams, etc. Most of the wrinkles form in places where his joints are. So, below his armpits and on the inside of his elbows, there will be more wrinkles.
I also added the fingers on his hand on his arm on the left. Don't overthink his hand. Keep it small and only use simple straight lines.
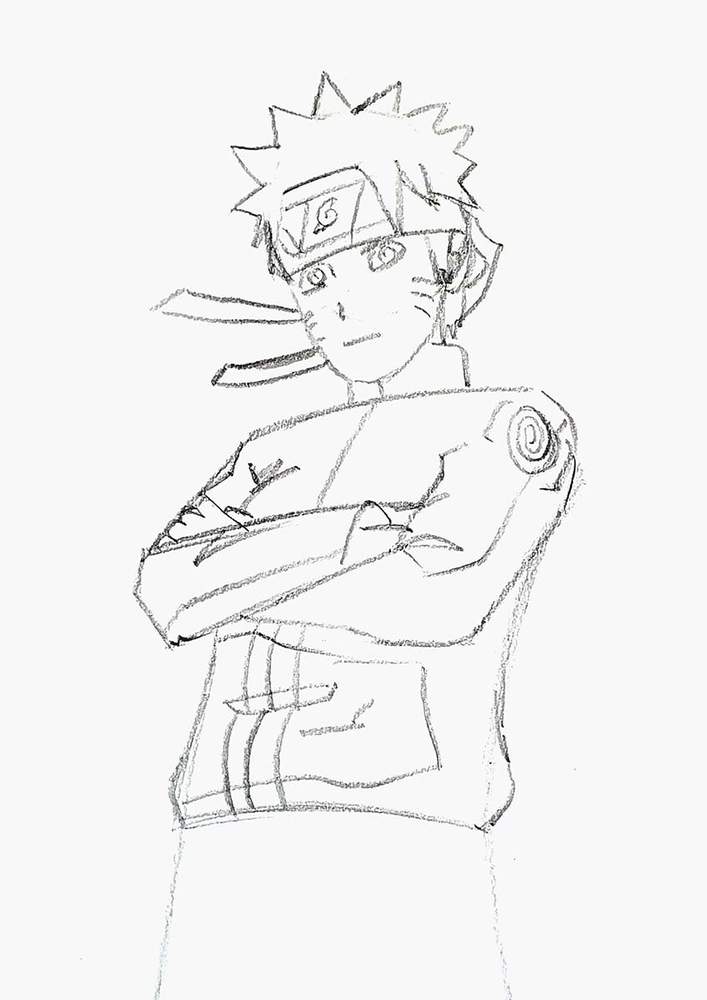
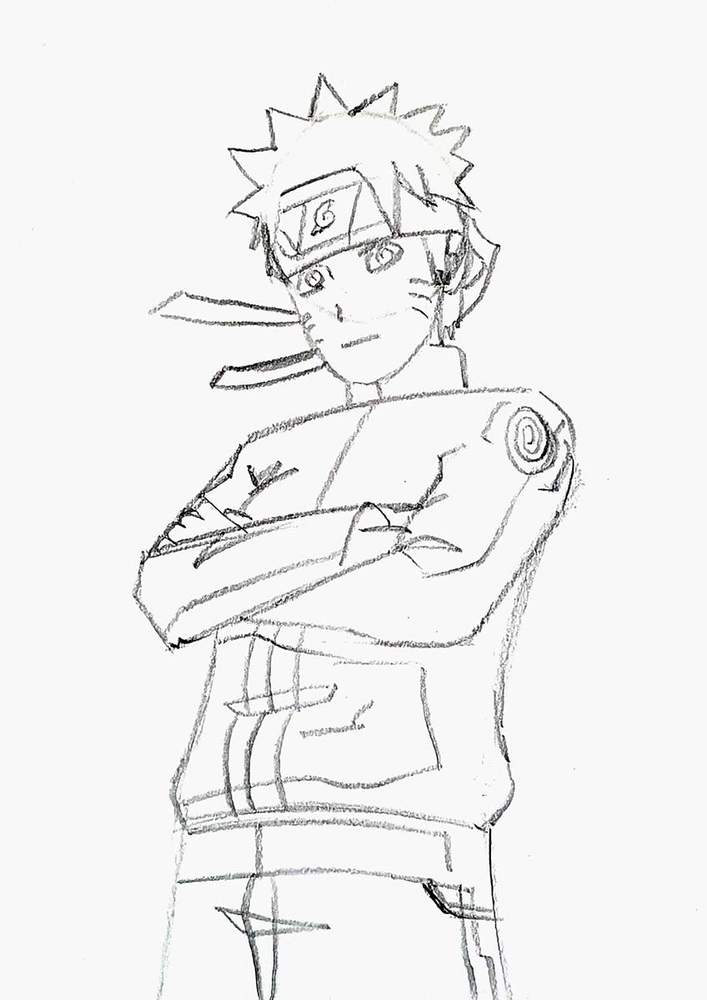
And this finishes the sketch!
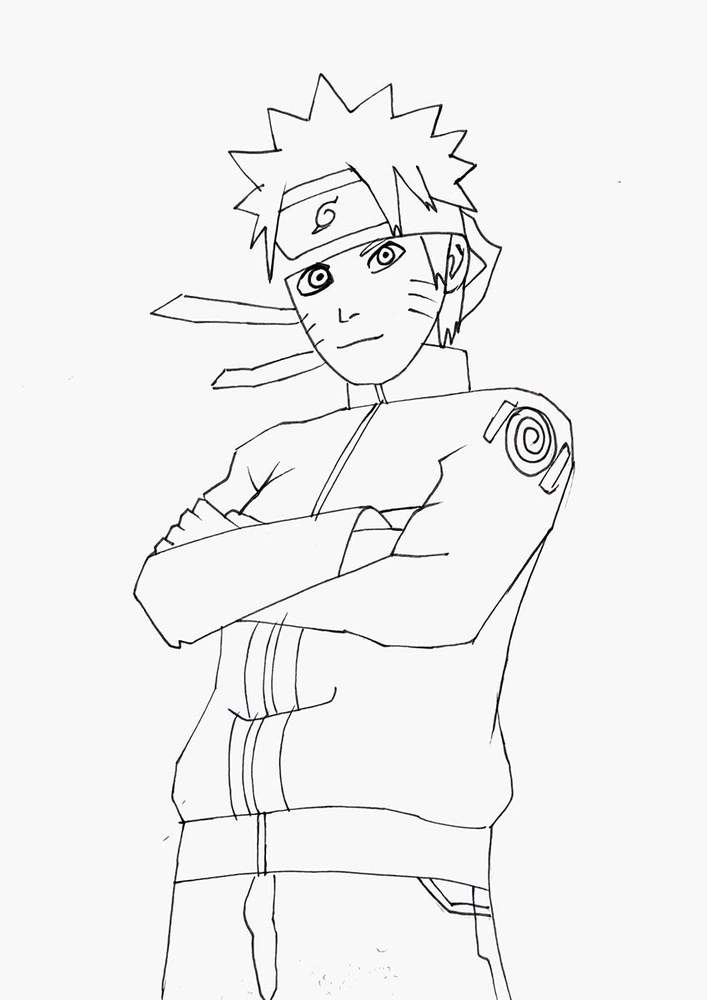
Step 9: Outline Using A Black Fineliner
To get the sketch ready to be colored, I like to first outline it using a black fineliner.
Honestly, you can use any black fineliner. Just make sure it works well with alcohol markers. If you don't have one already, I really like these ones, though you'll need to make sure they're dry before coloring over the ink with markers.
Once I'd done that, I erased the sketch to reveal the clean outline.
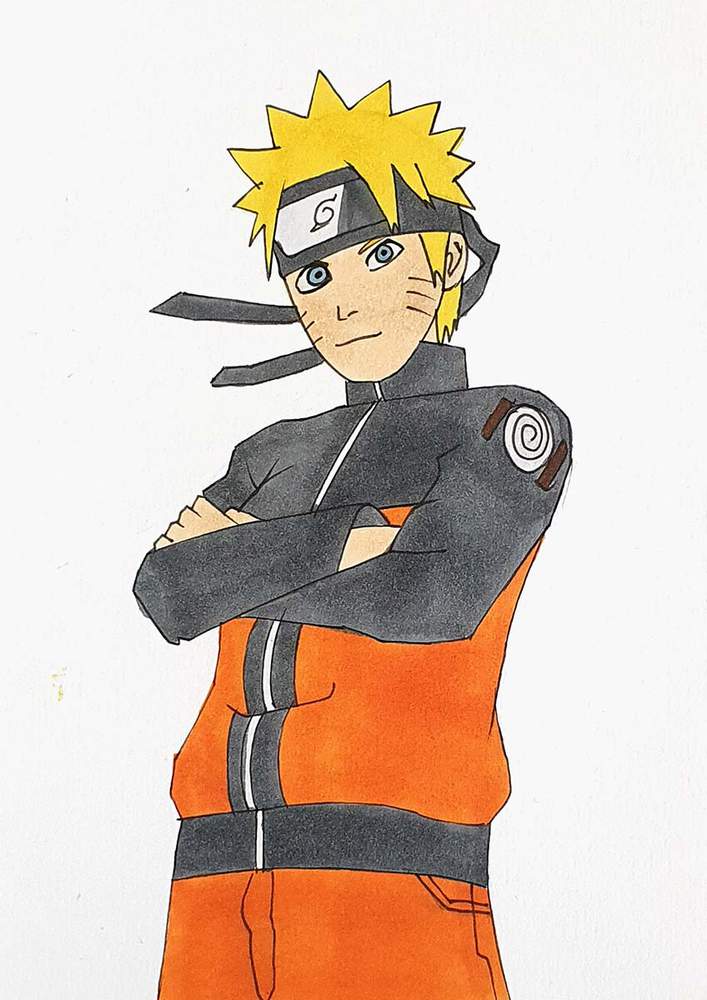
Step 10: Color Naruto With Markers
Now all that's left is to color Naruto.
I first colored all the base colors.
I colored:
- his hair with Y070;
- the grey parts of his clothing and the dark grey of his headband with CG070;
- the light parts of his headband, the thing on his shoulder, and the zipper with CG020;
- the leather bits on his shoulder with E130;
- his eyes with MG060;
- his skin with E160;
- the orange of his clothes with Y10.
Next, I added all the shadows.
I used:
- Y2 for the shadows in his hair;
- CG050 for the shadows on the light grey part of his headband, shoulder piece, and zipper;
- NG06 for the shadows on the dark grey parts of his clothing and headband;
- YR172 for the shadows on the orange parts of his clothing;
- E110 for the shadows on his neck and the top half of his ear.
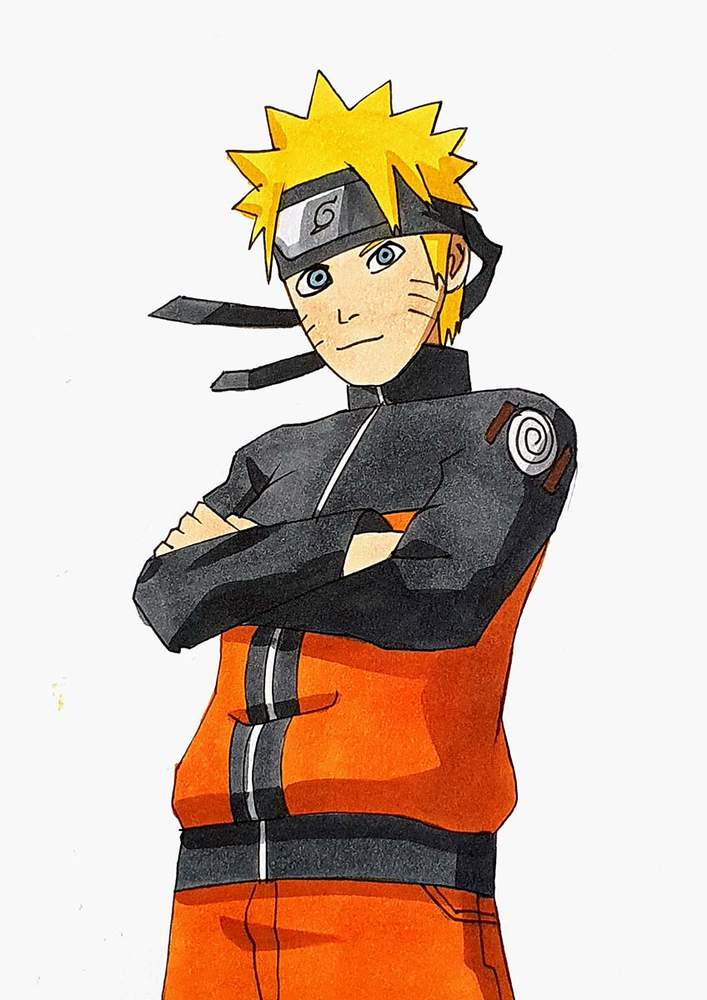
And that's how you draw Naruto fan art!
I hope you enjoyed this tutorial. If you did, you might also like these step-by-step drawing guides.
Articles You Might Also Like

I love bringing cars to life with alcohol markers and colored pencils.
Whether you're just starting out or looking to improve your skills, I'm here to help!
Click here to learn more about me.


Be the first to comment!
Comments
There are no comments yet.