How To Draw A Fall Leaf Step By Step With Alcohol Markers
This drawing guide is all about how to draw a beautiful fall leaf with the classic yellow, orange, and red autumn colors, and is perfect for beginners.
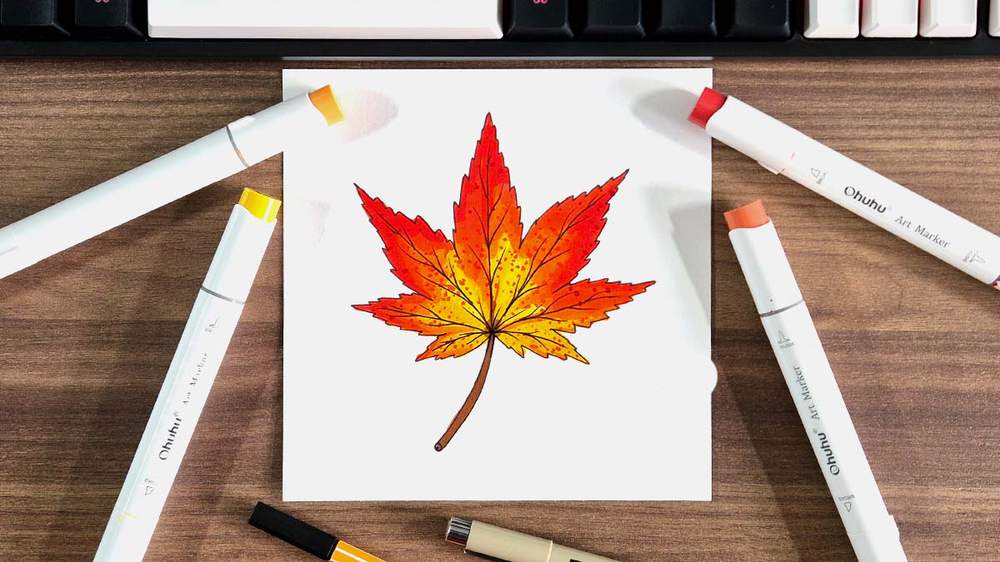
Want to learn how to draw a beautiful fall-colored maple leaf? In this fall leaf drawing guide, I'll show you exactly how to sketch, outline, and color this Japanese maple leaf with the classic yellow to red gradient.
This beginner fall leaf drawing guide is perfect for creating fall-themed drawings.
I'll walk you through every step in great detail so you can easily follow along and create your very own fall leaf drawing.
Let's get started!
Disclaimer: In the name of full transparency, please be aware that this blog post contains affiliate links and any purchases made through such links will result in a small commission for me (at no extra cost for you).
In This Guide
- Drawing Supplies & Colors I Used
- How To Sketch A Fall Leaf From Scratch
- How To Outline A Fall Leaf
- How To Color A Fall Leaf With Markers
Drawing Supplies I Used To Draw This Fall Leaf
To sketch the maple leaf, I used a regular graphite pencil with an eraser.
And I made this drawing on Canson Illustration Manga paper, which is my favorite paper for using alcohol markers on.
To outline the maple leaf sketch, I used a black Stabilo Point 88 fineliner. But you can also use these Pigma Micron pens, which have a more premium feel and a wider range of sizes.
And to color this fall leaf, I used Ohuhu Honolulu markers. I used 7 colors in total. Pastel Yellow (Y1), Sunflower (Y2), Apricot (Y10), Rouge Orange (Y5), Agate (R070), Bright Red (R180), and Leather (E260).
You can buy these colors separately or as part of the 320 set.
I've added an image with all the color swatches below if you want to match your own markers to the ones I've used.

How Do You Draw A Fall Leaf?
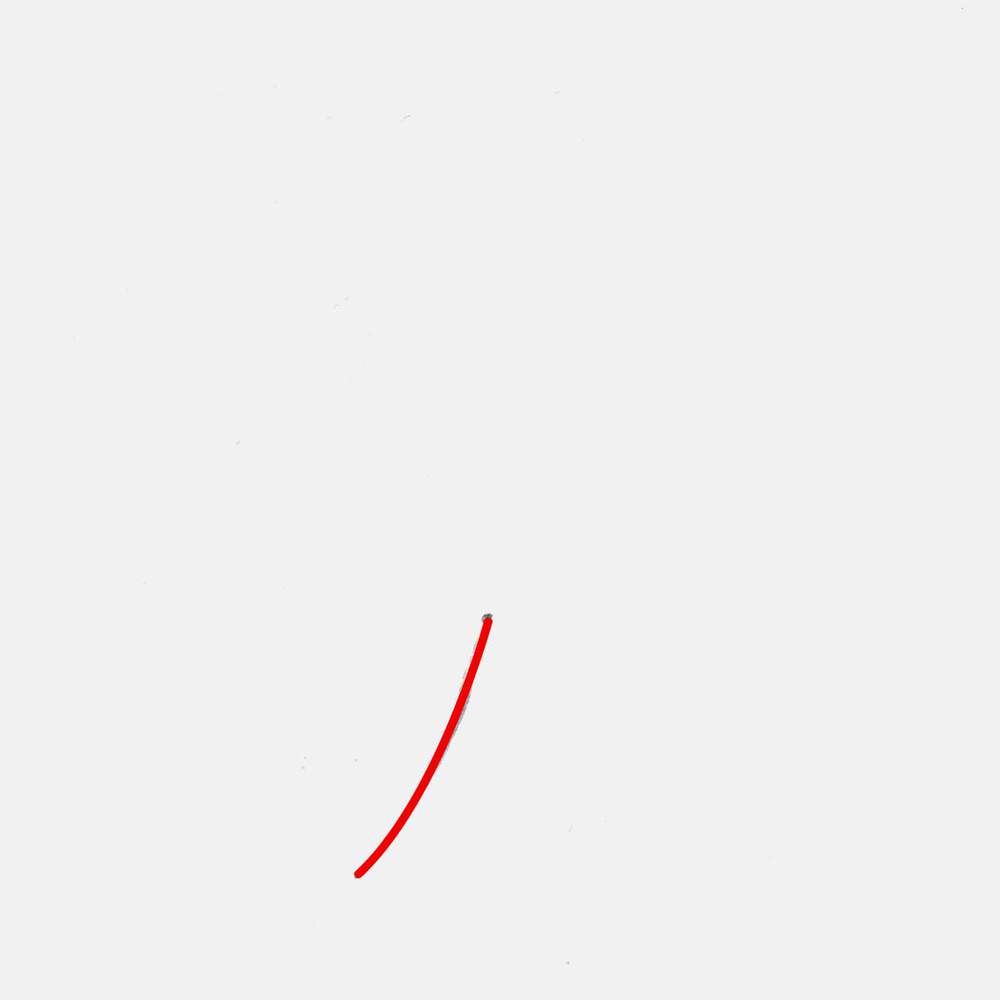
Step 1: Sketch The Stem Of The Fall Leaf
To start off the fall leaf sketch, I marked the middle point of the leaf. Since the blade will take up a lot of space, I put the middle point a little bit below the center of the paper.
This will be the point where the stem/petiole connects to the blade, also called the base of the leaf.

From this point, I sketched a diagonal line that curves down and to the left.
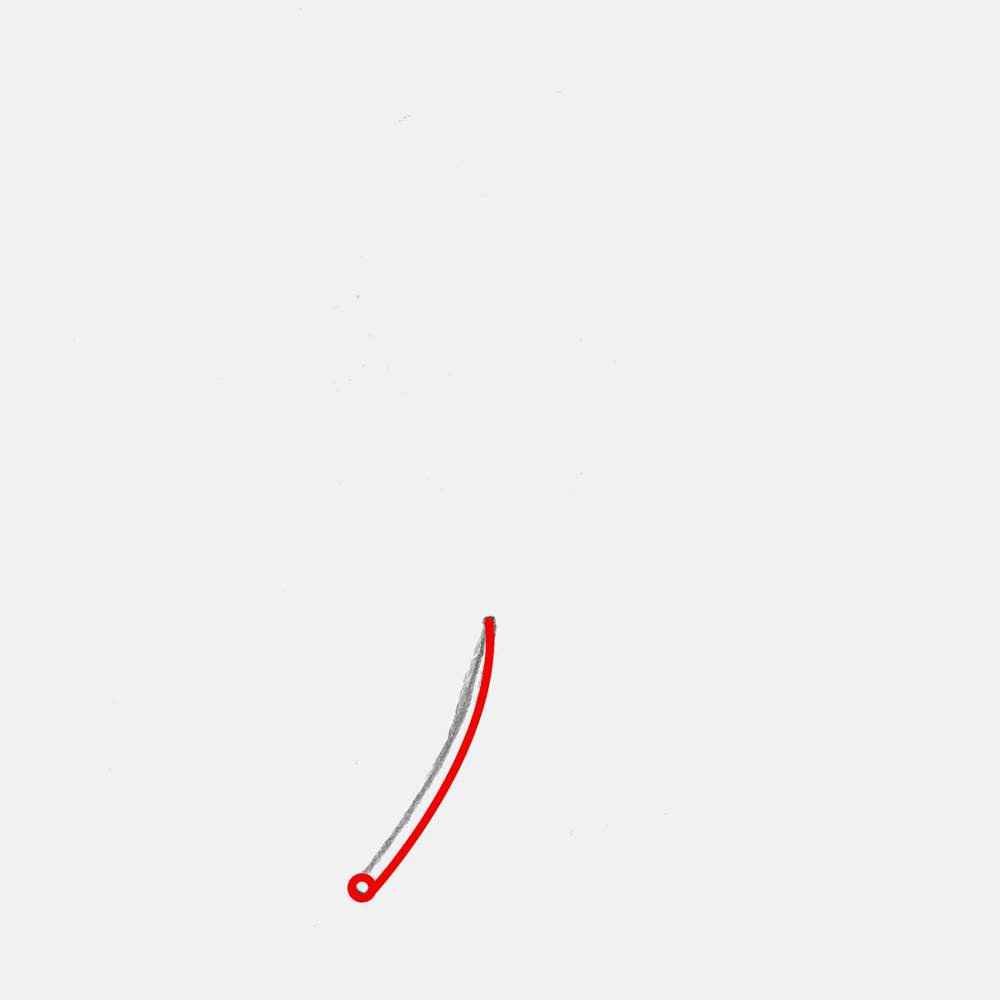
And to complete the stem, I added a tiny circle on the bottom end and drew the right side, which also connects to the middle point we marked earlier.
Step 2: Draw The Lobes Of The Maple Leaf
With the stem now in place, we can start to add all the lobes to the Japanese maple leaf. For this drawing, I started with the biggest one, which is the middle one.
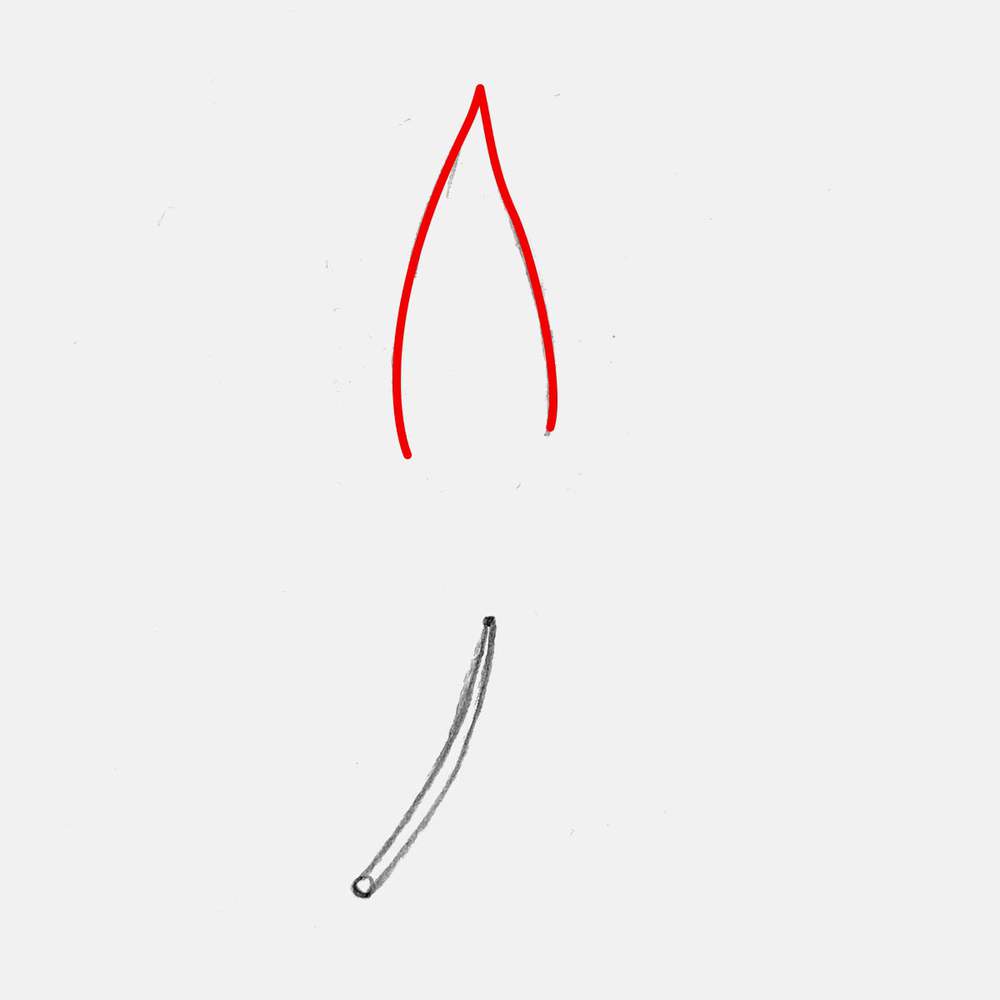
To sketch the sides of the lobe, I used wavy or S-shaped lines that connect into a sharp point.
And as you can see, I didn't make these sides symmetrical, as maple leaves are, just like the rest of nature, pretty asymmetric. And in my opinion, this fall leaf drawing looks a lot better if all the lobes are all different and not completely mirrored.
After the biggest middle lobe, I sketched the ones to the left and right of it, again making sure the lines all wave in a different way so it doesn't look fake.
These lobes are about the same size as the first one, or a little smaller.

Next, I added the 4th and the 5th lobes. These start to get narrower and shorter than the first 3. I made them about 2/3 the size of a bigger one, and again made sure they are irregular and look organic.
The bottom edge should approximately line up with the base of the leaf we marked at the start.
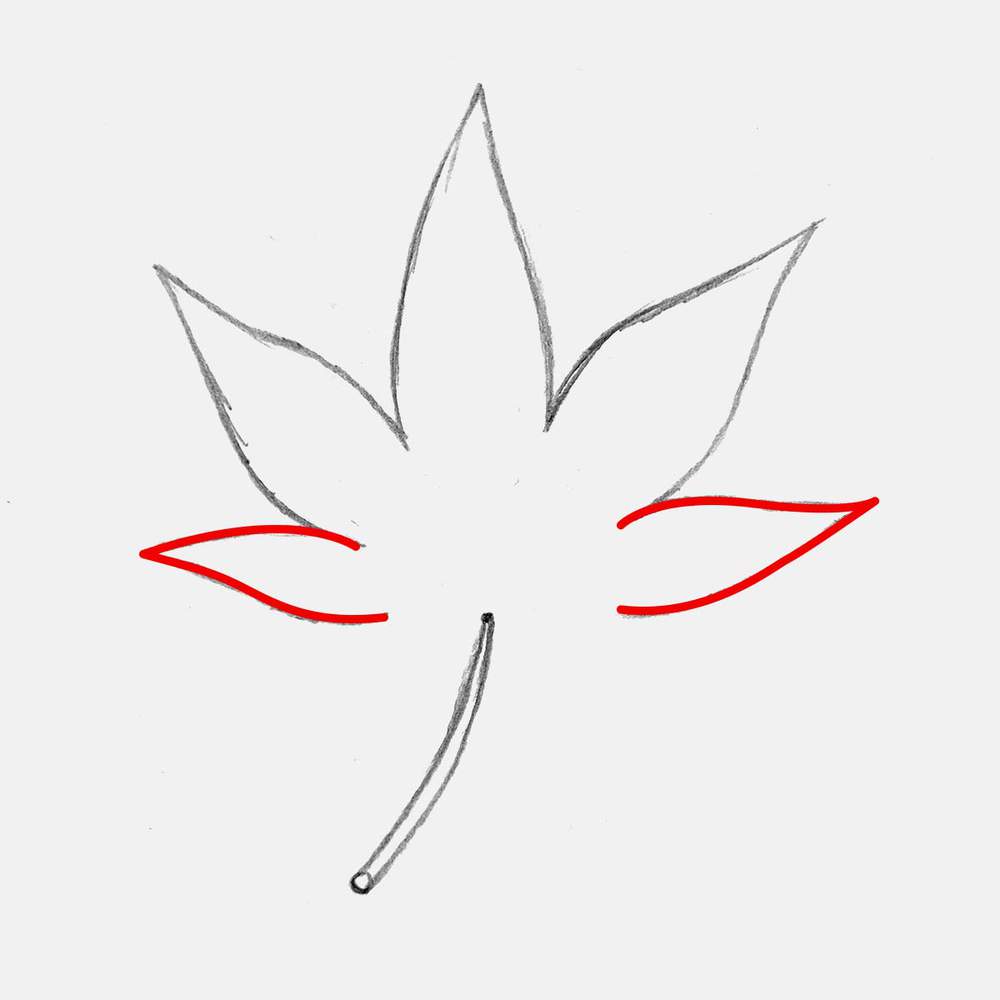
Lastly, I added the smallest ones and connected them to the base of the maple leaf.

The overall shape of the Japanese maple leaf is now done, and even though we made the shape look organic, it still looks strange. But in this next step, we'll fix that.
Step 3: Serrate The Edges Of The Maple Leaf
To make the maple leaf look more like a maple leaf, we're going to add a serrated edge to the whole blade part. And to do that, we first need to erase what we just sketched.
This might seem backwards, but it's so much easier to get the shape right first and then serrate the edges than it is to serrate the edges from the start. At least in my opinion.
To erase my sketch, I used a kneaded eraser. They are perfect for this. And while I do this, I make sure that I do not completely erase the sketch, but just lighten it. I still need to be able to see the shape of the leaf.
To create the serrated edge on the fall leaf, I just drew small spikes that point mostly to the tip and a little bit outwards from the lobes, and at the tip, both edges form a sharp point.
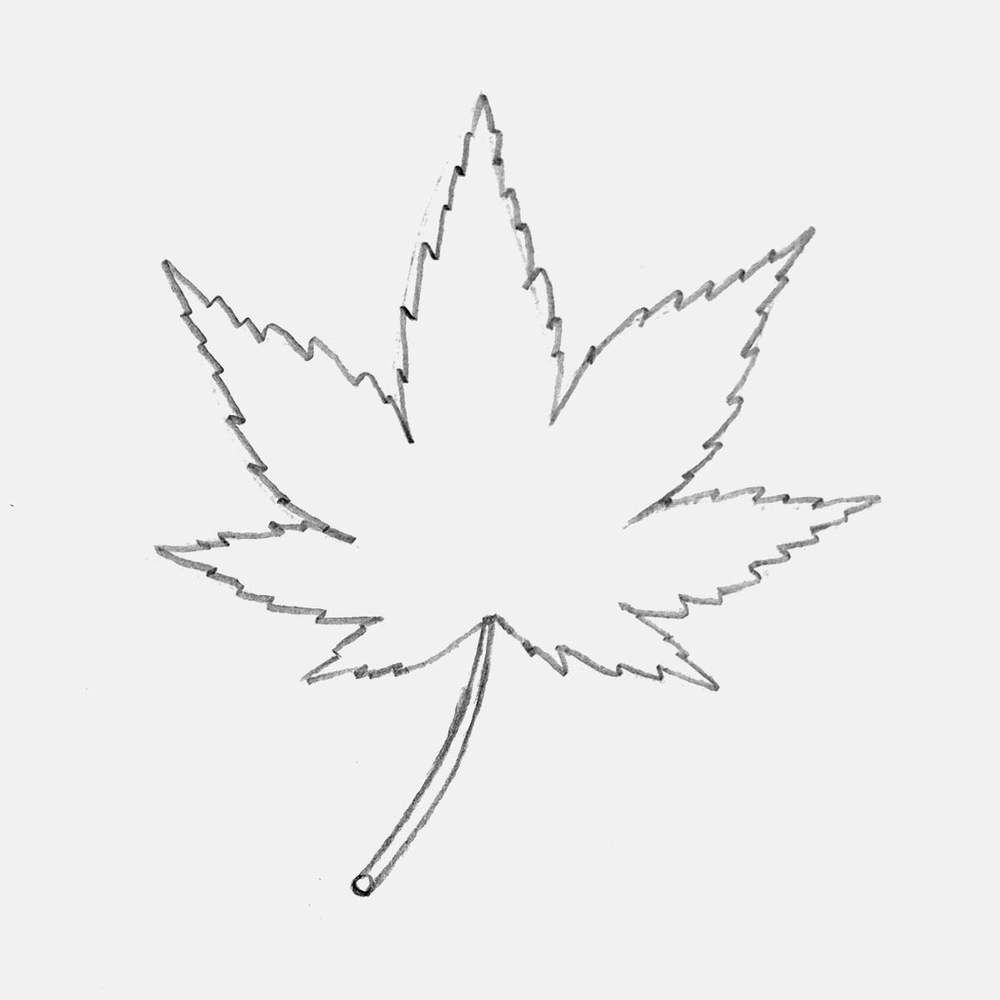
The fall leaf sketch already looks a lot better now, but to finish it off, we have to add one more thing: the veins.
Step 4: Add Veins To The Fall Leaf Sketch
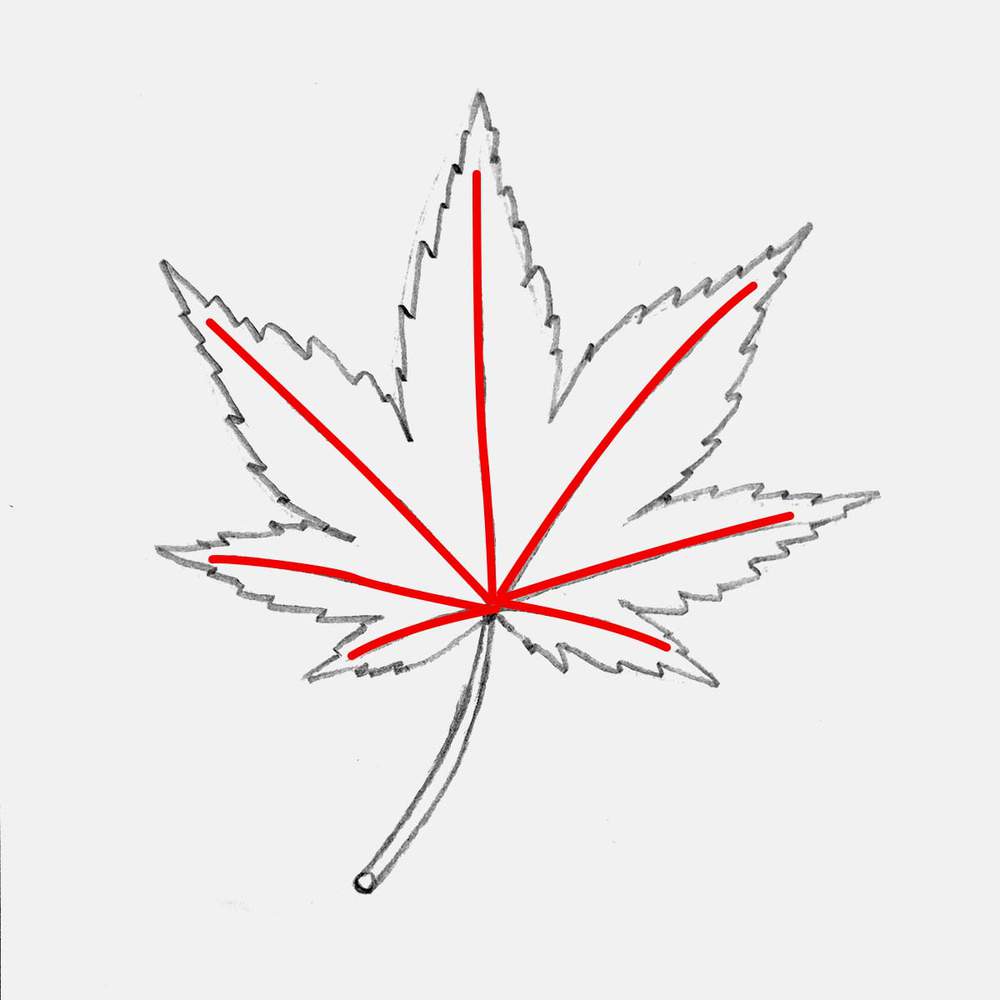
First, I added the 7 main veins. Well, actually, only the middle one is called the main vein or the midrib. The other 6 are secondary veins. The main vein and the 6 secondary veins all originate from the base.
For the main vein, I made sure it looks like it continues the shape of the stem. And to make all these veins look organic, I made them a tiny bit curved.
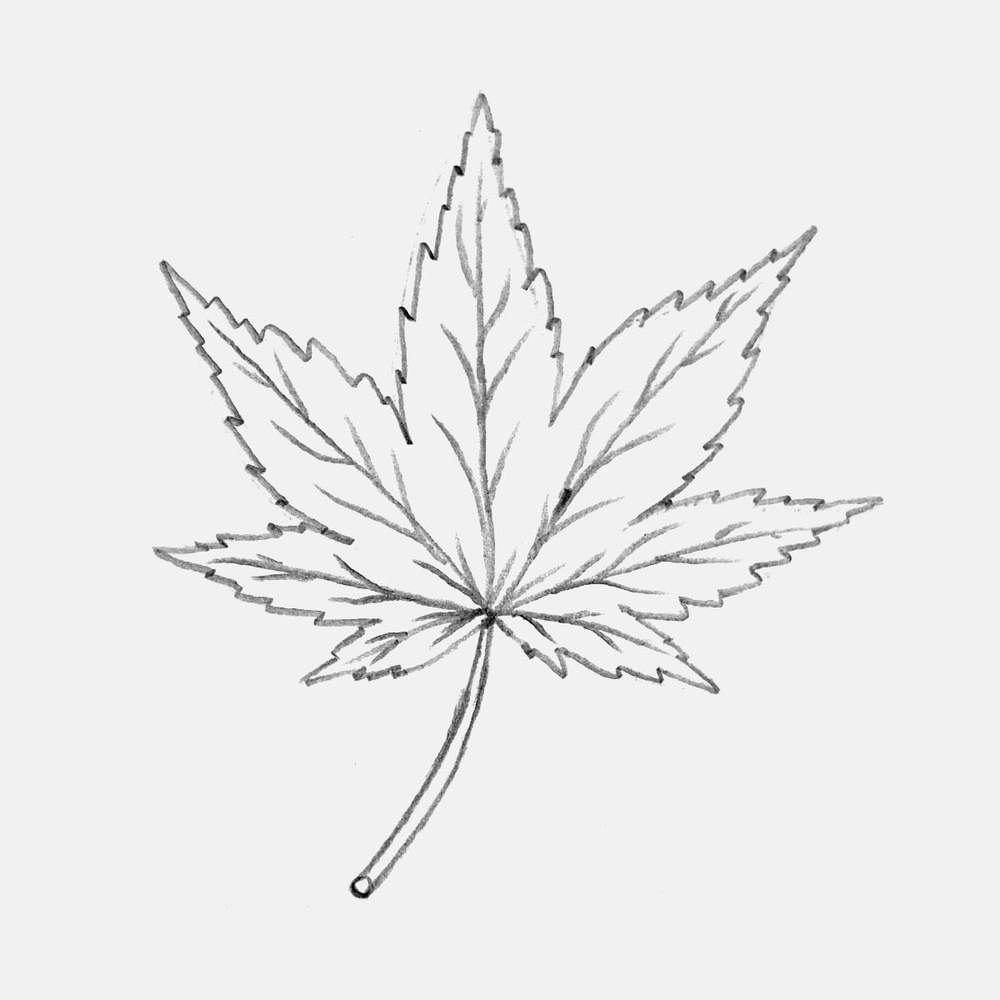
To complete the vein pattern of this maple leaf, I added some branches to the main vein and the secondary veins.
I tried creating pairs of small veins on the bigger ones, but it looked very unnatural, so I only added some pairs, while the rest of the small veins are spread asymmetrically across the larger veins.
I made most of the longer veins more wavy and the shorter ones just a single curve.

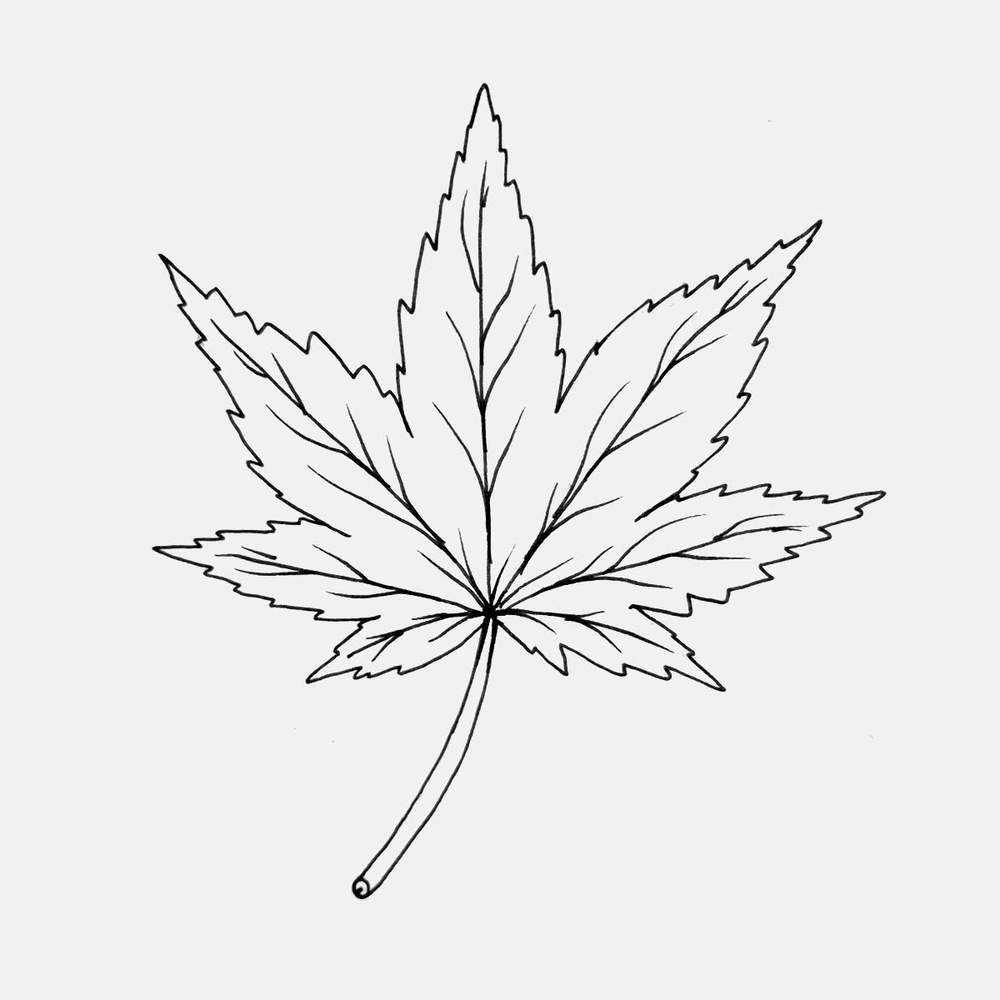
With the veins now added, the fall leaf sketch is all done and ready to be outlined!
Step 5: Outline The Maple Leaf With A Fineliner
Oultining the maple leaf sketch is quite straightforward. You just trace the whole sketch with a black fineline.
Any fineliner will do the trick, but since we're going to use alcohol markers to color this fall leaf, you'll need to make sure the black ink doesn't smudge when you color over it with the markers. If you already have a fineliner, you can easily test this by drawing some lines on a scrap piece of paper, letting it dry, and then coloring over it with your markers and hopefully not smudging it.
If you do not already have a fineliner that works well with alcohol-based markers, I really like the Stabile Point 88 fineliners, but many other artists use Pigma Micron fineliners. One thing to take into account when using the Microns is that they take some time to dry, but once they're dry, they do not smudge.
When outlining your sketch, try to use long and steady lines instead of many short ones, especially for the veins and the stem. For the serrated edge, you can use many short ones, but I still prefer to use continuous lines.
One (very) small thing I added when outlining is a dot in the small circle at the bottom end of the stem, and I made sure to connect it to the side of the circle. This makes it look like the indentations most leaves have.
After I completed my outline, I used an eraser to erase my sketch. This makes the outline look a lot cleaner.
And with the sketch now all outlined, it's time to color it in.
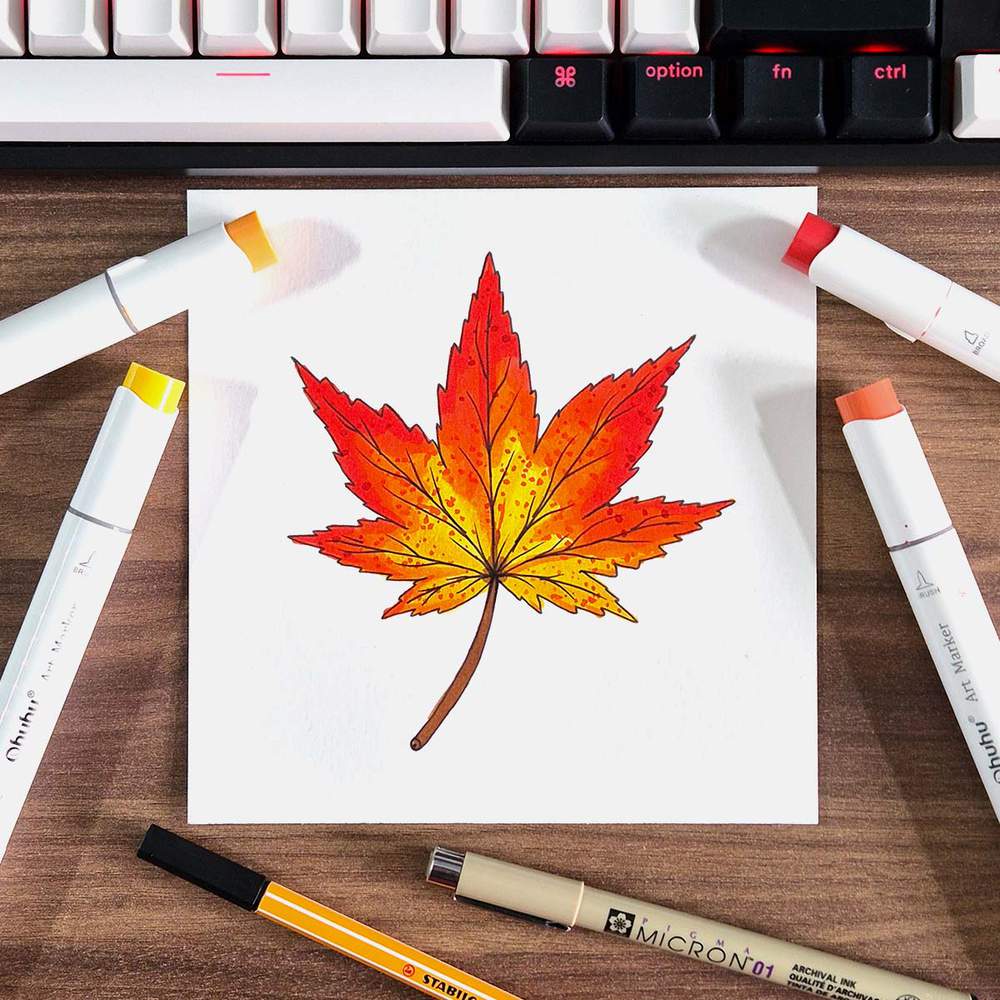
Step 6: Color The Fall Leaf With Markers
To color the fall-colored maple leaf, I will be using alcohol-based markers. I love using this type of marker as they are super easy to work with, can blend seamlessly, and are quick to use.
Personally, I love the Ohuhu Honolulu markers as they are more affordable than the more premium brands while still behaving like a premium marker. Plus, these markers come in over 320 different colors.
I wanted to make this fall leaf very colorful and vibrant, so we will be building a gradient going from a golden yellow at the center to orange and then red. I also kept the gradient very harsh and unblended, as I like the more patchy look this gives to the leaf.
To start, I used Pastel Yellow (Y1) to color the center of the maple leaf. I tried to make it look natural by adding lobes near the veins.
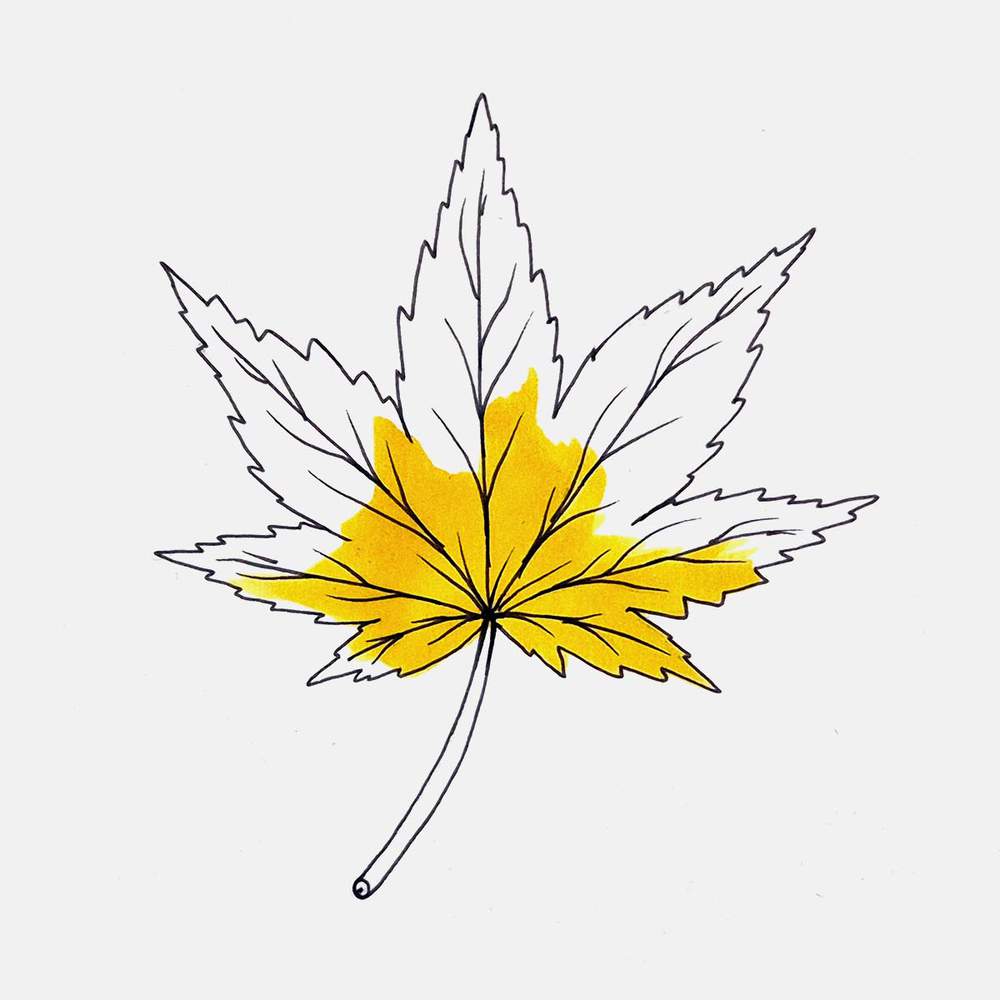
Next in the gradient is a more orangy and darker yellow called Sunflower (Y2). I used this to add some shadows to the yellow blob we just made. This gives it some more depth and texture.
Honestly, I just colored it wherever I felt like.
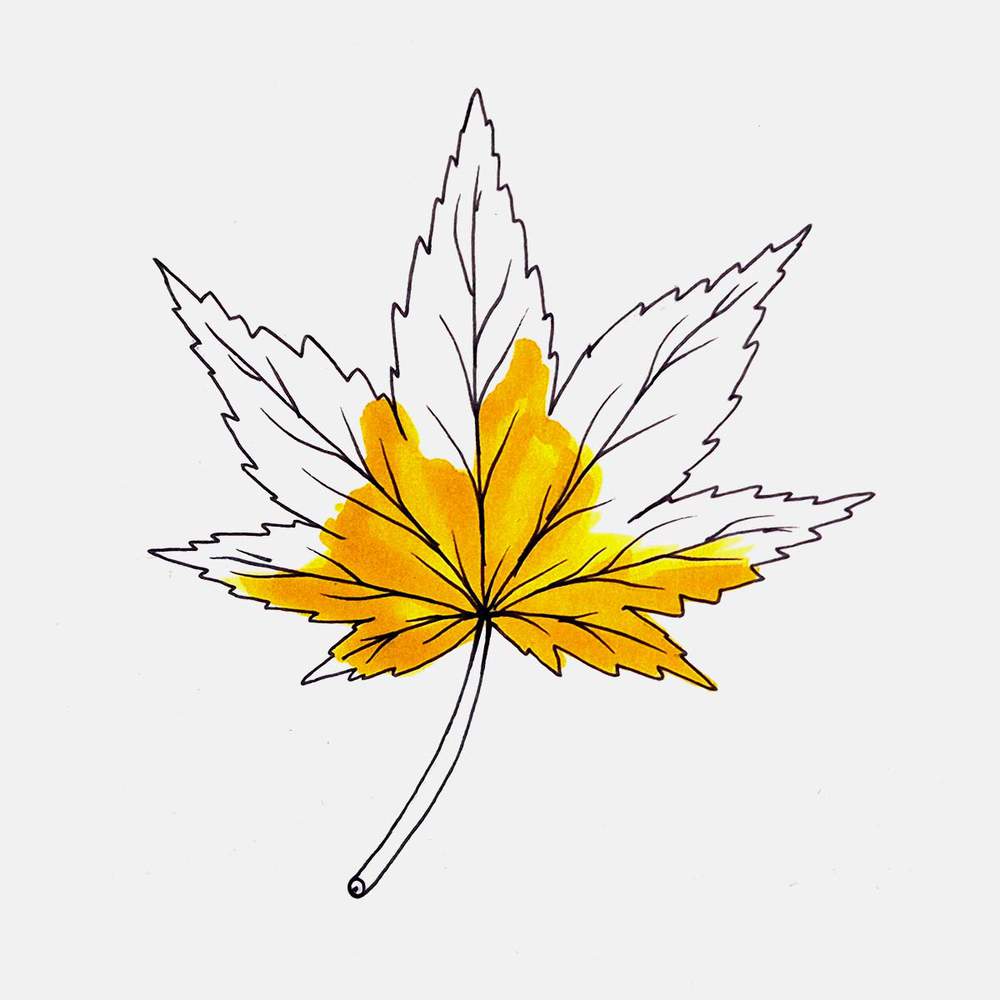
Next, I used a more orangy color called Apricot (Y10) to color the inside of the lobes of the blade and the edges around the smaller bottom lobes.
Again, I didn't want to make this a smooth transition, as I kinda like the roughness the hard color edges add.

After that, I used an orangy red called Agate (R070) to color in the remainder of the blade. I did overlap this with the orange in the previous step, but I made sure to leave the edges unblended.
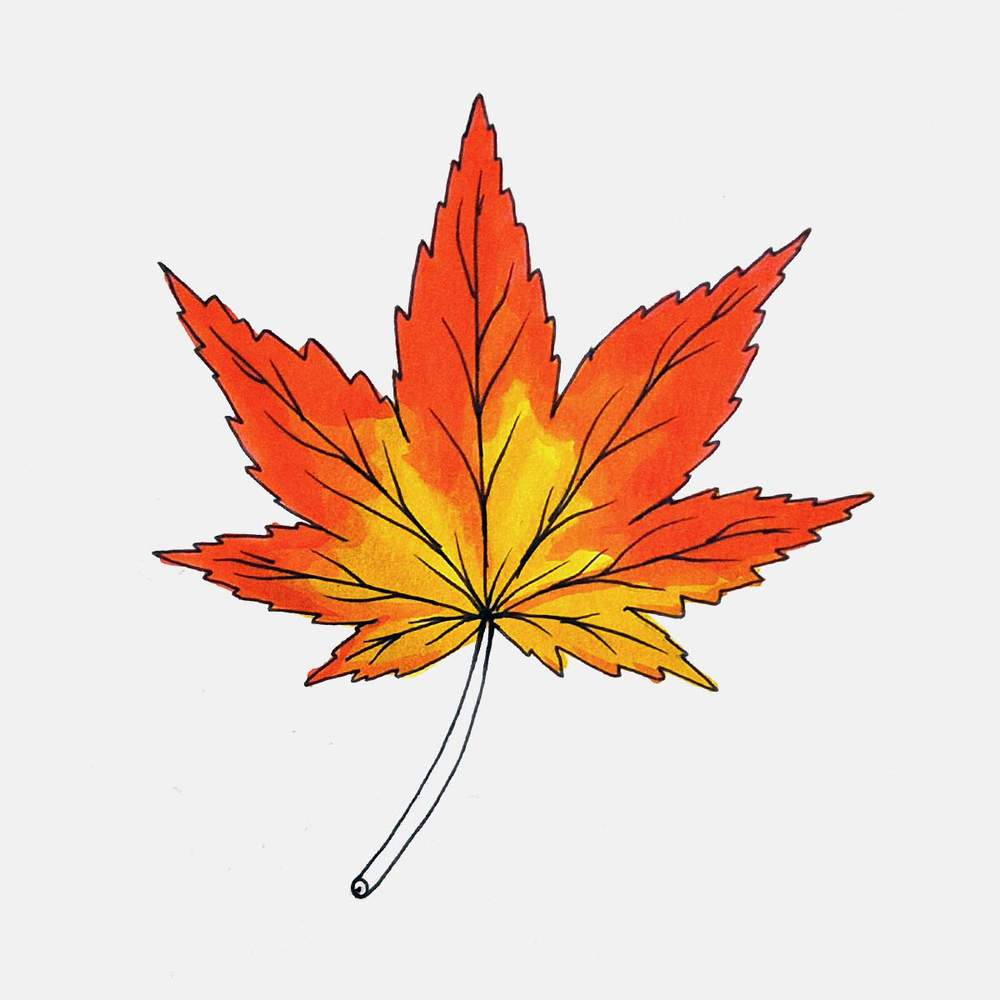
And to give the blade a bit more depth, I used a slightly darker red called Rouge Orange (Y5) to darken the edges of the bigger lobes, and I dragged this red down alongside the middle vein.
Don't use this color on the smaller leaves on the bottom.
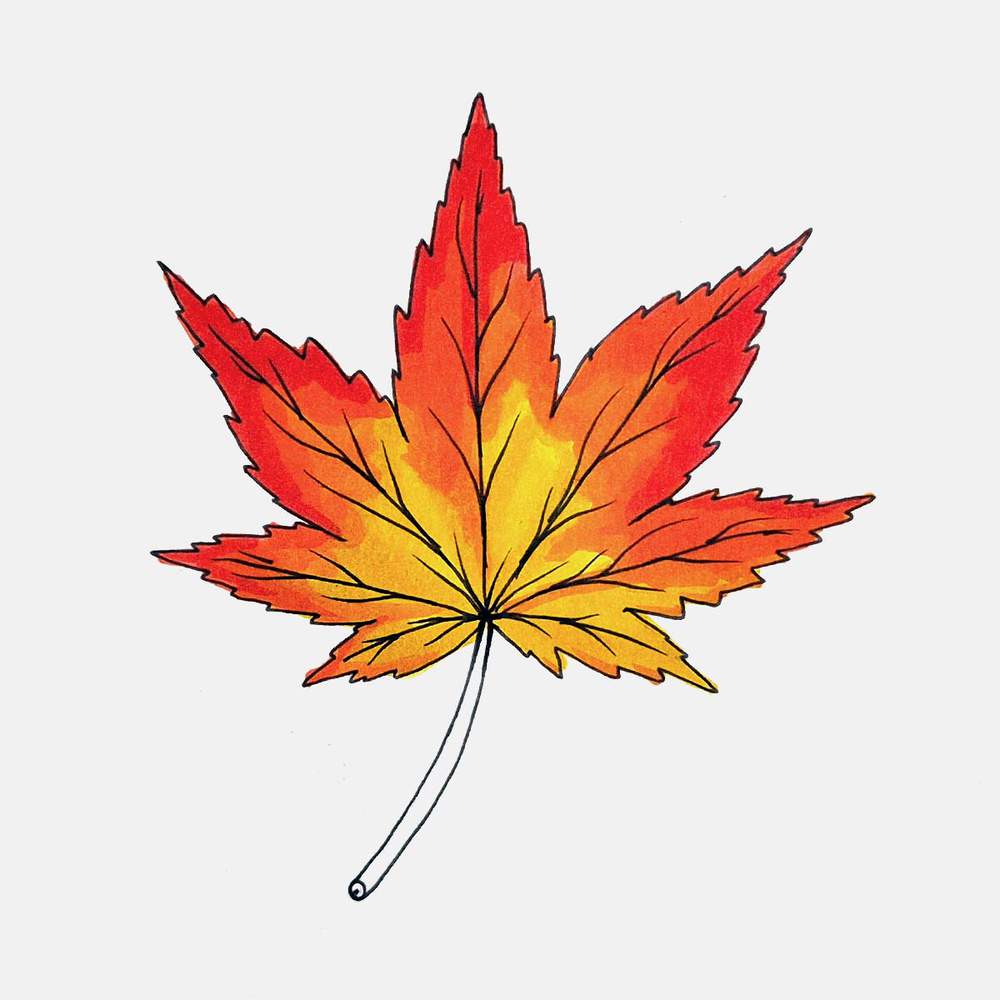
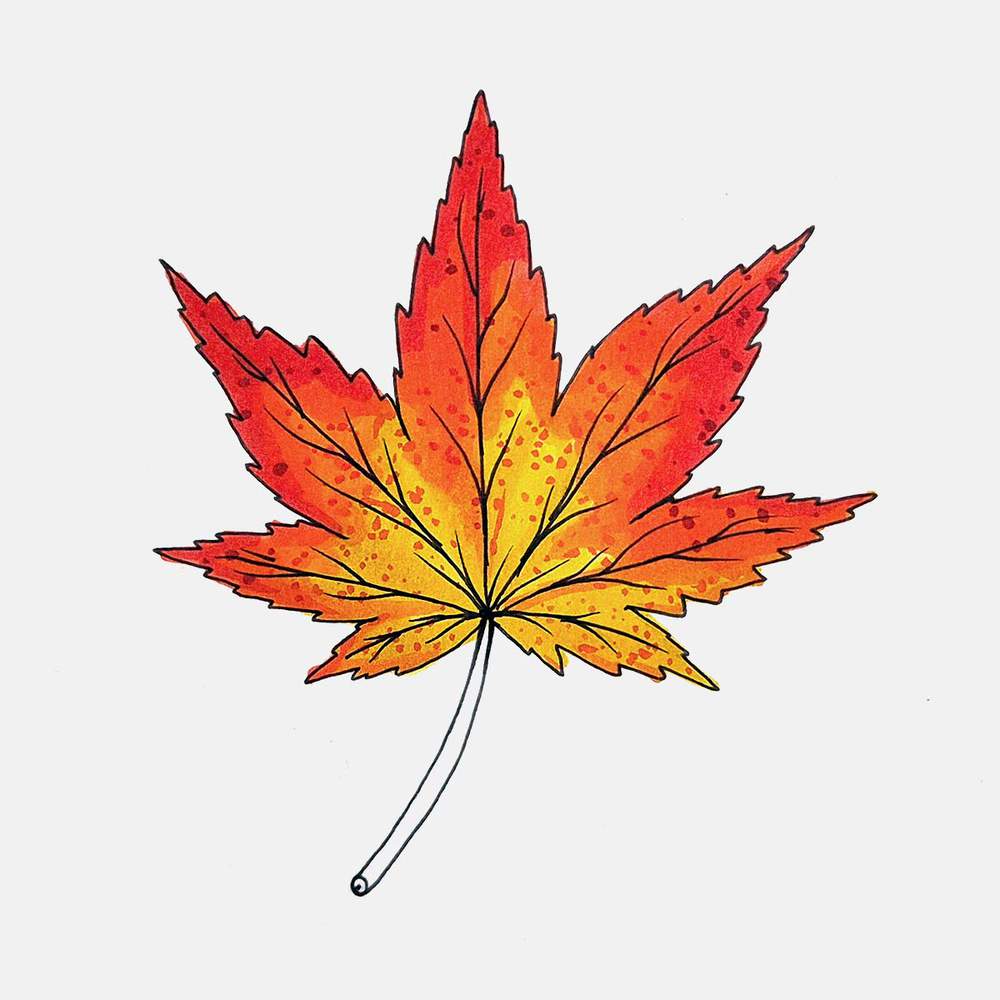
To add some life to this fall leaf drawing, I decided to add some dots.
I used Apricot (Y10) to add dots to the yellow potion in the center, I used Rouge Orange (Y5) to add dots to the orange and light red parts, and I used a dark red called Bright Red (R180) to add just a few dots on the outer edge of the blade.
I added most of the dots around the center and fewer towards the edges of the leaf.
To complete this fall leaf drawing, I used a brown color called Leather (E260) to color the stem and a tiny bit around the base where the stem connects to the blade.
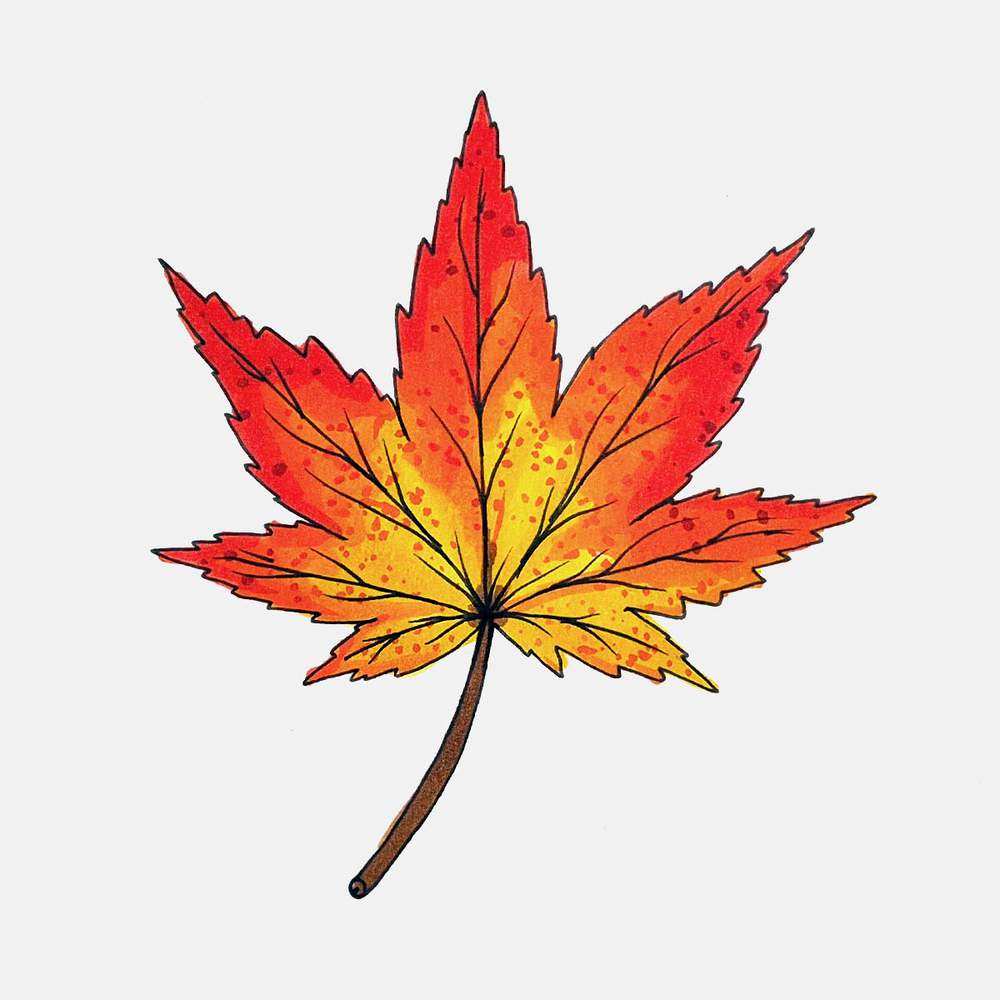
And that's how I drew this colorful, fall-colored Japanese maple leaf step by step.
If you followed along, you now have this beautifully colored fall leaf drawing you can be proud of.
If you want to practice some more, you can create different color variants of this leaf or create a pattern of maple leaves.
And if you enjoyed this step-by-step guide, you might also like my other step-by-step guides for beginners. I've covered all sorts of topics like anime characters, animals, flowers, and more.
Posts You Might Also Like


I love bringing cars to life with alcohol markers and colored pencils.
Whether you're just starting out or looking to improve your skills, I'm here to help!
Click here to learn more about me.


Be the first to comment!
Comments
There are no comments yet.