How to Draw a Winter Landscape - Easy Step-by-Step Guide for Beginners
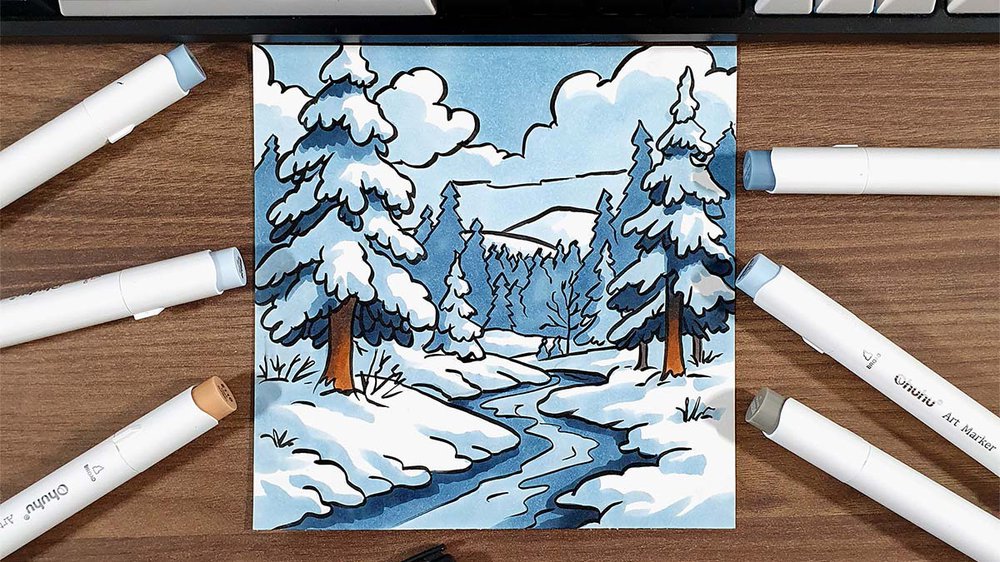
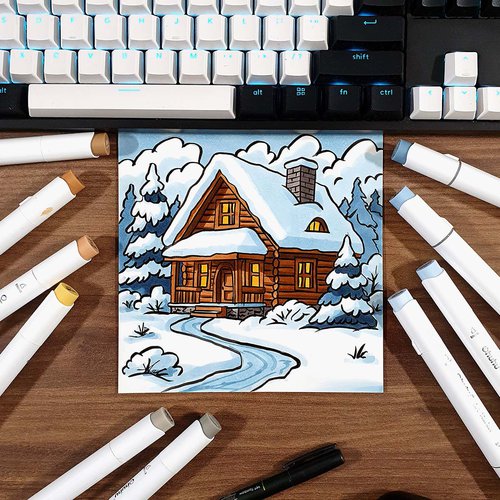
There’s something truly magical about a peaceful winter scene, soft snowy hills, towering pine trees, and a frozen creek winding through the landscape.
In this easy step-by-step guide, you’ll learn how to draw a simple winter landscape from start to finish, even if you're just starting out.
Grab your markers and let’s bring a cozy winter wonderland to life together!
Disclaimer: In the name of full transparency, please be aware that this blog post contains affiliate links and any purchases made through such links will result in a small commission for me (at no extra cost for you).
Drawing Materials You'll Need
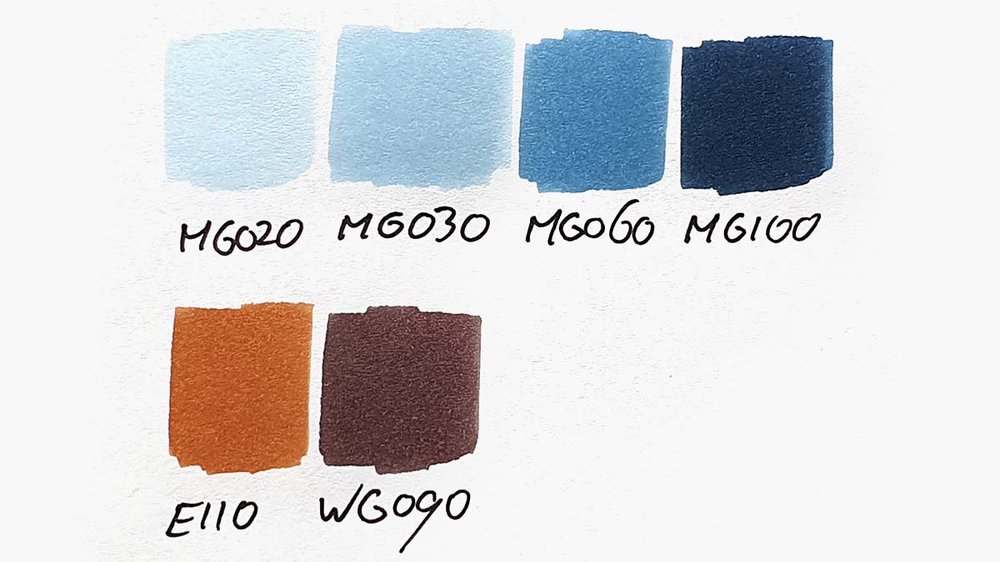
To make this drawing, I used Ohuhu Honolulu markers in the colors Dark Suntan (E110), Warm Grey 09 (WG090), Blue Grey 02 (MG020), Blue Grey 03 (MG030), Blue Grey 06 (MG060), and Blue Grey 09 (MG100).
I used a Tombow Fudenosuke Brush Pen to outline the sketch.
And I made this drawing on Canson Illustration Manga Paper.
How Do You Draw a Winter Landscape?
In this guide, you start by sketching a frozen creek and marking out big triangular shapes for your pine trees, then turn those triangles into full, snowy trees. You add gentle shapes to create depth in the terrain, fill in bushes and extra background trees, and sketch soft clouds in the sky. Once your scene is outlined with a brush pen, you finish by layering cool gray and blue marker tones to color your winter landscape and bring it to life.
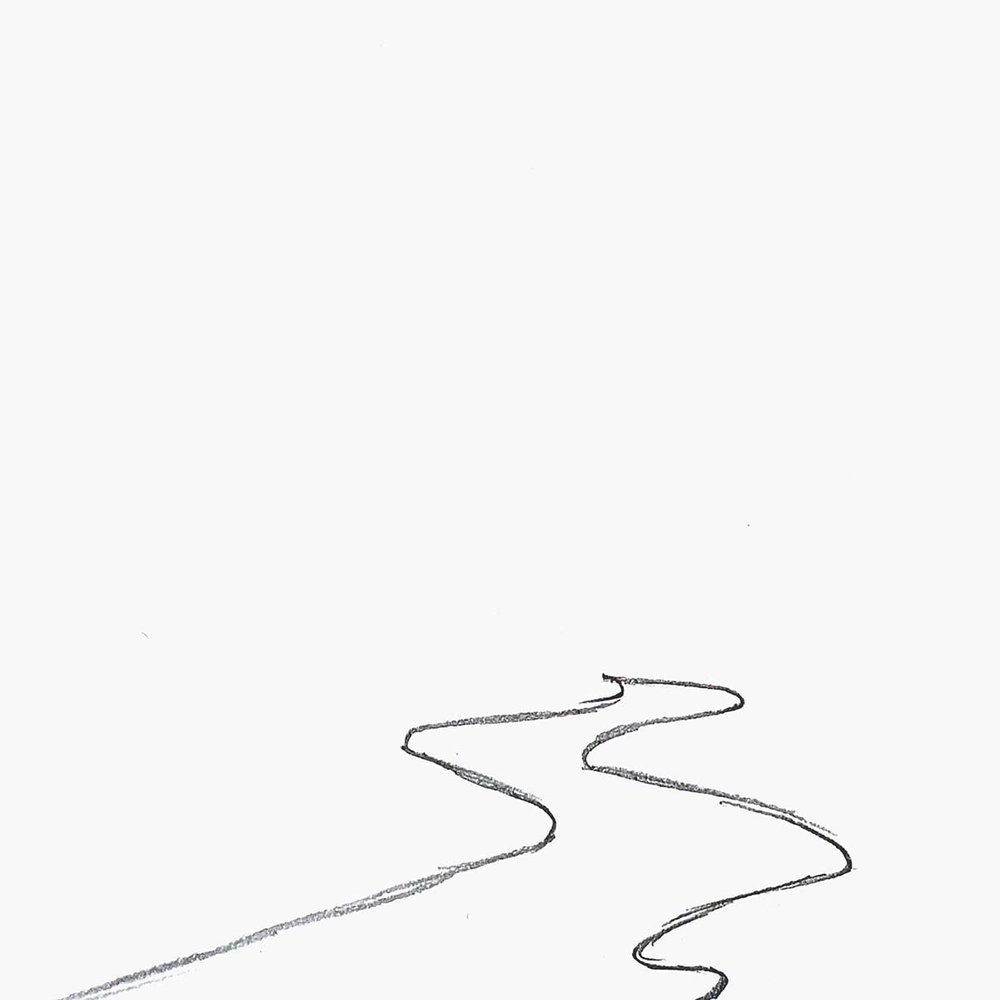
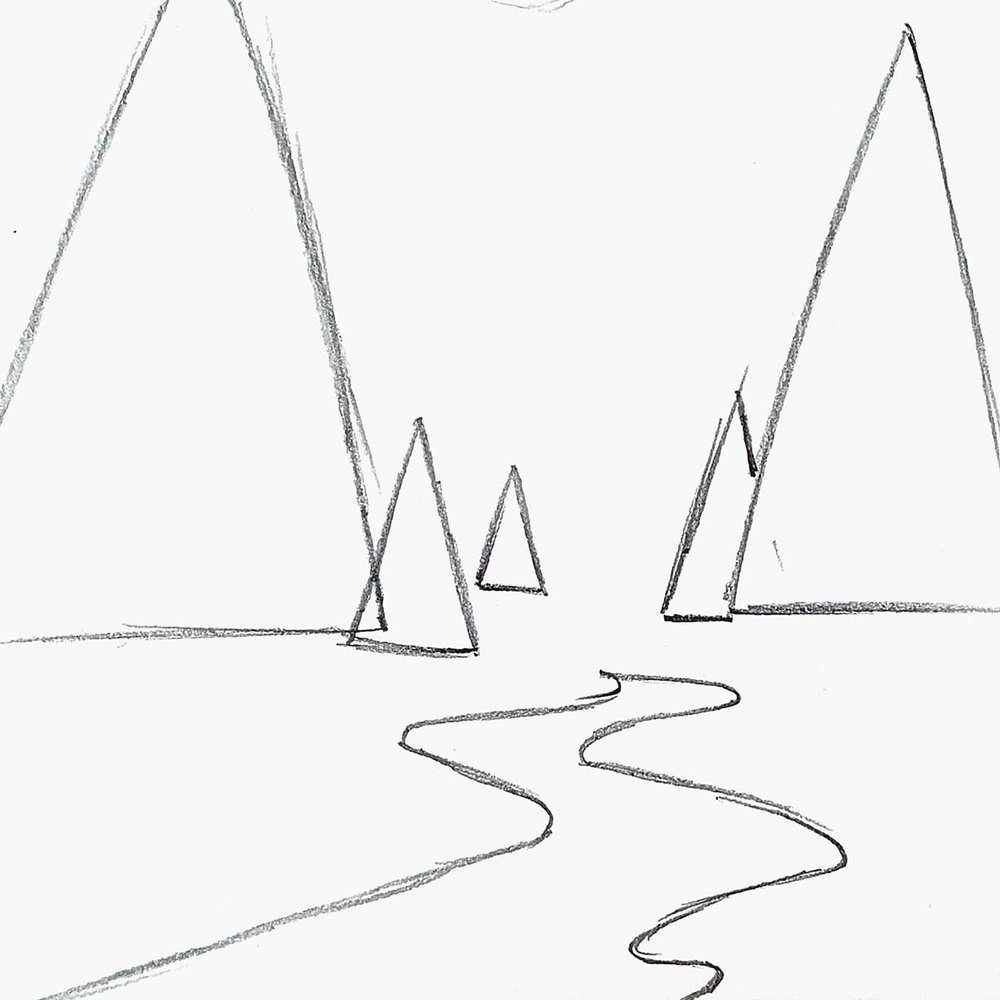
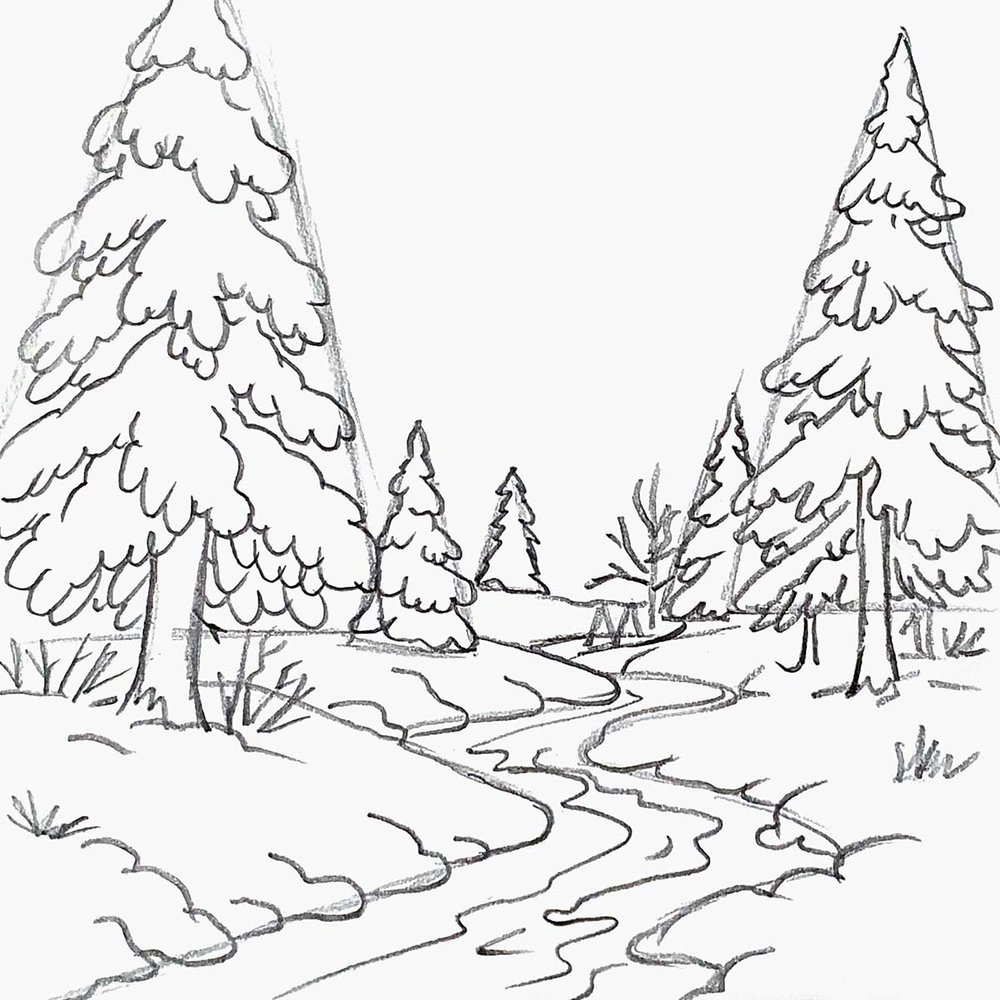
Step 1: Sketch the Shape of a Frozen Creek
To start my winter landscape scene, I first marked out a little frozen creek.
I started it just to the right and below the center, and sketched 2 wavy lines from there down towards the bottom left.
I added three big, sharp curves on both sides of the creek.
Step 2: Sketch Big Triangles and Turn Them into Pine Trees
Next, I marked out the biggest pine trees.
To mark out the trees, I just used simple triangles.
I wanted a big one on the left and on the right, and then I added a much smaller one in front of the tree on the left.
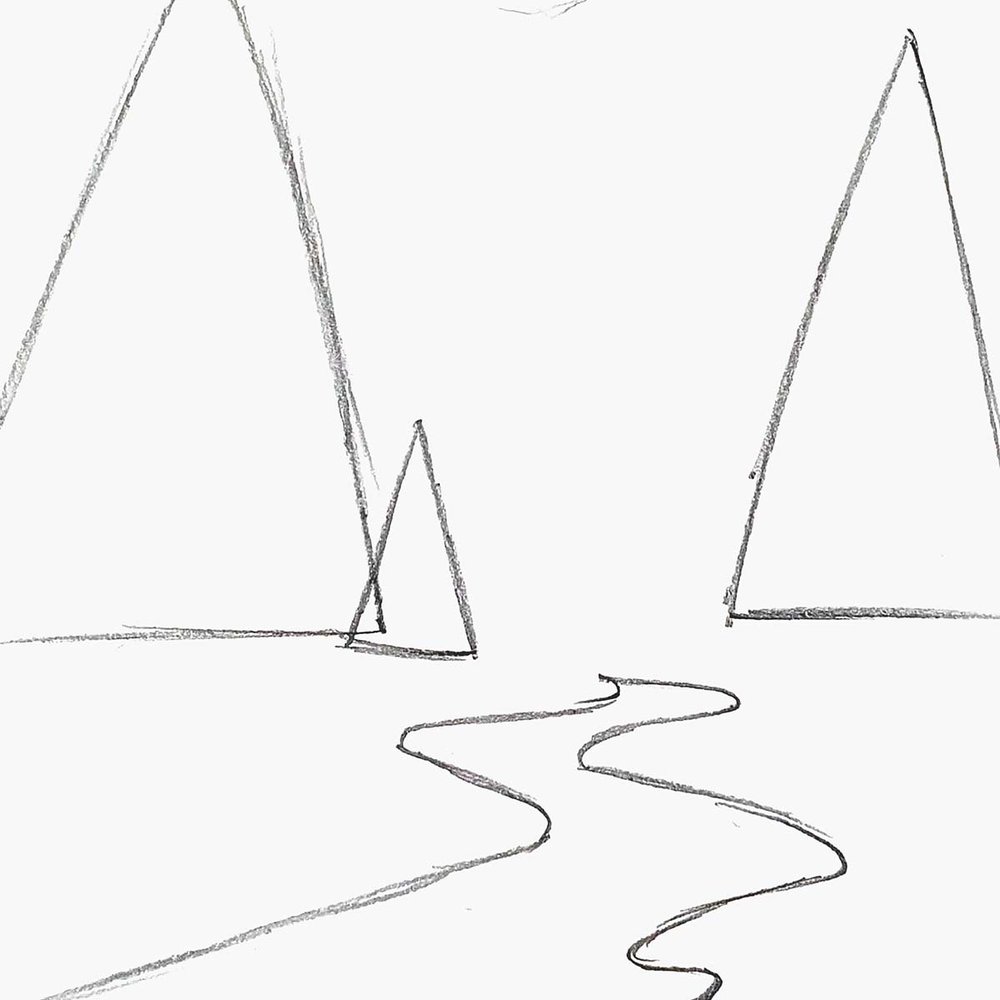
Next, I added two more small triangles in the center behind the other trees.
There will be more trees in the background, but they won't need many details, so I left that for later.
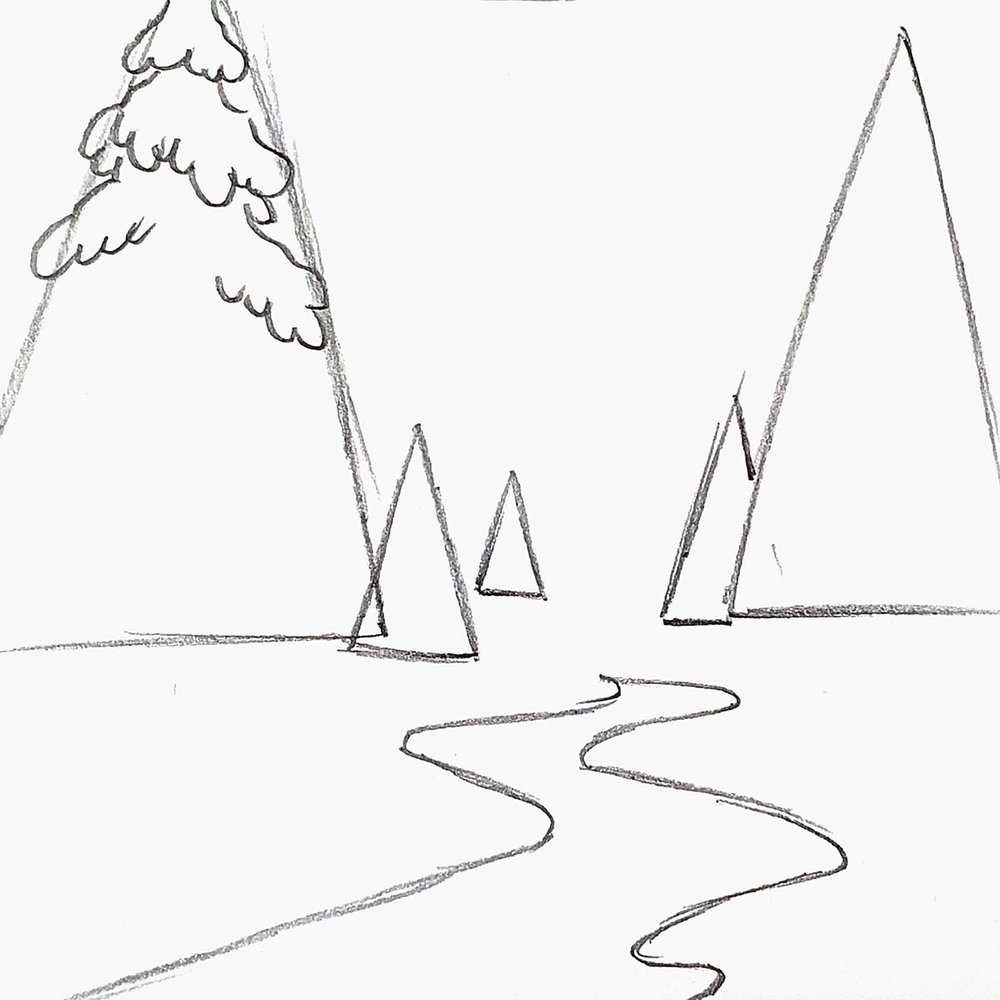
After that, I started adding the branch shapes.
I tried to maintain the classic Bob Ross Pine Tree shape, but I made the branches quite round and almost drippy, as they are covered with snow.
I also added a trunk at the bottom of the two biggest trees.

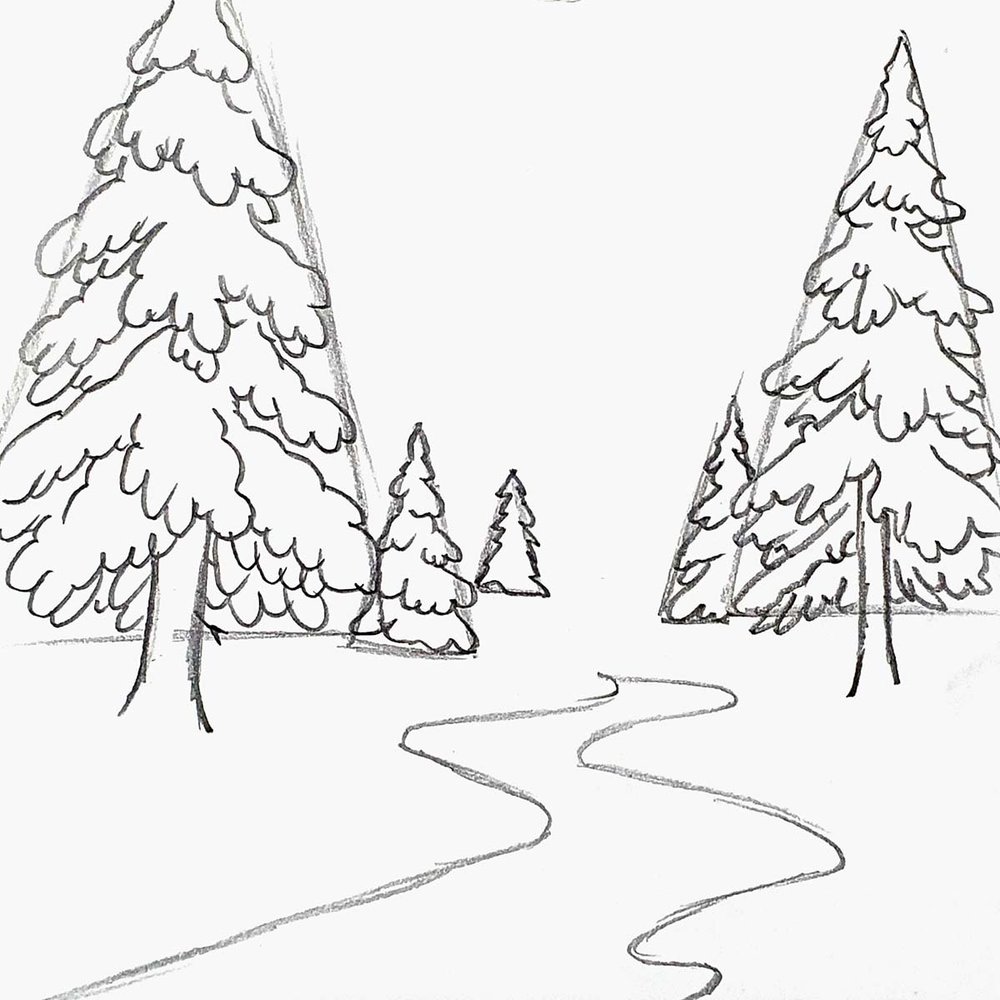
Step 3: Add Shapes to Make the Terrain Look 3D
Then, I worked on the terrain for a bit.
Right now, it looks flat, and there isn't much going on, and I wanted to change that
I wanted the creek to look like it has carved into the land over time, so it sits lower than the surrounding ground.
To do this, I sketched round cloud shapes on the edges of the creek.
I also sketched some little snowy hills below the trees.
Step 4: Add Bushes and Lines in the River
Next up, I added some bare bushes around the terrain, and I added a dead tree at the start of the creek.
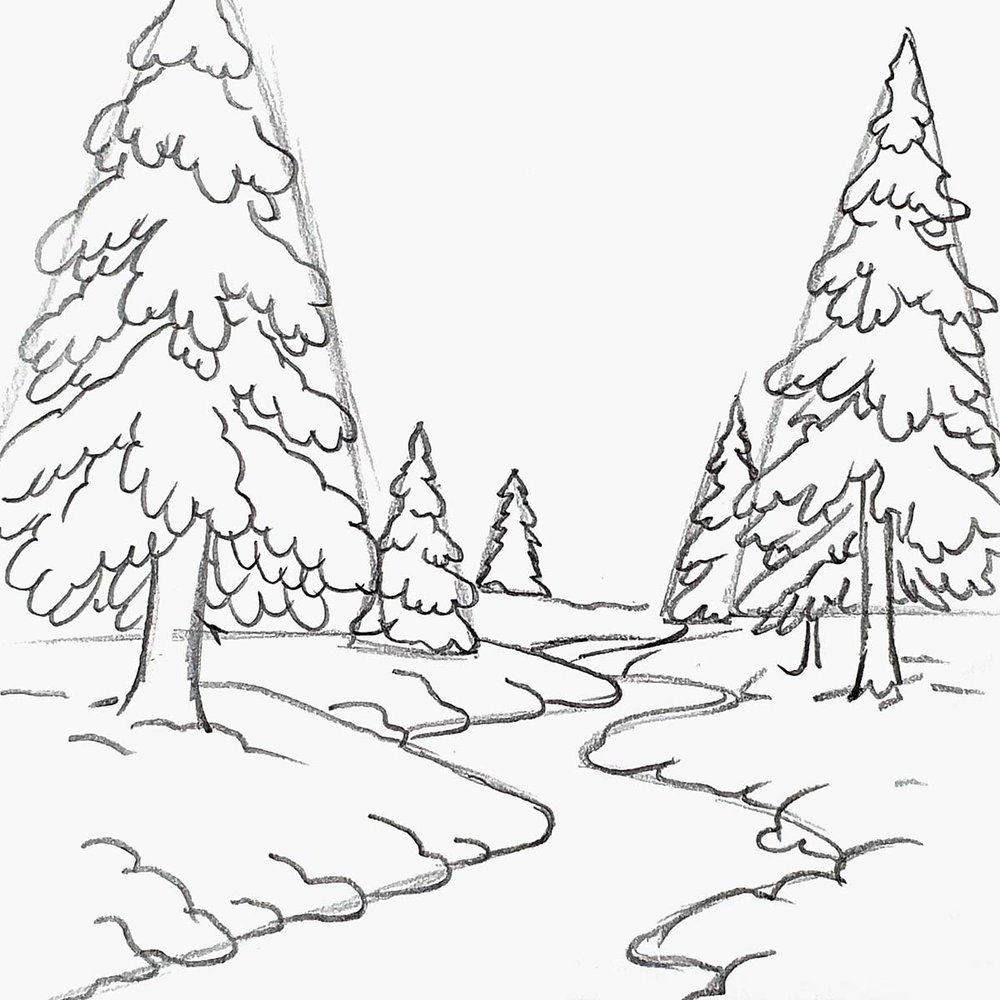
Step 5: Draw More Pine Trees in the Background and Some Snowy Hills
After that, I filled in the background with more triangular-shaped pine trees and then converted the edges into jagged, zigzag lines.
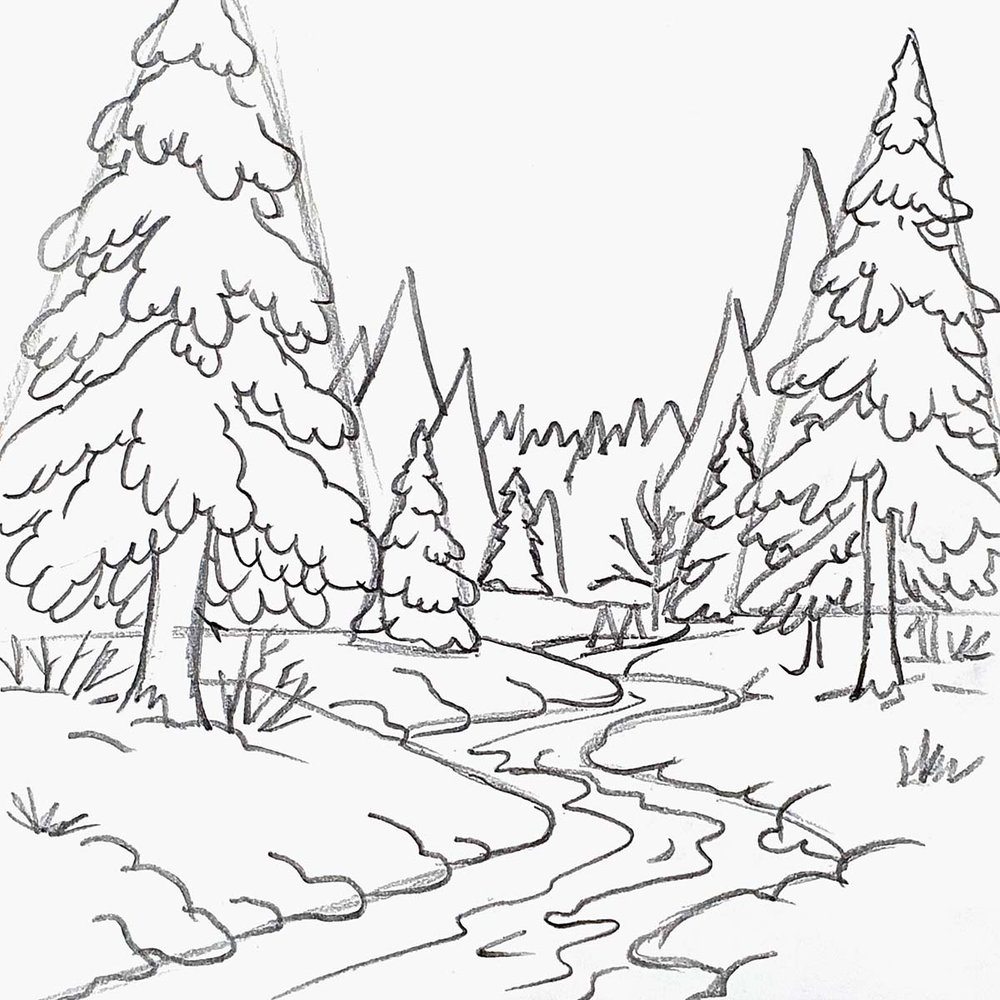
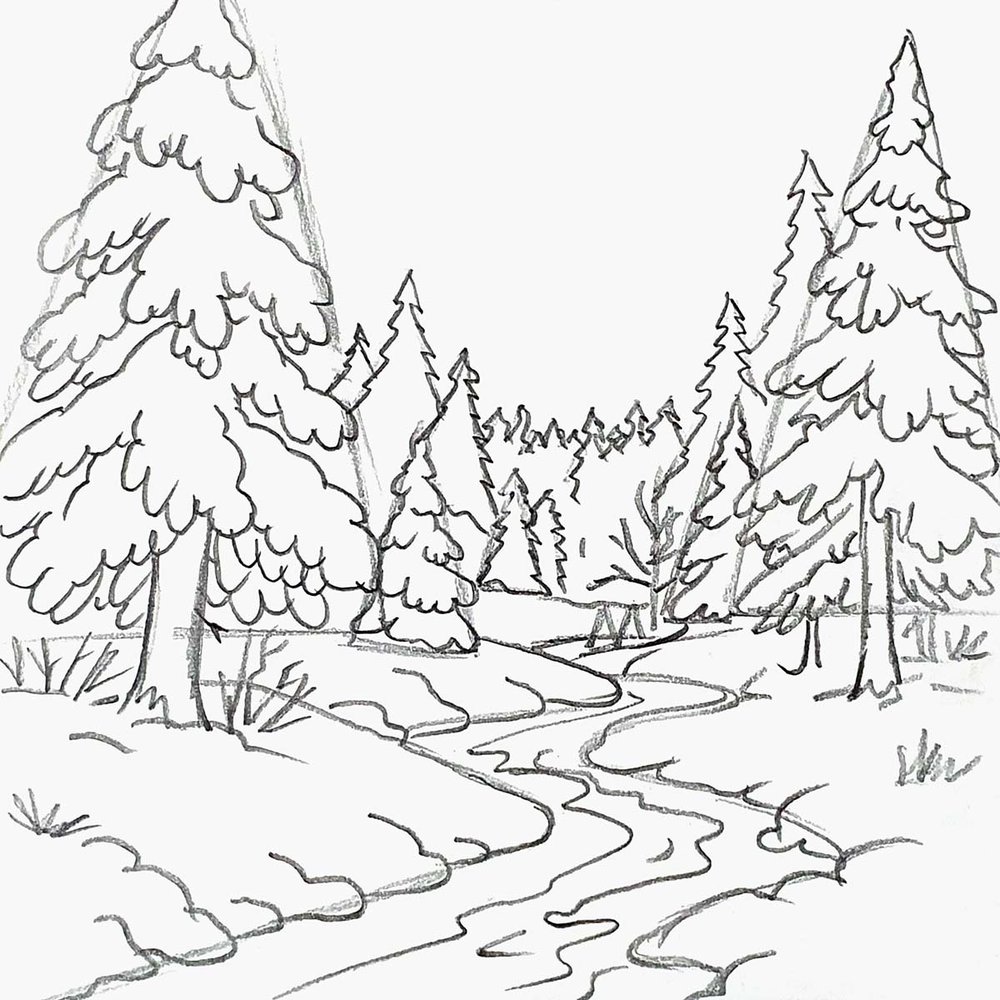
Next, I added 2 hills that are just poking through all the way in the background.
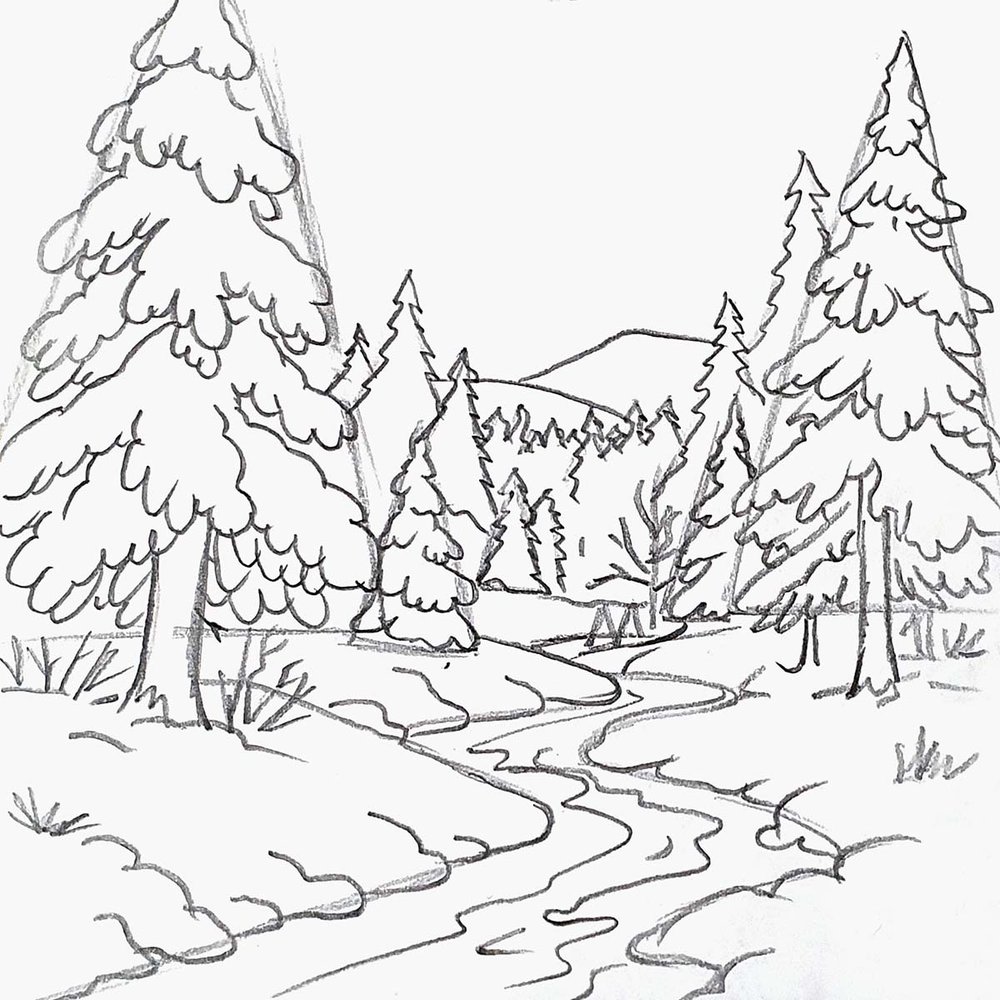
Step 6: Add Fluffy Round Clouds in the Sky
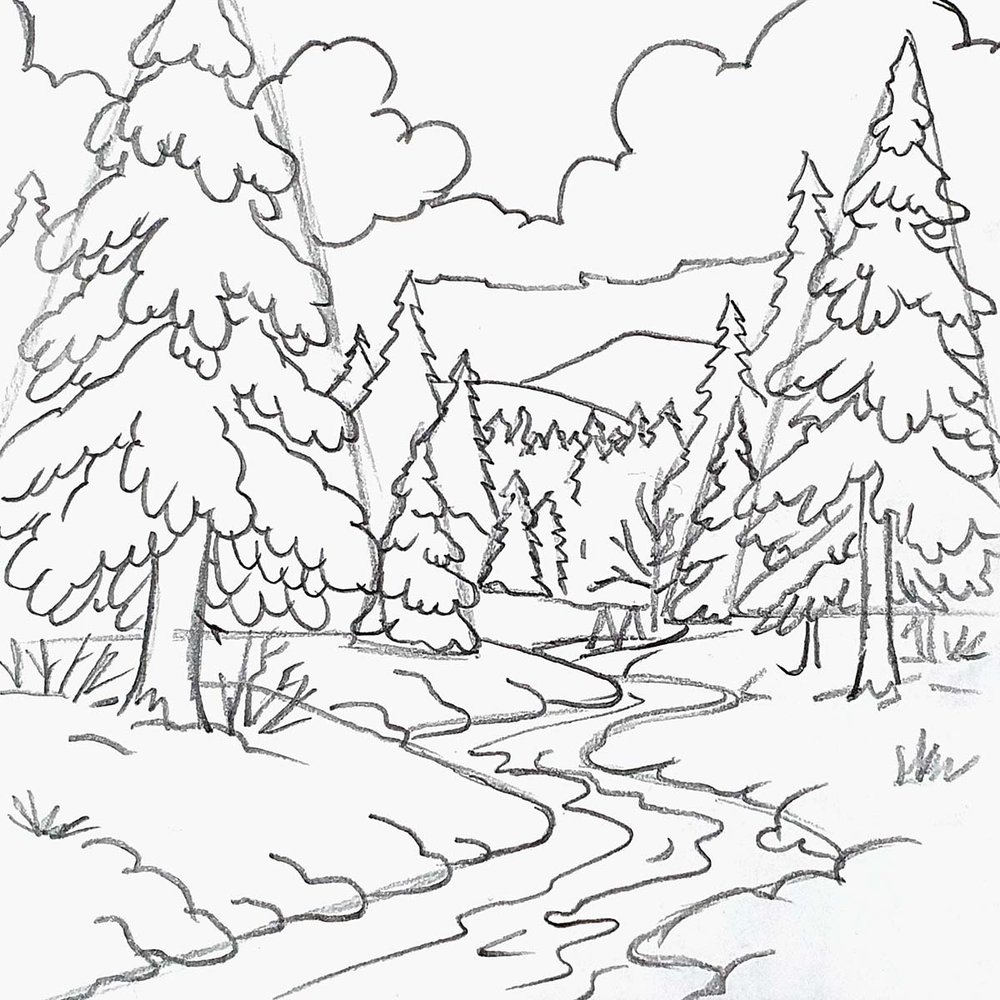
To complete the sketch, I added fluffy round clouds in the sky.
And that's the sketch already done!
Step 7: Outline the Winter Landscape Sketch with a Brush Pen
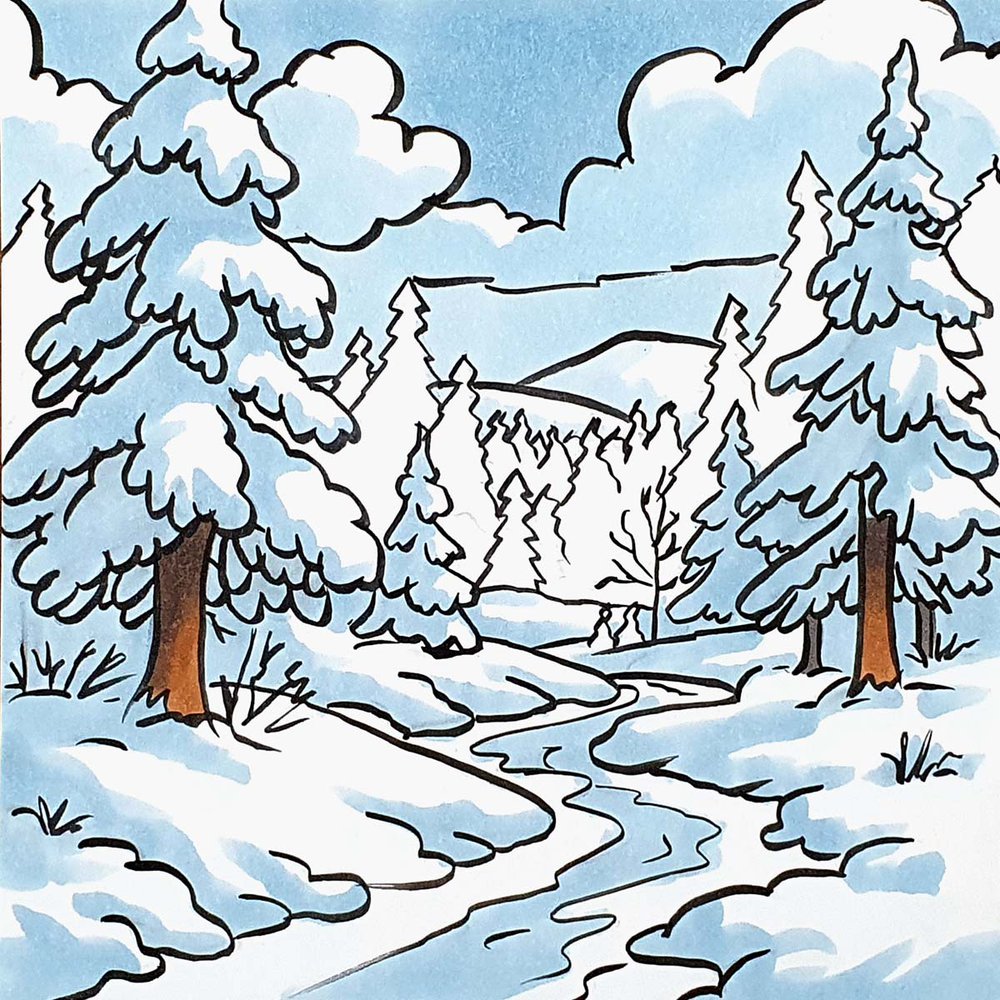
To prepare the winter landscape sketch for coloring, I outlined it with a black brush pen.
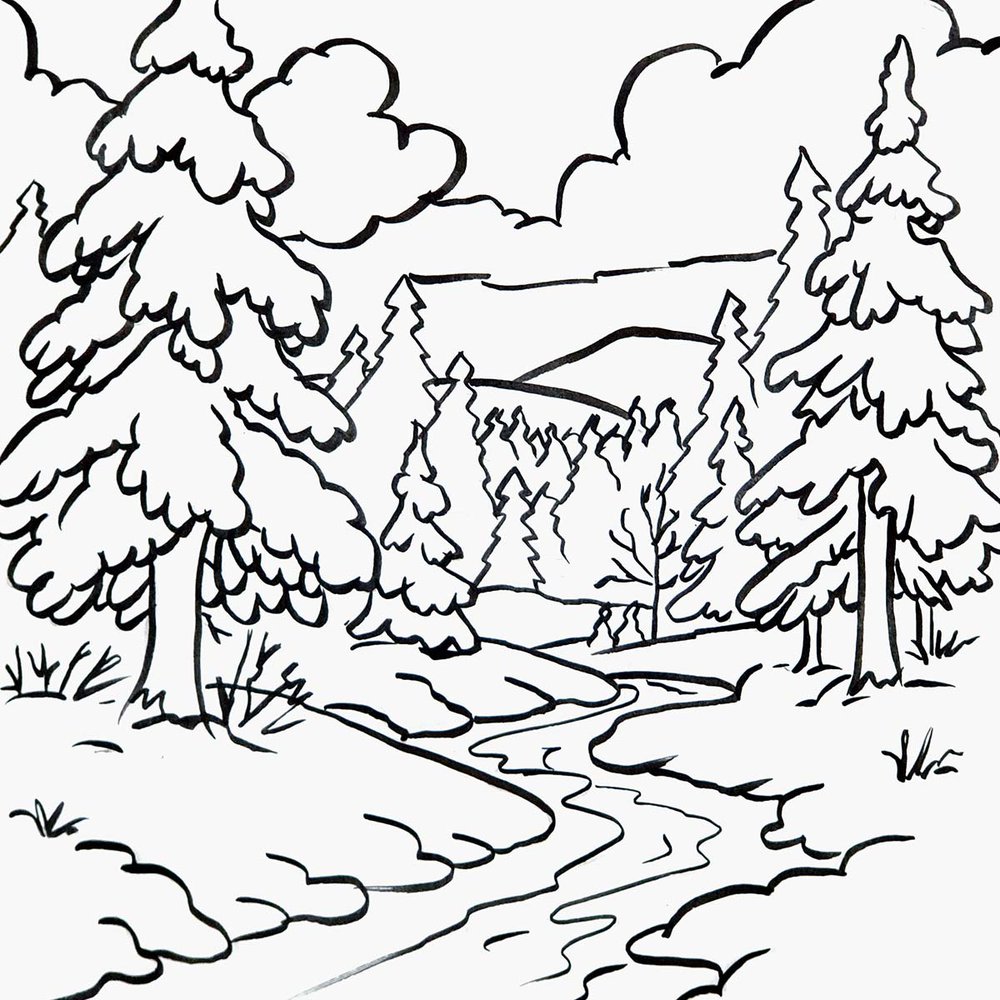
Now, the drawing is ready to be colored!
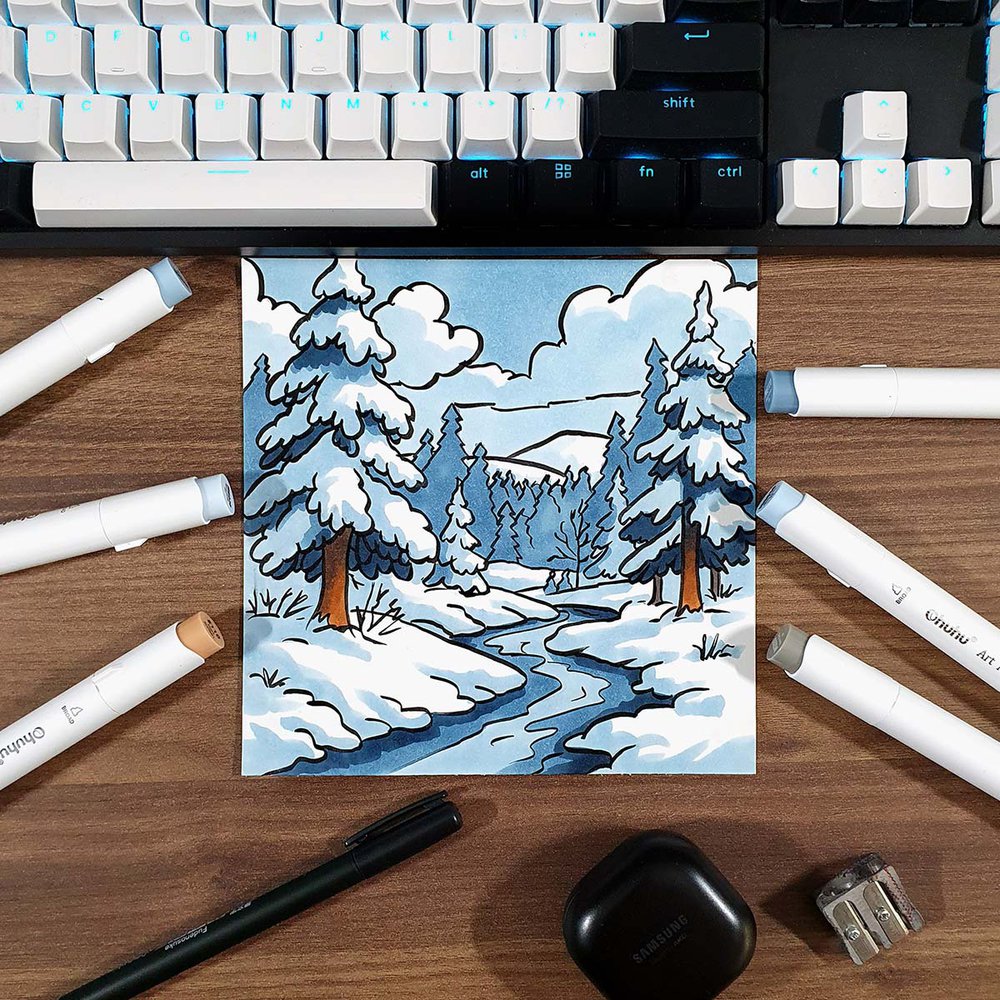
Step 8: Color Your Winter Scene with Markers
To color the winter landscape, I used Ohuhu Honolulu markers, but you can use any other alcohol based marker set.
I started by coloring the trunks of the two big trees with Dark Suntan (E110).
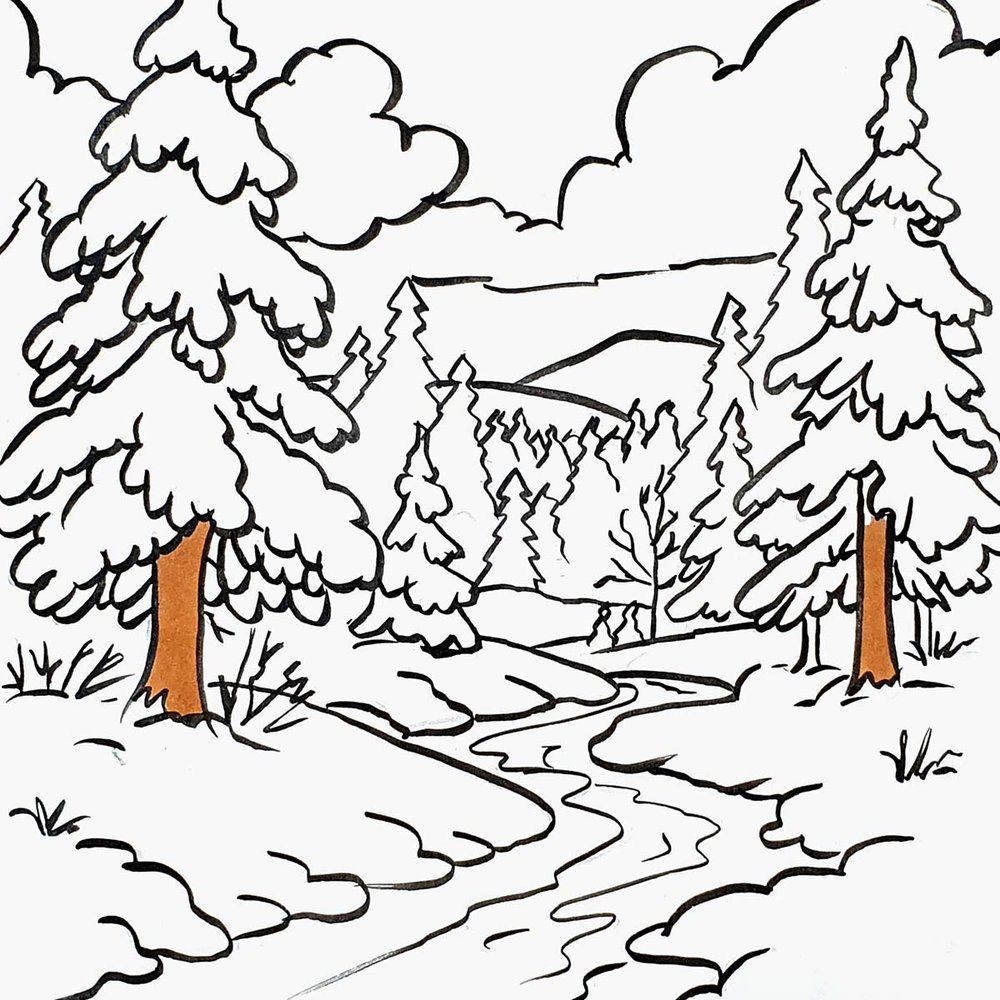
Next, I used Warm Grey 09 (WG090) to color the two smaller tree trunks and to darken the top half of the two bigger ones.
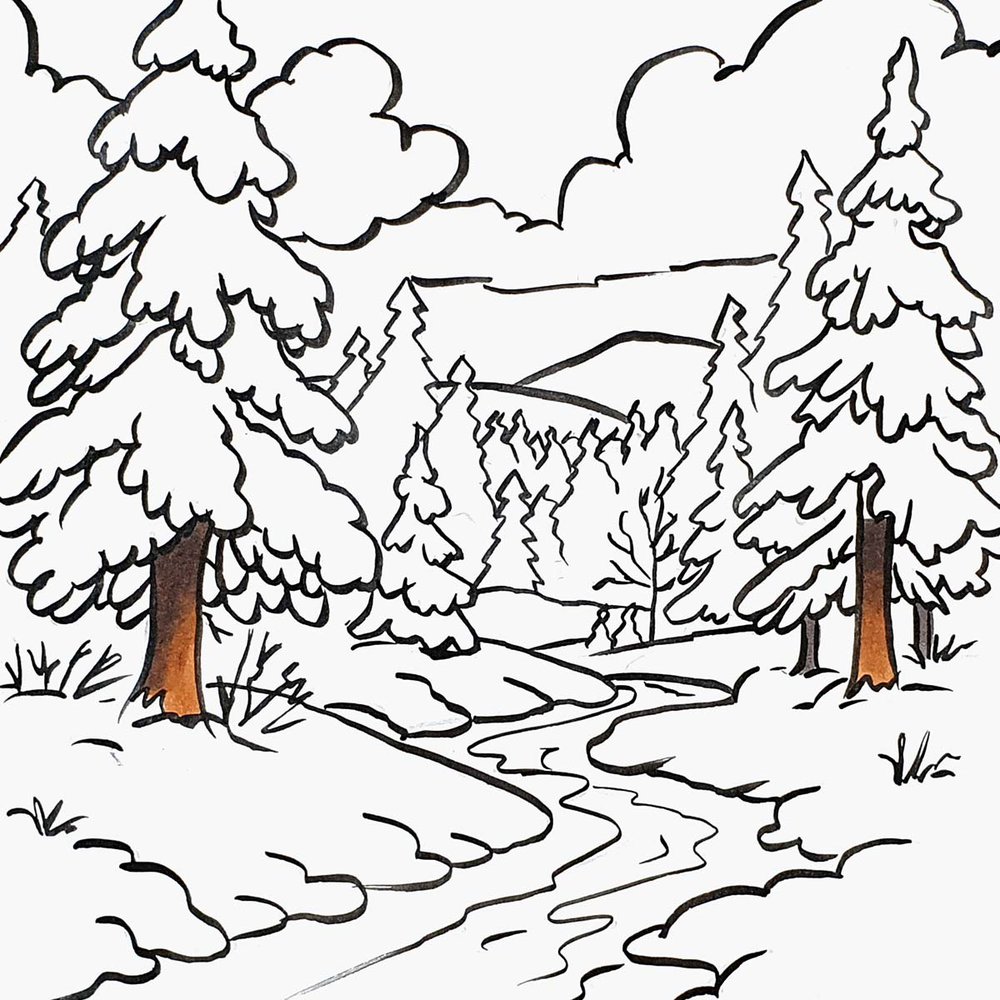
After that, I colored the snowy hills and the clouds with Blue Grey 02 (MG020). I left the top right areas of both the hills and the clouds white.

Next, I used Blue Grey 03 (MG030) to color the shadows on the snowy terrain, the trees in the foreground, and the sky.
Then, I used Blue Grey 06 (MG060) to color the trees in the background, the sides of the creek, and the shadows on the bigger pine trees.

To finish off the winter scene, I used Blue Grey 09 (MG100) to add the darkest shadows on the big pine trees and the side of the frozen creek.
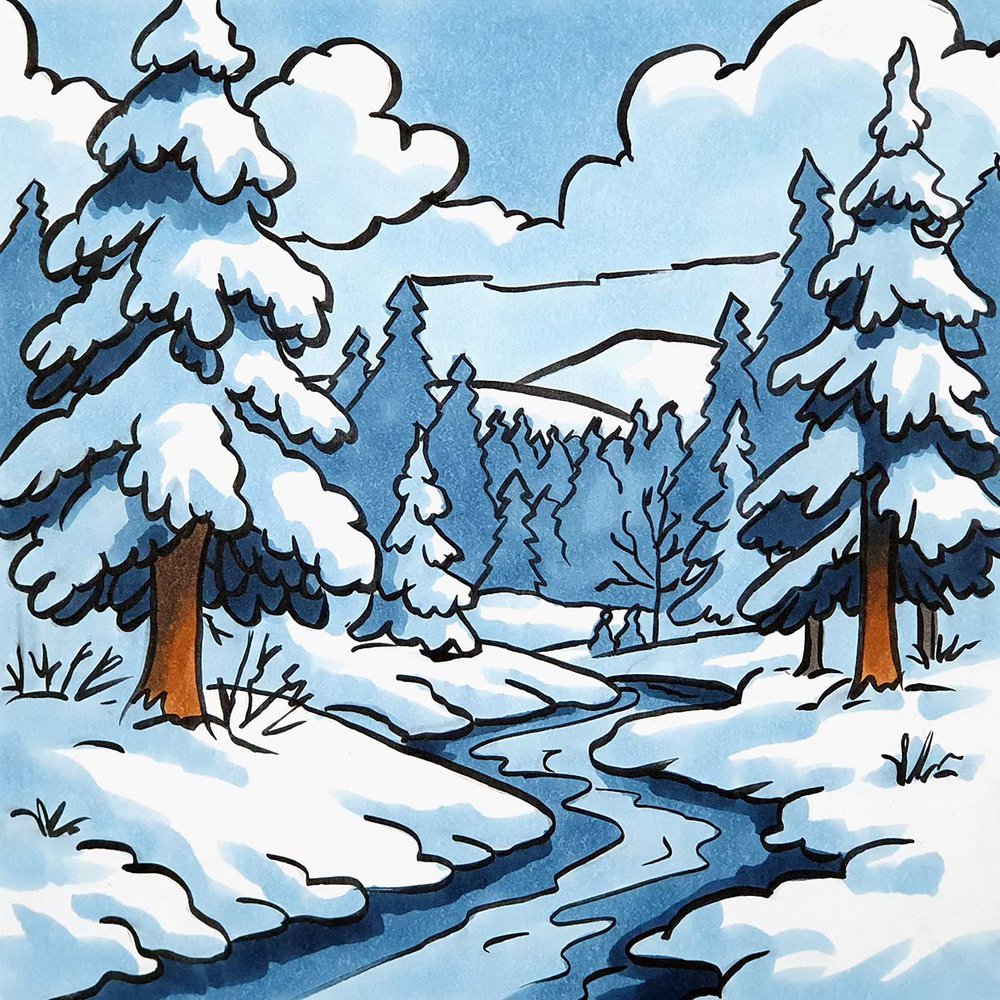
Finished Winter Landscape Drawing
And that's how you draw a simple yet magical winter scene with just a few drawing supplies!
I hope you enjoyed creating this peaceful winter landscape!
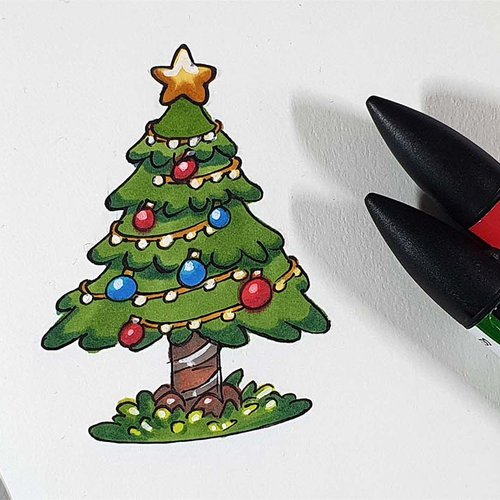
If you had fun with this tutorial, make sure to check out my other winter and holiday-themed drawing guides, from snowy cottages to Christmas trees and festive wreaths.
Keep practicing, stay cozy, and happy drawing!
Thank you!
Tags
Articles You Might Also Like


I love bringing cars to life with alcohol markers and colored pencils.
Whether you're just starting out or looking to improve your skills, I'm here to help!
Click here to learn more about me.


Be the first to comment!
Comments
There are no comments yet.