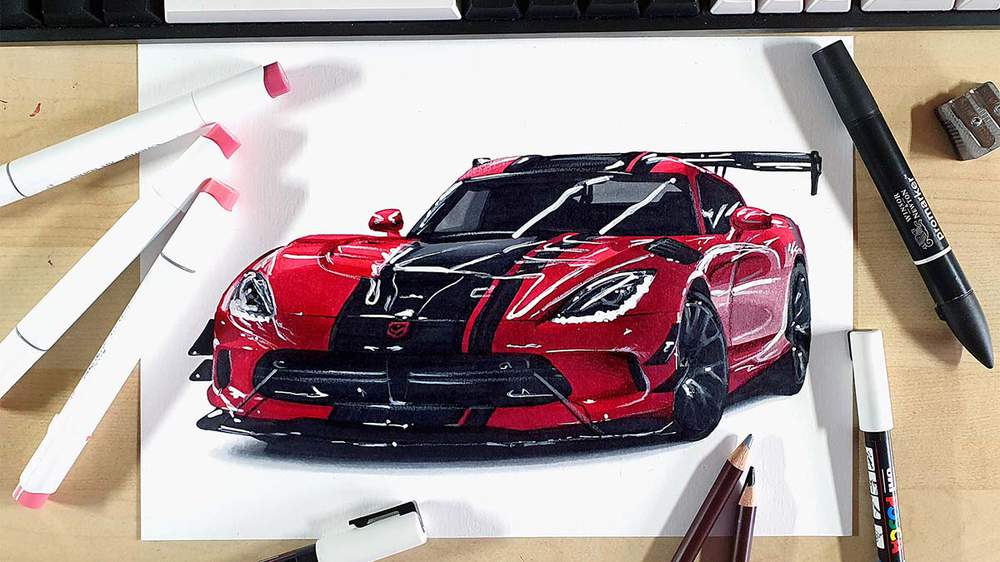
How to Draw a Dodge Viper ACR - Simple & Exact Step-by-Step Tutorial
Skill level: Beginner. Time needed: 3 Hours.
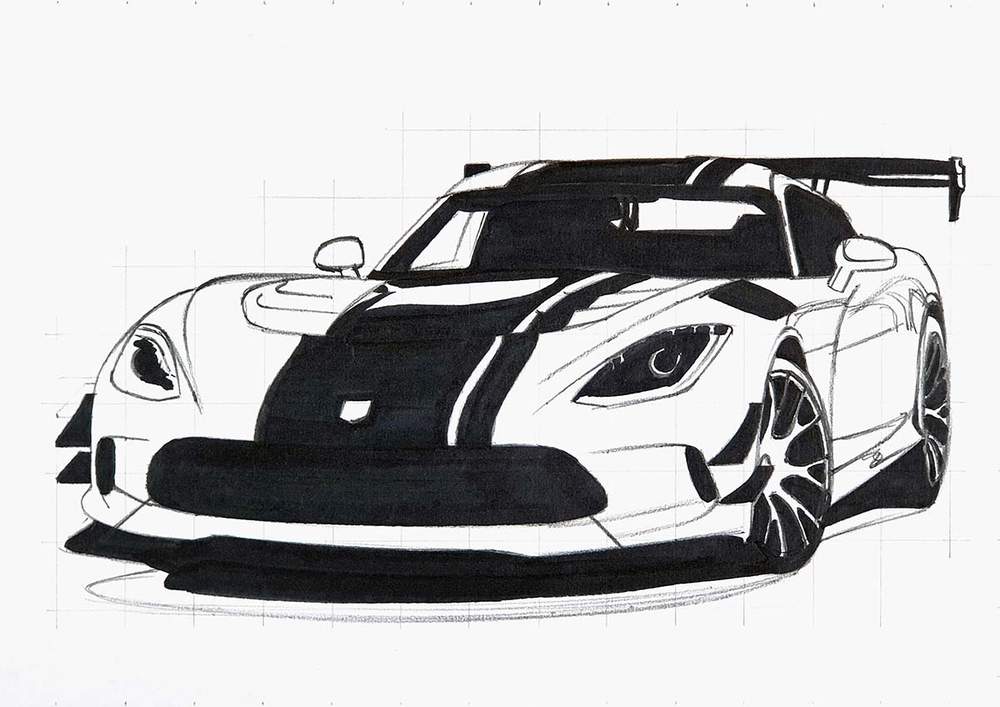
In this week's car drawing tutorial, I'll show you how I made this drawing of my favorite American muscle car: the Dodge Viper ACR.
I've broken the whole process up into simple and easy-to-follow steps so you can easily follow along and create your own Viper ACR drawing.
Disclaimer: In the name of full transparency, please be aware that this blog post contains affiliate links and any purchases made through such links will result in a small commission for me (at no extra cost for you).
How to Draw a Dodge Viper ACR?
To make a realistic drawing of a Dodge Viper ACR, first gather a few reference photos for the perspective, proportions, lighting, reflections, and color.
After that, create a sketch of the outline of the car using the grid method.
Next, color the car with alcohol markers starting with the black and the grey parts, before moving on to the main body of the Viper ACR.
Lastly, add some details with colored pencils and highlights with a Posca paint marker.
Step 1: Look for Reference Photos of the Dodge Viper ACR
I use reference photos for every car drawing I make. They are a must in my opinion, at least if you want your drawings to turn out realistic.
When you use reference photos you can see how light reflects off the car, how color changes value or even hue, and you have a guide for the proportions of the car.
I usually use multiple reference photos for one drawing. I look for a photo of a nice angle of the car which I then use to sketch the proportions.
I also look for a photo of the car with nice reflections and a photo of the color I want to recreate.
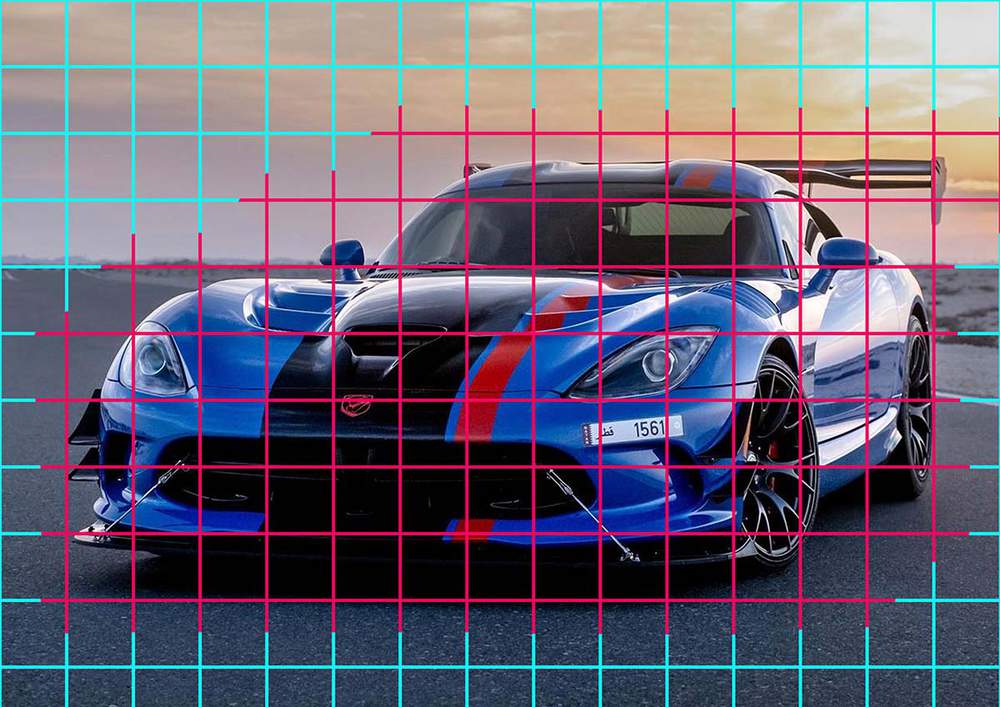
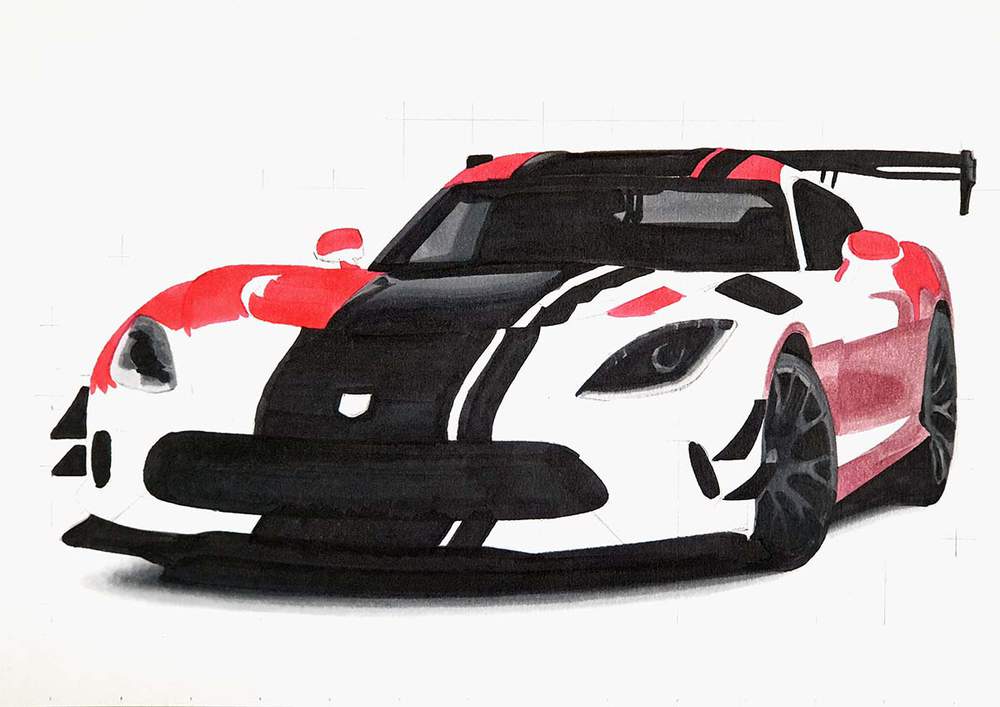
I used this photo for the angle and the proportions of the Dodge Viper ACR.
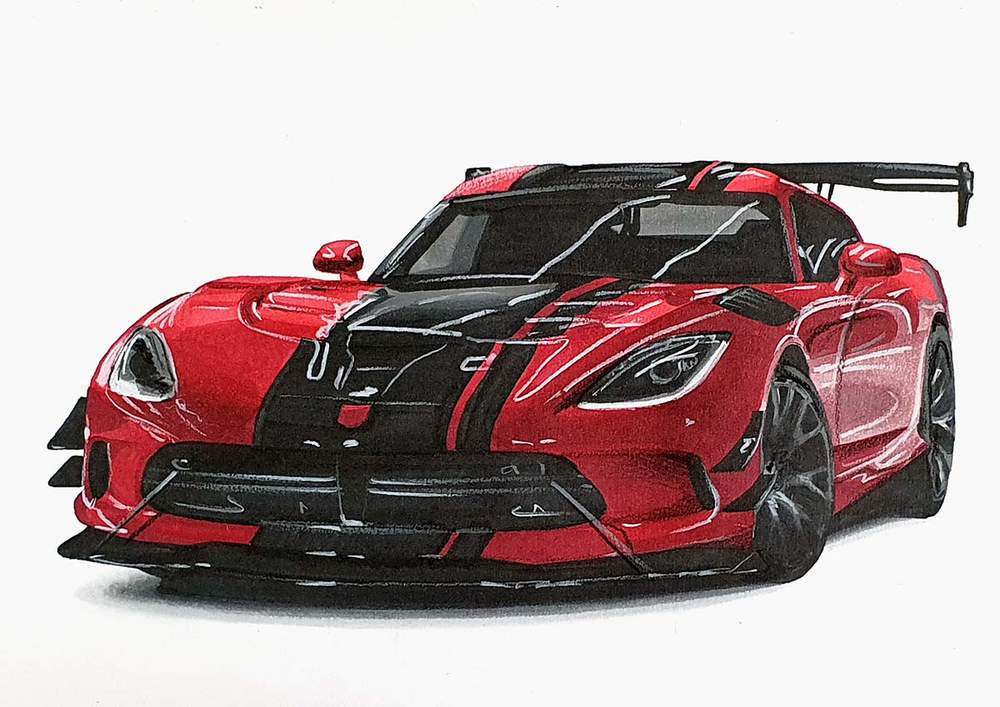
I used this photo as a guide for the reflections.
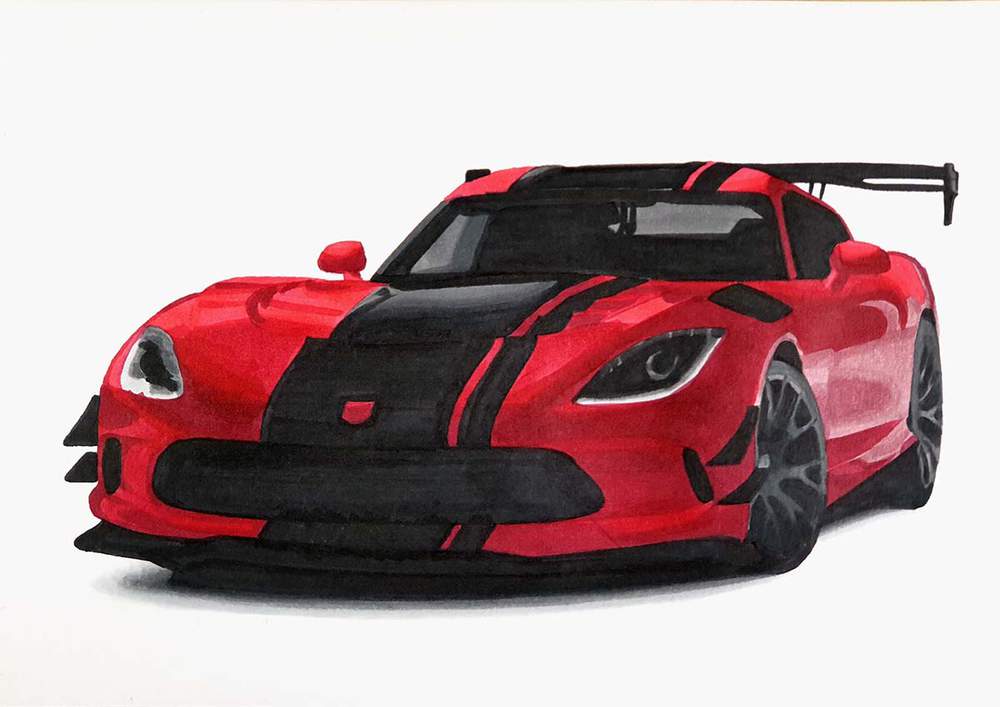
And I used this one as a rough color reference.
Step 2: Choose Your Drawing Supplies
Next up, I chose the art supplies I wanted to use.
I wanted to keep this drawing fairly simple so I decided to use alcohol markers, to be more specific, the Winsor & Newton Promarkers in the colors Ice Grey 1 (IG1), Ice Grey 2 (IG2), Ice Grey 4 (IG4), Ice Grey 7 (IG7), and Black (XB).
I also used some Ohuhu Honolulu markers in the colors Baby Blossoms (R270), Currant (R280), Carolessence (R200), Strong Red (R230), and Garnet (R240). I also used the colorless blender markers. Get a 10% discount code here.
I used Canson Illustration Manga paper as it is the best marker paper I know.
To add some details to the drawing I used Derwent Coloursoft colored pencils in the colors White, Dove Grey, and Black.
And to add some final highlights, I used a white Posca PC-3M paint marker.
I also used some other materials like a ruler, an eraser, a kneaded eraser, and an HB graphite pencil.
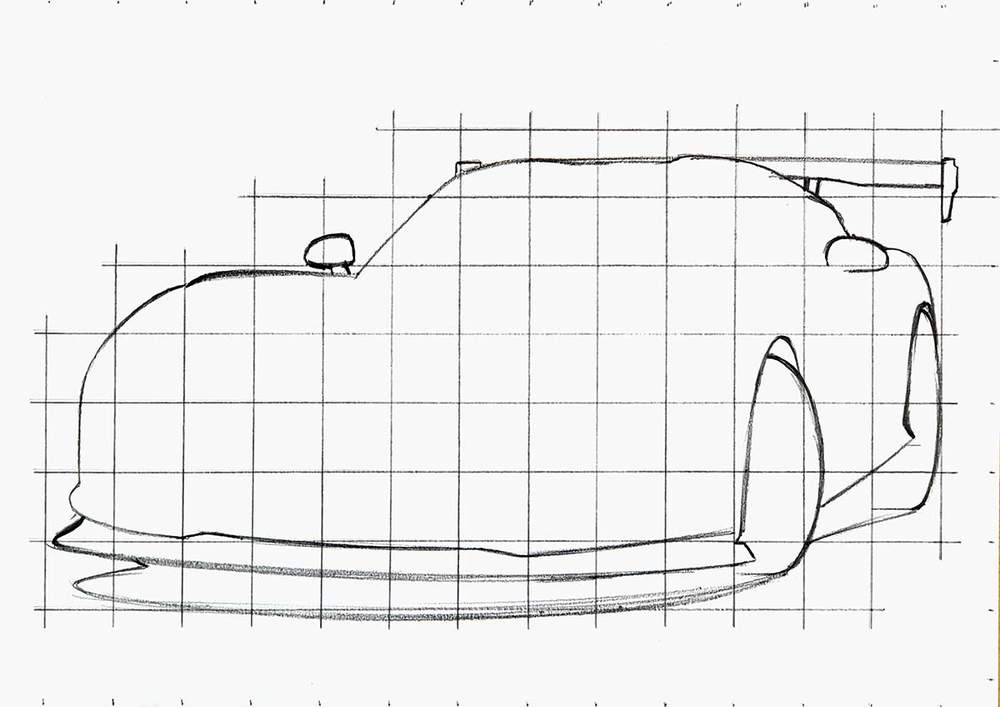
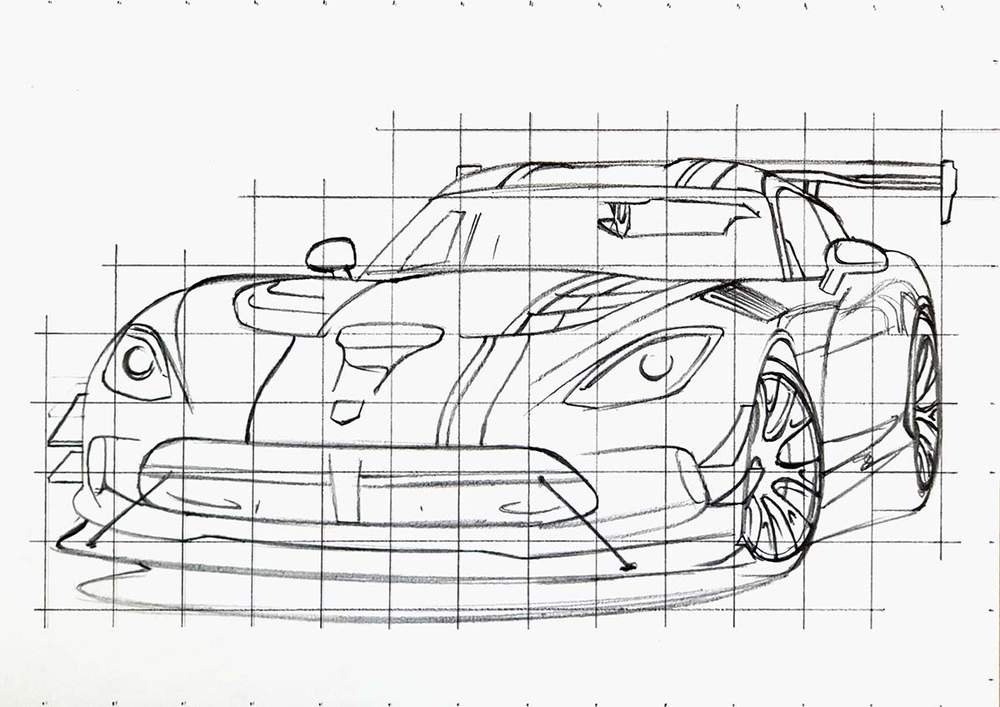
Step 3: Sketch the Outline of the Dodge Viper ACR
Next up, it's time to start sketching.
To make sketching the car a bit easier I use the grid method. By using this technique sketching a car with accurate proportions is much easier. Here's a more detailed guide on how to use the grid method.
To use this sketching technique, I first resized the reference photo for the proportions to the same size as my paper, which is 29.7 by 21 cm or 3508 by 2480 pixels.
Next, I added a grid overlay of 15 by 10.5 squares and marked which squares I needed to sketch the Viper ACR.
After that, I recreated that grid on my piece of paper. Each square is 2 by 2 cm and I only sketched the ones I needed. But if you're not too familiar with the grid method it's easier to sketch the whole grid.

Now it's time to start sketching the outline of the Viper.
I always like to start on the left. I choose a specific line, mark where it begins, where it crosses grid lines, and where it ends, and then sketch that line in one swift motion.
I do this for every line on the outside of the car until I've sketched the whole outline.
Step 4: Sketch the Details of the Dodge Viper ACR
After I finished the outline, I started sketching all the details of the car. I again started on the left, chose a line, and marked where it begins, where it crosses grid lines, and where it ends before sketching the line in one quick stroke.
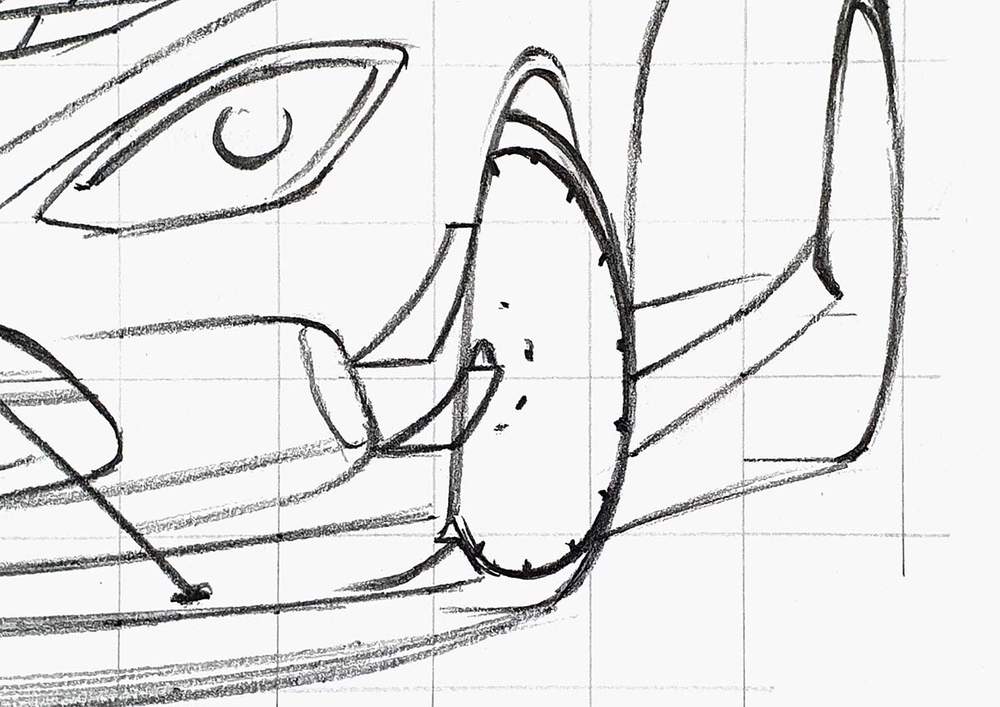
I did this for every little thing on the car, except for the wheels. They are a little more difficult and I wanted to describe them a bit more in-depth.
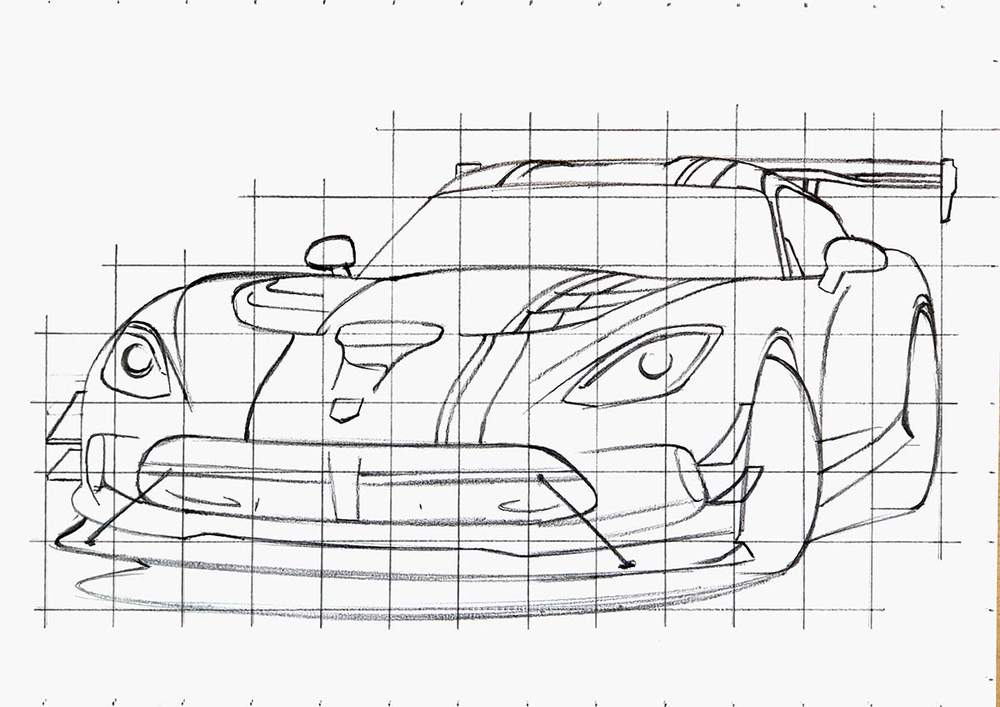
To sketch the wheels, I first sketched the outside rim of both wheels and marked the center. I also carefully looked at the reference photo and marked where each spoke connects to the center and the outside rim.
Next, I sketched every spoke. The top spokes are curved upwards and the bottom ones curve down.
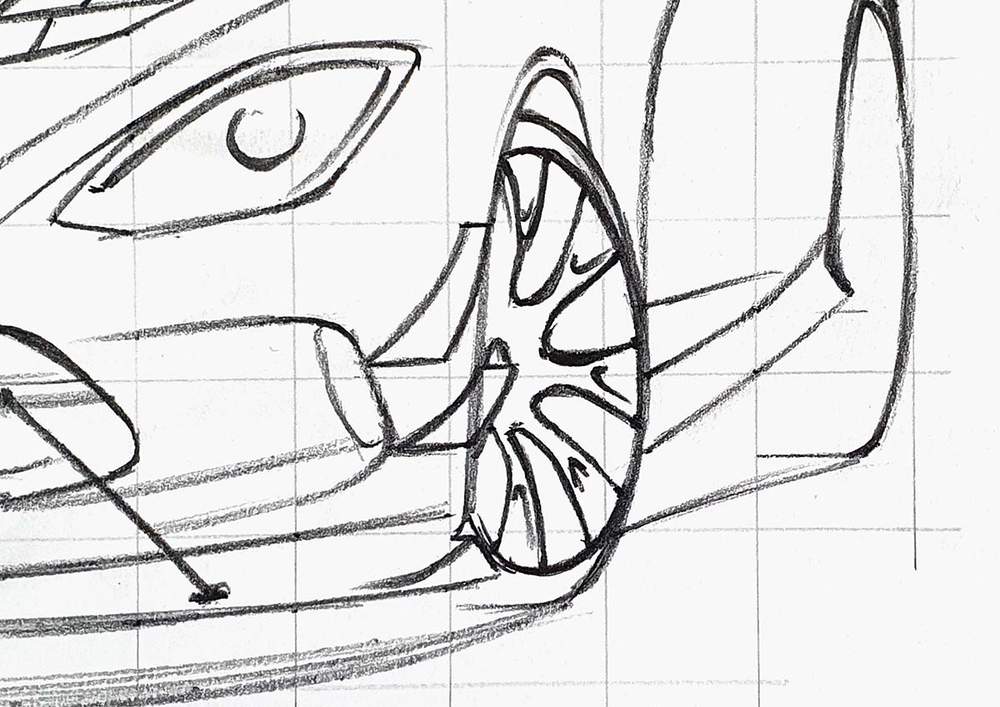
Lastly, I added some depth to the spokes and I sketched the rest of the wheel.
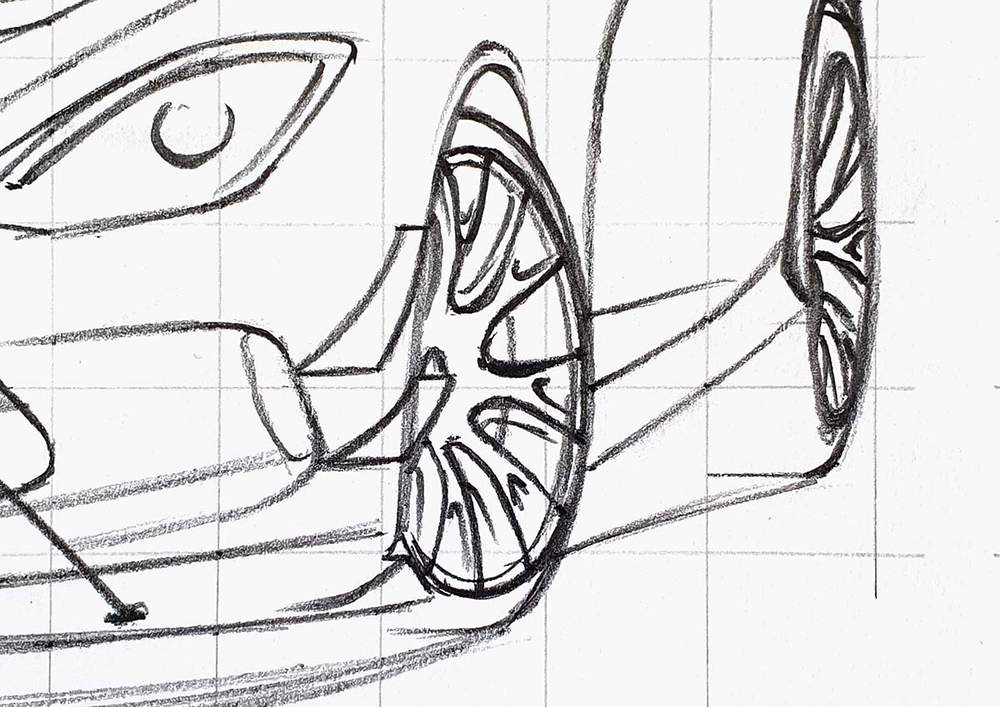
And that's the sketch all done.
Step 5: Color the Pure Black Parts of the Dodge Viper ACR
Now it's time to color the car.
Sometimes I find a blank sketch a little intimidating. So to make starting coloring a lot easier I color the simplest parts first: everything that's pure black.
I look around the reference photo for the reflections and look at what parts are straight-up black. Then, I color those in on my drawing.
Step 6: Color the Wheels of the Dodge Viper ACR
Next up are the wheels.
I first colored the top right edge of the rim of the front wheel and the spokes of the rear wheel with Ice Grey 4.
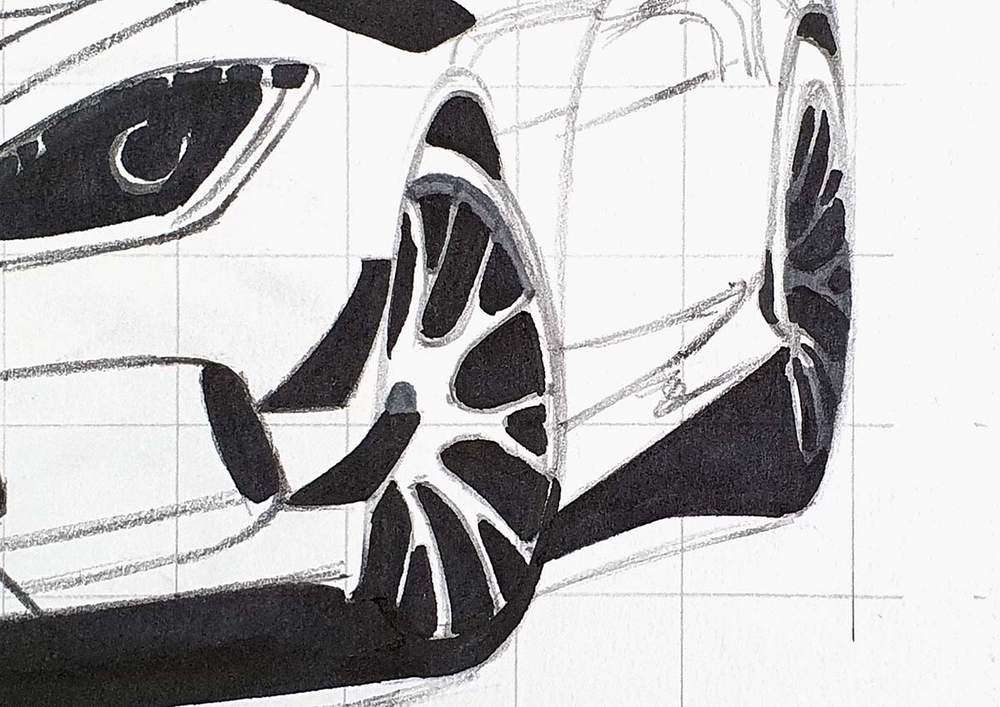
After that, I used Ice Grey 7 to color the rest of each wheel.
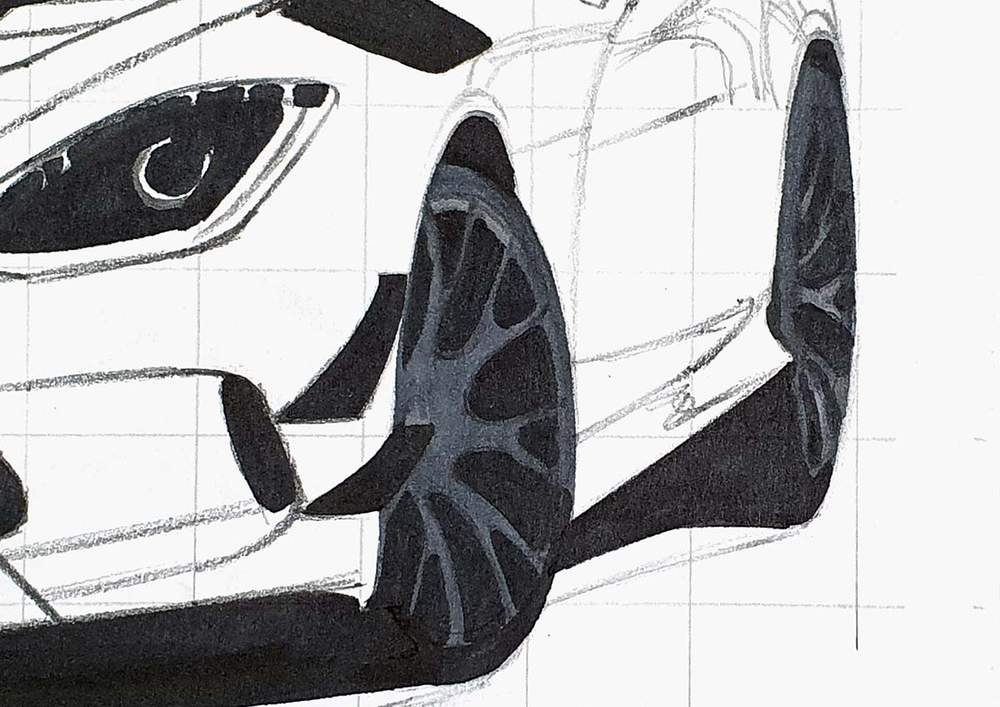
And lastly, to add a bit more depth to the front wheel I colored the bit above the center and the bottom half of the bottom spokes with Black and blended it out with Ice Grey 7 by coloring over the black.

Step 7: Color the Shadow Below the Dodge Viper ACR
Next, I colored the shadow underneath the Dodge Viper ACR.
I started by coloring the whole shadow with Ice Grey 1.

Then, I added a stroke of Ice Grey 4 between the Ice Grey 1 and the Black.
Lastly, I blended the grey tones together to form a smooth gradient.
I started by blending the black into the grey by coloring over the edge of the two colors with Ice Grey 7.
Then, I blended the Ice Grey 7 into the Ice Grey 4 by coloring over the edge of the two colors with Ice Grey 4.
After that, I blended the edge of the Ice Grey 4 and the Ice Grey 1 by coloring over it with Ice Grey 1.
And lastly, I blended the Ice Grey 1 into the white of the paper by coloring over the edge with the colorless blender marker.

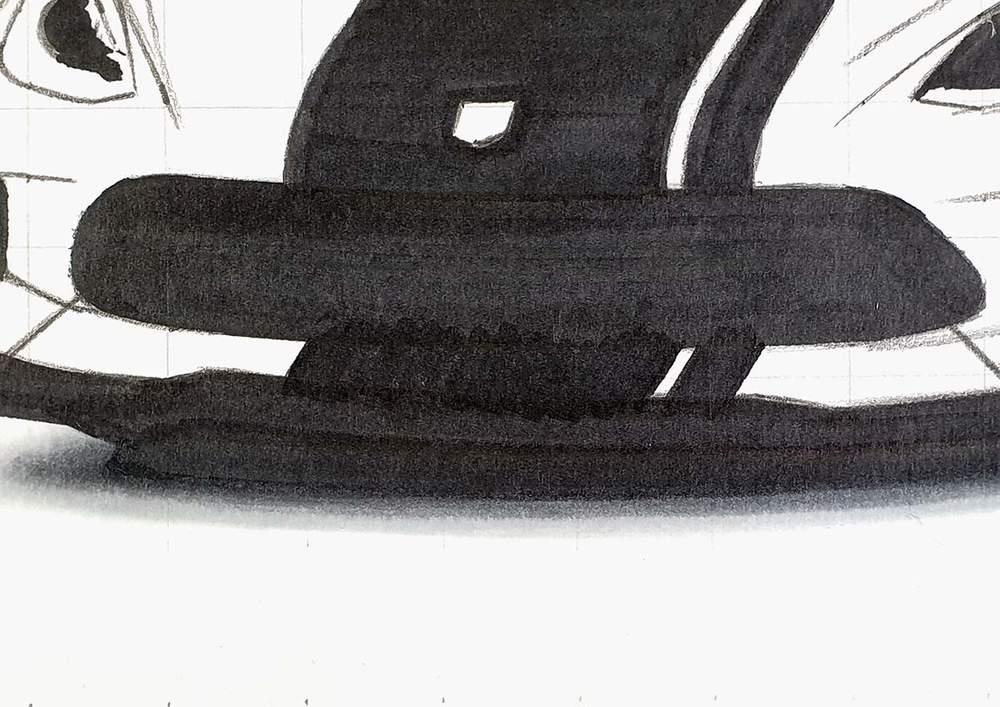
Earlier on, I forgot to color the black stripe above the front splitter, so I colored it after I completed the shadow.
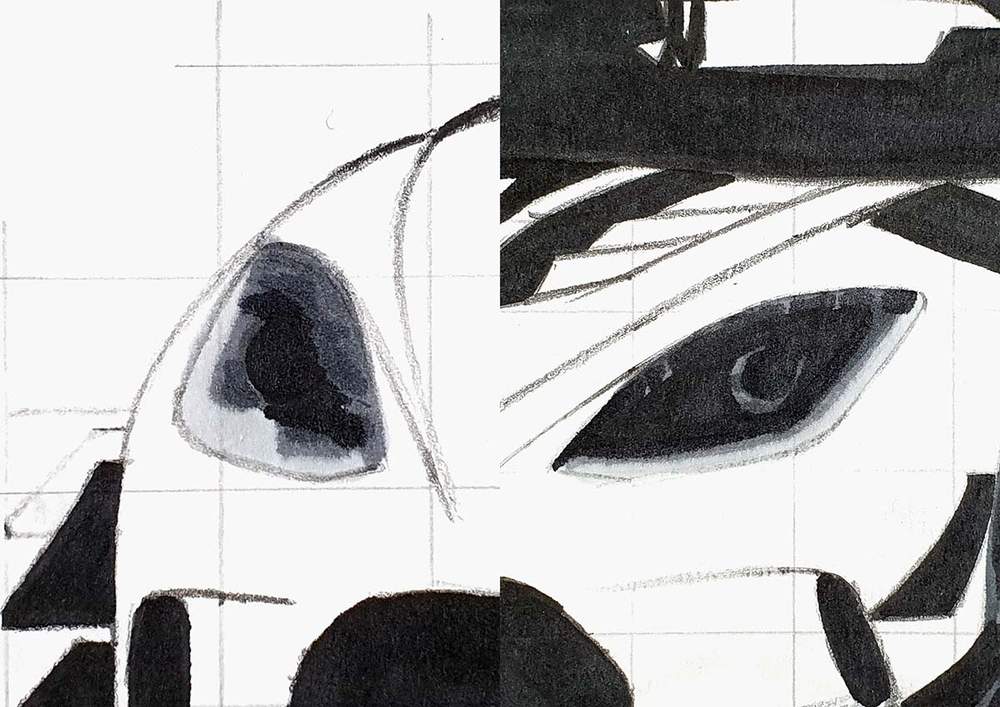
Step 8: Color the Headlights of the Dodge Viper ACR
Next, I colored both headlights.
I started by coloring both of them with Ice Grey 2
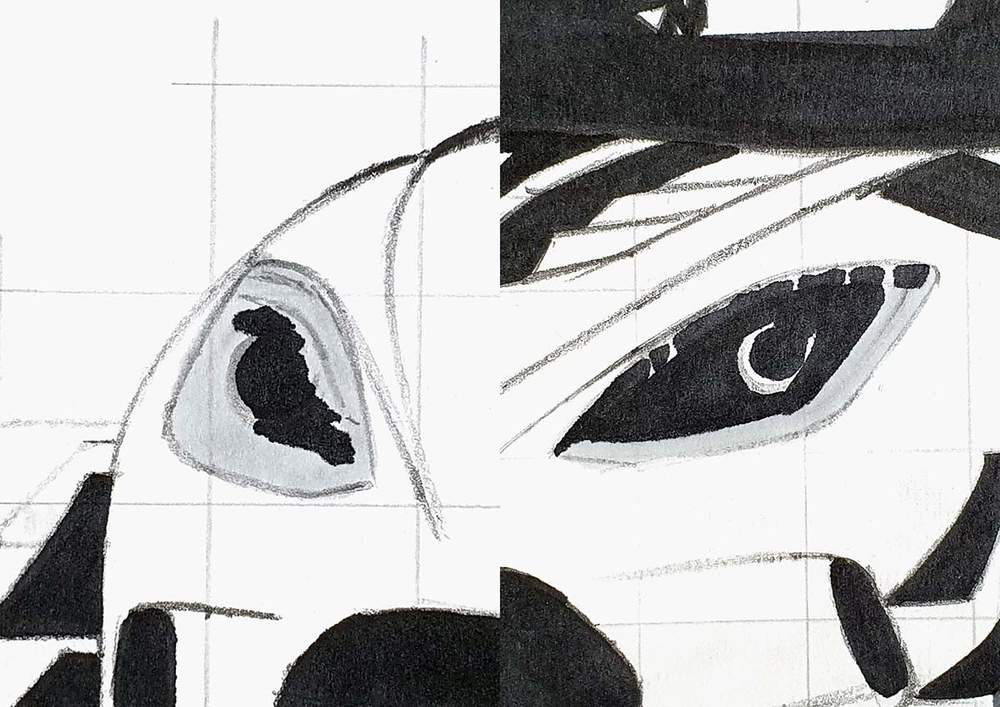
After that, I used Ice Grey 4 to add some darker shadows and reflections, mainly at the top of the lights.
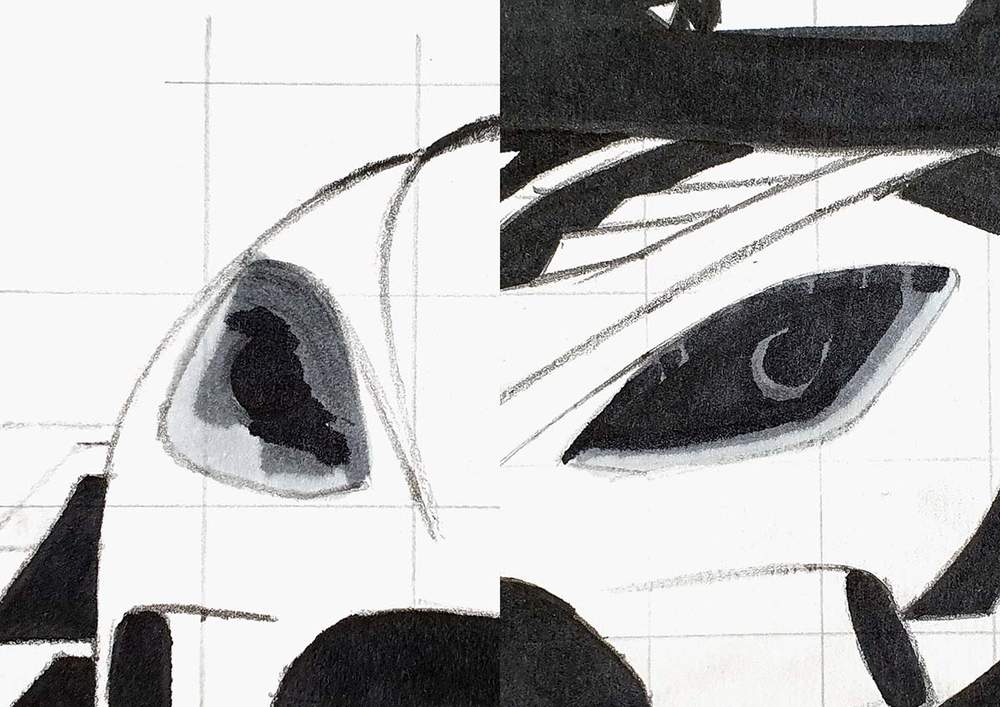
Lastly, I used Ice Grey 7 to add more depth to both headlights.
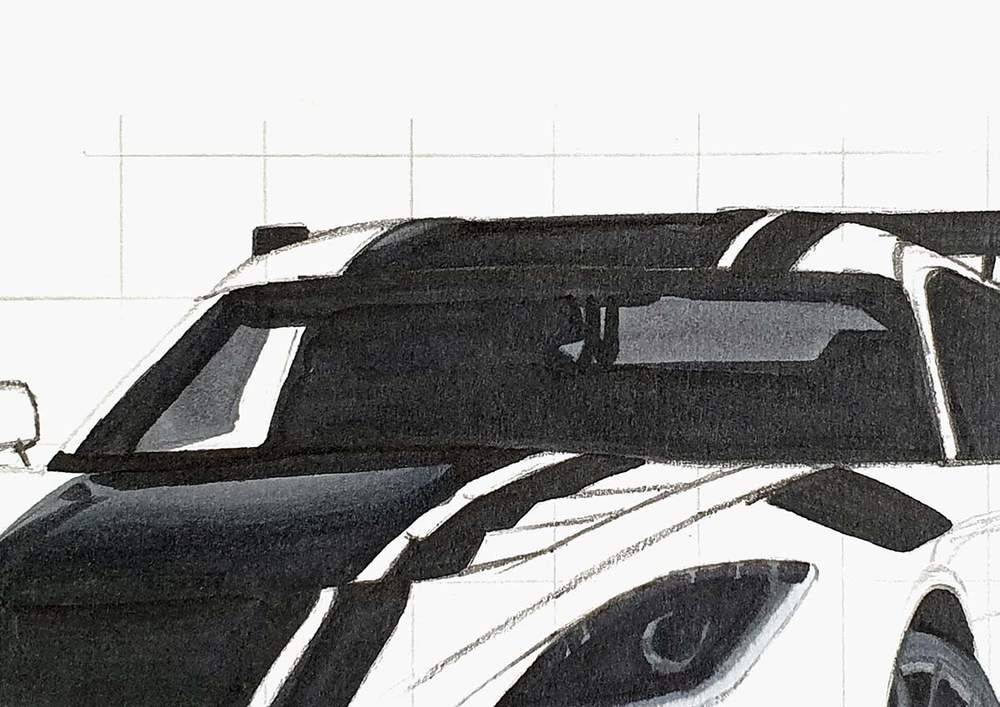
Step 9: Color the Black Stripes Across the Hood and the Roof of the Dodge Viper ACR
After that, I colored the remainder of the stripe on the hood with Ice Grey 4.

Then, I used Ice Grey 7 to blend the Ice Grey 4 into the black and I used Ice Grey 4 to color the bit of the stripe on the roof.
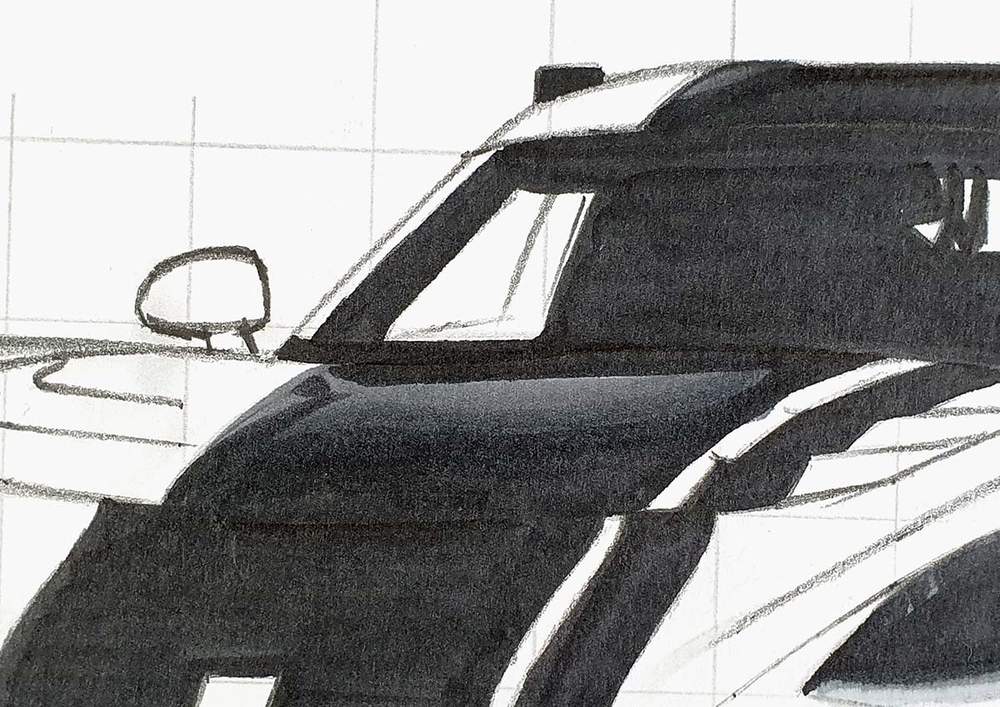
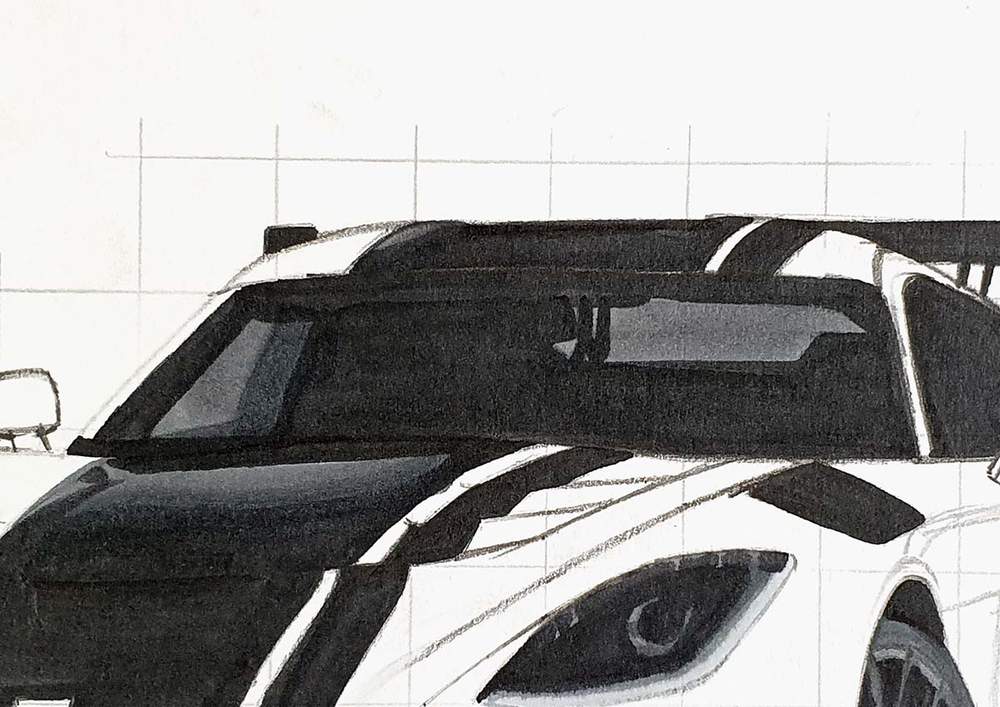
Step 10: Color the Windshield and the Interior of the Dodge Viper ACR
Next up, I colored the windshield.
I started by coloring the side window and the rear window with Ice Grey 4.
Lastly, I used Ice Grey 7 to color the remainder.
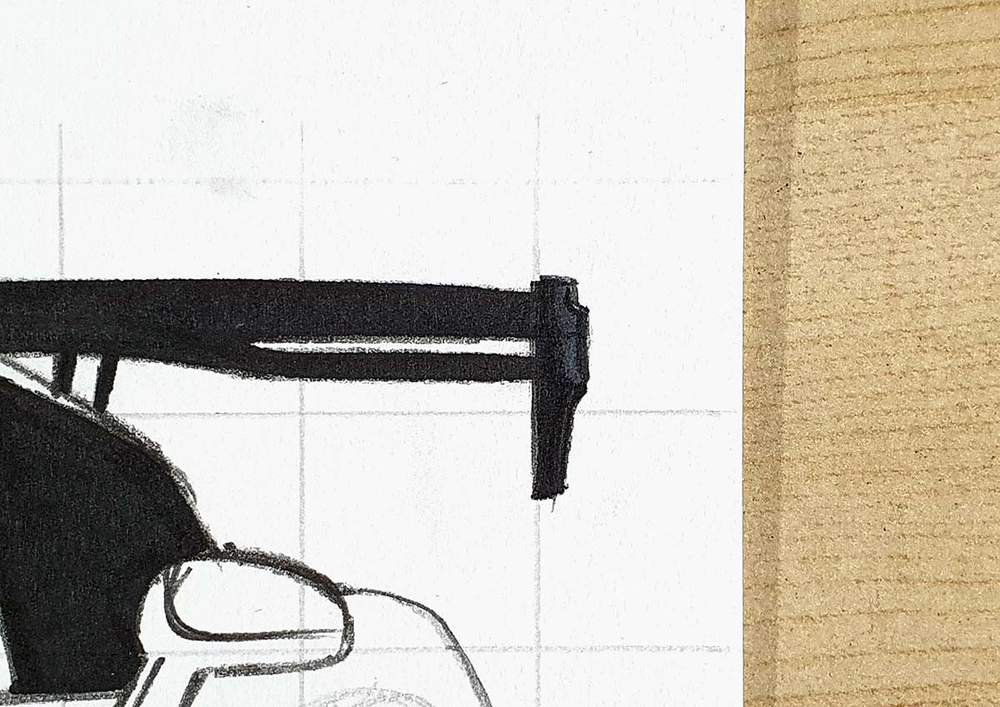
Step 11: Color the End Plate of the Wing of the Dodge Viper ACR
The last grey thing to color is this little part of the end plate of the rear wing. I colored it Ice grey 7.

Step 12: Color the Main Body of the Dodge Viper ACR
Now it's time to color the main body of the Dodge Viper ACR.
I started by coloring the lightest parts on the side with the color Baby Blossoms.

After that, I colored the slightly darker desaturated parts on the side with Currant.

Then, I moved on to the rest of the body of the Dodge Viper ACR.
I colored the lightest parts with Carolessence.
Next, I colored the rest of the car with Strong Red.

And lastly, I used Garnet to add some darker reflections and shadows across the main body of the Viper.
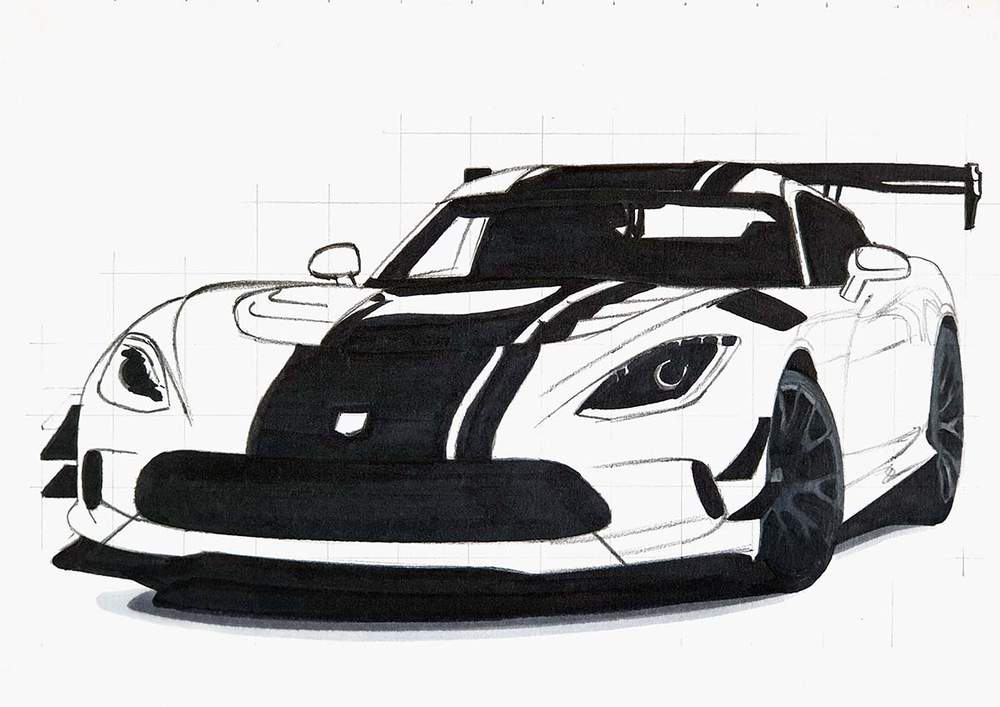
Step 13: Add Details to the Dodge Viper ACR Drawing
The Dodge Viper ACR drawing looks a bit dull right now, but we're going to change that.
I added tons of reflections and details all over the car with the white colored pencil.
I also added some details to the wheel and some panel edges.
Next, I used the Dove Grey pencil to refine the wheels and the other grey parts a bit.
And I used the Black pencil to add some black details and panel gaps.
Step 14: Add White Highlight to the Dodge Viper ACR Drawing
To finish the drawing off, I added tons of white highlights all over the car with the white Posca paint marker.
I looked at the reference photo for the reflections where all of these highlights should go and then added them to my drawing until I had done most of them.
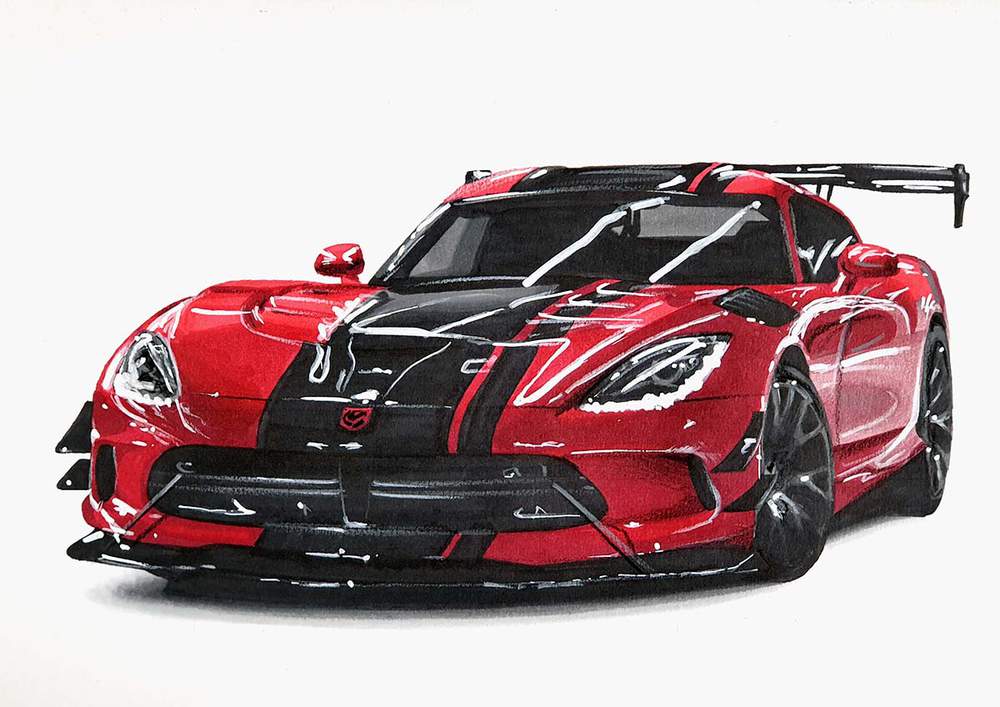
And That's How I Made This Dodge Viper ACR
I hope this was helpful to you!
Thank you for taking the time to read (and follow) this tutorial!
Leave a comment with what other cars you want me to make tutorials for!

Tags
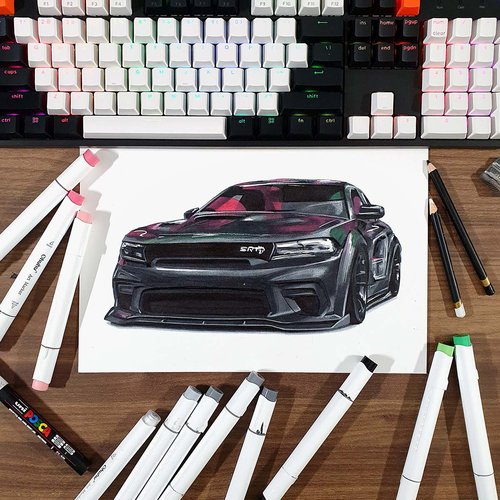
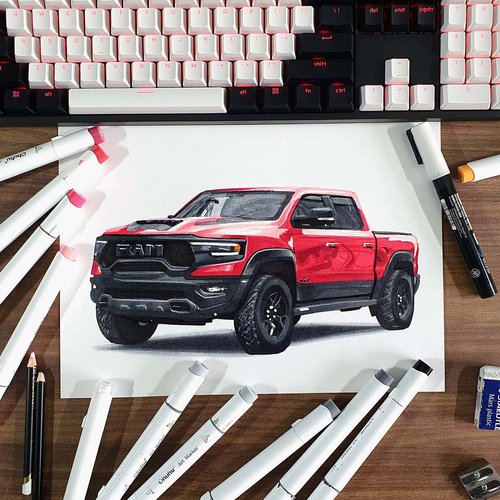
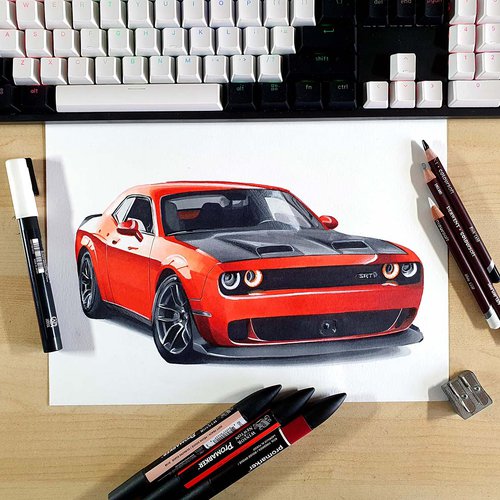
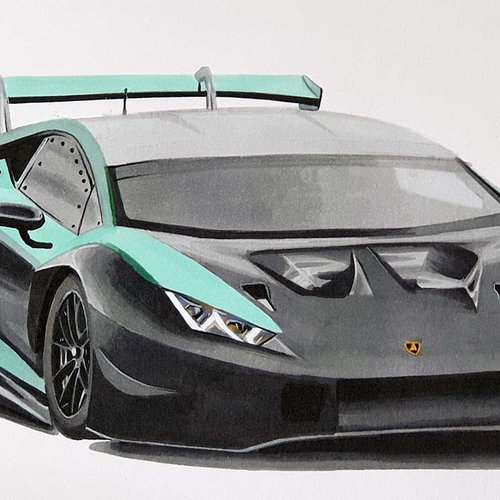
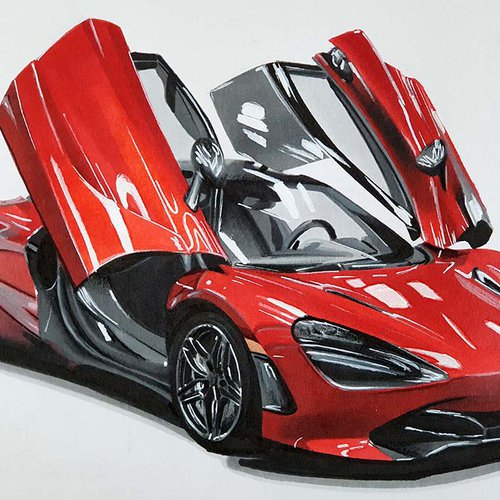
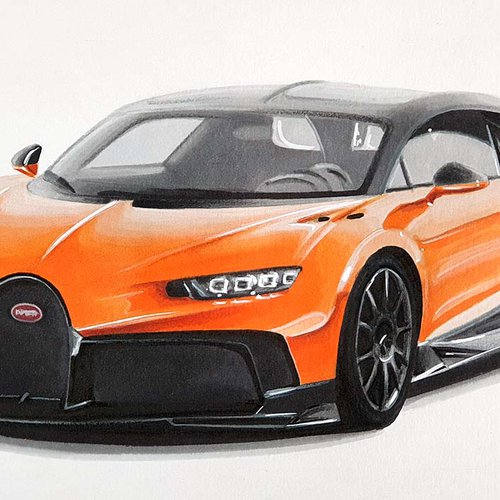
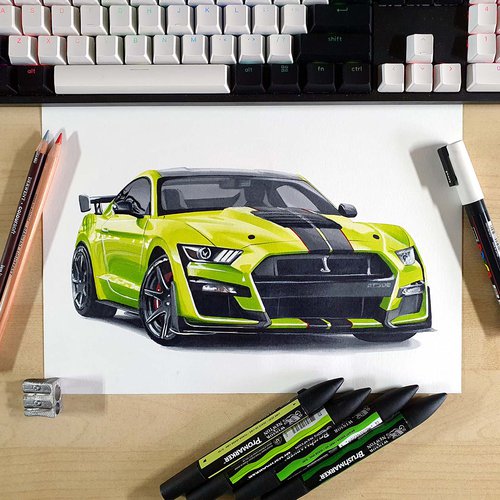
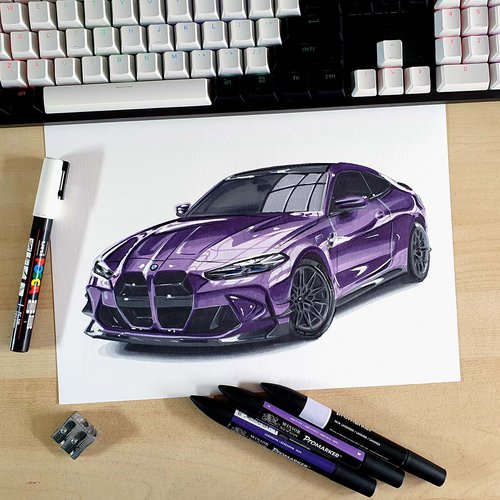
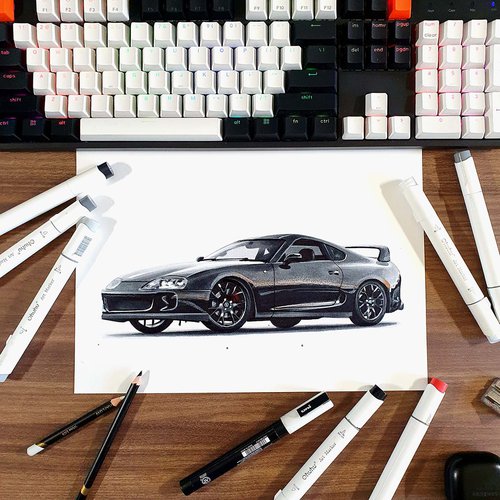
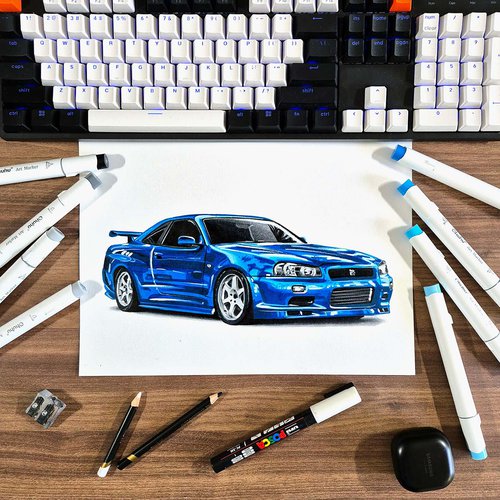
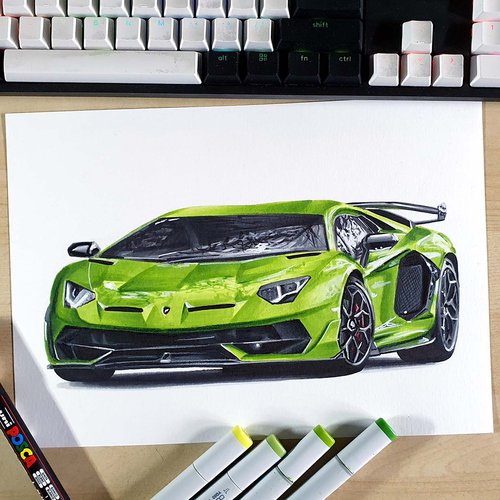
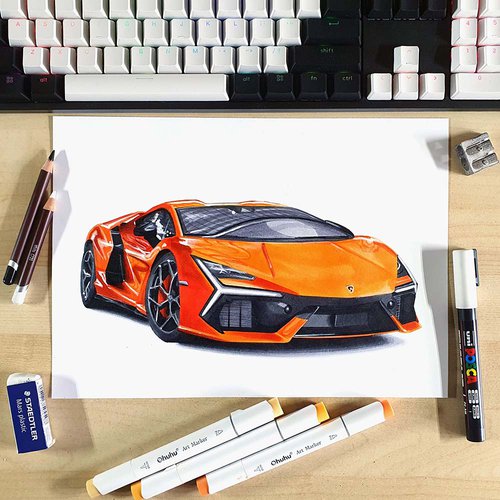
Articles You Might Also Like

I love bringing cars to life with alcohol markers and colored pencils.
Whether you're just starting out or looking to improve your skills, I'm here to help!
Click here to learn more about me.


Be the first to comment!
Comments
There are no comments yet.