How To Draw A Festive Christmas Wreath Step By Step For Beginners
Want to draw a Christmas wreath that instantly gives off that festive holiday vibe?
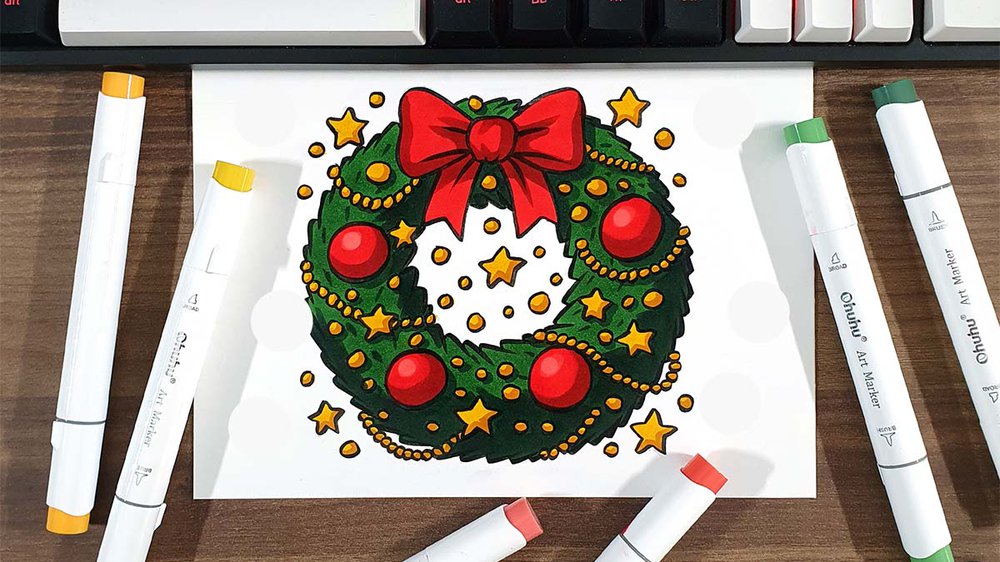
In this easy step-by-step guide, I’ll show you how to sketch and color a cheerful wreath, complete with ornaments, stars, garlands, and a classic red ribbon bow.
Whether you're decorating a holiday card or just in the mood to draw something Christmassy, this tutorial has you covered!
Disclaimer: In the name of full transparency, please be aware that this blog post contains affiliate links and any purchases made through such links will result in a small commission for me (at no extra cost for you).
Drawing Supplies I Used To Draw This Christmas Wreath
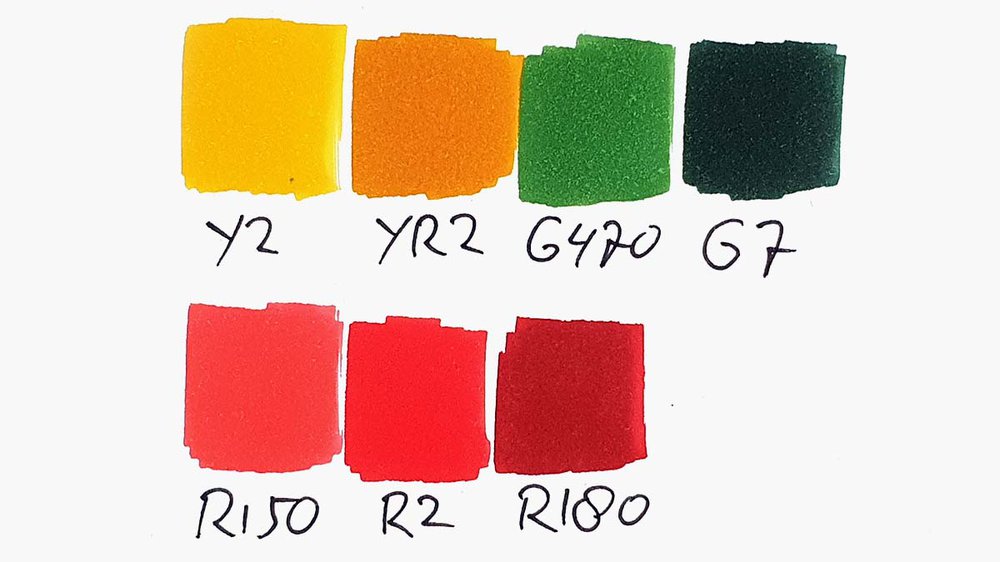
To make this drawing, I used Ohuhu Honolulu markers in the colors Zinnober (R150), Vermilion (R2), Bright Red (180), Sunflower (Y2), Marigold (YR2), Pine Tree Green (G470), and Chromium Oxide Green (G7).
I used a Tombow Fudenosuke Brush Pen to outline the sketch.
And I made this drawing on Canson Illustration Manga Paper.
How Do You Draw A Festive Christmas Wreath?
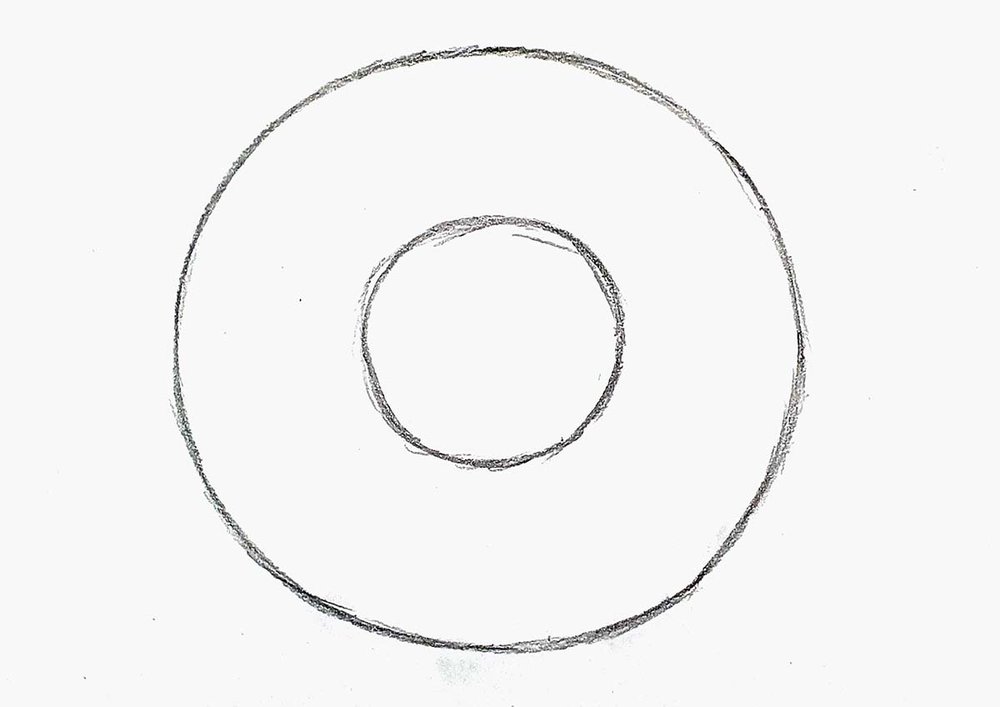
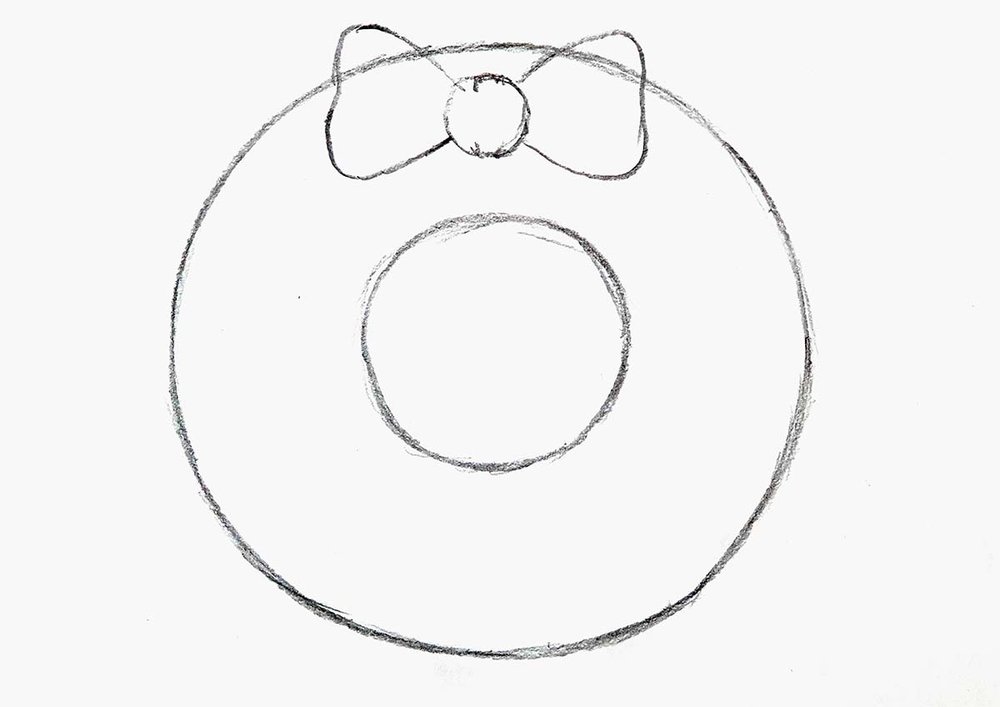
Step 1: Sketch The Outline Of The Wreath As A Donut
I started my Christmas wreath drawing by drawing a donut shape, which is made up of one big circle and a smaller one inside it.
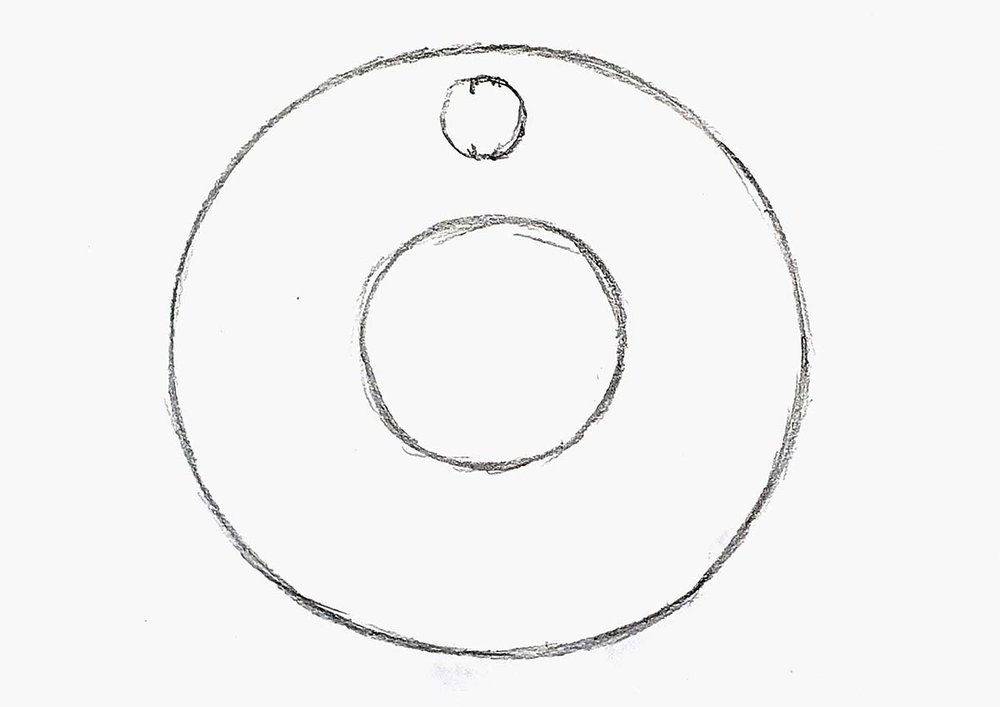
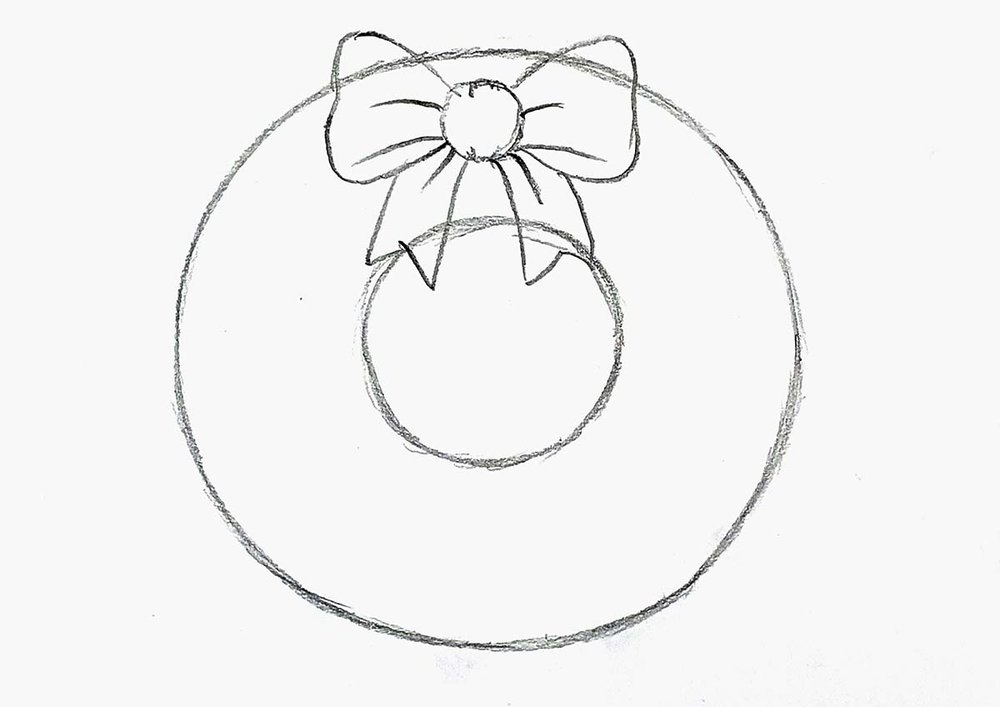
Step 2: Draw A Big Bow At The Top Of The Wreath
Next, I added a red ribbon bow at the top.
I first sketched a janky circle at the top of the wreath.
Then, I gave it some rounded triangles on either side.
And to finish it off, I added the ends of the ribbon and some wrinkles.
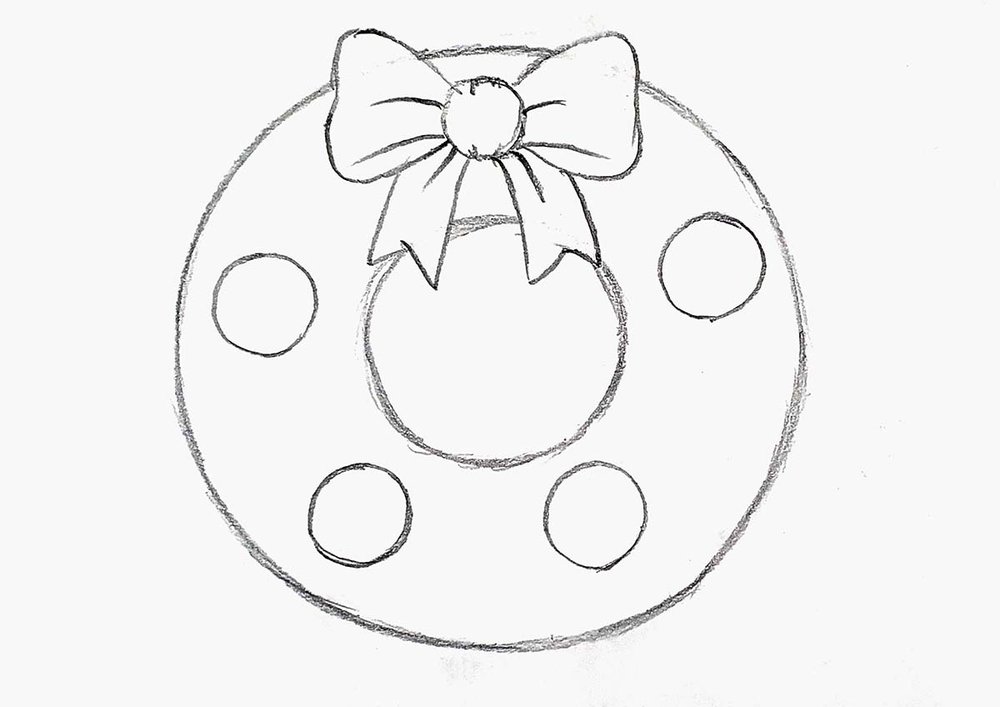
Step 3: Decorate The Wreath With Stars, Ornaments, And Beaded Garlands
After that, I added the rest of the decorations.
I started by drawing 4 big circles evenly spread out on the wreath. These will be the biggest ornaments.
Next, I sketched a bunch of stars all over the wreath and around it.
They don't have to be perfect. I actually like them more if they're a little wonky.
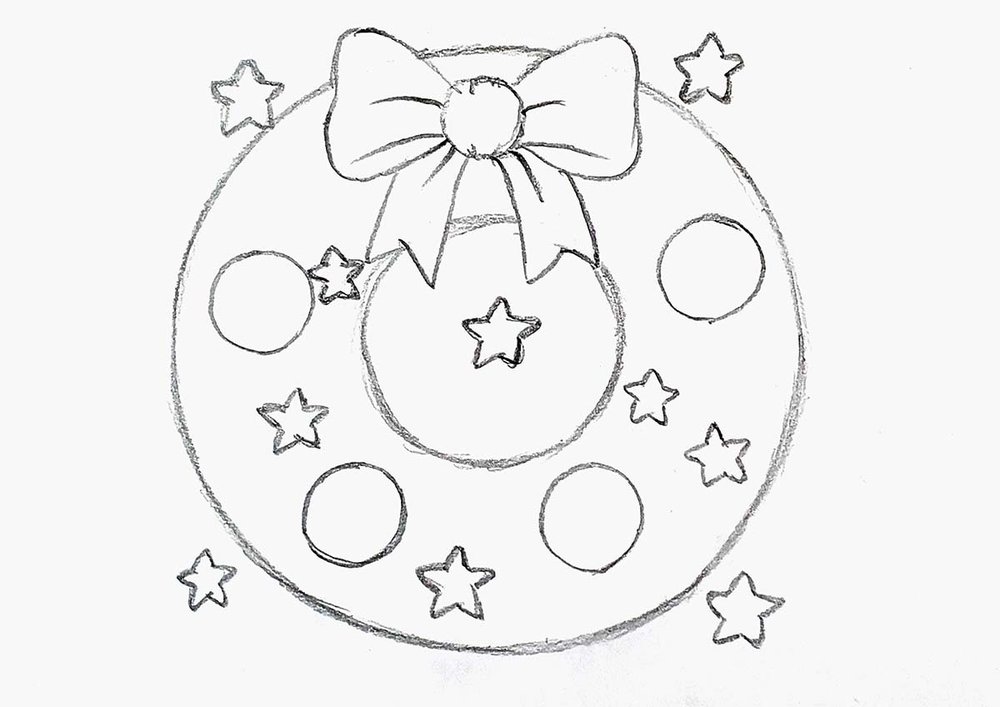
Next up are the garlands. I added 7 garlands, which are made up of small round beads.
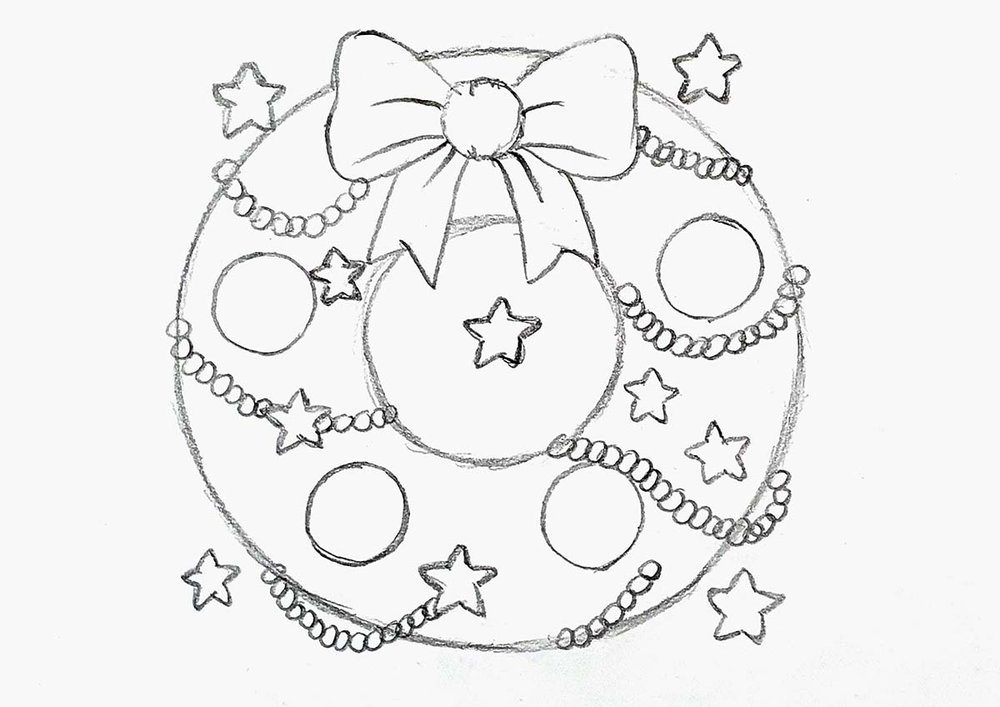
Lastly, I added some smaller decorative ornaments and circles on and around the wreath.
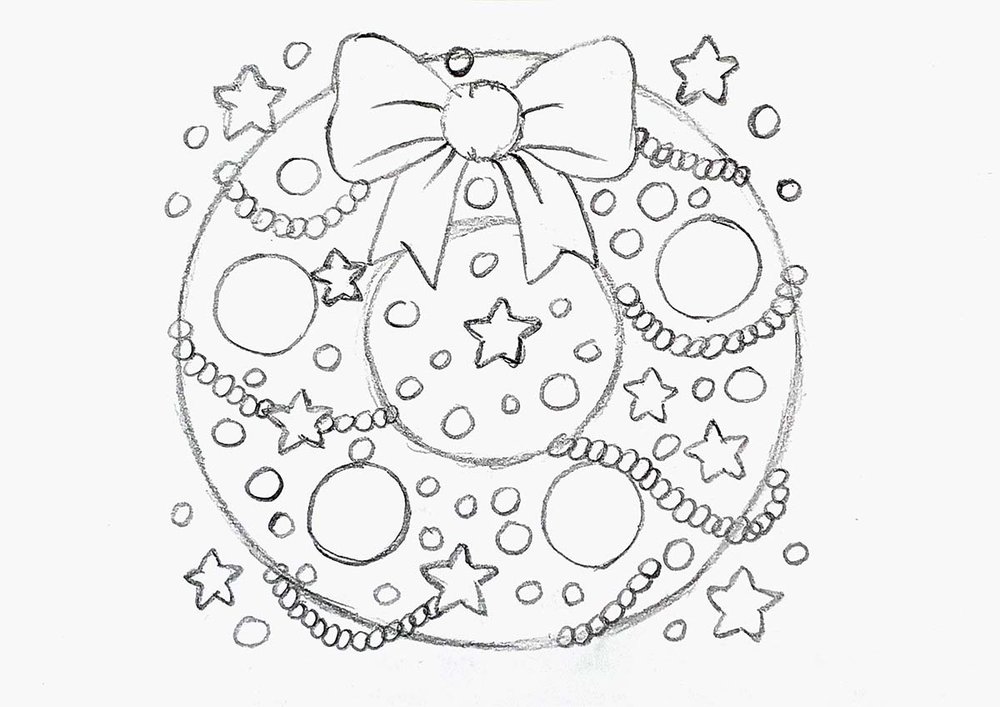
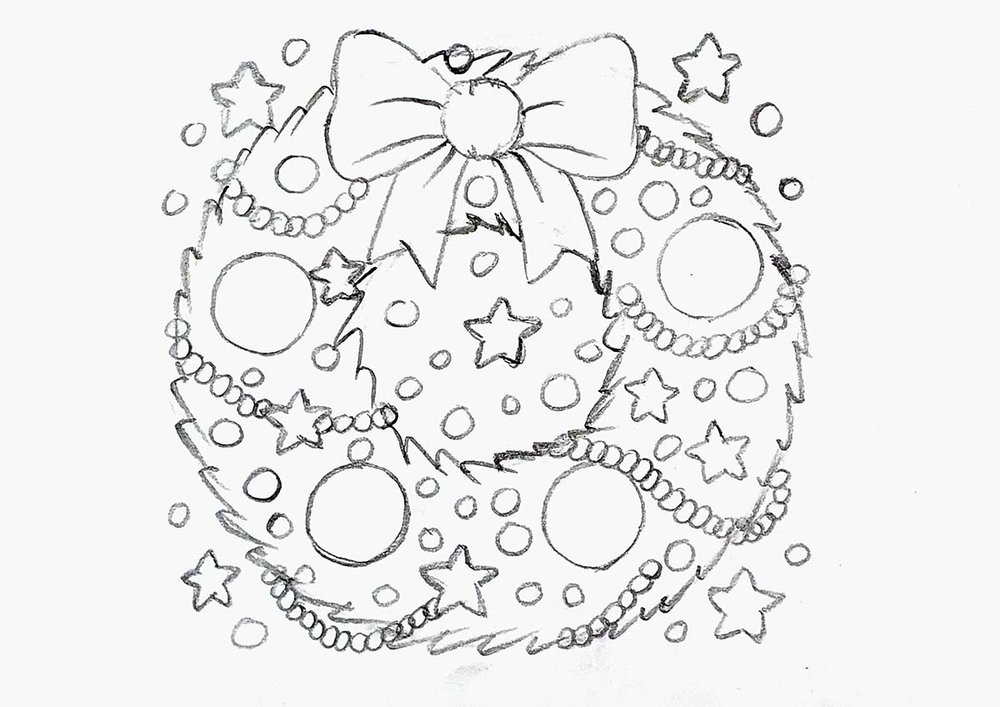
Step 4: Sketch A Pine Branch Texture To The Edges Of The Wreath
To complete the sketch, I added pine branch textures to both the outer and inner edges of the wreath.
I created the texture by drawing a chain of swooshes, little curved lines, and made sure the swooshes on both the inside and outside edges pointed in the same direction.
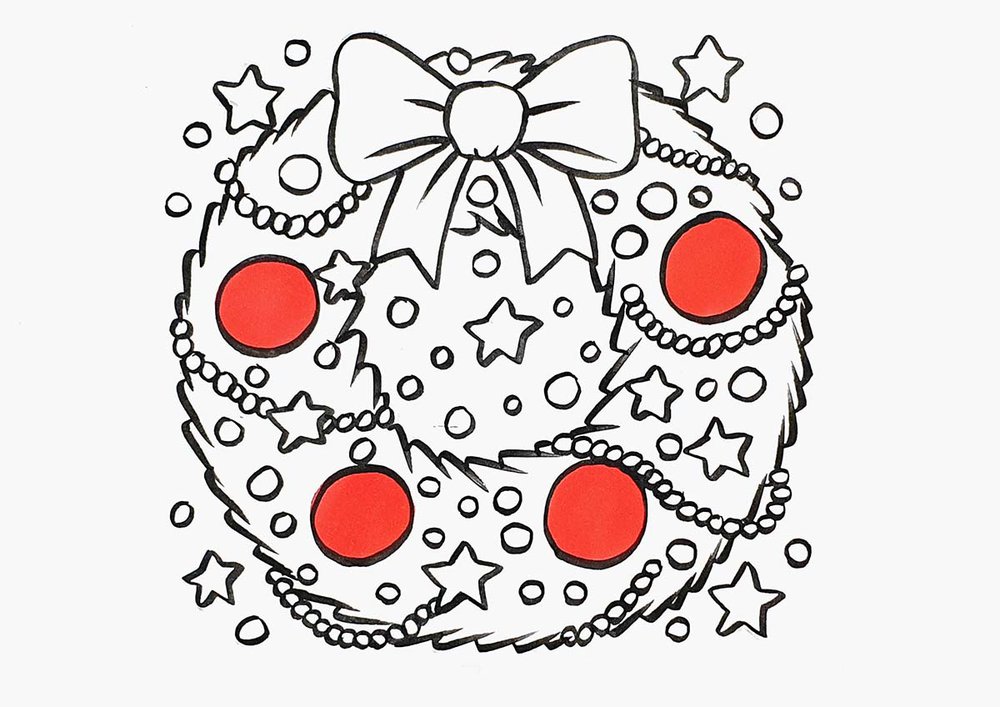
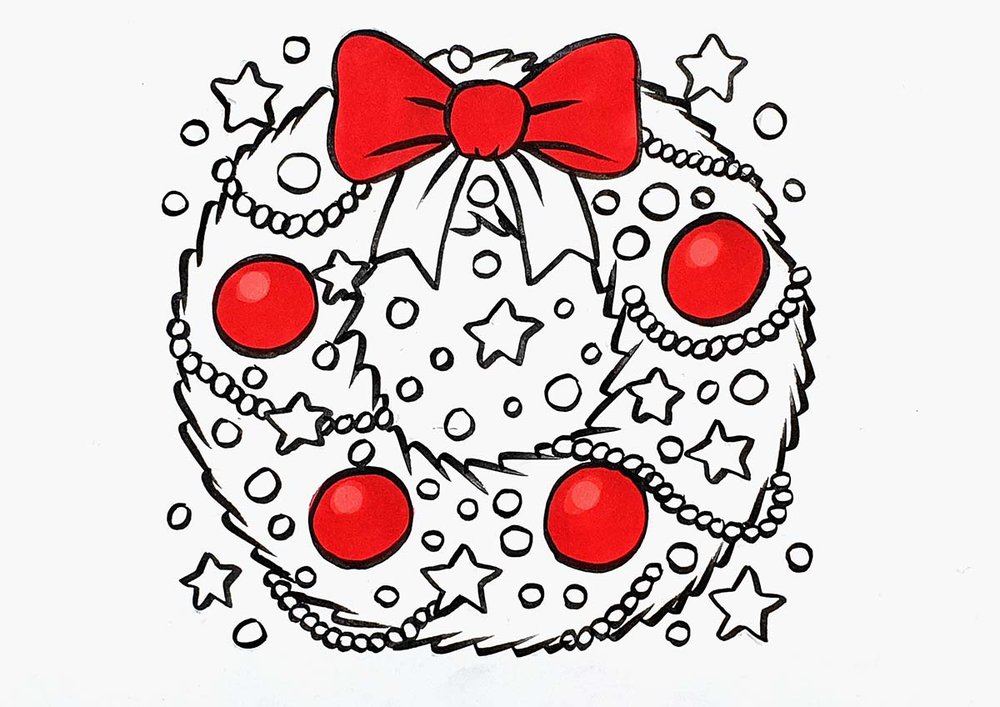
Step 5: Outline The Wreath With A Black Brush Pen
To prepare the drawing for coloring, I outlined the sketch with a black brush pen and erased the pencil sketch afterwards.
You could use a fineliner if you want a cleaner look, but I prefer the expressiveness of brush pen strokes.

Step 6: Color The Christmas Wreath With Markers
Next, I colored the festive Christmas wreath.
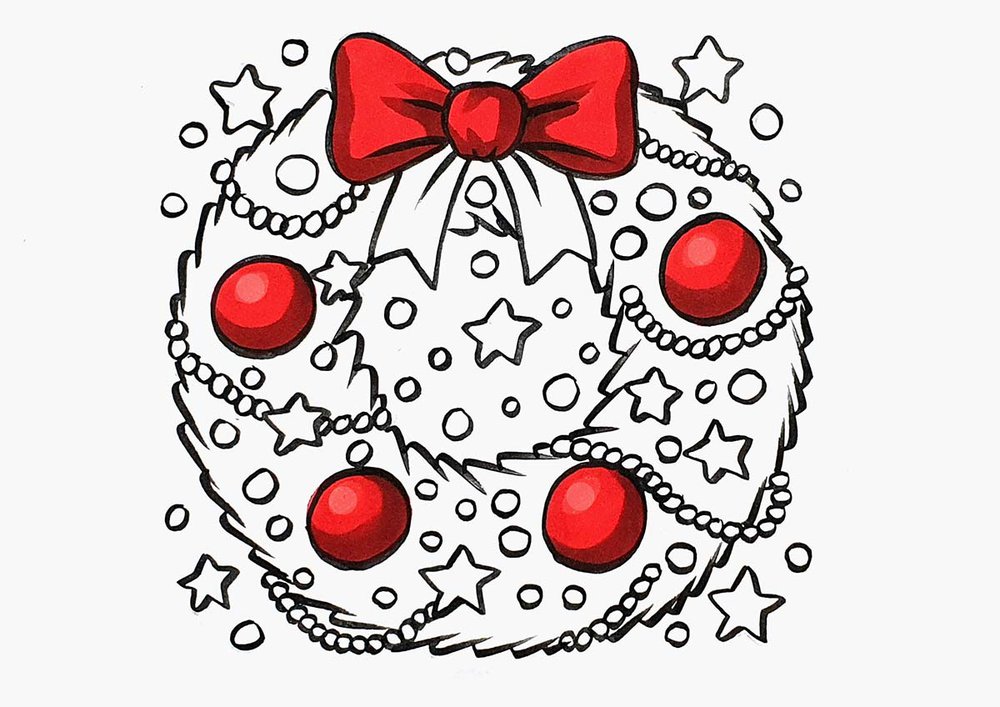
I started by coloring the red ornaments and the red ribbon bow.
I used Zinnober (R150) to color the ornaments first.
Next, I used Vermilion (R2) to color the bow and to add shading to the ornaments. On the ornaments, I left a small circle on the top left lighter red.
You can also see that I forgot to color the ends of the ribbon bow...
To finish the bow and the ornaments, I used Bright Red (180) to add dark shadows, mainly on the bottom right edges.
After that, I colored the yellow decorations.
I used Sunflower (Y2) to color the stars, small circles, and the garlands.
During this step, I noticed that I had forgotten to color the ends of the bow, so I colored them as well with Vermilion (R2) and Bright Red (180), of course.
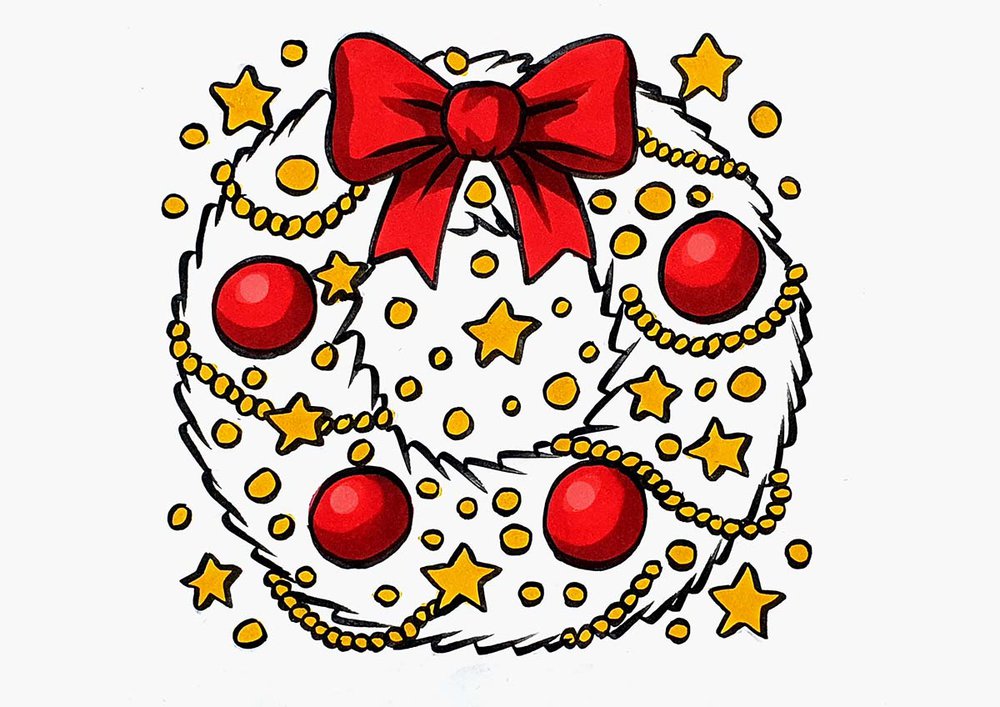
And then, I added some shadows to the bottom right of the stars, circles, and beads of the garlands with Marigold (YR2).
Lastly, I colored in the green wreath itself, using pine shades to give it that classic Christmas look.
I started by coloring it with Pine Tree Green (G470), of course.

Then, I added a dark shadow to the right of all the decorations using Chromium Oxide Green (G7).

And to complete the drawing, I added shading to the bottom right on the outside and the top left on the inside edges of the wreath.
I also added some short lines on the lighter green to give it some texture.
To do this, I again used Chromium Oxide Green (G7).
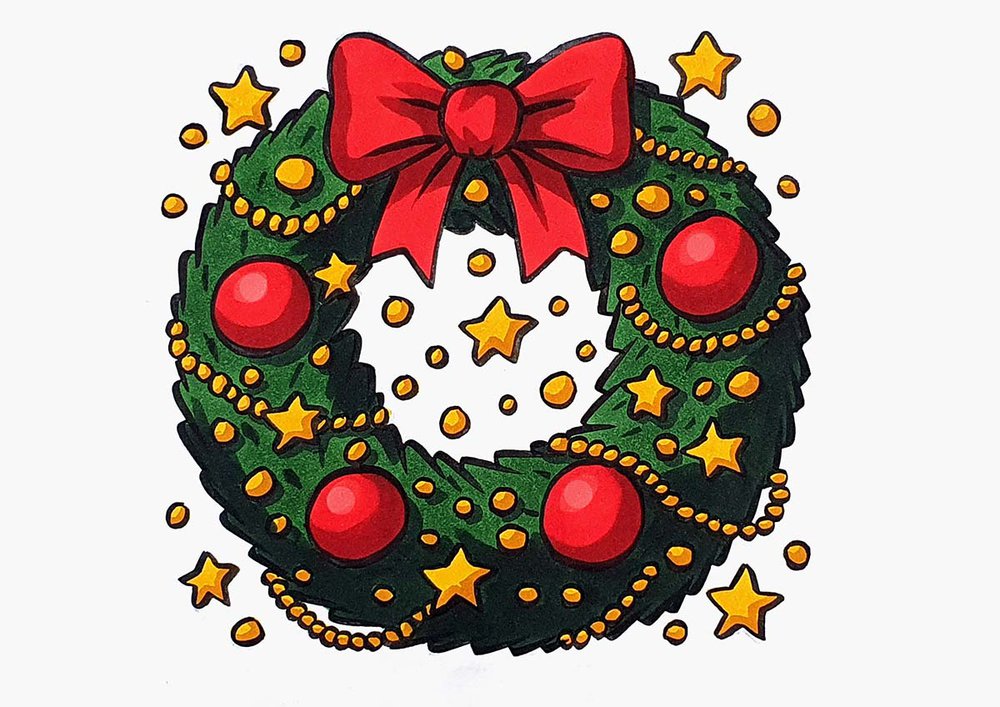
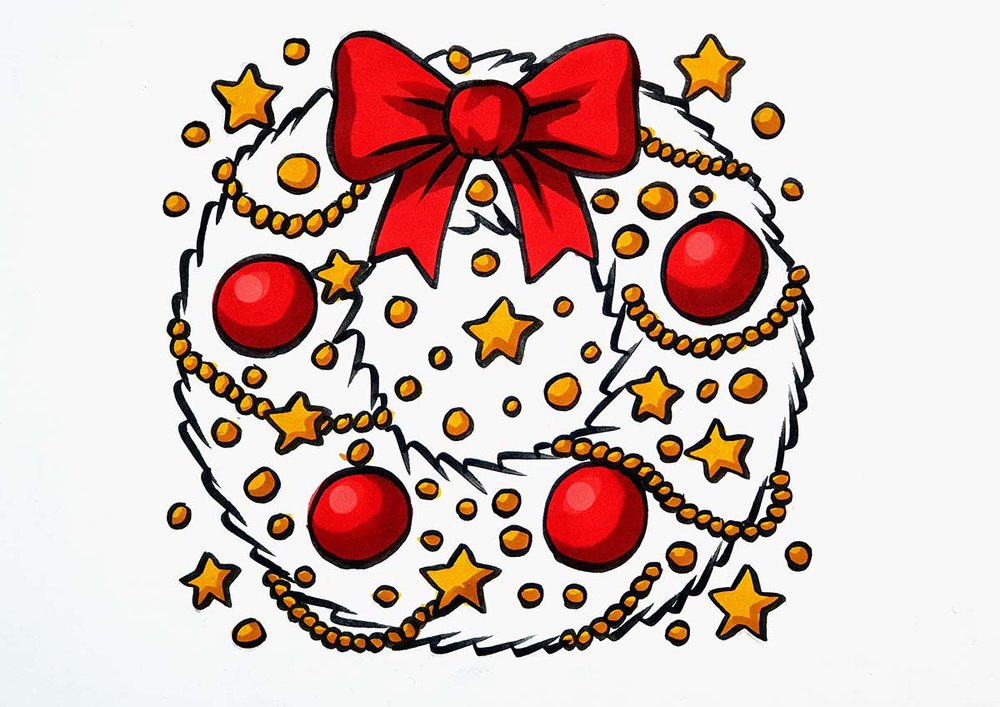
Final Result
And that’s it! Your festive Christmas wreath drawing is done!

From the bright red bow to the glittery stars and piney textures, this little wreath is full of holiday cheer.
I hope you had fun following along.
If you liked this tutorial, feel free to check out my other step-by-step holiday drawings — and tag me (@luukminkman) if you share your wreath on Instagram. I’d love to see what you create!
Tags
Articles You Might Also Like


I love bringing cars to life with alcohol markers and colored pencils.
Whether you're just starting out or looking to improve your skills, I'm here to help!
Click here to learn more about me.


Be the first to comment!
Comments
There are no comments yet.