Easy Christmas Hat Drawing Tutorial You’ll Love

Want to draw something festive and fun this holiday season?
In this easy step-by-step guide, I’ll show you how to draw a classic Christmas hat, complete with fluffy trim, a pom-pom, and cozy folds.
Whether you're decorating a holiday card, personalizing a gift tag, or just sketching for fun, this quick tutorial is perfect for beginners and experienced artists alike.
Grab your markers, and let’s get started!
Disclaimer: In the name of full transparency, please be aware that this blog post contains affiliate links and any purchases made through such links will result in a small commission for me (at no extra cost for you).
Drawing Supplies You'll Need
To make this drawing, I used Ohuhu Honolulu markers in the colors Vermilion (R2), Bright Red (R180), Red Grey 03 (RG030), Red Grey 05 (RG050), and Warm Grey 3 (WG3).

I used a Tombow Fudenosuke Brush Pen to outline the sketch.
And I made this drawing on Canson Illustration Manga Paper.
How Do You Draw A Christmas Hat?
To draw a Christmas hat, start by sketching the fluffy brim with overlapping curved lines. Then draw the cone with a long swooping curve and a wavy edge. Add the pom-pom at the tip using more curved lines, and outline the drawing with a brush pen. Finally, bring your hat to life with festive red markers and soft grey shadows!
Step 1: Sketch The Brim Of The Christmas Hat
To draw a Christmas hat, I first sketched two curved lines at the bottom of my paper.
These lines serve as a guide for the fluffy brim.

Next, I made these lines look fluffy.
I first lightened the curved lines, and then I sketched curvy lines in their place. I also drew some curvy lines on the sides of the brim.
To make it look more fluffy, I overlapped the lines a bit.

Now that the brim is done, let’s move on to the main part of the hat: the cone.
Step 2: Sketch The Cone Of The Christmas Hat
Next, I added the cone of the hat.
The cone is made up of one long line on the left that extends upwards and curves to the right and down, and a short, wavy line pointing upwards on the right.

After that, I added some wrinkles on the top right of the cone where the pom-pom pulls the tip down.

Step 3: Sketch The Pom-Pom
Then, I sketched the pom-pom on the tip of the Christmas hat.
I started by sketching a circle.
I also sketched part of an ellipse for the shadow below the Christmas hat.

Next, I replaced the circle with a bunch of overlapping curved lines, just like we did for the brim.
And that's the sketch all done!

Step 4: Outline The Christmas Hat With A Brush Pen
To prepare the Christmas hat sketch for coloring, I like to outline it with a black brush pen. You can also use a fineliner if you don't have one.
I did not outline the shadow as I think shadows look better without a dark outline.

Step 5: Color The Christmas Hat With Markers
To make the Christmas hat come to life, I like to color it with markers. And to do this, I used Ohuhu Honolulu markers.
I first colored the shadow with Warm Grey 3 (WG3) and the cone with Vermilion (R2).

Next, I used Bright Red (R180) to add shadows on the bottom and the right sides of the cone and two streaks on the left.

Then, I used Red Grey 03 (RG030) to shade the bottom, left, and right sides of the brim on the pom-pom.

And to finish it off, I added two darker streaks on the right side of the brim with Red Grey 05 (RG050).

Final Result
And that's how you draw a simple Christmas hat!
I hope you had fun drawing this festive Christmas hat! You can use it in your holiday cards, gift tags, or just for fun in your sketchbook.

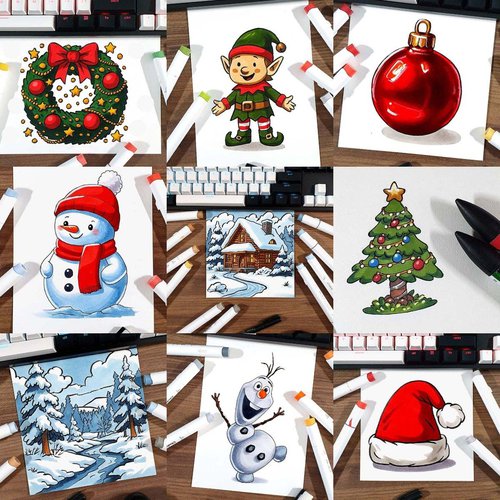
If you enjoyed this tutorial, check out my other Christmas drawing guides.
Happy holidays!
Tags
Articles You Might Also Like


I love bringing cars to life with alcohol markers and colored pencils.
Whether you're just starting out or looking to improve your skills, I'm here to help!
Click here to learn more about me.


Be the first to comment!
Comments
There are no comments yet.