How To Draw A Christmas Elf – Step-By-Step Holiday Drawing Tutorial
Want to learn how to draw a Christmas elf step by step?
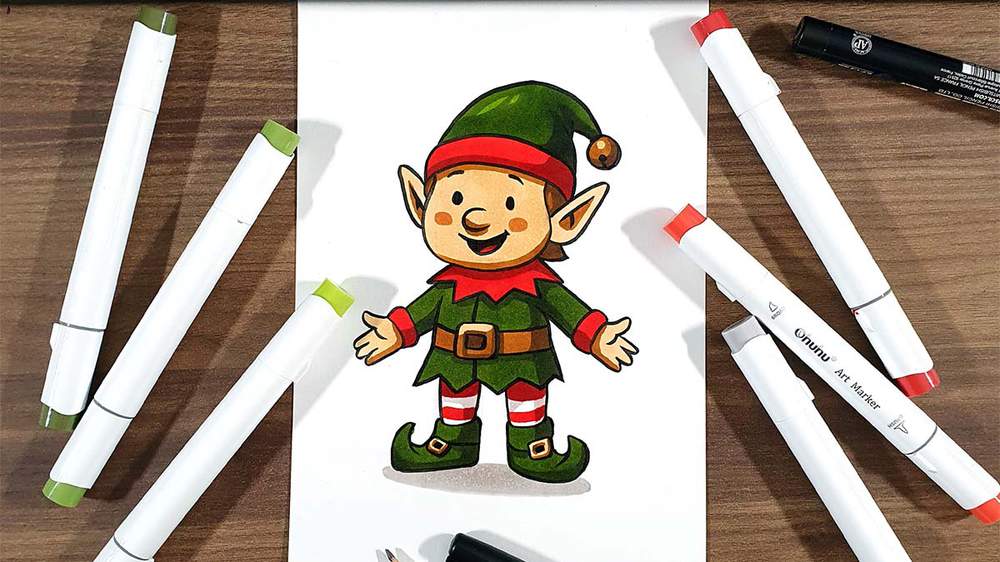
In this easy elf drawing tutorial, you’ll learn how to sketch and color a cute holiday elf, perfect for Christmas cards, festive artwork, or cozy winter drawing sessions!
Whether you're making holiday cards, decorating your sketchbook, or just having fun, this guide will walk you through the process in a fun and beginner-friendly way.
Let’s get started!
Disclaimer: In the name of full transparency, please be aware that this blog post contains affiliate links and any purchases made through such links will result in a small commission for me (at no extra cost for you).
What I Used To Make This Christmas Elf Drawing
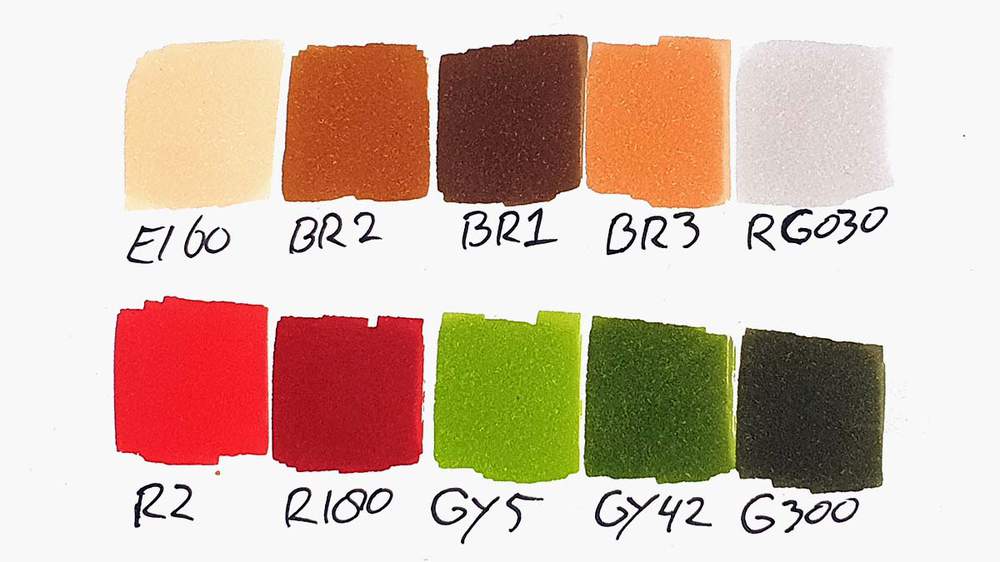
To make this drawing, I used Ohuhu Honolulu markers in the colors Soft Sun (E160), Potato Brown (BR2), Raw Umber (BR1), Rose Beige (BR3), Vermilion (R2), Bright Red (R180), Red Grey 03 (RG030), Absinthe (GY5), Bronze Green (GY42), and Dark Olive (G300).
I used a Tombow Fudenosuke Brush Pen to outline the sketch.
And I made this drawing on Canson Illustration Manga Paper.
How Do You Draw A Christmas Elf Step By Step?
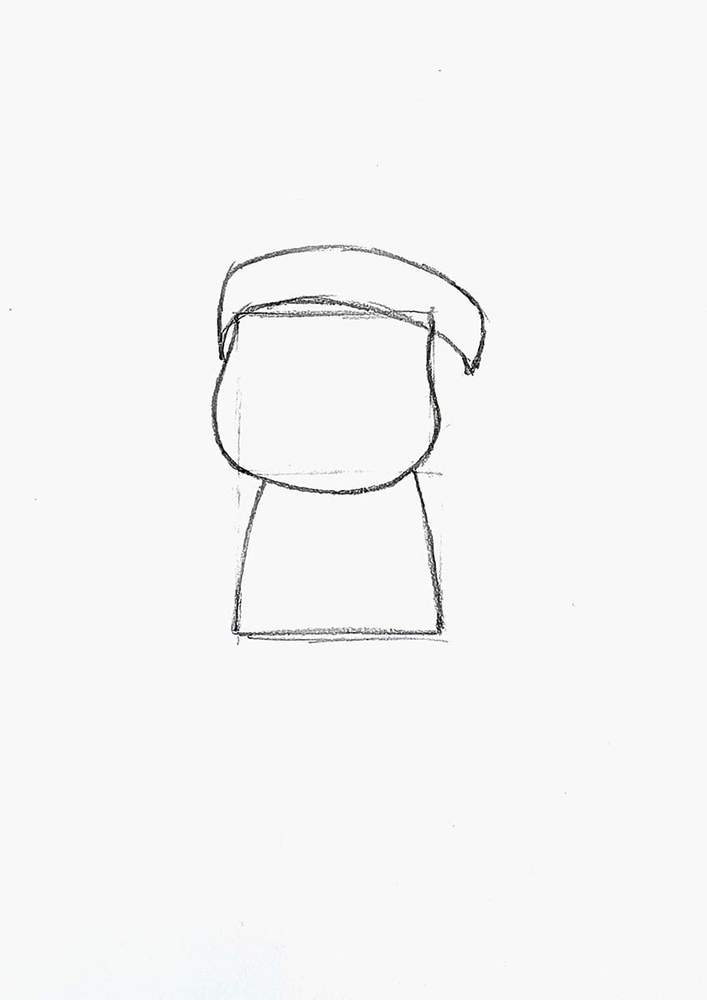
Step 1: Sketch 2 Boxes
To start my Christmas elf drawing, I sketched 2 slightly rectangular boxes.
I sketched one in the center of my paper, and the other one on top of that.
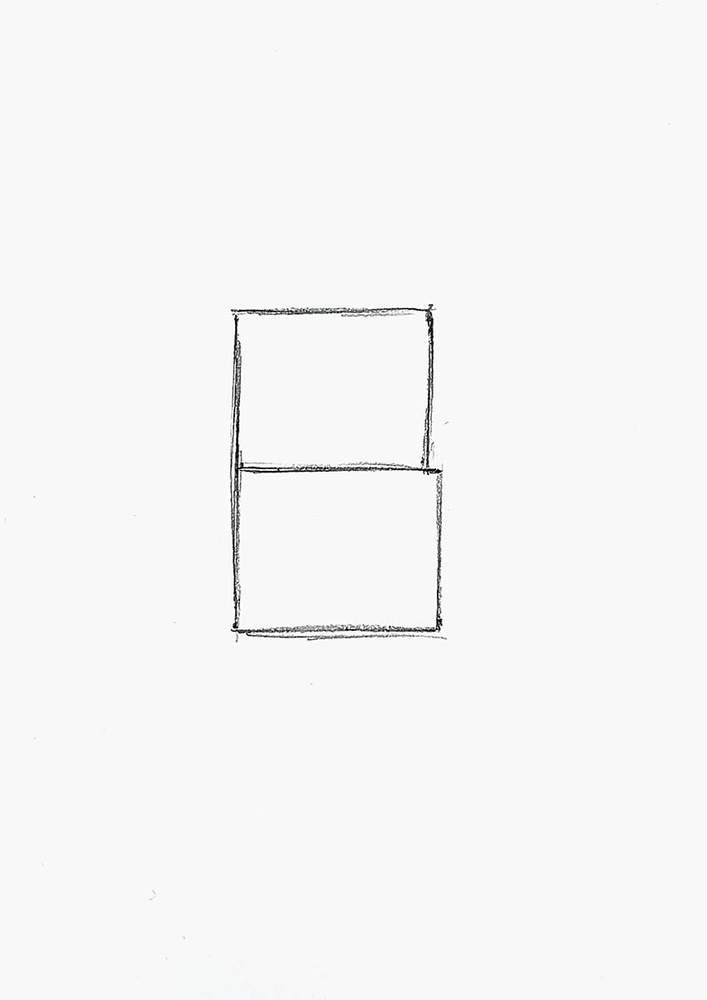
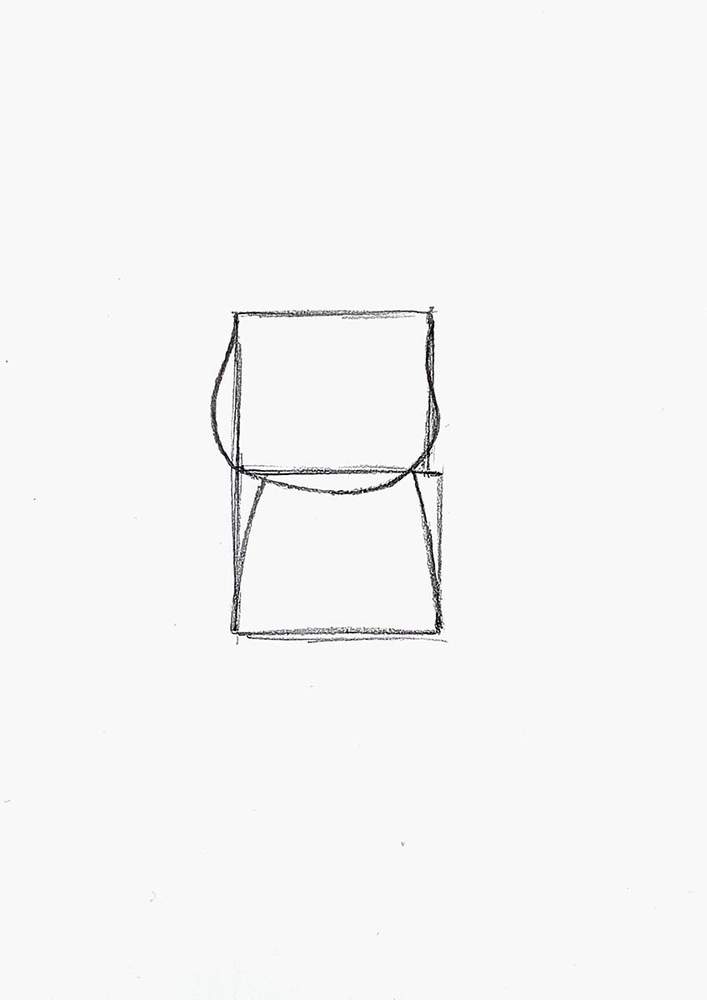
Next, I used these 2 boxes as a guide for the shape of the face and the body of the elf.
His face has very round cheeks, and his body curves up and inwards.
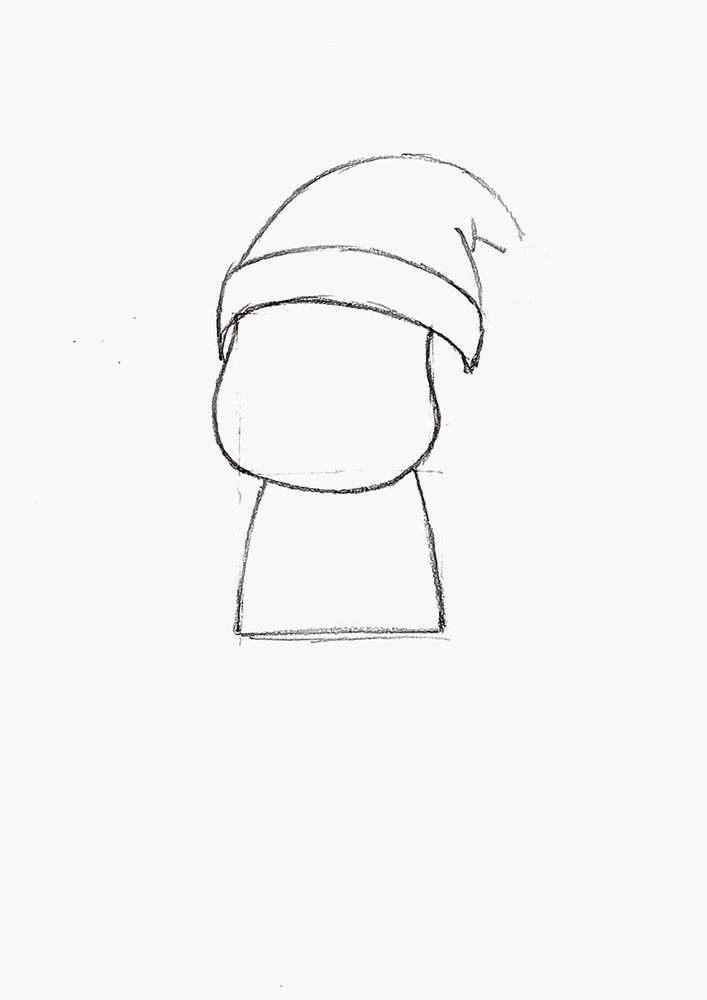
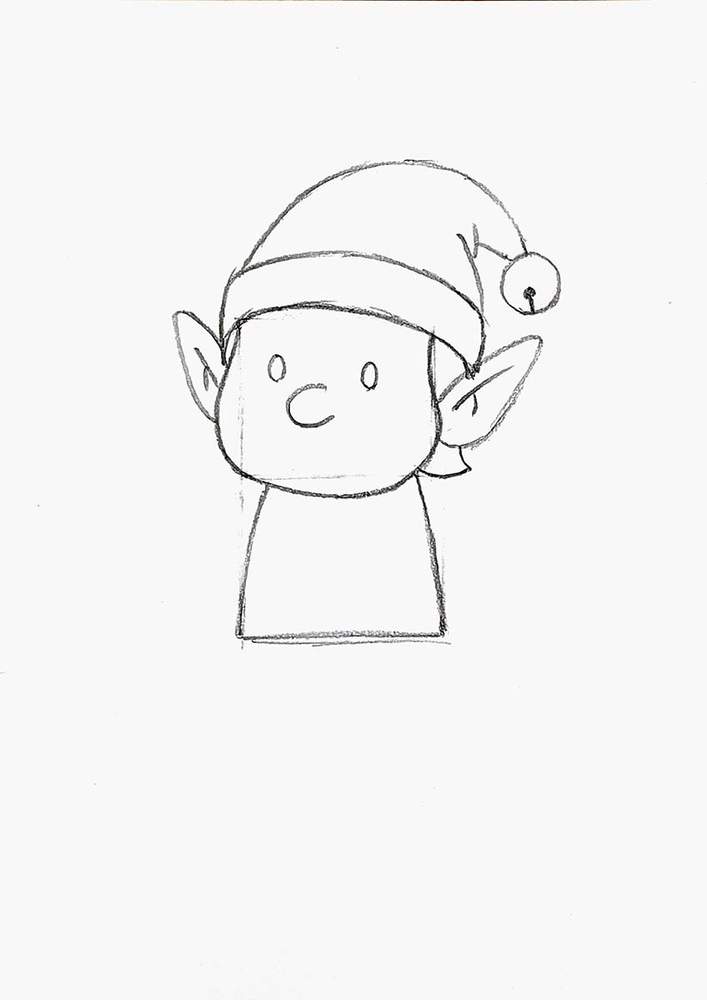
Step 2: Draw The Christmas Hat
After that, I erased the lines of the boxes I just used as guidance and sketched the hat brim.
Then, I sketched the edges of the hat.
The top edge is just one long curved line. The bottom edge consists of 3 lines, as there are some wrinkles in it.
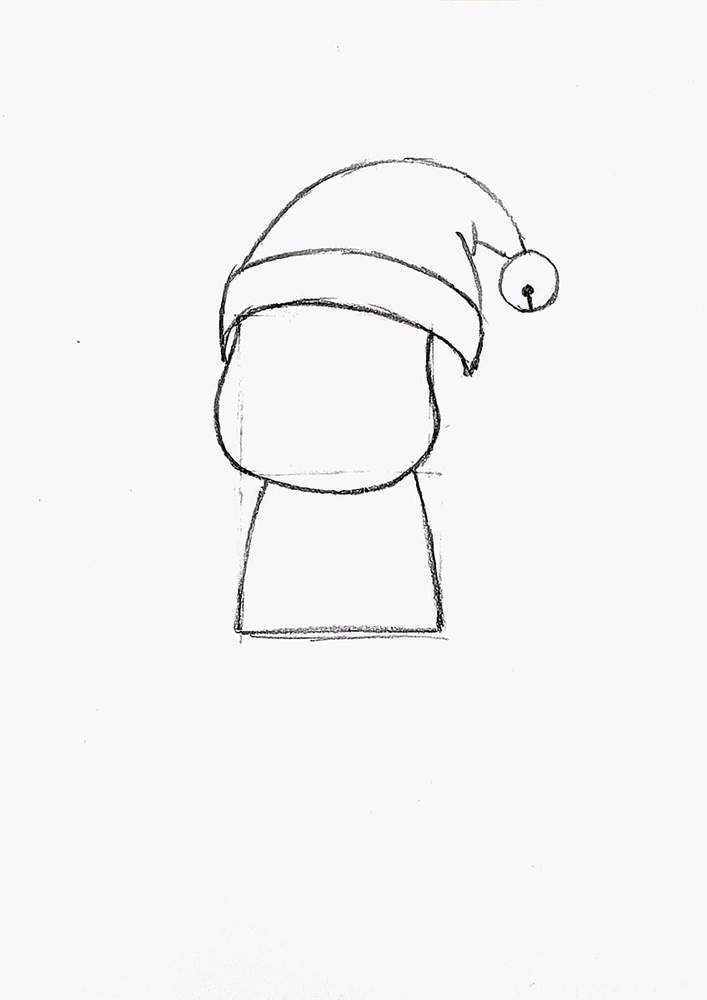
To finish off the hat, I added the bell on the tip of the Christmas hat.
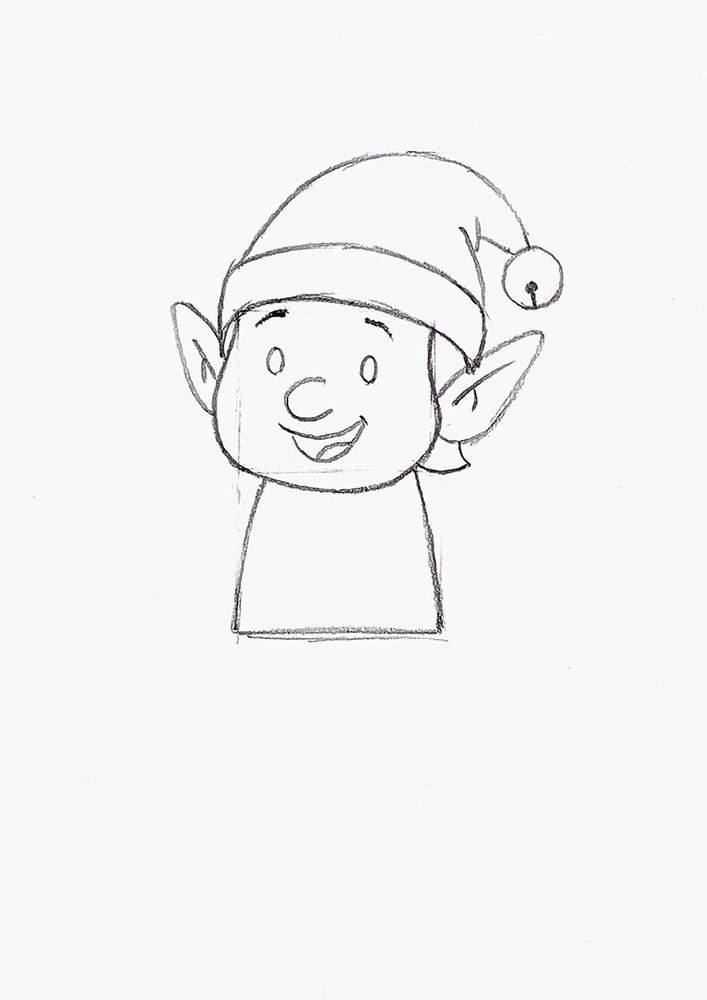
Step 3: Sketch The Head Of The Elf
Next, I sketched the outline of his elf ears, and I added the round nose in the center of his face.
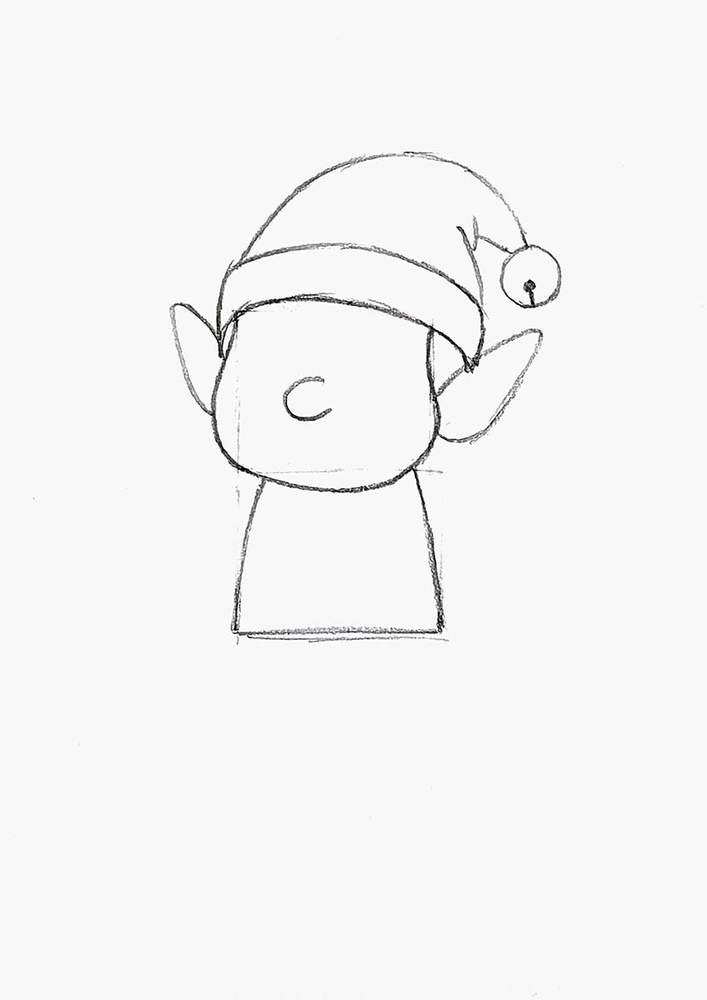
Then, I added some details to the ears and sketched his oval eyes.
I also added a bit of hair below his ear on the right.
To complete his face, I added his eyebrows and his big smile below his nose.
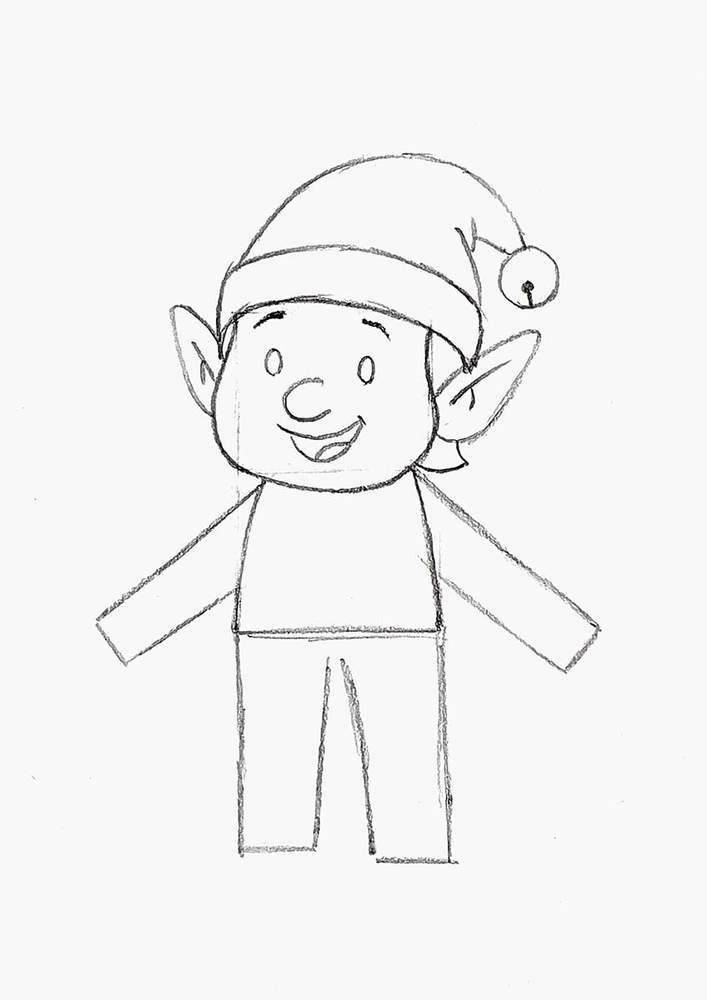
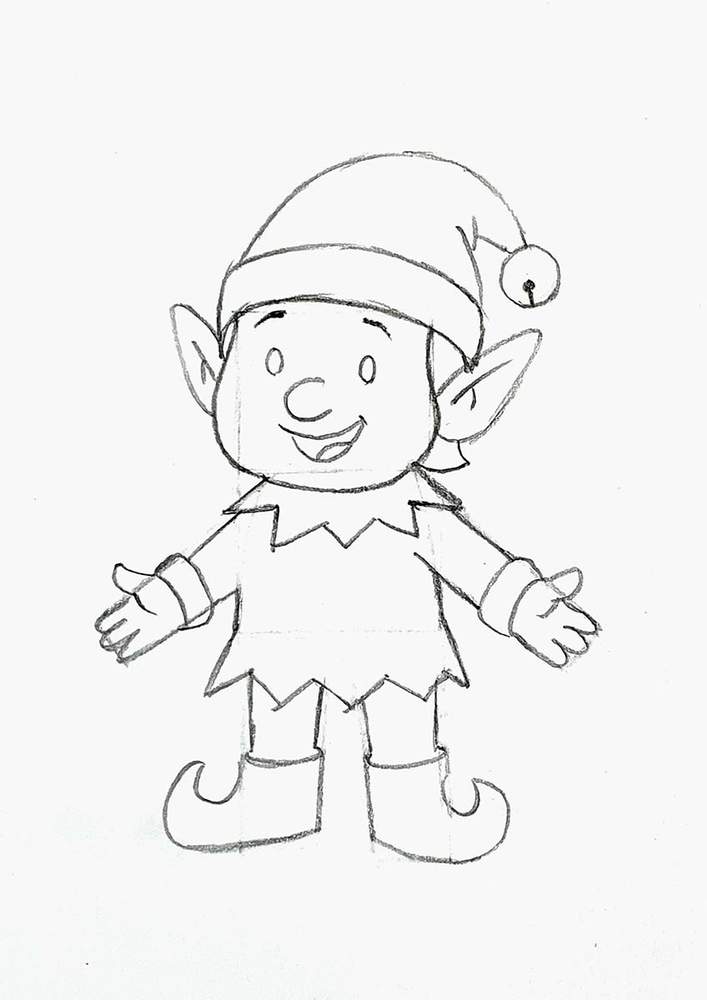
Step 4: Sketch The Arms, Legs, And Clothes Of The Christmas Elf
After that, I sketched the basic shapes of his arms and legs.
They are just 4 long rectangles for now.
Next, I sketched his boots and some parts of his clothing around his waist, neck, and arms.
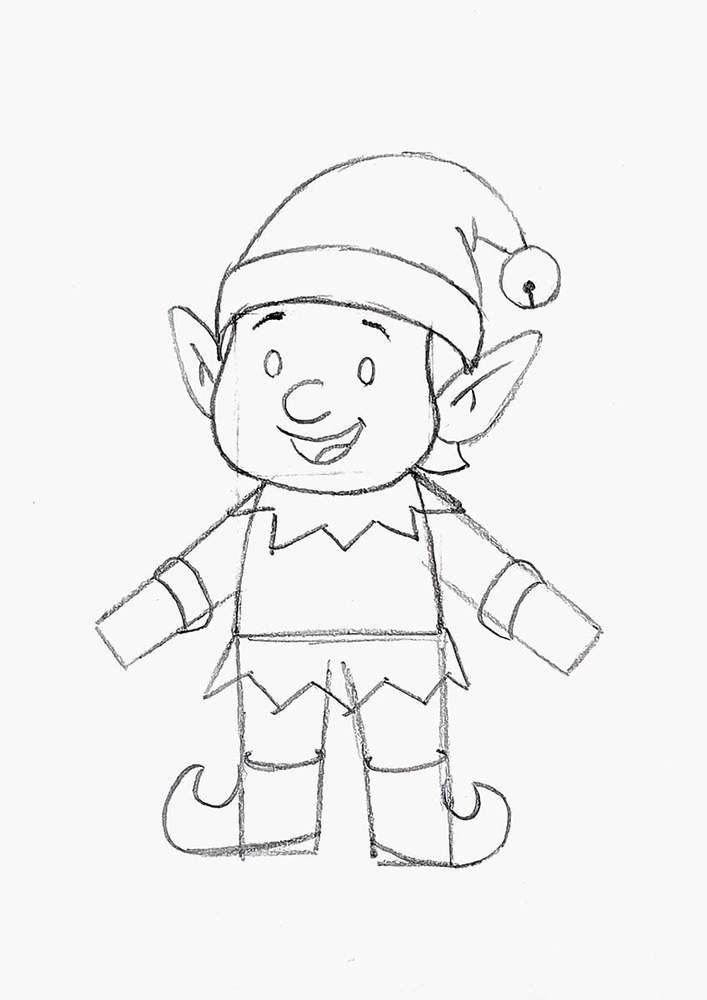
Then, I sketched his hands and made his legs and arms slightly thinner.
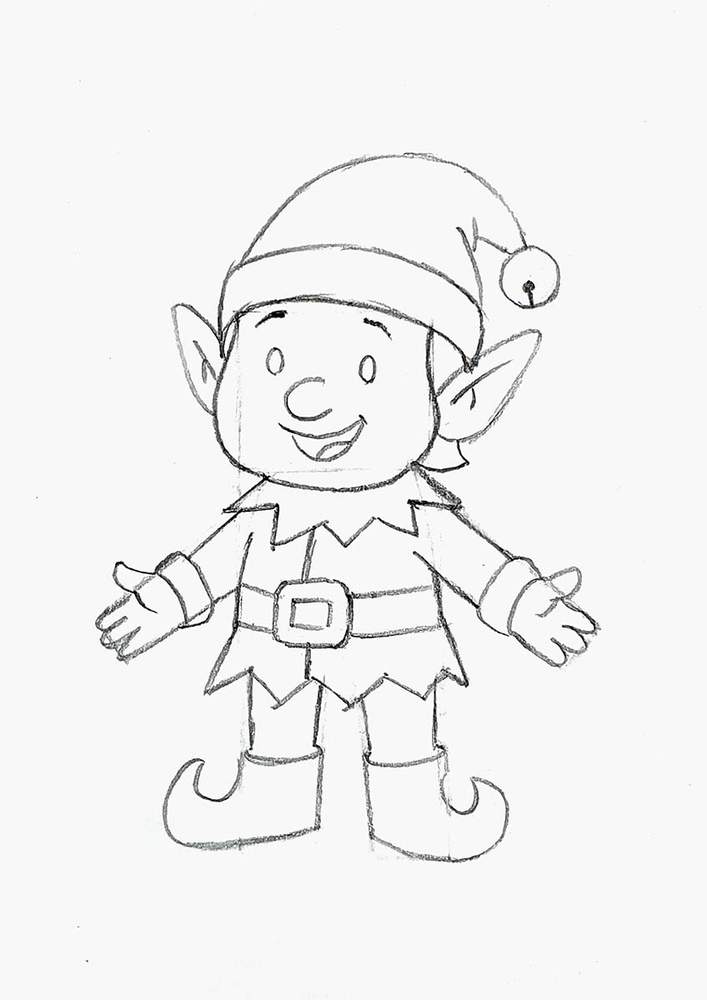
Once I had done that, I erased the construction lines to make the sketch look a bit cleaner.
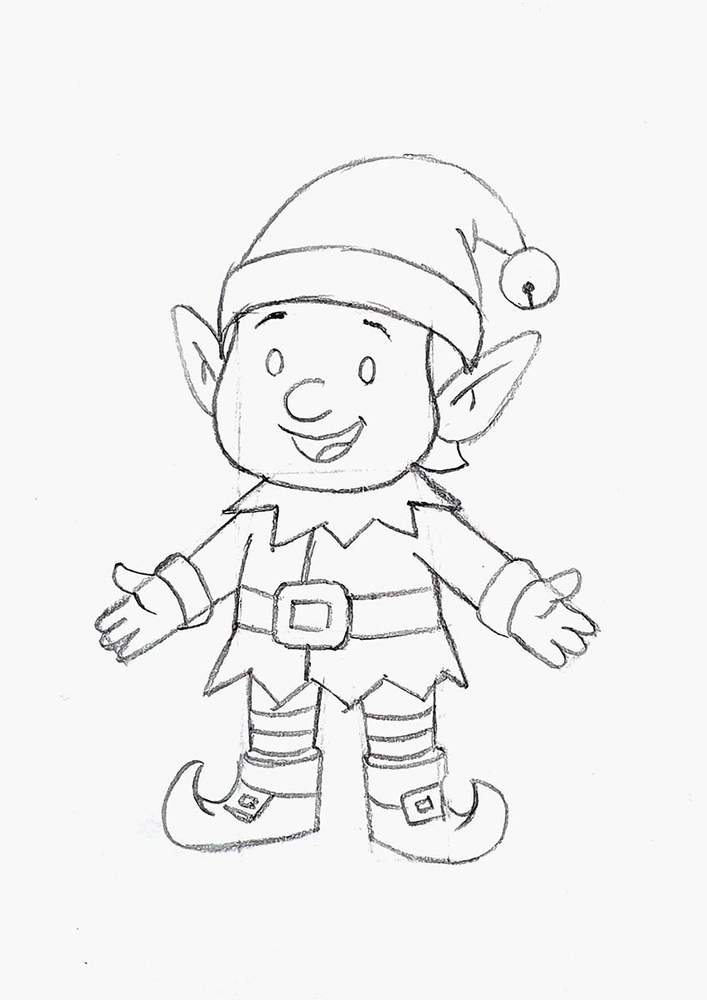
Lastly, I sketched his belt and added details to his leggings and boots.
And to complete the sketch, I marked out the shadow of the elf with an ellipse shape.
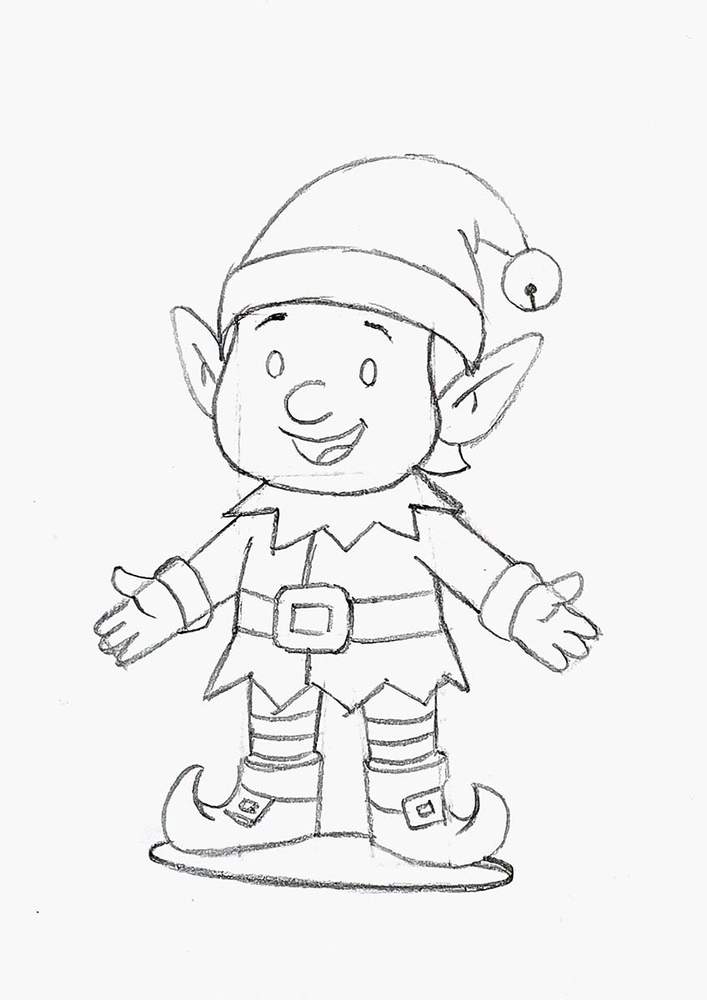
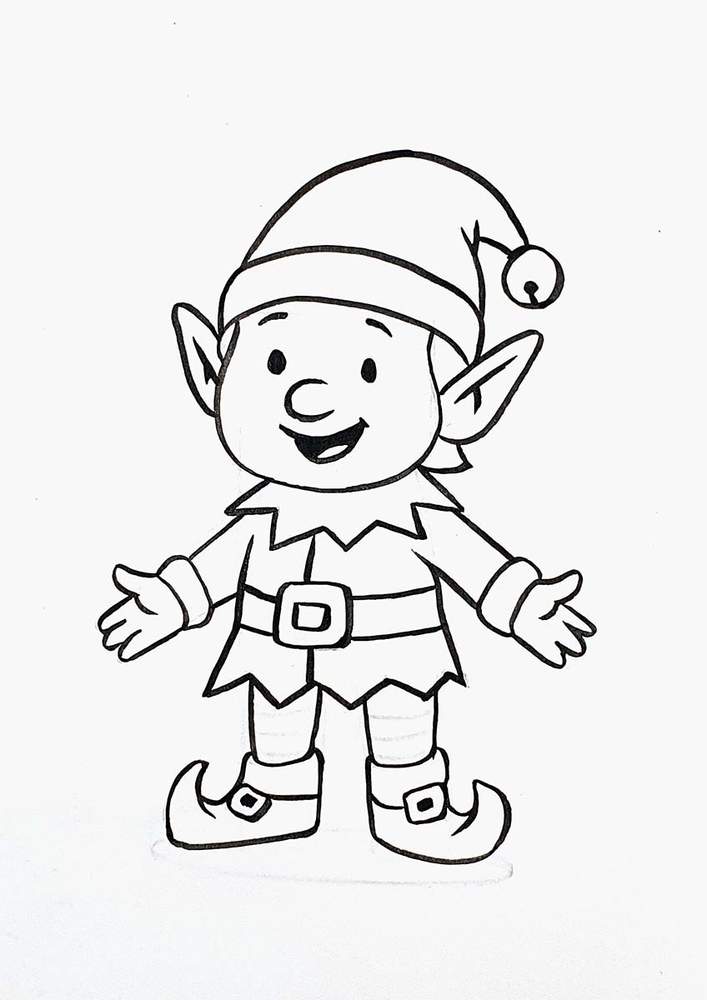
Step 5: Outline The Christmas Elf With A Black Pen
Next, I outlined the elf with a black Fudenosuke brush pen.
I did not outline the shadow and the stripes on the leggings because I thought they would look better this way.
Step 6: Color The Elf With Markers
With the sketch now all outlined, we can start to color it with markers.
To do this, I used my favorite markers: the Ohuhu Honolulu alcohol-based markers.
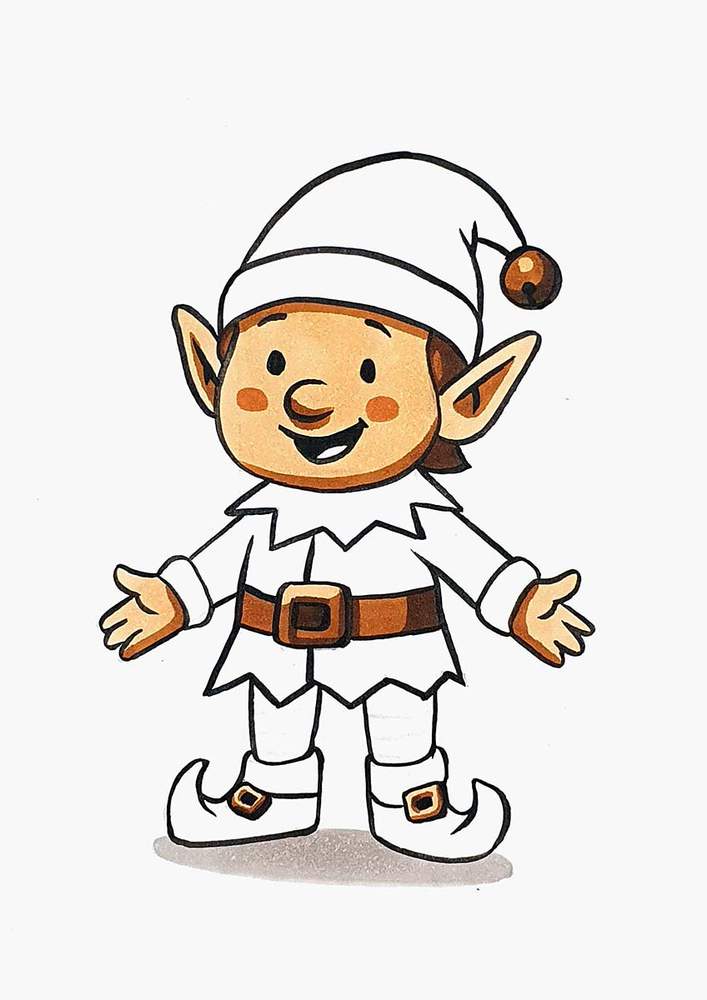
I first colored the skin parts of the elf (ears, face, and hands), the bell on the tip of the hat, the belt, and the details on his shoes with Soft Sun (E160).

Next, I added shading to these parts with Potato Brown (BR2), and I colored the remainder of the belt and his hair.
I also added some blush to his cheeks with Rose Beige (BR3).
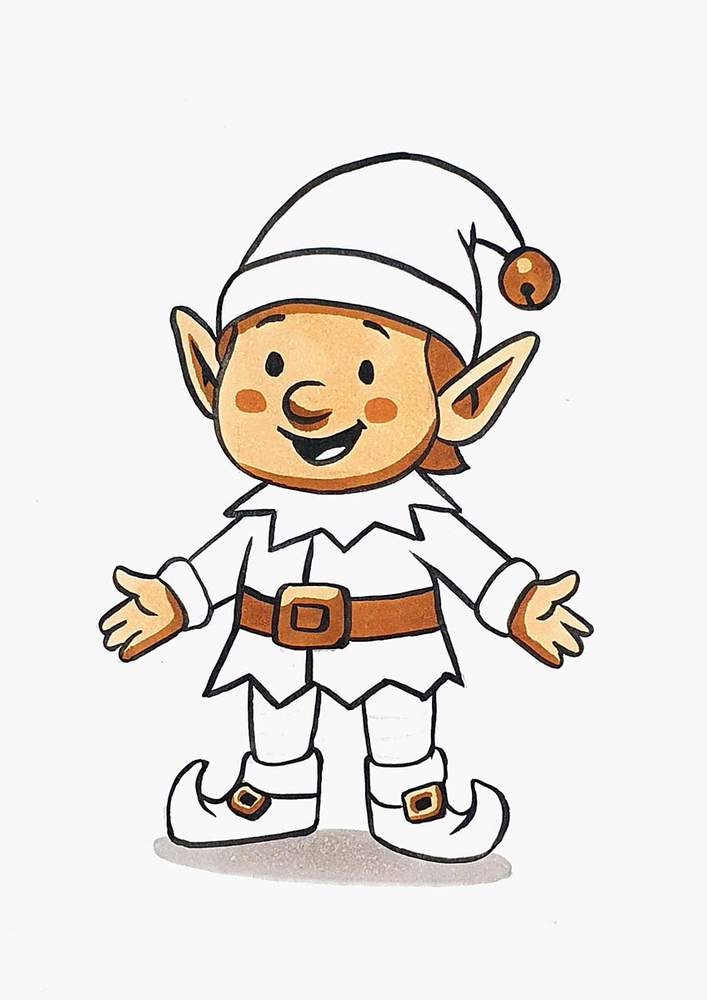
Lastly, I used Raw Umber (BR1) to add some dark shadow in a few places, mainly the bottom right of the bell, his belt, hair, and details on the shoes.
After that, I colored the red parts of his clothing with Vermilion (R2).

Then, I added some shading with Bright Red (R180) to these parts, and I used Red Grey 03 (RG030) to add shadows on the white parts of his leggings.

Next, I colored the hat with Absinthe (GY5).

After that, I used Bronze Green (GY42) to color the remainder of the elf's clothing and added shading to the hat, leaving 2 small bits lighter green.

And to finish the Christmas elf drawing, I used Dark Olive (G300) to add the darkest shadows on the green parts of his outfit.
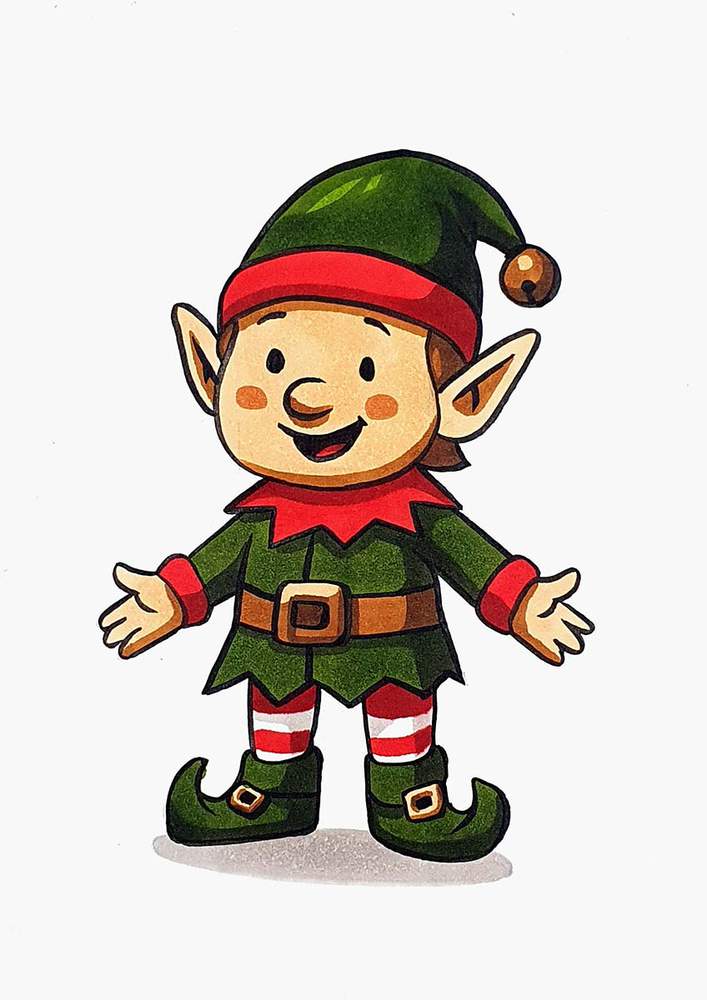
The Final Result
And that’s it — your Christmas elf drawing is finished!
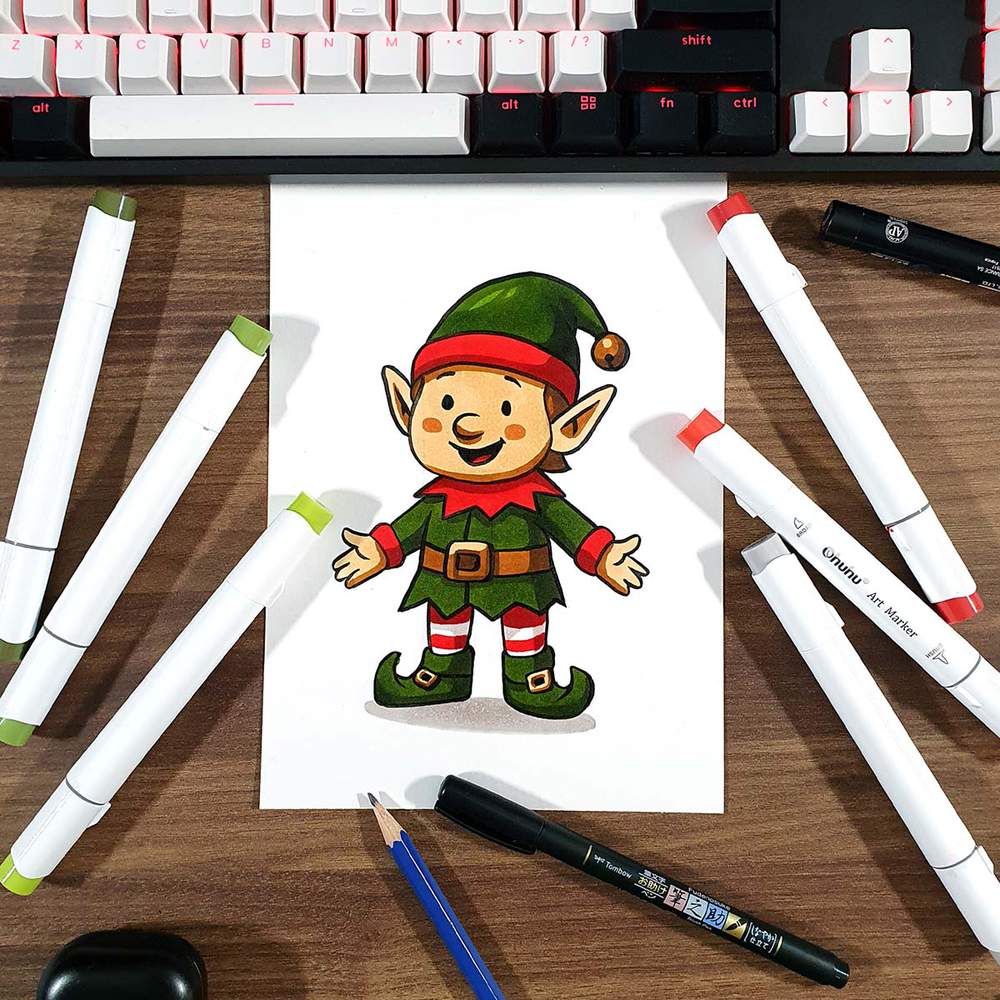
I hope this tutorial helped you bring a bit of holiday cheer to your sketchbook.
If you followed along and created your own version, I’d love to see it! Feel free to tag me on Instagram (@luukminkman) if you share your elf online.
Thanks for drawing with me, and happy holidays!
Tags
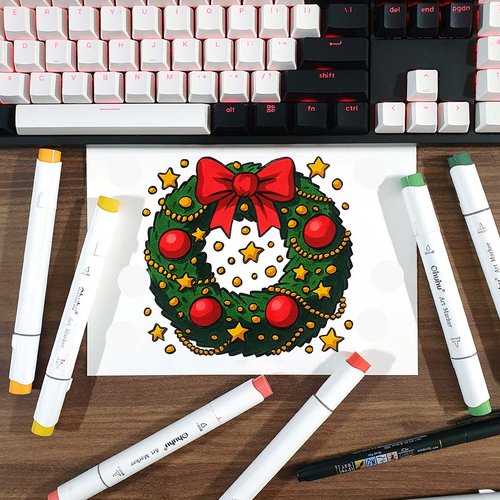
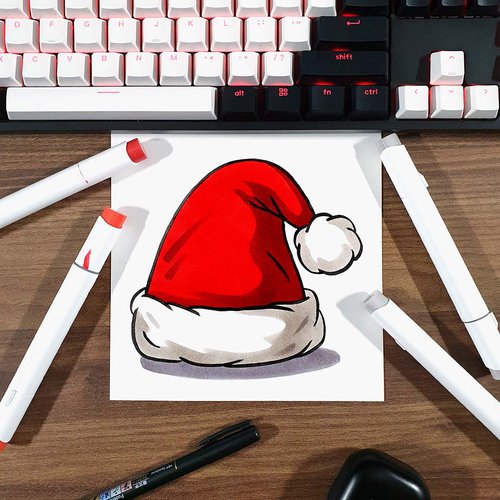
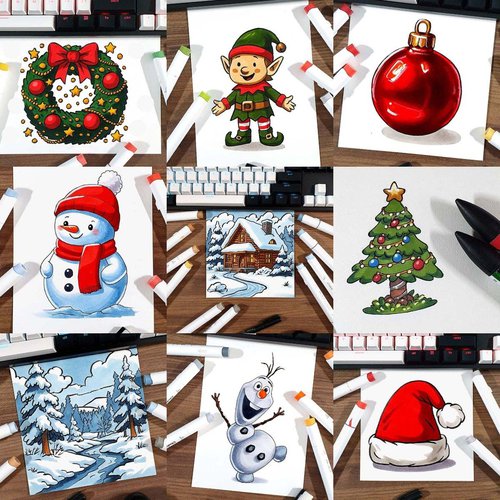
Articles You Might Also Like

I love bringing cars to life with alcohol markers and colored pencils.
Whether you're just starting out or looking to improve your skills, I'm here to help!
Click here to learn more about me.


Be the first to comment!
Comments
There are no comments yet.