How to Achieve Perfect Blends Every Time - Alcohol Marker Blending Techniques
Blending alcohol markers is a technique used to create smooth color transitions in art.
Overlap colors, use feathering strokes, or employ a colorless blender to create seamless transitions. For more intricate gradients, tip-to-tip blending or palette blending can be utilized.
The key to successful blending is working quickly with the right paper and using transition colors for a polished finish.
Let's get into the details and how you use these methods!
Disclaimer: In the name of full transparency, please be aware that this blog post contains affiliate links and any purchases made through such links will result in a small commission for me (at no extra cost for you).
How to Blend Alcohol Markers
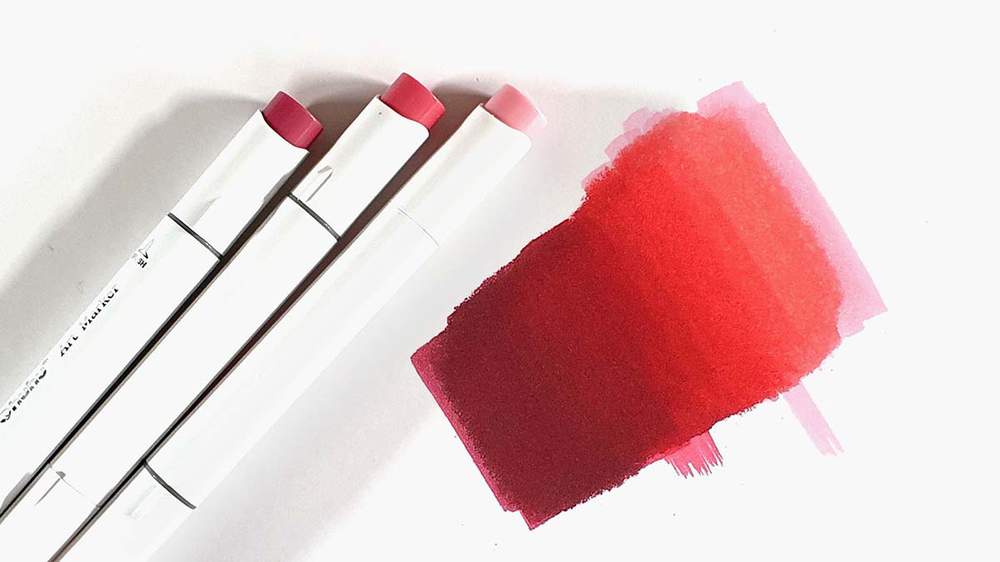
1. Overlapping Colors
The overlapping method is the method I personally use the most.
This technique involves coloring two colors next to each other and overlapping the lighter color over the darker one. This will soften the edge and create a smoother transition between the 2 colors.
There are 2 ways you can do this: you can blend from light to dark or from dark to light.
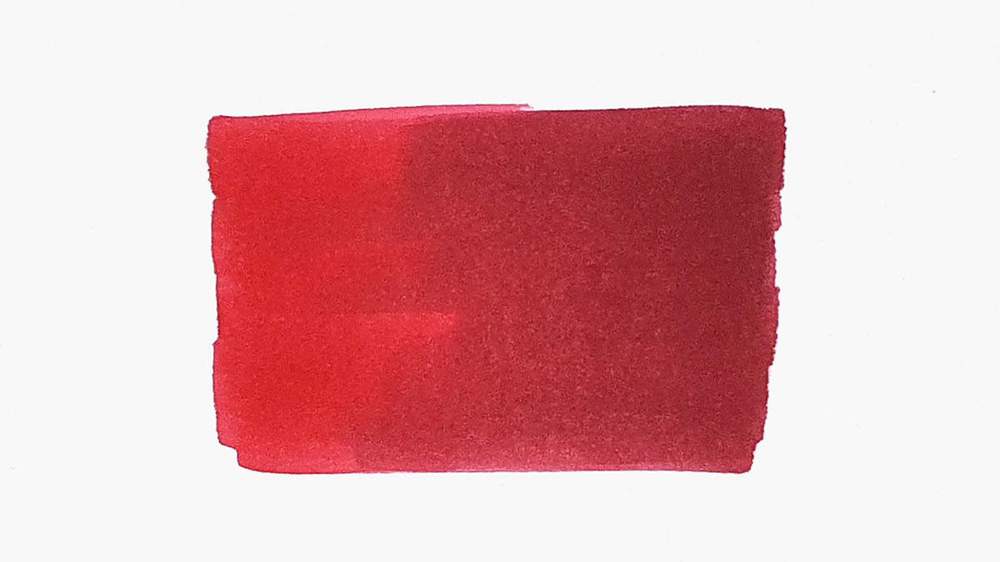
Light to Dark
To blend from light to dark you start by coloring the lightest part of the gradient with the lightest color.
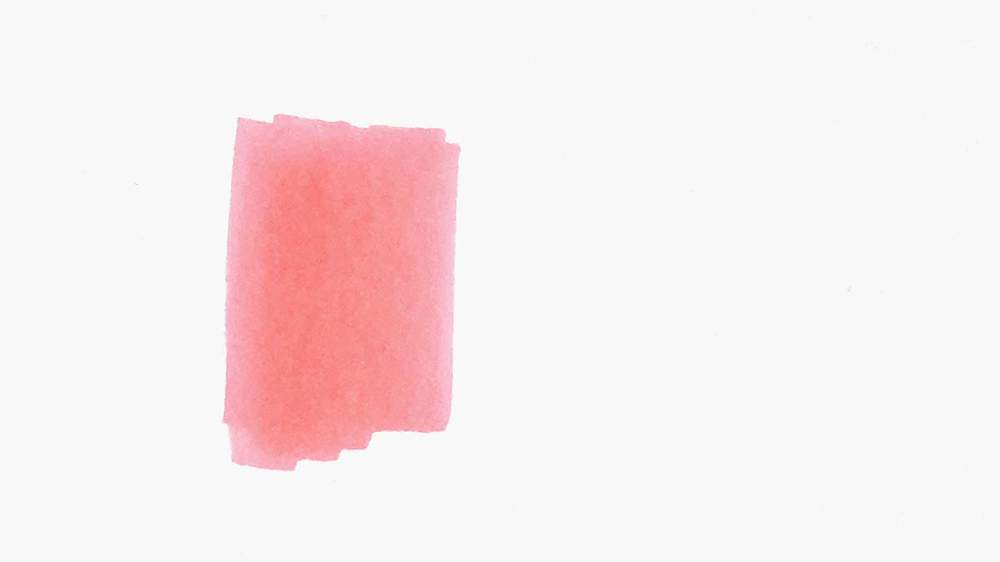
After that, you add a second color that is a bit darker next to it and you blend the edge between the two colors by overlapping the lightest color over the darker one.
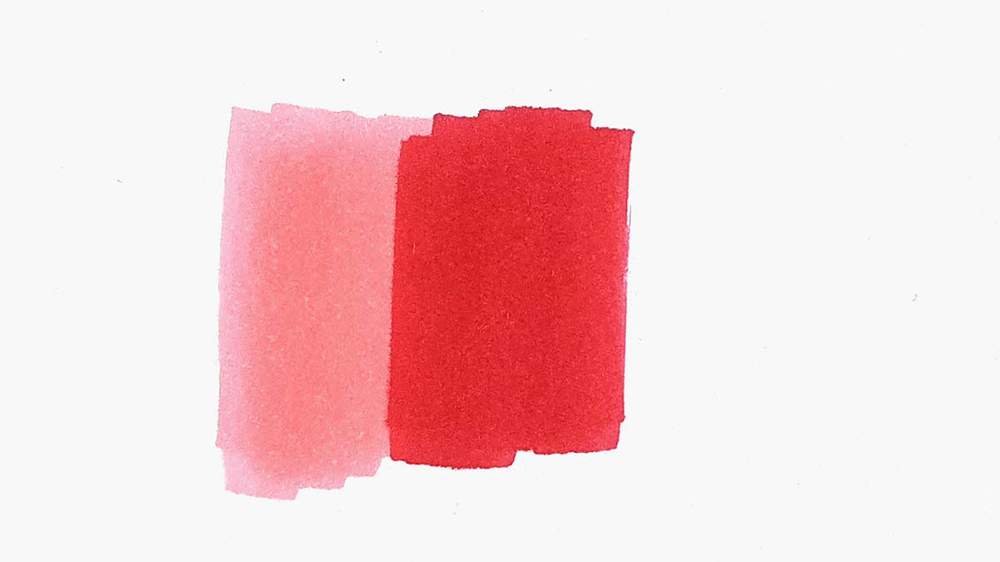
If you have more colors you want to add to the gradient you repeat these steps for each darker color.
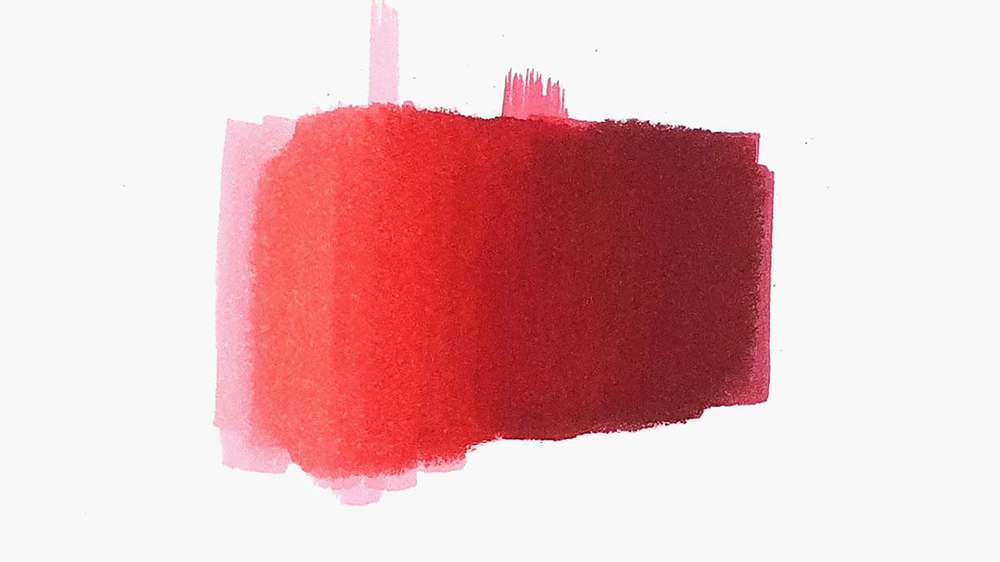
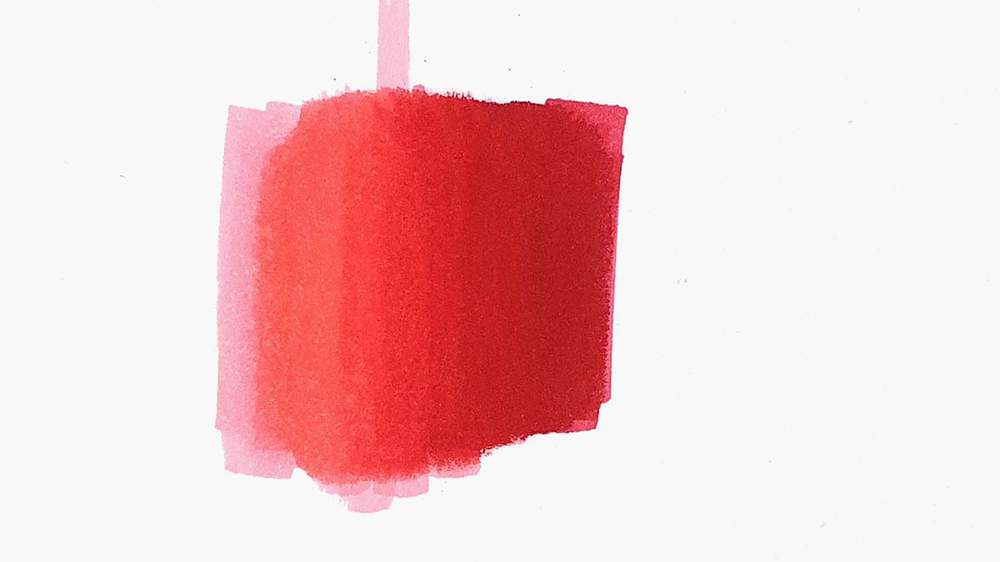
However, You can also start by coloring the whole part with the lightest color first, then layering a darker color where the gradient is darker, and then blending the edge with the lighter color.
This is often how I create color transitions in my drawings.

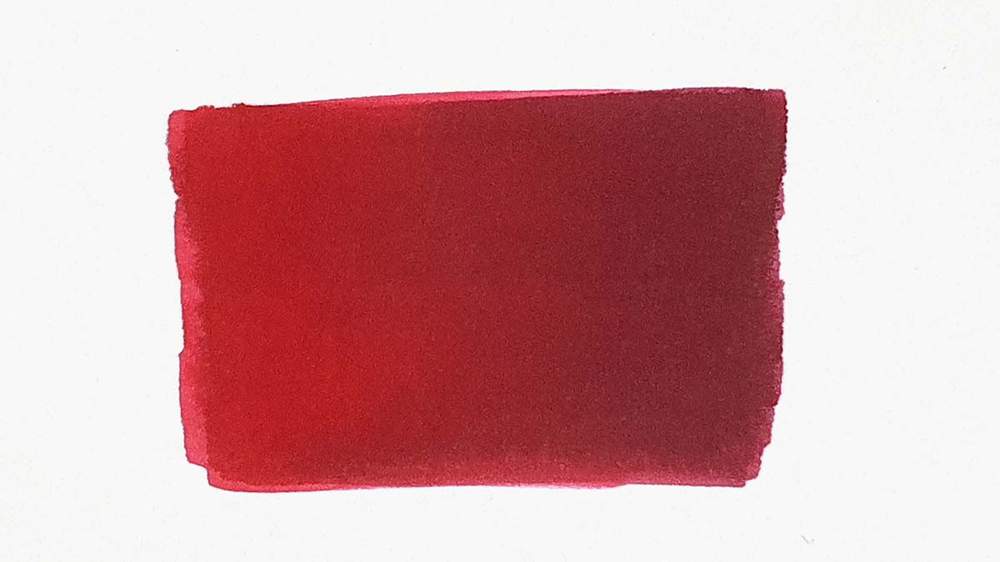
Dark to Light
When blending light to dark you need to go back in and use the lighter color twice each time to make a smooth transition. This creates an extra step compared to blending from dark to light.
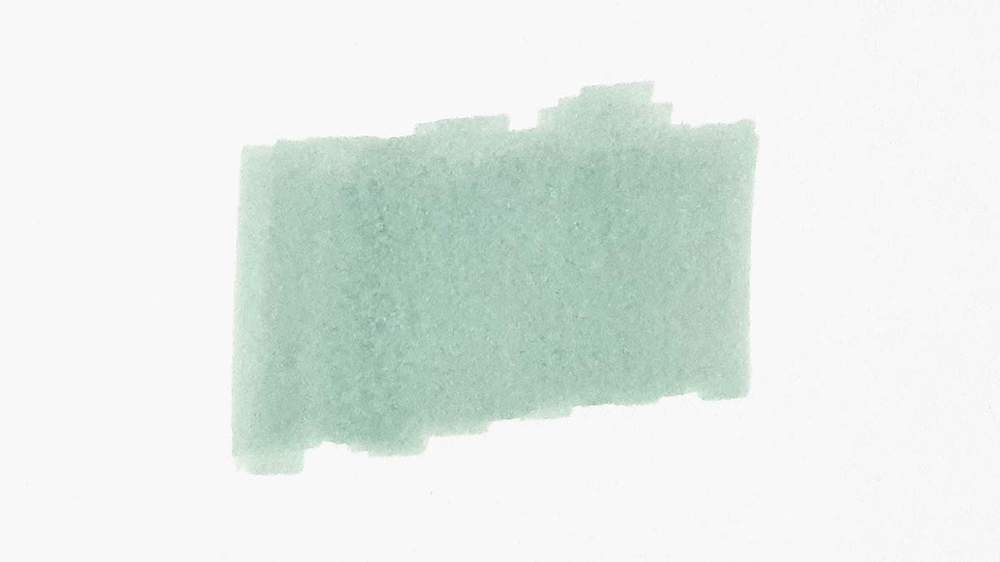
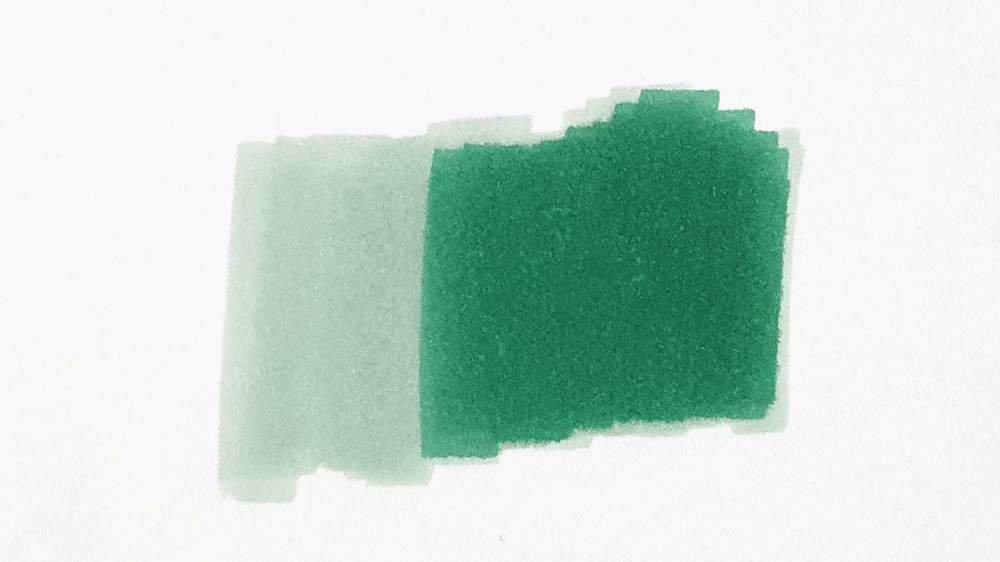
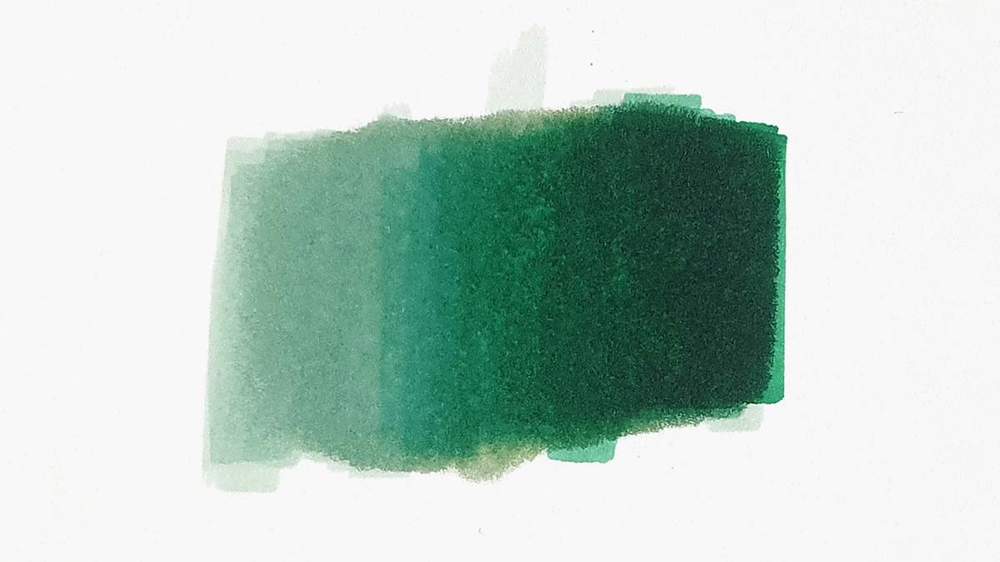
When blending from dark to light you start by coloring the darkest part of the gradient with the darkest color.
Next, you add a lighter color to color the area that is 2nd darkest and while coloring that area you overlap it with the darkest color to soften the edge.

Repeat these steps for each lighter color if your gradient has more than 2 colors.

2. Feathering
Another technique to blend alcohol markers is feathering.
To create a gradient using this technique use quick, feathered strokes to blend the colors. You can again start with the lightest or the darkest first.
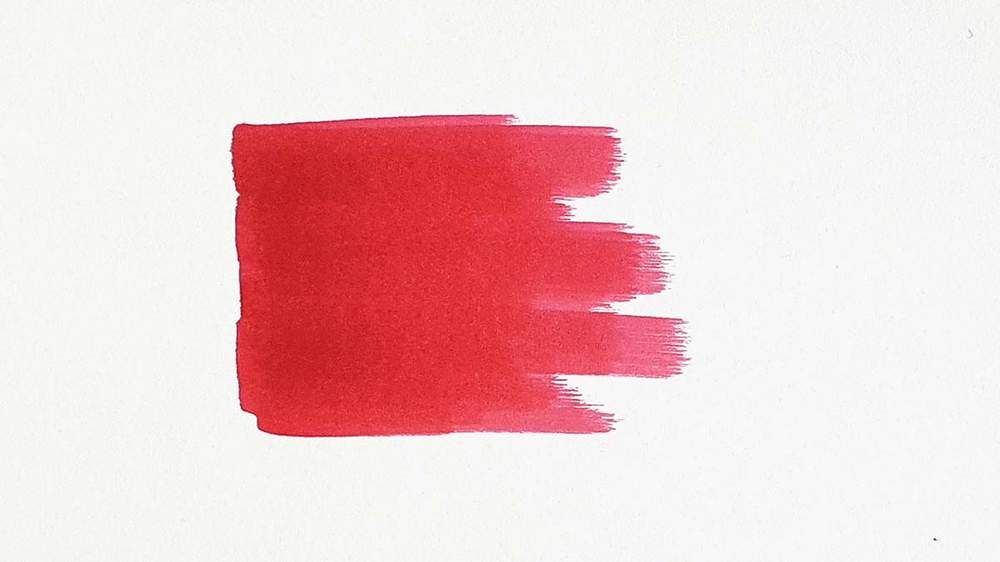
Next, you add feathered strokes with the other color, overlapping with the first color.
Add more feathered strokes with each color until the gradient looks smooth.
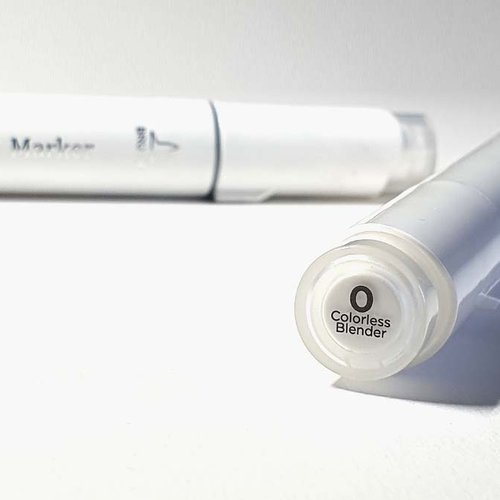
3. Colorless Blender
Blending into white and lightening areas
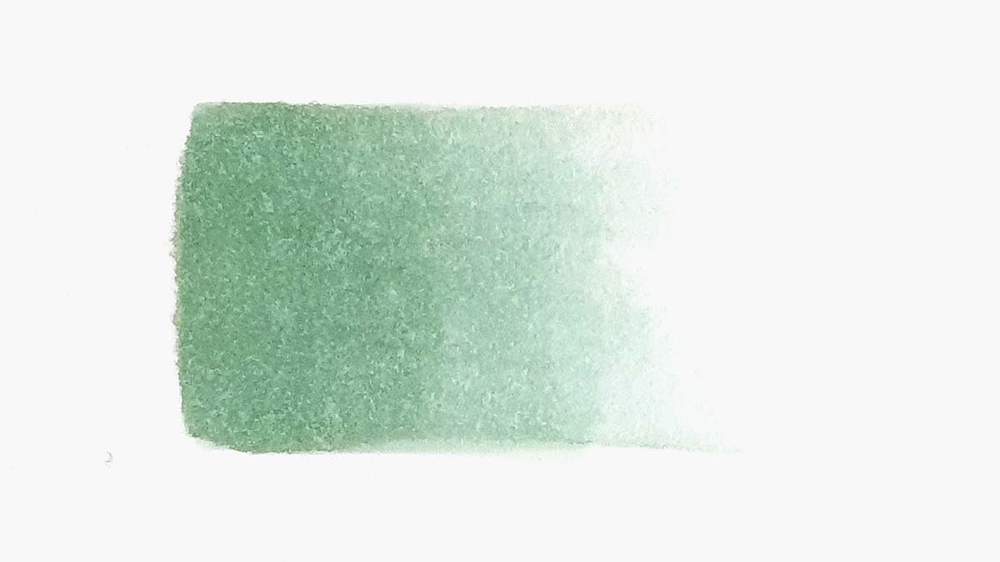
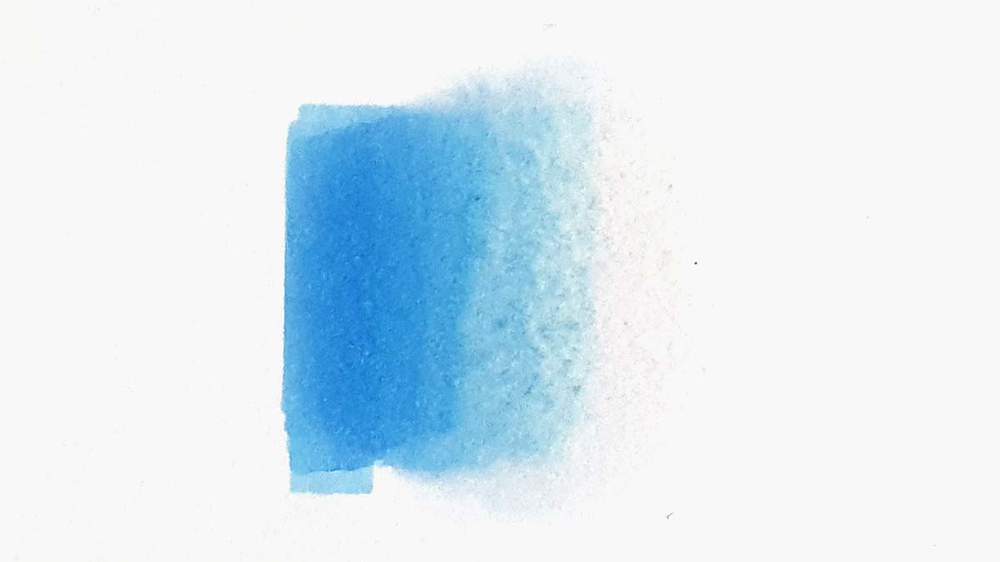
You might have wondered what the colorless blender markers are good for. Well, one of their uses is to blend colors into the white of the paper.
To achieve this you can use light feathered strokes if the gradient you want to create is quite big or you can overlap the colorless ink over the color you want to blend if the area you want to blend is smaller.
Here are the other use cases for the colorless blender marker.
4. Tip-to-Tip Blending
A few years back there was this alcohol marker brand, Chameleon, that popularized the idea of blending tip to tip.
To blend tip-to-tip, touch the tips of 2 markers together and let the lighter marker absorb some of the darker ink.
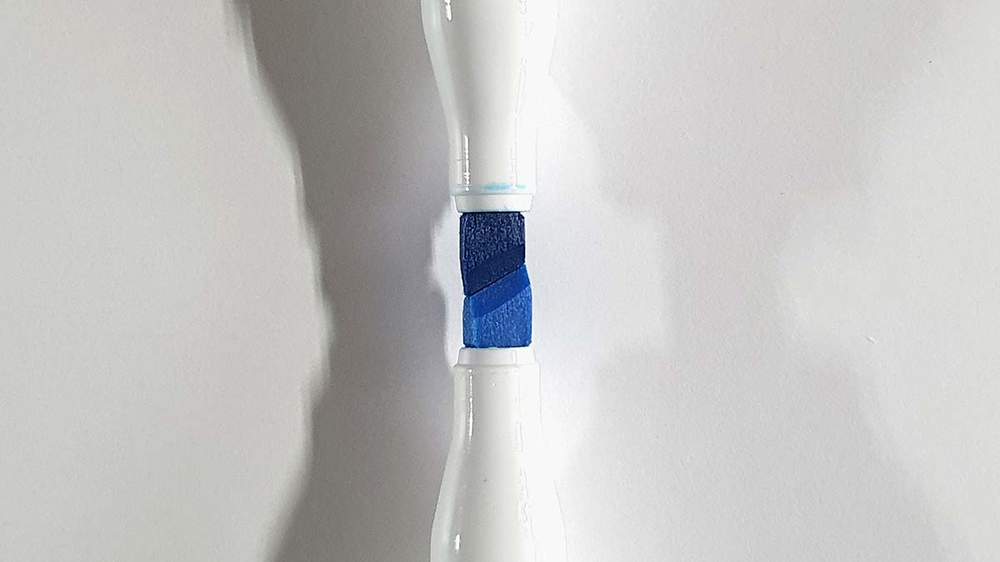
Then, when you start coloring darker ink will gradually fade into the lighter one, creating a soft gradient.
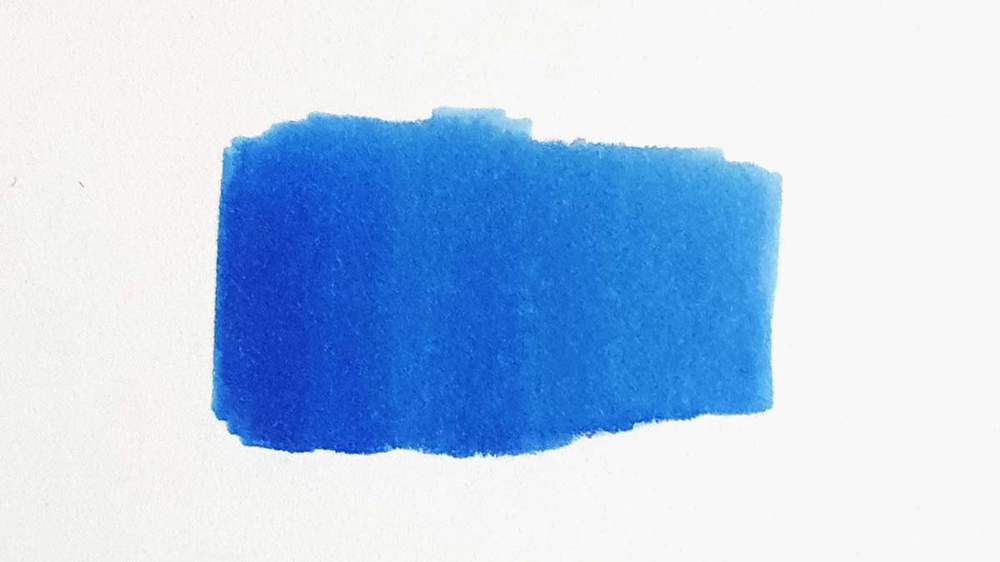
5. Blending on a Palette
The last way you can blend alcohol markers is palette blending.
First, you scribble some ink with the darker color onto a non-porous surface (like a plastic or glass palette).
Then, you use another, lighter marker to pick up the ink from the palette by scribbling over it.
Now that the lighter marker absorbed the darker ink you can use that marker to color a small, but very smooth gradient on your paper.
Tips for Blending Alcohol Markers
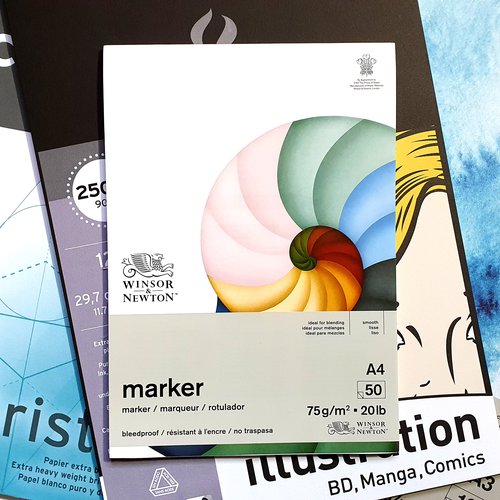
1. Paper Matters a Lot!
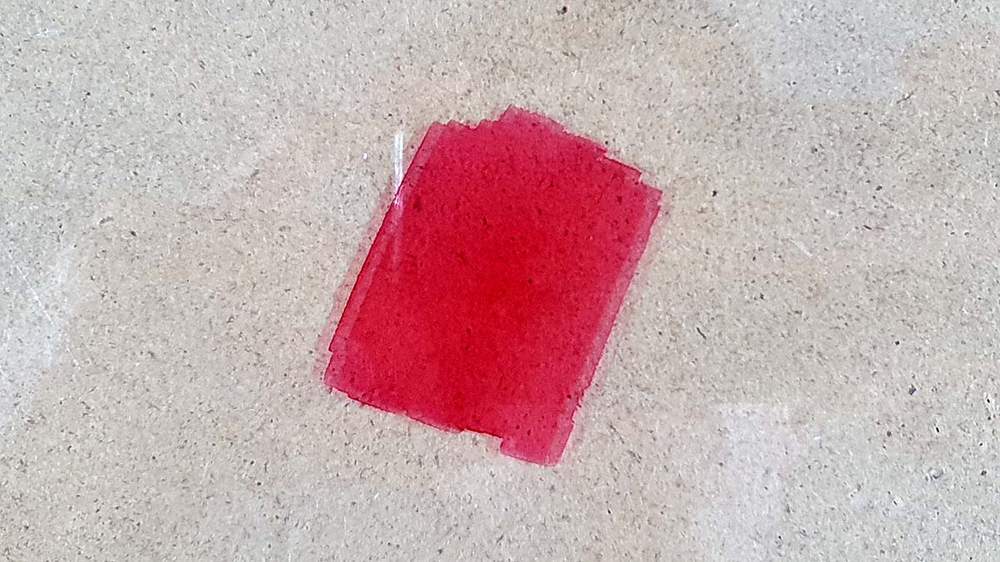
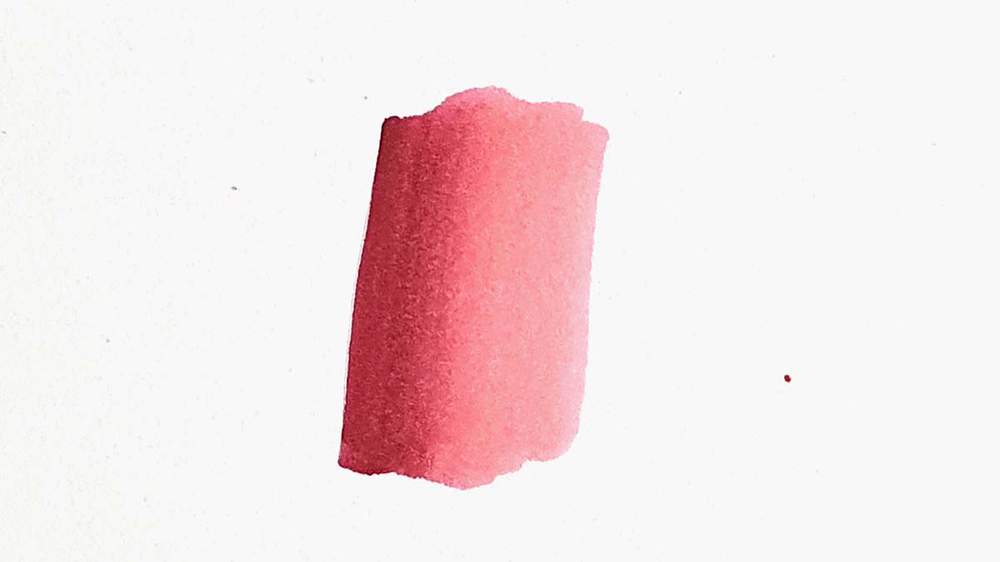
When blending alcohol markers paper matters a lot.
While thin bleed-proof marker paper is great for using less ink, it doesn't allow for very smooth blending.
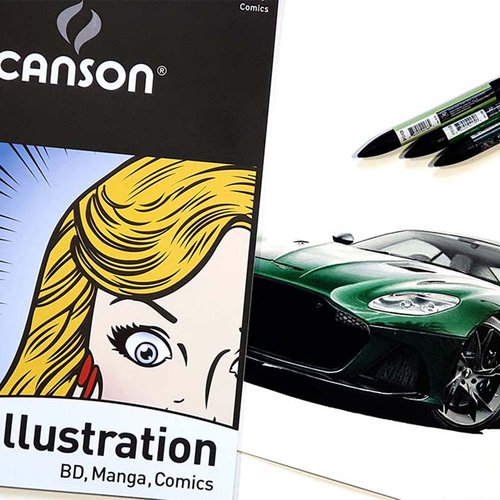
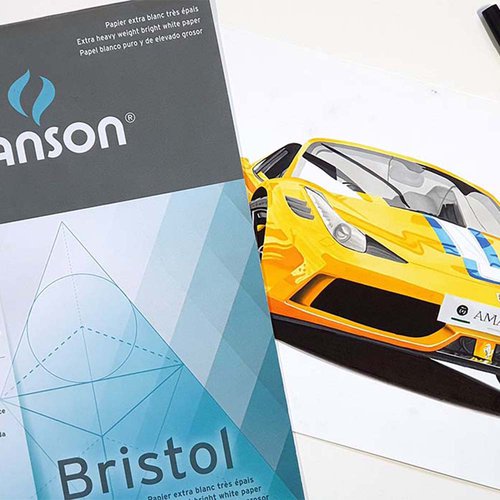
To create those very smooth color transitions, you need thicker paper like the Canson Illustration Bristol or Manga paper. These papers are by far my favorite for blending alcohol markers.
2. Brush and Chisel Nibs Blend Better
Some nibs are better for blending than others. For example, blending with the bullet nib is quite difficult, while the brush and chisel nib are perfect for blending.
The chisel nib is great for blending larger areas, while the brush nib is great for more medium-sized gradients.
3. Work Quickly
Alcohol markers blend easier when the ink is still wet and because they dry quickly you'll need to work quickly to create a smooth color transition.
However, you can reactivate the ink by coloring over it to make it wet again.
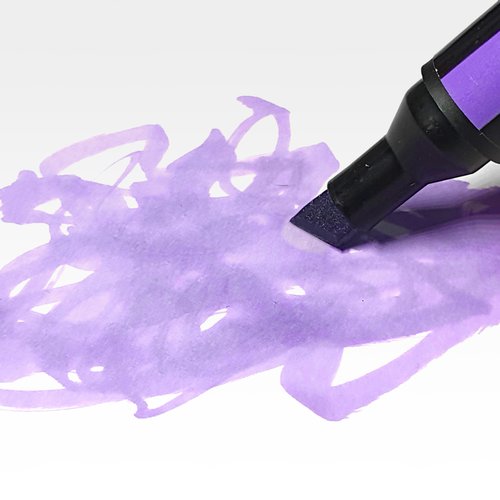
4. Use Transition Colors
It's easier to create a smooth blending by using transition colors if you want to create a gradient from a light to a dark color.
For example, if you want to create a color transition from light purple to dark purple you can use a mid-tone purple to make blending the colors a lot easier and smoother.
Articles You Might Also Like


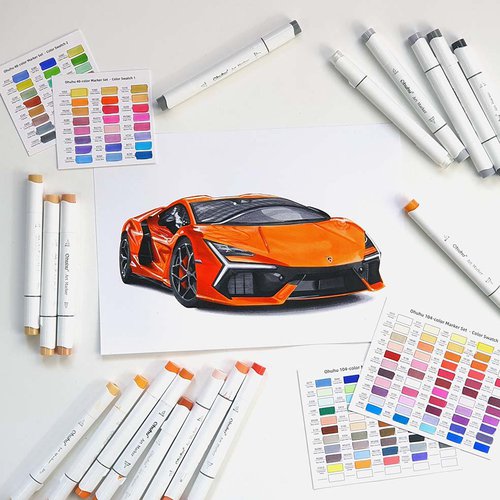
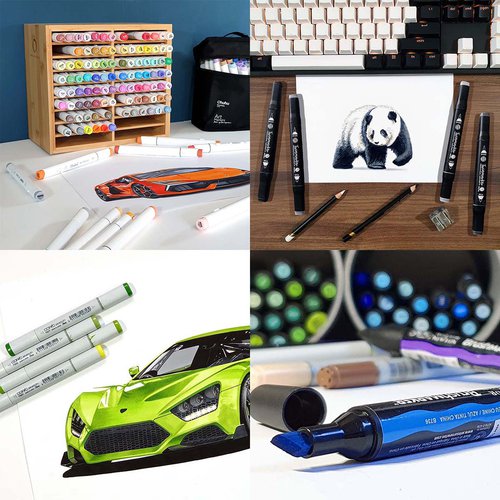
I love bringing cars to life with alcohol markers and colored pencils.
Whether you're just starting out or looking to improve your skills, I'm here to help!
Click here to learn more about me.


Be the first to comment!
Comments
There are no comments yet.