7+ Marker Drawing Techniques to Make Better Art
There are so many more things that you can do than just drawing solid shapes with alcohol based markers. There are countless alcohol marker techniques that can make your art more interesting and give it more depth. In this article you can discover 8 techniques you can use to make better drawings.
What techniques can you use with alcohol based markers?
1. Striped texture
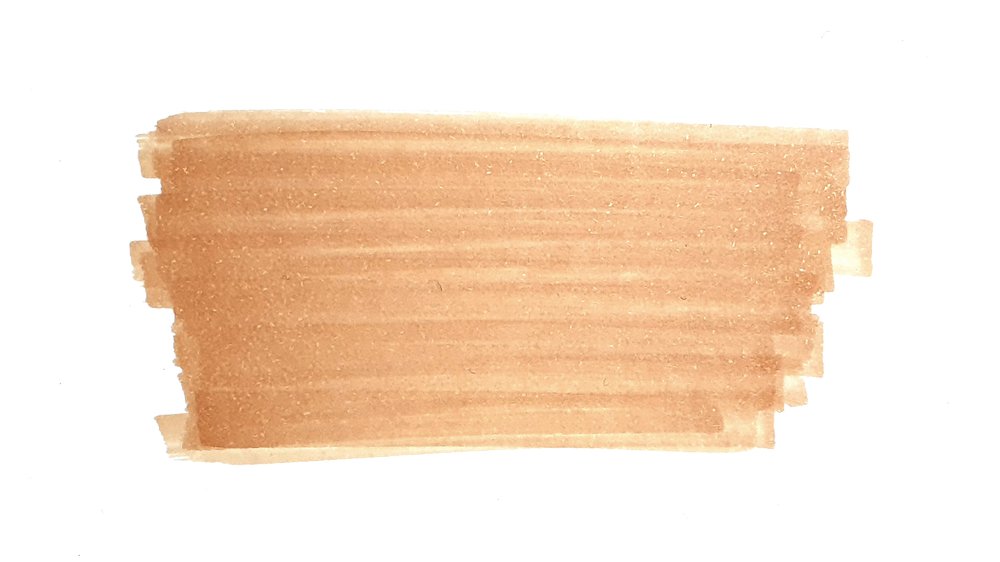
Creating a striped texture with alcohol markers is one of the simplest techniques. To draw a striped texture what you do is draw a line with the chisel side of the marker and then lift it off the paper and draw another line overlapping the previous one.
This is a quick way to color a wood texture for example.
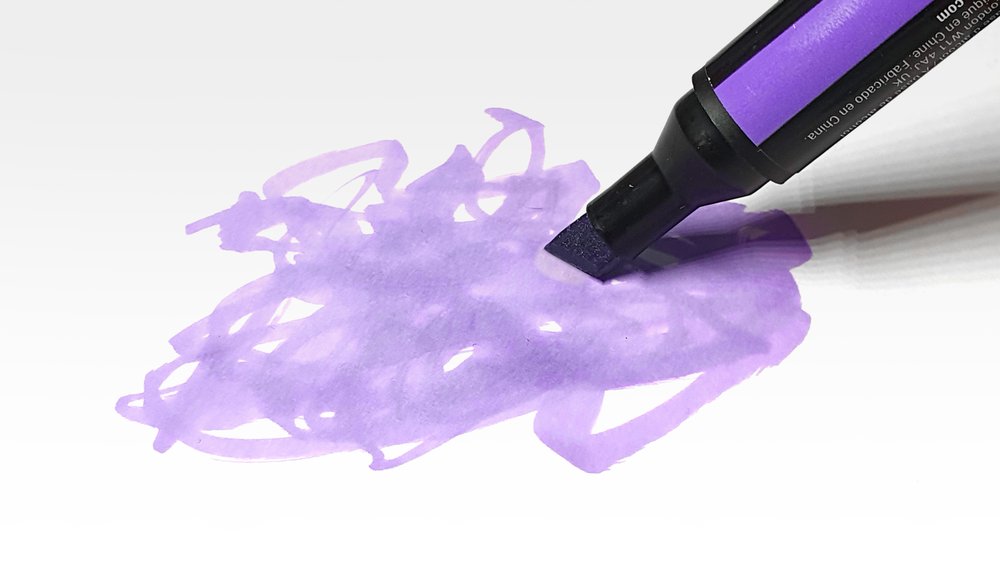
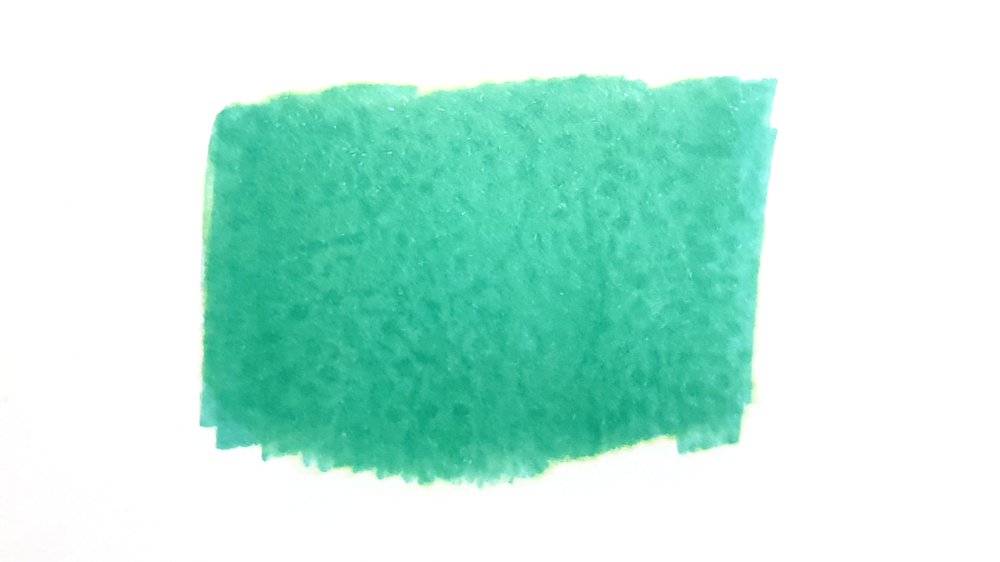
2. Scribble texture
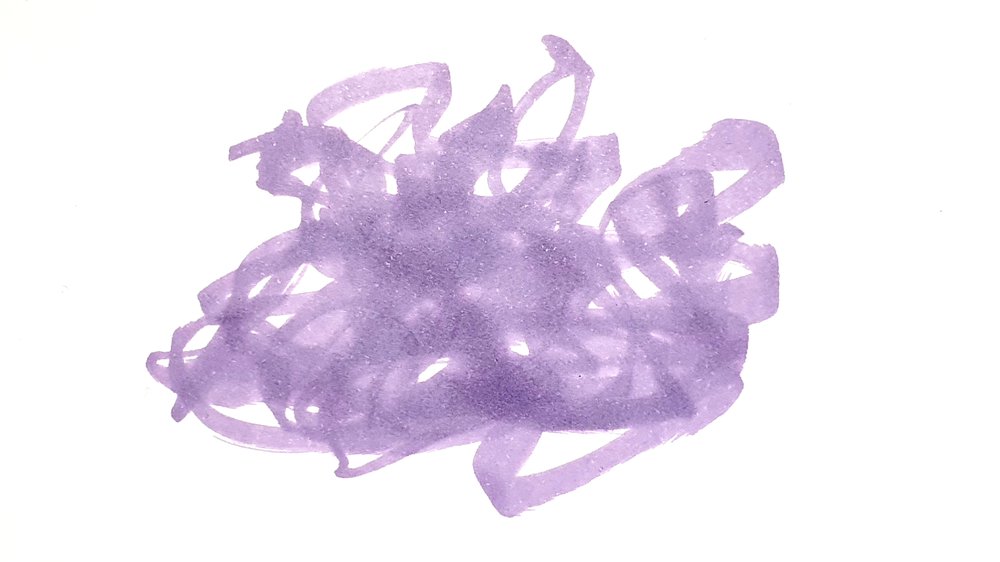
Scribbling is one of the most fun techniques to use. You just hold the marker on the paper and start moving wherever you feel like, rotating the marker as you go. This technique works best with the chisel nib, but you can also do it with the bullet nib and the brush nib. The bullet nib won't have the line width variations the other two have.
This technique is really useful to draw bushes or the leafs on a tree.
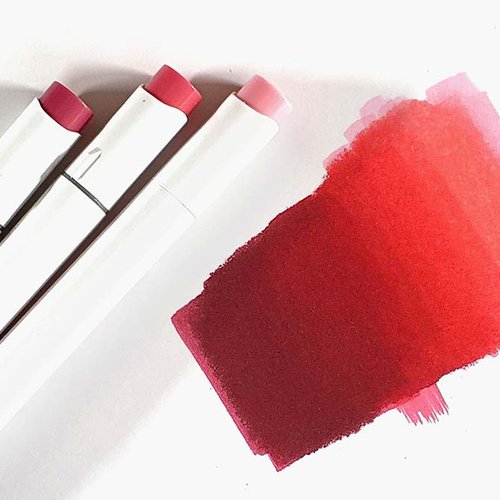
3. Blending
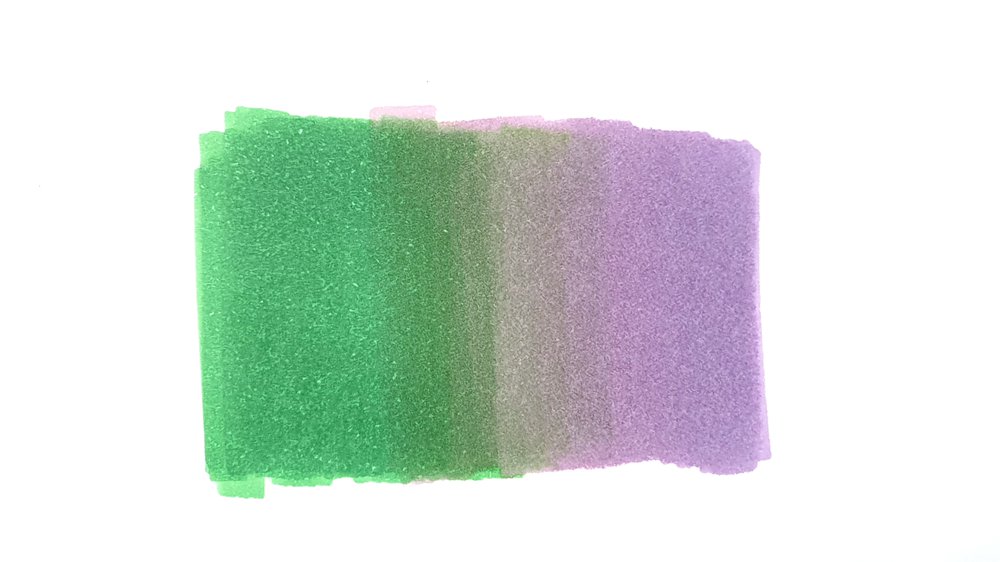
Blending is a technique you'll probably use very often. By blending multiple colors you can create seamless transitions between those colors.
To blend two or more colors you start coloring with the lightest. This is generally a good thing to do because you can always go darker, but never lighter.
After the lightest layer you color with the second lightest marker and overlap the lightest color. The edge between those two colors will be very harsh, but when you go over it with the lightest marker you make it a lot softer and or even seamless.
This technique is very useful for drawing skin, car reflections, or anything else that has color transitions.
Here's a more in-depth article focusing on the different ways you can blend with alcohol markers.
4. Color mixing

When drawing with markers you'll often come across a color you eed to draw but you don't have the perfect marker for it. An easy thing you can do is layer two marker on top of each other to create the color you need. This is something you probably will come across very often, just like blending.
To mix colors you layer two or more colors to create the desired color. The last color you layer when mixing will determine the mixed color the most, especially on thicker paper. So if you want to mix purple with red and blue, the outcome is different if you first do blue and then red than if you do red first and then blue. The first one will look more reddish and the second will look more blueish.
This technique is very useful if you need to create a color you don't have, but it is also very useful when you need to change the color temperature or the hue.
5. Dots
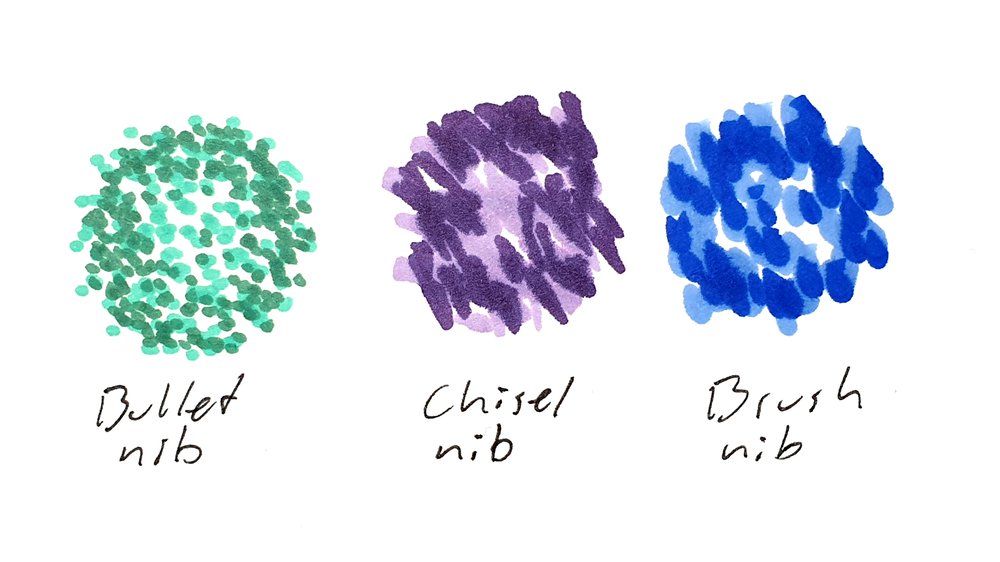
I think the name speaks for itself right? You just color dots on the paper by moving the marker up and down on different places on the paper. If you use the bullet nib of the marker you get a ton of small circles, but you can also use the brush nib and the chisel nib. The brush nib and the chisel nib will make a more random and interesting pattern.
This is an easy way to draw leafs on tress and to draw bushes. But you can also use it to draw asphalt or give the stone of a building an interesting texture for example.

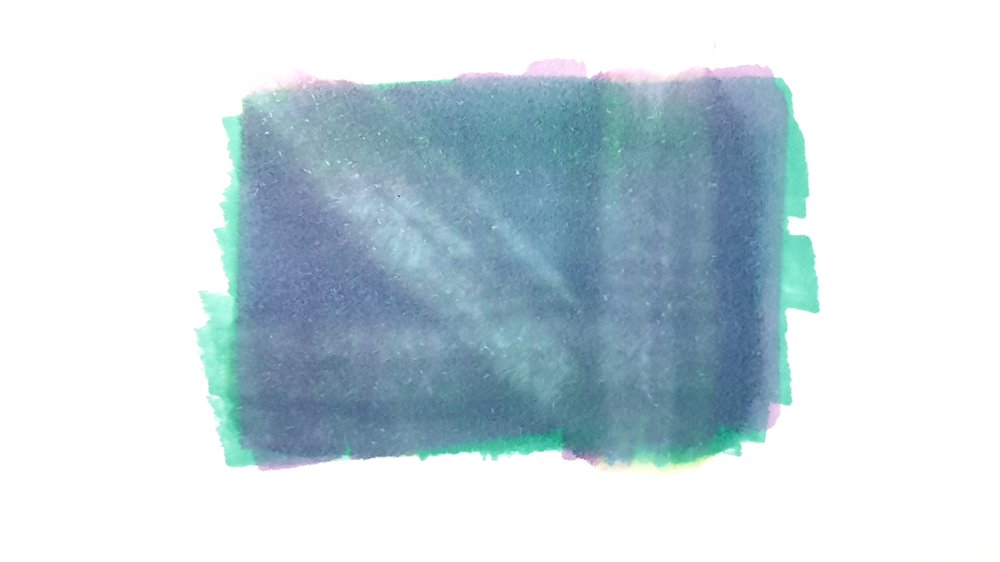
6. Adding light tones in dark tones

This might seam strange. How can you add lighter colors when you've already colored that area dark?
It's actually pretty easy. When coloring over a dark area with a light color you sort of push the dark ink further into the paper making it less visible and showing the lighter color. The dark color won't fade away fully. You will always see it at least a bit. But like this you can skip over some of the details and color them later with a lighter marker.
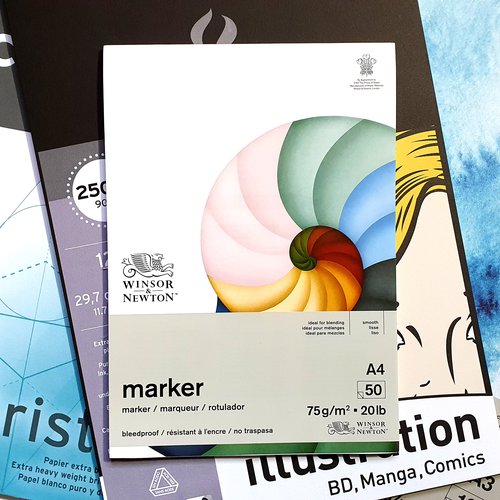
This technique works only on thicker paper. And to prevent bleeding through the paper onto your desk you can place another piece of paper below your drawing.
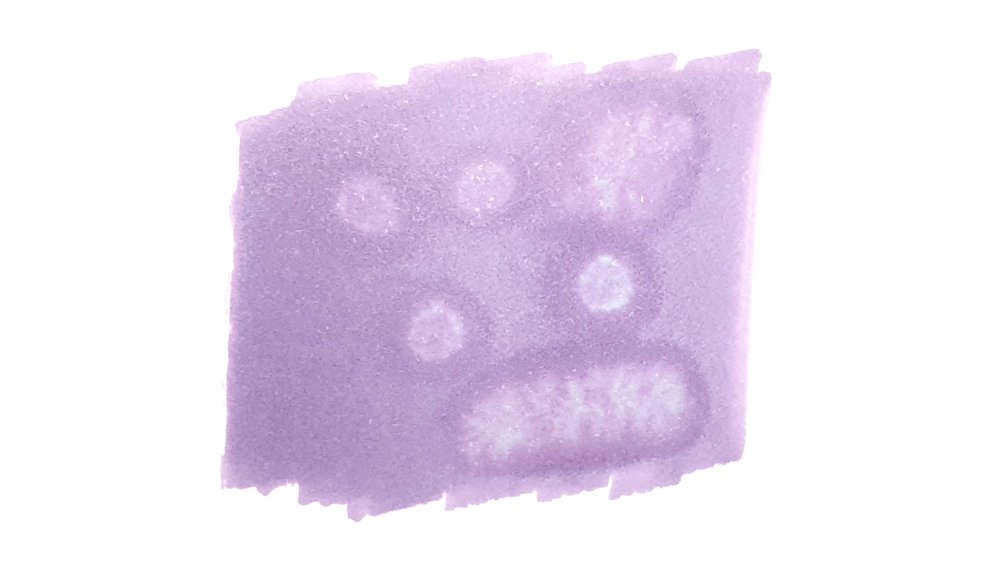
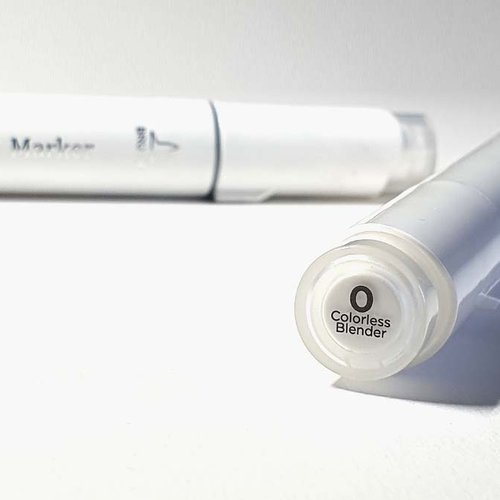
7. Using solvent or colorless blender
This method kind of works like the previous one. A solvent will push the ink that's already on the paper away leaving lighter spots. This is another great technique to add highlights.
But what makes this technique more interesting is that you don't need a marker especially to apply the solvent to the paper. You can use anything you want.
You can use paint brushes, cotton swabs, but also a paper towel. All of these things make different textures when applying the solvent onto the marker ink.
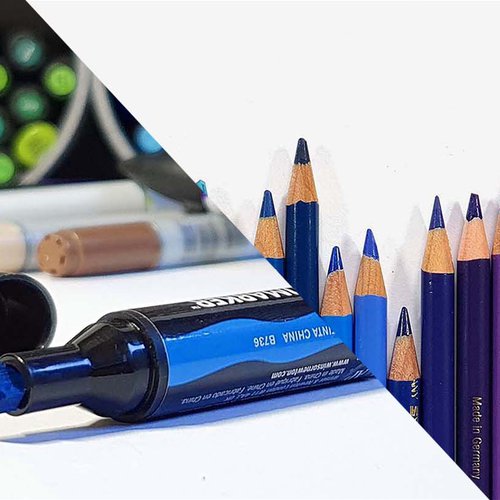
8. Blending colored pencils

As the ink of alcohol markers is kind of a solvent itself, just with a color unless you're using the colorless blender, you can actually blend colored pencils with these markers.
First you layer some colored pencils and then you go over that with a marker. The marker will blend the colored pencils making it looks very smooth.
One slight disadvantage is that some of the pencil pigment will stick to the nib of the alcohol marker. You can get most of it off by drawing on a piece of paper or so. But some will stay in. But I have also heard that some people don't have this problem.
Tags
Articles You Might Also Like


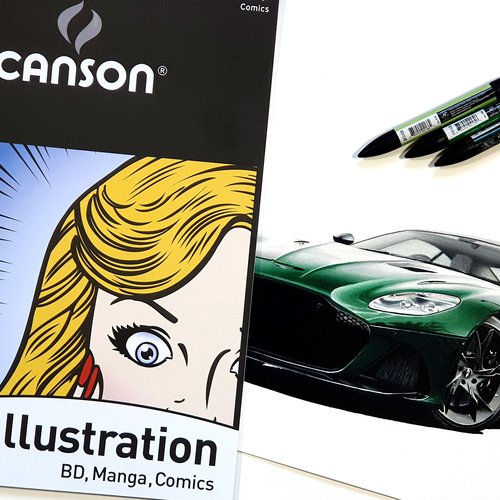

I love bringing cars to life with alcohol markers and colored pencils.
Whether you're just starting out or looking to improve your skills, I'm here to help!
Click here to learn more about me.


Be the first to comment!
Comments
There are no comments yet.