How to Draw the Moon - Easy & Realistic Step by Step Guide
In this drawing guide, I'll show you how to draw the moon in 30 minutes.
I love the moon! I've already created a painting of it, but I wanted to draw it this time. And in this blog post, you'll find the full step-by-step process.
I've broken the drawing up into simple and easy-to-follow steps so you can easily follow along and create your very own realistic moon drawing.
I hope you enjoy it and create your own moon drawing.
Let's get started!
Disclaimer: In the name of full transparency, please be aware that this blog post contains affiliate links and any purchases made through such links will result in a small commission for me (at no extra cost for you).
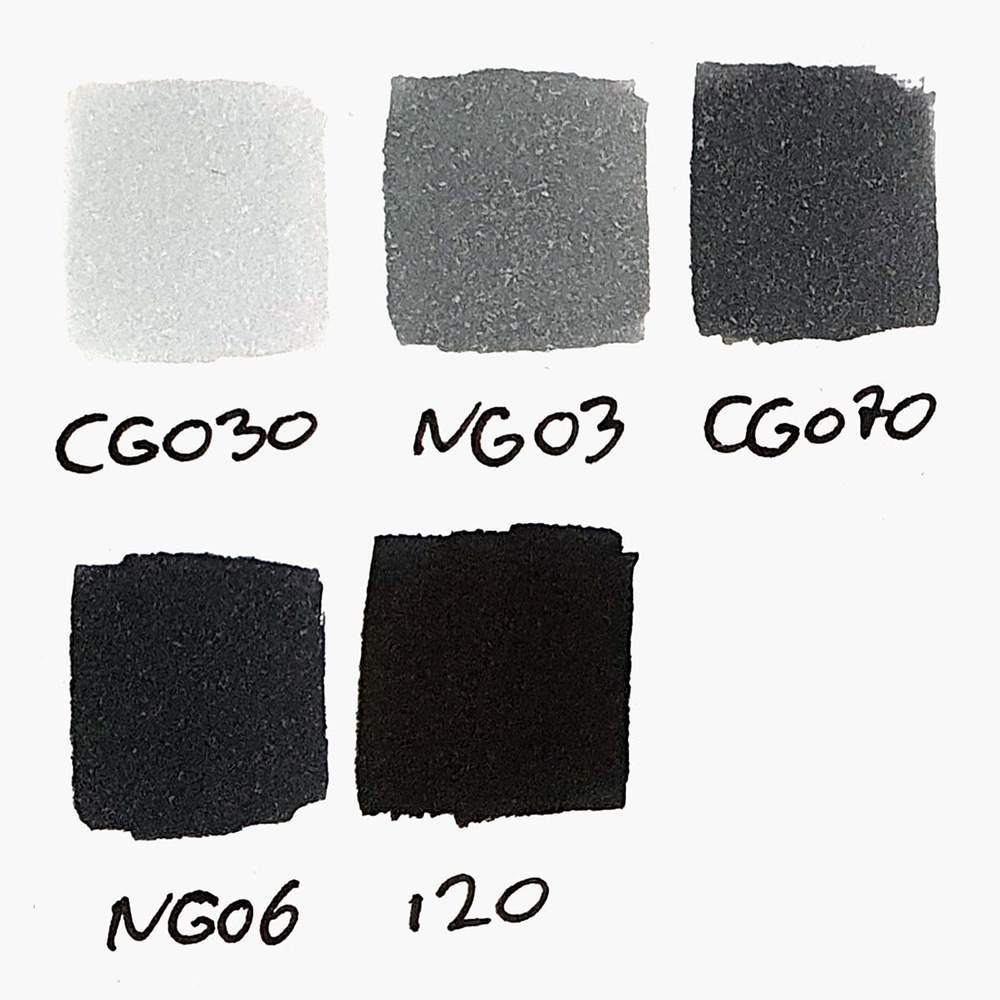
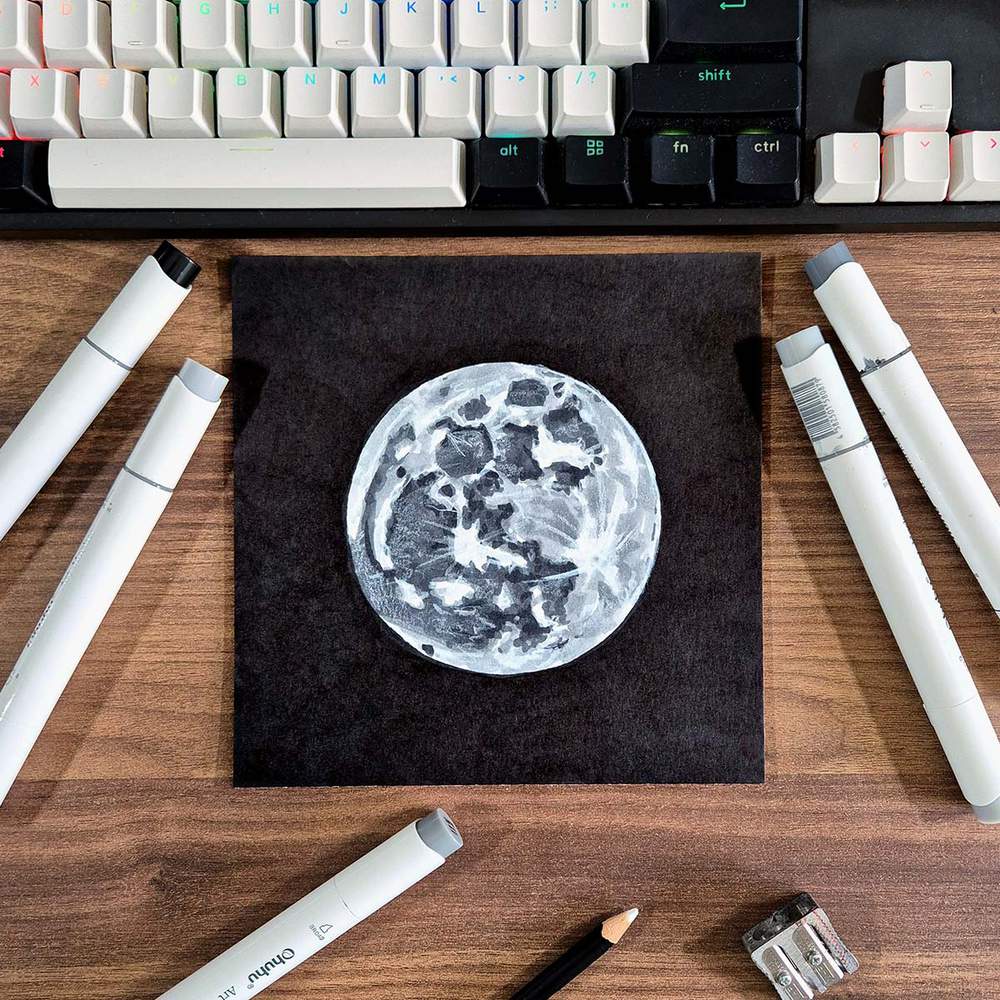
Drawing Supplies I Used
To make this drawing, I used Ohuhu Honolulu markers in the Neutral Grey 03 (CG030), Neutral Grey 3 (NG03), Neutral Grey 07 (CG070), Neutral Grey 6 (NG06), and Black (120).
You can also buy these colors separately on their website.
I also used the White 2400 Derwent Chromaflow colored pencil to add details.
And I used an HB pencil and a kneaded eraser.
I made this drawing on Canson Illustration Manga Paper, which I cut down to a square.
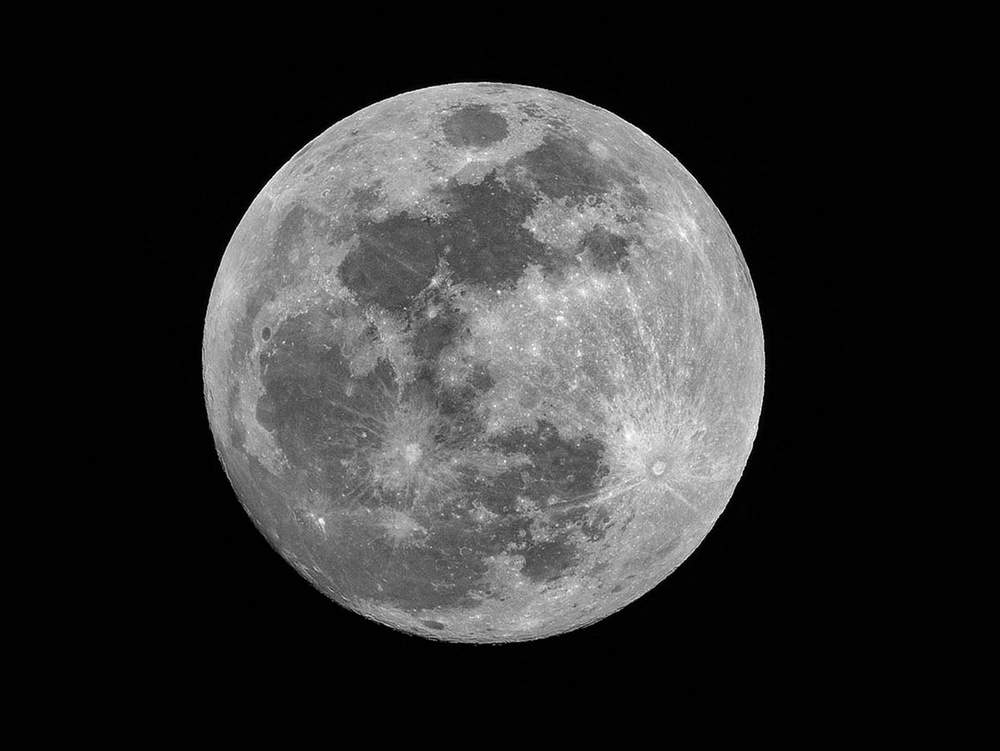
Reference Photo of the Moon
To create a realistic drawing of the moon, I used this reference photo I found on Unsplash.
How Do You Draw the Moon?
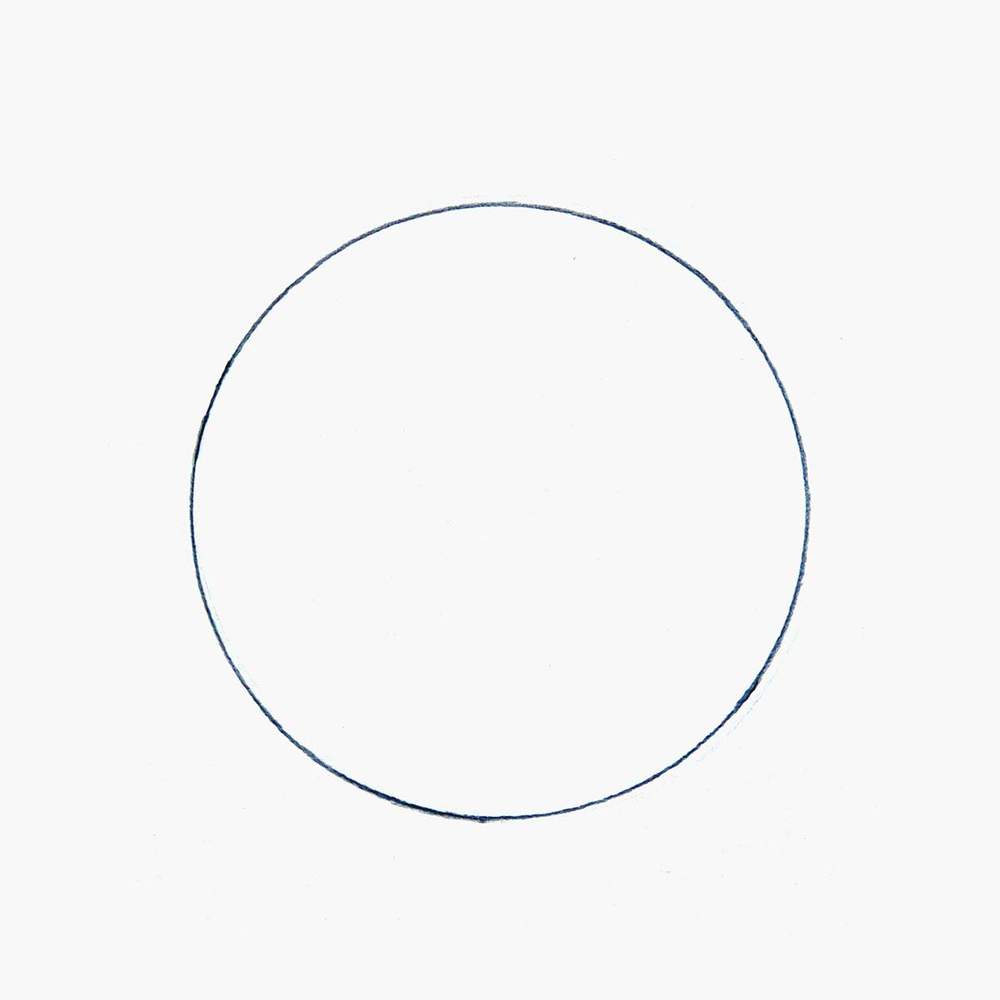
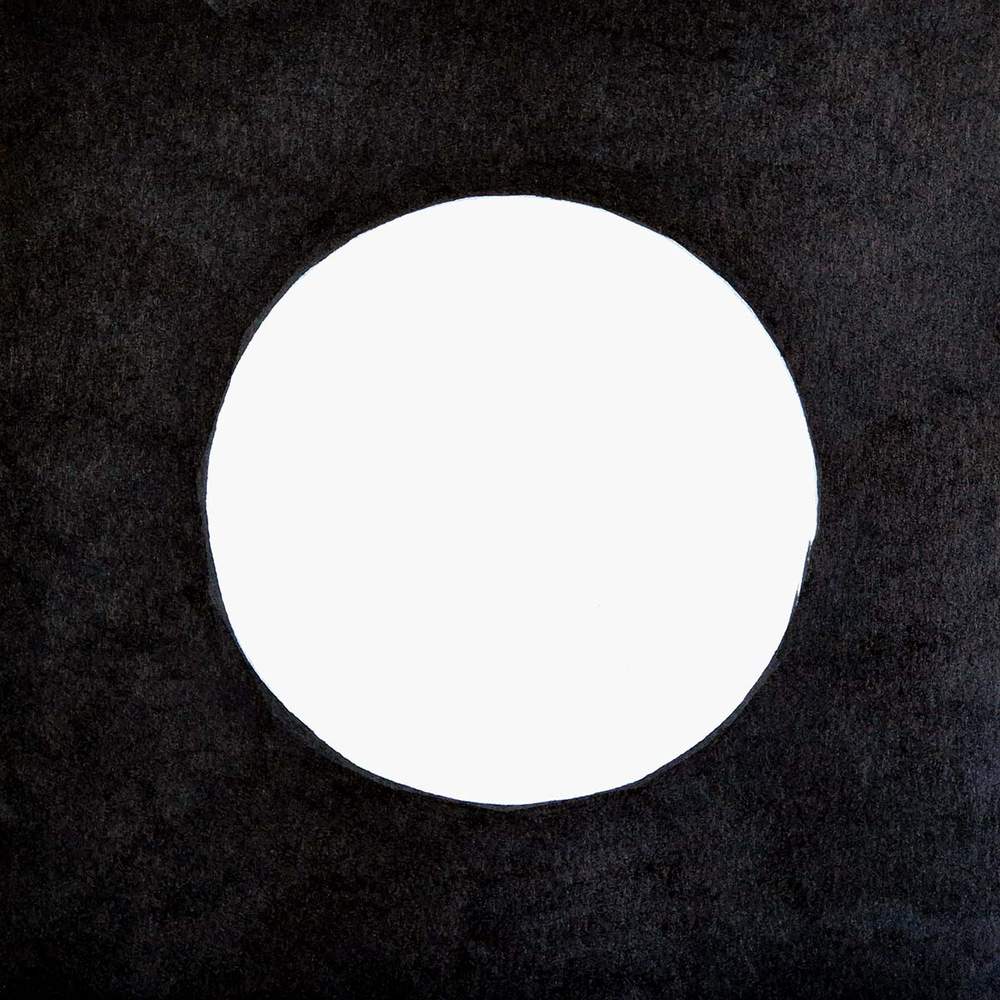
Step 1: Sketch a Big Circle
To create a drawing of the moon, I first drew a big circle on my paper.
I used a large round paint tube as my guide.
Step 2: Color the Background Black
I was planning on finishing the sketch first, before starting to color. But I got too excited and colored the background with black instead.
To make the black look more even, I added a second layer of color.
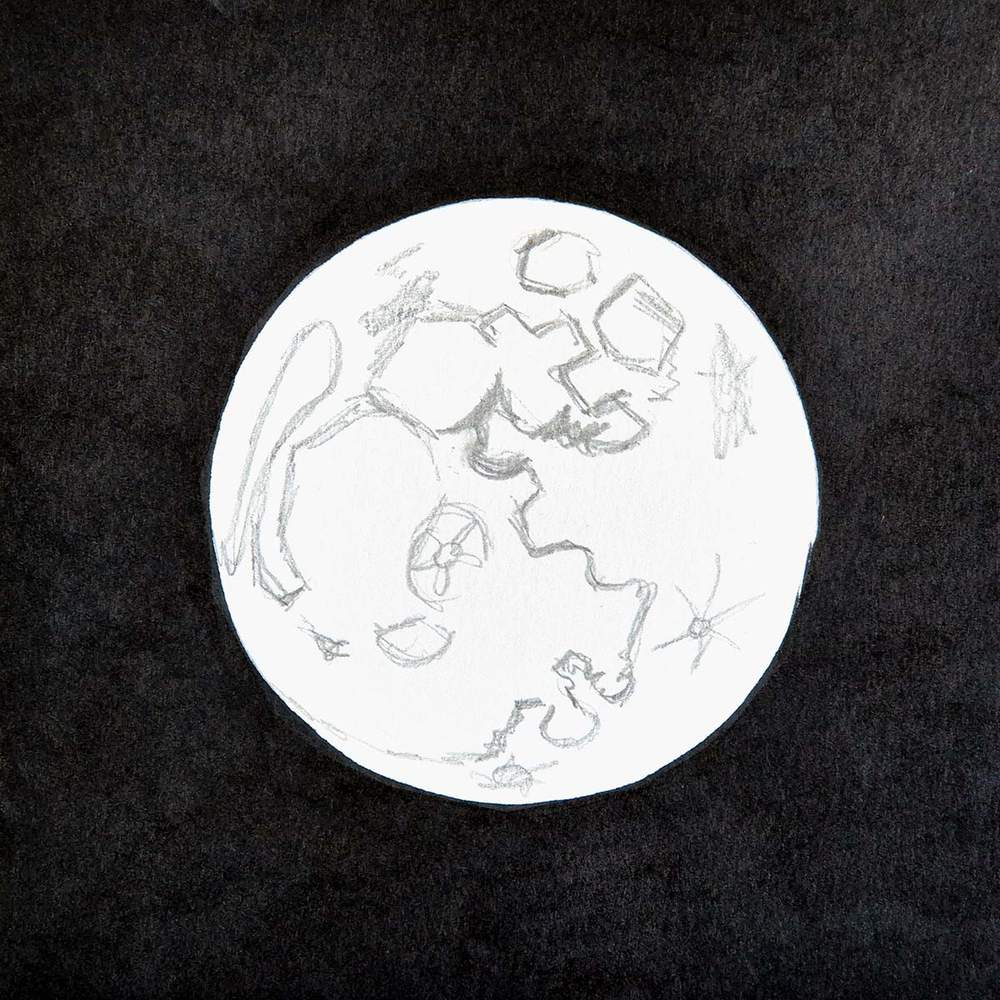
Step 3: Sketch the Craters on the Moon
After coloring the background black, I realized I had forgotten to complete the sketch.
I studied the reference photo for hard lines from the craters and replicated those on my sketch.
I did it pretty roughly, as the moon only has organic shapes.
After sketching all the craters, my sketch looked like this:
Step 4: Color the Moon with Markers
Next, I colored the moon.
Before I started coloring, I first lightened the sketch with my eraser to prevent it from showing through the markers.
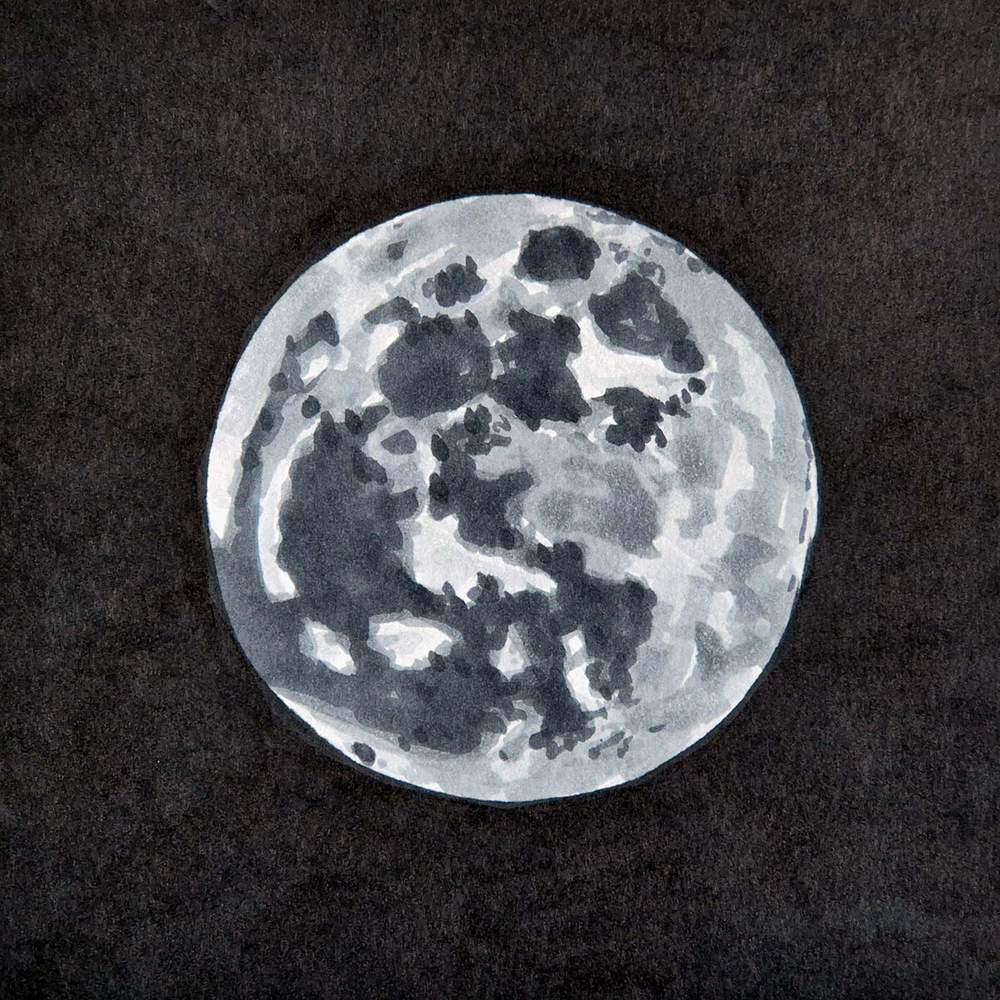
I started by coloring the lightest grey parts with Neutral Grey 03 (CG030).
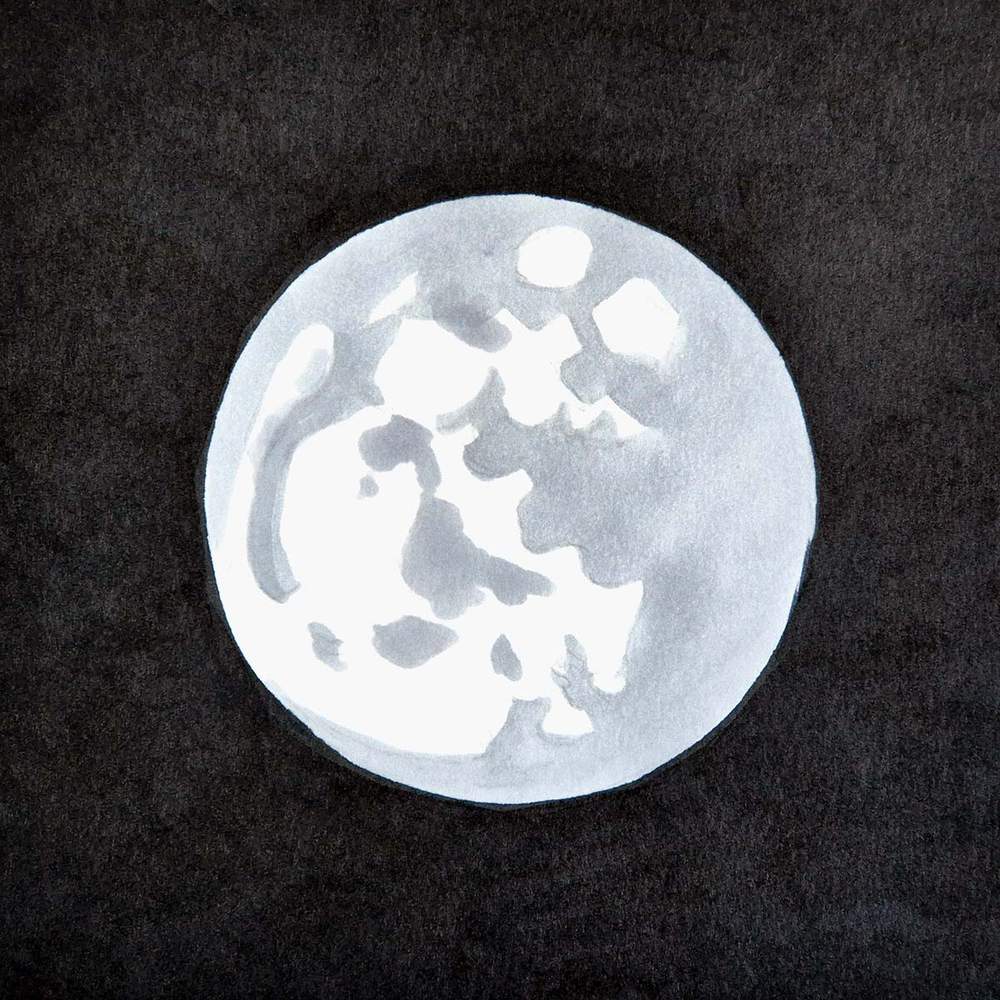
After that, I used Neutral Grey 3 (NG03) to color the darker craters and add some light shading on the lighter and higher parts of the moon.
I used 2 layers on the darker craters and just one on the shading on the light grey, which is why the craters look darker.
I did this to still be able to see where the craters were, otherwise everything would just blend together.
Then, I used Neutral Grey 07 (CG070) to make the craters even darker, to refine the shapes of the craters (i.e. make them more ridged) and to add some small craters on the lighter parts.
During this process, I kept looking back at the reference photo to make sure what I was doing looked similar.
Lastly, I used my darkest grey, Neutral Grey 6 (NG06), to add just a few shadows at the top of every dark crater and some other places that looked darker in the reference.
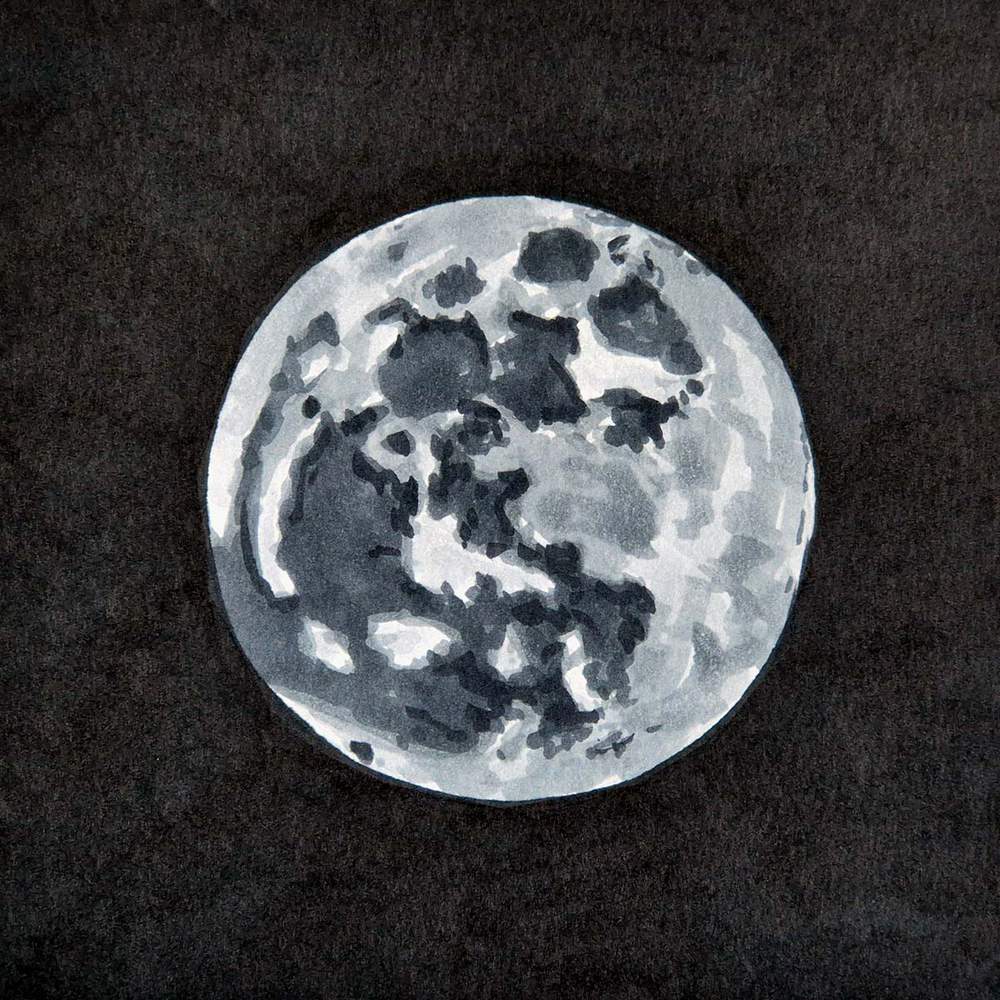
The moon already looks pretty good, but there is something super easy we can do to make it look even better.
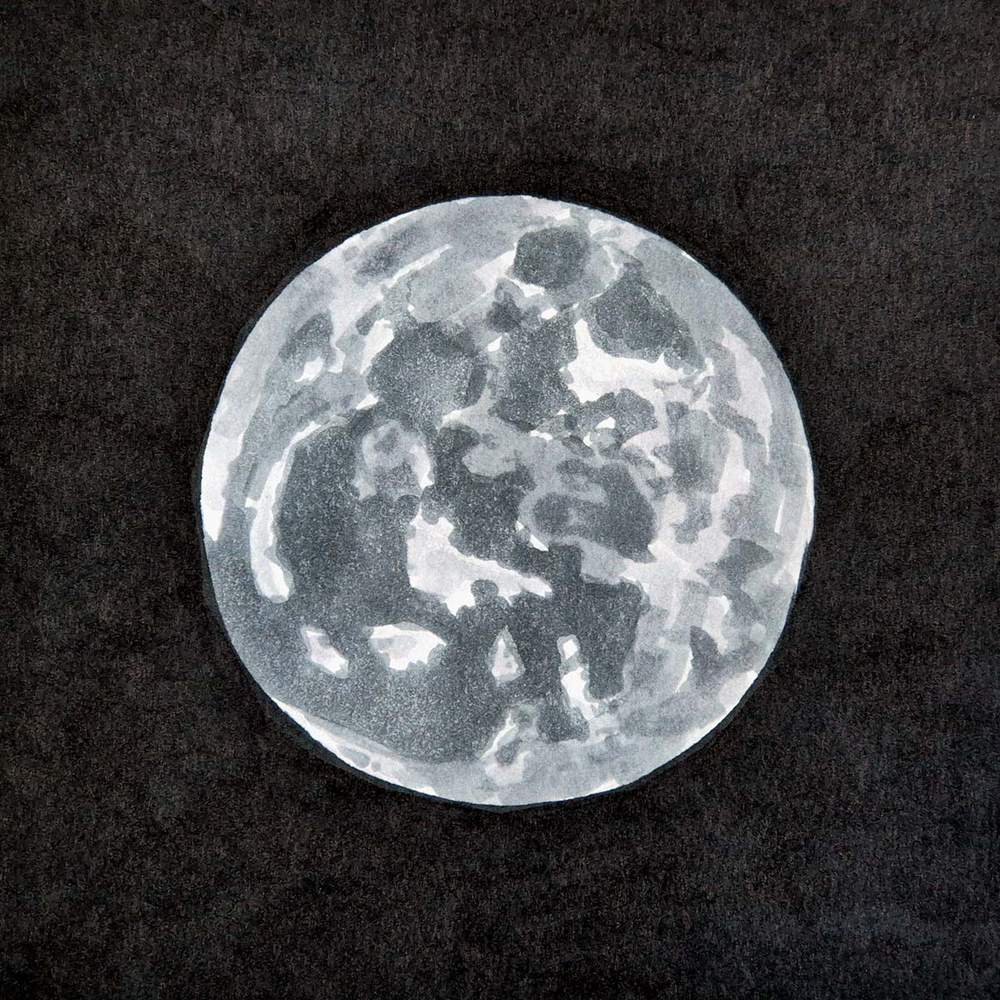
Step 5: Add Details with a White Pencil
If you compare the drawing now to the reference photo, you might notice that the drawing lacks a lot of the details.
The reference photo has texture in the terrain, lines from meteorite impacts, and some highlights in the terrain.
This can all be done using just a white colored pencil.
I again studied the reference and tried to recreate the lines from the impacts.
I also used light pressure to create some lighter texture in the craters, careful not to overdo it.
And I added some lighter patches on the light parts and a thin light edge around the right side of the moon.
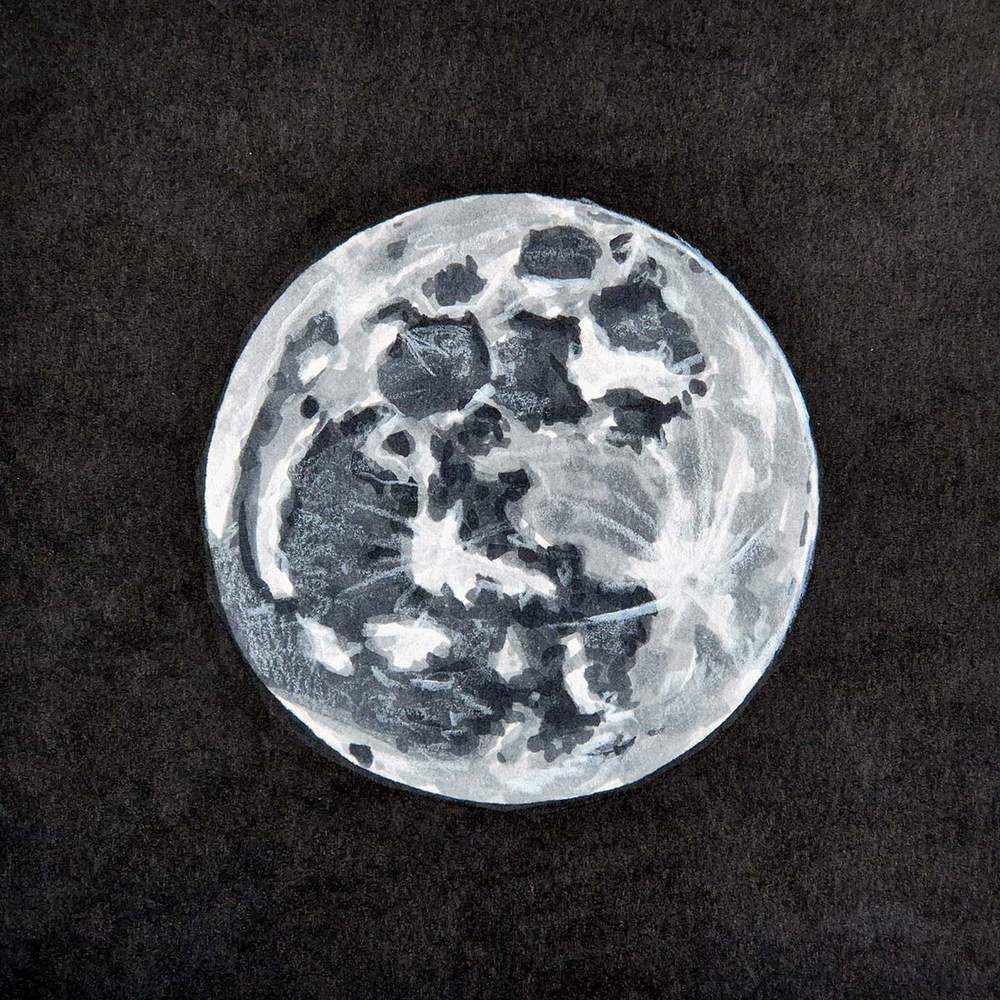
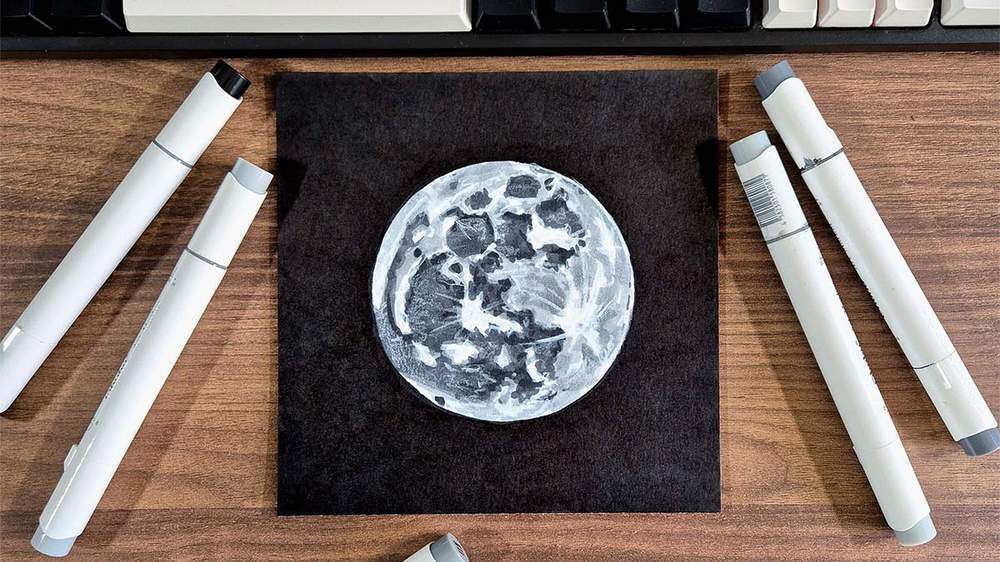
Final Result!
And that's the moon all finished!
I hope you liked this 30-minute moon drawing guide!
If you enjoyed this drawing and want to keep going, check out more of my step-by-step drawing tutorials.
Articles You Might Also Like


I love bringing cars to life with alcohol markers and colored pencils.
Whether you're just starting out or looking to improve your skills, I'm here to help!
Click here to learn more about me.


Be the first to comment!
Comments
There are no comments yet.