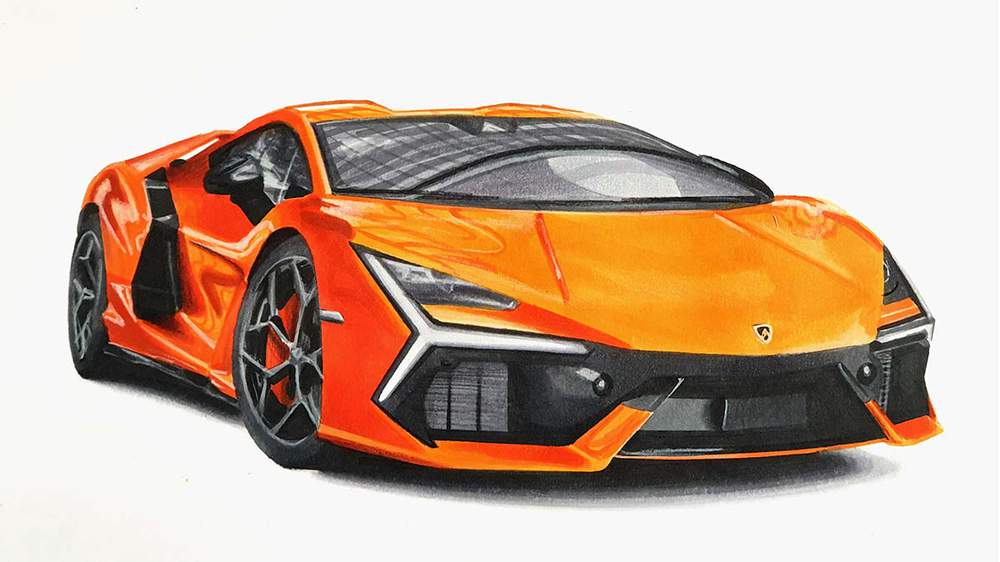
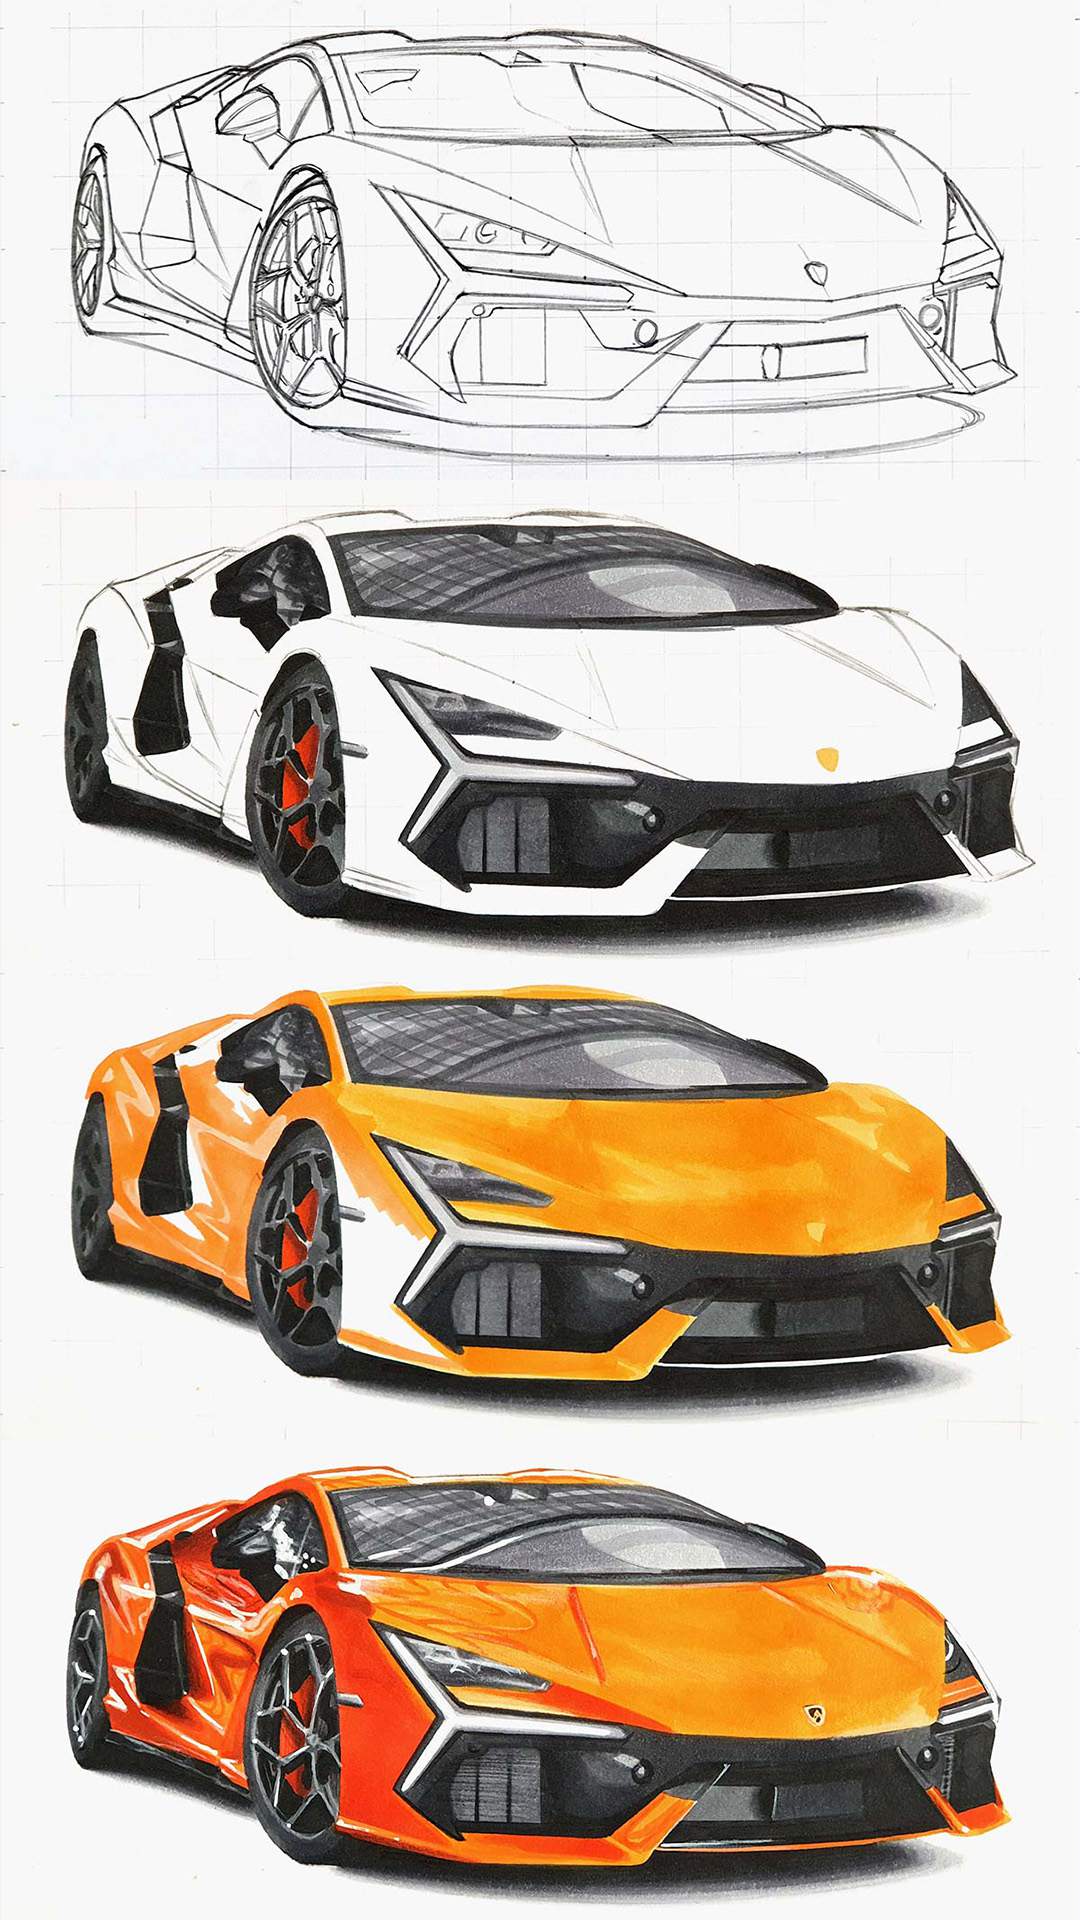
How to Draw a Lamborghini Revuelto in 15 Simple Steps
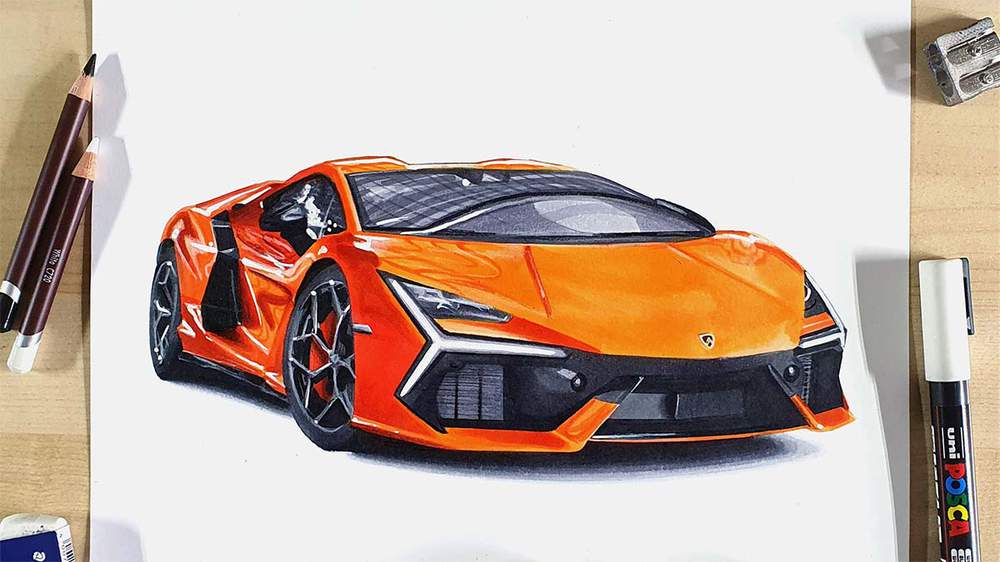
Lamborghini's are beautiful cars to draw! And in this car drawing tutorial, I'll cover the exact and easy-to-follow steps I took to draw this realistic orange Lamborghini Revuelto.
A huge thank you to Ohuhu for sponsoring this post!
Disclaimer: In the name of full transparency, please be aware that this blog post contains affiliate links and any purchases made through such links will result in a small commission for me (at no extra cost for you).
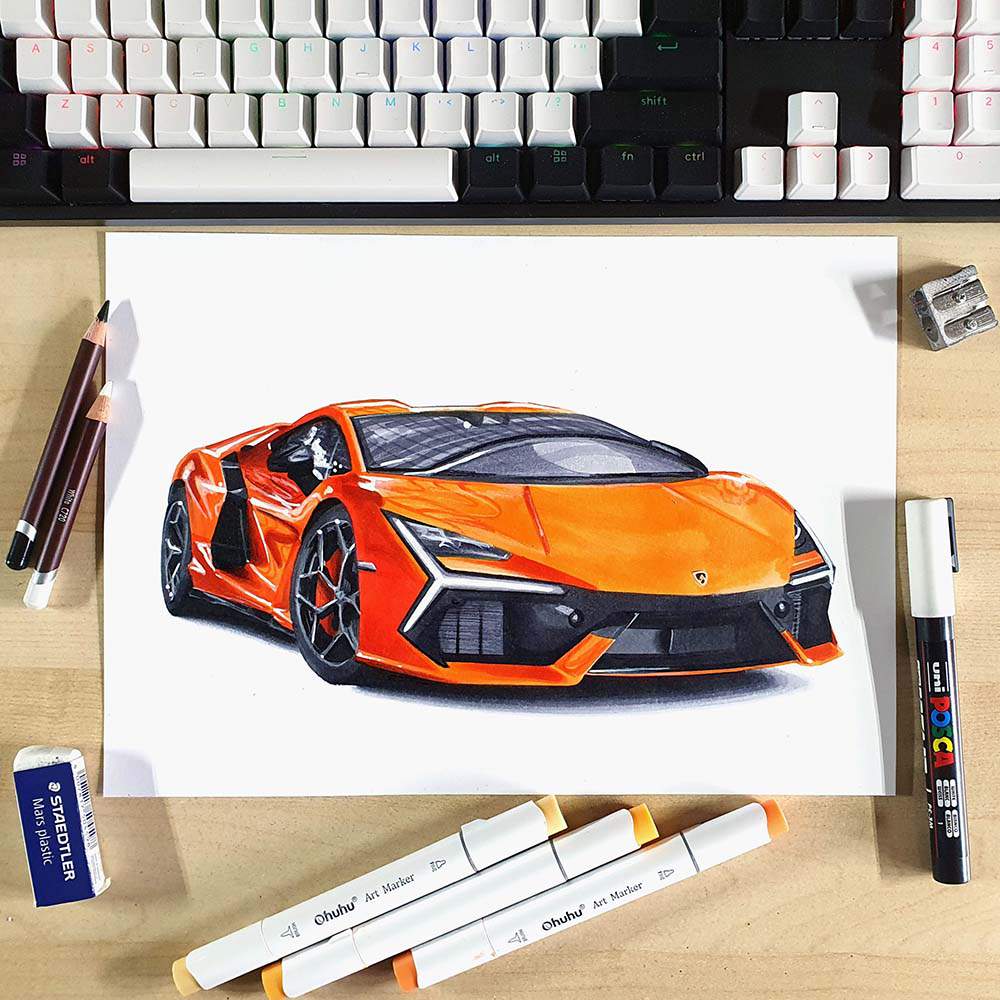
Drawing Supplies I Used in this Tutorial
To draw this Lamborghini Revuelto, I used the following art supplies:
- A graphite pencil, a ruler, a kneaded eraser, and a regular eraser;
- Ohuhu Honolulu markers in the colors Neutral Grey 03 (CG030), Deep Cool Grey (BG060), Neutral Grey 07 (CG070), Warm Grey 13 (WG130) (or Black if you can), Moccasin (YR250), Chrome Orange (YR170), Cadmium Orange (YR190), Chocolate Pink (R050), Peach Pie (YR090), Agate (R070), Lipstick Orange (YR180), and Praline (E080). I also used the colorless blender. I got these markers from the Honolulu 104 set and the Honolulu 48 Mid-tone set;
- Derwent Coloursoft pencils in the colors White and Black;
- And a white Posca PC-3M.
How Do You Draw a Lamborghini Revuelto?
I first gathered a few reference photos for the perspective, proportions, lighting, reflections, and color to make a realistic drawing of the Lamborghini Revuelto.
After that, I created a sketch of the outline of the car using the grid method.
Next, I colored the car with alcohol markers starting with the black and the grey parts, before moving on to the main body of the Revuelto.
Lastly, I added some details with colored pencils and highlights with a Posca paint marker.
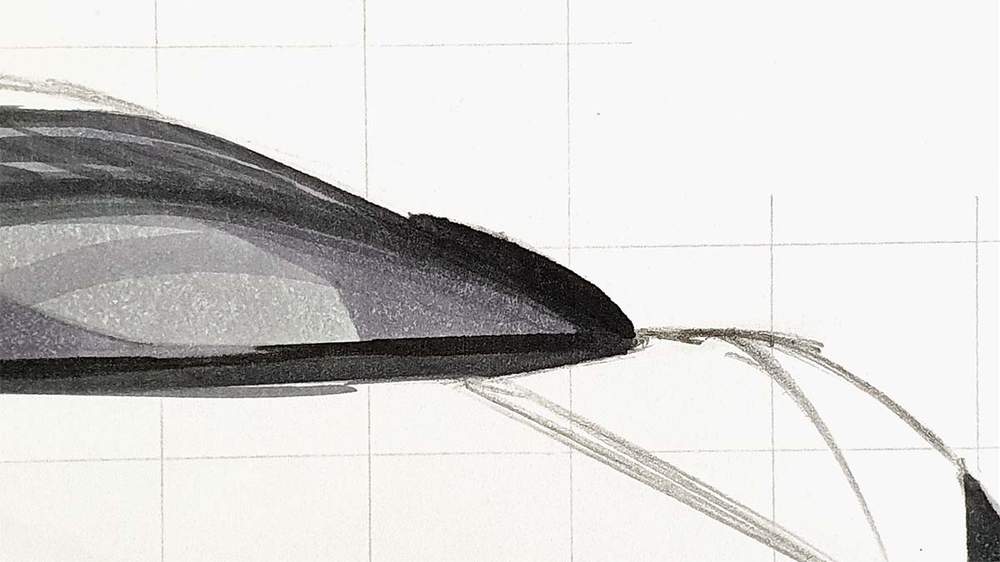
Step 1: Sketch the Outline of the Lamborghini Revuelto
To start off with the Lamborghini Revuelto drawing, we first need to make a detailed sketch of the outlines of the car. This can be a difficult task, but luckily there are a few techniques you can use to make this a lot easier. In today's tutorial, I'll be using the grid method as it's my favorite sketching technique.
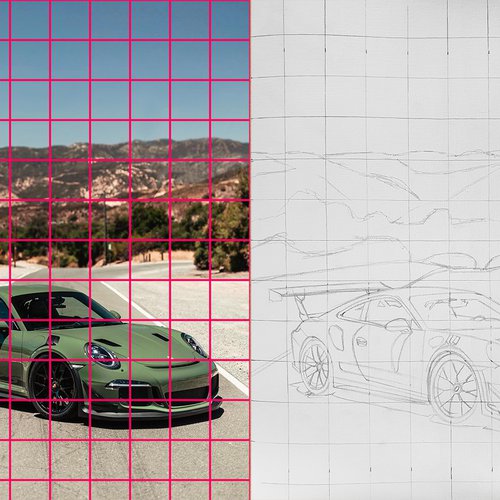
To use the grid method, I first resize the reference photo to be the same size as my paper, which is A4. Next, I overlayed a grid of 15 by 10.5 squares on the image. This amount of squares is the perfect balance between the amount of guidance it provides and how confusing the grid will be. Plus, this amount of squares results in squares of 2 by 2 cm (I always like to keep them round numbers if possible).
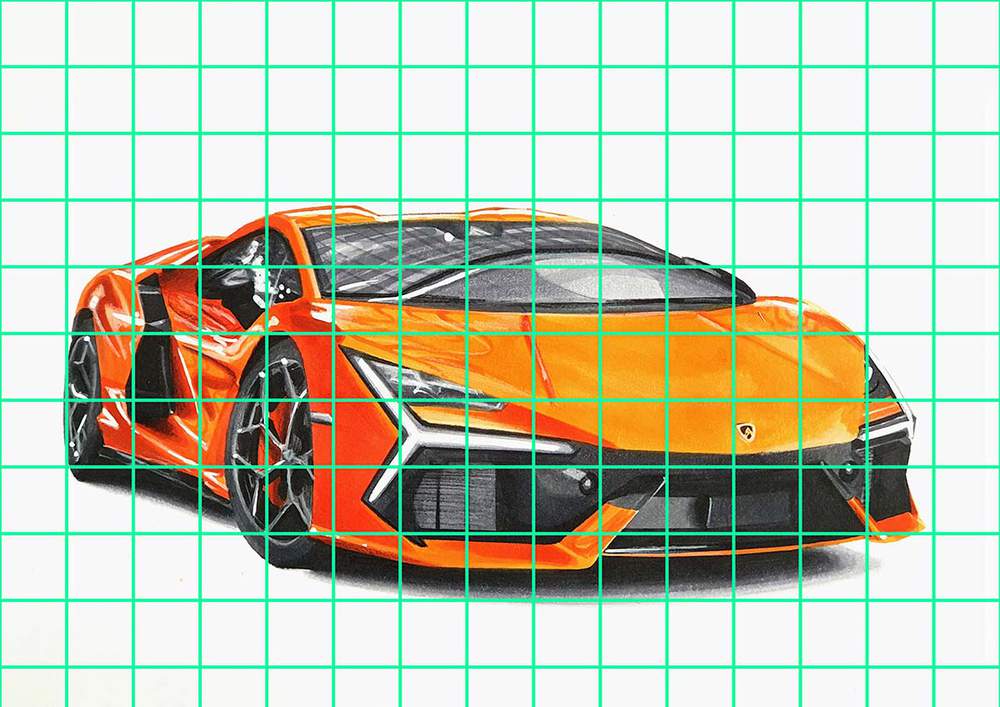
After that, I recreated that same grid on my paper by using a ruler and carefully measuring where each of the grid lines will be. I only sketched the grid squares I actually needed to sketch the car to reduce the amount of squares I needed to sketch and later erase.
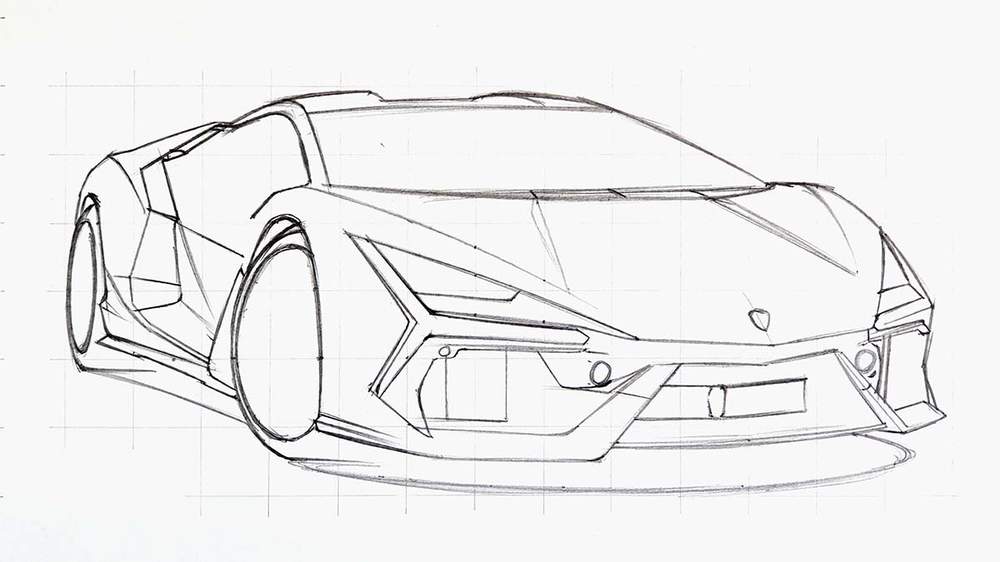
Now that the grid is done, it's time to actually start sketching the Revuelto.
I started by sketching the basic outline of the Lamborghini first. I started by marking where each part of the outline intersects with the grid lines and then sketched it. I did this for the whole outline of the car.
I also sketched a few of the basic shapes on the front of the car.
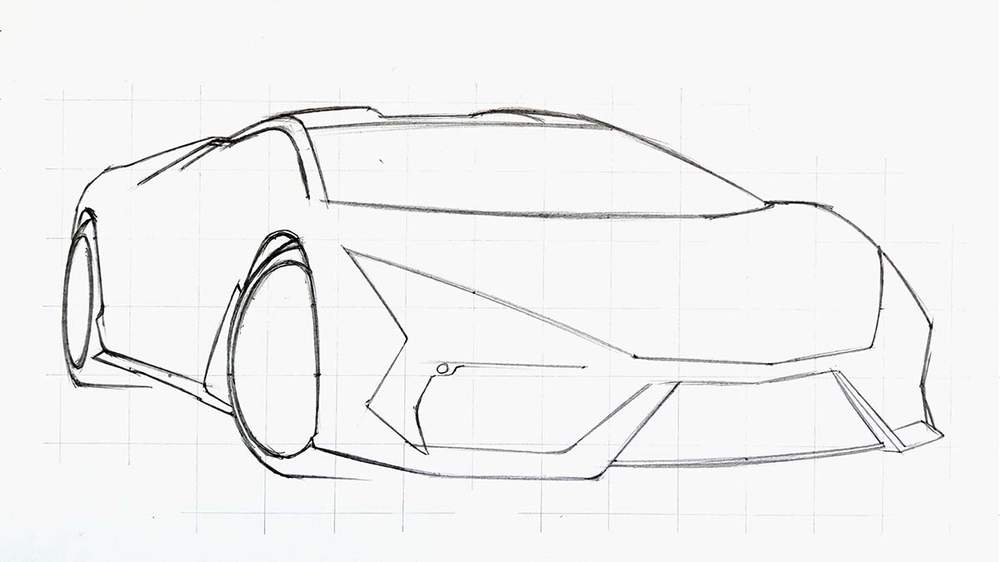
Next, I sketched all the parts and details of the car. I first sketched the bigger parts before moving on to the smaller details. And again I first marked where these parts crossed grid lines and where they ended before sketching each line.
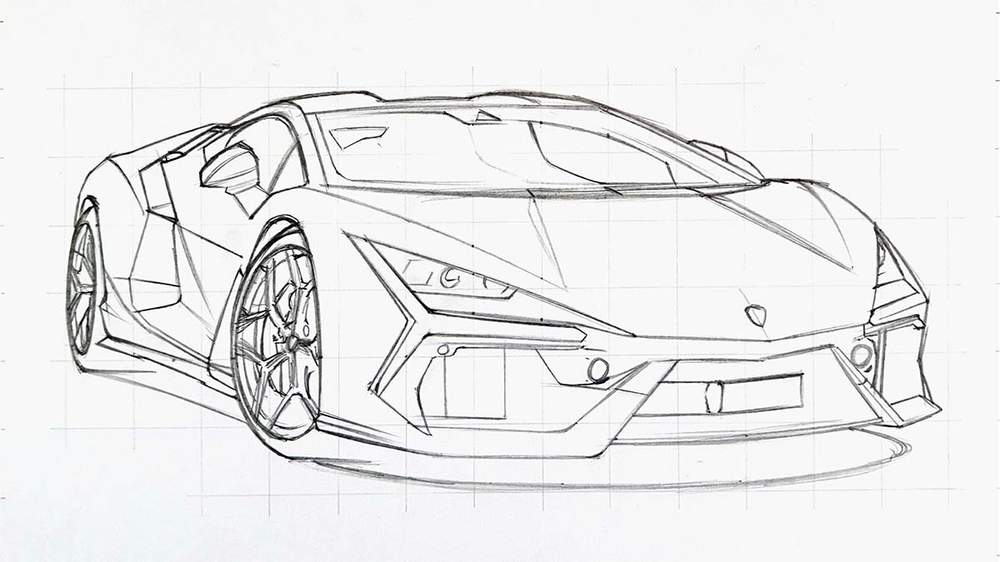
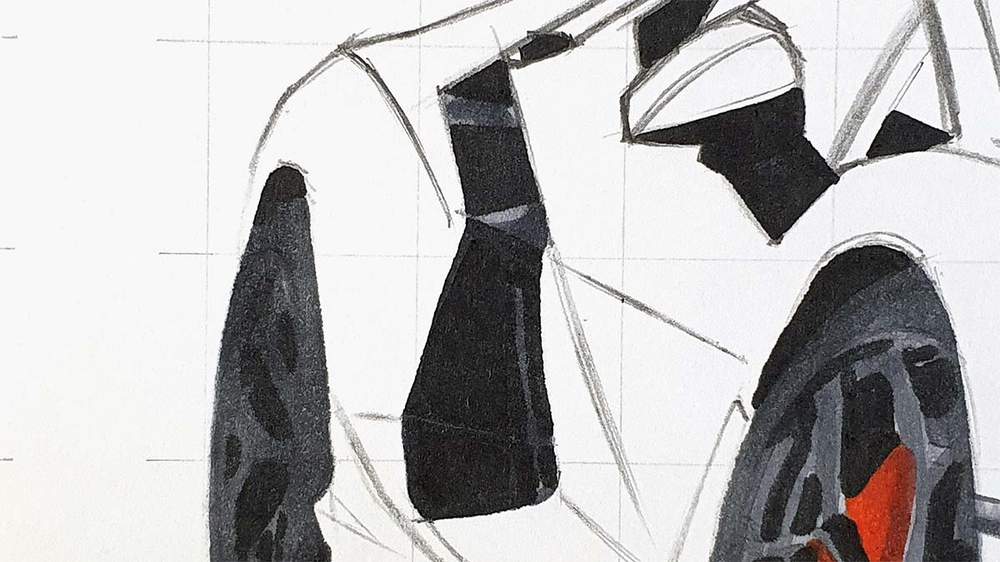
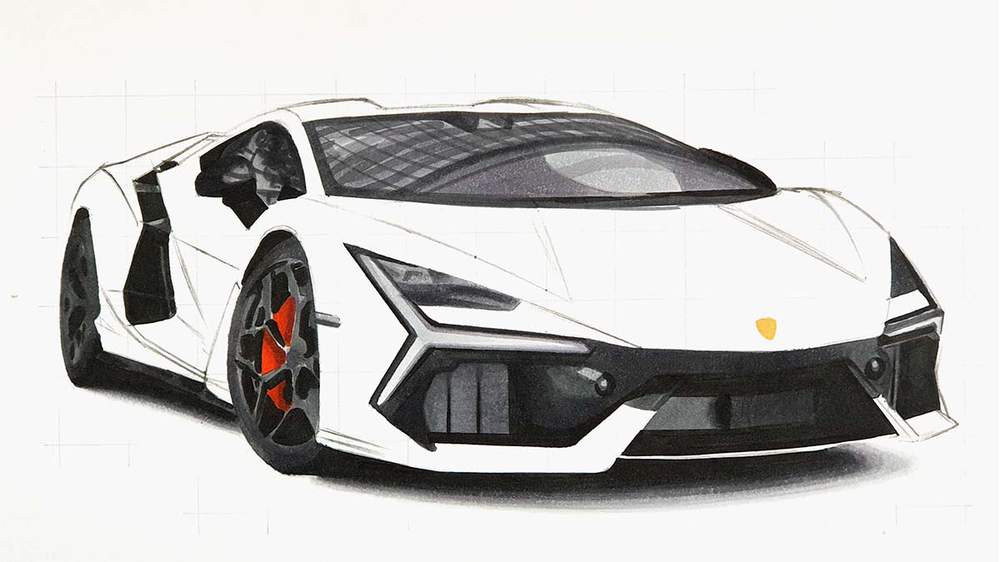
Step 2: Color All Pure Black Parts of the Lamborghini Revuelto
Now that our detailed sketch is done it can look a bit overwhelming. At least it does for me.
What I like to do to simplify the drawing is to color all pure black parts first. This is a super easy task and it gives me a structure to base the rest of the coloring on.
To do this I used Warm Grey 13. Yes, Warm Grey 13. I don't have a black Honolulu marker, but this marker is darker than the black Promarker.
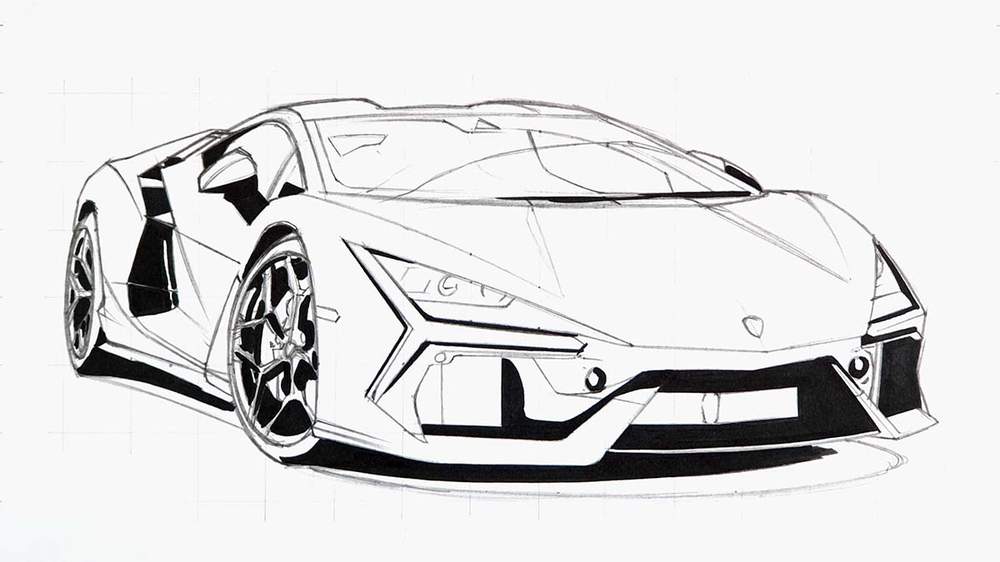
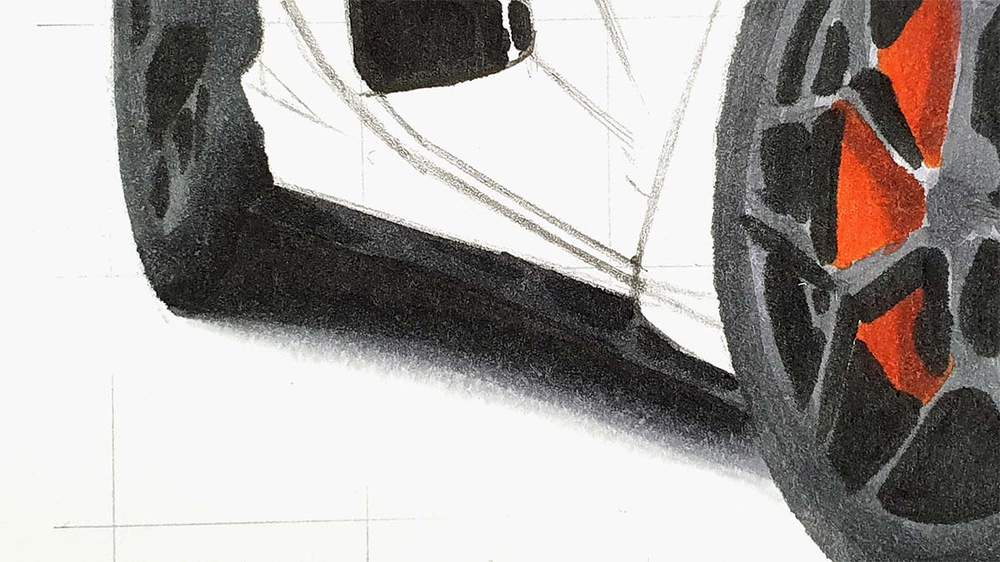
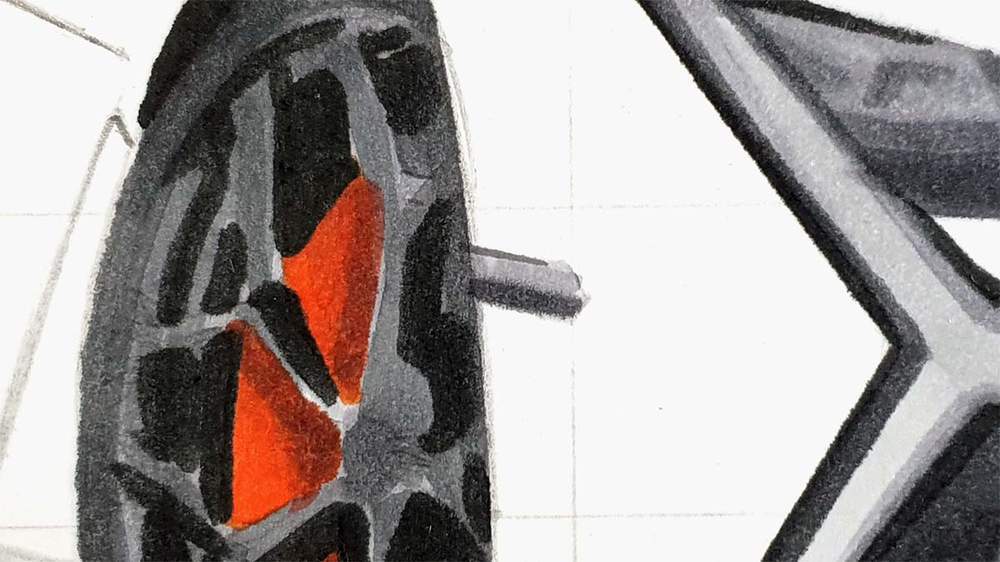
Step 3: Color the Wheels of the Lamborghini Revuelto
Next up, I like to get the wheels done straight away.
I first colored the spokes and the tires with Neutral Grey 07.
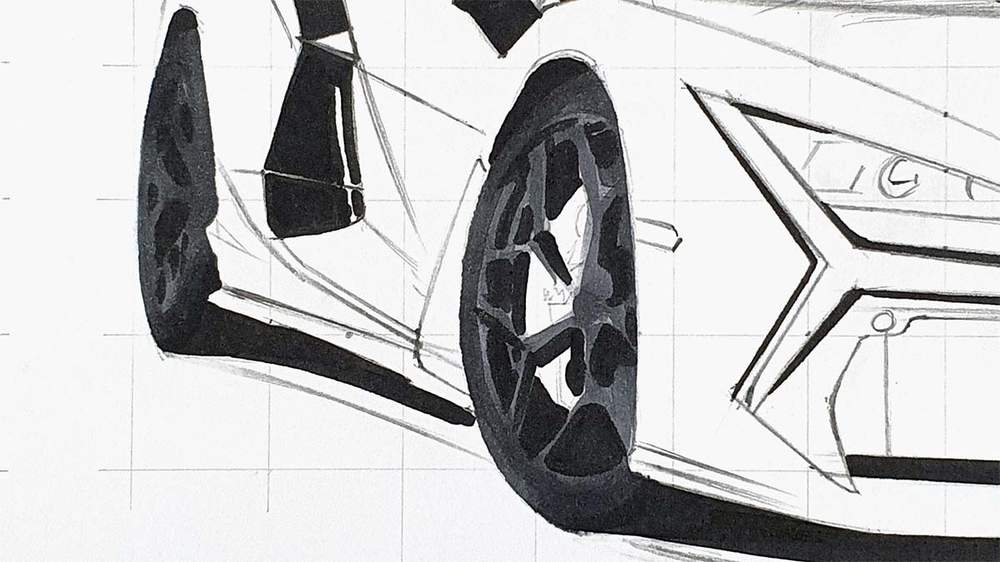
Then, I colored the brake caliper. I first colored it with YR190. Next, I overlayed R070 to make it more reddish. And lastly, I added some dark shadows with E080.


Step 4: Color the Shadow of the Lamborghini Revuelto
After that, I colored the shadow underneath the Revuelto.
I first colored it with Neutral Grey 03.
Then, I added Deep Cool Grey and Neutral Grey 07 as transition colors between the black and Neutral Grey 03.

Lastly, I blended all the grey tones to a smooth gradient. I did this by first going over the edge of the Neutral Grey 07 and Deep Cool Grey with Deep Cool Grey. This softens the edge between the 2 shades of grey.
After that, I did the same for the other grey tones. I used Deep Cool Grey to blend the edge between the Deep Cool Grey and the Neutral Grey 03. And I used the Colorless Blender to blend Neutral Grey 03 into the white of the paper.

Step 5: Color the Side Skirt of the Lamborghini Revuelto
Next, I colored the side skirt of the Revuelto with Neutral Grey 07 and I added some black tones to it with Warm Grey 13 (or Black if you have that marker).
Step 6: Color the Front of the Lamborghini Revuelto
Next up, I colored the grey parts on the front of the car.
I first colored everything but the left and right radiators and the sensors with Neutral Grey 07. You might notice that some parts turned out darker than other parts. That is because I layered that color multiple times to achieve darker tones.
I did this almost everywhere except for around the sensors and the left half of the rectangular shape in the center.
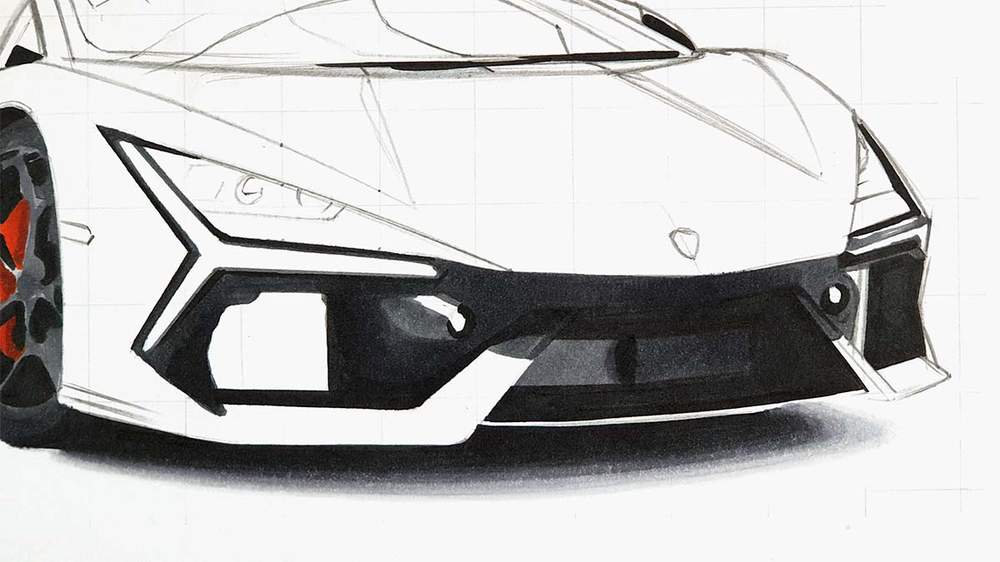
After that, I used Deep Cool Grey to color the rest, i.e. the radiators and the highlights in and around the sensors.
I also added 2 vertical lines on the left and 1 on the right radiator with Neutral Grey 07 and Warm Grey 13.
Next, I used Deep Cool Grey to color the edge of both Y-shaped lights. Then, I colored the rest of these lights with Neutral Grey 03.

Step 7: Color the Headlights of the Lamborghini Revuelto
After that, I colored the headlights.
I started by coloring the left one with Neutral Grey 03.
Next, I darkened the bottom half with Deep Cool Grey and added a few of the circular shapes in the headlight.
Lastly, I used Neutral Grey 07 to add more dark tones, especially to the bottom half of the light. I also colored the whole right light with Neutral Grey 07.
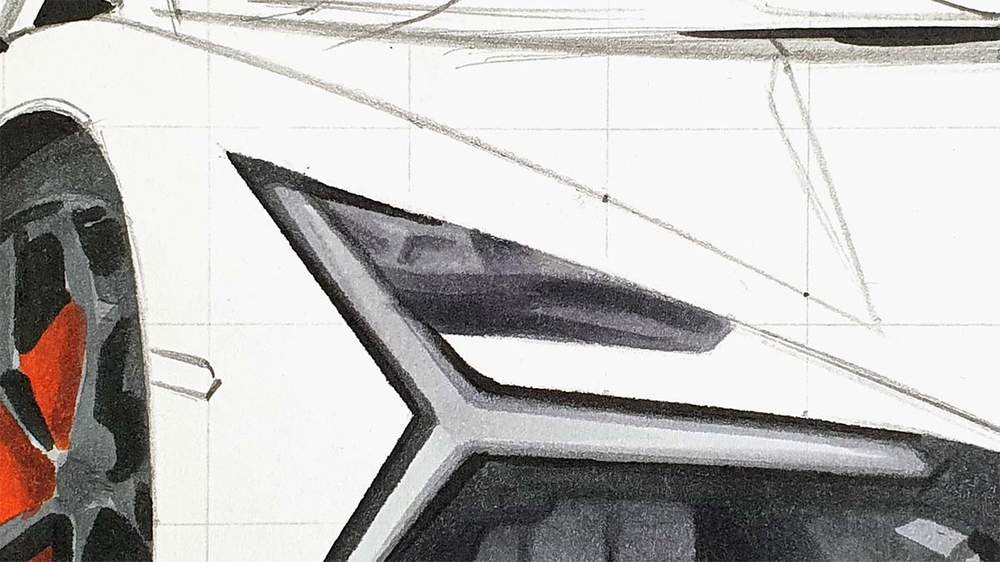

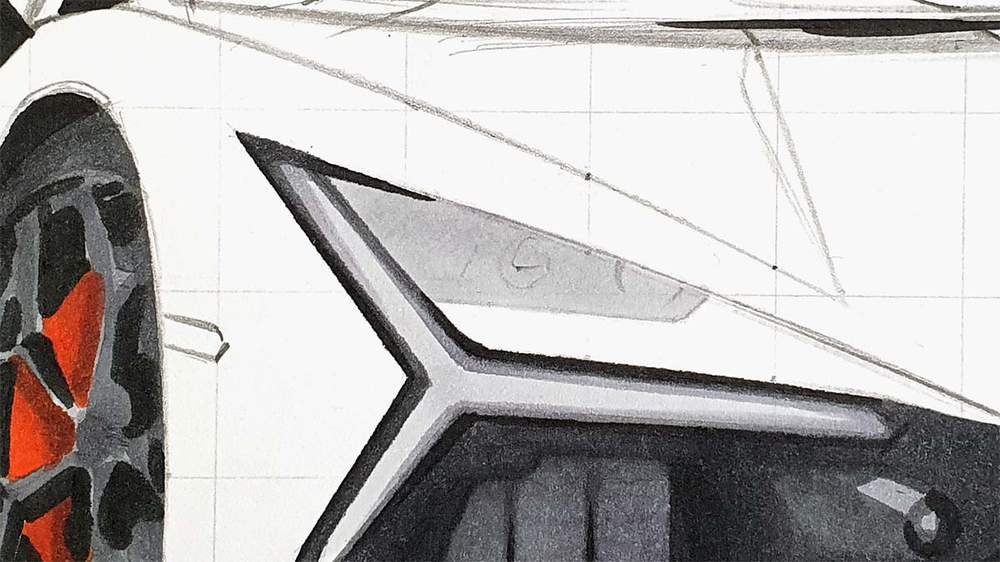
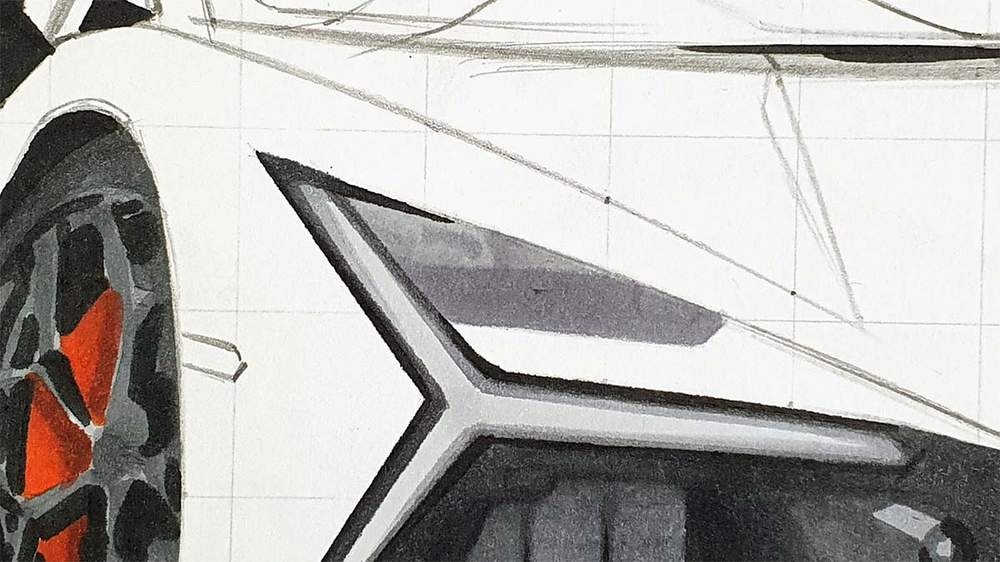
Step 8: Color the Marker Light of the Lamborghini Revuelto
Next up, I colored the marker light on the left of the Revuelto. To do this I first colored it with Deep Cool Grey. Next, I darkened the bottom half with Neutral Grey 07 and added a tiny dark line to the top left of it.
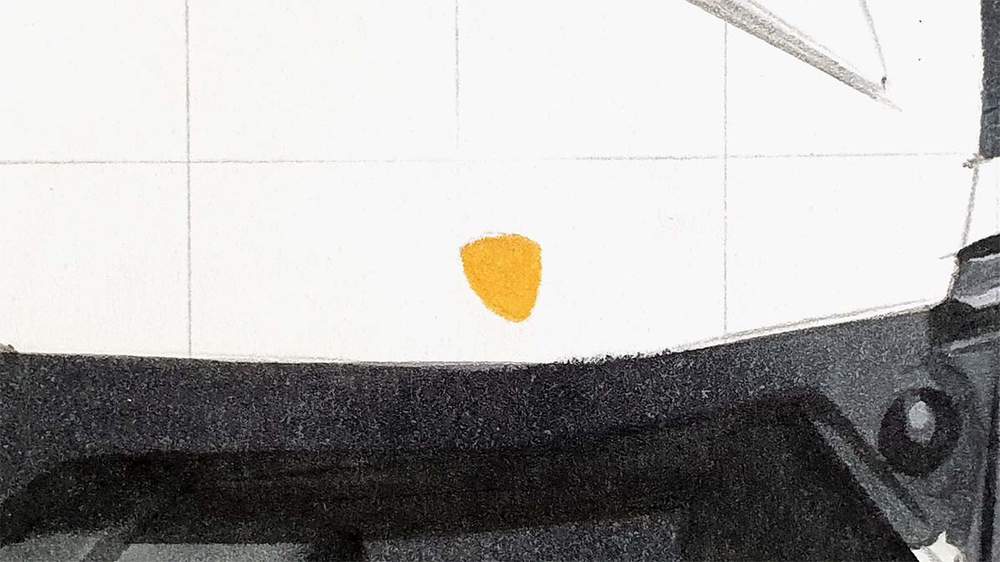
Step 9: Color the Lamborghini Logo on the Front of the Revuelto
After that, I colored the Lamborghini logo on the front with YR250.
Step 10: Color the Side Intake of the Lamborghini Revuelto
Next, I colored the grey parts of the side intake with Deep Cool Grey. And after that, I used Neutral Grey 07 to darken some parts while leaving some light reflections.
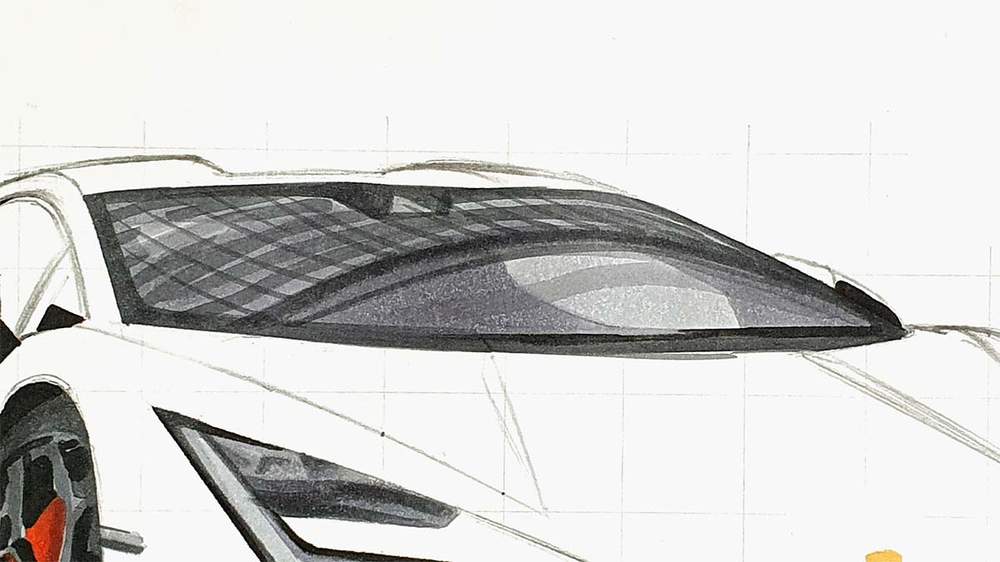
Step 11: Color the Windshield of the Lamborghini Revuelto
Next up, I colored the windshield of the Revuelto.
There is a big and detailed reflection covering most of it, but that's not too difficult to color.
I started by coloring the lightest parts with Neutral Grey 03 first: the rear window, the side window, and the small triangle at the top.
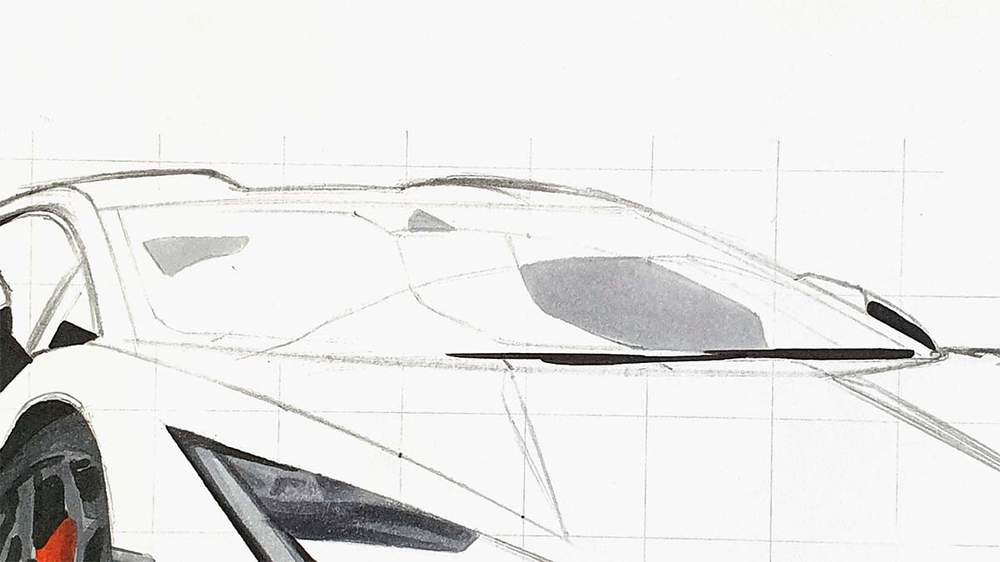
Next, I used Deep Cool Grey to color most of the rest while leaving the parts that are going to be darker and where the edge of the curved reflection will be uncolored for now.
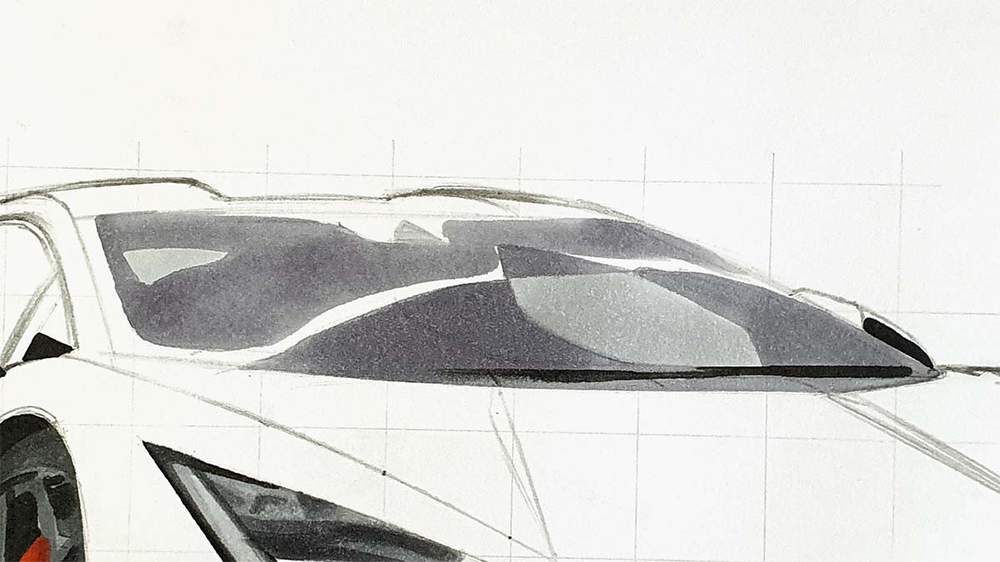
Lastly, I used Neutral Grey 07 to color the outside edge of the windshield and to add 2 dark lines to the bottom of the reflection.
I also added some diagonal lines to the reflection with Deep Cool Grey and Neutral Grey 07.
Step 12: Color the Side Window and the Door Mirrors of the Lamborghini Revuelto
After that, I colored the side window with Neutral Grey 03.
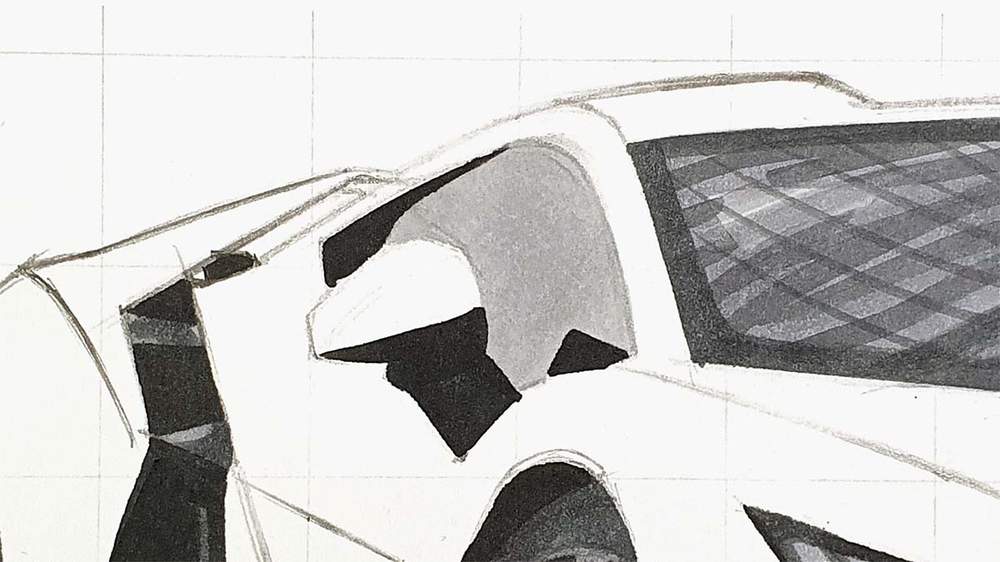
Next, I used Deep Cool Grey to color the door mirror and add some dark tones to the left, bottom, and top right of the window while leaving a rough L-shape in the center lighter grey.
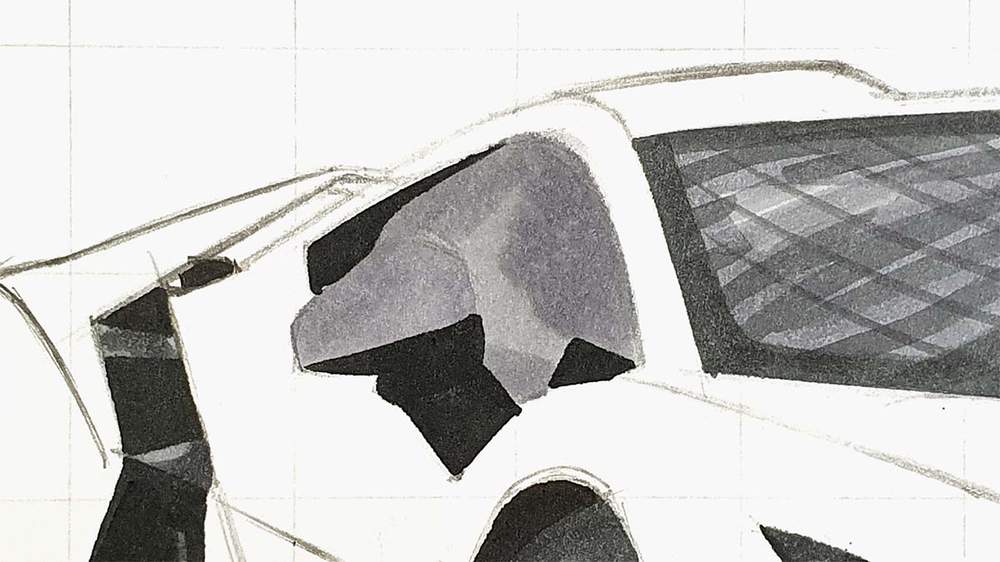
Then, I used Neutral Grey 07 to add dark tones to the window. I first colored the window sill and the left third of the window.
After that, I used the brush side of the alcohol market to tap on and off the paper with varying pressure and angle, to create a natural tree or leaf-like texture to the top right of the window.
I also colored the door mirror with Neutral Grey 07 except for the middle right. And I added a dark line across the lighter section.
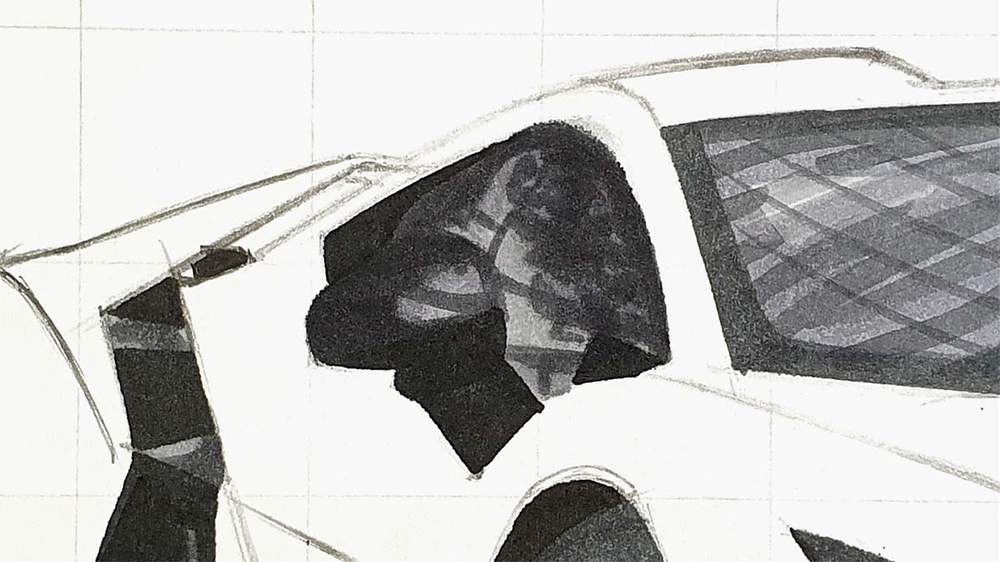
And lastly, I used Neutral Grey 07 to color the right mirror.
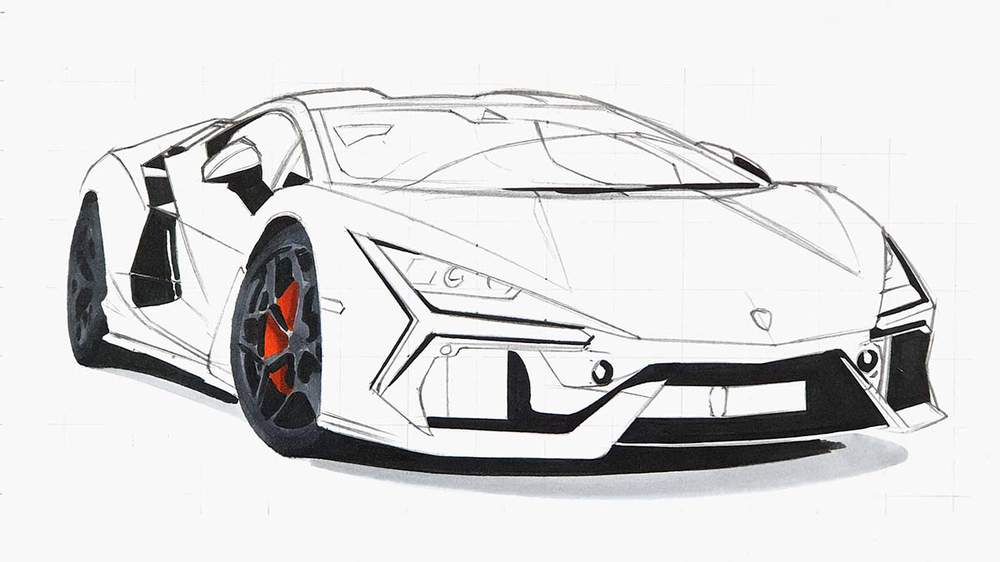
Step 13: Color the Main Body of the Lamborghini Revuelto
All grey parts are done now, which means it's time to move on to the main body of the Revuelto!
I started by marking where the lightest parts would be. For this, I used YR250 on the front and the roof of the car and R050 for the side.
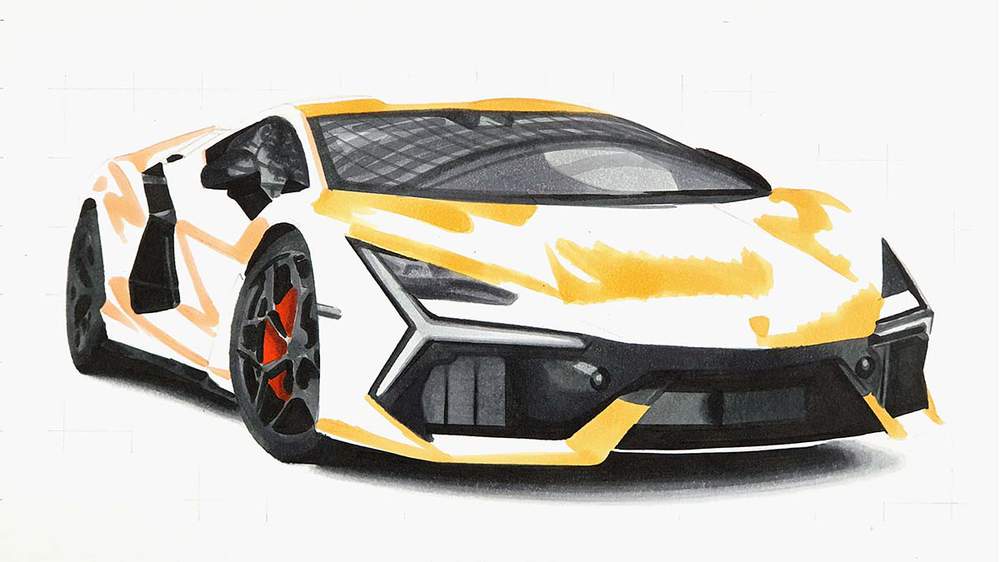
After that, I colored the remainder of the front and the roof with YR170. And I colored the mid-tone parts of the side with YR090.
Next up, I used YR190 to add some details and darker tones the the front of the Revuelto. And I used R070 to color the darker reddish parts on the left of the car.

Then, I used YR180 and E080 to add more dark tones.
I used YR180 to darken:
- the bottom and the top of the part between the left headlight and the front wheel;
- all darker reflections on the side of the car;
- and the shadow underneath the floating buttress above the rear wheel.
And I used E080 to darken:
- the S-shaped reflections on the side;
- the reflections to the right and bottom of the side intake;
- the shadow under the buttress;
- and the spots above the front wheel.
I also used YR170 to color the whole front of the car as I found YR250 too light.

The last thing to color now is the reflections on the front of the car. I used YR190 to add some curly lines to the top left and top right of the front of the car.

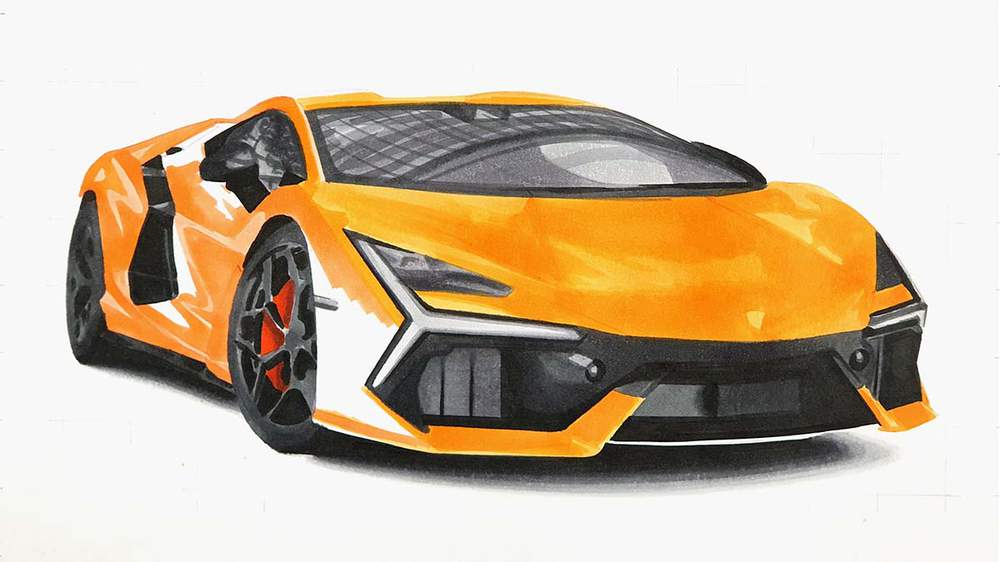
Step 14: Add Details to Your Lamborghini Revuelto Drawing
The whole car is now colored, but it could use some more details. And for that, we're going to use the White, Dove Grey, and Black Derwent pencils.
I started by using Dove Grey to:
- refine the spokes of the wheels and add a few highlights;
- add some highlights on the side skirt;
- add a few details to the left headlight;
- and add horizontal lines to both radiators on the front.
I used the White pencil to:
- add more details to the left headlights as well as add some details to the right headlight;
- add some light reflections to the side of the car and a few on the front;
- highlight some panel edges on the front of the Revuelto;
- and to color the lightest part of both Y-shaped lights.
And I used the Black pencil to:
- add a curved line to the right headlights;
- clean up the spokes of the front wheel;
- and to add the black of the Lamborghini logo on the front of the car.
Step 15: Add White Highlights to Finish Off Your Lamborghini Revuelto Drawing
And to finish the drawing off, I added some bright white highlights all over the car.
I added highlights to:
- the reflections on the side of the car;
- the roof;
- the side window and the windshield;
- the wheels;
- the headlights;
- and the Y-shaped lights.
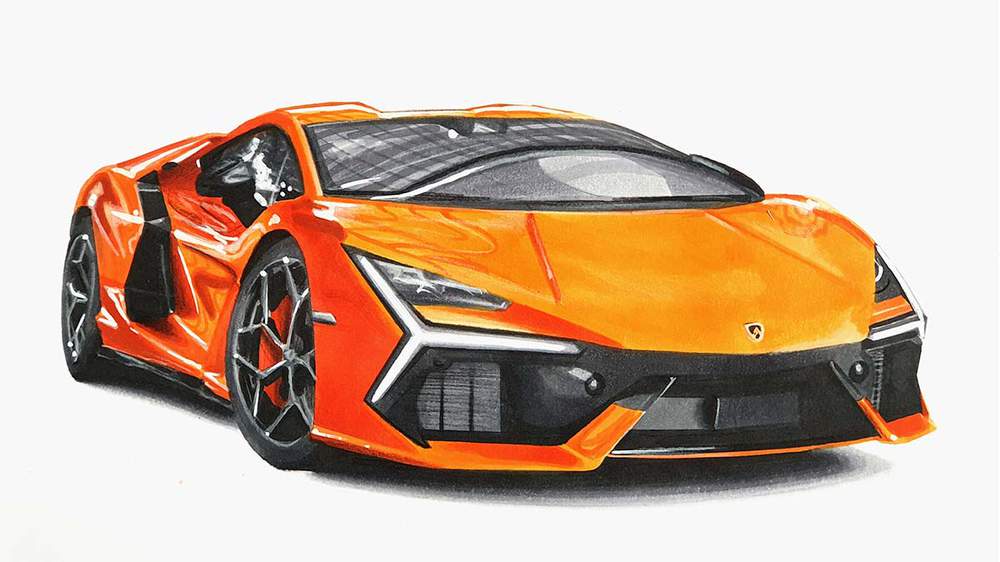
And That's How I Draw Cars Like the Lamborghini Revuelto
The Lamborghini Revuelto drawing is finished! I'm really happy with how this drawing came out. I hope yours turned out great too!
I hope you found this tutorial useful! If you did, please consider sharing it with others who might enjoy it. It would mean a lot to me!
And again, thank you to Ohuhu for sponsoring this post!
Tags
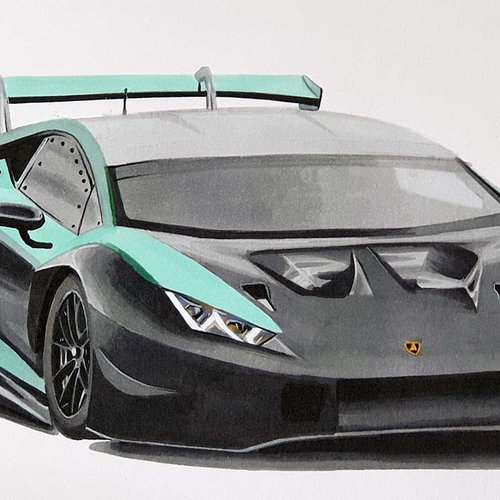
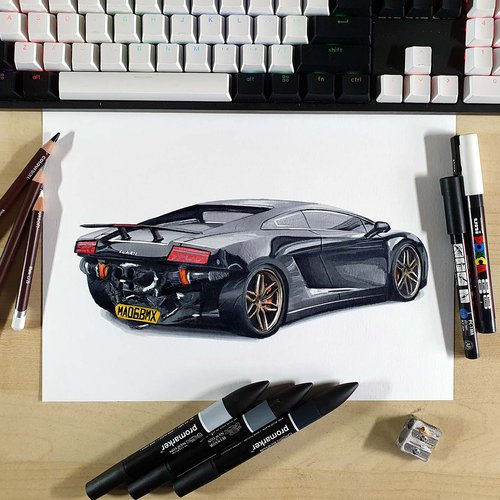
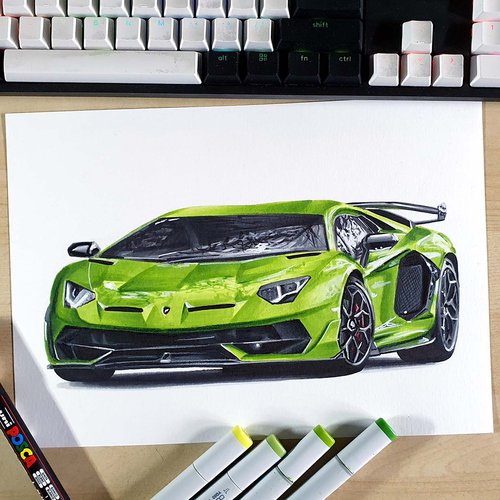
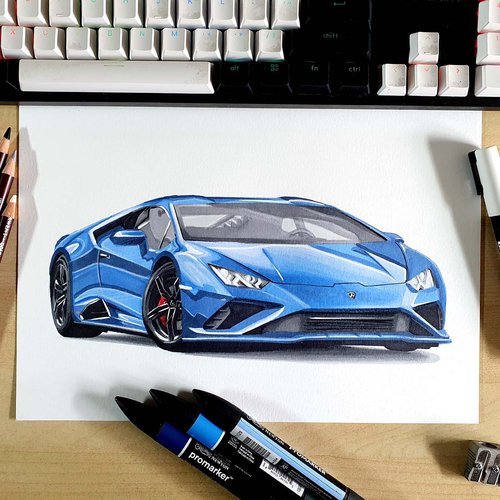
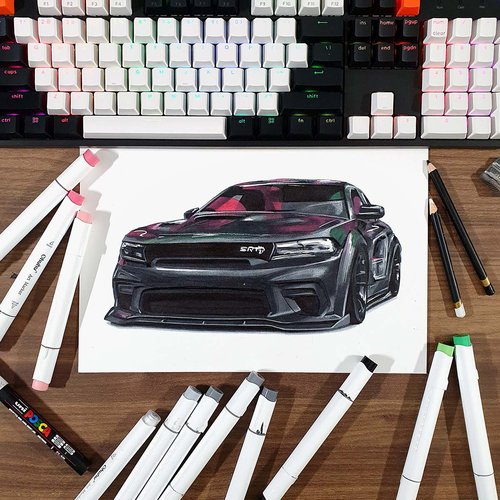
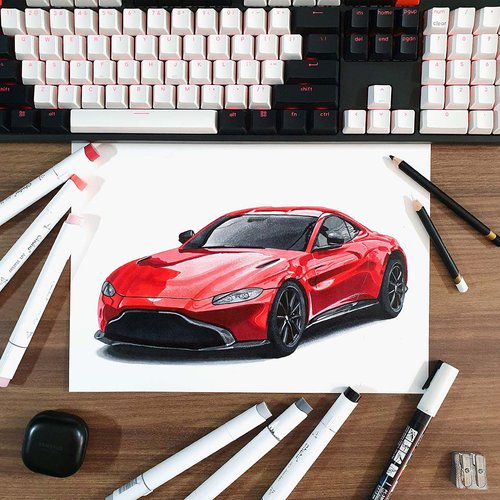
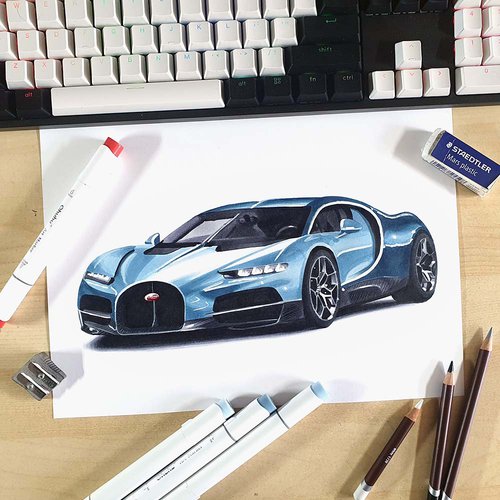
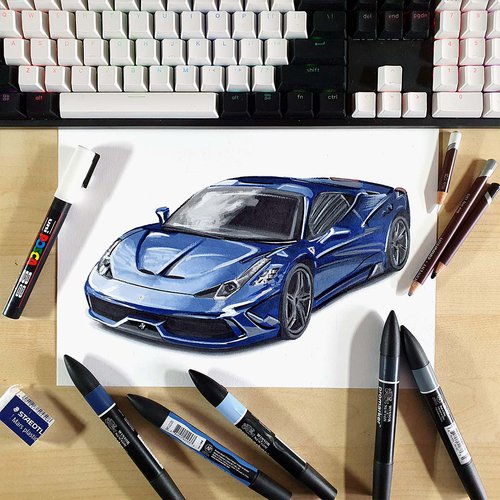
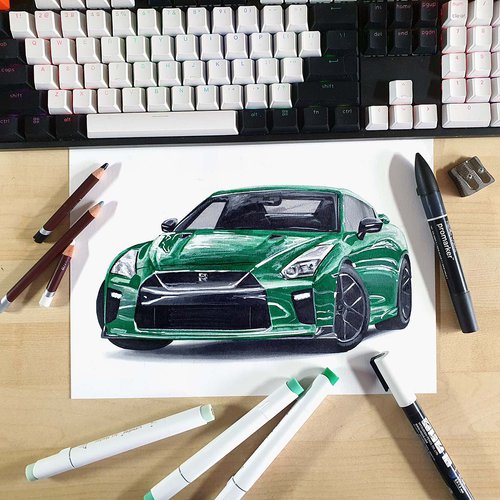
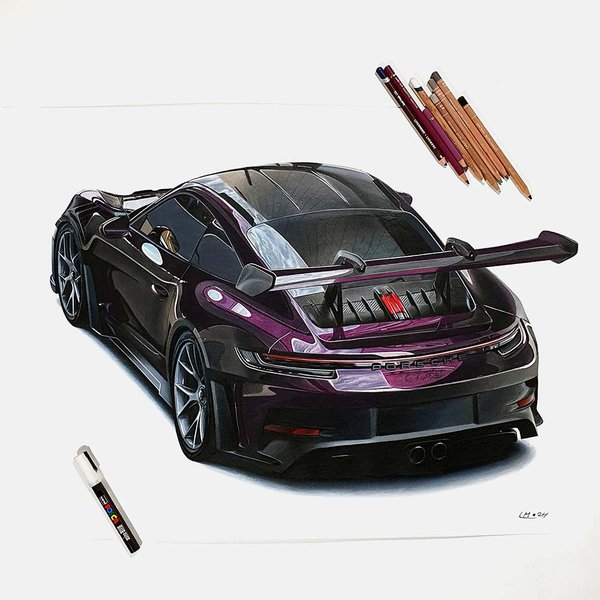
Articles You Might Also Like

I love bringing cars to life with alcohol markers and colored pencils.
Whether you're just starting out or looking to improve your skills, I'm here to help!
Click here to learn more about me.


Add a comment
Comments
What a nice web site in my opinion it helped me a lot