How to Draw a Crocus Flower - Easy Step by Step Tutorial

Want to draw a crocus flower for the spring?
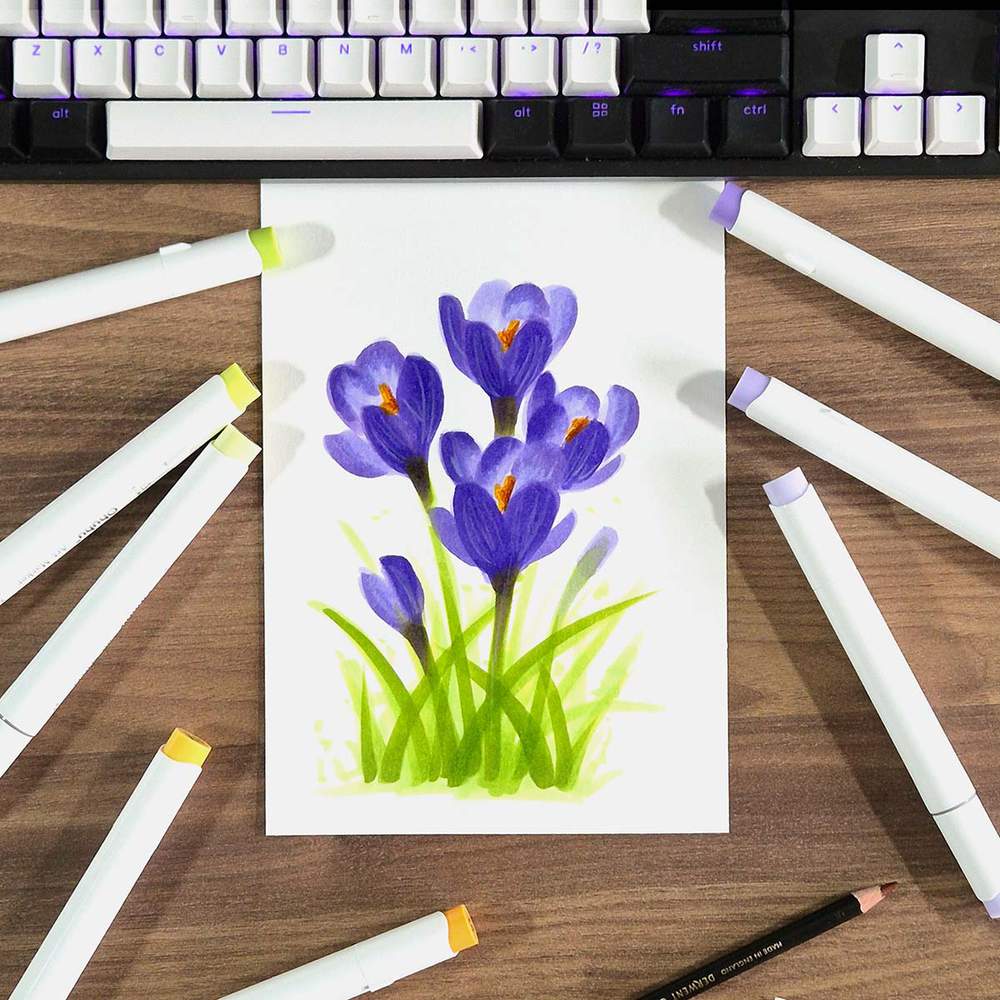
In this step-by-step guide, I show you a super easy way to draw purple crocuses with a few markers.
Let's start drawing!
Disclaimer: In the name of full transparency, please be aware that this blog post contains affiliate links and any purchases made through such links will result in a small commission for me (at no extra cost for you).
Art Supplies Used in this Guide
To make this easy crocus drawing, I used 8 Ohuhu Honolulu markers in the colors Viola (V230), Light Lavender (V250), Lavender (V270), Melon Yellow (YR33), Marigold (YR2), Sugarcane (GY7), Yellow Green (GY4), and Absinthe (GY5). You can buy these colors here.
Or you can buy a set to start with.
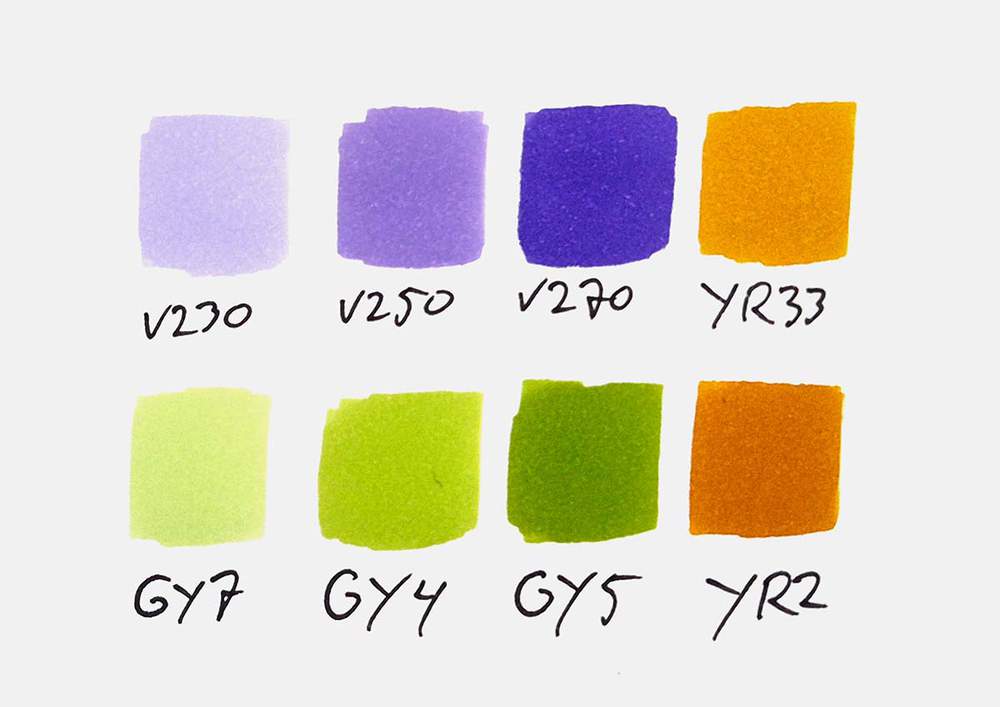
I also used 2 Derwent Chromaflow colored pencils from this set. The colors are White 2400 and an orange brown called Raisin 2000.
And I made this drawing on Canson Illustration Manga Paper.
How to Draw Crocus Flowers?
I wanted to try something different for this drawing.
Usually, I start my drawings with a sketch, but this time I wanted to go straight in with markers and see how that goes.
And I think this strategy works really well to create a quick and simple crocus flower drawing.
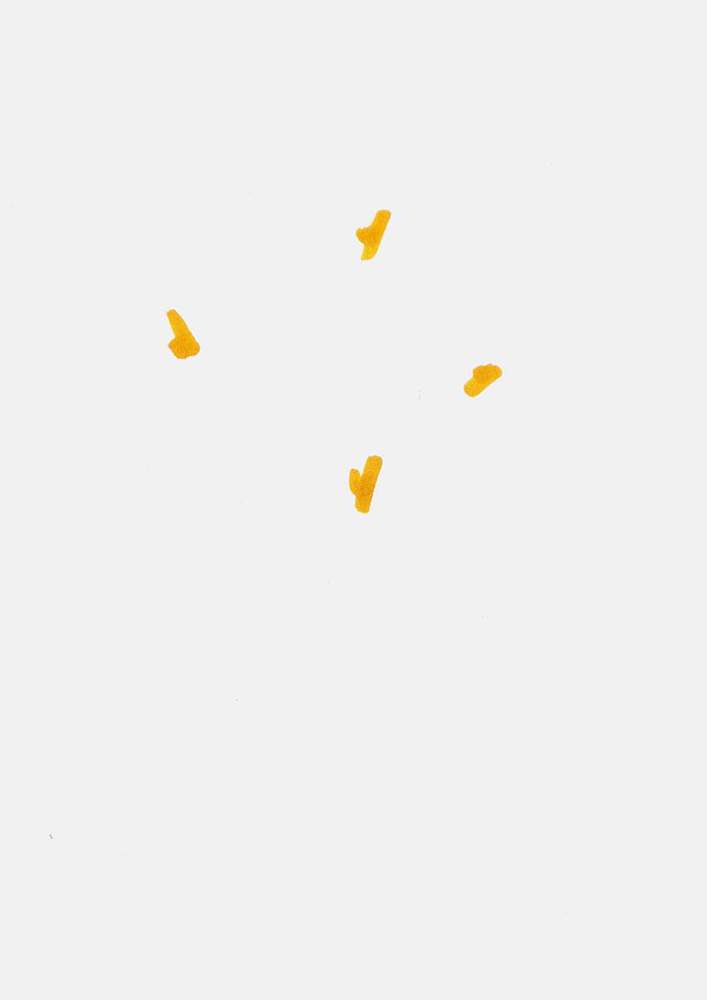
Step 1: Mark the Stamens of the Crocus Flowers
To start my crocus drawing, I marked the center of the 4 crocus flowers I wanted to draw.
I placed the centers of the crocuses in a diamond shape just above the middle of the paper, and I used Melon Yellow (YR33) to color them.
I made these spots orangy-yellow as they are also the stamens of the flowers.
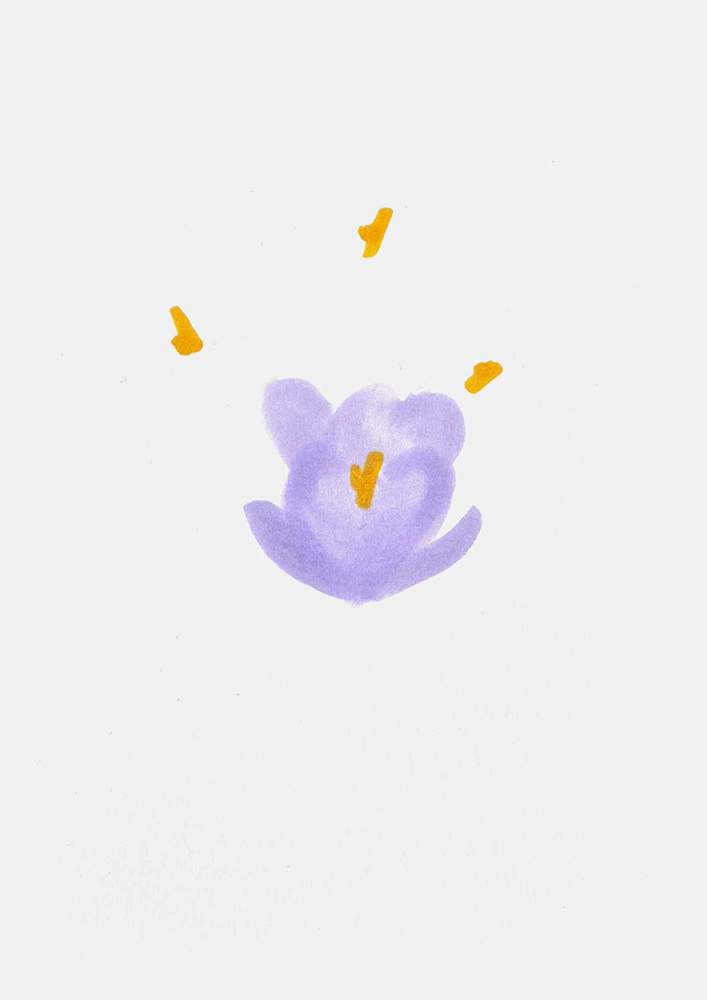
Step 2: Add the Petals around the Stamens
After we know where the crocus flowers will be, we can start adding the petals.
Brush markers are great for this. You just start at the top of a petal, make the top bit round, and end in a point at the bottom.
I started with the two frontmost petals of the bottom flower. These kinda form a heart shape.
To color these, I used a light purple called Viola (V230).

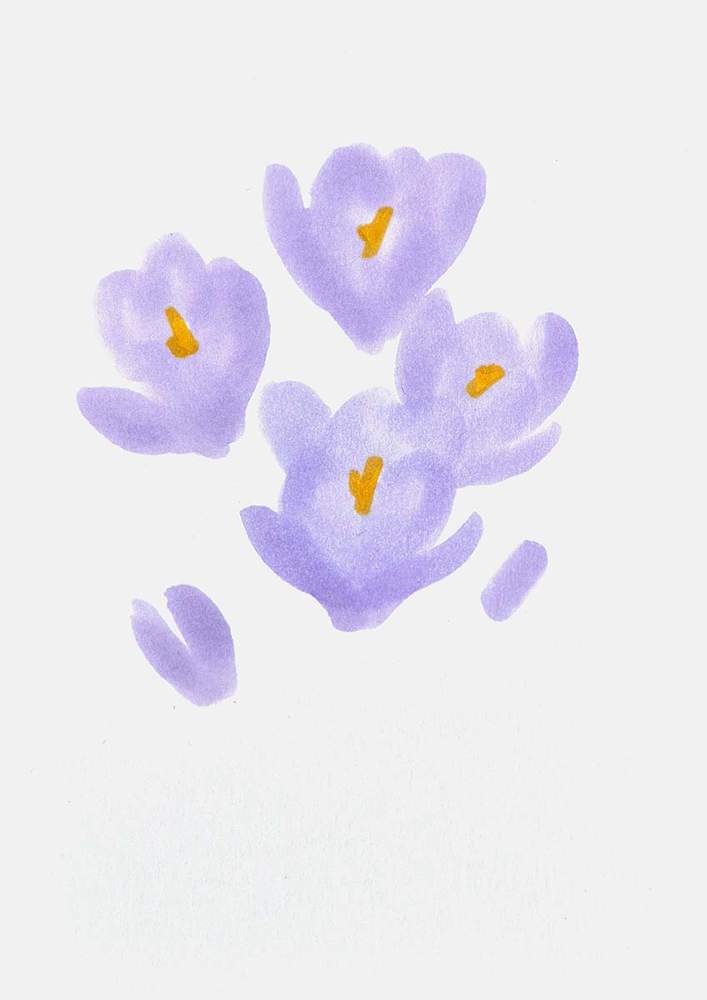
After that, I added the other petals to this flower using the same technique. It now looks like this:
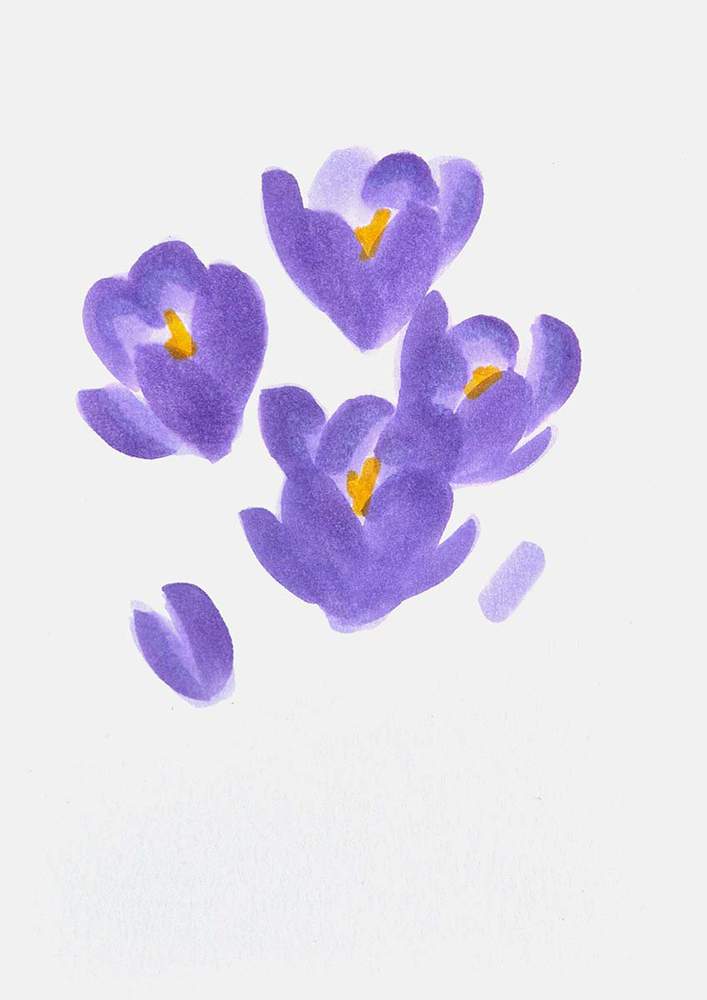
After completing the shape of the first crocus flower, I added the petals to the other ones, too. I also added 2 flower buds, 1 small one on the right, and a bigger one that's about to flourish on the left.
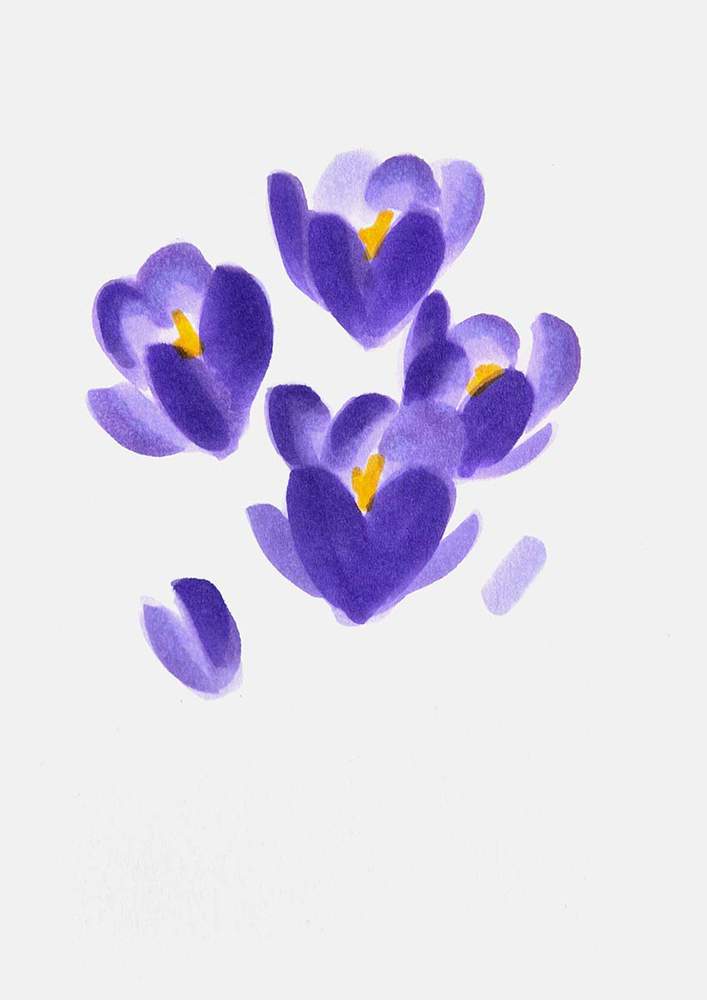
Step 3: Add Shading to the Petals with Darker Purple Tones
To make the crocuses look less flat, I added some shading to the petals.
I first used Light Lavender (V250) to shade the front petals and the top edge of the one further to the back.
Where I shaded the top edge of the petals, I made sure to blend it into the lighter purple at the bottom by coloring over it with the lighter Viola (V230).
Lastly, I added the darkest shading to the front-most petals and the top edge of a few petals further back.
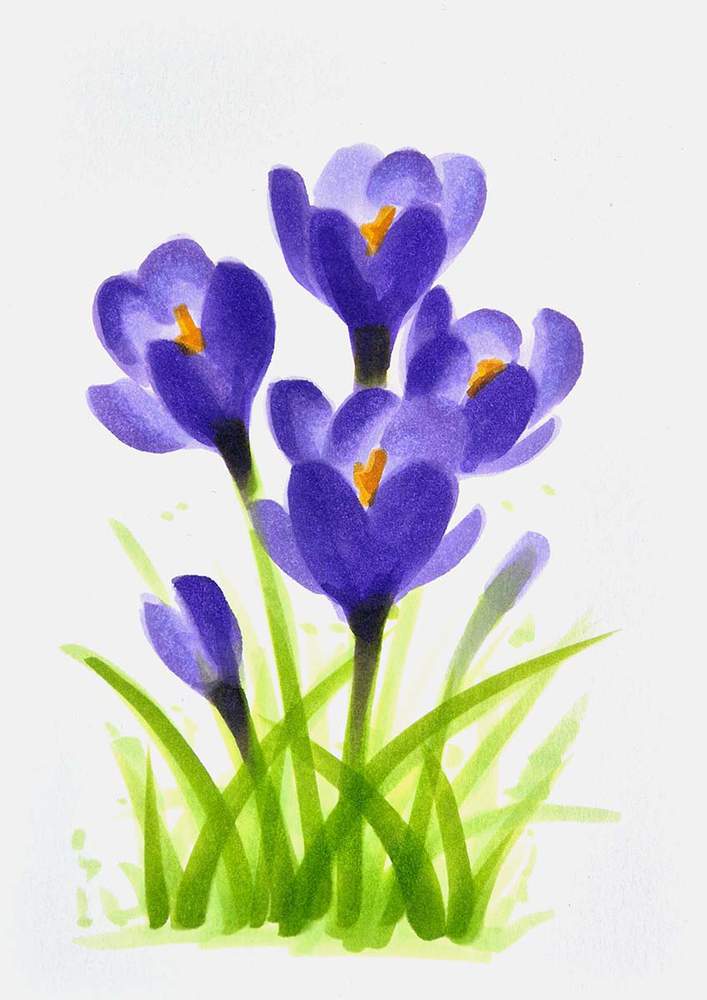
Step 4: Add the Stems of the Crocuses
To make the crocuses not flower in the air, I added the stems and some more greenery.
To do this, I just connected the base of each crocus flower to the ground with a light green marker called Sugarcane (GY7).
I also added long crocus leaves and grass-like lines.
And to make it look a bit more interesting, I added some light green dots around the greenery.
I also added some shading to the right side of the stamens with Marigold (YR2).

After that, I also added depth to the greenery with 2 darker shades of yellow green called Yellow Green (GY4) and Absinthe (GY5).
I mostly darkened the stems and the grass in the foreground, while leaving the greenery further back lighter. This creates more depth.
To blend the crocus flower into the stems, I layered some purple over the green at the top of each stem.
Step 5: Add Some Details & Highlights to the Crocus Drawing
This easy crocus drawing already looks quite good, but I wanted to add just a bit of detail to the drawing.
To do this, I used 2 colored pencils from my Derwent Chromaflow set: Raisin 2000 and White 2400.
I used Raisin to add just a bit of shading to the right side of the stamens of the crocuses.
And I used white to add some lines across the length of the petals, just a few.
These simple tricks create a little bit more dynamic in the drawing, which I really like.
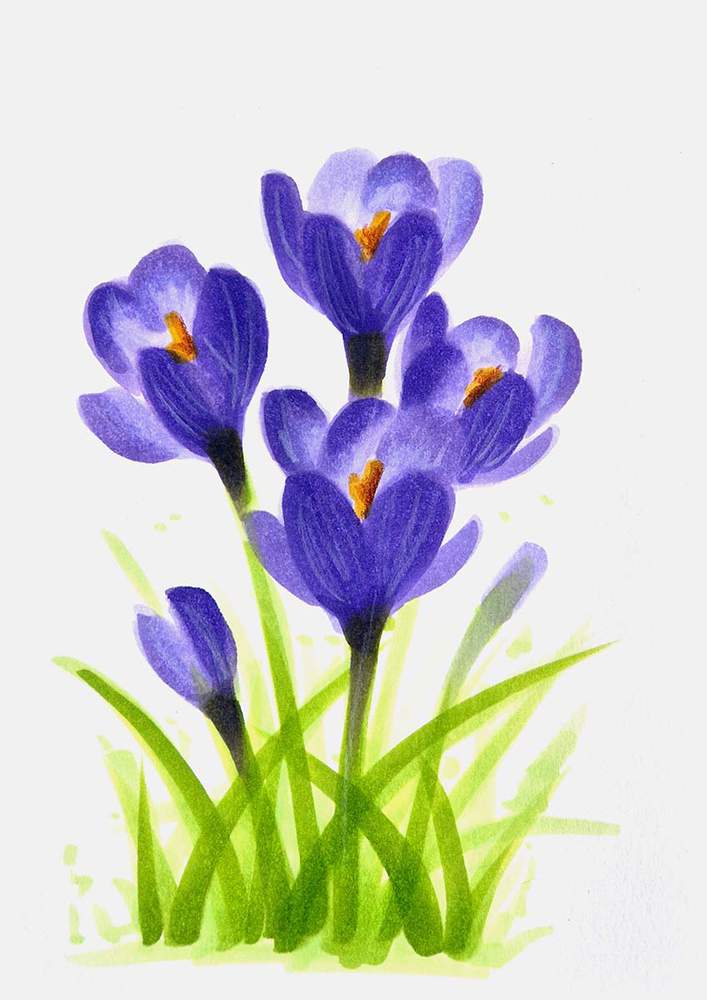
And that's the simple crocus drawing all done!
I hope you enjoyed this more simple crocus flower drawing guide and were able to create your own crocus flower drawing this spring!
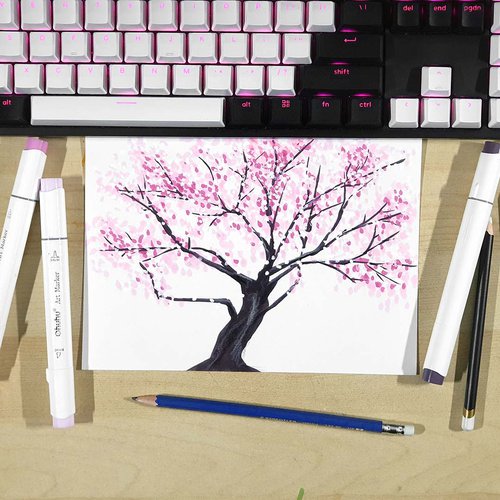
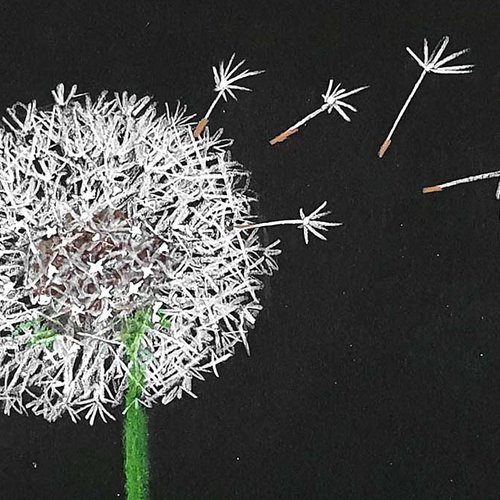
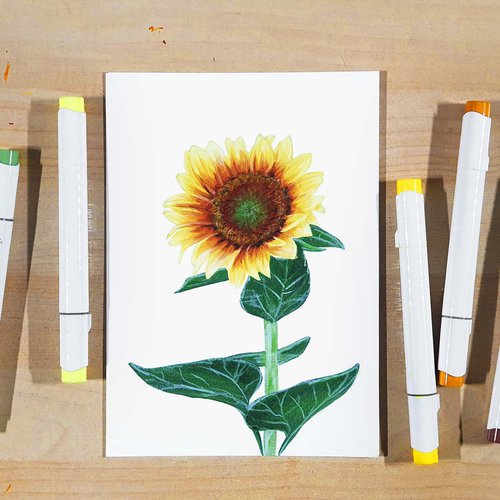
If you liked this guide, you may also like these step-by-step drawing guides I made.
Articles You Might Also Like


I love bringing cars to life with alcohol markers and colored pencils.
Whether you're just starting out or looking to improve your skills, I'm here to help!
Click here to learn more about me.


Be the first to comment!
Comments
There are no comments yet.