9 Ways to Add Depth to Your Drawings
Artistry lies not just in the ability to draw, but in the ability to breathe life into drawings by making them appear as real as possible. This magic is often the result of effectively creating depth in your artwork. Depth can add a sense of three-dimensionality to your sketches, transforming them from simple flat designs into more engaging, dynamic illustrations. By mastering various techniques to create depth, you can provide your audience with a more immersive viewing experience.
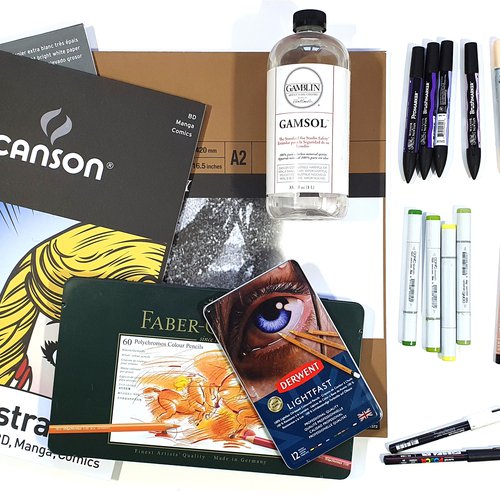
And if you're interested in realistic drawings, check out my blog article on the 5 Best Colored Pencils to take your art to the next level.
The Importance of Depth in Drawings
Depth is crucial in drawings as it helps to replicate the way we perceive the world around us. In real life, objects are in three dimensions and vary in distance from us. By using depth, we can illustrate this variation in our drawings, bringing a level of realism and vitality that flat drawings often lack. Understanding and skillfully applying depth to your art can add richness and make your work more captivating and meaningful.
How Do You Create Depth In Your Drawings?
There are numerous techniques to create depth, including understanding and applying perspective, establishing a foreground, middle ground, and background, considering the depth of field, utilizing size and scale, employing value and contrast, implementing atmospheric perspective, incorporating linear perspective lines, mastering shading, and lighting techniques, and adapting texture for depth. Each technique requires a unique approach, and the optimal use of these techniques can create stunning depth effects in your drawings.
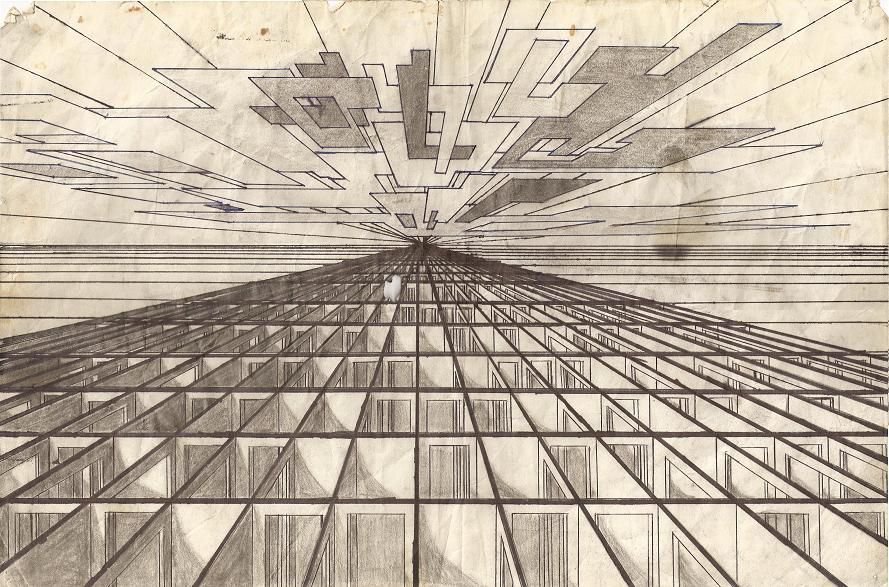
1. Understanding Perspective

One of the fundamental techniques to create depth in your drawings is understanding and utilizing perspective. Perspective helps translate a three-dimensional world onto a two-dimensional surface, giving the illusion of depth.
Perspective is the art of representing three-dimensional objects on a two-dimensional surface to give the right impression of their height, width, depth, and position in relation to each other. Essentially, it's a tool that lets artists dictate where the viewer's eyes should go and how they should interpret the spatial relationships in the artwork. It is one of the most critical concepts in creating a sense of depth and distance in your drawings.
One-Point Perspective
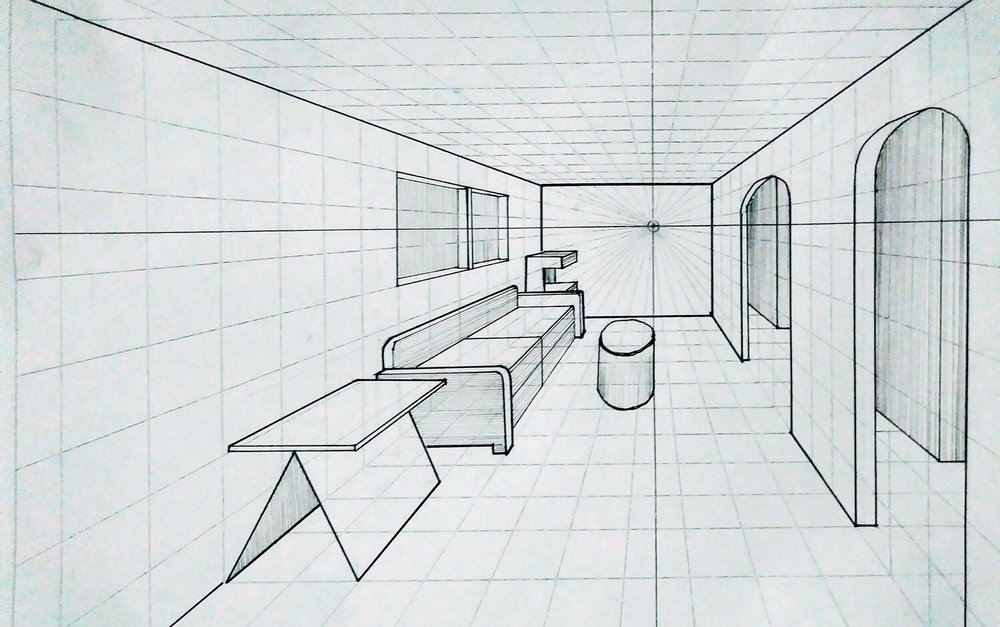
In a one-point perspective, all lines converge to a single point on the horizon, known as the vanishing point. This technique is commonly used in drawings where the front of an object is facing the viewer. The sides of the object, which recede into the distance, meet at the vanishing point, creating a strong sense of depth.
Two-Point Perspective
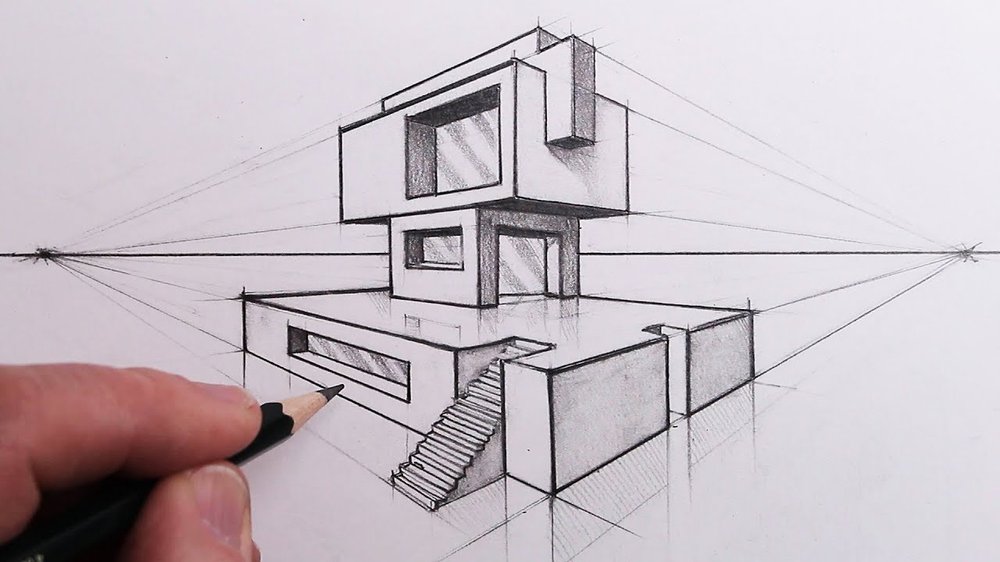
In a two-point perspective, we have two vanishing points on the horizon line. This perspective is typically used when the corner of an object is facing the viewer. Lines parallel to the two axes of the object recede to the two vanishing points, creating a more dynamic and realistic sense of depth.
Three-Point Perspective
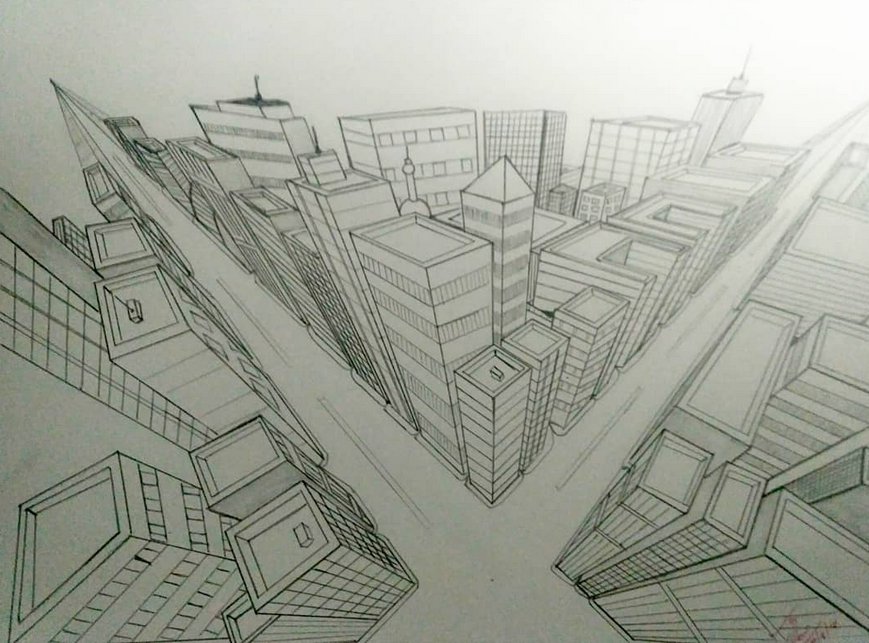
Three-point perspective introduces a third vanishing point, which is typically either high above the horizon (for bird's eye views) or far below it (for worm's eye views). This perspective is often used for tall structures or when looking up or down dramatically, creating an even more profound sense of space and scale.
Mastering perspective requires practice. It's beneficial to start with simple shapes and gradually move to more complex forms. Additionally, remember that the horizon line represents the viewer's eye level, so place it carefully. Finally, use a ruler or straight edge to ensure your receding lines are accurate and lead convincingly to your vanishing points. Keep practicing, experimenting, and observing real-world perspectives to get better over time.
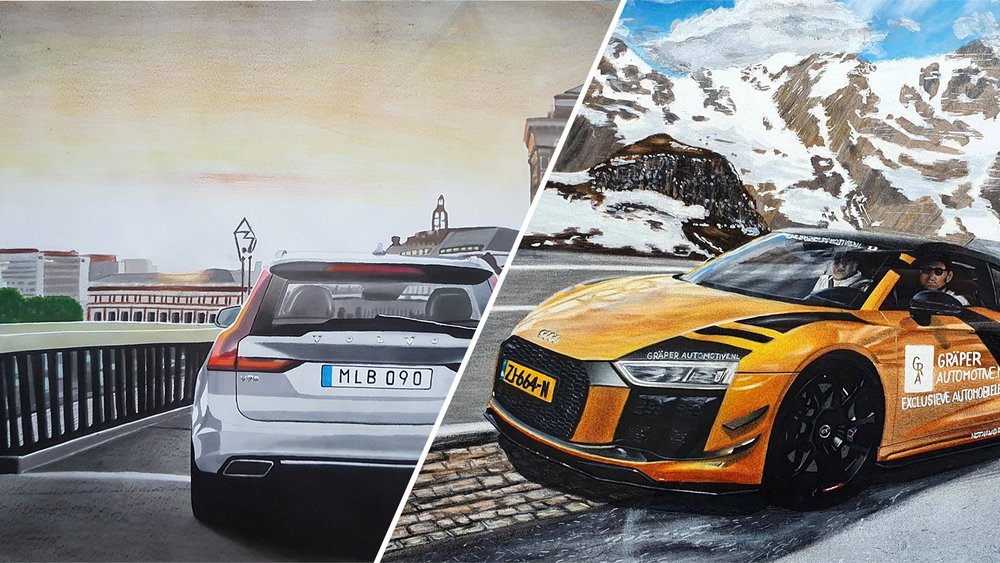
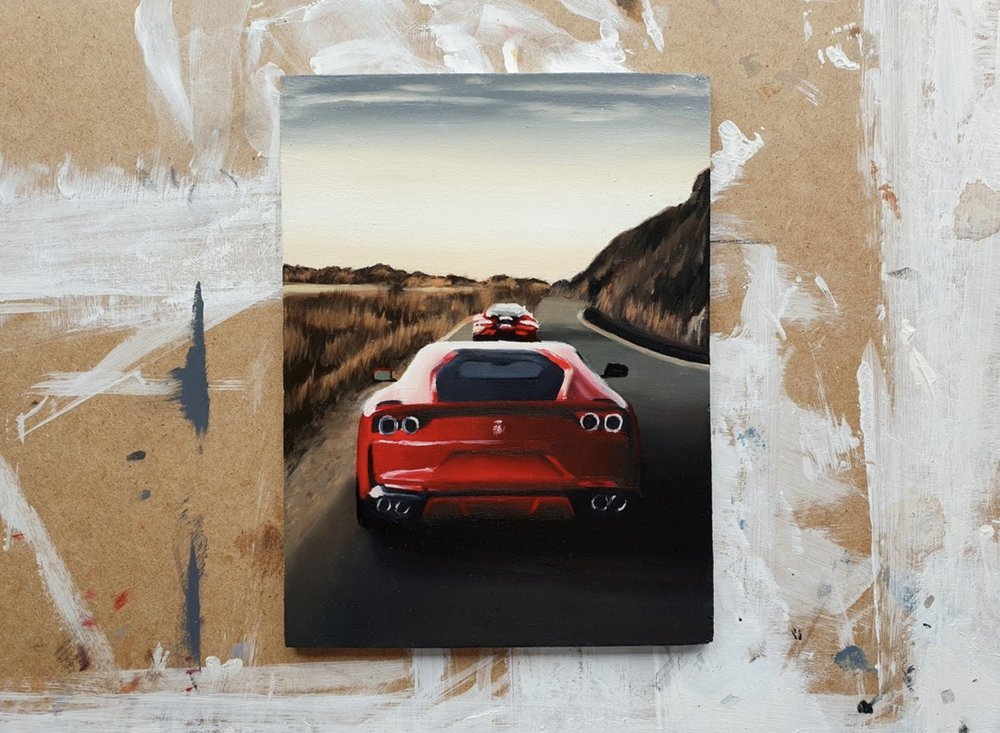
2. Establishing Foreground, Middle Ground, and Background

As part of creating depth in drawings, the division of your art into different planes - foreground, middle ground, and background - can play an integral role. This division mirrors the way we perceive depth in real life and can add a significant sense of realism to your drawings.
In our visual field, objects closer to us appear more prominent and detailed than those far away. By dividing your artwork into a foreground, middle ground, and background, you mimic this effect, creating a more immersive and realistic depiction. This division can also guide your viewer's attention, prioritizing certain elements and creating a logical and intuitive visual flow.
Creating Depth through Size and Detail Variation
The objects you draw in the foreground should be larger and more detailed than those in the background. This difference in size and level of detail helps to reinforce the illusion of depth. The viewer's eye will naturally interpret larger and more detailed objects as being closer.
Using Overlapping Objects to Convey Depth
Another effective way to convey depth is by overlapping objects. When one object covers a part of another, the viewer naturally perceives the overlapping object as closer, helping to create a sense of depth.
3. Considering Depth of Field

Depth of field is a concept borrowed from photography that can also be powerfully utilized in drawings to enhance depth perception.
In photography, depth of field refers to the range within a photo that appears sharp and in focus. Similarly, in drawings, depth of field can be used to indicate which parts of the drawing are supposed to be in sharp focus (usually the area of interest), while other parts can be less detailed or even intentionally blurred.
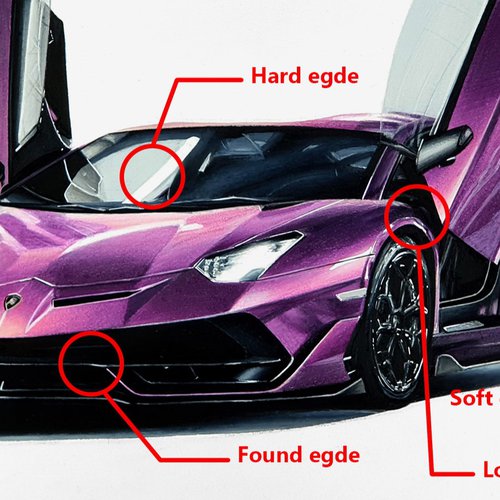
Selective Blurring and Softening Techniques for Creating Depth
By blurring or softening parts of your drawing, you can create a "bokeh" effect, making these areas appear as if they're in the background. This can be achieved with various techniques, depending on your medium - smudging in pencil or charcoal, using a dry brush technique in painting, or layering softer, less detailed lines in ink, to name a few. These techniques can direct the viewer's attention to the sharp, detailed parts of the drawing, further enhancing the illusion of depth.
4. Utilizing Size and Scale
The correct use of size and scale is fundamental to the successful portrayal of depth in your drawings. They help convey the relationship between different objects in your composition and their relative distance from the viewer.
The concept is simple: objects that are closer to us appear larger, and those that are farther away appear smaller. By portraying this in your drawings, you create a sense of depth and distance.
Learning to adjust the size of objects based on their position in the picture plane is key. In the foreground, objects should be drawn larger and with more detail. As objects move toward the middle ground and background, they should decrease in size and detail. Remember, this applies to all elements in your drawing, including people, buildings, and even landscape elements.
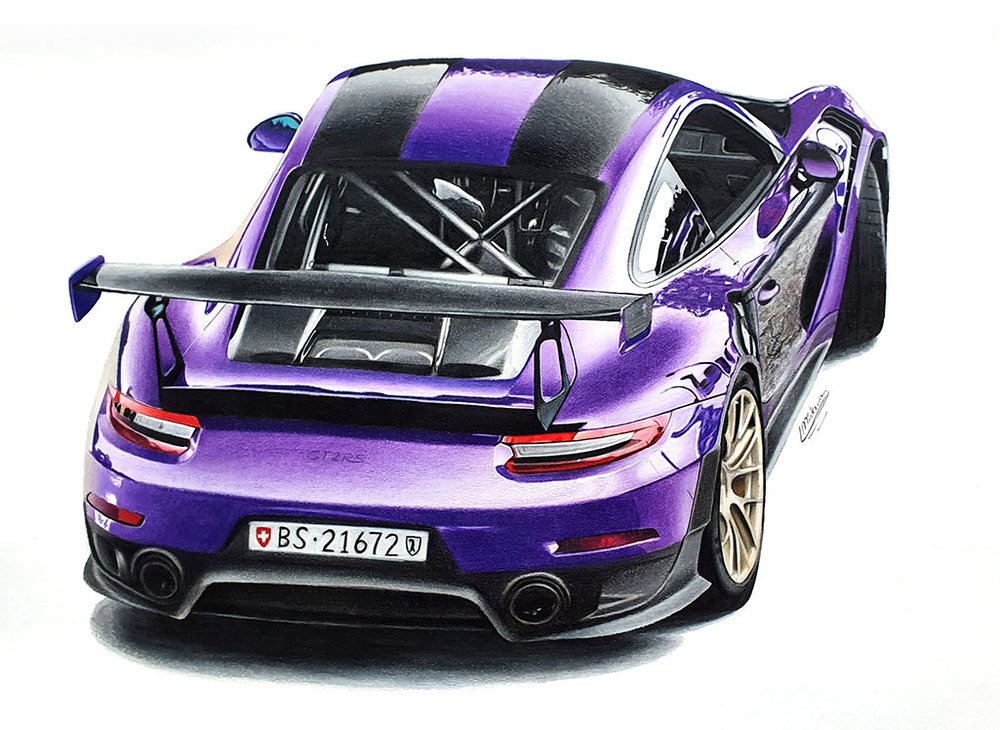
5. Employing Value and Contrast
Values and contrast in your drawings can dramatically enhance the sense of depth. Value refers to the lightness or darkness of a color or tone, while contrast refers to the difference in color or value between elements in a composition.
Through the strategic use of value and contrast, you can guide the viewer's eye and create the illusion of depth. Lighter values are often interpreted as being farther away, while darker values appear to be closer. Moreover, areas of high contrast can draw attention and appear to be closer to the viewer, while areas of low contrast tend to recede into the background.
Using Light and Dark Tones Effectively
To create depth using value, start by deciding where your light source is in the drawing. Once you've established this, you can shade your objects accordingly, with areas facing the light being lighter, and areas in shadow being darker. This will not only give your objects a three-dimensional form but also create a sense of depth in the entire composition.
Enhancing Contrast for Depth Perception
High-contrast areas tend to draw the viewer's attention and appear closer, while areas of low contrast seem to recede into the distance. By strategically placing high-contrast areas, you can guide the viewer's eye through the drawing, emphasizing important elements and creating a sense of depth.
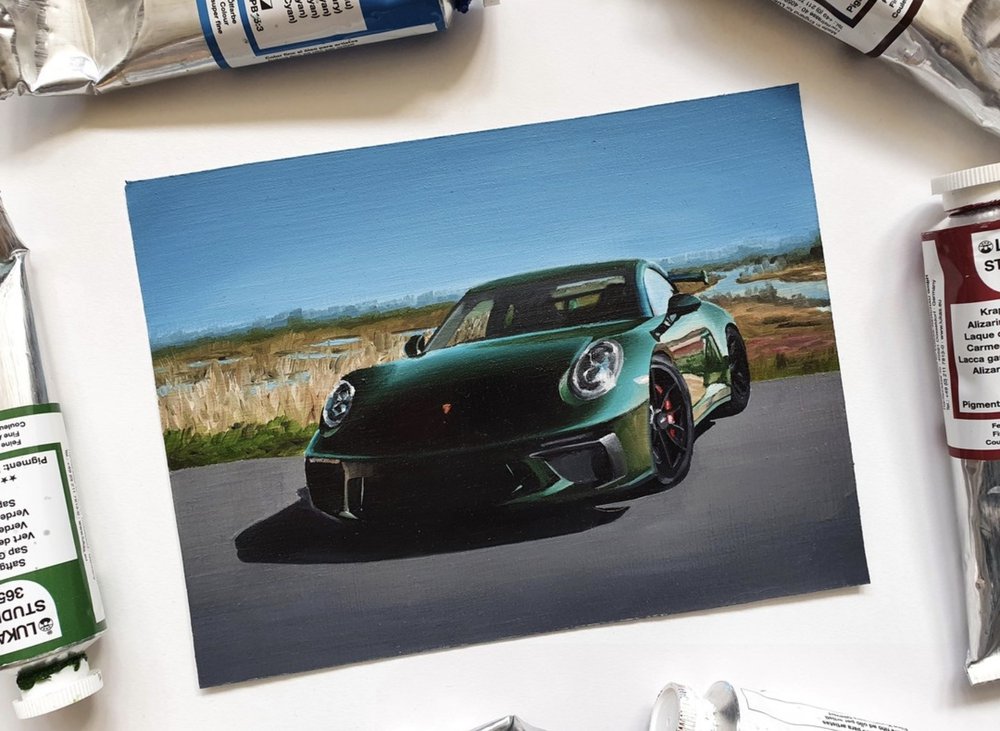
6. Implementing Atmospheric Perspective

An atmospheric perspective is a valuable tool in your arsenal for creating depth in drawings. It leverages the natural phenomena we observe when looking at landscapes or large-scale scenes.
Atmospheric perspective, also known as aerial perspective, refers to the effect the atmosphere has on the appearance of objects viewed from a distance. As the distance between an object and a viewer increases, the contrast between the object and its background decreases, and the color of the object becomes bluer and less saturated.
Creating Distance through Haze, Reduced Detail, and Lighter Colors
You can employ atmospheric perspective in your drawings by reducing the level of detail and the contrast of objects as they recede into the background. Also, you can shift colors towards a cooler palette (think blues and greys) for distant objects. The effect is similar to looking through a slight fog - distant objects appear blurry and washed out, creating a sense of depth.
7. Incorporating Linear Perspective Lines
Linear perspective lines are an essential tool for adding depth to a drawing. They guide the viewer's eyes and provide a mathematical approach to drawing a three-dimensional scene on a two-dimensional surface.
Converging lines are lines that meet at a point, known as the vanishing point. In the context of linear perspective in drawings, they give a sense of depth as they imply that the objects are receding into the distance. The more the lines converge, the greater the perceived distance, and thus, the greater the sense of depth.
Use perspective lines as guidelines to position objects in your drawing. They should all converge at the vanishing point(s), which should lie on the horizon line. Also, objects placed along these lines should decrease in size as they get closer to the vanishing point. Remember to ensure that all vertical lines of an object stay parallel unless you're working with a three-point perspective. These techniques will create a realistic sense of depth and volume in your drawings.
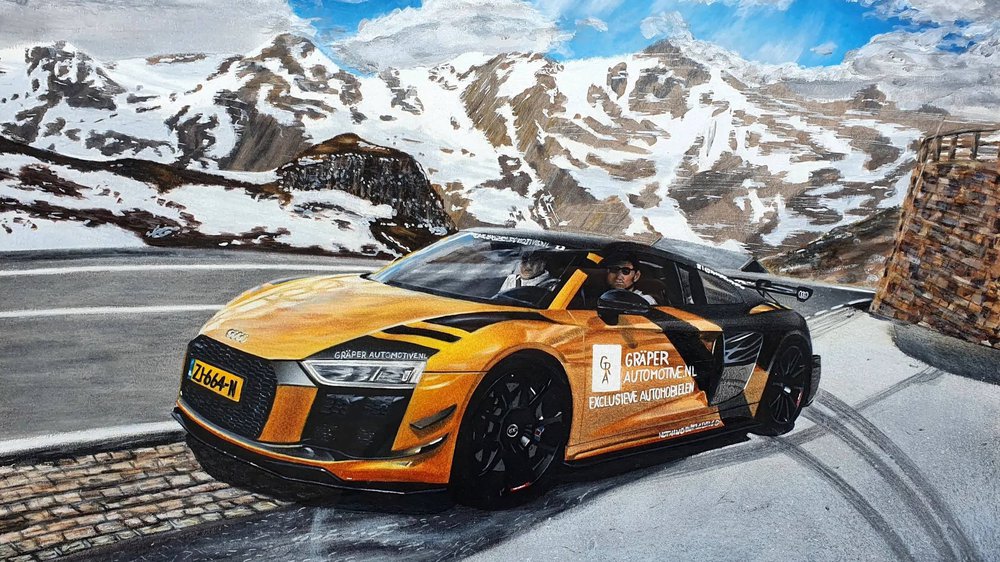
8. Mastering Shading and Lighting Techniques
Shading and lighting are indispensable tools in the creation of depth in your drawings. These techniques contribute significantly to the illusion of three-dimensionality by replicating the way light interacts with objects in real life.
Shading is the technique of varying the lightness and darkness in your drawings. It gives you the ability to add volume to your shapes, turning them from two-dimensional figures into three-dimensional forms. By accurately representing how light falls on an object and how shadows are cast, you can create a convincing illusion of depth.
Techniques for Rendering Highlights, Mid-tones, and Shadows
Effective shading requires a good understanding of light and how it interacts with different shapes. It involves three main elements: highlights (the lightest part where the light hits the object directly), mid-tones (the transition area between light and dark), and shadows (the darkest part where light is blocked). Begin by identifying your light source and then shade your objects accordingly. Use a range of tones to depict different parts of the object, and remember to maintain consistency with the light source throughout your drawing.
Using Light Sources Effectively
Incorporating multiple light sources can add complexity and realism to your drawings. Be mindful that each additional light source adds additional highlights and shadows, and these must be consistent across all objects in your drawing. Also, consider the color and intensity of your light sources, as they can significantly affect the mood and depth of your drawing.
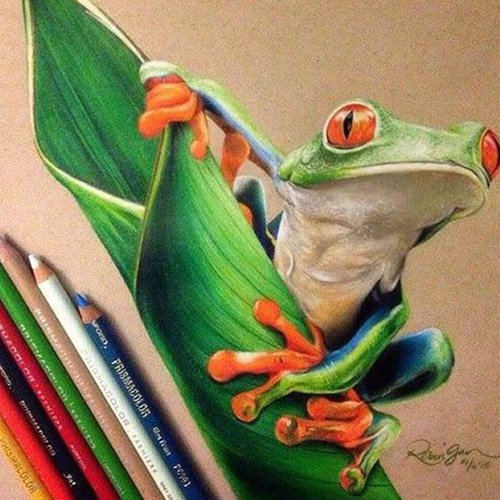
9. Adapting Texture for Depth
Texture can be a powerful tool to add depth to your drawings. The manipulation of texture can help emphasize the distance and relationship between objects in your artwork.
In the real world, objects closer to us show more texture than those farther away. This is due to the level of detail our eyes can perceive at different distances. In a drawing, you can replicate this effect to enhance the sense of depth.
Differentiating Textures Based on Distance and Position
Objects in the foreground should have a higher level of texture detail, while those in the background should have less. For example, a tree close to the viewer can be drawn with visible bark patterns and individual leaves, while a tree in the distance might be represented simply by a rough shape and color. This variance in texture detail reinforces the illusion of depth in your drawing. Practice observing and replicating different textures to expand your drawing skills and make your art more engaging.
Tags
Articles You Might Also Like


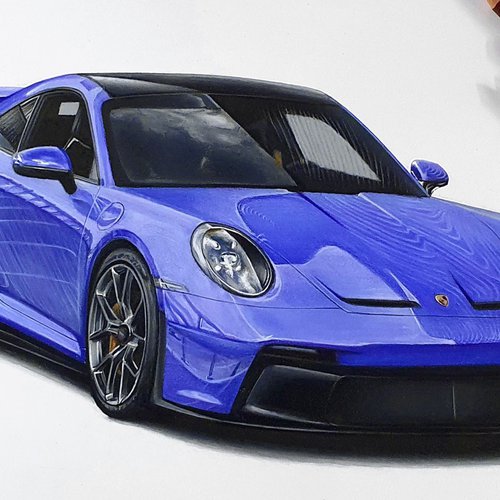

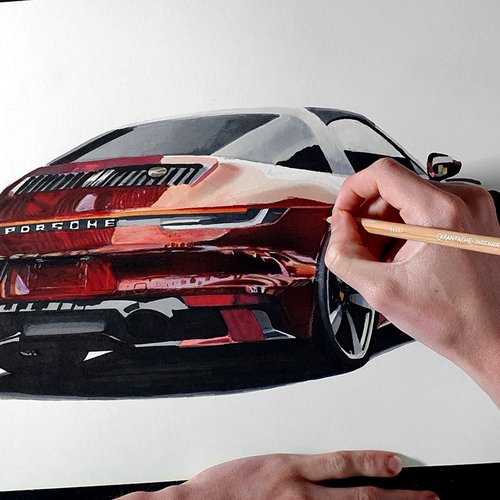


I love bringing cars to life with alcohol markers and colored pencils.
Whether you're just starting out or looking to improve your skills, I'm here to help!
Click here to learn more about me.


Be the first to comment!
Comments
There are no comments yet.