How To Draw Sasuke Uchiha - An Easy-To-Follow Step-By-Step Tutorial
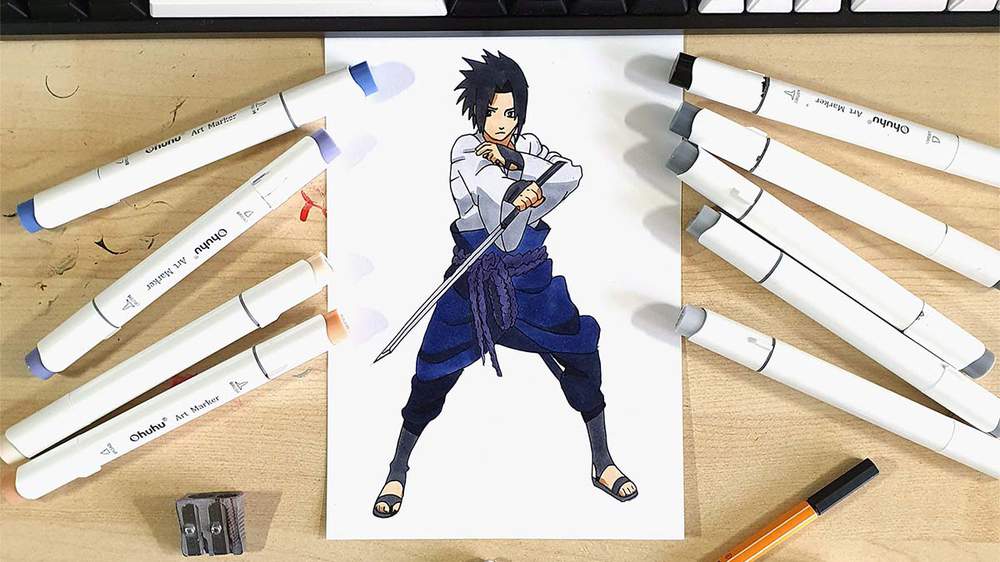
In this drawing tutorial, I'll show you how to draw Sasuke Uchiha from Naruto.
I've broken the whole process up into small, easy-to-follow steps so you can follow along and create your own Sasuke drawing.
Let's get started!
Disclaimer: In the name of full transparency, please be aware that this blog post contains affiliate links and any purchases made through such links will result in a small commission for me (at no extra cost for you).
Drawing Supplies I Used In This Tutorial
To make this Sasuke drawing, I used Ohuhu Honolulu markers in the colors Soft Sun (E160), Dark Suntan (E110), Dark Lavender (V450), Prussian Blue (PB5), Neutral Grey 02 (CG020), Neutral Grey 05 (CG050), Neutral Grey 07 (CG070), Neutral Grey 6 (NG06), and Black (120).
I also used a black fineliner, a graphite pencil, and an eraser.
And I made this drawing on A4-sized Canson Illustration Manga paper, which I cut in half.
How Do You Draw Sasuke From Naruto?
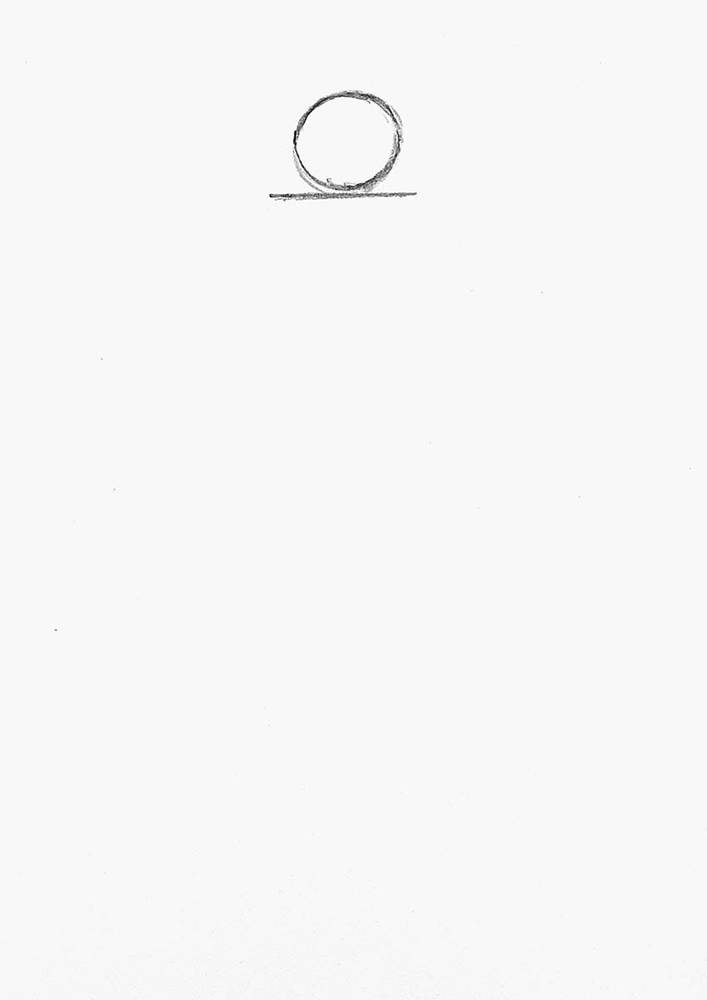
Step 1: Sketch A Circle & A Horizontal Line
To sketch Sasuke, I first sketched a small circle at the top of my paper, and below that I sketched a horizontal line.
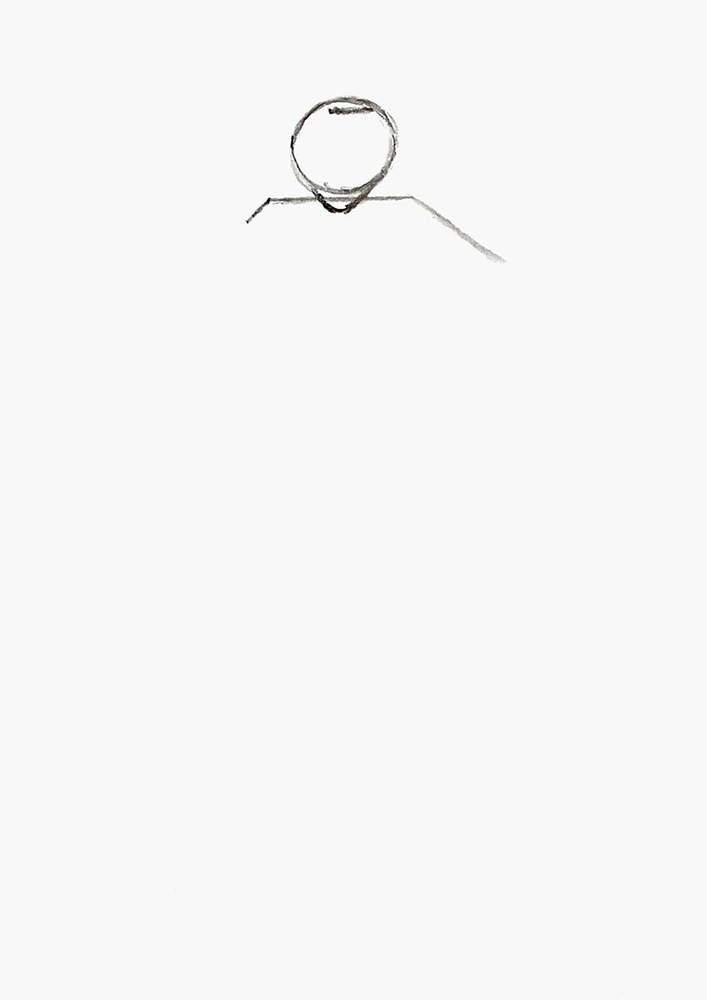
Step 2: Sketch Sasuke's Neck, Hair, And Shoulders
Next, I sketched his neck, which looks kinda like a wide U-shape.
I also sketched a short diagonal line on the left side of the horizontal line to mark the edge of his right shoulder.
On the right side of the horizontal line, I added a longer line, which will be the start of his left arm.
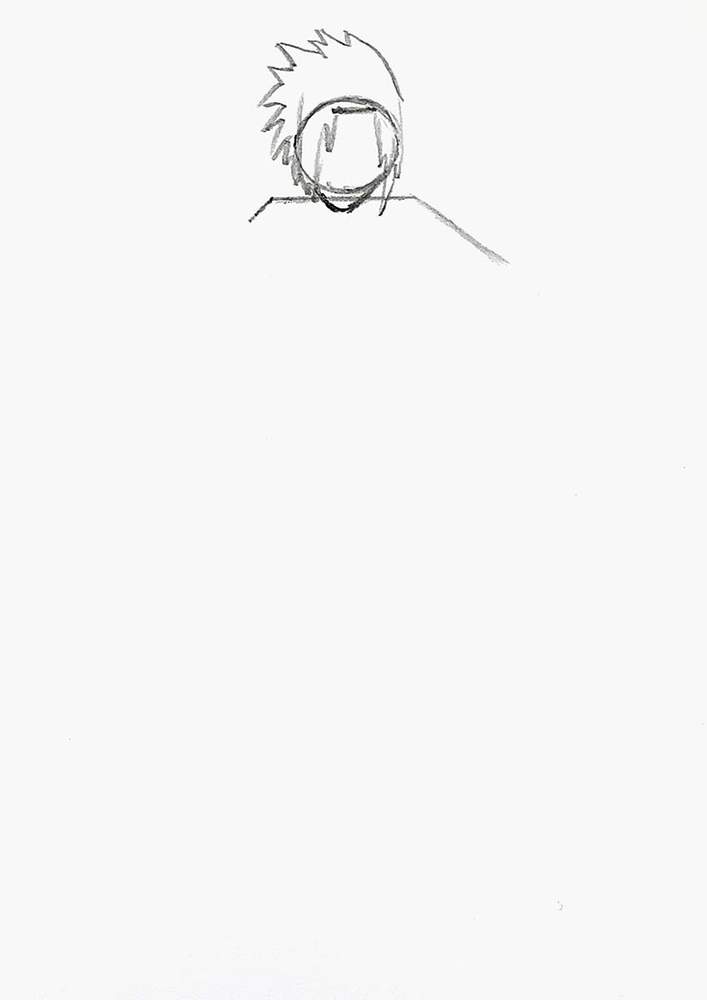
Step 3: Sketch Sasuke's Hair
After that, I sketched Sasuke's hair.
I first sketched a short horizontal line to mark his hairline.
From that, I added some longer strands of hair to either side of his face, and I added the hair on top of his head.
His hair consists of points all pointing towards the left.
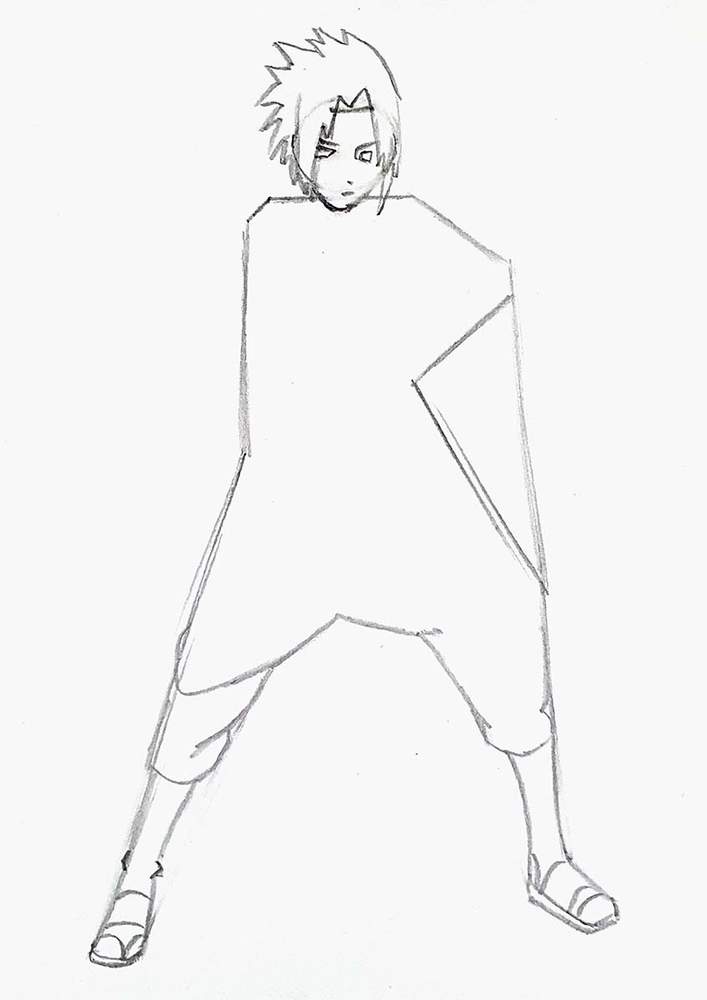
Step 4: Sketch The Outline Of Sasuke's Body & Sketch His Facial Features
Next, I sketched the basic outline of Sasuke's body, starting with a vertical line down from his right shoulder (on the left) and a short vertical line from his left arm (on the right).
Below the short line on his left arm, I sketched a triangle with the right edge pointing down and a little bit to the right to end just below the halfway point of the paper.
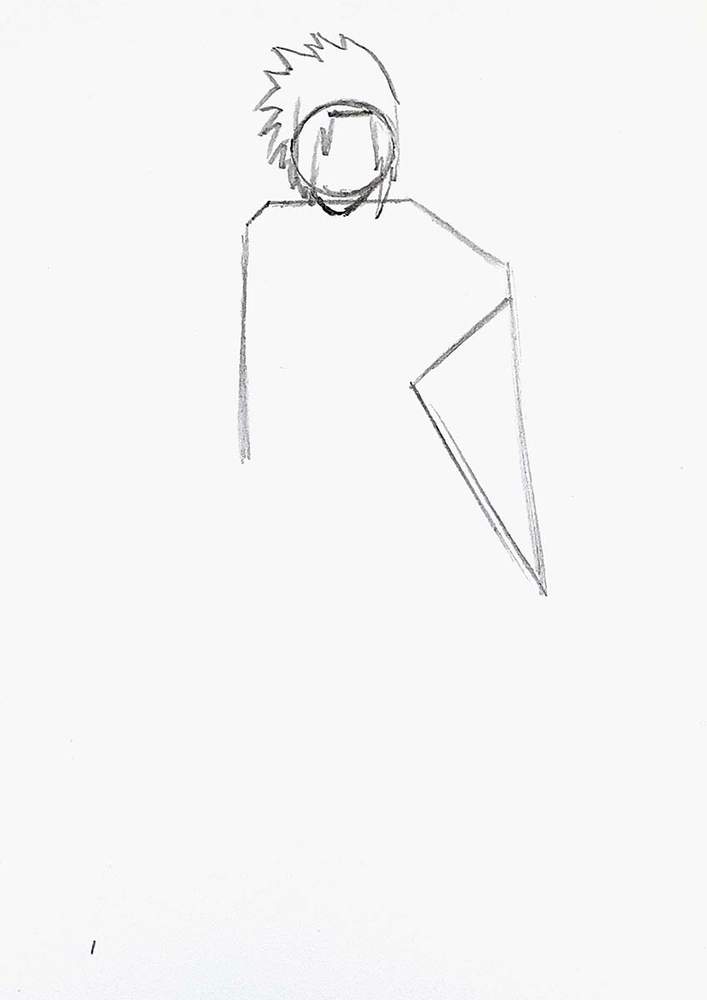
Then, I added a straight line from his right side (on the left) to the bottom left corner of my paper.
On his left side (on the right), I continued the line down from the triangle, doubling it in length.
During this step, I also sketched his eyes, nose, and mouth after I erased the circle we started with.

Next, I sketched the outer edge of his sandals.
On the left, it's just a short horizontal line with both ends curving upwards. On the right, it's more like a brick shape.
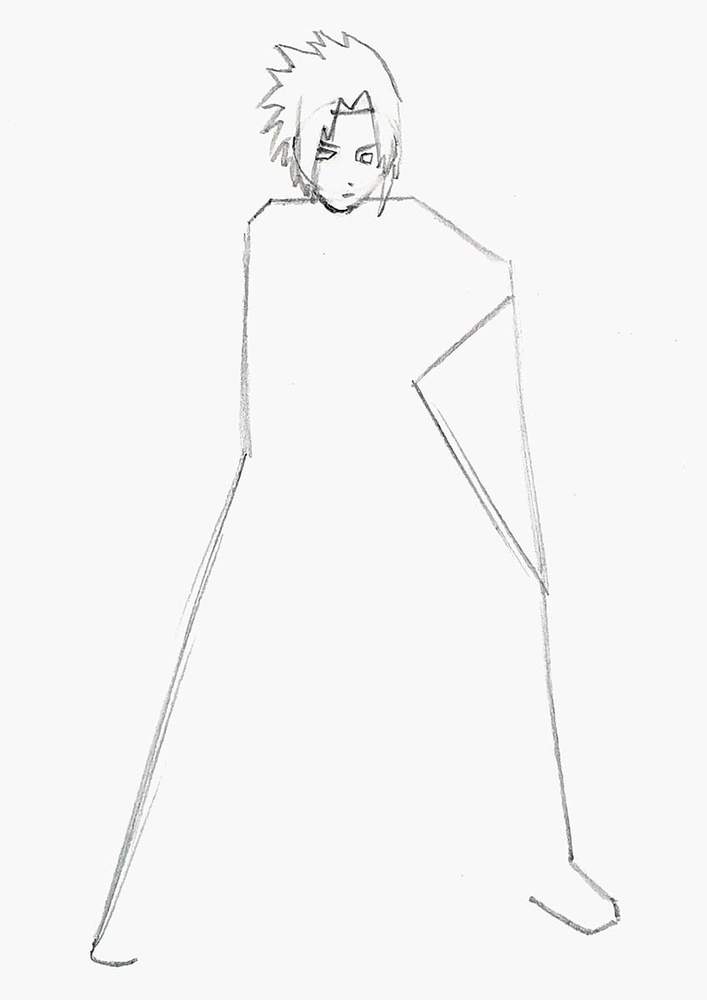
After that, I sketched the inside of his legs, which looks like a natural cave entrance. The top of this rough arch is at the same height as the bottom corner of the triangle of his side.
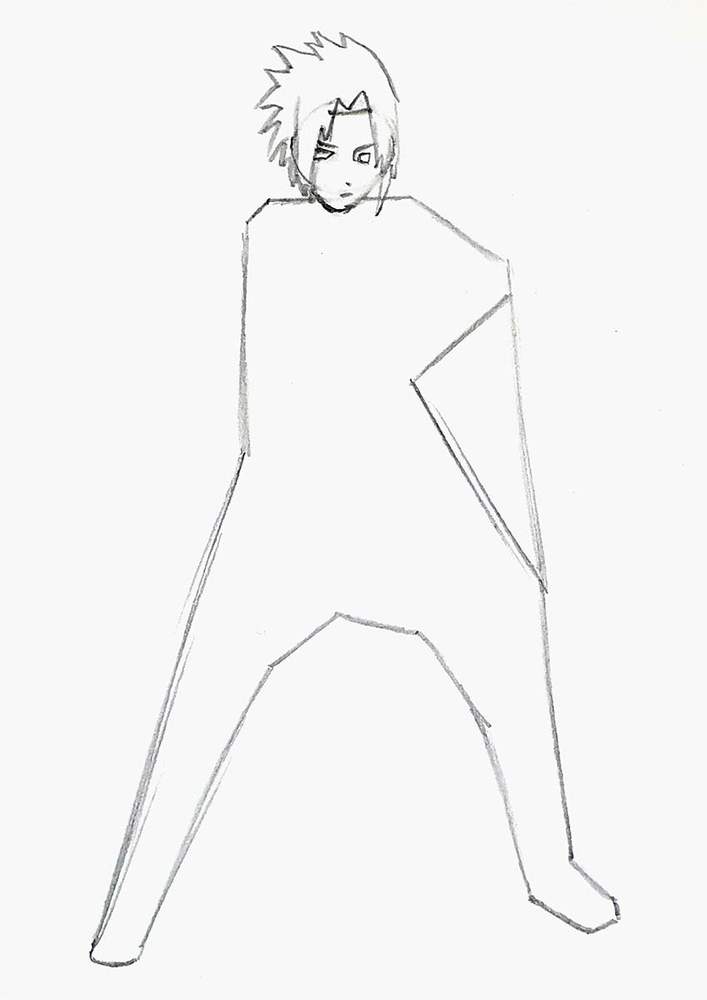
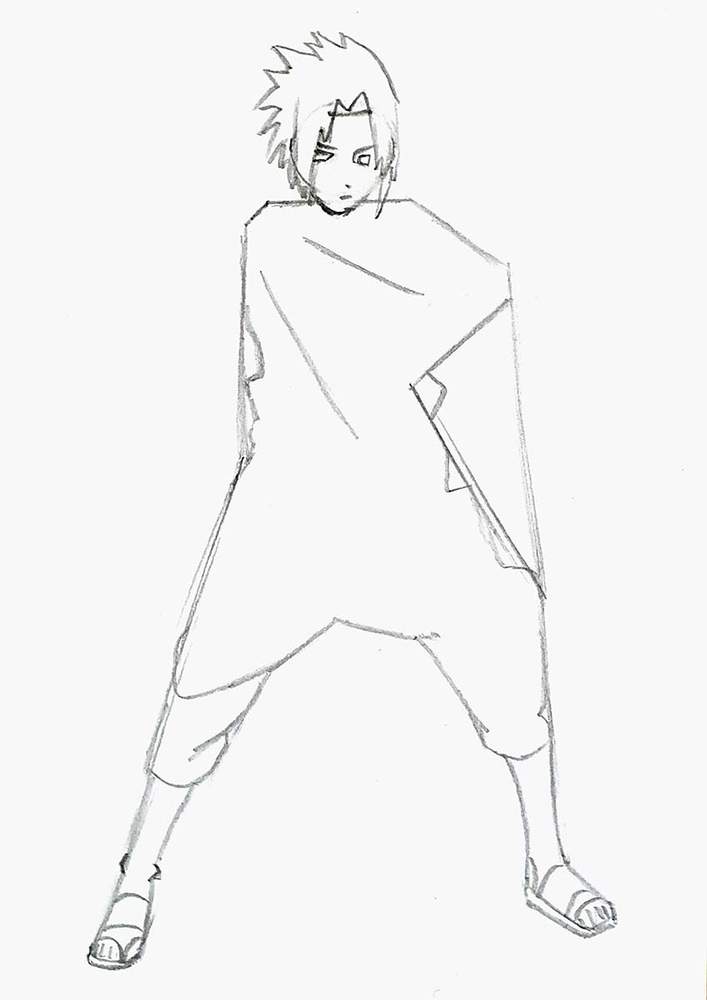
Step 5: Sketch Sasuke's Legs
Next, I sketched his legs.
I first marked where his trousers end, which is in the middle of the line below the triangle on the right. On the left, it's just a tad lower than that.
I added a few folds and wrinkles in the lower parts of his trousers, and I made the outer edge reflect these indents and wrinkles.
I also sketched a more accurate outer edge of his legs to make them less blocky and look more like... legs.
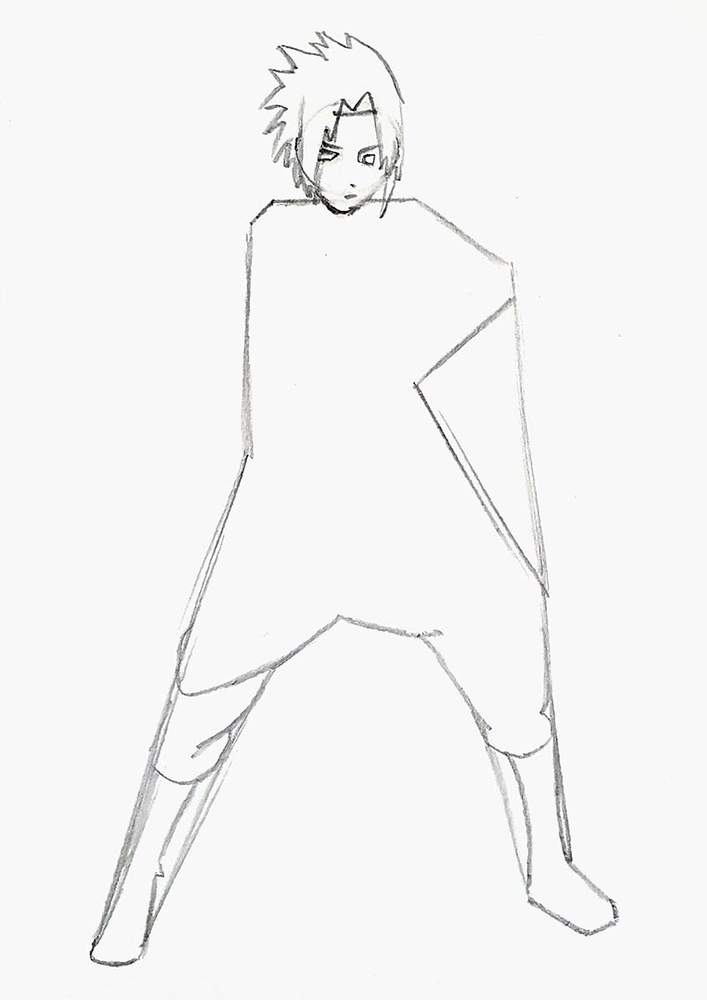
After that, I erased the construction lines for his legs and sketched the sandals.
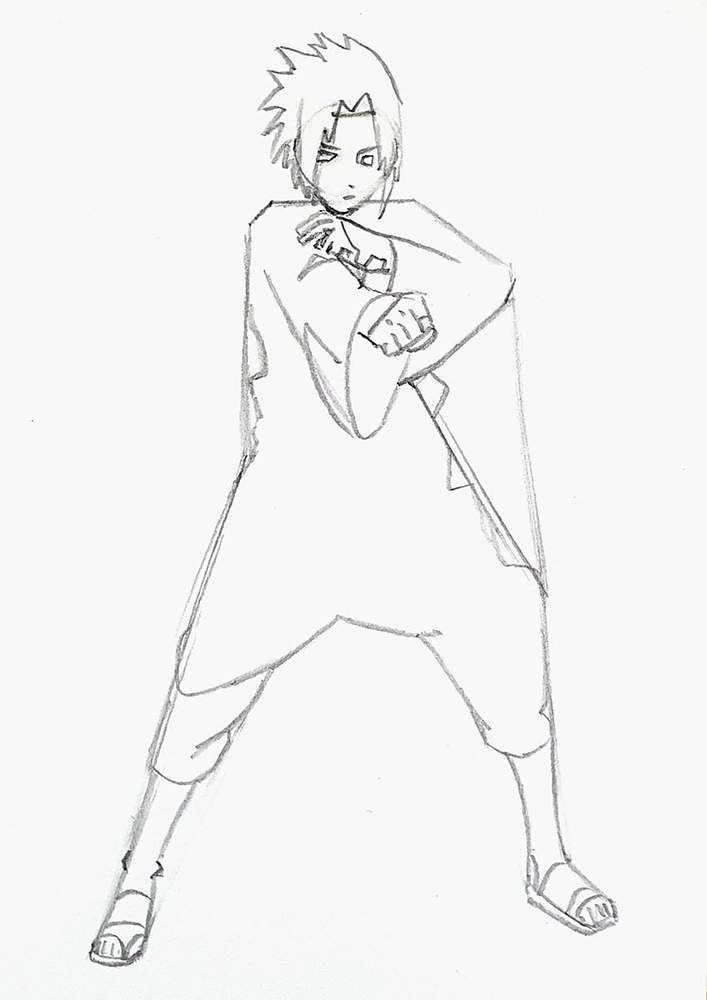
Step 6: Sketch Sasuke's Arms
Then, I added some wrinkles and indents on his sides, and I sketched the top and bottom edge of his right arm (on the left).
The lines of his arm start just to the right and bottom of his right shoulder line (on the left), and they move further apart towards the end.
Based on these two lines, sketched Sasuke's left sleeve.
I started by sketching a loose oval shape on the right side, which looks kinda like a long potato that's upside down.
I then refined the top edge of his arm by sketching a line to the left from the top edge of the potato oval, which then curves upwards and connects to the line we sketched before.
Lastly, I added some wrinkles and folds.
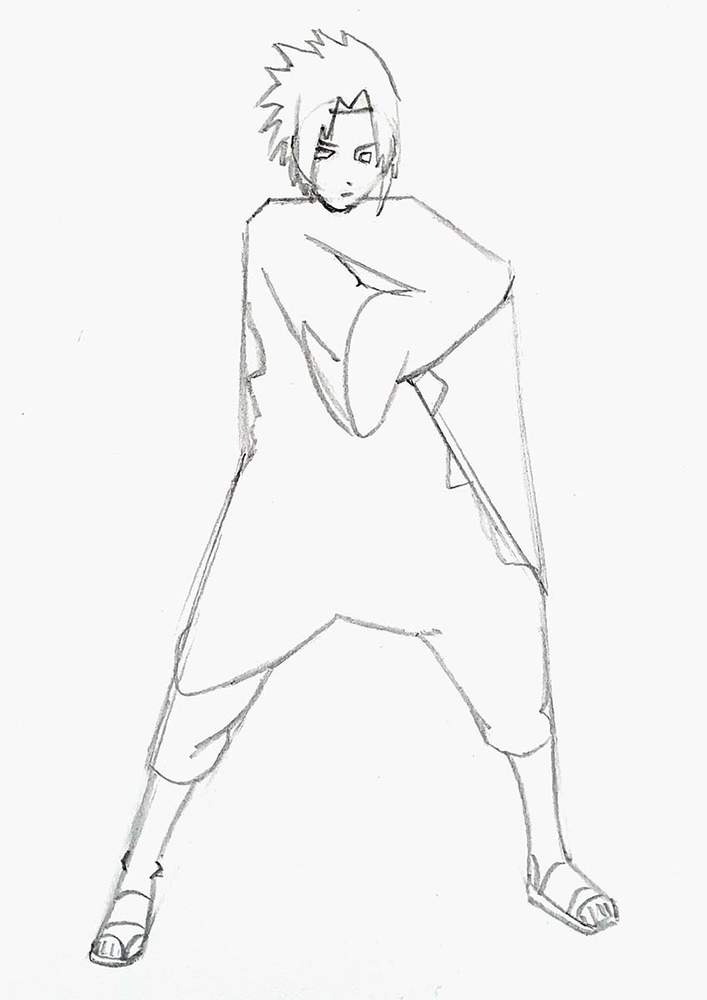
Next, I sketched a tilted, almost square rectangle to the top right of the potato-shaped oval, which will be his hand, and I sketched his thumb to the bottom right of it.
I also sketched his left hand, which is above his right one. I started by sketching the top and bottom edges first.
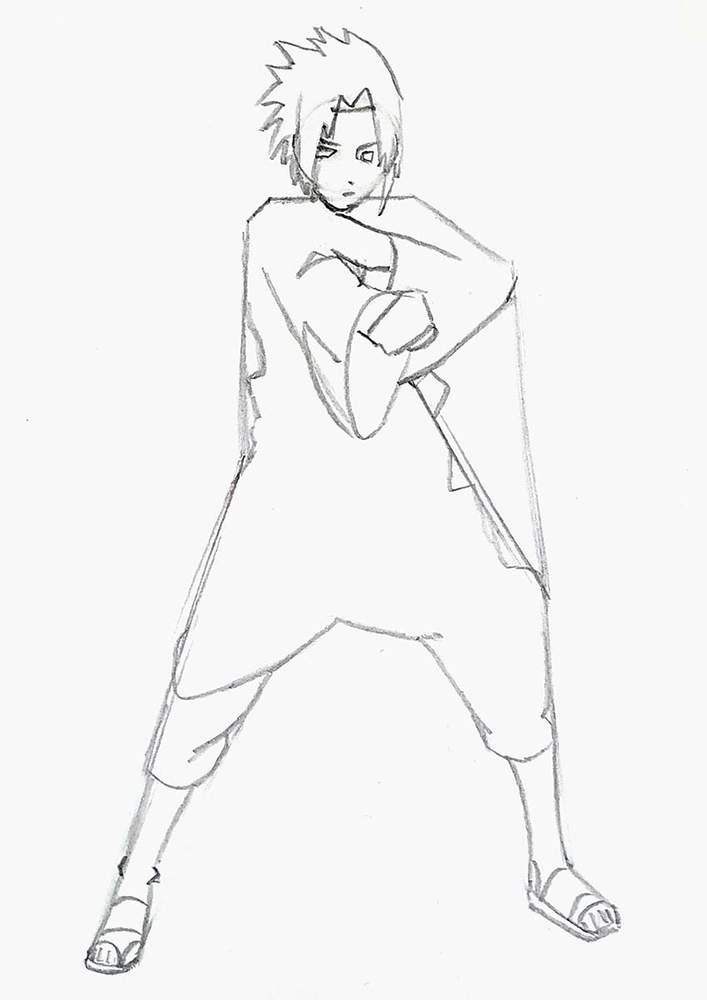
After that, I roughly sketched the fingers on his left hand (the top one). You can only really see his index and middle fingers.
On the rectangle of his right hand, I sketched 3 lines to make it look like he has fingers, and I marked 2 knuckles.
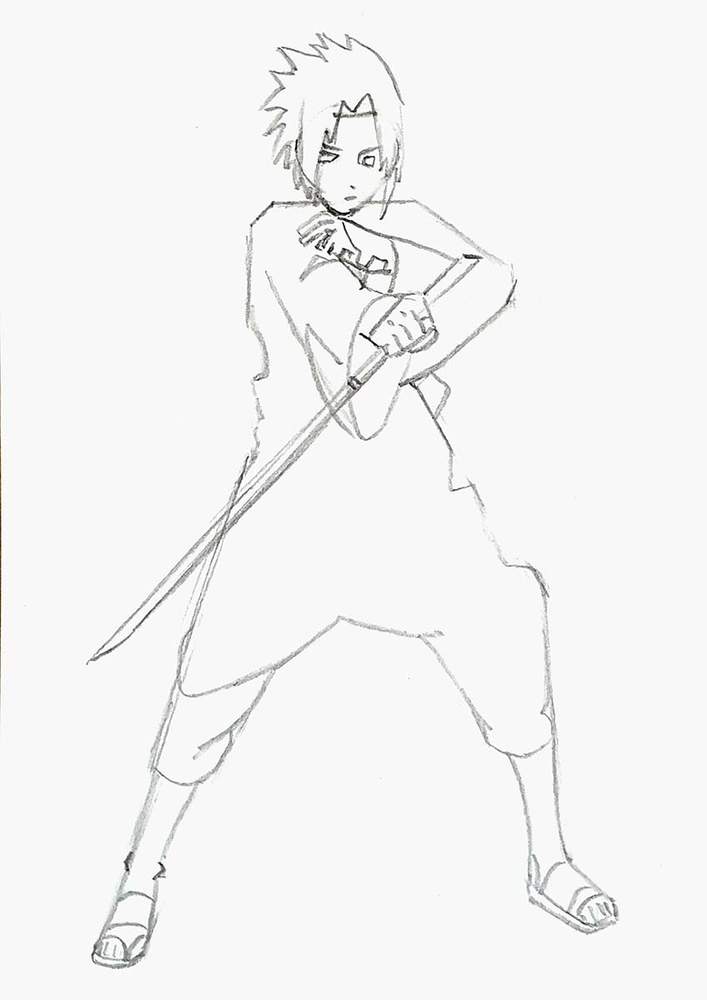
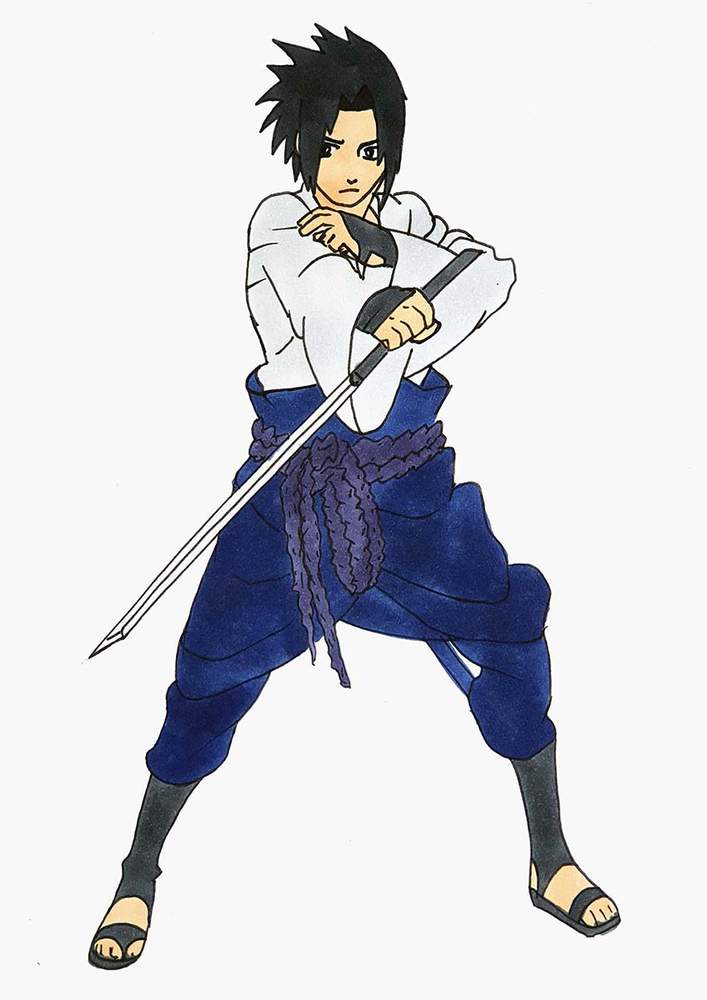
Step 7: Sketch Sasuke's Sword of Kusanagi
Next, I sketched Sasuke's sword, which is basically just 2 straight lines following the direction of his fist. On the left, the 2 lines connect to form a sharp point; on the right, they are connected with a short line.
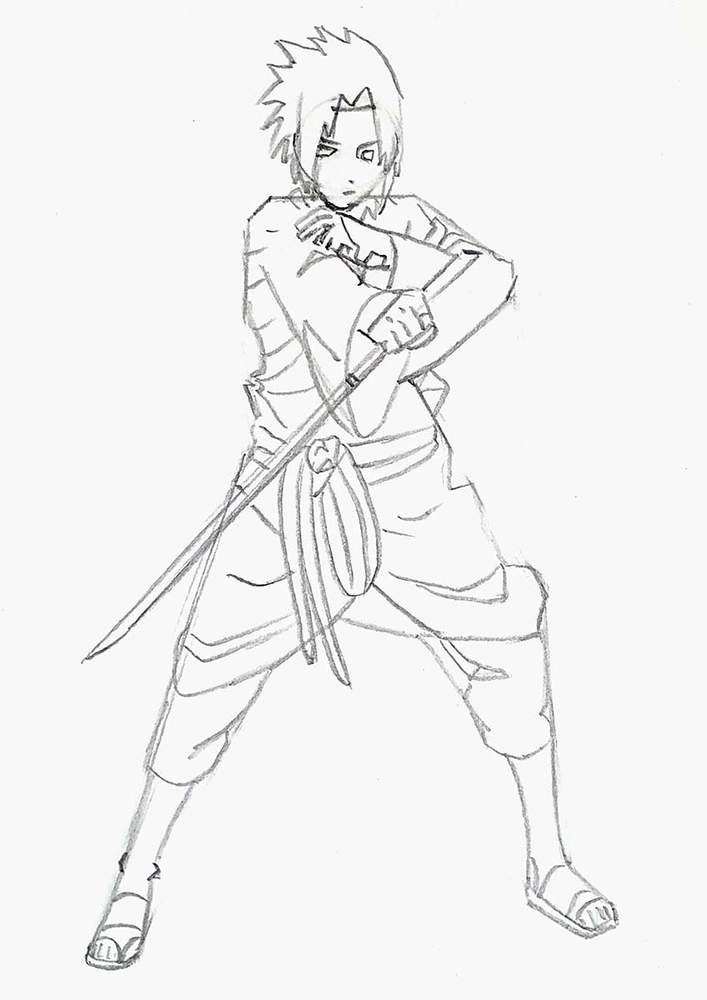
Step 8: Sketch The Wrinkles Of Sasuke's Clothing
To finish the sketch of Sasuke, I sketched the rope he has around his waist, and I added a ton of wrinkles and folds to his clothing.
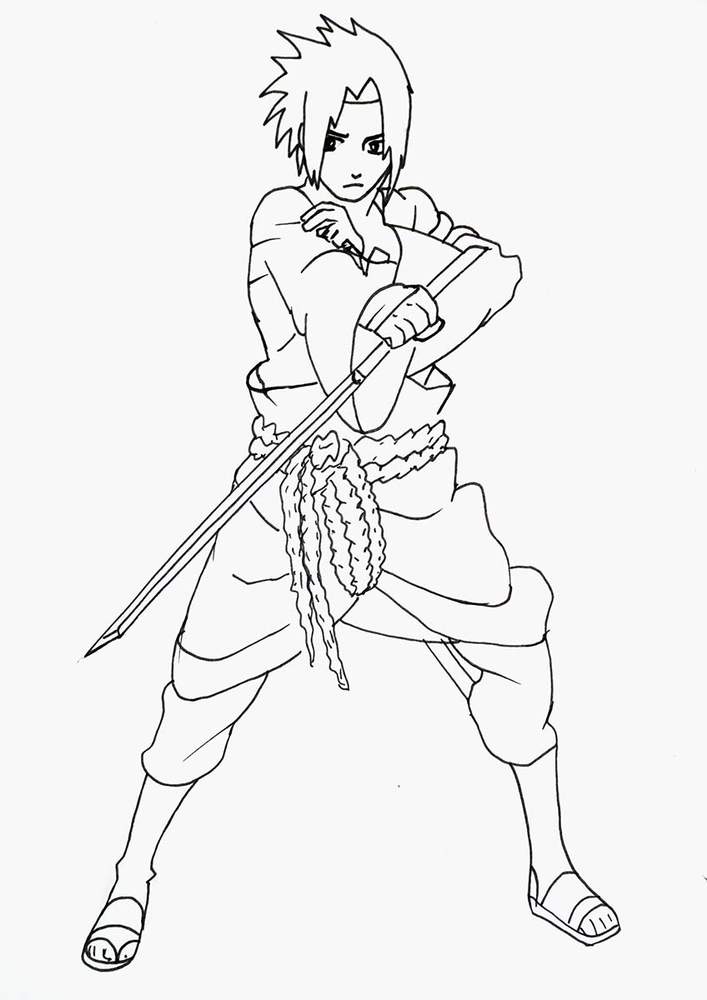
Step 9: Use A Black Fineliner To Outline The Sketch
To prepare the sketch of Sasuke for coloring, I like to outline it first with a black fineliner.
I did forget to add the top edge of his left hand...
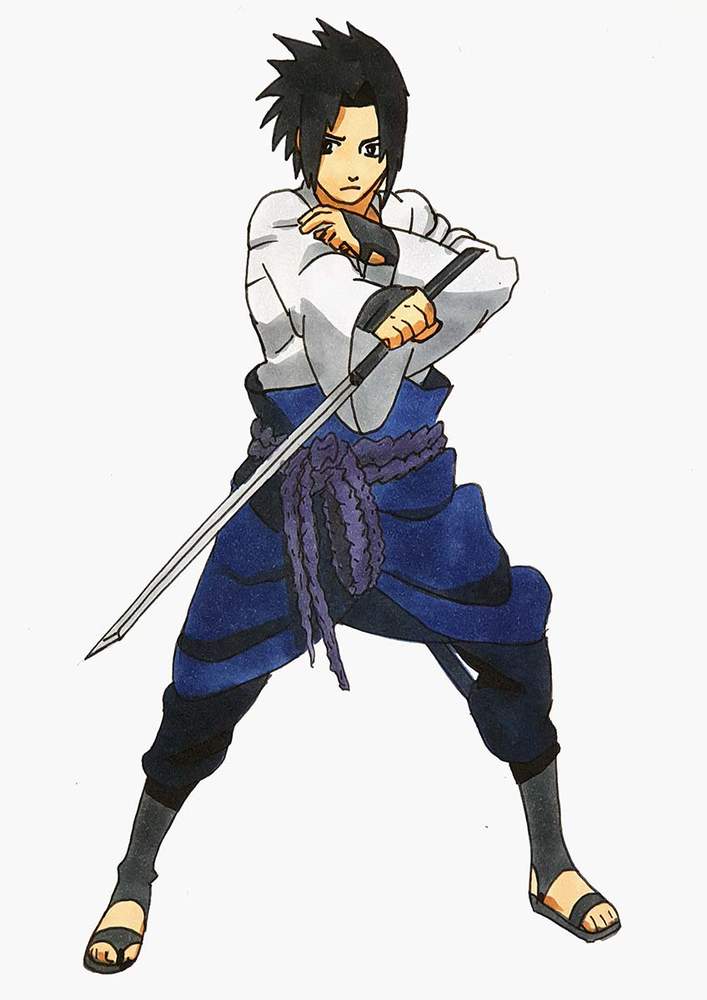
Step 10: Color Sasuke With Alcohol Markers
Now that the outlines are done, it's time to start coloring Sasuke to bring him to life!
I used:
- E160 to color his skin;
- NG06 to color his hair;
- CG070 to color the dark grey parts of his clothes and sandals, and the hilt of his sword;
- CG020 to color his shirt and the blade of his sword;
- V450 to color the rope around his waist;
- and PB5 to color his trousers.
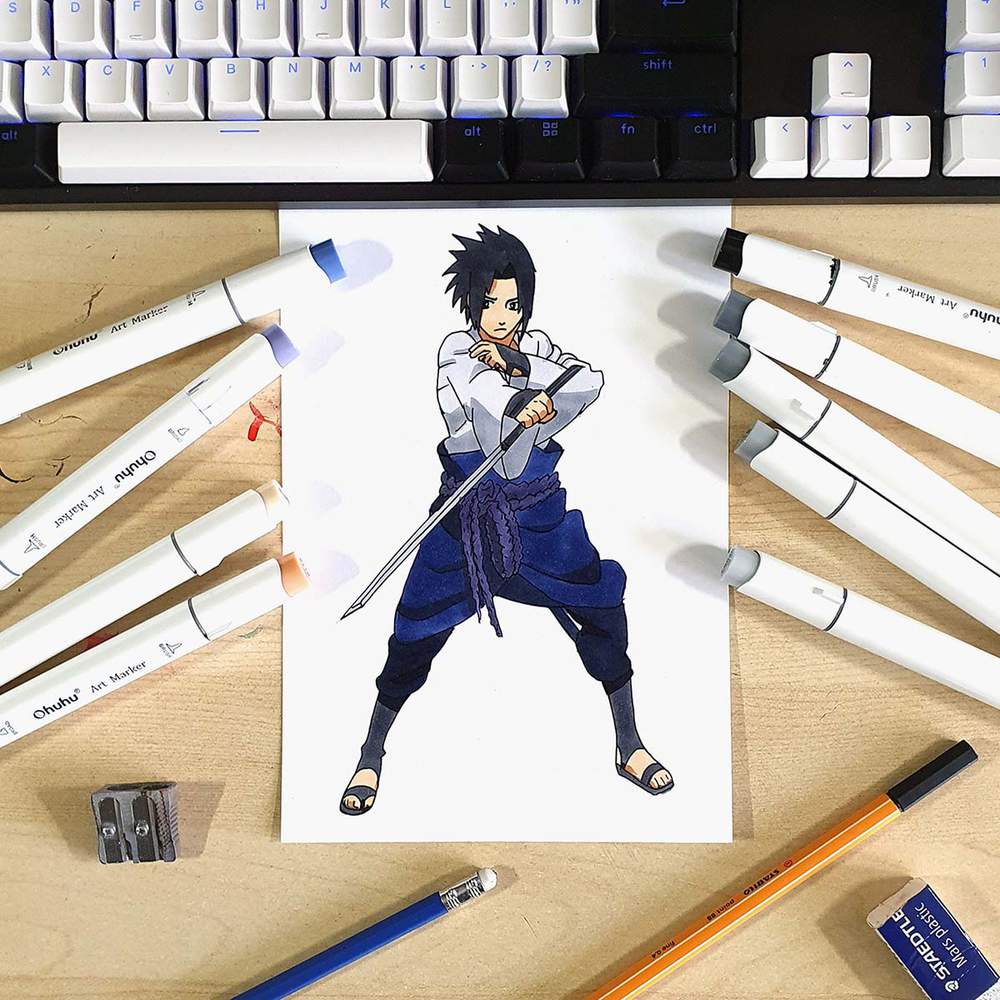
Next, I added some shadows to Sasuke.
I used:
- E110 to add shadows on his skin;
- CG050 to add shadows on the wrinkles of his shirt and to darken the blade of the sword;
- NG06 to add shadows to the rope and his trousers;
- and Black to add shadows below his trousers and on his sandals as well as the M-like shape above his hairline.
And that's how you draw Sasuke from Naruto.
I hope you enjoyed this tutorial and were able to follow along!
Thank you!
Tags
Articles You Might Also Like


I love bringing cars to life with alcohol markers and colored pencils.
Whether you're just starting out or looking to improve your skills, I'm here to help!
Click here to learn more about me.


Be the first to comment!
Comments
There are no comments yet.