How To Draw Pikachu - Simple Step-By-Step Tutorial
In this tutorial, I'll show you how to draw Pikachu.
I've broken the whole drawing up into easy-to-follow steps so you can easily follow along and create your own Pikachu drawing fan art.
Let's get started!
Disclaimer: In the name of full transparency, please be aware that this blog post contains affiliate links and any purchases made through such links will result in a small commission for me (at no extra cost for you).
Drawing Supplies I Used To Draw Pikachu
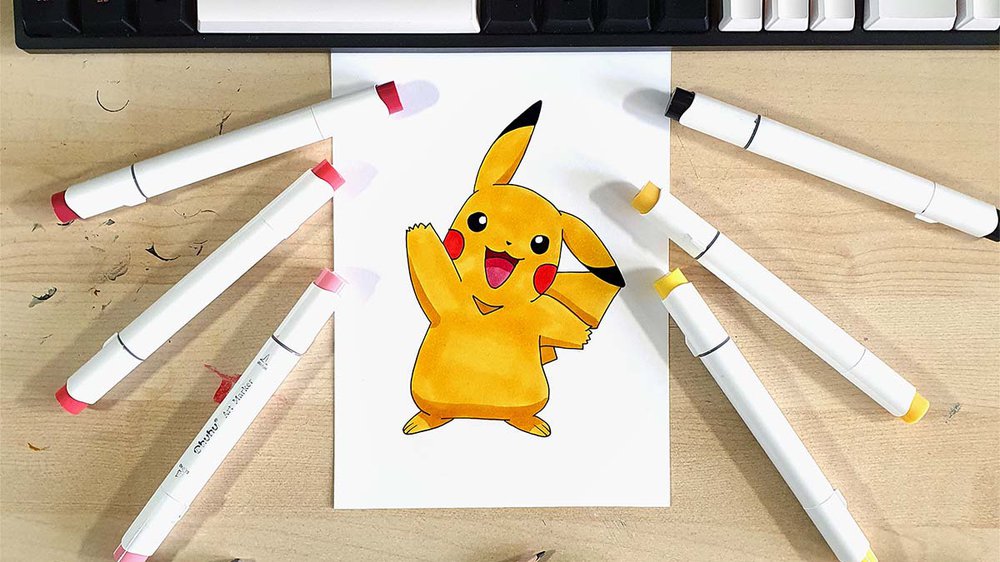
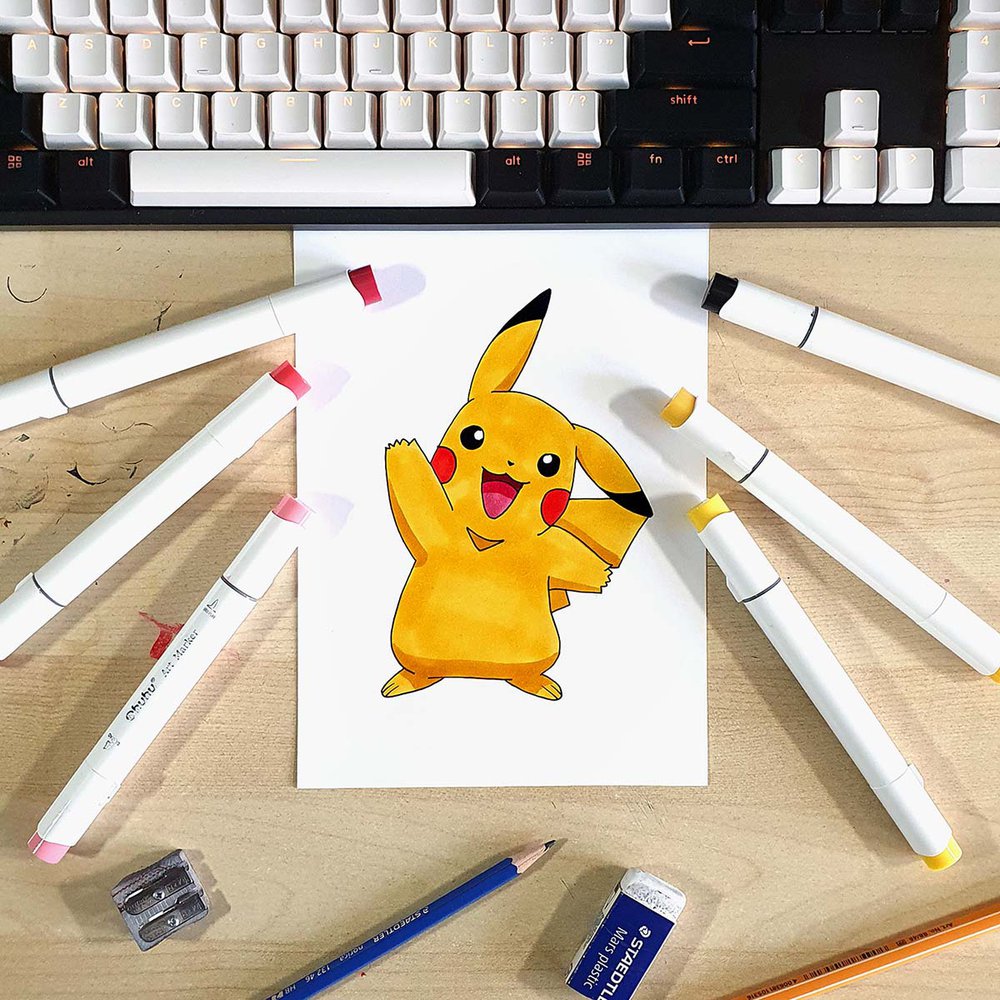
To make this Pikachu drawing, I used Ohuhu Honolulu markers in the colors Lemon Yellow (Y6), Melon Yellow (YR33), Rouge Orange (Y5), Coral Pink (R1), Carolessence (R200), Geranium (R8), and Black (120).
I also used a black fineliner, a graphite pencil, and an eraser.
And I made this drawing on A4-sized Canson Illustration Manga paper, which I cut in half.
How To Draw Pikachu?
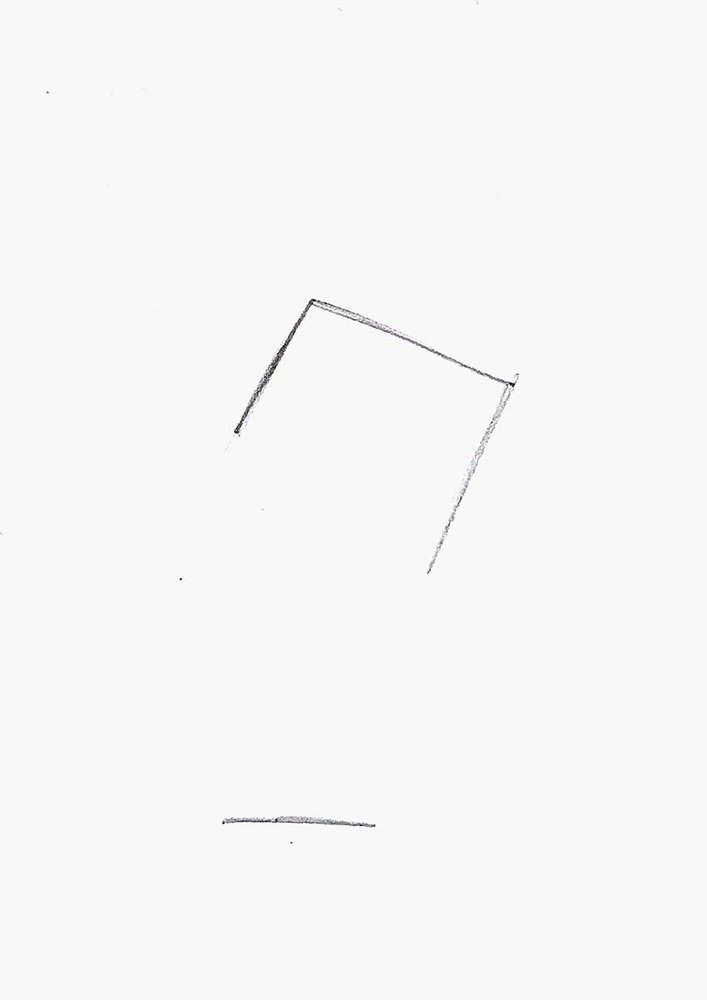
Step 1: Sketch The Base & A Box
To sketch Pikachu, I first marked his bottom edge with a short straight line.
I also sketched a tilted box for his head just above the center of my paper. I only sketch the left, top, and right sides of the box.
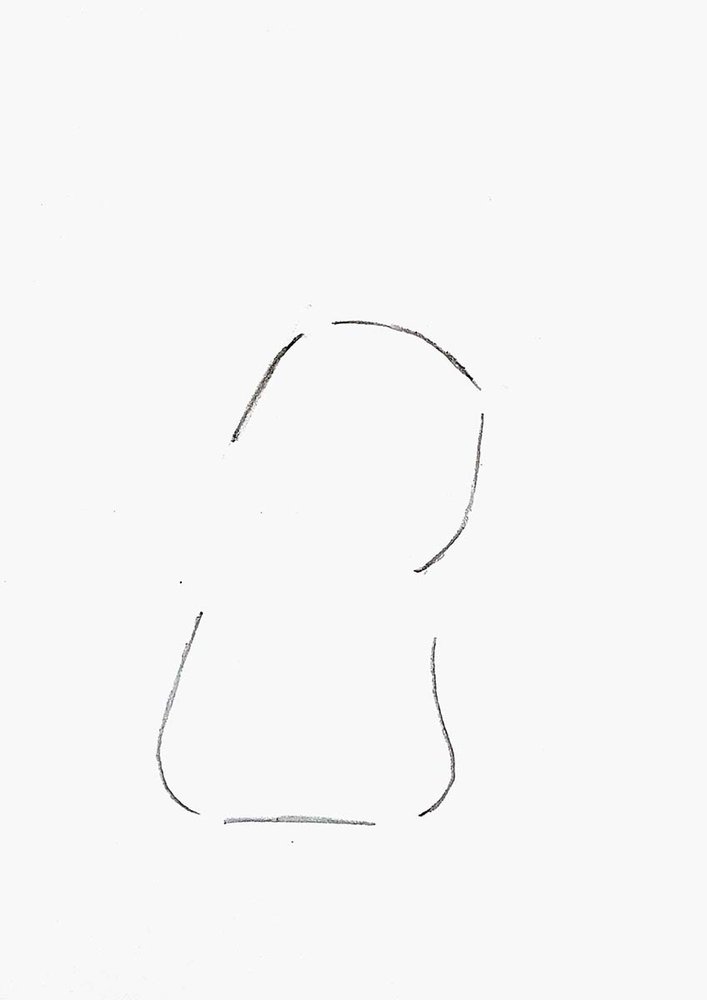
Step 2: Round The Corners Of The Box & Add The Side Of His Body
Next, I rounded the edges of the box to shape it more like his head and I added the sides of Pikachu.
The sides are round at the bottom and curve upwards towards his head.
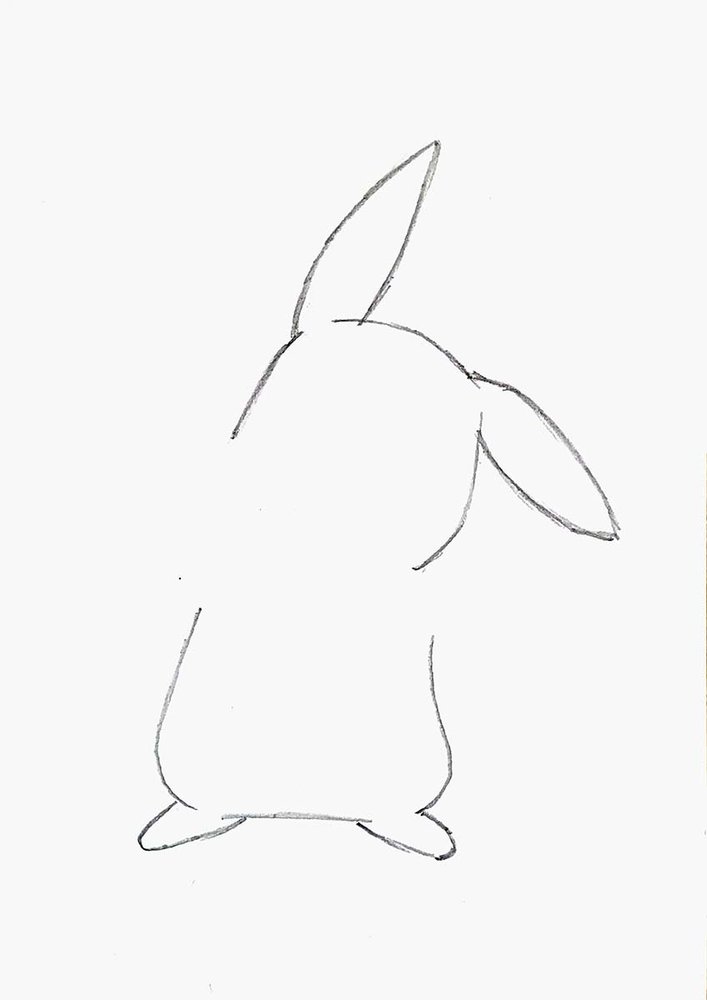
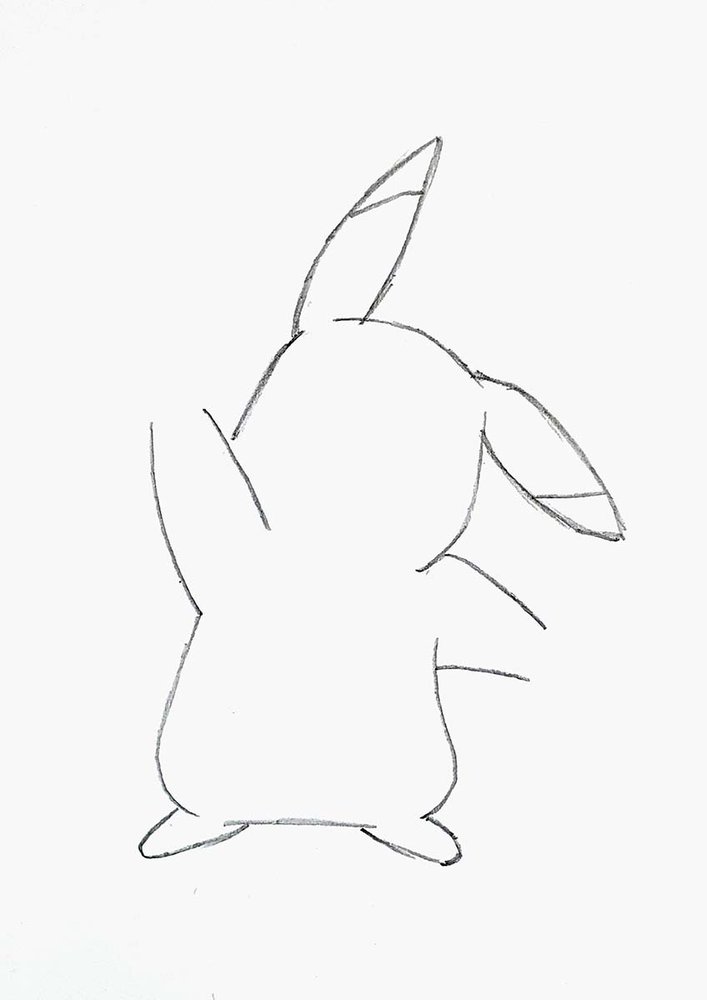
Step 3: Sketch Pikachu's Ears & Feet
After that, I sketched his ears which are long and pretty pointy, and I sketched his feet which are short and more round.
Step 4: Sketch Pikachu's Arms
Then, I sketched his arms.
I first sketched the side of his arms starting off wider close to his body and becoming more narrow toward his hands.
I also sketched a diagonal line in both of his ears.
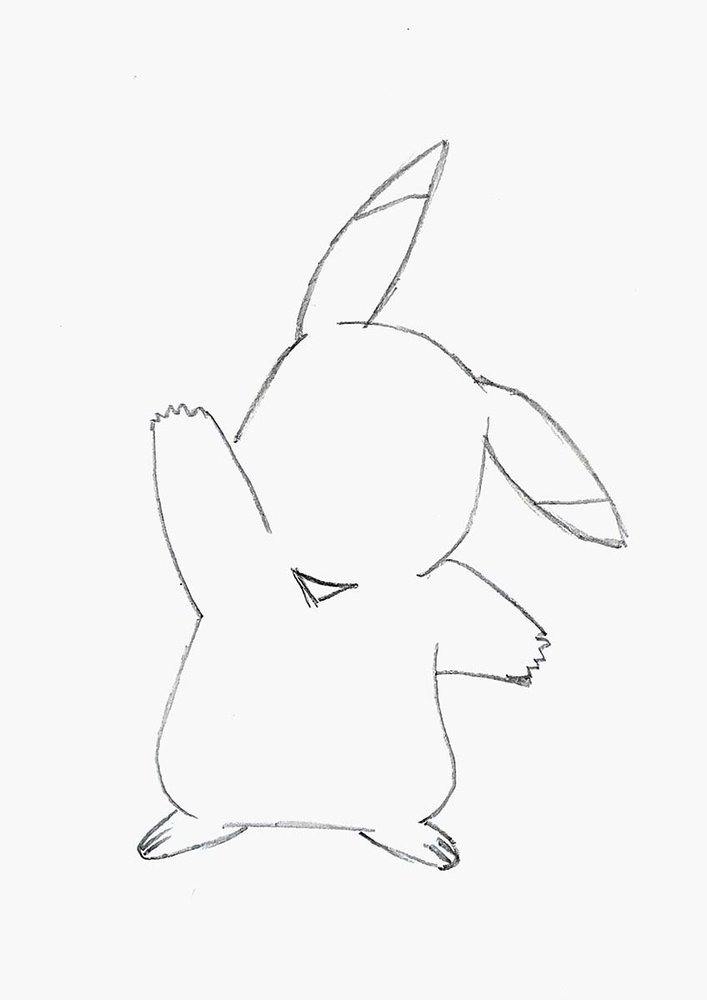
Next, I sketched his hands which are basically just long W-shapes with 5 points instead of 2.
I also marked a triangle of shadow below his chin and added 2 lines on each foot to separate his toes.
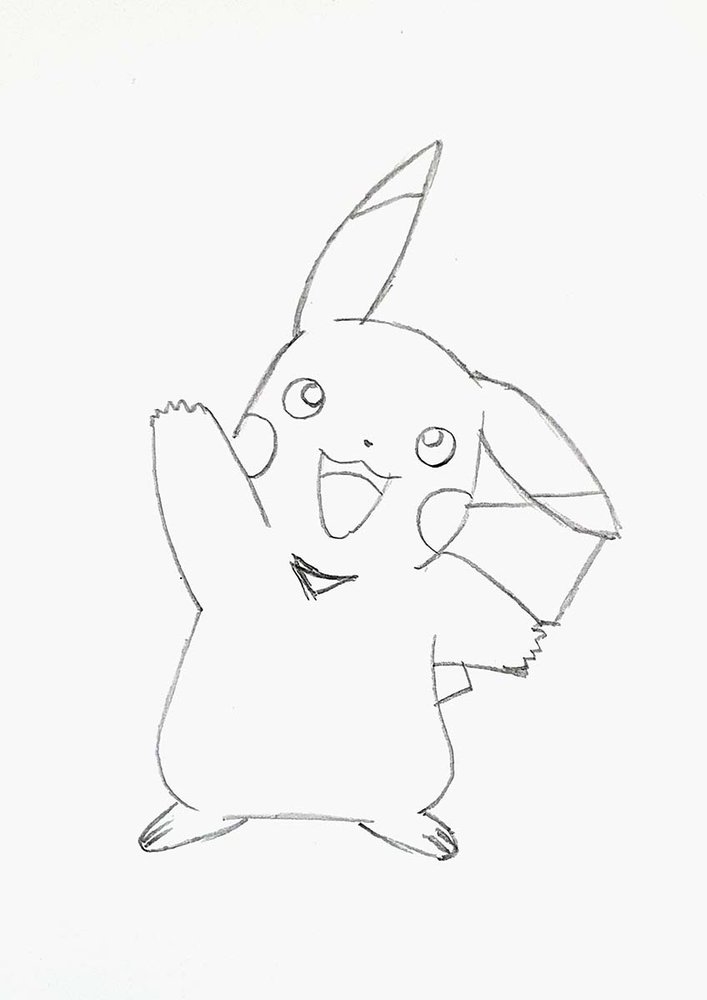
Step 5: Sketch His Facial features & Tail
After that, I sketched his face, starting with his round cheeks and the 3-shape of his mouth.
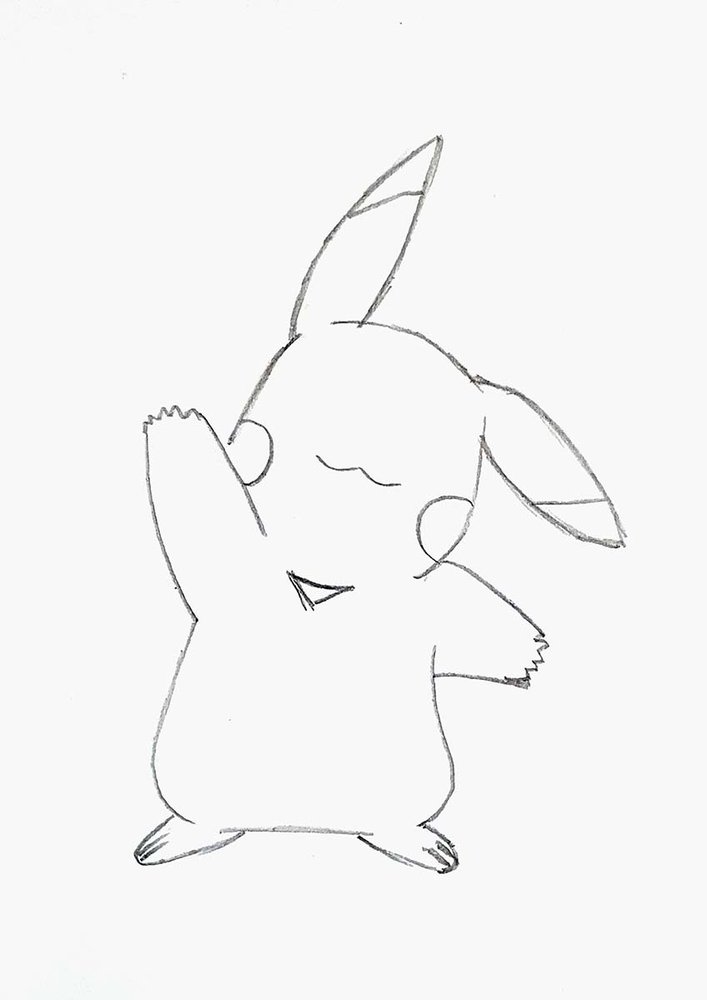
Next, I added a dot above the 3-shape to mark his nose and I added the bottom edge of his mouth so he now smiles.
Lastly, I sketched his eyes. First just 2 small circles, then I added 2 smaller circles at the top of the inside.
I also sketched his lightning bolt-shaped tail.
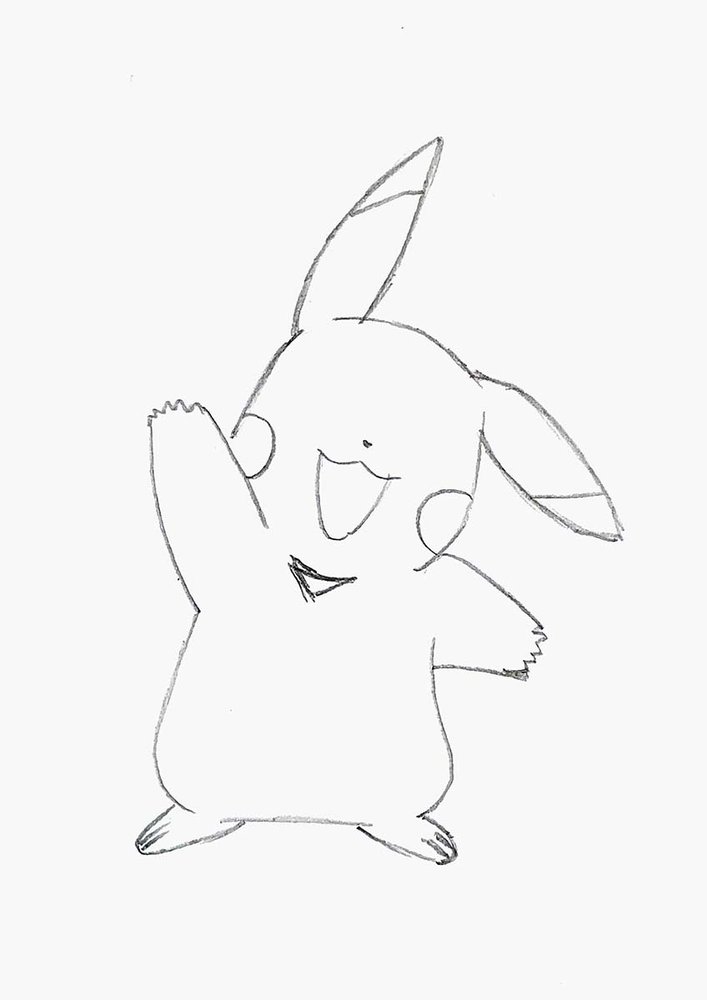
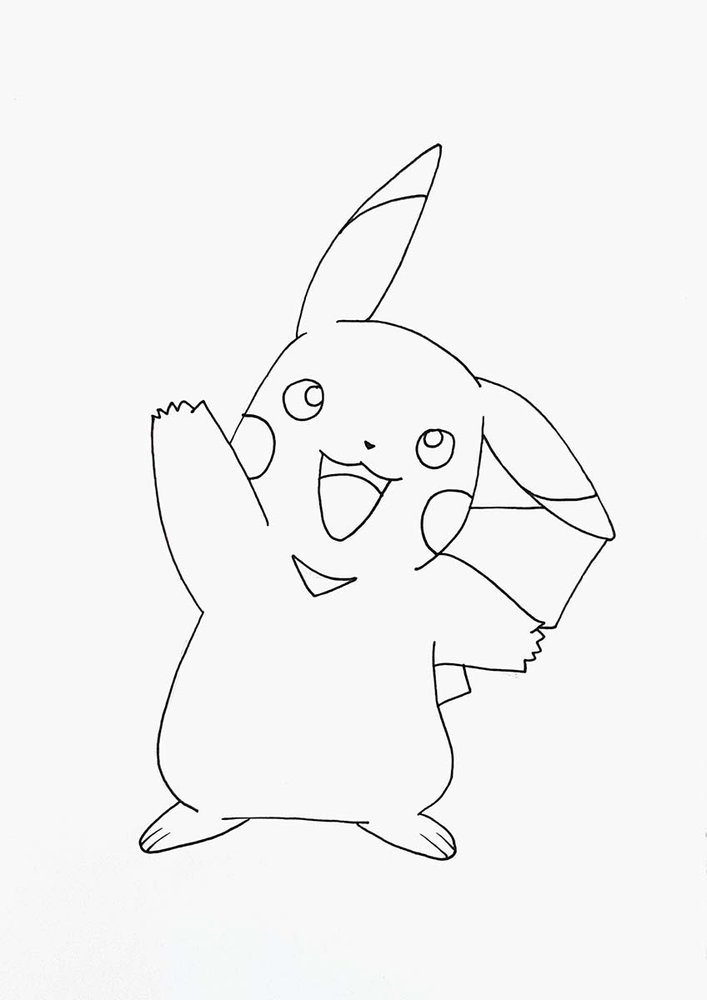
Step 6: Outline Pikachu
To prepare Pikachu for the coloring process, I like to first outline him using a black fineliner.
During the outlining, I mistakenly outlined the shadow below his chin... F :(
But you're smarter than me, so uh, don't do what I did.
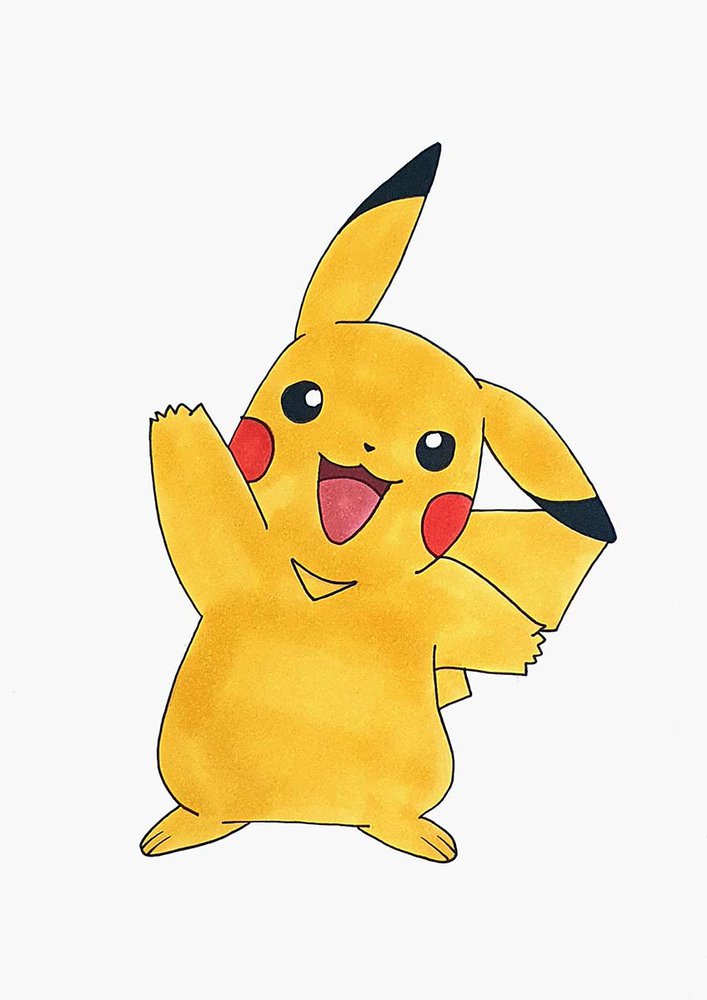
Step 7: Color Pikachu With Markers
Next up, I colored Pikachu with alcohol markers.
I started by coloring the base colors first.
To do that, I used:
- Y6 to color the yellow parts of his body. I should've added a second layer to smoothen the color out, but I didn't...
- Y5 to color his bright cheeks;
- Black to color his eyes and the tips of his ears;
- R1 to color his tongue;
- and R8 to color the inside of his mouth.
Next, I added a few bits of shadow.
I used:
- YR33 to add shadow to the yellow bits;
- and R200 to add the shadow on the top half of his tongue.
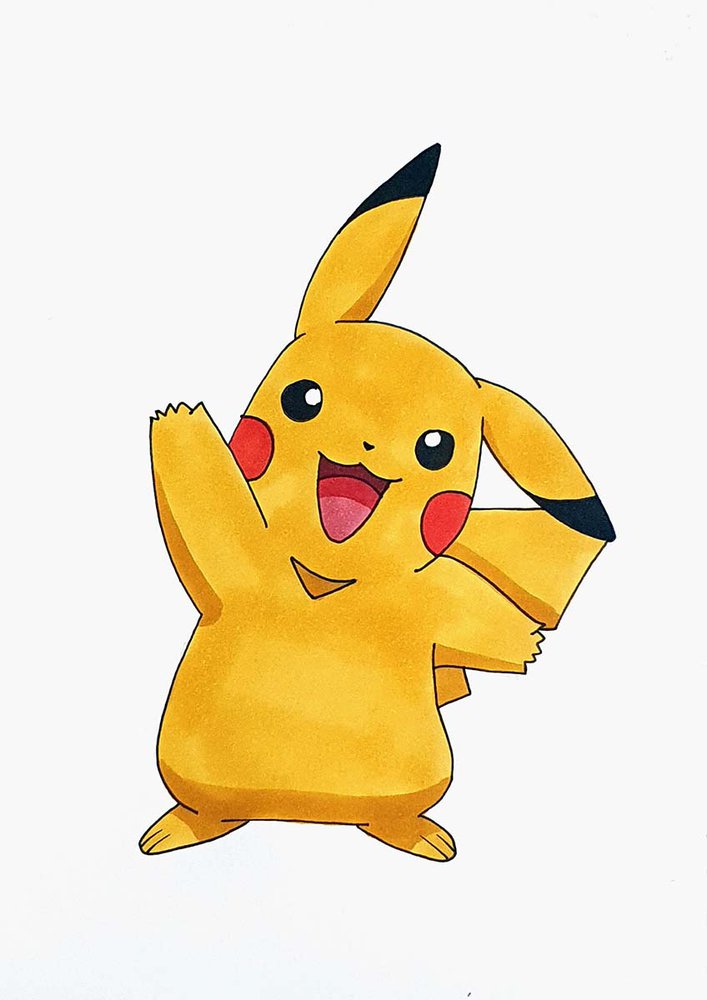
And that's how to create fan art of Pikachu.
I hope you enjoyed this tutorial on how to draw Pikachu!
If you did, you might like some of my other tutorials as well.
Tags
Articles You Might Also Like


I love bringing cars to life with alcohol markers and colored pencils.
Whether you're just starting out or looking to improve your skills, I'm here to help!
Click here to learn more about me.


Add a comment
Comments
I love your drawings