Learn How To Draw Olaf From Frozen In 7 Simple Steps

Love Olaf as much as I do?
In this step-by-step tutorial, I’ll show you exactly how I drew everyone’s favorite snowman from Frozen!
From his quirky smile and stick arms to his bright carrot nose, we’ll go over each step, sketching, outlining, and coloring, with helpful tips and my favorite markers.
Whether you’re a Disney fan or just want to draw something fun and heartwarming, this easy guide is the perfect way to bring Olaf to life on paper!
Disclaimer: In the name of full transparency, please be aware that this blog post contains affiliate links and any purchases made through such links will result in a small commission for me (at no extra cost for you).
What You'll Need For This Drawing
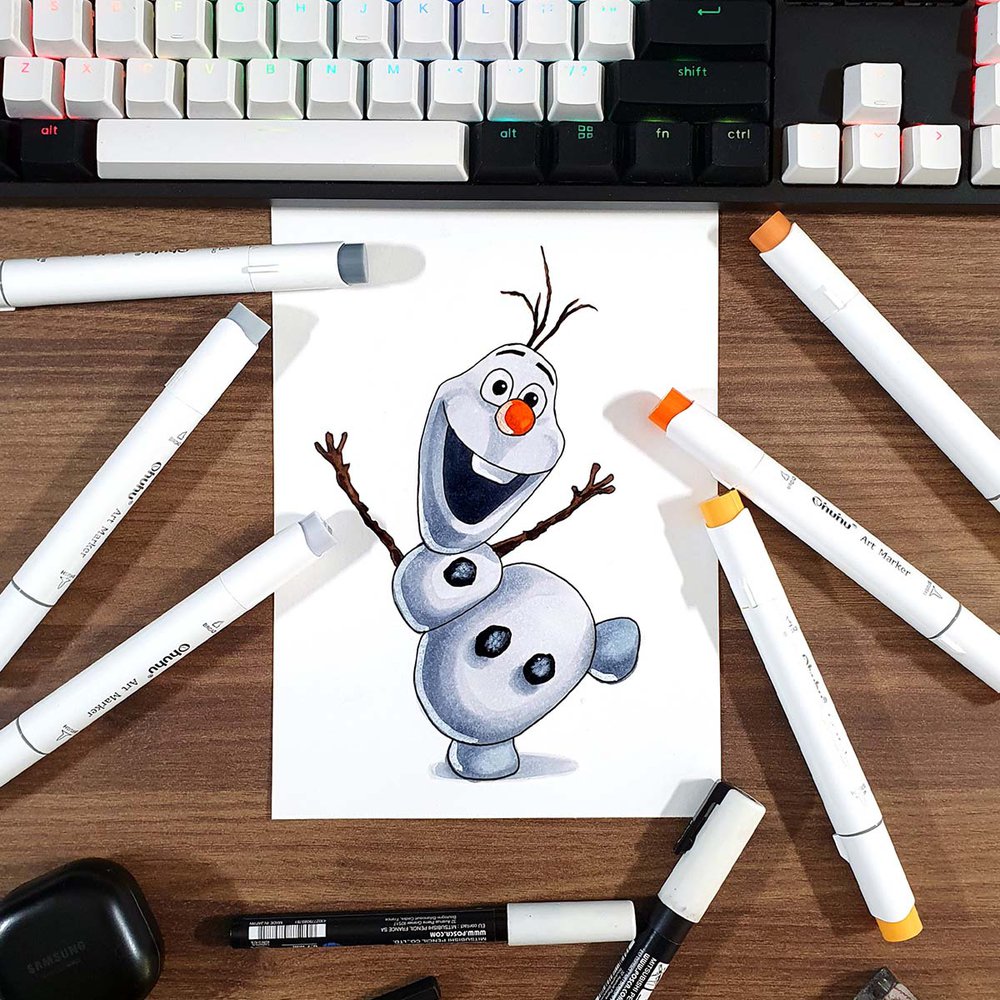
To make this drawing of Olaf, I used Ohuhu Honolulu markers in the colors Cool Grey II 0 (CGII00), Cool Grey 05 (BG050), Cool Grey 07 (BG070), Cool Grey II 07 (CGII07), Black (120), Mahogany (Y12), Chestnut Brown (Y13), Chrome Orange (YR170), Orange (YR3), and Lipstick Orange (YR180).

I used a white Posca PC-3M paint marker to add white highlights.
And I made this drawing on Canson Illustration Manga Paper.
How Do You Draw Olaf From Frozen?
Step 1: Sketch The Basic Shapes Of Olaf
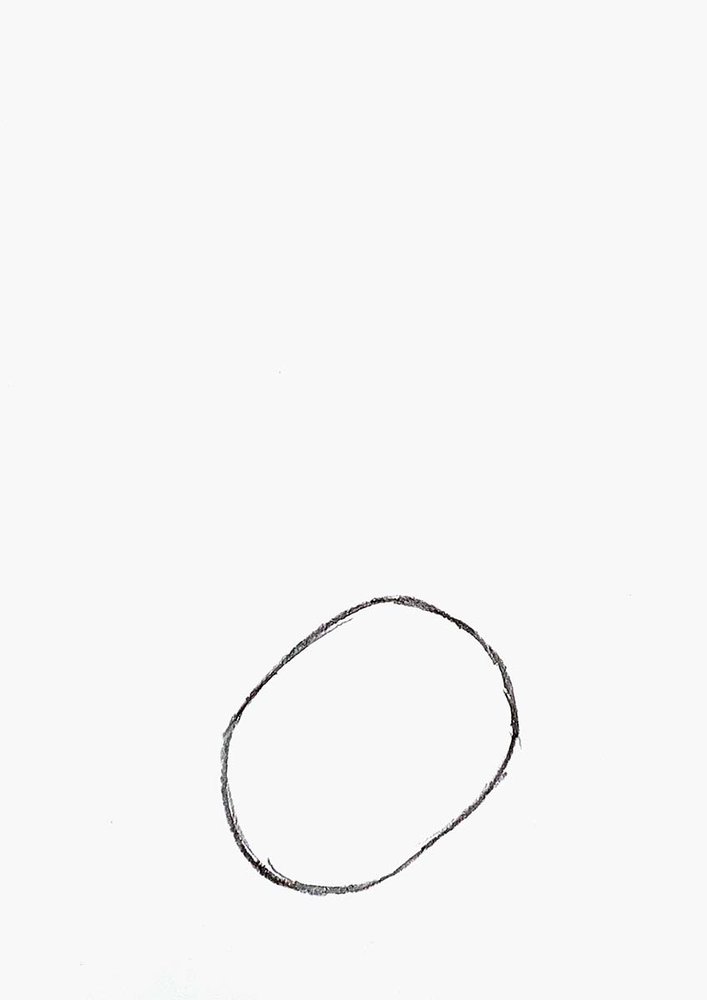
To start off the drawing of Olaf, I first sketched a potato-shaped blob towards the bottom of my paper. It's a little bit tilted to the left.
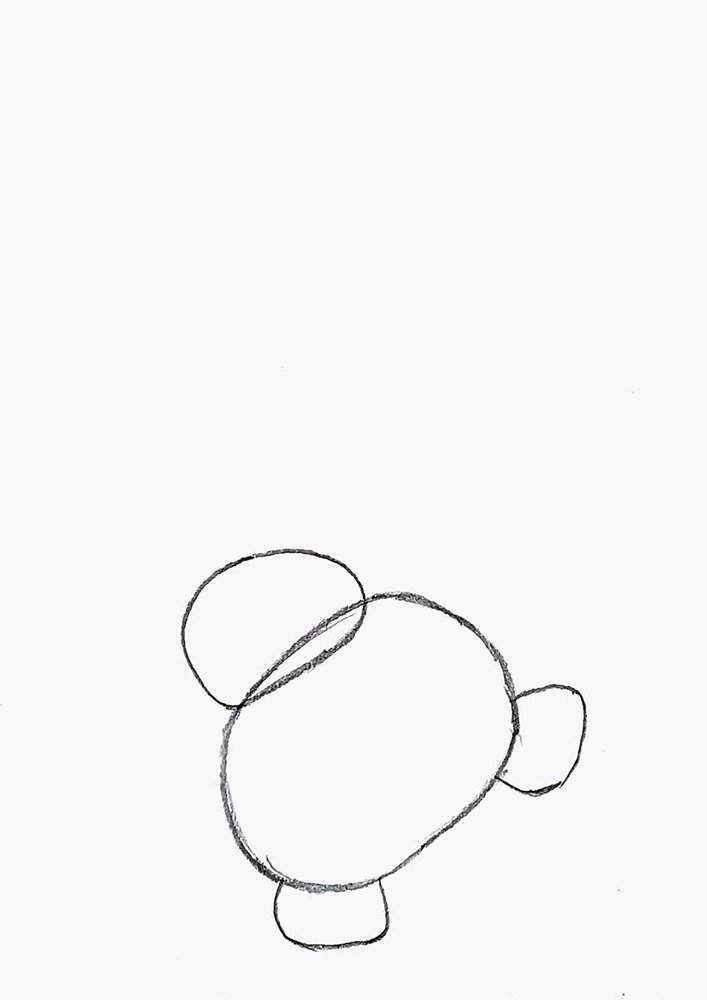
After that, I added 3 more blobs. 1 on the top left of the first blob, 1 small one on the bottom, and another small one on the right.
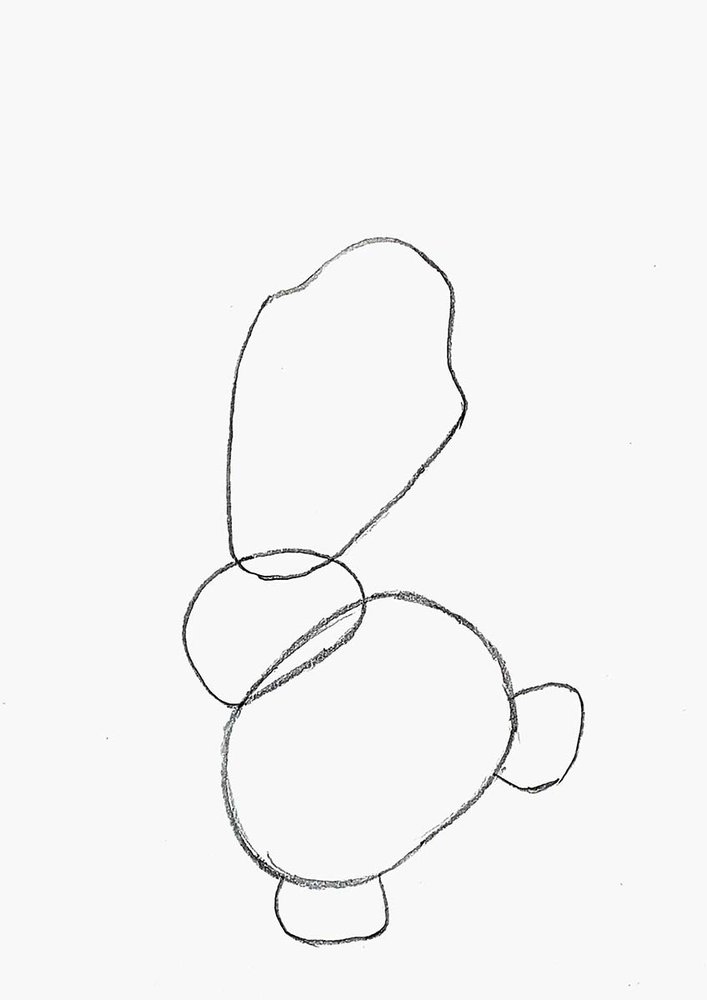
Then, I added Olaf's head, which is quite long and sort of shaped like an antique vase to house his huge smile.
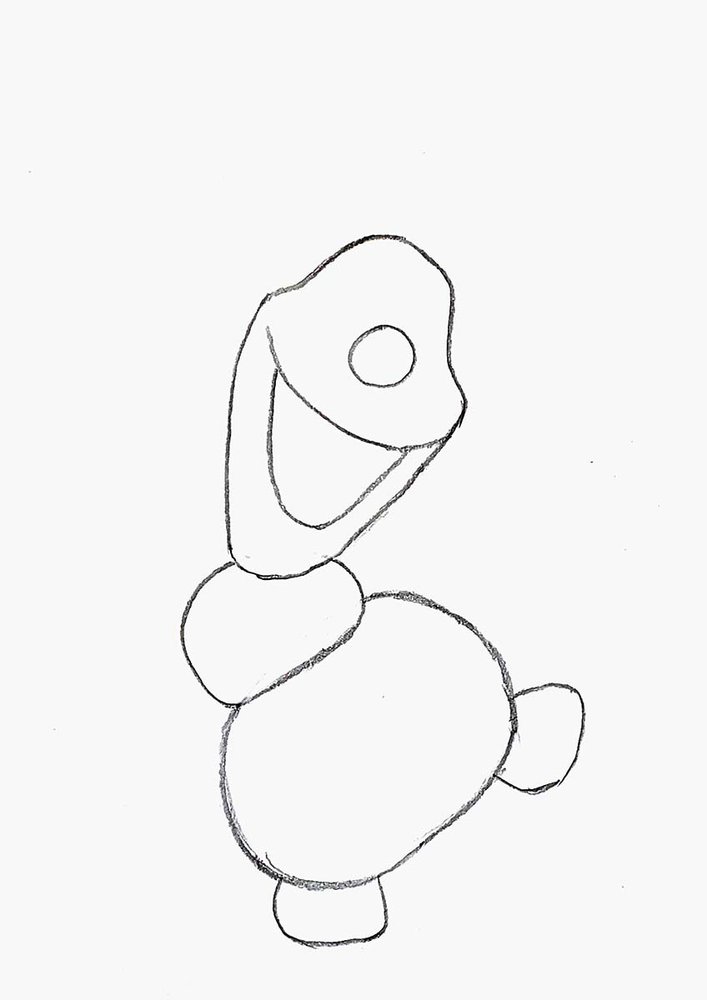
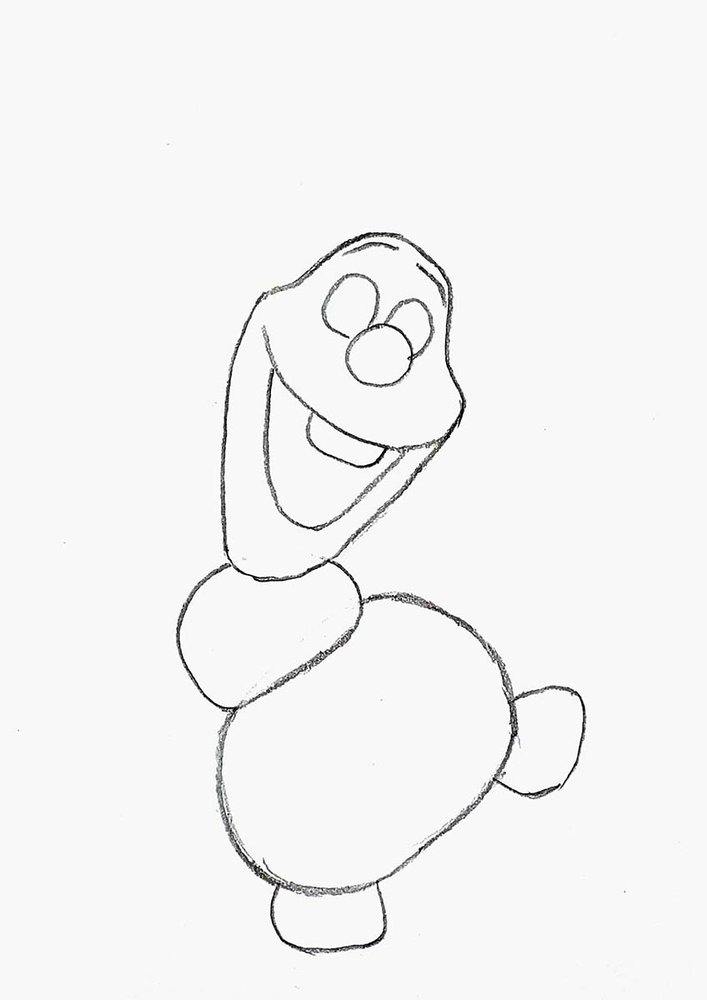
Step 2: Draw Olaf's Face
Next, I sketched all of Olaf's facial features.
I started by drawing his mouth, which is made up of a curved line from cheek to cheek and a U-shaped line below.
I also added a circle for his nose above.
Then, I added his blob-shaped eyes above and behind his nose and drew his eyebrows above.
I also sketched his single tooth at the top of his mouth.
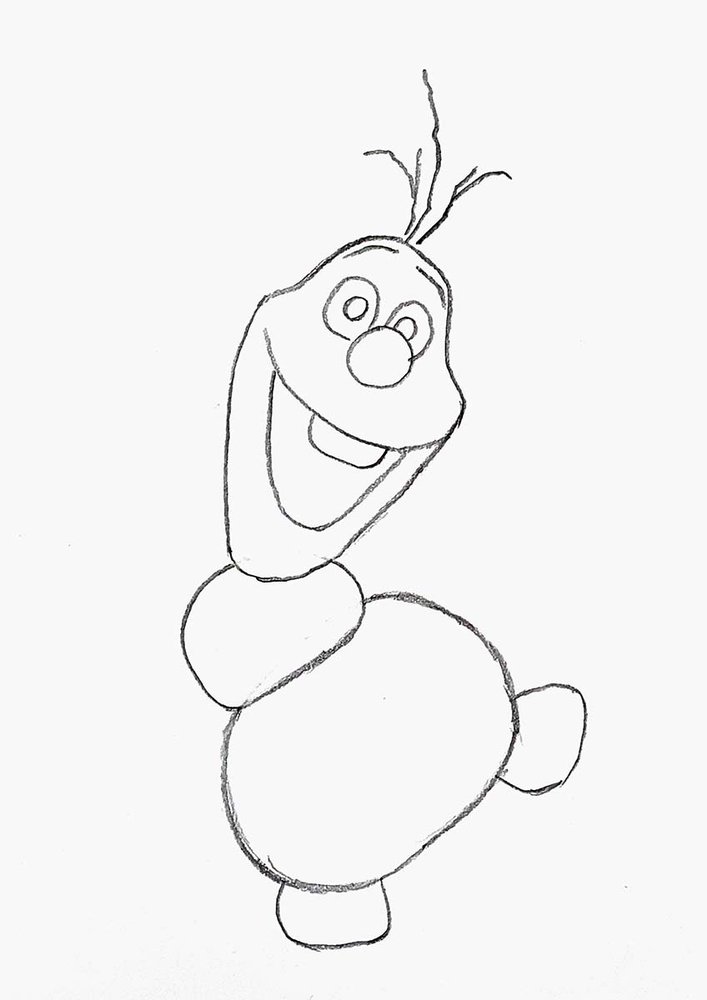
To complete his face, I added 2 circles for his pupils and drew his branch hair.
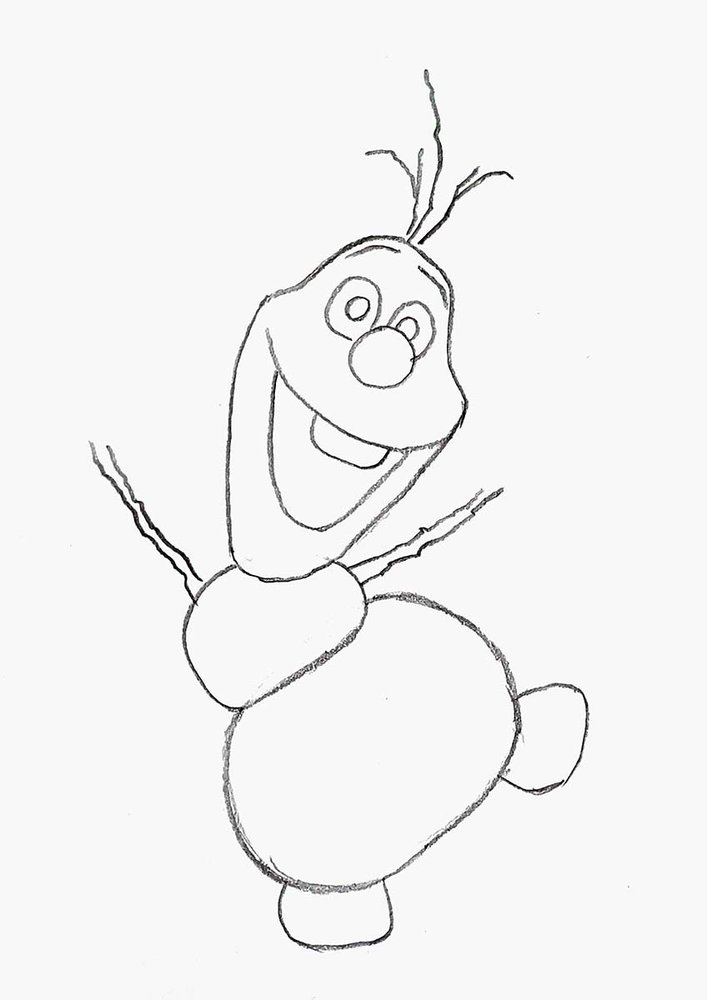
Step 3: Add Olaf's Arms
Next, I sketched 2 parallel scribbly lines on either side of the blob-shape below his head.
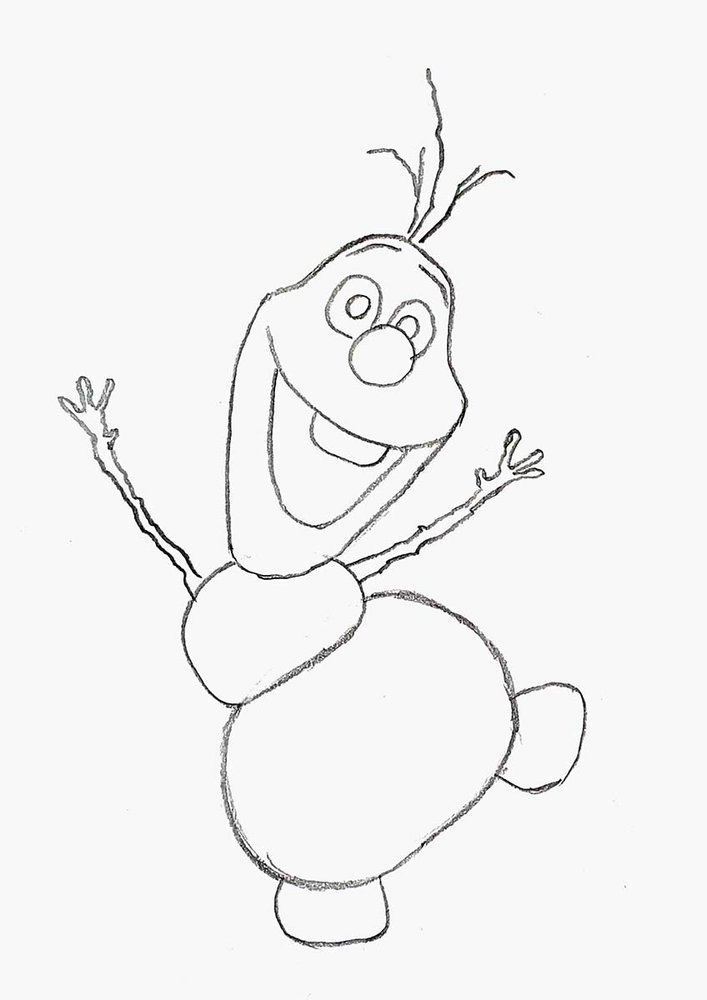
Then, I added wonky fingers to complete his arms.
Step 4: Sketch The Stones On Olaf's Belly
To finish the sketch, I added 3 wonky circles to represent the stones or buttons on his belly.
I also marked out the shadow below Olaf with a flat ellipse.
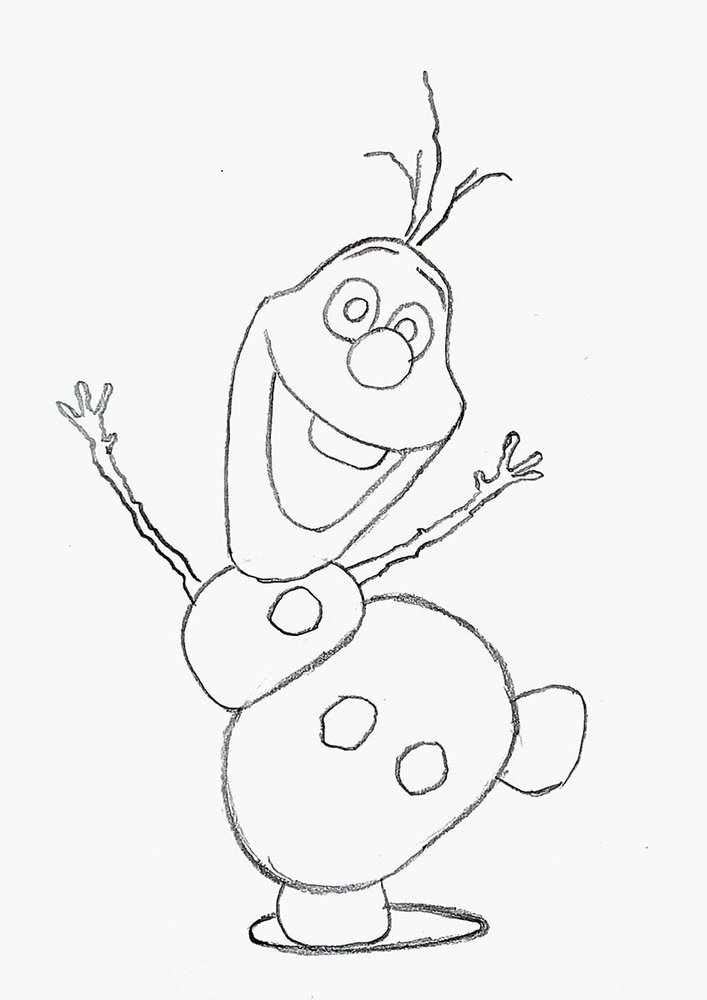
Now the sketch is ready to be outlined.
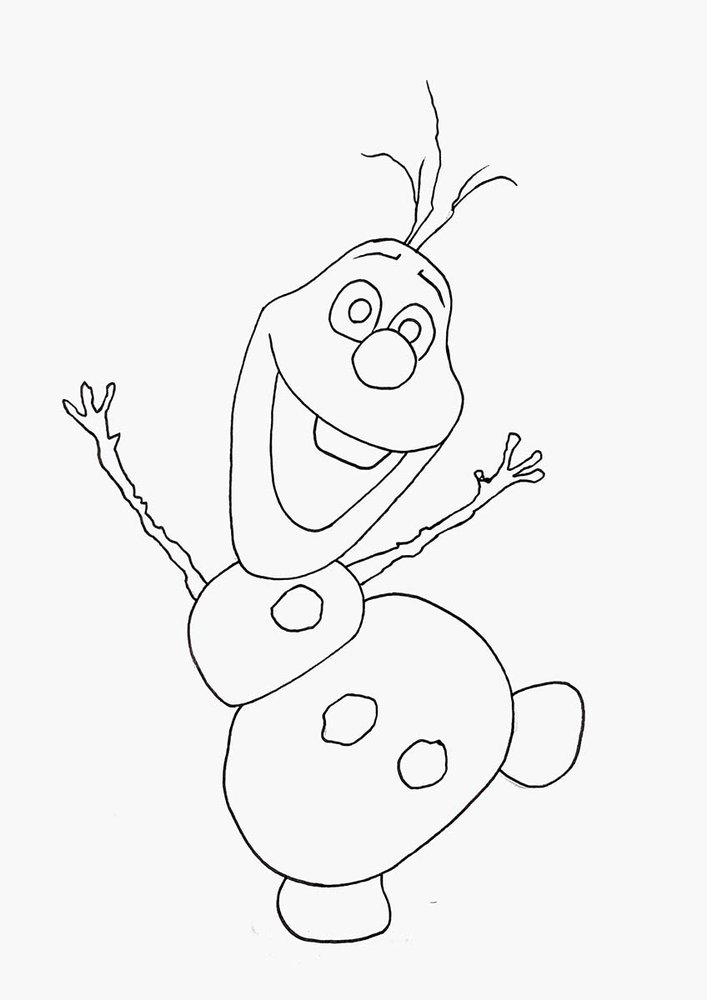
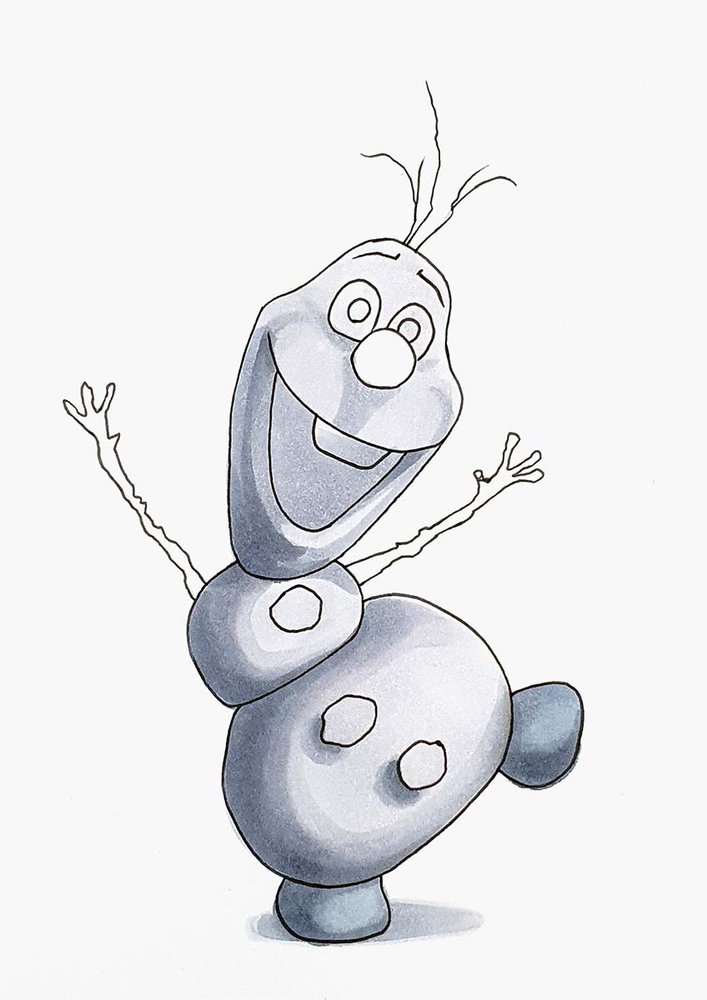
Step 5: Outline The Sketch With A Black Fineliner
I outlined the sketch with a black fineliner.
The only thing I did not outline was the shadow as I thought it would look weird having a darker edge.
Now, we've come to my favorite part: coloring! This is where Olaf really comes to life.
Step 6: Color Olaf With Markers
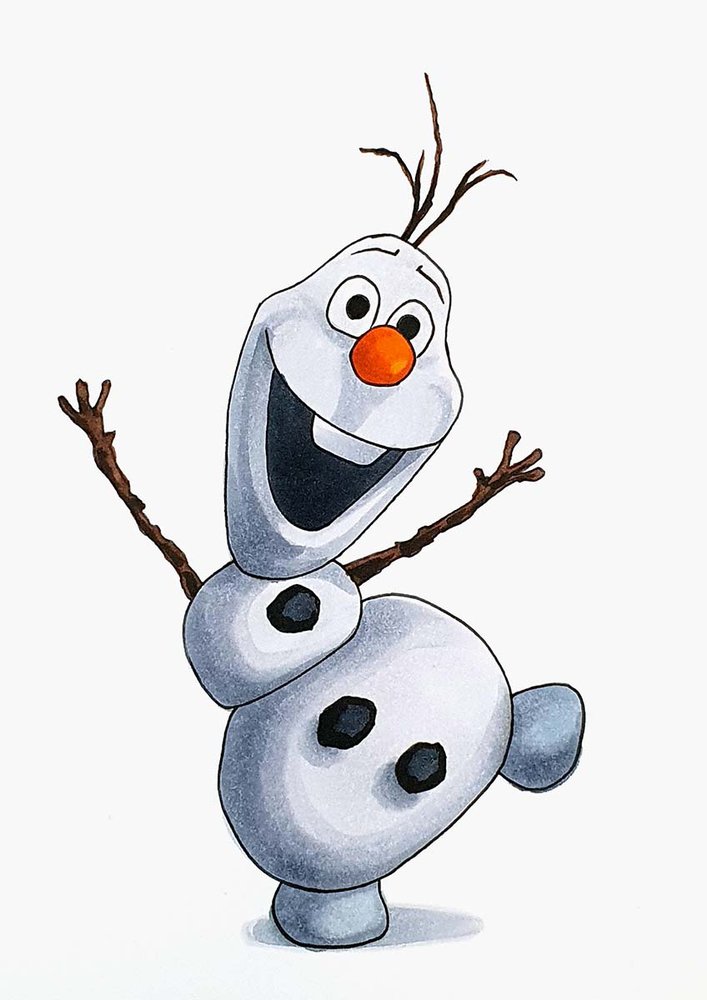
I first colored the snow parts of Olaf and his shadow with Cool Grey II 0 (CGII00).
I did actually try to use another color, but it looked too blue and too dark. That's why his feet are slightly darker and blue...
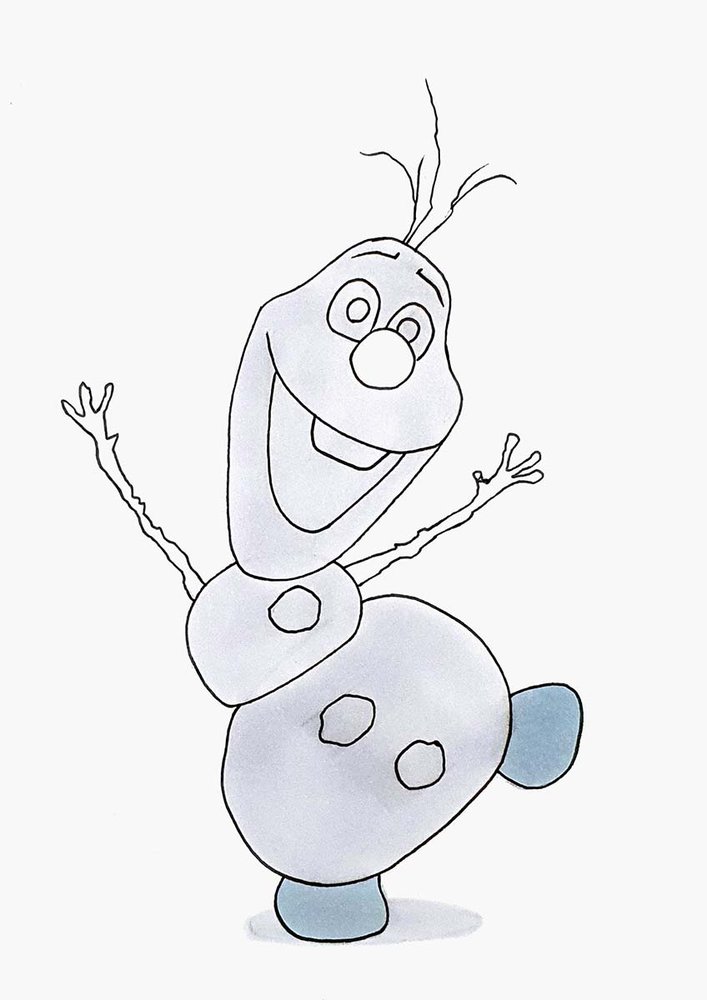
Next, I added shading to Olaf, mainly to the left side, and to do that, I used Cool Grey 05 (BG050).
Then, I added darker shading to those parts with Cool Grey 07 (BG070).
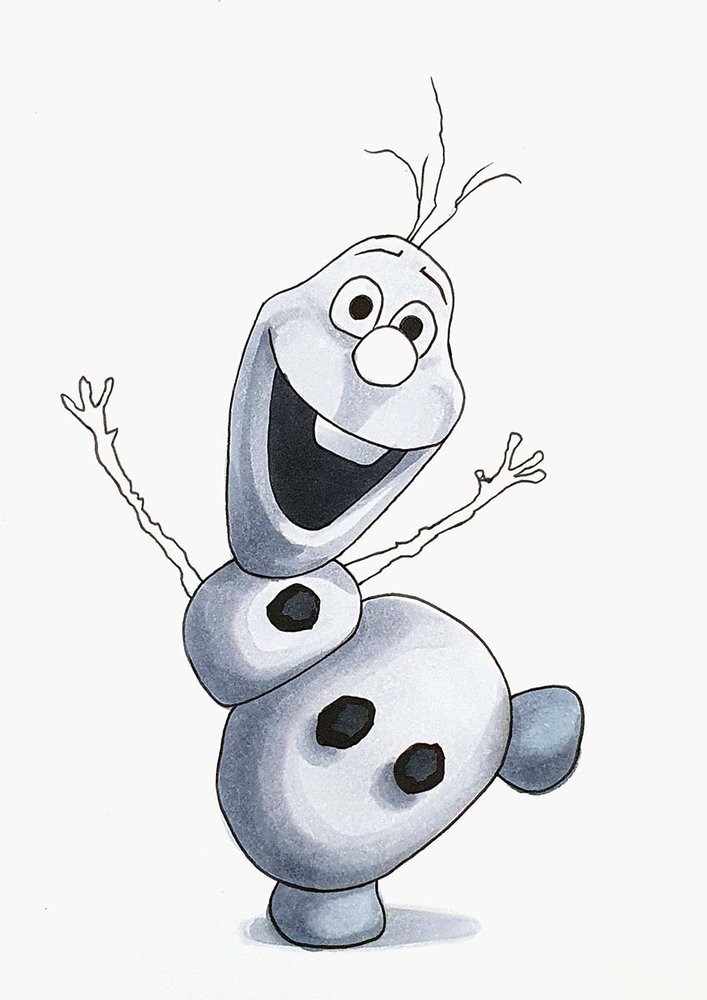
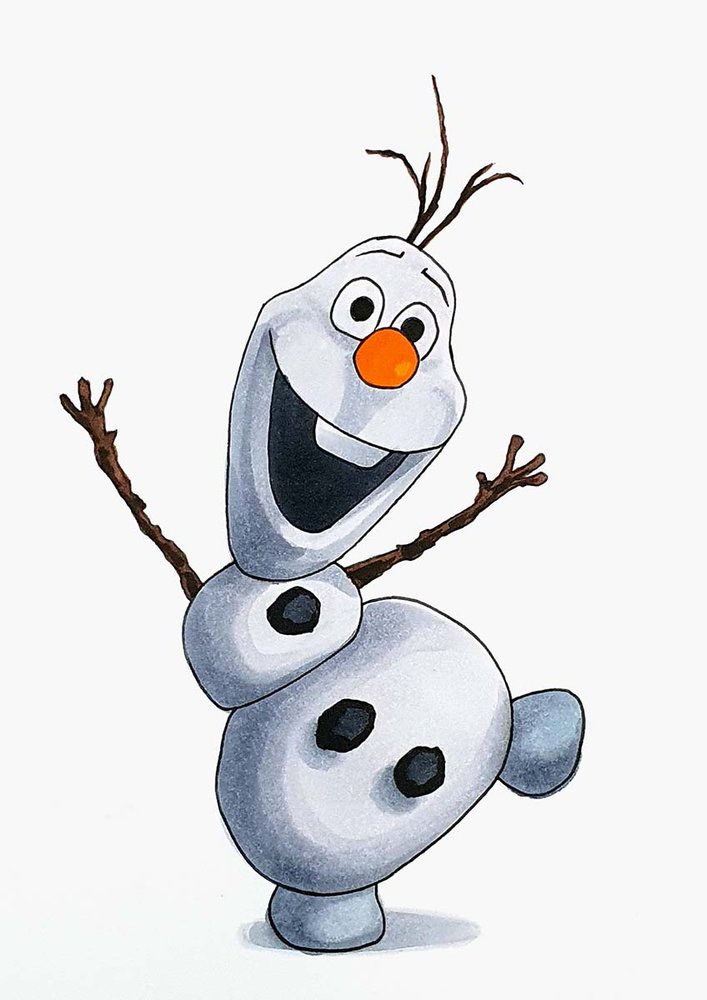
Next, I colored the buttons on his belly with Cool Grey II 07 (CGII07) and added some shading to their left side with Black (120).
I also used Black (120) to color his pupils and Cool Grey II 07 (CGII07) to color his mouth.
After that, I colored his branch arms and hair with Mahogany (Y12).
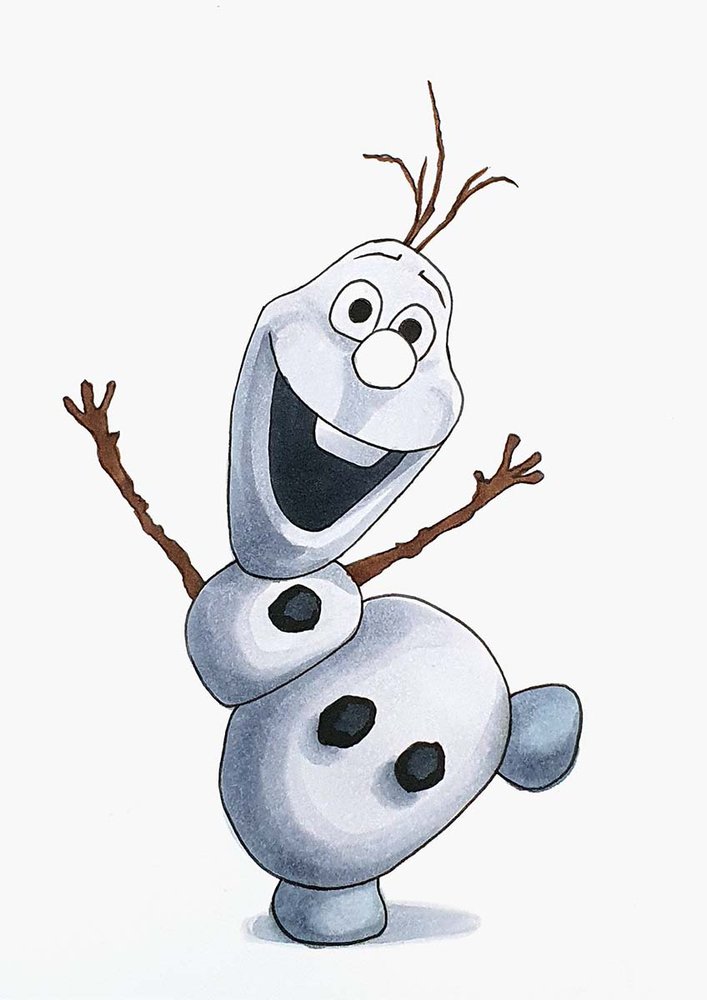
And I added some scribbly shading to them with Chestnut Brown (Y13).
I meant to color his eyebrows too, but I forgot...
Lastly, I colored his nose.
I first colored it with Chrome Orange (YR170).

Then, I used Orange (YR3) to add some shading while leaving a tiny circle on the right lighter orange.
To finish it off, I added more shading to the bottom left with Lipstick Orange (YR180).
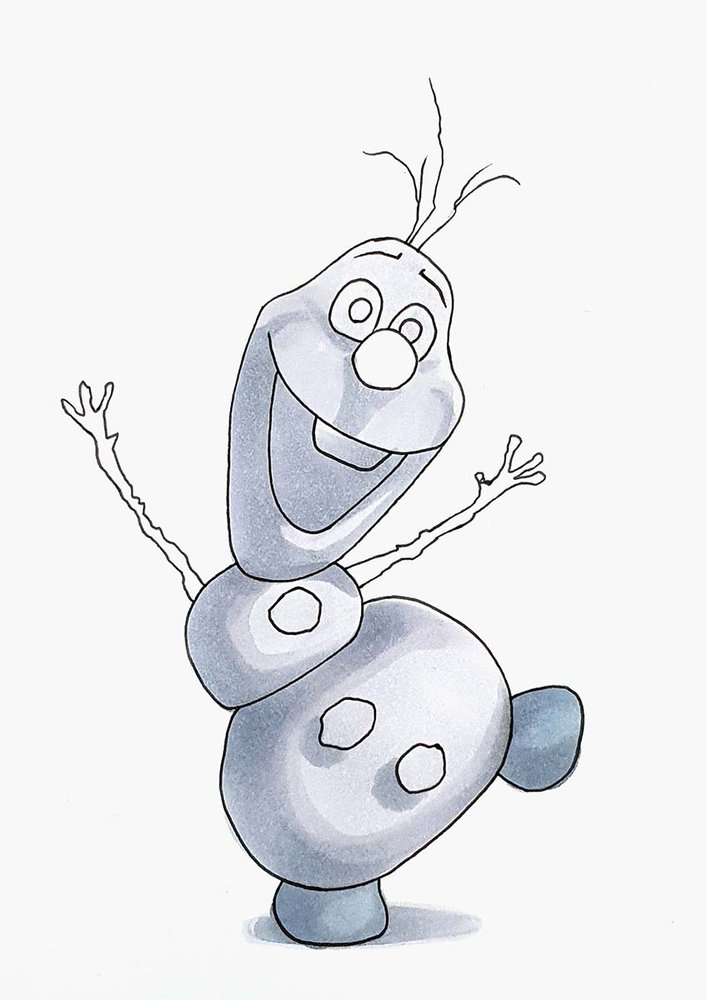
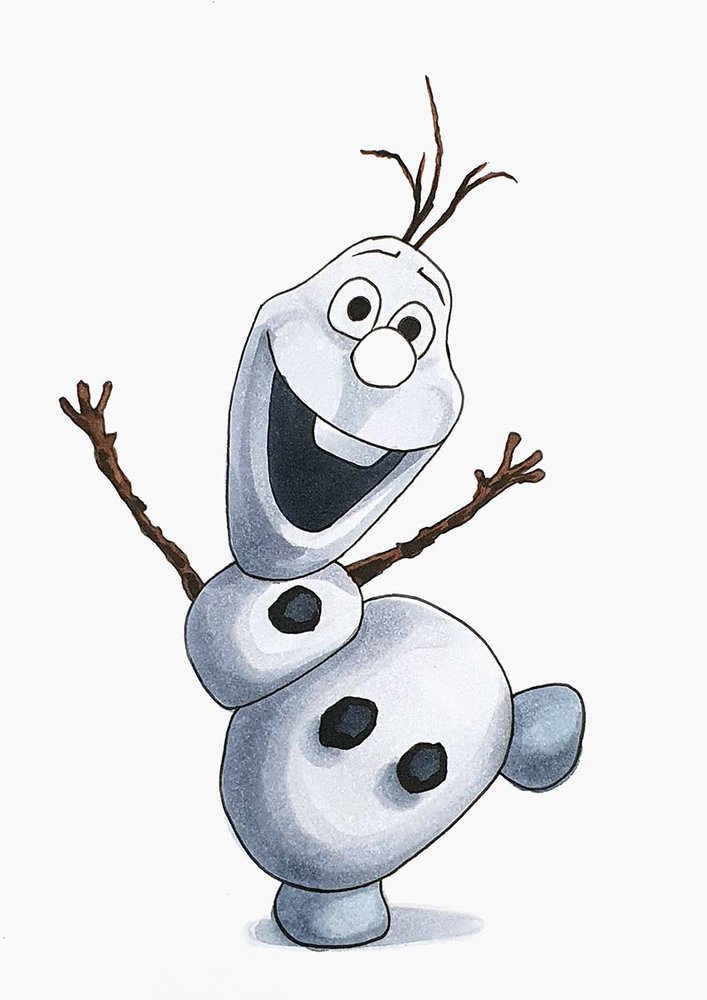
Step 7: Add White Highlights To Your Olaf Drawing
To complete the drawing of Olaf, I added some highlights with my white Posca paint marker.
I added white sparkles in his eyes and highlighted the left side of his body, feet, and nose.
I also added some texture to the stone buttons on his belly by adding some white dots with my paint marker and then dabbing them with my finger.
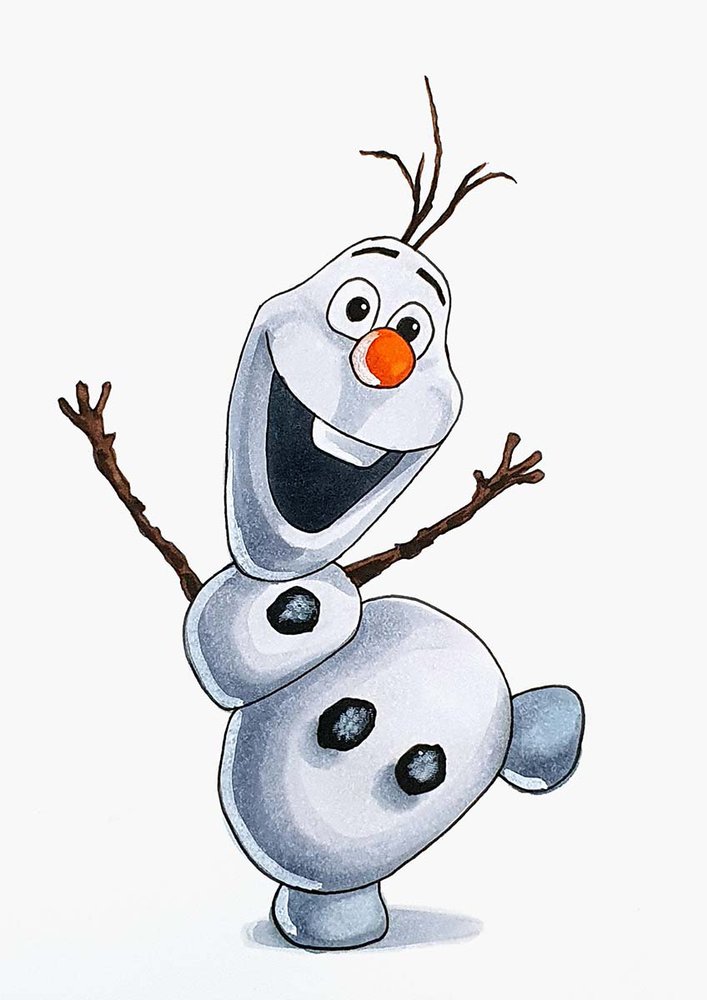
Final Result!
And that's how you draw Olaf from Frozen!
I hope you found this tutorial enjoyable! If so, I would love to see your creations, so please feel free to tag me on Instagram (@luukminkman) when you share them!
Thank you!
Tags
Articles You Might Also Like


I love bringing cars to life with alcohol markers and colored pencils.
Whether you're just starting out or looking to improve your skills, I'm here to help!
Click here to learn more about me.


Be the first to comment!
Comments
There are no comments yet.