How To Draw Deku (Izuku Midoriya From My Hero Academia) - Step-By-Step Drawing Tutorial
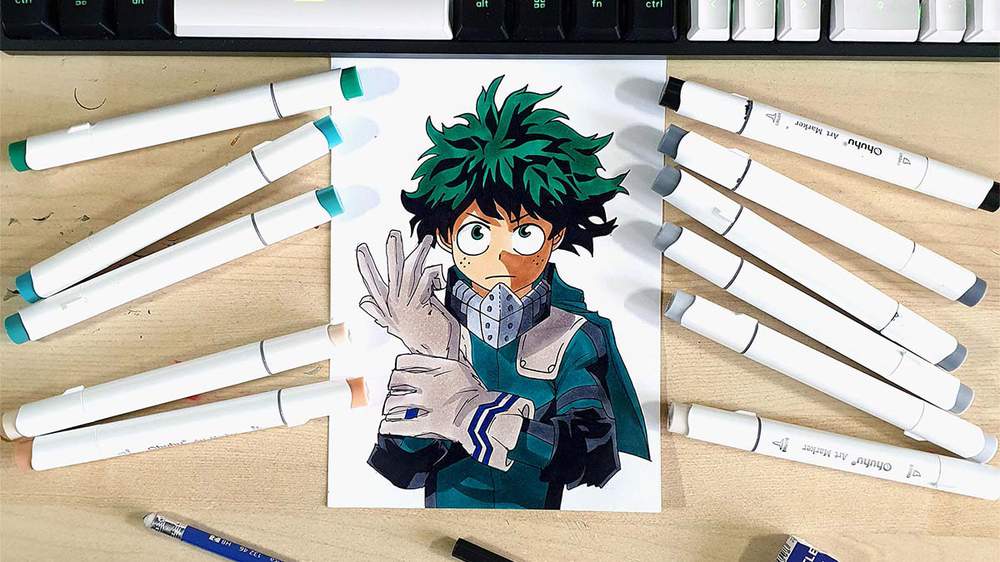
In this drawing tutorial, I'll show you how to draw Deku, aka Izuku Midoriya, from My Hero Academia.
I've broken every part up into simple and easy-to-follow steps so you can follow along and create your own Deku fan art.
Let's get started!
Disclaimer: In the name of full transparency, please be aware that this blog post contains affiliate links and any purchases made through such links will result in a small commission for me (at no extra cost for you).
In This Guide
- Drawing supplies & colors I used
- How to sketch Deku
- Outlining your Deku sketch
- Coloring your Deku drawing with markers
- More drawing guides you'll enjoy
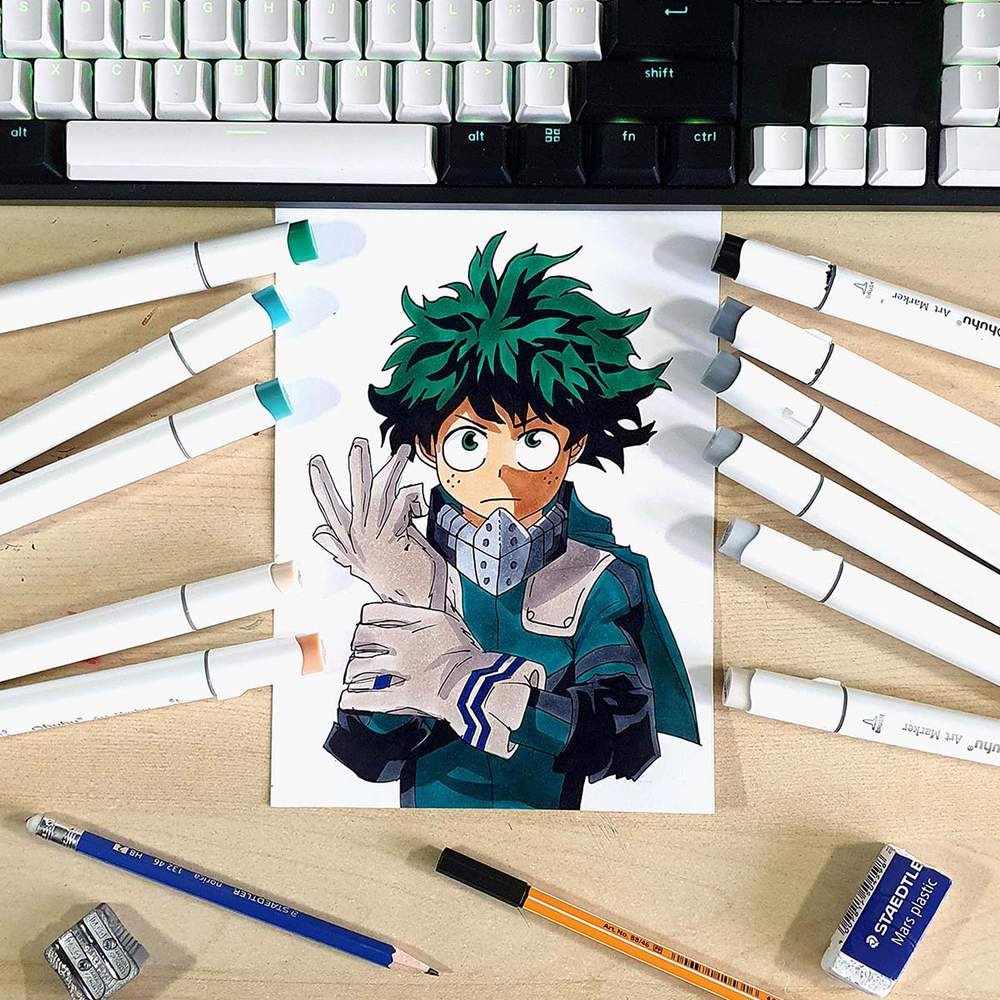
Drawing Supplies I Used To Draw Deku
To make this Deku drawing, I used Ohuhu Honolulu markers in the colors Soft Sun (E160), Dark Suntan (E110), Neutral Grey 03 (CG030), Neutral Grey 05 (CG050), Neutral Grey 07 (CG070), Neutral Grey 6 (NG06), Black (120), Warm Grey 1 (WG01), Warm Grey 07 (WG070), Peacock Green (BG6), Forest Green (BG7), Emerald Green (G1), and Napoleon Blue (PB4).
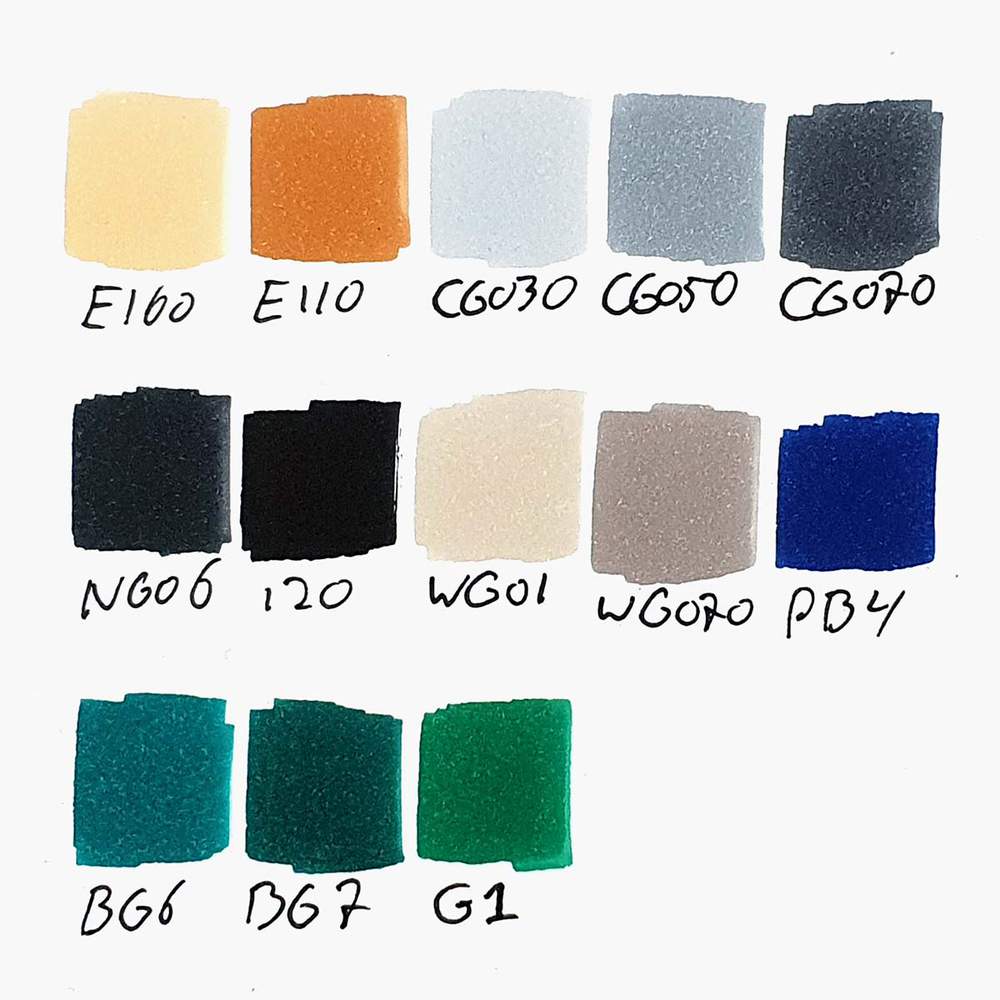
I also used a black fineliner, a graphite pencil, and an eraser.
And I made this drawing on A4-sized Canson Illustration Manga paper, which I cut in half.
How To Draw Deku?
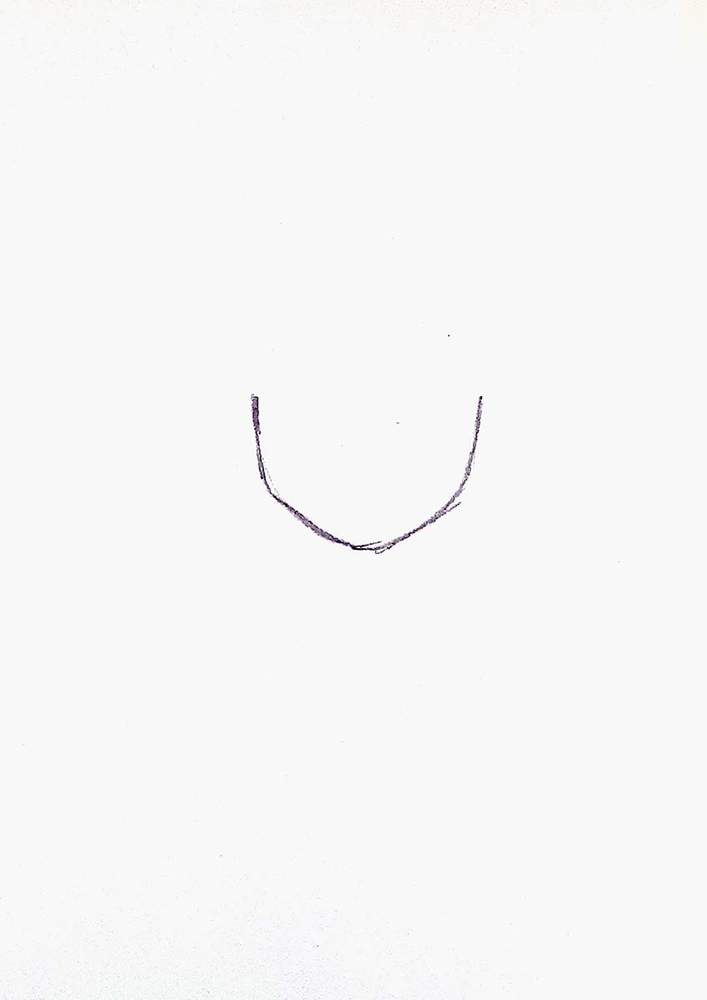
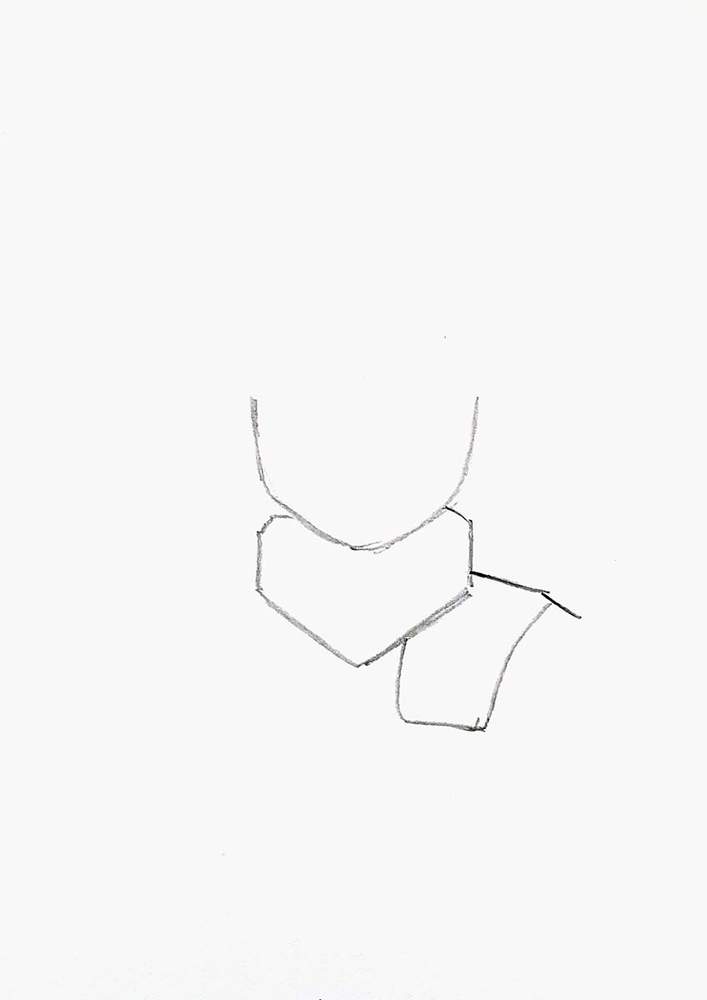
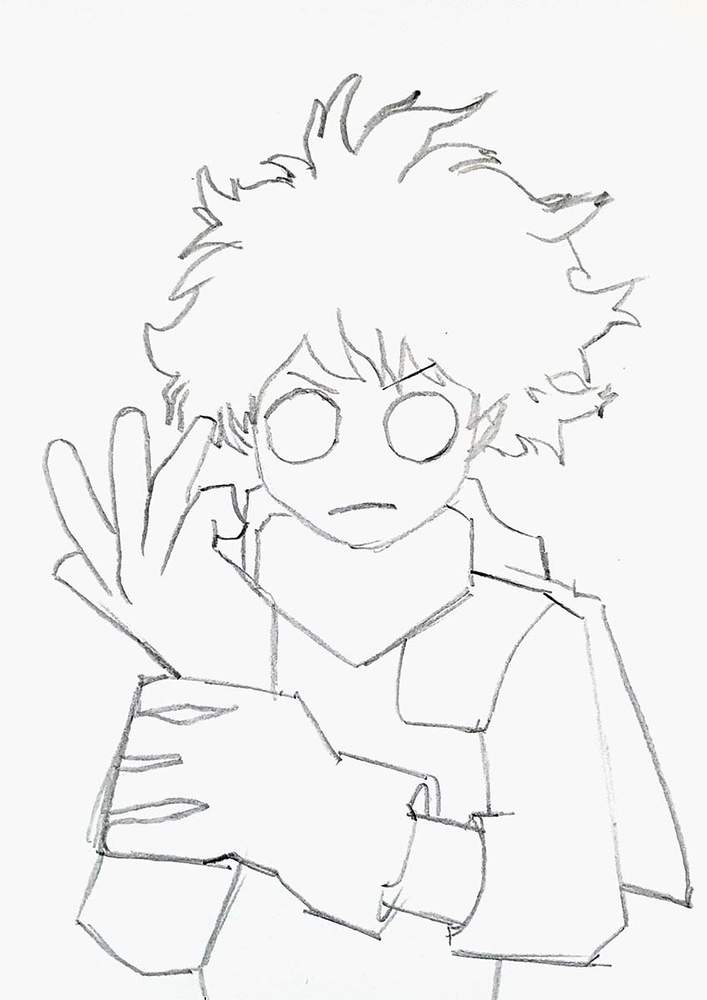
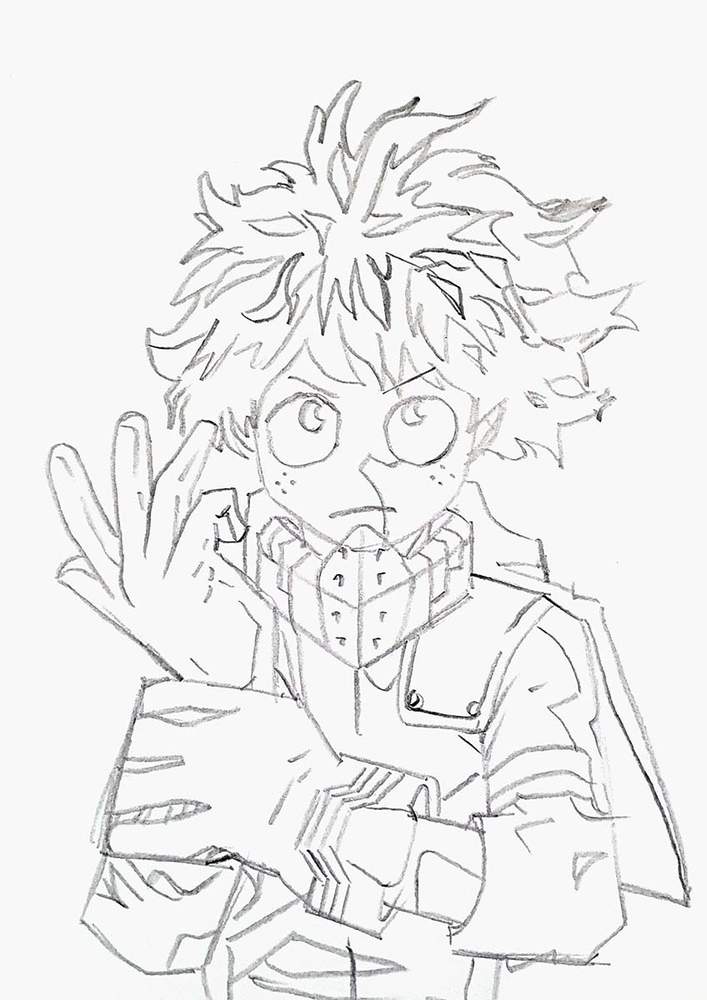
Step 1: Sketch The Outline Of The Bottom Half Of Deku's Head
To start sketching Deku, I first sketched the bottom edge of his chin and the side of his face.
The shape looks like a hexagon (⬡) without the two top edges and with rounded corners.
I sketched it just above the center of my paper.
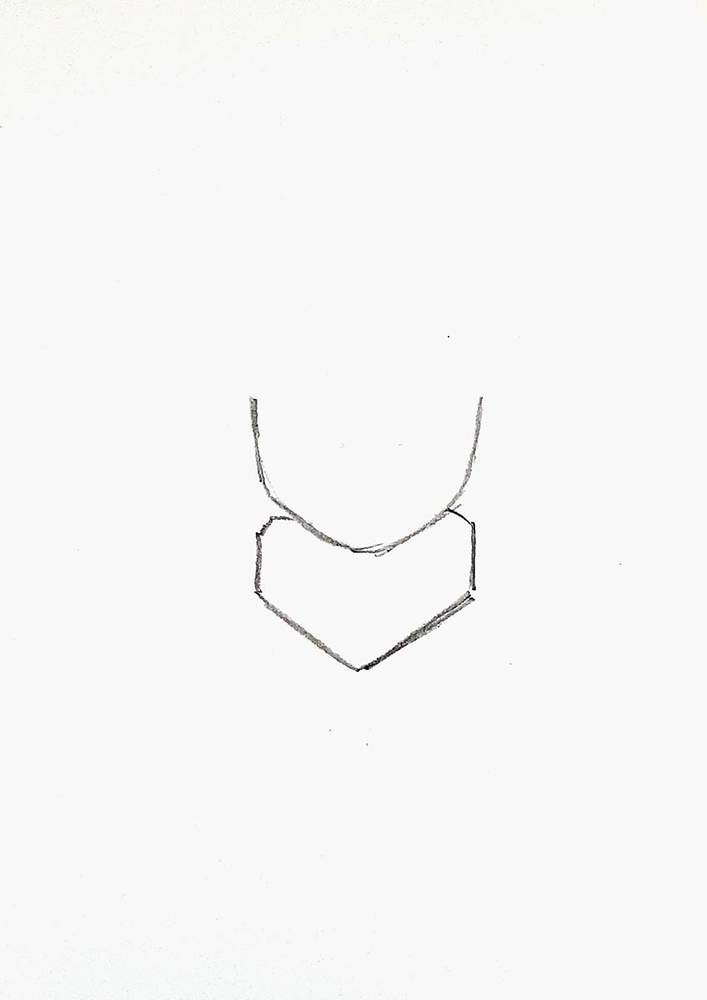
Step 2: Sketch The Outline Of Deku's Mask
After that, I sketched the outline of his mask directly below his chin.
It looks like a heart shape, but with harsh corners. It has 2 parallel vertical lines as far apart as the width of his face.
From there, each of the two lines has a tiny diagonal line going up and towards his jaw, and then one horizontal short line connecting those lines to his jaw.
On the bottom, there are two diagonal lines pointing down and inwards so that they meet each other.
Step 3: Sketch The Outline Of Deku's Arms & Hands
Next, I started sketching Deku's arms.
I started with his shoulder, drawing a short, slightly angled line near the bottom edge of his mask.
Then, I added the patch on his shoulder, shaping it with two curved lines that are connected at the bottom with a horizontal line.
For the upper arm, I sketched two parallel lines—one slightly shorter than the other—angled downward.
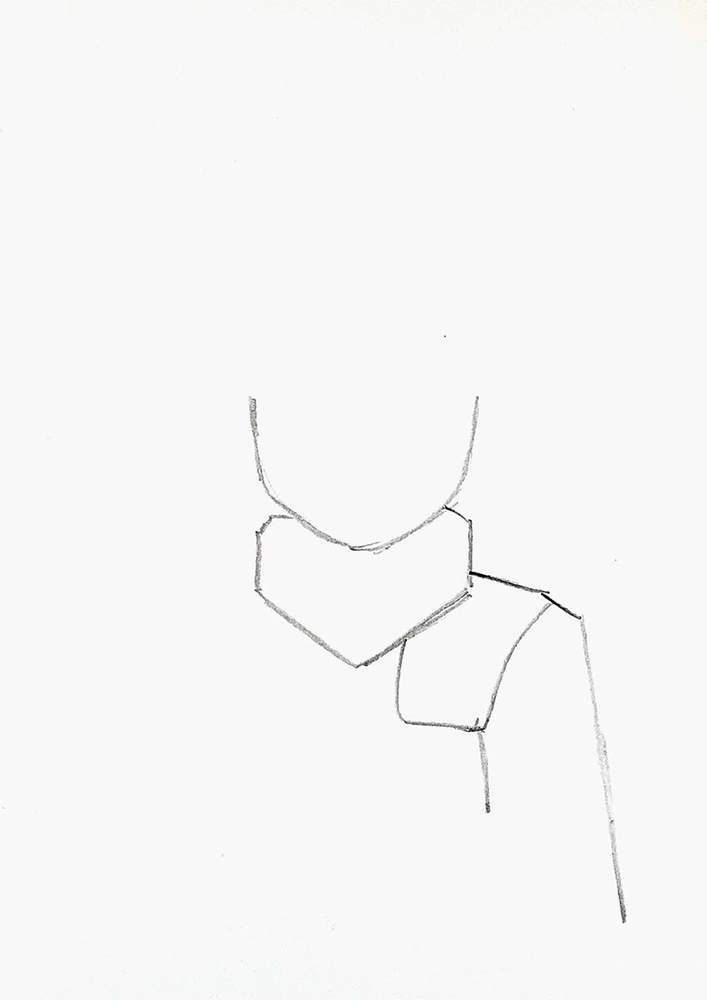
Then, I sketched his lower arm until the glove.
I sketched his elbow with a short diagonal line. From there, I added a horizontal line.
On the left edge of his upper arm, I sketched a short line and connected it with the other line with an ellipse shape.
Where the thicker elbow fabric ends, I sketched two lines closer together.
Next, I sketched his glove.
It starts as another ellipse with two parallel lines on each end. The rest of his hand has a blocky, square shape.
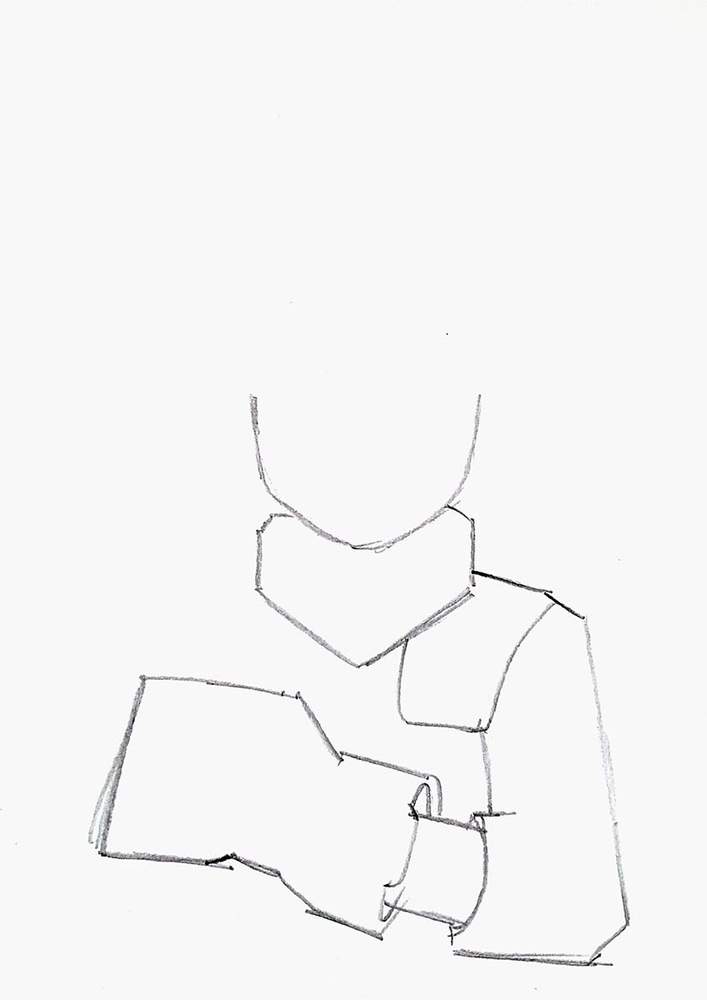
After that, I sketched his other arm.
Deku is holding his right arm with his left one, the one we just sketched.
To make it appear as if he's holding his other arm, I sketched a blocky shape below his hand and drew the base of his other hand above it.
I also added the sides of his body below his arms.
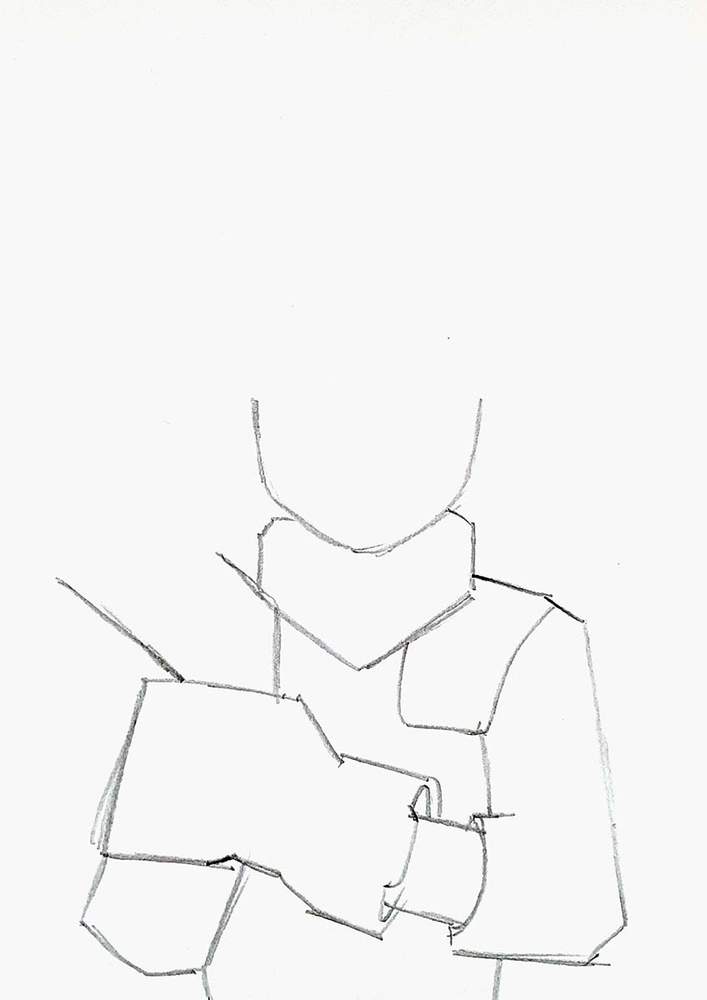
Next, I sketched his fingers.
On his lower hand, I sketched 3 weird pointy shapes to separate his fingers.
On his other hand, I loosely sketched the outline of each finger.
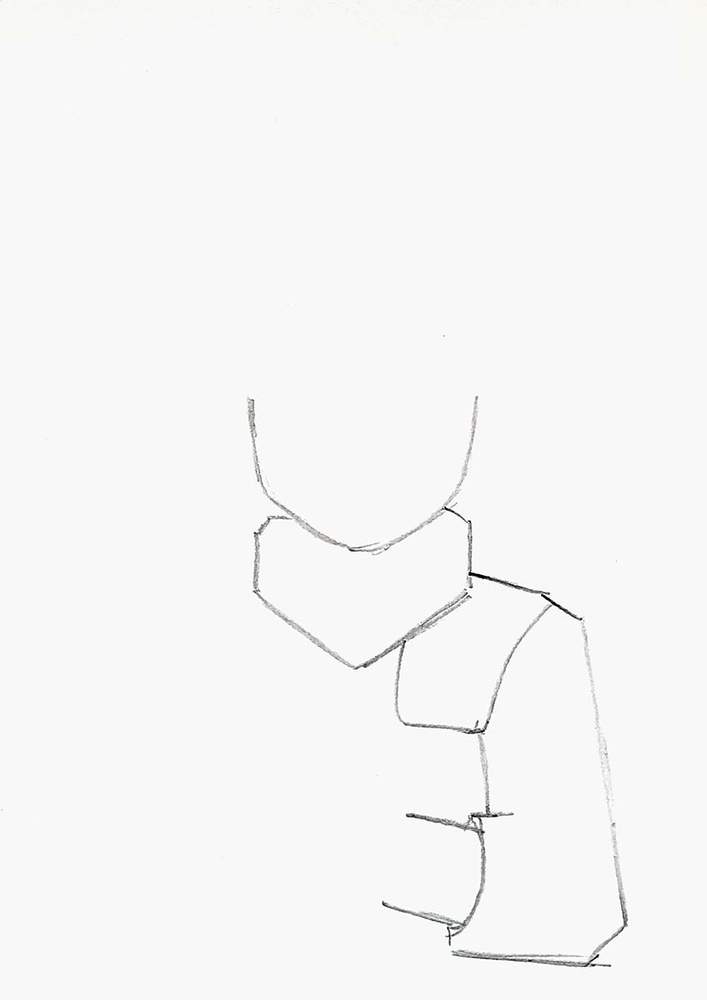
Step 4: Sketch Deku's Cape
Next up, I sketched Deku's cape.
There is a little part just to the left of his mask, but the majority of his cape is on the right side of the paper.
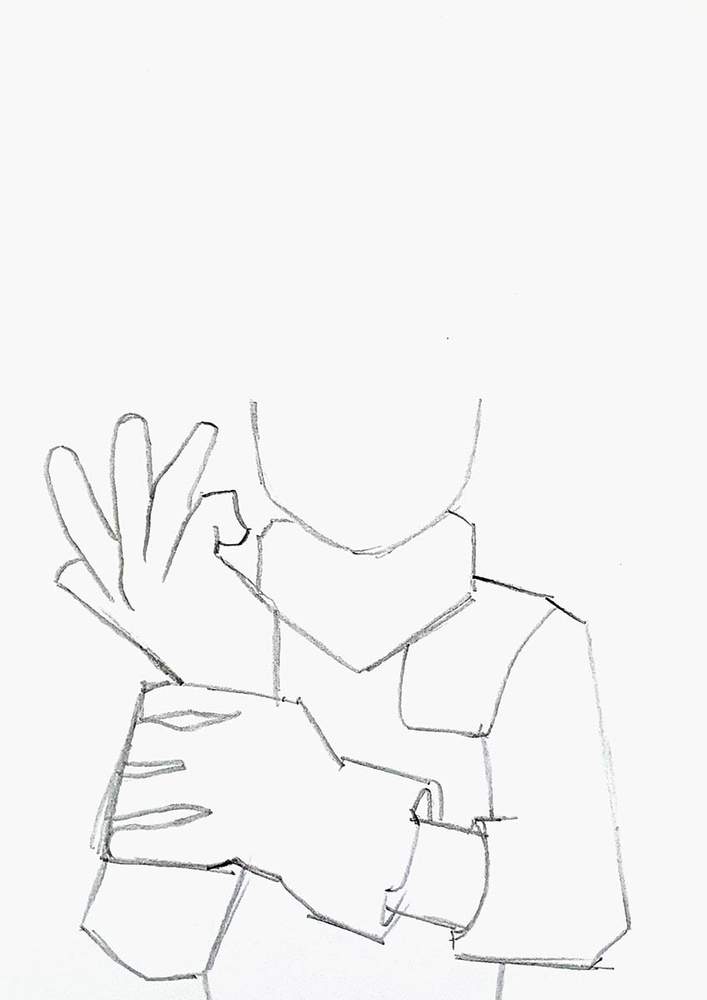
Step 5: Sketch The Outline Of Deku's Hair
After that, I sketched his head of wild and wavy hair.
His hair points in all sorts of directions, and it's approximately as tall as his face.
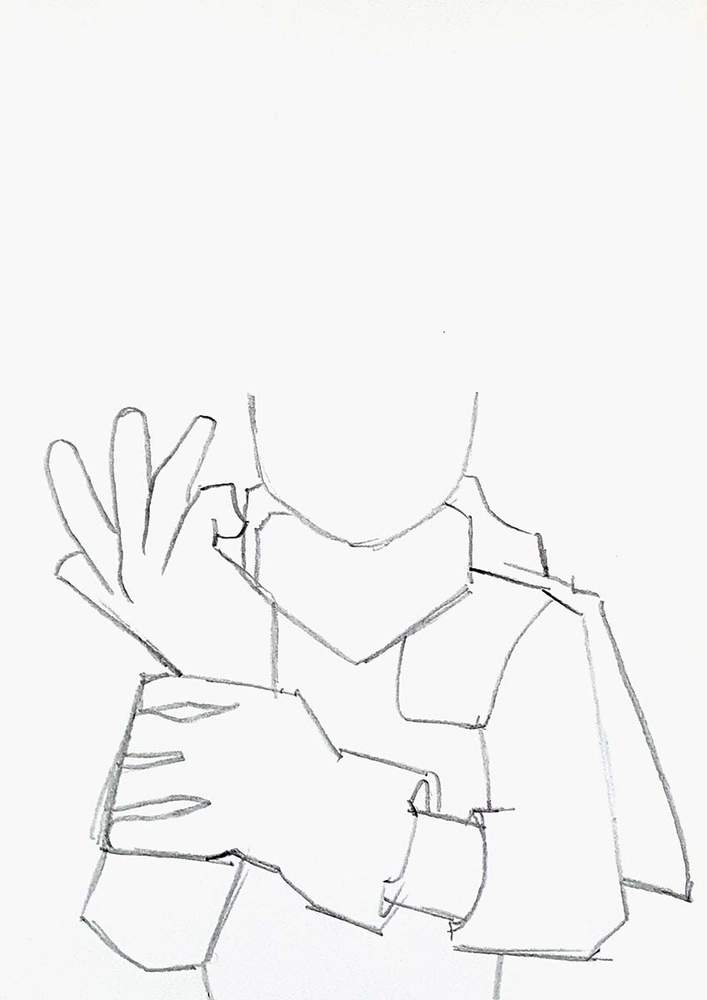
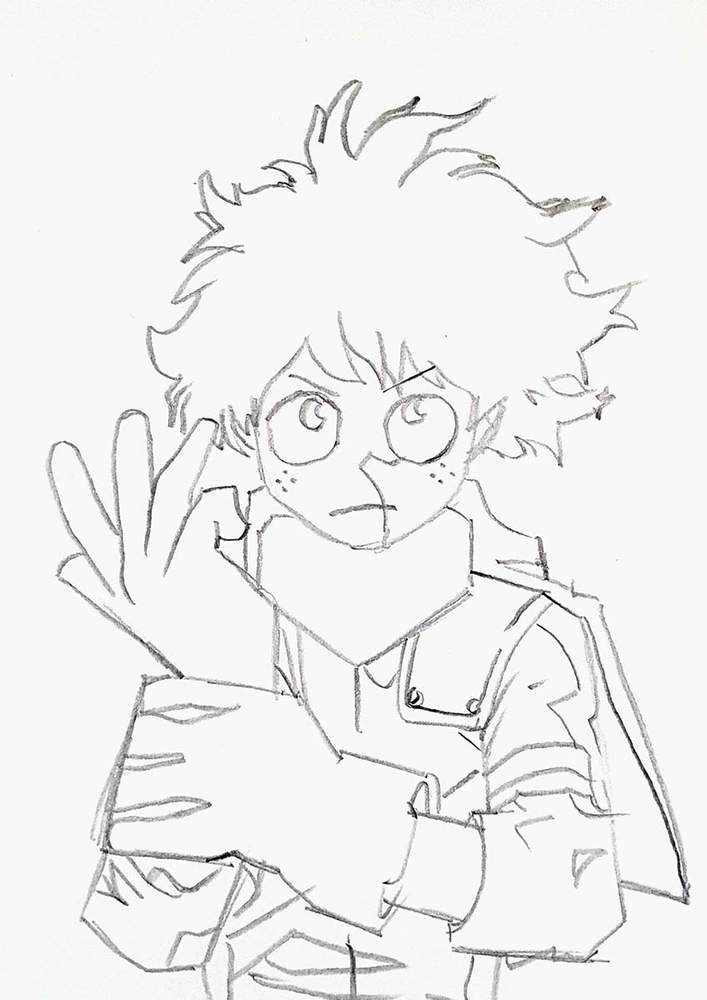
Step 6: Sketch Deku's Face
Then, I sketched Deku's face.
I started by sketching 2 circles for his eyes, each with a line above it to resemble his eyebrows.
I also sketched a line for his mouth.
To finish off his face, I added his pupils, freckles, and the outline of the shadow on his face.

Step 7: Add Details To Deku's Suit
Next, I added tons of details to his suit.
I marked out the seams, the wrinkles, the edges of different materials, etc.

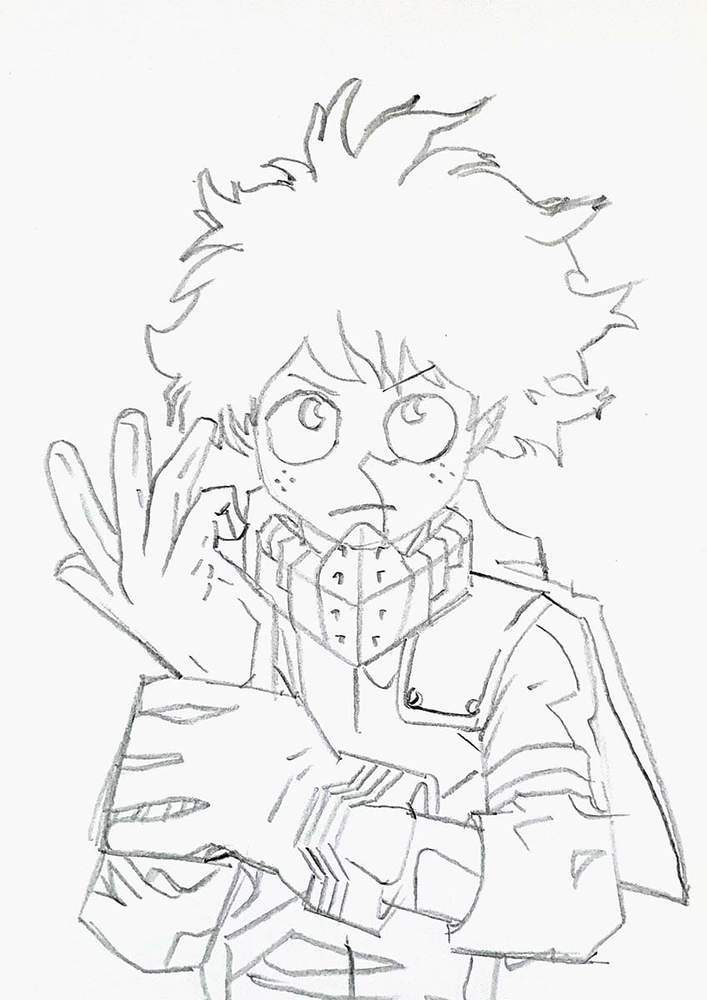
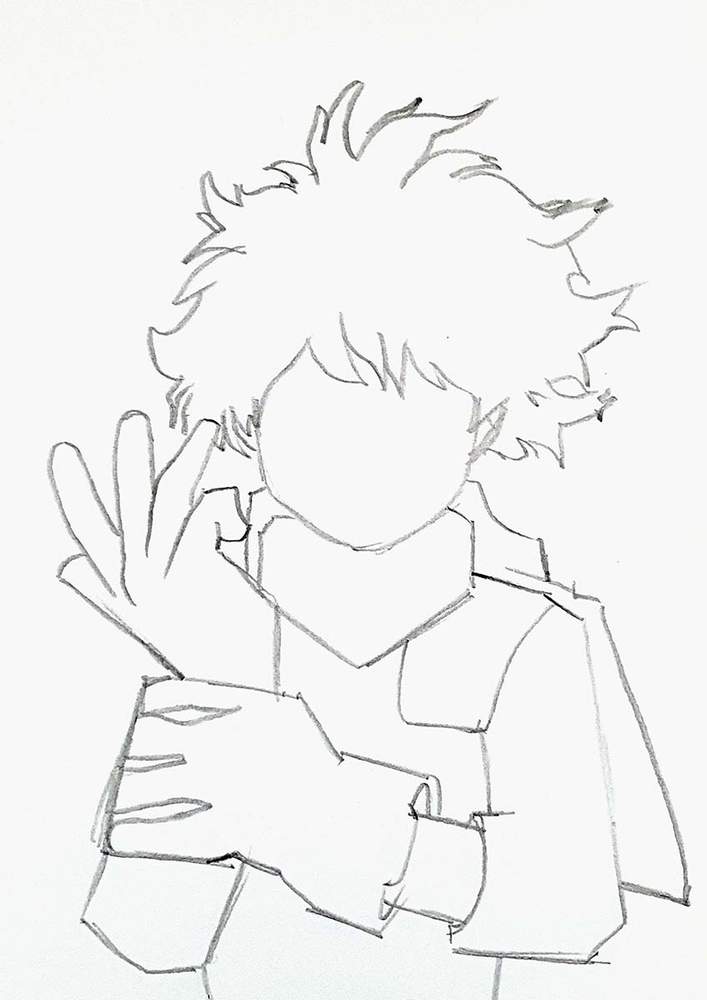
Step 8: Add Details To Deku's Hair
To finish off the sketch, I added details to Deku's hair.
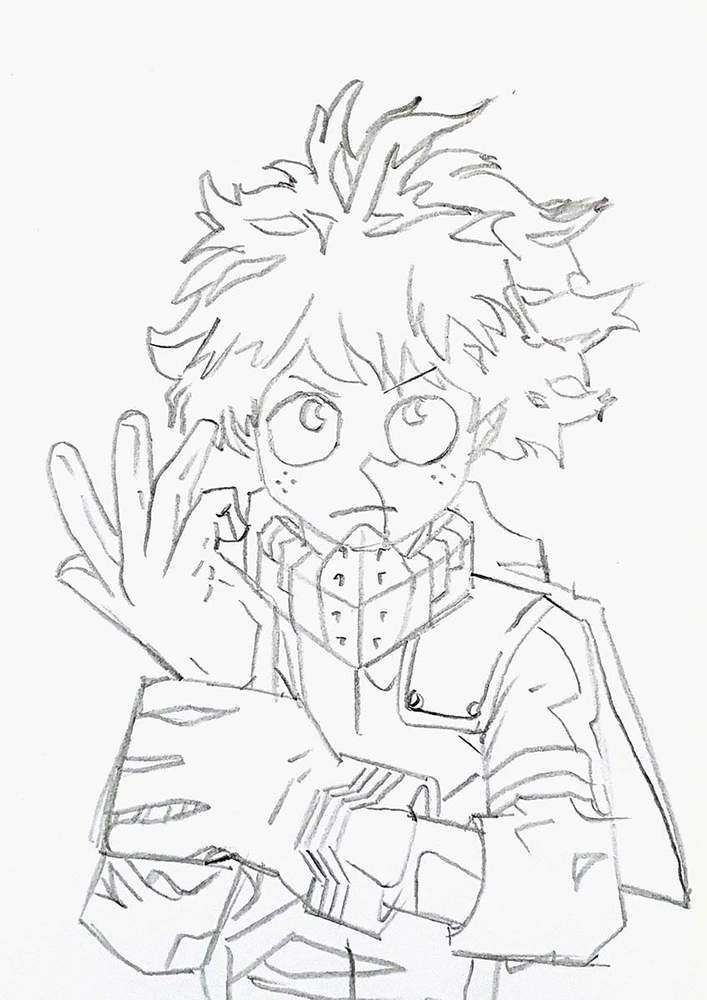
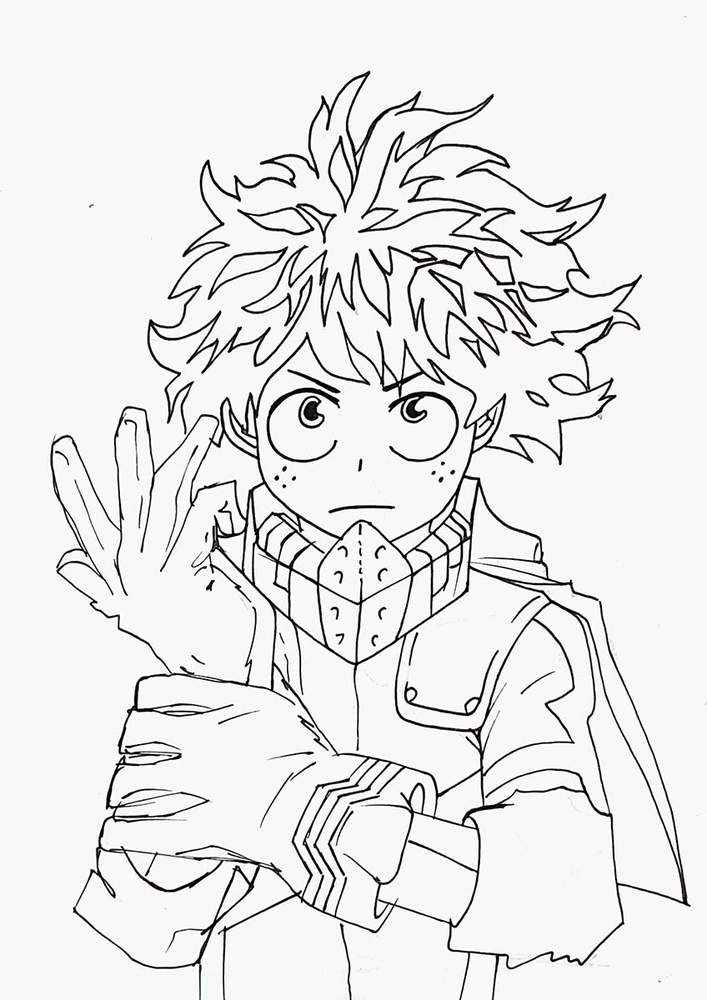
Step 9: Outline The Sketch Of Deku
To prep the sketch for coloring, I like to outline it with a black fineliner, so I did.
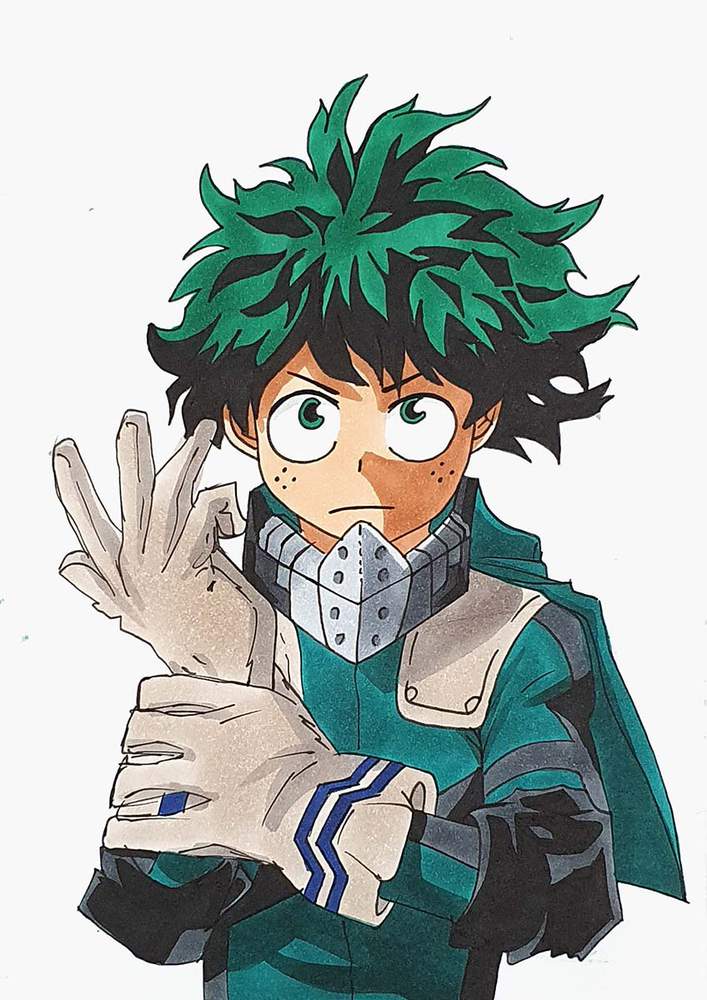
Step 10: Color The Drawing Of Deku With Markers
To make Deku come to life, I colored him with my favorite alcohol markers: Ohuhu Honolulu markers.
I used:
- E160 to color his skin;
- Black to color the black parts of his hair;
- G1 to color the green of his hair and his eyes;
- CG030 to color his mask;
- CG070 to color the dark grey parts of his suit;
- BG6 to color the green parts of his suit;
- WG01 to color his gloves and the patches on his shoulders;
- and PB4 to color the blue lines on his gloves.

To add some more depth to the Deku drawing, I used:
- E110 to add a shadow on his face;
- CG050 and CG070 to add shadows to his mask;
- WG070 to add shadows on his gloves and shoulder patches;
- BG7 to add shadows to the green parts of his suit;
- and NG06 to add shadows to the dark grey parts of his suit.
And that's how you draw Deku, aka Izuku Midoriya, from My Hero Academia.
I hope you enjoyed this tutorial and were able to follow along!
Thank you and I'll see you in my next drawing tutorial.
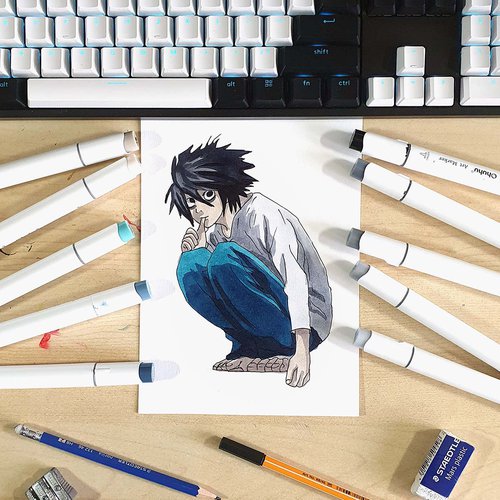
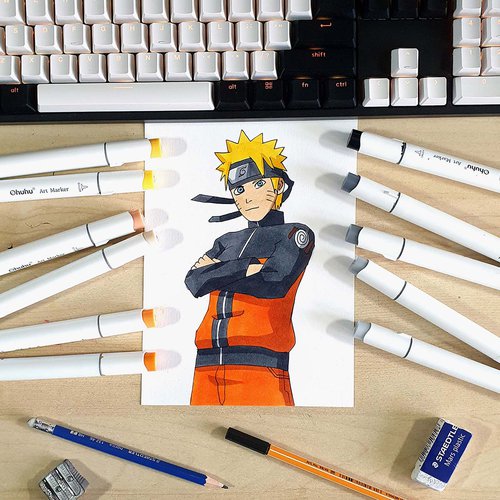
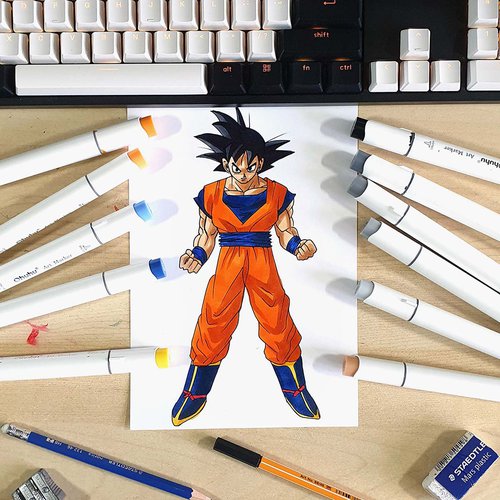
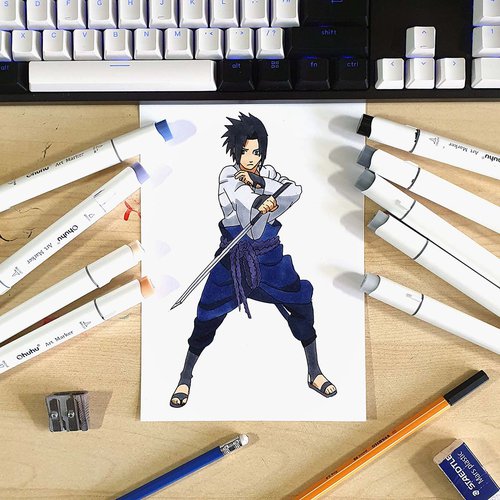
Articles You Might Also Like
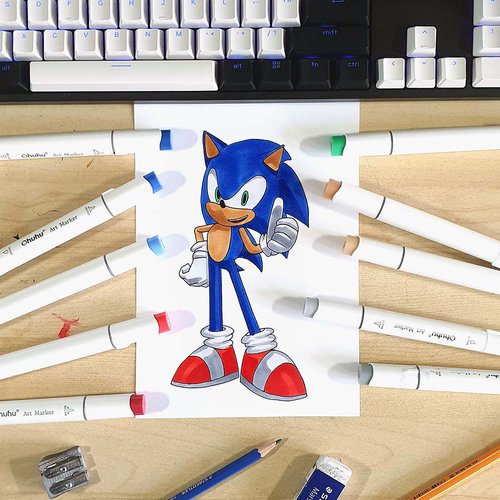

I love bringing cars to life with alcohol markers and colored pencils.
Whether you're just starting out or looking to improve your skills, I'm here to help!
Click here to learn more about me.


Add a comment
Comments
YO I ACTUALLY DID IT!!!