How To Draw Bamboo - Super Easy Step-By-Step Tutorial
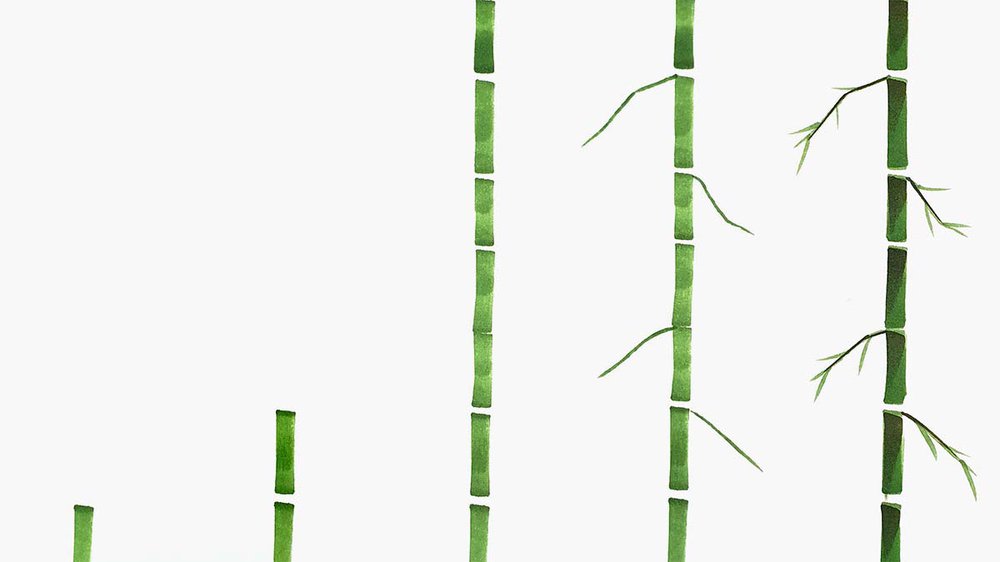
In this tutorial, I'm going to show you a simple trick to draw bamboo. It involves just a few steps and 2 markers to do it.
Let's get started!
Disclaimer: In the name of full transparency, please be aware that this blog post contains affiliate links and any purchases made through such links will result in a small commission for me (at no extra cost for you).
The Drawing Supplies I Used
To make this bamboo drawing, I used Ohuhu Honolulu markers in the colors G270 Moss and G300 Dark Olive.
And I used Canson Illustration Manga paper.
How To Draw Bamboo?
Step 1: Draw A Short Vertical Line Downwards While Releasing Pressure
To draw bamboo, you start by coloring the bottom first.
To do this, I used the chisel nib of the G270 Moss marker, placed in toward the bottom edge of the paper, and colored a thick line straight down while lifting the marker off the paper at the same time.
This will make the top darker and the bottom lighter.

Step 2: Draw A Short Vertical Line Upwards While Releasing Pressure
After that, I used the same G270 Moss marker, placed it just above the line we just made to leave some white space, and colored a line straight up while releasing pressure to create that dark-to-light gradient again.

Step 3: Draw A Short Vertical Line Downwards While Releasing Pressure That Overlaps The Previous Line
Next, I Colored a line straight down overlapping the previous line. I again used more pressure at the start, then lifted my marker off the paper to create the dark-to-light effect.

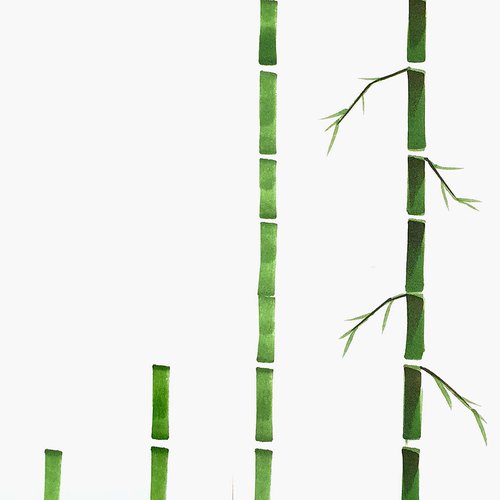
Step 4: Repeat Steps 2 & 3 Until You've Colored The Full Stem
I repeated the last two step until I had colored the whole stem of the bamboo.

Step 5: Add 2 Short Branches On Either Side Where A Section Of Bamboo Ends
Next, I added short branches on the top edges of some of the sections using the G270 Moss marker.
I added 2 branches on either side of the bamboo and I made them point downwards. Some branches have some harsh corners which makes them look more like bamboo branches.
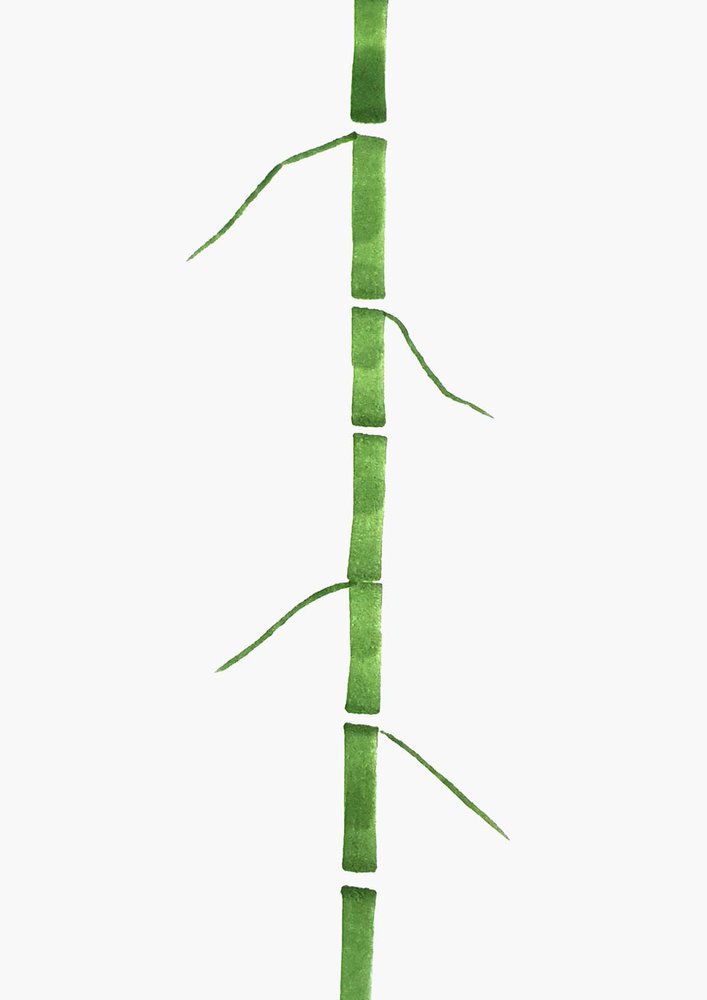
Step 6: Add Some Narrow Lines To Those Branches
After that, I added some narrow and long leaves on the branches using the brush nib. I just add 3 or 4 on each branch.

Step 7: Add A Shadow To The Top Left Of Each Section Of Bamboo
Lastly, I wanted to create some more depth in the bamboo.
To do this I colored the top left of each bamboo section with a dark green marker, G300 Dark Olive in this case.
I also darkened the branches of the bamboo.
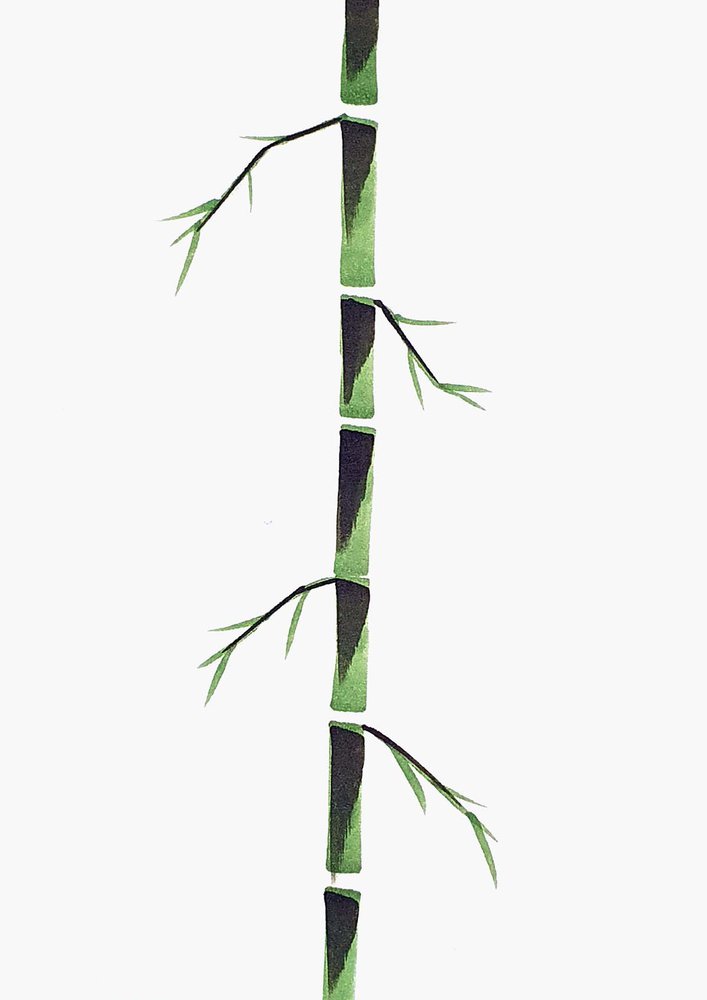
I then used G270 Moss again to colored over the harsh line between the 2 green colors to blend it out a bit.
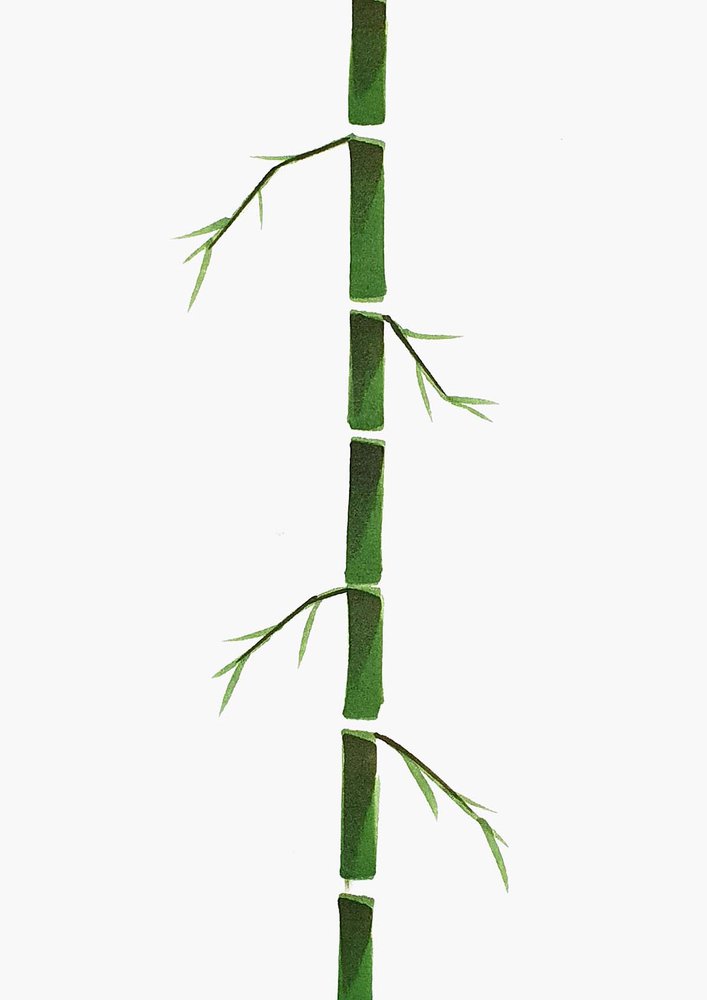
And that's how you can easily draw a bamboo texture.

Tags
Articles You Might Also Like


I love bringing cars to life with alcohol markers and colored pencils.
Whether you're just starting out or looking to improve your skills, I'm here to help!
Click here to learn more about me.


Be the first to comment!
Comments
There are no comments yet.