How To Draw A Tree - Super Easy Step-By-Step Tutorial
In this tutorial, I'm going to show you how you can quickly and easily draw a good-looking tree using just a few drawing supplies.
Let's get started!
Disclaimer: In the name of full transparency, please be aware that this blog post contains affiliate links and any purchases made through such links will result in a small commission for me (at no extra cost for you).
Drawing Supplies I Used To Draw This Tree
To make this drawing, I used my favorite alcohol markers: Ohuhu Honolulu markers.
I used the colors G080 Limeade, G270 Moss, G300 Dark Olive, E370 Light Walnut, and E460 Military Olive.
And I made this drawing on Canson Illustration Manga paper.
How To Draw A Tree?
To draw a tree, you first sketch the tree trunk. Make it look crooked and organic. Then you sketch the branches. Include sharp angles and add branches onto branches. Then you color the leaves by adding tons of dots using multiple green markers. Lastly, you color the trunk and the branches with a light and dark brown marker. Make sure to skip some parts where the leaves are covering the branches.
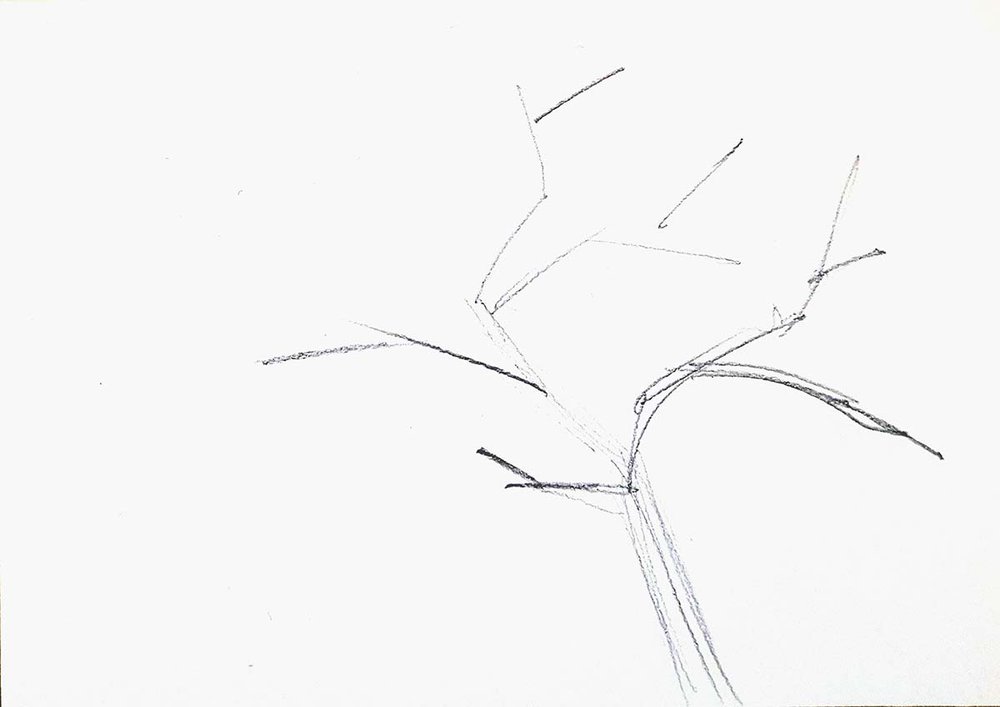
Step 1: Sketch The Trunk
To draw this tree, I first marked out roughly where I wanted the trunk to be.
I made it tilt slightly towards the left to make it look more interesting.

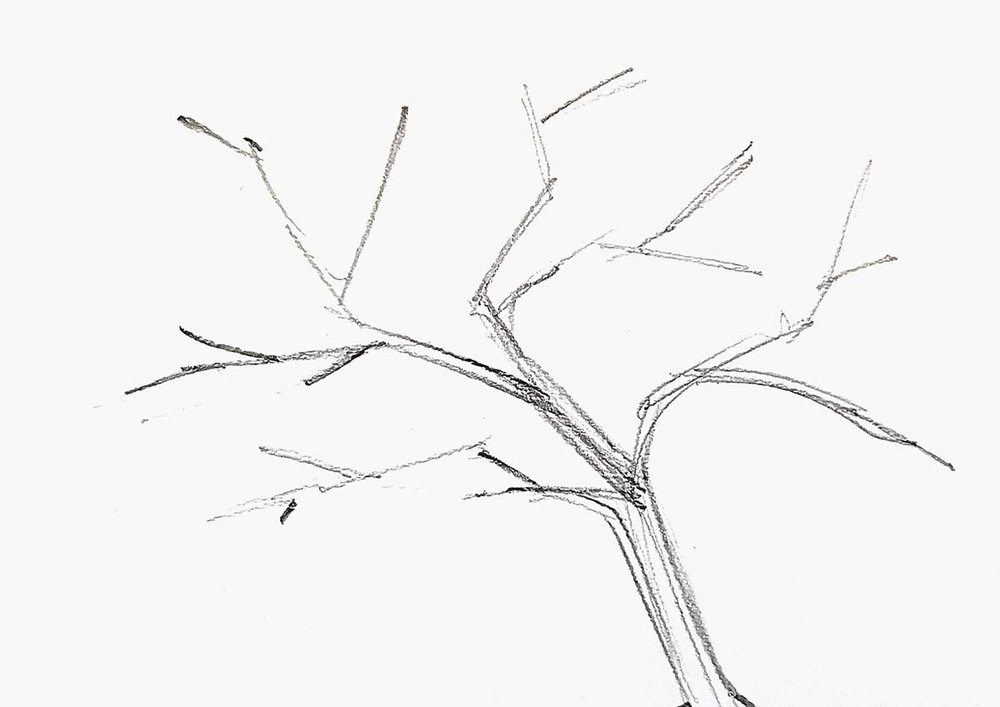
Step 2: Sketch The Branches
After that, I sketched the branches.
I sketched the branches using a bunch of straight lines and harsh corners. I also made a few more curved to make it look more organic.
Also, I refined the trunk shape and made in curve outwards at the bottom.
Step 3: Color The Leaves Using Dots
After that, I lightened my sketch and colored a ton of green dots in places where there are leaves that are hit by the sunlight. To do this I used G080 Limeade and applied the dots with the brush nib.
I added the leaves mostly around the tree branches and made them more dense where the tree branches were more dense.
I left some parts uncolored for now as the leaves there will be darker.

Next, I colored the darker leaves and I added some shadows in between the light leaves. For this, I used the G270 Moss marker.

Lastly, I added a few really dark leaves, especially on the left, using G300 Dark Olive.

Step 4: Color The Tree Trunk Brown
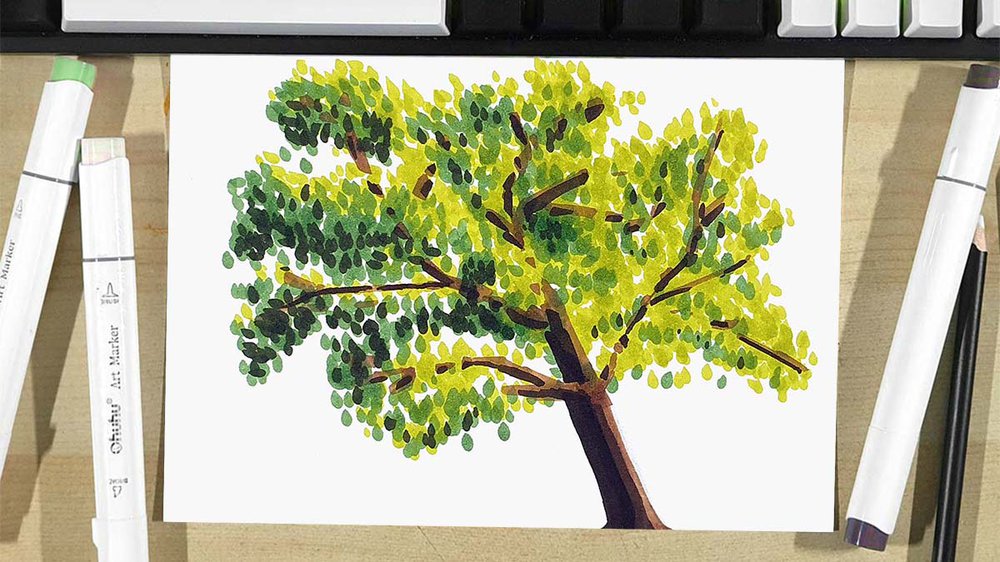
To finish the tree drawing off, I colored the tree trunk and the branches with E370 Light Walnut.
I skipped some small parts here and there to make it look like the leaves were in front of the tree branches.

Lastly, I used E460 Military Olive to color the left edge of the tree trunk ( I also made it a little wider as it looked way too skinny) and I colored the bottom edges of the branches.

And That's How You Can Draw A Simple Tree
I hope you found this helpful.
Let me know how your drawing went!

Tags
Articles You Might Also Like


I love bringing cars to life with alcohol markers and colored pencils.
Whether you're just starting out or looking to improve your skills, I'm here to help!
Click here to learn more about me.


Be the first to comment!
Comments
There are no comments yet.