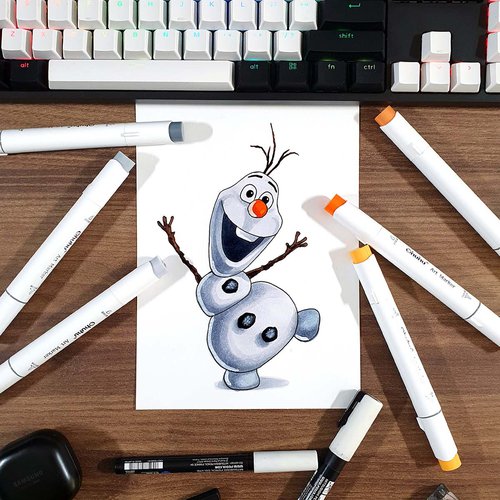
How To Draw An Adorable Snowman - Easy Guide With Pictures
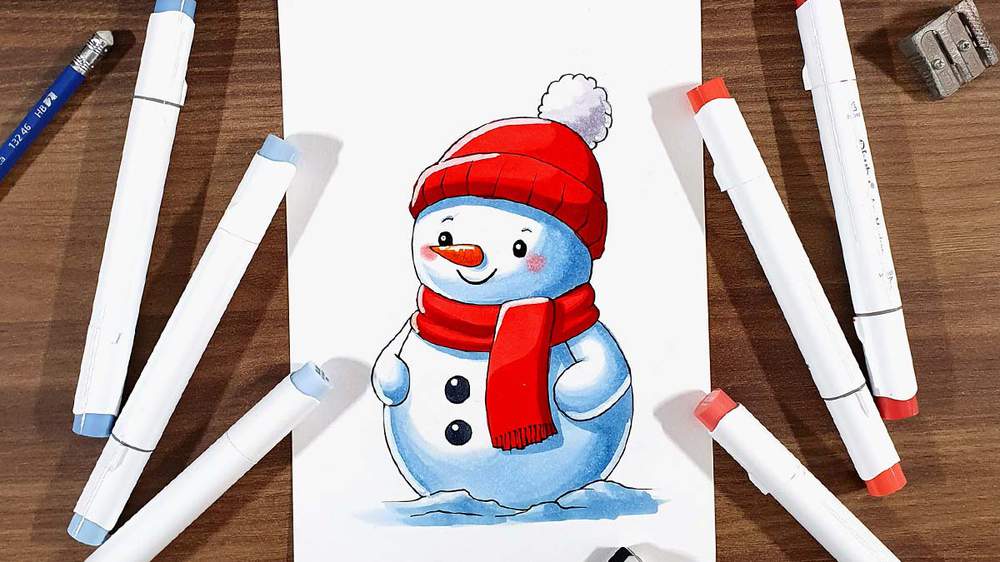
Want to draw an adorable snowman that looks like it stepped out of a cozy winter wonderland?
In this step-by-step tutorial, I’ll show you exactly how I created this cute snowman drawing, from the sketch to the final colorful details.
Whether you’re a beginner or just looking for a fun winter art project, this guide will help you bring your snowman to life with charm, personality, and plenty of festive cheer!
Let's get started!
Disclaimer: In the name of full transparency, please be aware that this blog post contains affiliate links and any purchases made through such links will result in a small commission for me (at no extra cost for you).
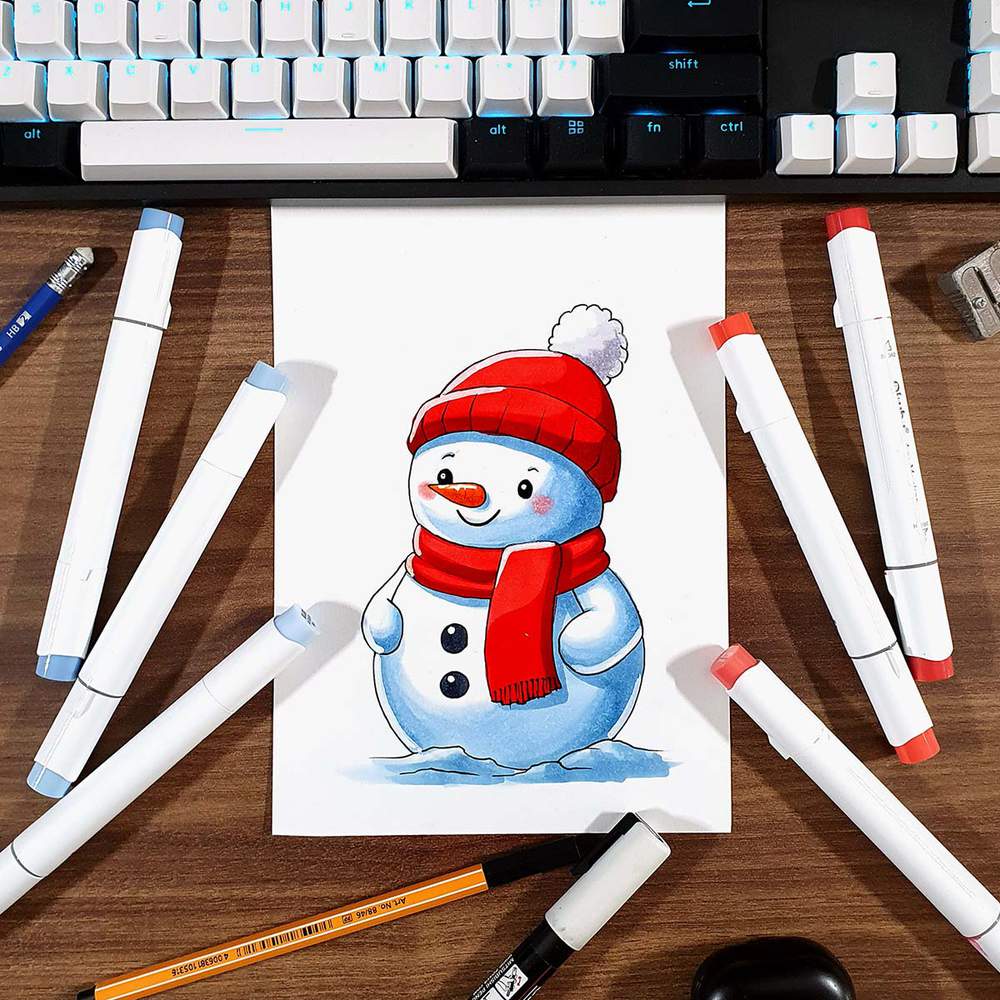
Drawing Supplies I Used To Make This Snowman Drawing
To make this adorable snowman drawing, I used Ohuhu Honolulu markers in the colors Colorless Blender (0), Shadow Pink (RV270), Pale Grayish Blue (B220), Light Blue (B250), Cool Grey II 07 (CGII07), Black (120), Orange (YR3), Lipstick Orange (YR180), Zinnober (R150), Vermilion (R2), Bright Red (R180), Cool Grey II 0 (CGII00), and Cool Grey II 2 (CG2).
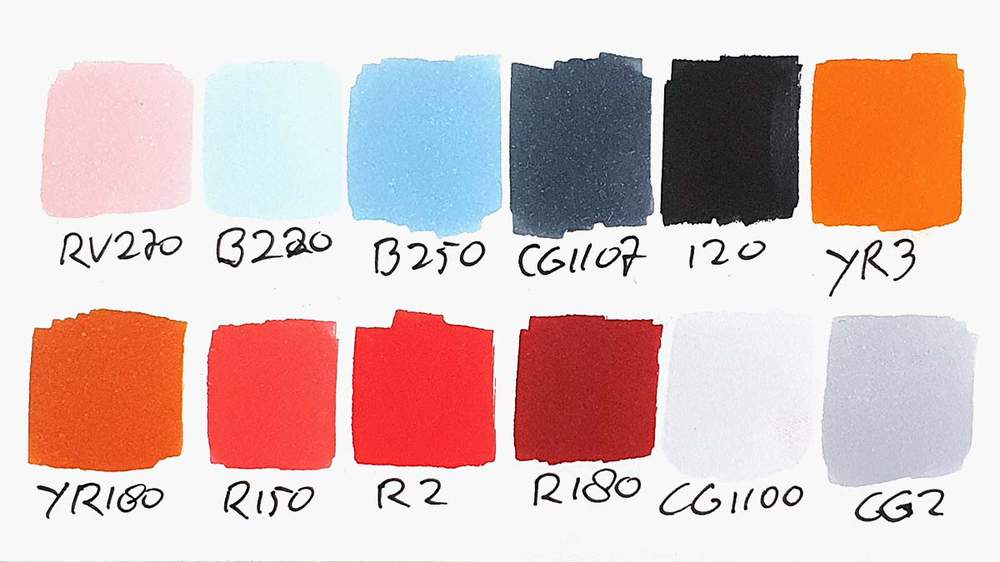
I also used a white Posca PC-3M paint marker to add white highlights.
And I made this drawing on Canson Illustration Manga Paper.
How Do You Draw A Cute Snowman?
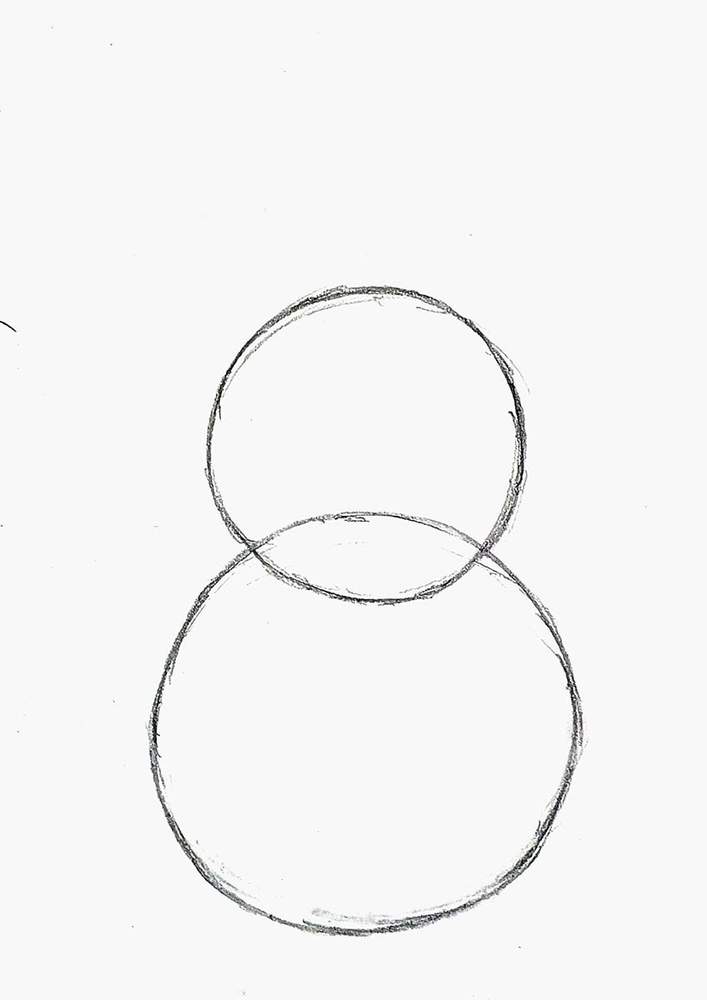
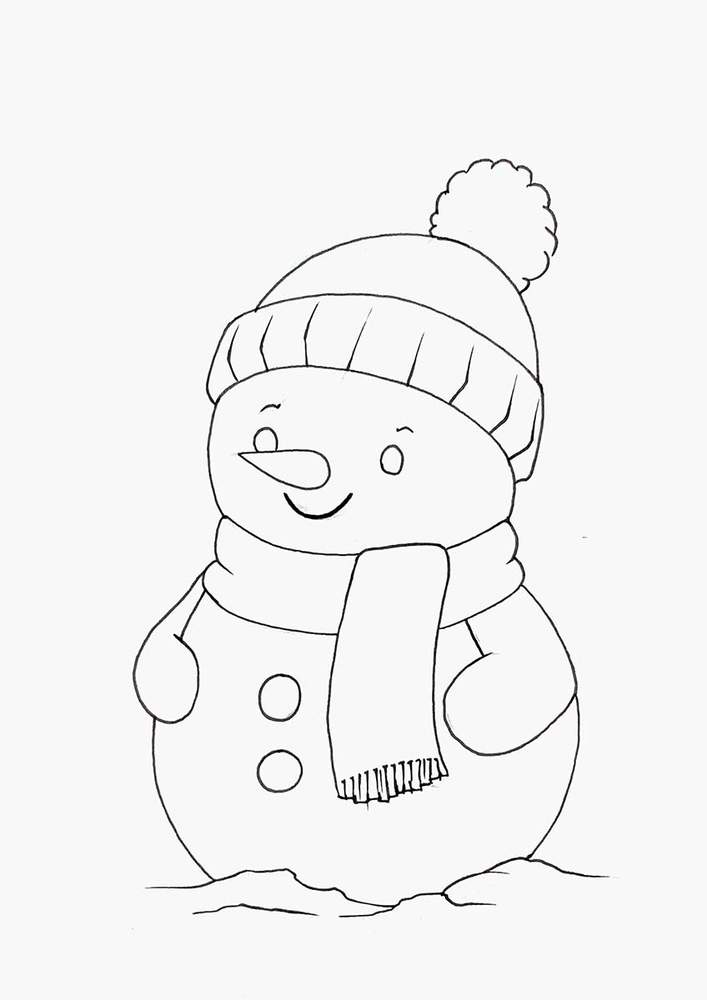
Step 1: Sketch 2 Overlapping Circles
To draw this snowman, I started by sketching a big circle towards the bottom of my paper.
Then, I added a second, slightly smaller circle on top, overlapping the bigger one a little bit.
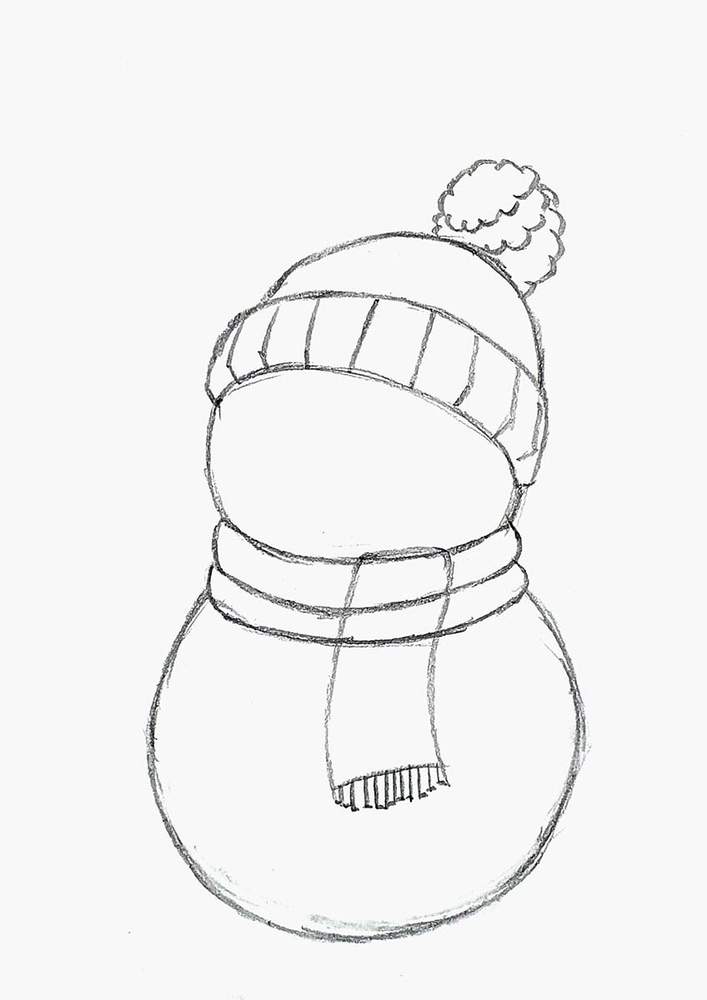
Step 2: Sketch The Scarf & Christmas Hat On The Snowman
After that, I added the scarf, which consists of just three parallel lines that curve downwards at the bottom of the top circle.
I also sketched the beginnings of the Christmas hat.
I first added the fluffy band on the bottom of the hat, overlapping the top of the upper circle.
And then, I added a dome shape on top.
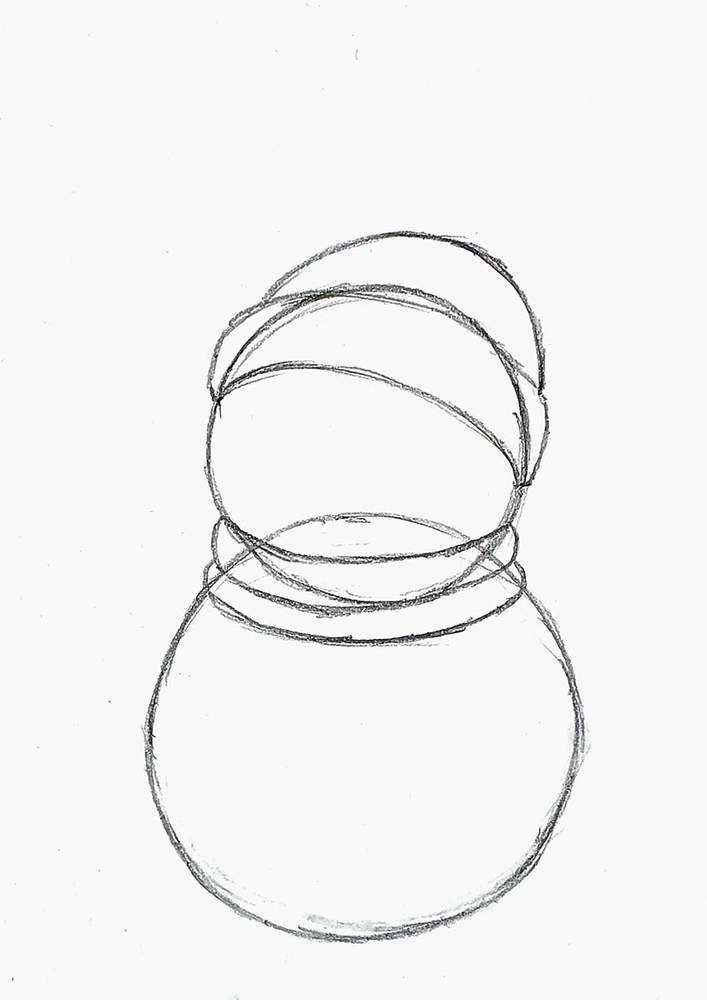
After that, I erased the lines of the circles that were overlapping the scarf and the hat.
I also sketched the pom on the tip of the hat, consisting of a bunch of connected C-shapes, and added some lines to detail the hat trim, and I drew the bit of scarf that's hanging down.
For the fringe at the end of the scarf, I just sketched a few L-shapes.
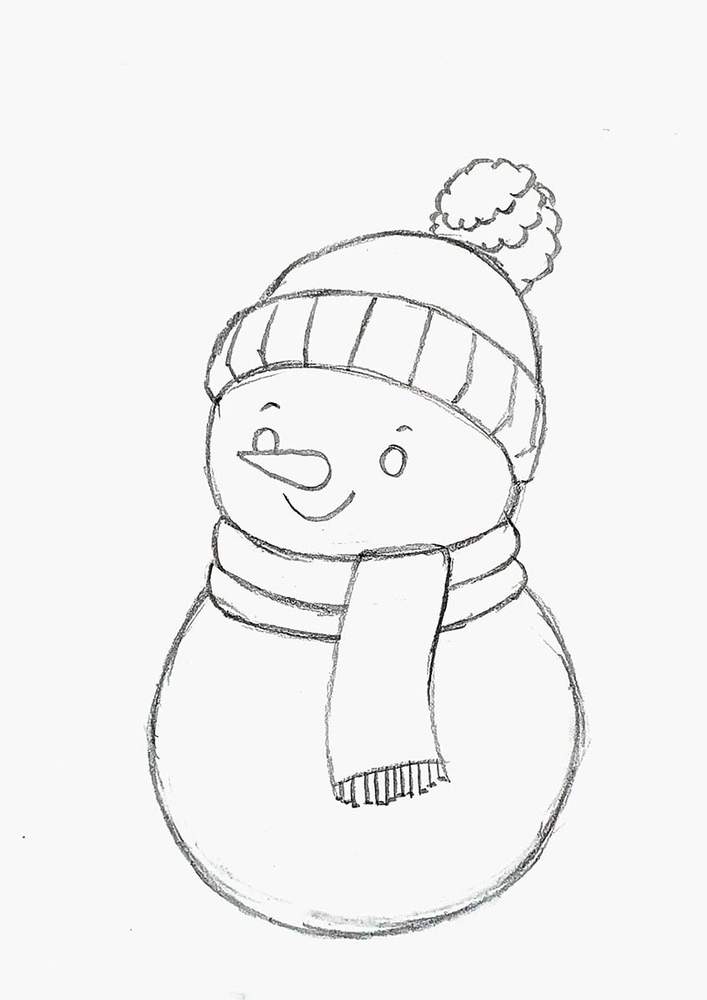
Step 3: Add The Eyes, Carrot Nose, and Mouth Of The Snowman
Next, I added the facial features of the snowman.
I sketched the carrot first, just a little bit to the left of the center of the top circle, and pointing straight to the left.
Then, I added his smile, round eyes, and eyebrows.
I also erased the parts of the scarf that were overlapping.
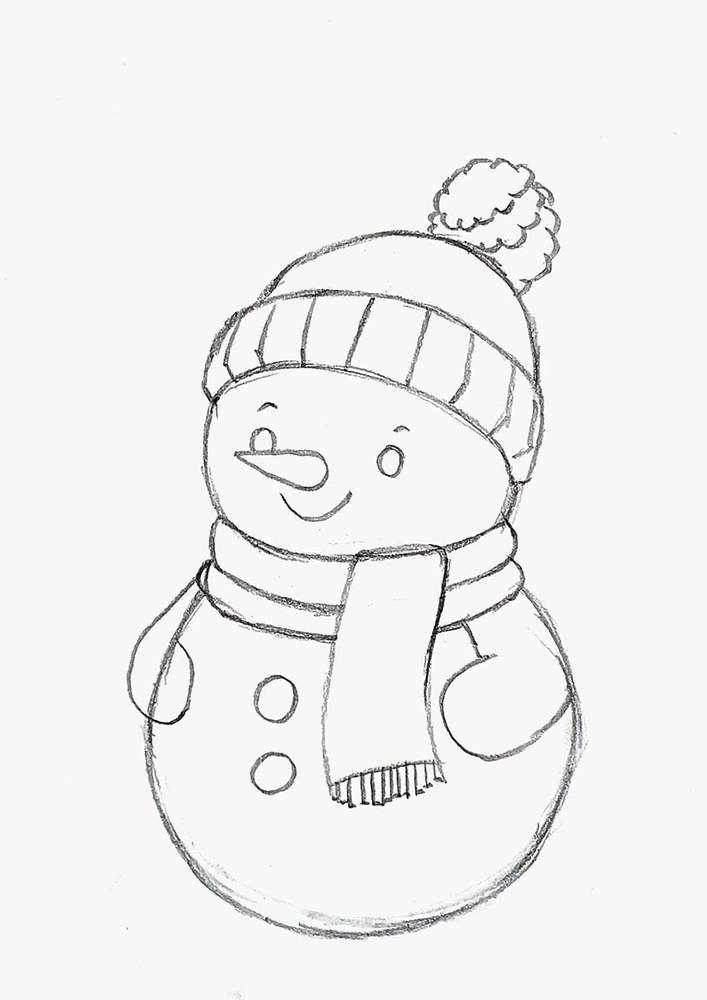
Step 4: Sketch The Arms Of The Snowman
After that, I gave my snowman some cute arms.
I considered making them sticks, but I thought these thick and round snow arms looked better.
I also added the circles for the stones on his belly.
Step 5: Add Some Little Snow Hills At The Base Of The Snowman
To complete the snowman's sketch, I added small piles of snow below the snowman, overlapping the bottom of the lower circle, to give him a sturdy base.
I also erased the part of the circle that was overlapping his arm on the left.
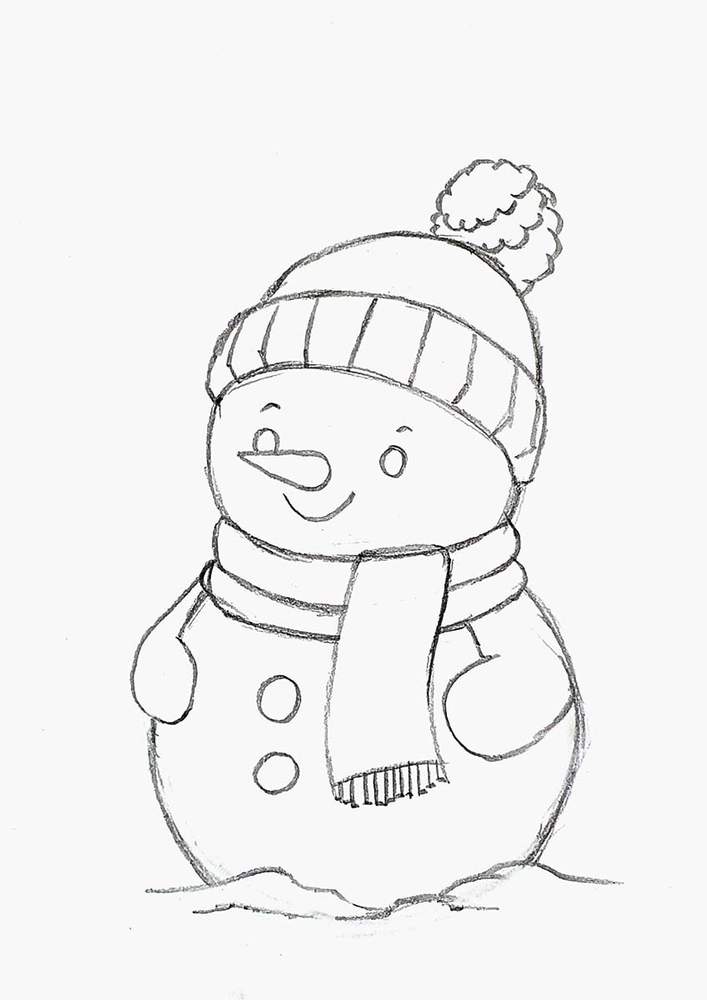
Now that the sketch is done, let’s outline it so it’s ready for color.
Step 6: Outline The Snowman With A Black Fineliner
Before we start coloring the snowman, I like to outline the sketch first with a black fineliner.
This makes coloring so much easier, and I think it makes it look better.
After outlining, I erased the sketch.
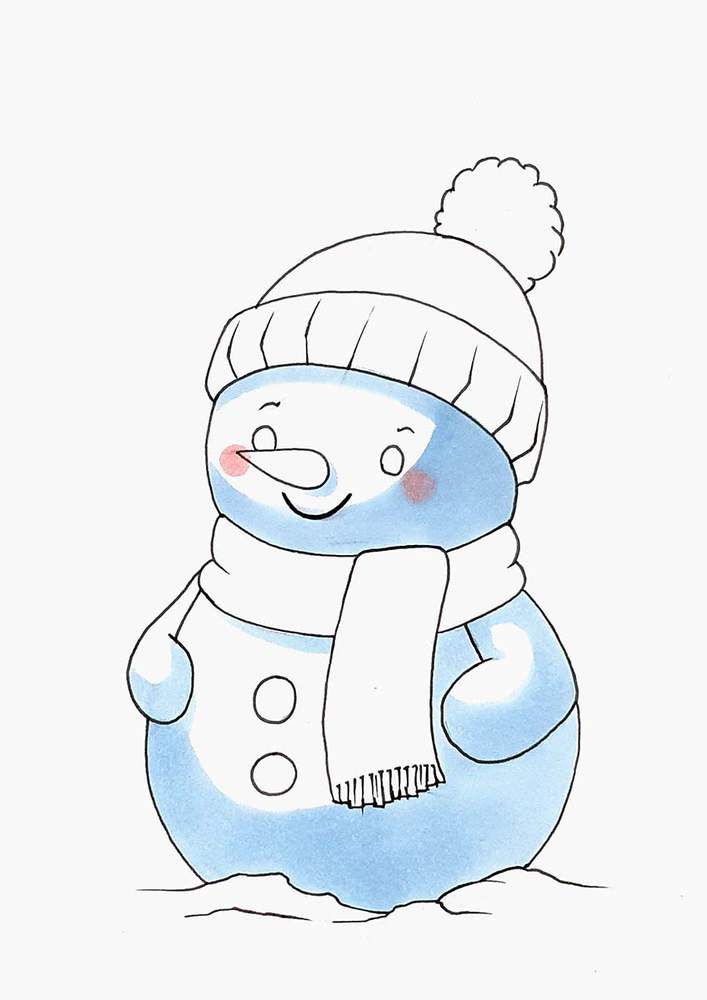
Step 7: Color The Snowman With Markers
Now it's time for my favorite part of any drawing: coloring it!
I was going to start by coloring the snowman's blush first, but I forgot...
So I started coloring the lightest blue first until I remembered that I needed to color his blushy cheeks first to make them look softer.
So, I started by coloring the shadowy parts of the snowman with Pale Grayish Blue (B220).
I forgot to color the snow piles with this blue, so I did that next step.
Make sure to leave some white highlights on the top left when coloring them.
But before I colored his face, I first added 2 blushy circles with Shadow Pink (RV270) and let that right one blend into the light blue when coloring over it.
After that, I added the darker shadows with Light Blue (B250). I added this below the hat, below and to the right of the scarf, the bottom right of his head, the bottom right and left of his body, and the bottom right of the snow piles.
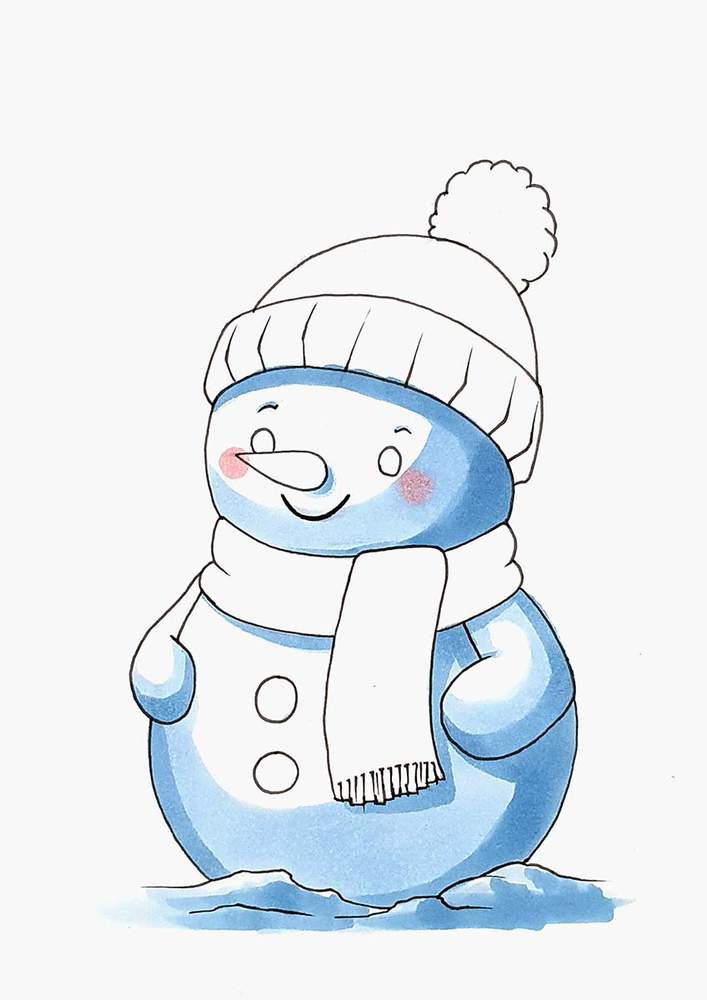
After that, I blended the blues together to make the color transitions smoother.
I did that by coloring over the darker edges with Pale Grayish Blue (B220).
For the lighter edges, I used the Colorless Blender (0).
I left the harsh shadows below the hat and the scarf unblended.
Next, I used Black (120) to color his eyes and Cool Grey II 07 (CGII07) to color the stones on his belly, and I used Orange (YR3) to color his carrot nose.

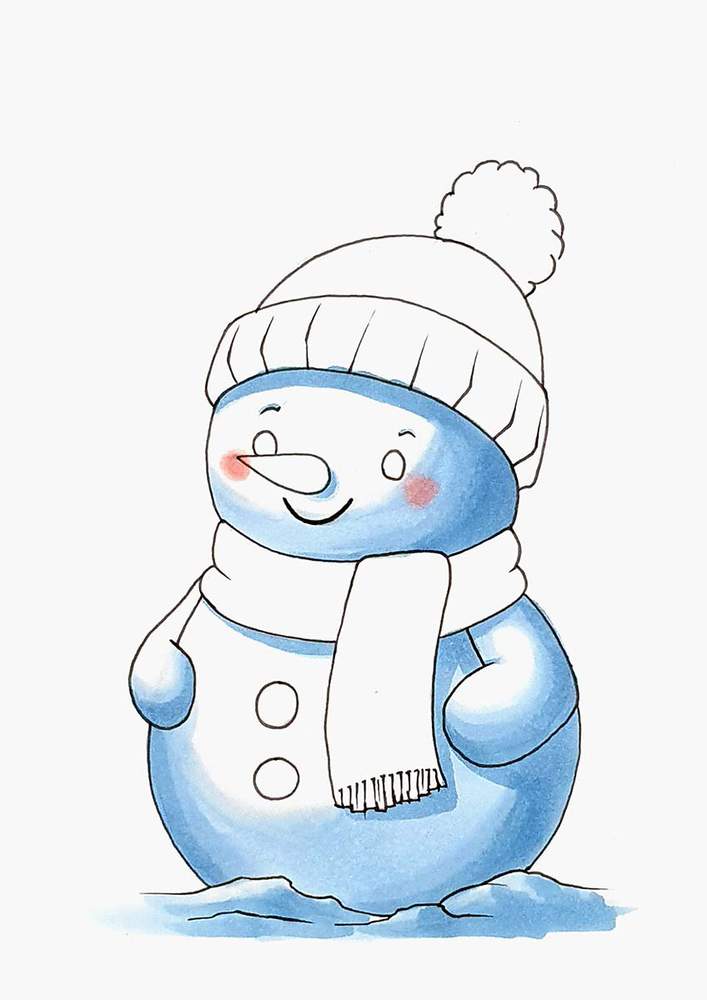
Then, I added the shadow on the carrot and some darker vertical lines on it with Lipstick Orange (YR180).
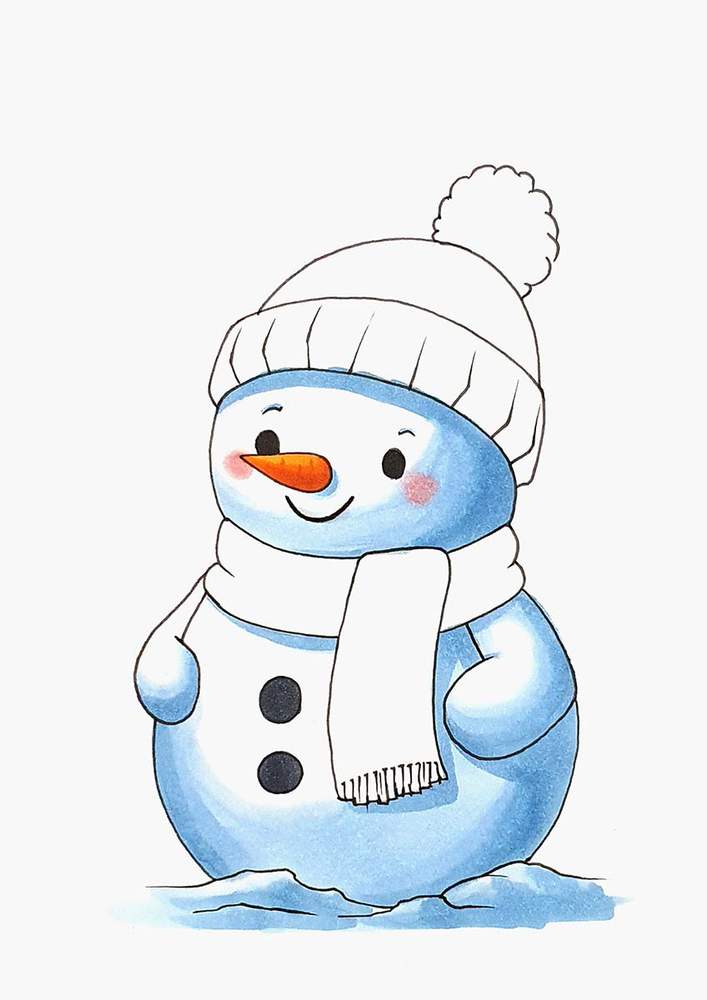
Next, I colored the scarf and the hat with Zinnober (R150)...
Then, added the shadows of both the scarf and the hat with Vermilion (R2)...

Finally, I added the darkest shadows to the right and the bottom of the hat and scarf with Bright Red (R180).
Lastly, I colored the pom.
I used Cool Grey II 0 (CGII00) to color the lighter shadows, leaving the top left white.
Then, I added the darker shadows on the bottom right with Cool Grey II 2 (CG2).
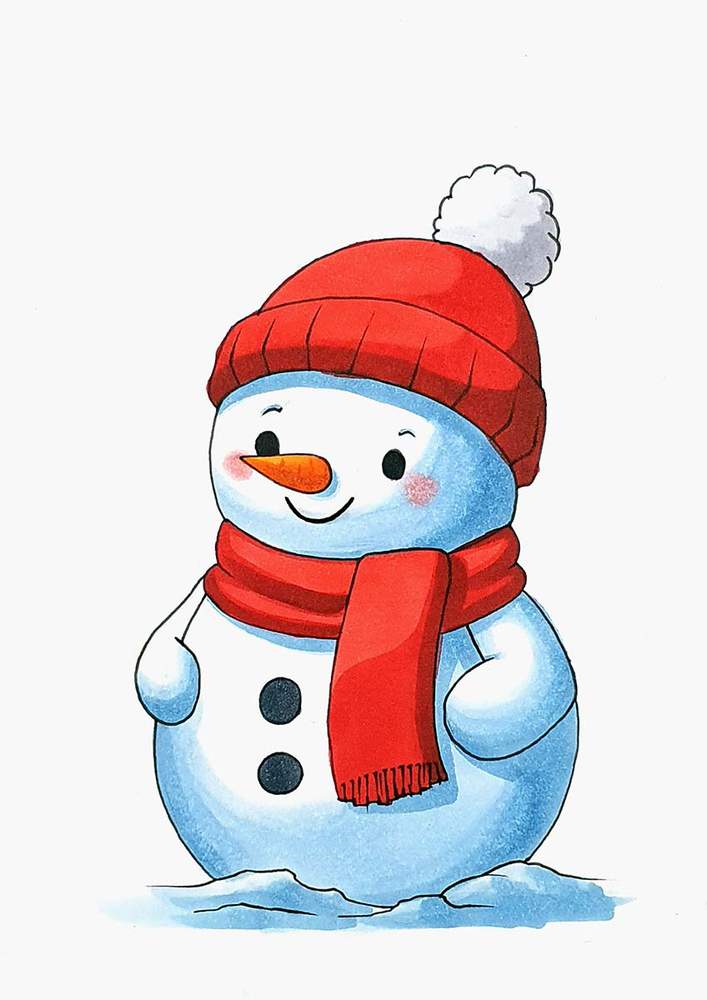
Now the snowman is fully colored! But it's not done just yet.
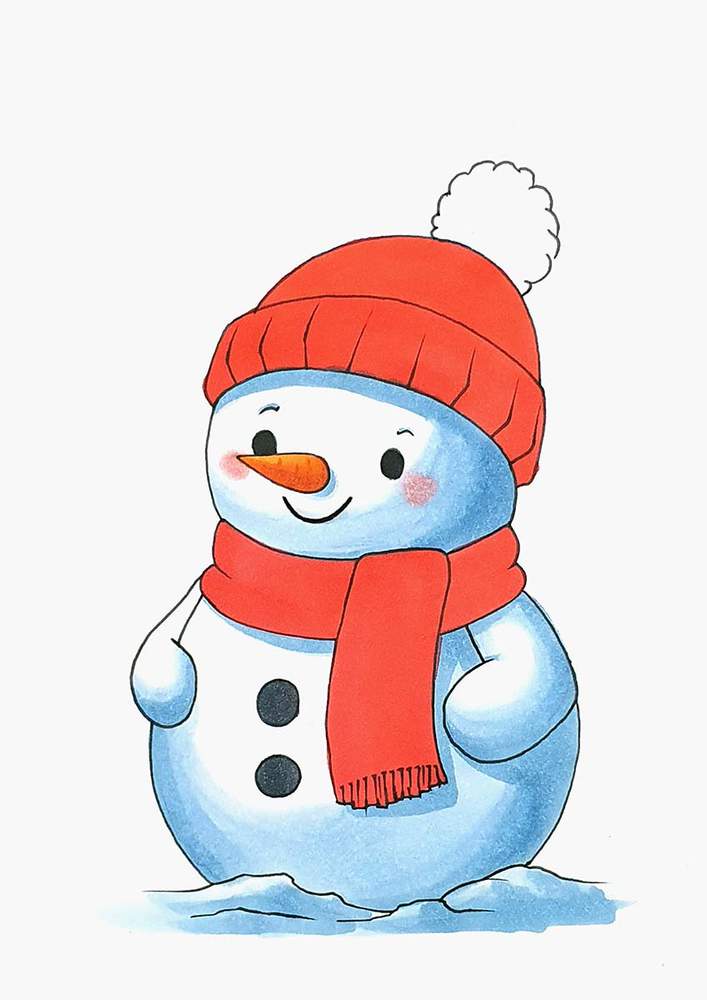
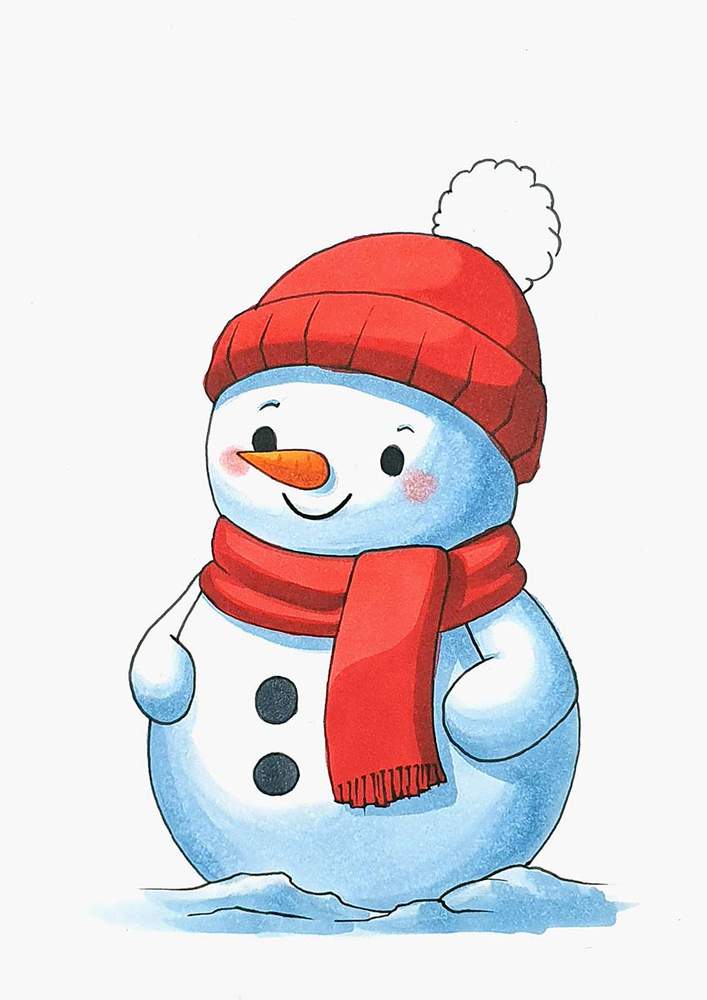
Step 8: Add A Few Highlights With A White Paint Marker
To finish this cute snowman drawing, I added some white highlights along the edges of the hat, the carrot nose, the scarf, the arms, and his body.
I also added some sparkles in his eyes and on the stones on his belly.
To do this, I used my white Posca PC-3M paint marker.
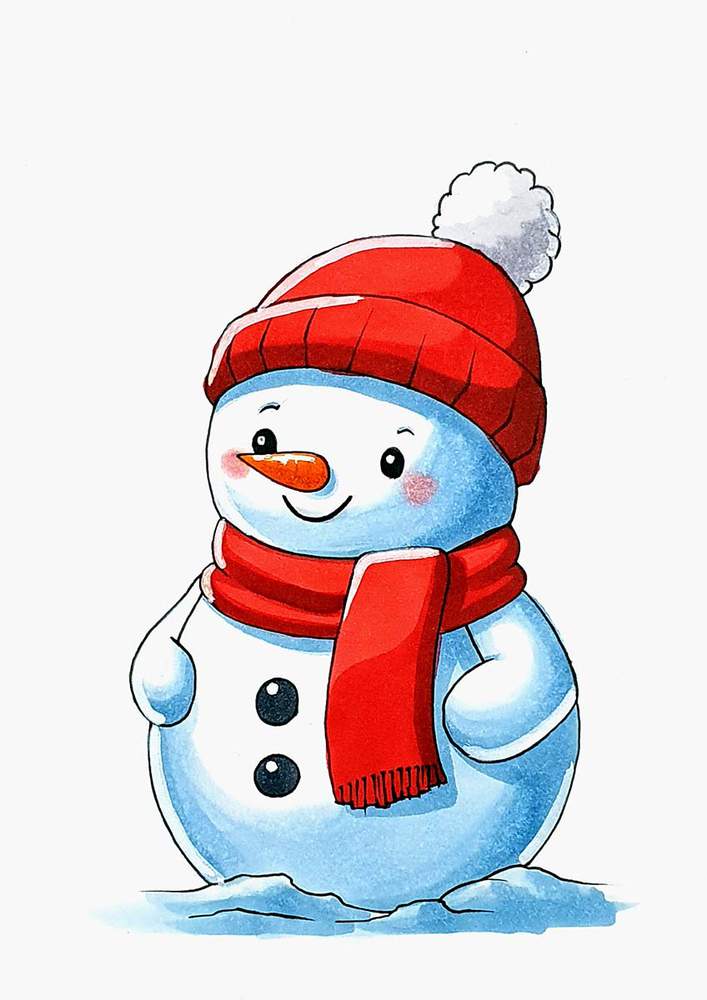
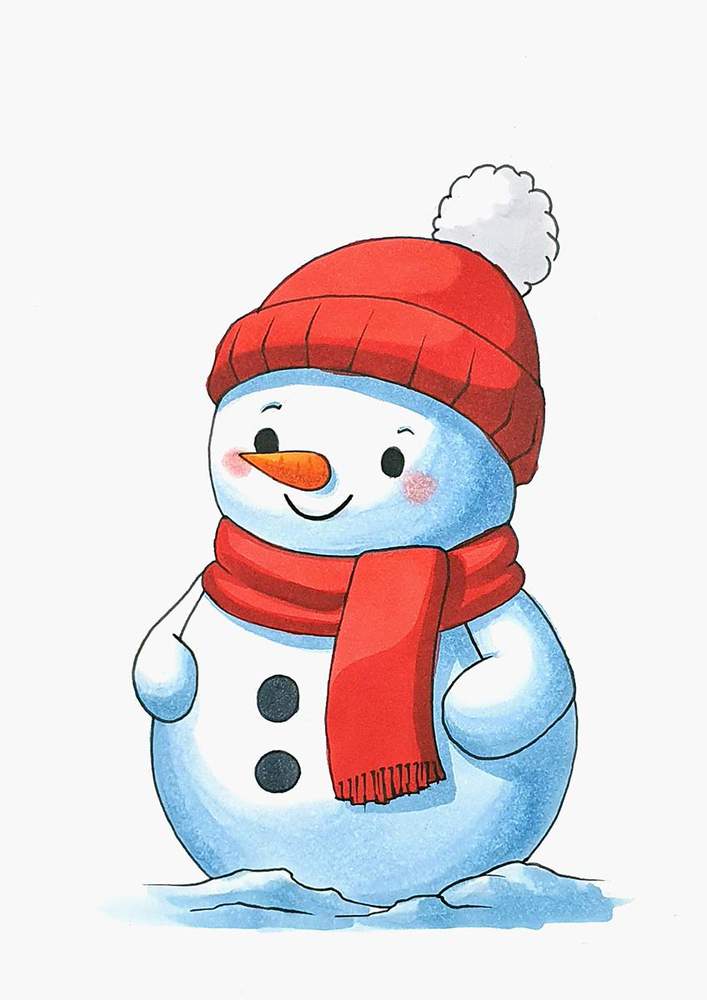
Now, the snowman drawing is done!
And, honestly, it turned out so well! I love him.
I hope you enjoyed this cute snowman drawing tutorial.
Thank you!
Tags
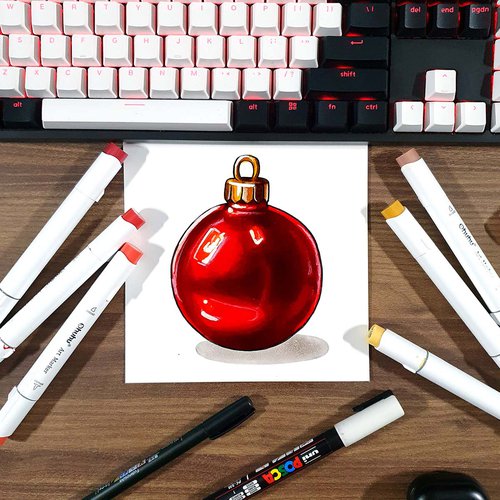
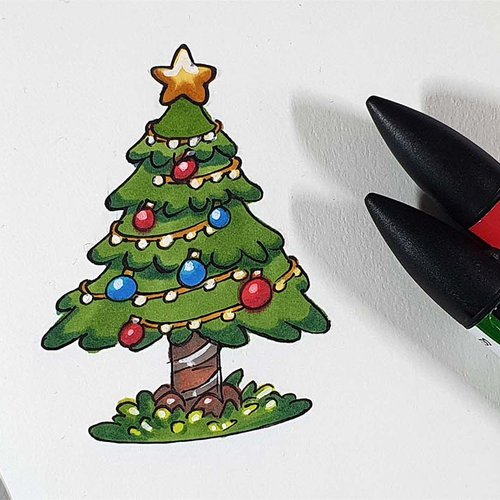
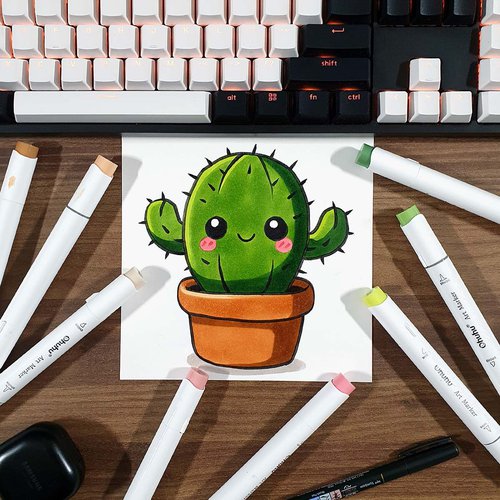
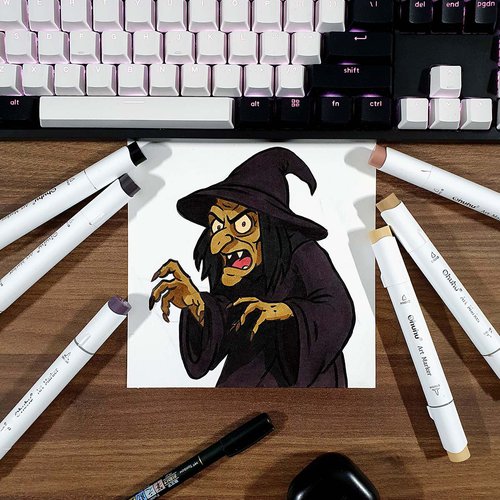
Articles You Might Also Like
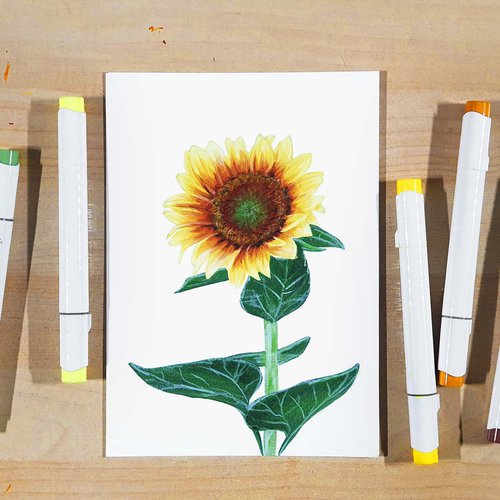
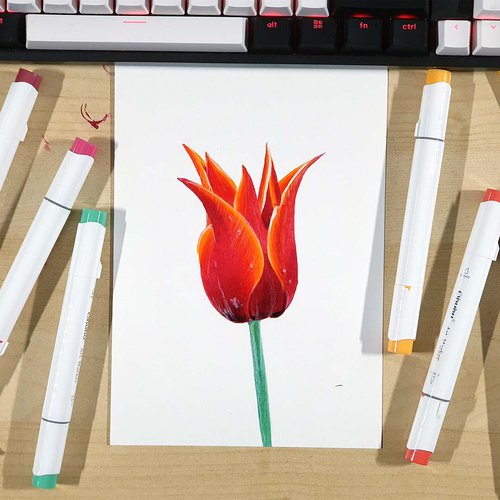
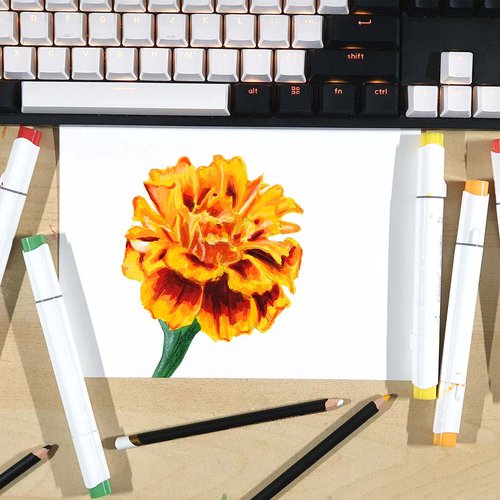

I love bringing cars to life with alcohol markers and colored pencils.
Whether you're just starting out or looking to improve your skills, I'm here to help!
Click here to learn more about me.


Be the first to comment!
Comments
There are no comments yet.