How To Draw A Pumpkin For Halloween - Step By Step Jack-O’-Lantern Drawing Tutorial
Want to learn how to draw a pumpkin and turn it into a spooky jack-o’-lantern for Halloween?
In this easy step-by-step tutorial, I’ll walk you through how I created this festive Halloween drawing, from the initial sketch to the final coloring with alcohol markers.
Whether you're going for scary or silly, this guide makes it super easy to create your own Halloween jack-o’-lantern artwork.
Grab your markers and let’s get started!
Disclaimer: In the name of full transparency, please be aware that this blog post contains affiliate links and any purchases made through such links will result in a small commission for me (at no extra cost for you).
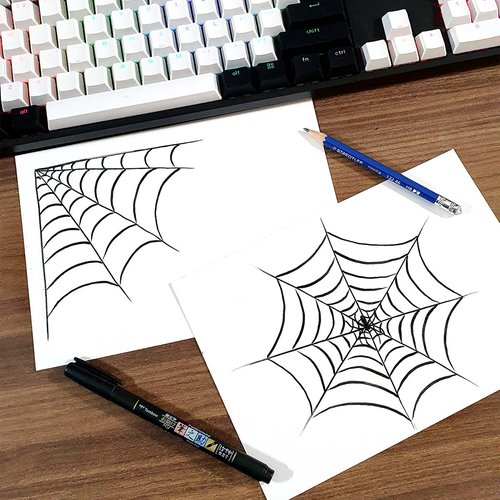
Here's What I Used To Make This Pumpkin Drawing
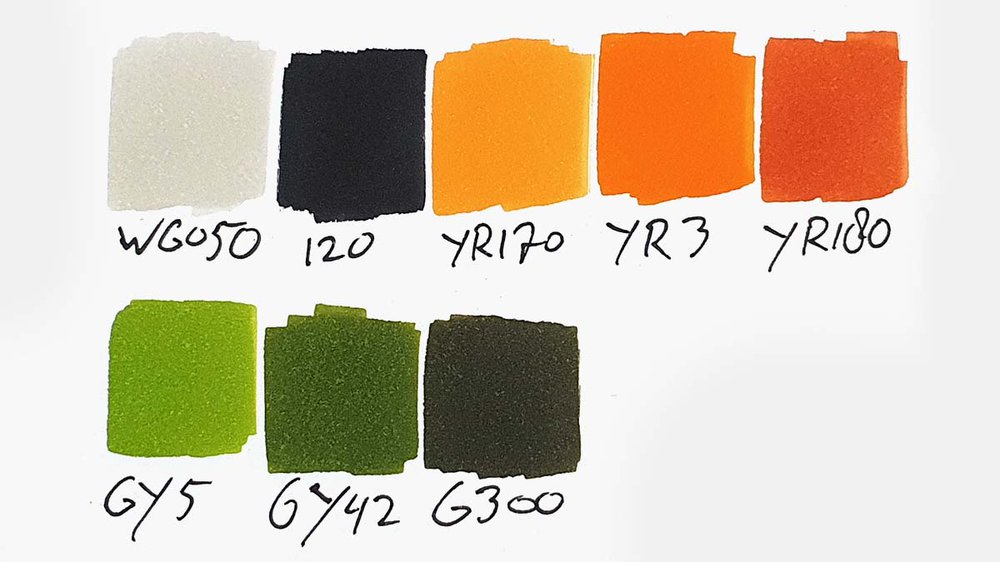
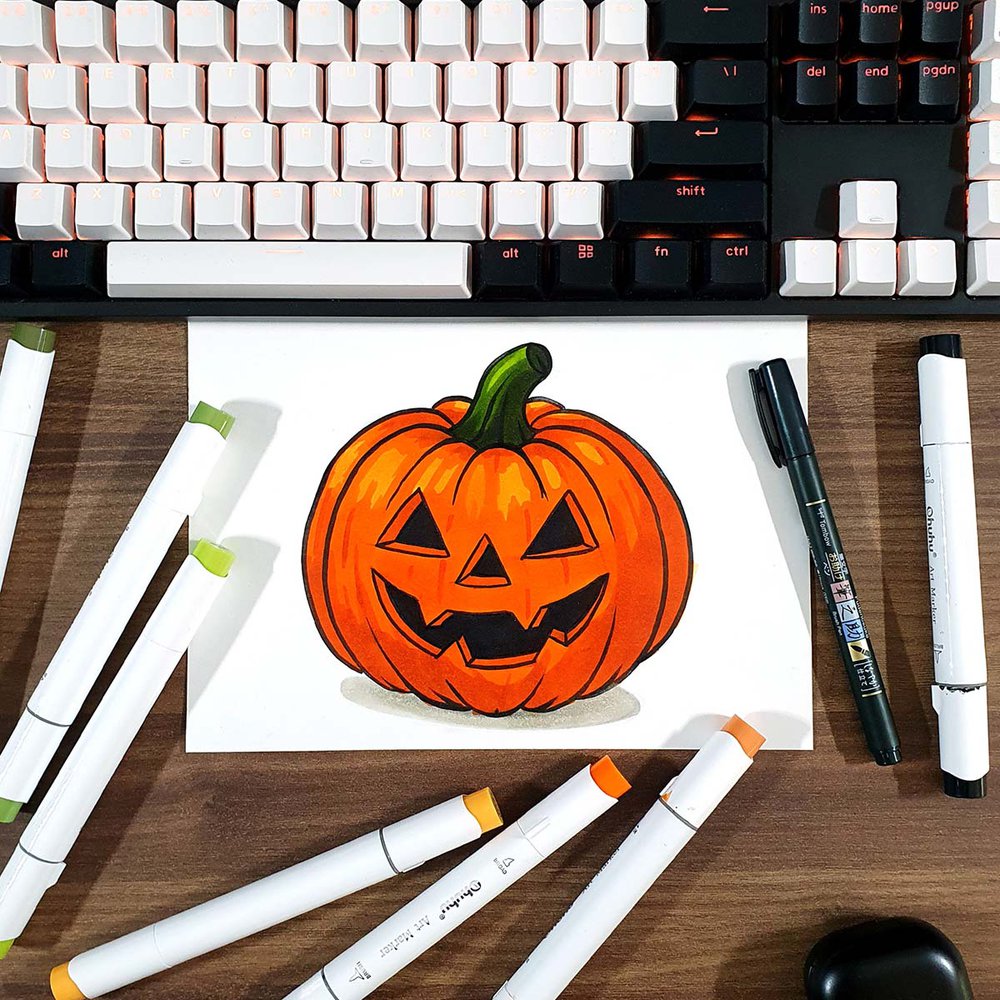
To make this drawing, I used Ohuhu Honolulu markers in the colors Warm Grey 05 (WG050), Black (120), Chrome Orange (YR170), Orange (YR3), Lipstick Orange (YR180), Absinthe (GY5), Bronze Green (GY42), and Dark Olive (G300).
I used a Tombow Fudenosuke Brush Pen to outline the sketch.
And I made this drawing on Canson Illustration Manga Paper.
How Do You Draw A Halloween Pumpkin Step By Step?
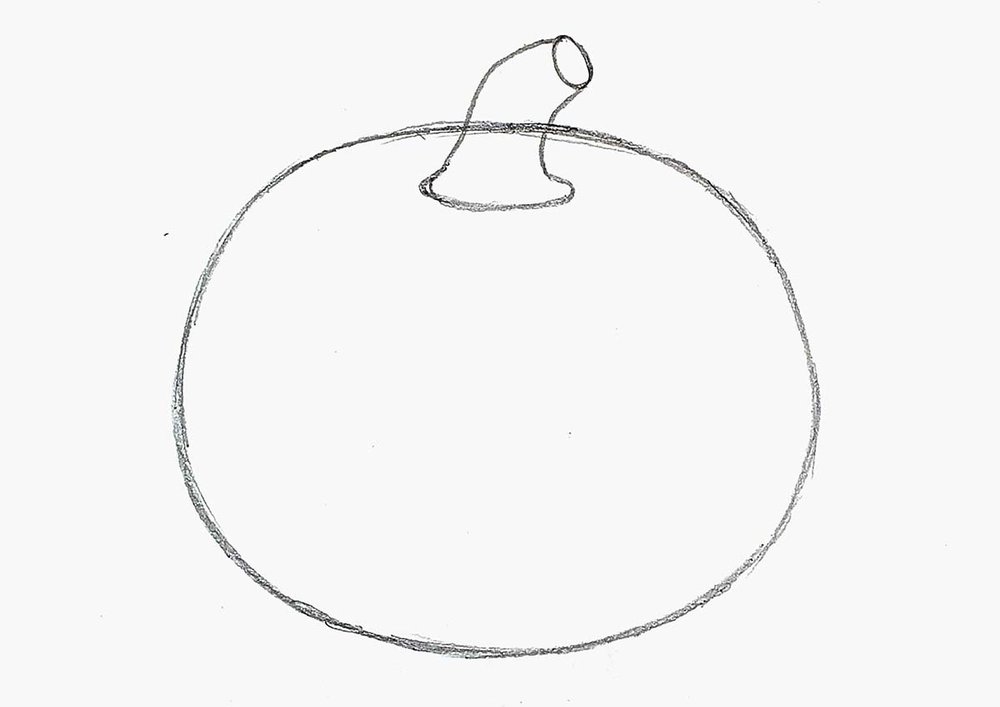
Step 1: Sketch A Squashed Circle
I started my pumpkin drawing by sketching a big squashed circle in the center of my paper.
I left some room at the top for the pumpkin stem.
I was going to take a photo of this step, but I forgot... You can see how it looks in the next step.
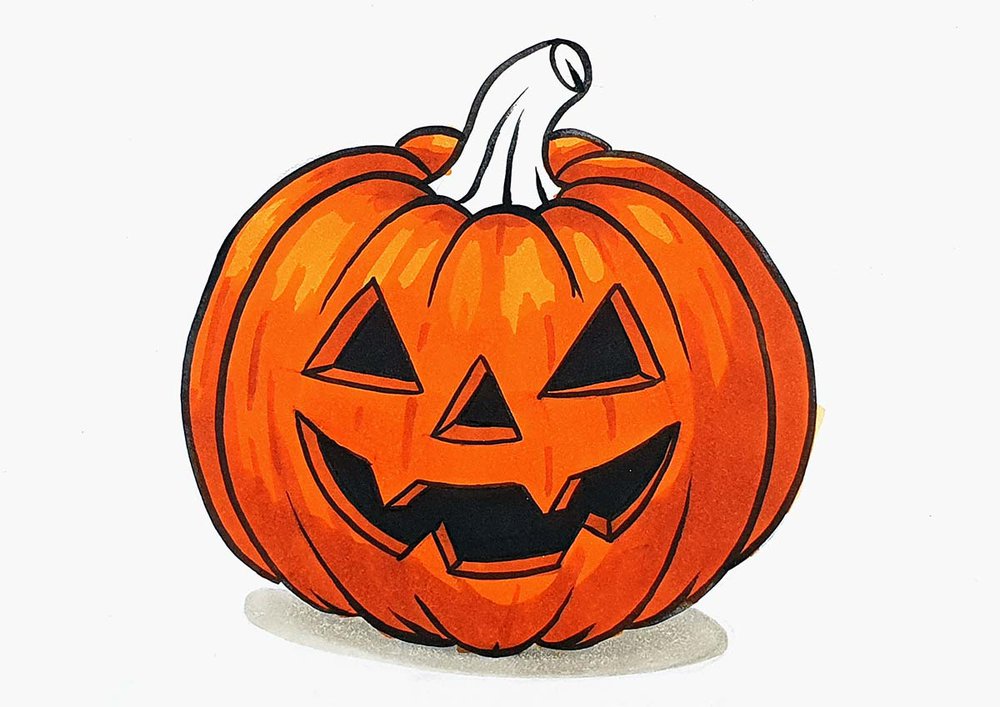
Step 2: Sketch The Pumpkin Stem
Next, I added the stem on top of the pumpkin.
Because of the perspective, I started the stem a little down from the top of the pumpkin.
The base is shaped like a flattened ellipse.
On top of that are two lines that curve up and to the right, getting a little bit closer together towards the end.
And the ends are connected by a small ellipse.
Step 3: Add Lines For The Ridges Of The Pumpkin
Then, I added the ridges (or ribs) of the pumpkin.
Each rib starts at the base of the stem and curves out and down.
I first sketched the outer edges of the pumpkin and then added the first row of ribs.
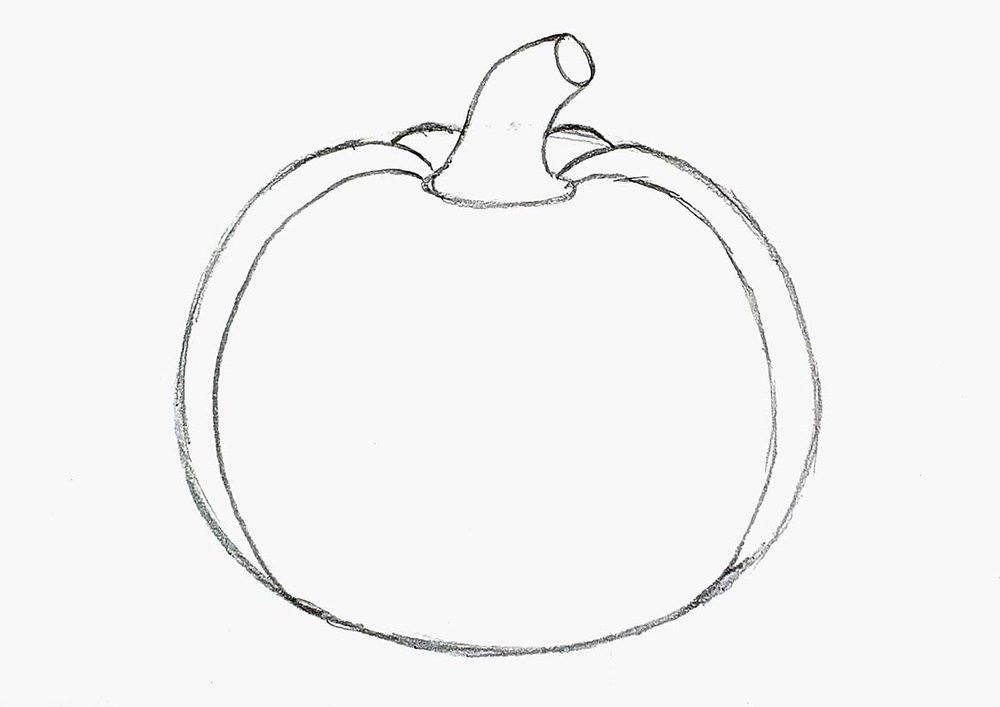
After that, I sketched the remaining ribs, but as this is a Halloween pumpkin, I left some space in the center for the carved face.
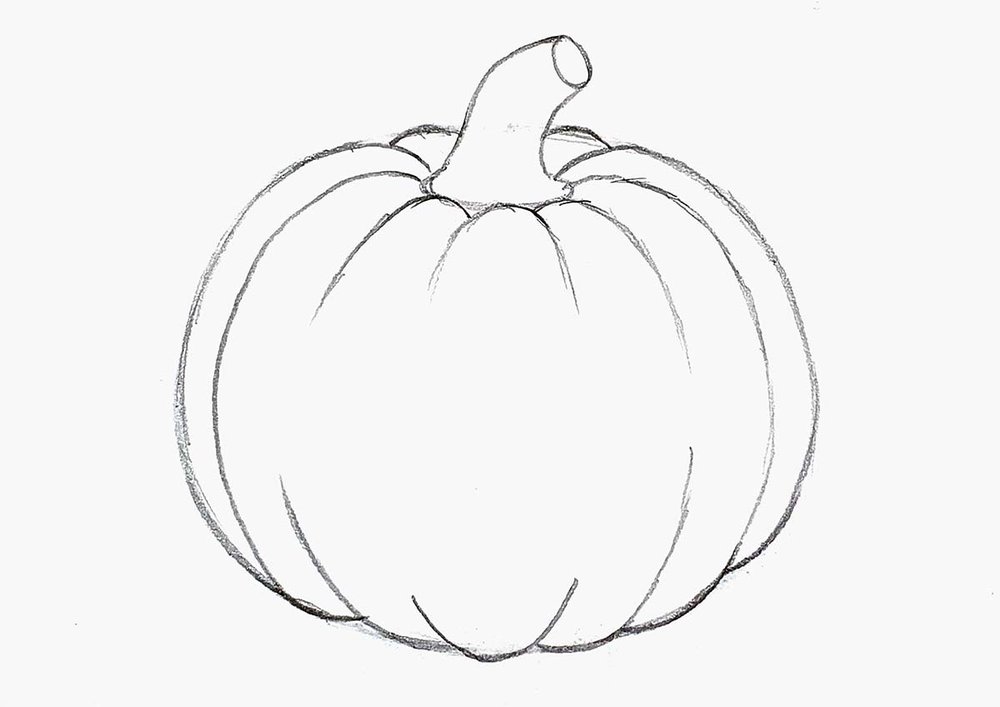
Step 4: Add Ridges To The Stem & Draw The Shadow
Next, I added the ridges to the stem, which are a bit edgy and squiggly, and I sketched the outline of the shadow below the pumpkin.
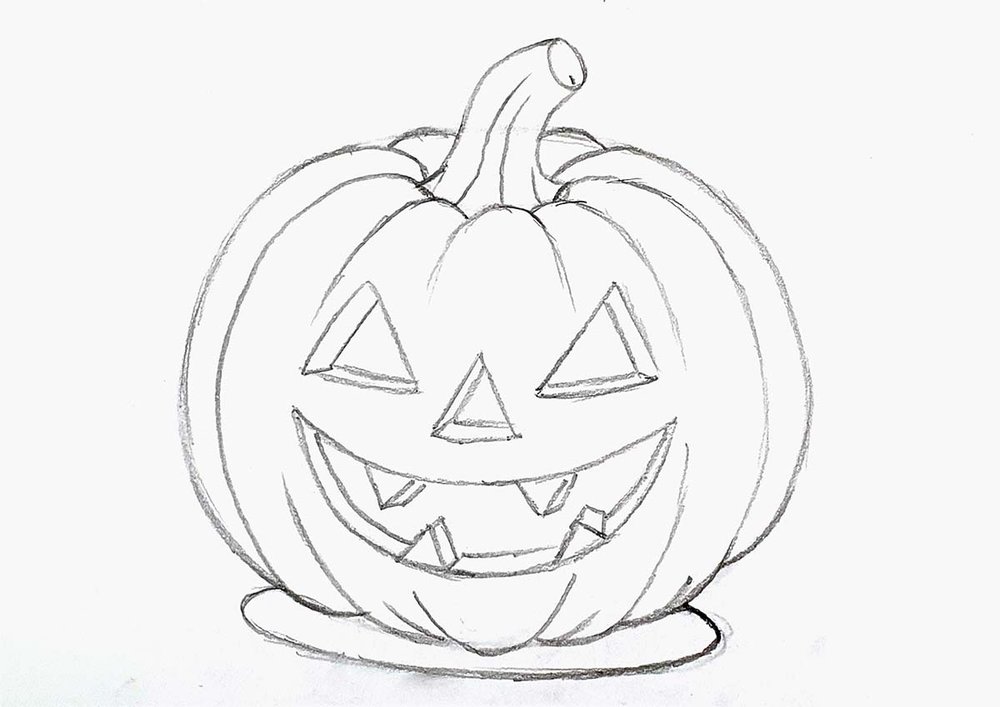
Step 5: Sketch The Scary Carved Face On The Pumpkin
Now it's time to make it look like a scary jack-o’-lantern.
I first sketched 2 triangles towards the top of the pumpkin.
I also sketched the outline of the big, crescent-shaped grin.
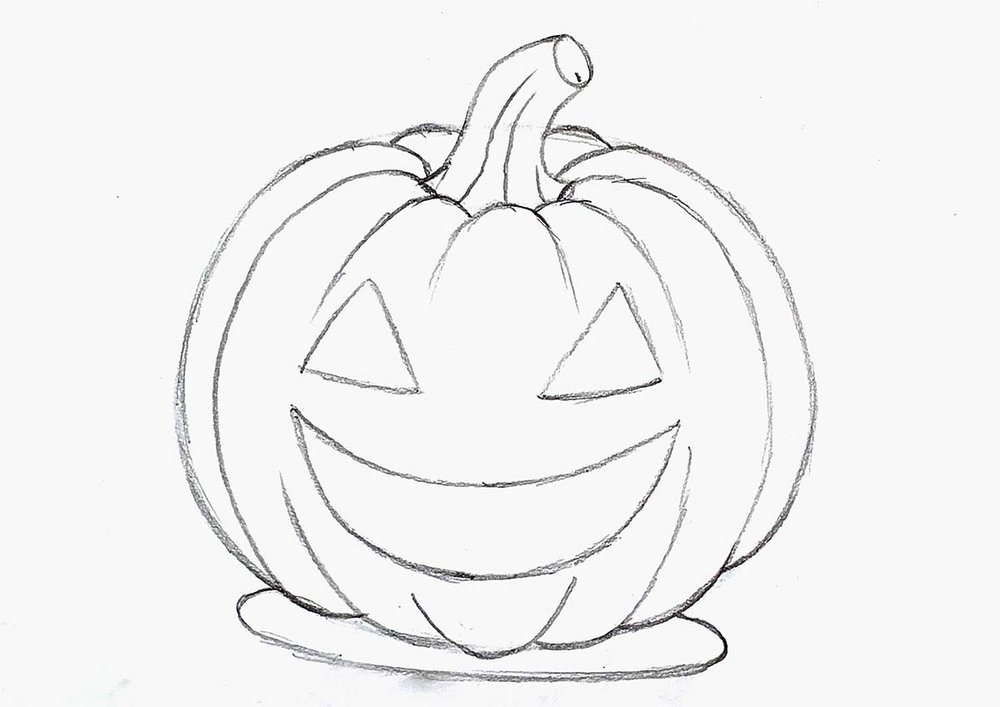
Then, I added its triangular nose and the 4 teeth.
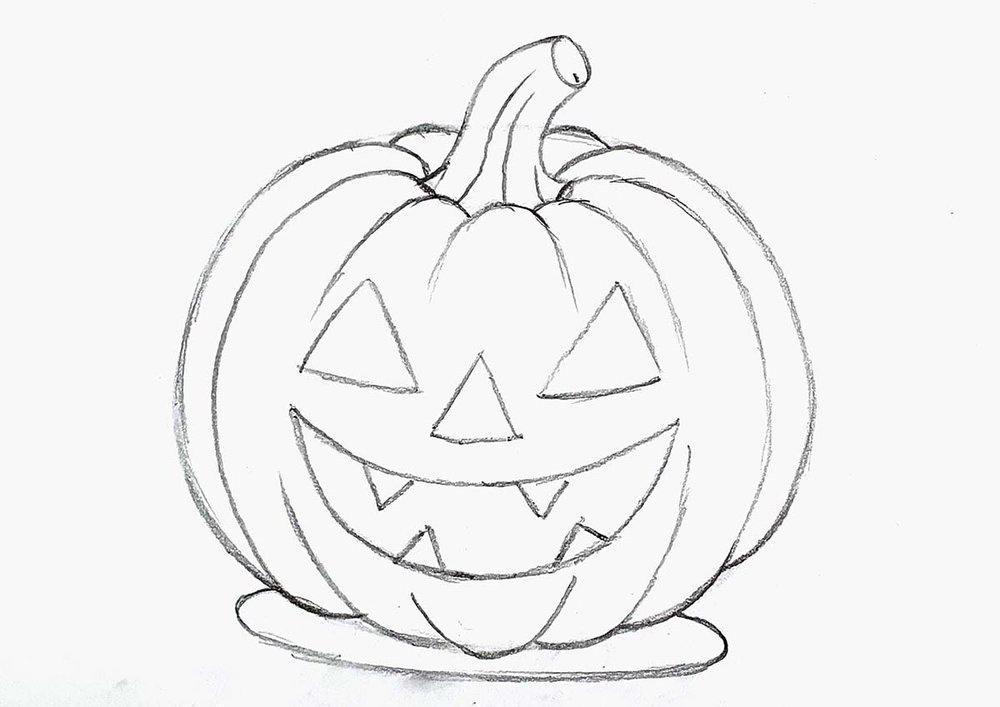
To complete the sketch, I added additional lines to enhance the 3D effect of the carved-out face.
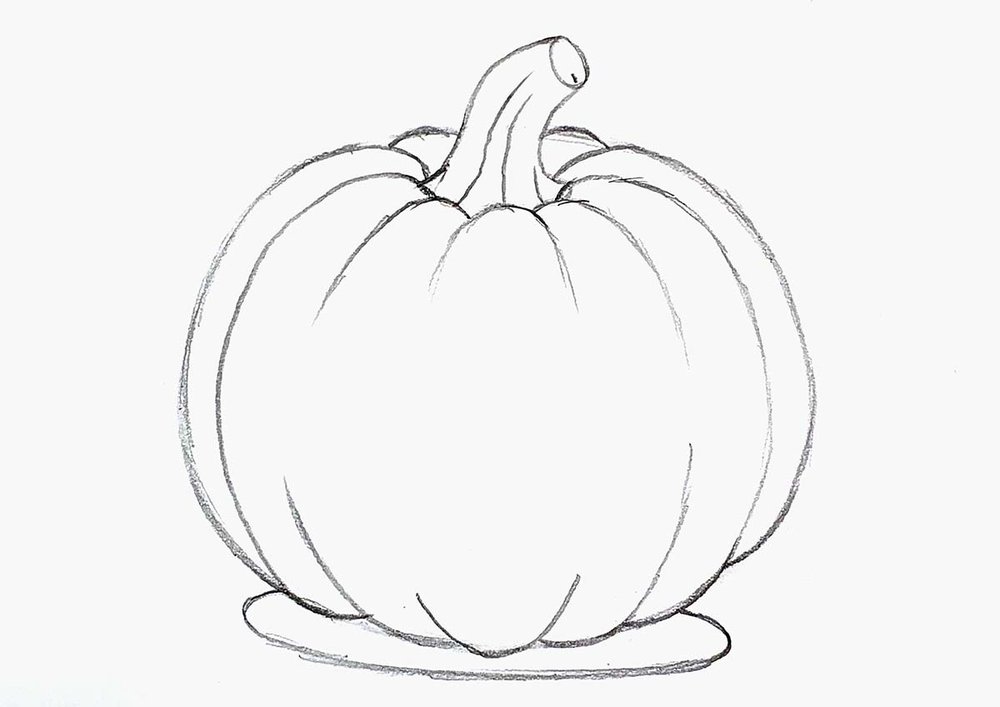
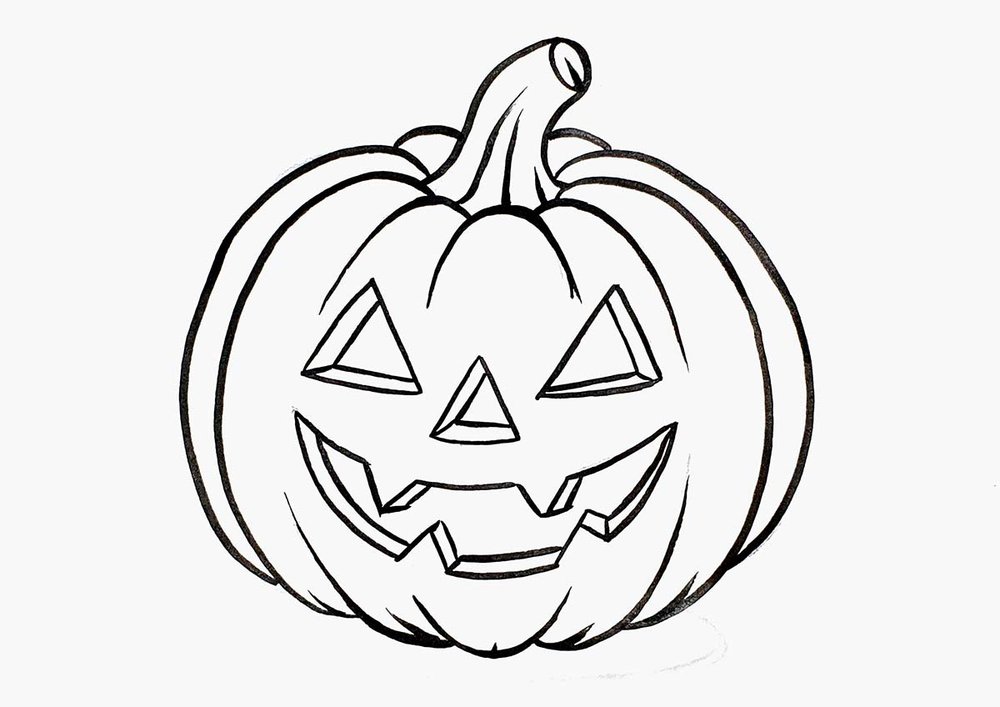
Step 6: Outline The Pumpkin With A Black Brush Pen
After that, I outlined the whole sketch with my Tombow Fudenosuke brush pen.
I did not outline the shadow as it feels wrong to have a dark outline on a shadow.
Step 7: Color The Halloween Pumpkin With Markers
Now comes my favorite part: coloring the pumpkin.
I first colored the orange part of the pumpkin with Chrome Orange (YR170) and the shadow with Warm Grey 05 (WG05).
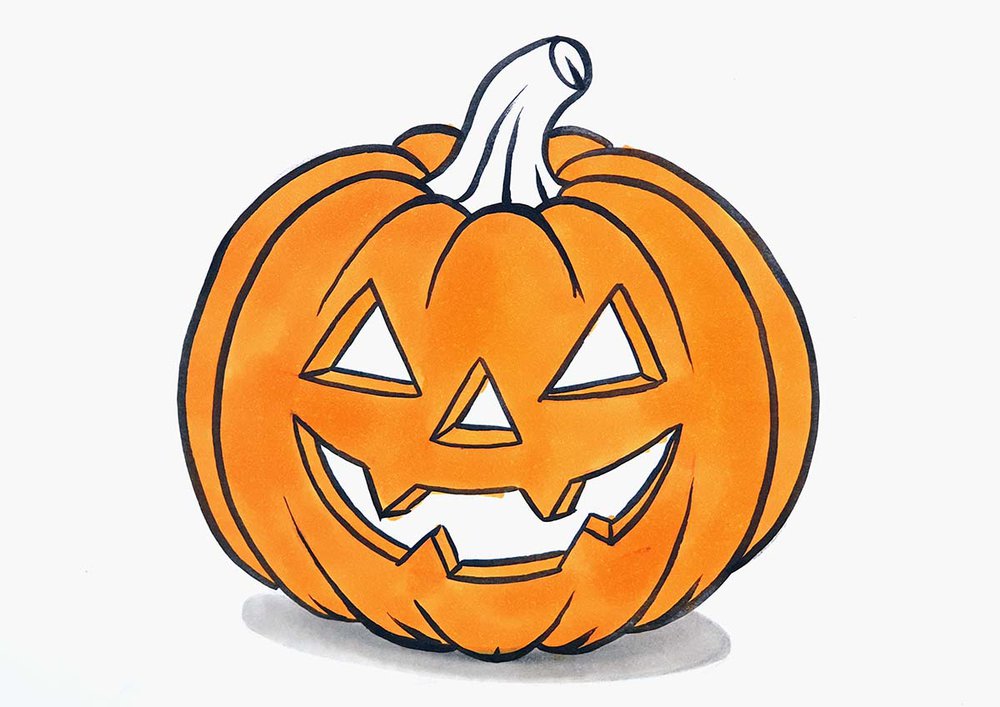
Then, I used Orange (YR3) to color over most of the orange except for the lightest parts around the top.
I also used Black (120) to color the eyes, nose, and mouth of the jack-o’-lantern.
To finish off the orange part, I used Lipstick Orange (YR180) to add the darkest shading to the bottom half of the pumpkin and around the stem.
I also added a few random short vertical lines around the middle part.
Lastly, I colored the stem with Absinthe (GY5).
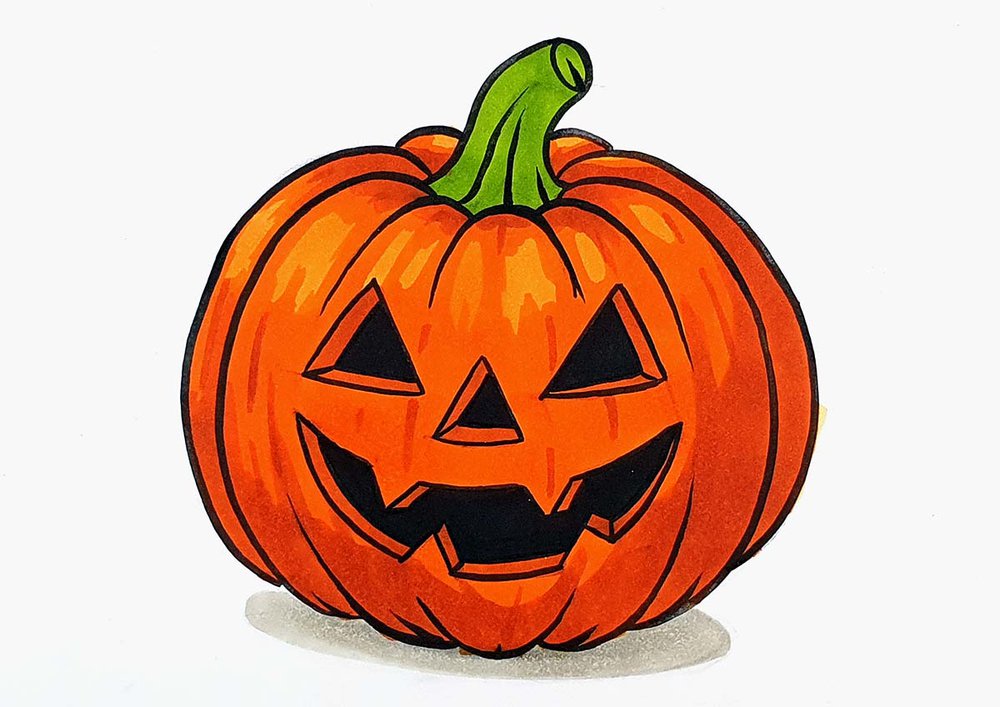
Then, I used Bronze Green (GY42) to color over it while leaving a small section lighter green.
Lastly, I used Dark Olive (G300) to shade the bottom right of the stem.
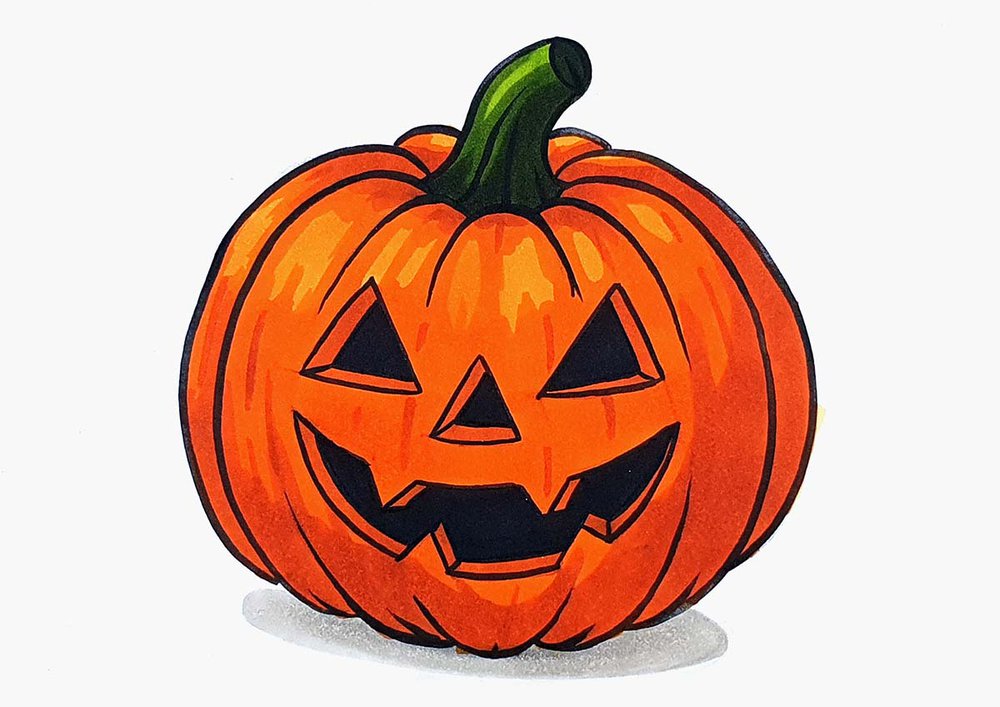
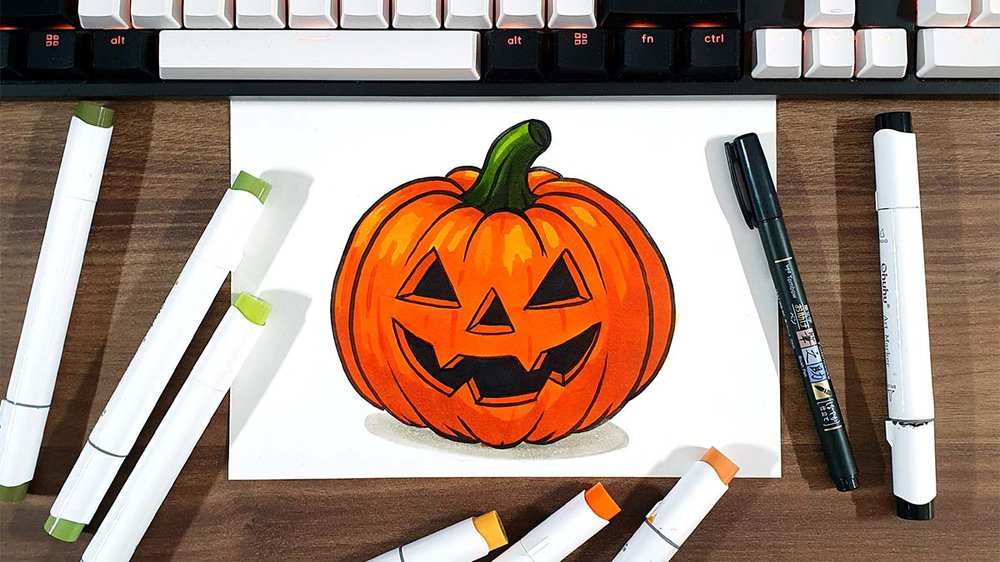
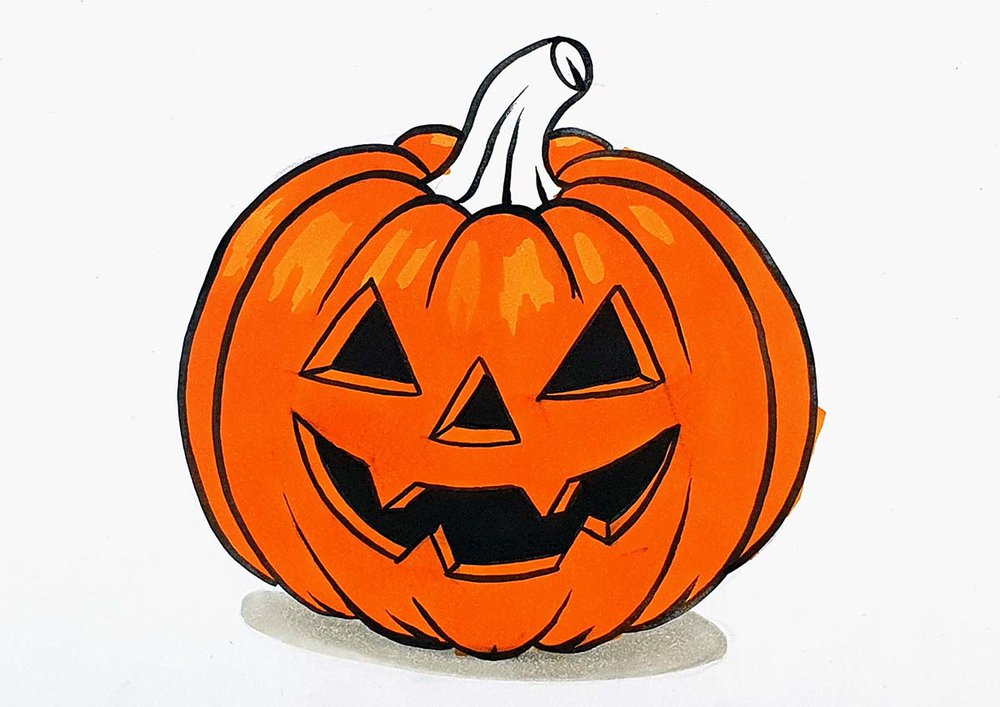
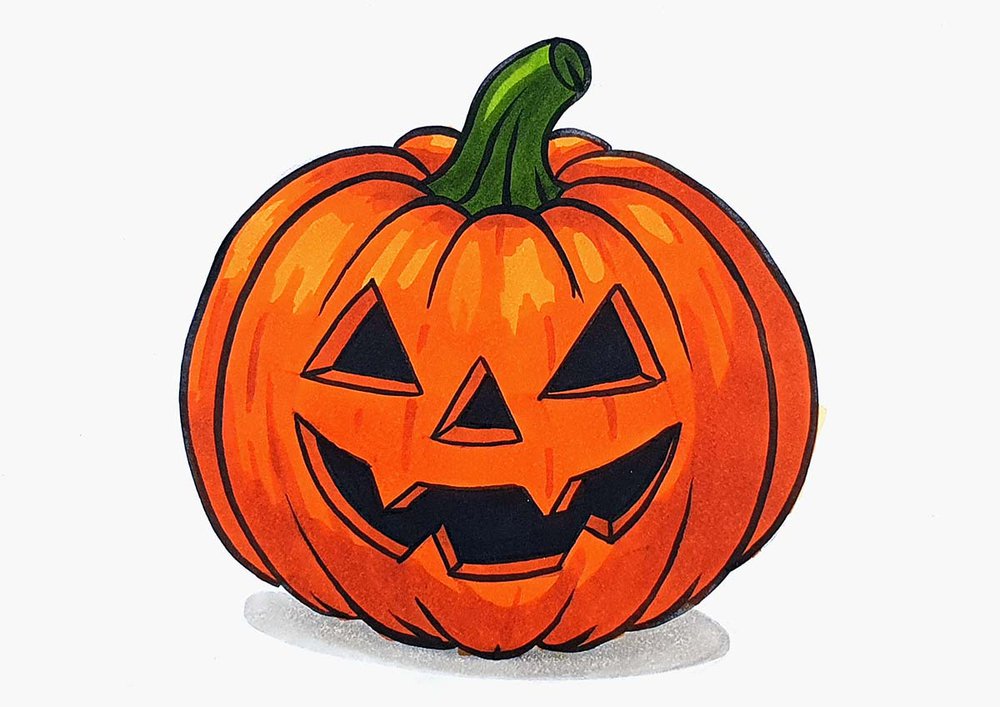
The End Result!
And that’s it, your Halloween pumpkin drawing is complete!
Whether you made it spooky, silly, or somewhere in between, I hope this tutorial helped you bring your jack-o’-lantern to life on paper. Drawing festive stuff like this is a great way to get into the Halloween spirit, and it's a fun way to practice shading, color blending, and character design too.
If you followed along, I’d love to see your version! If you decide to share it on Instagram, make sure to tag me (@luukminkman).
Thank you and happy Halloween!
Tags
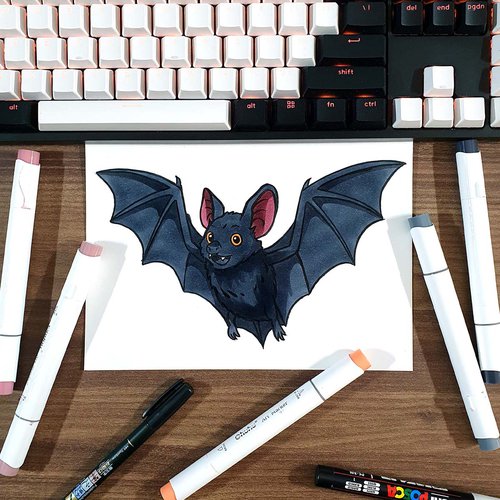
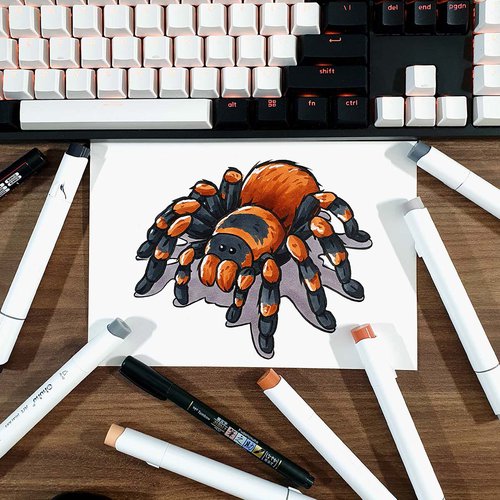
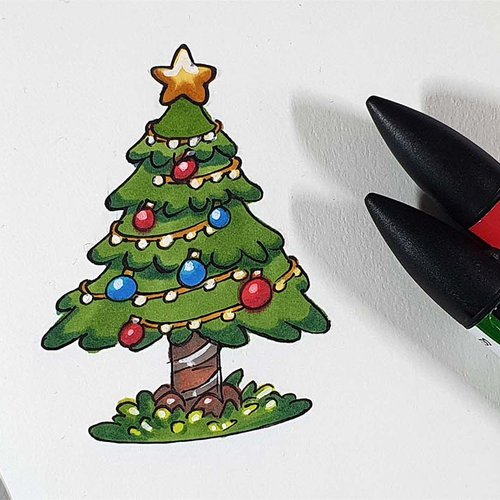
Articles You Might Also Like
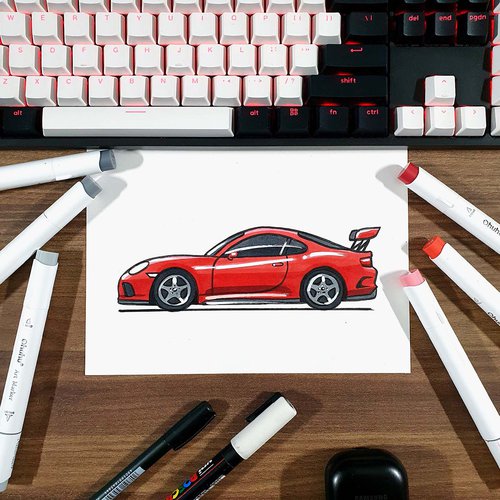


I love bringing cars to life with alcohol markers and colored pencils.
Whether you're just starting out or looking to improve your skills, I'm here to help!
Click here to learn more about me.


Be the first to comment!
Comments
There are no comments yet.