How To Draw A Mountain Landscape - Easy Mountain Range Drawing Tutorial
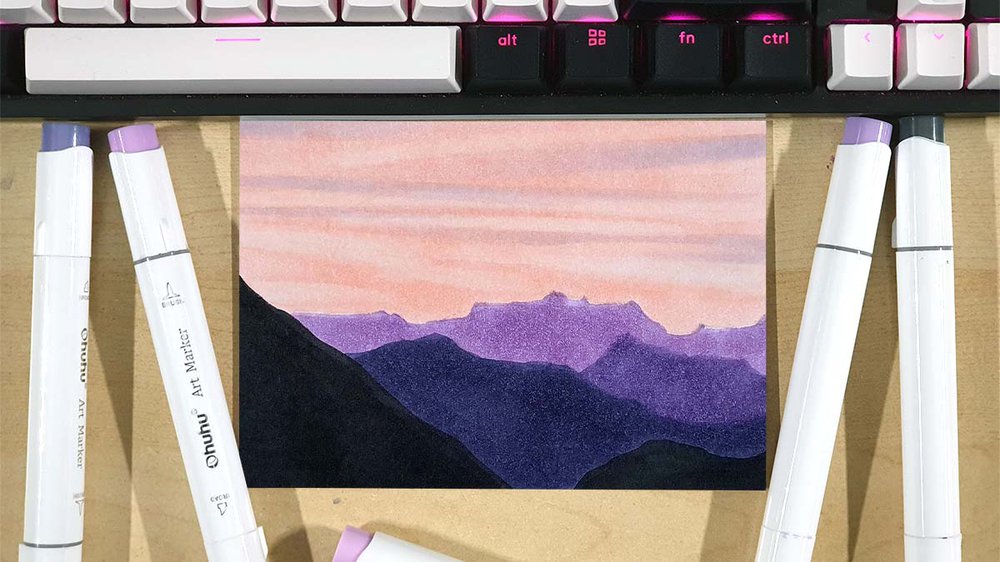
In this tutorial, I'll show you how to draw a quick yet beautiful mountain landscape with just a few markers.
Let's get started!
Disclaimer: In the name of full transparency, please be aware that this blog post contains affiliate links and any purchases made through such links will result in a small commission for me (at no extra cost for you).
Drawing Supplies I Used To Draw This Mountain Landscape
To make this mountain range drawing, I used Ohuhu Honolulu markers in the colors E030 Pink Flamingo, V050 Pearl Violet, V060 Amethyst, V450 Dark Lavender, 120 Black, V322 Rain Flower Purple, and 0 Colorless Blender.
If you're on a tighter budget, these Caliart markers seem like a good and cheap alternative.
I made this drawing using my favorite marker paper: Canson Illustration Manga.
How To Draw A Mountain Landscape?
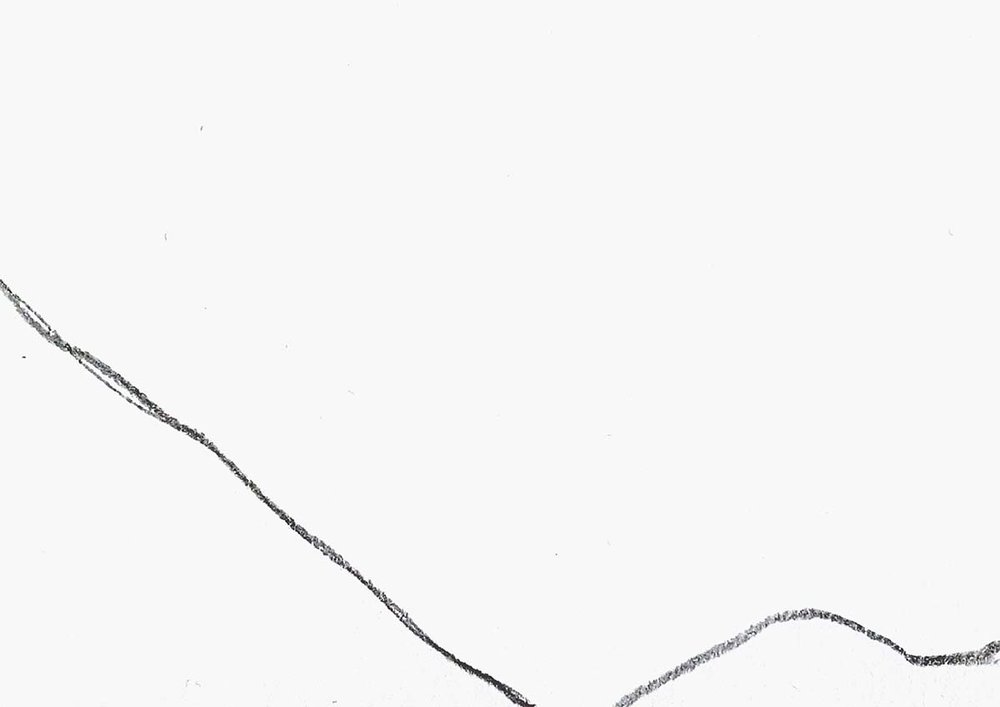
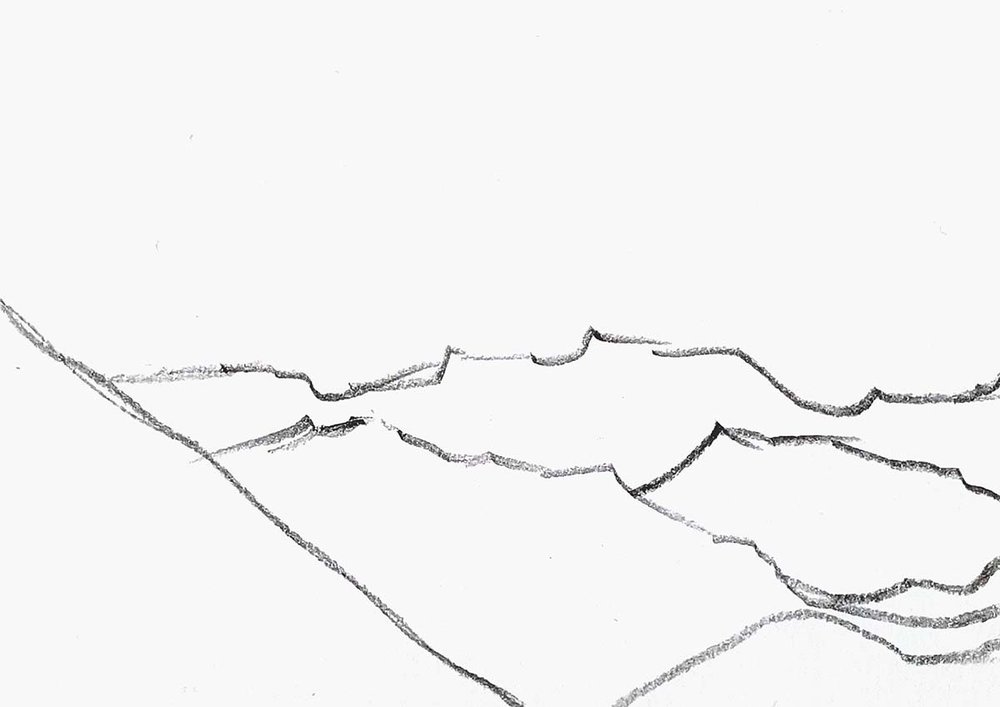
Step 1: Sketch Mountain In The Foreground
To sketch a mountain landscape, I first sketched the mountain in the foreground.
This mountain is very close which makes the shapes rounder.
I sketched a diagonal line from the left down to the bottom of the paper. I made this line a little bit wavy as the edges of mountains usually are a little uneven.
I also added this smaller hill on the right.
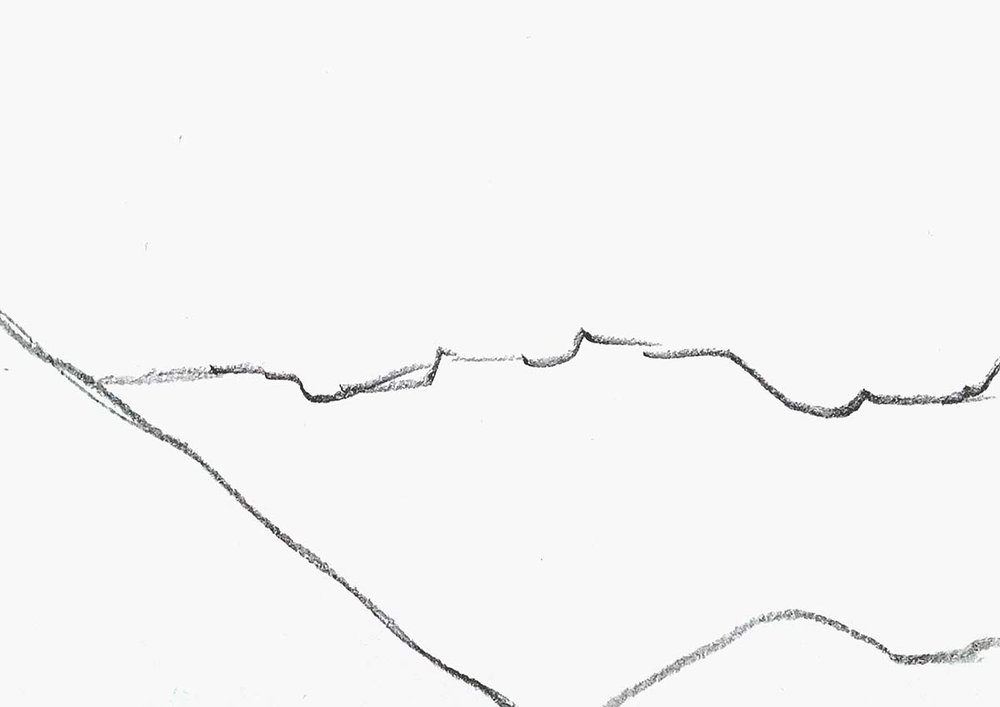
Step 2: Sketch The Mountains In The Background
Next, I sketched the mountain range furthest away. And because it is so far away you can see way more of the sharp edges that it has.
To recreate this, I sketched a line that goes up and down with multiple sharp points.
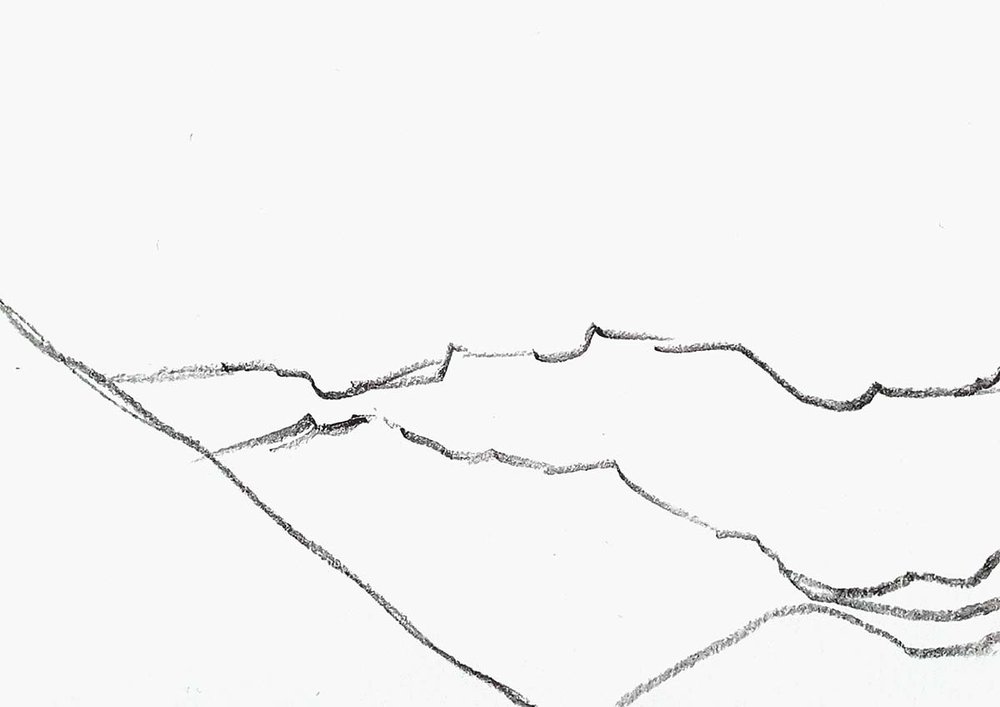
Step 3: Sketch The Mountain Layers In Between The Fore And Background
After that, I sketched the 2 mountain layers in between the foreground and the background.
I first sketched one that is higher on the left and then goes down.
Then, I sketched one on the right.
I again used sharp corners and points in these lines.
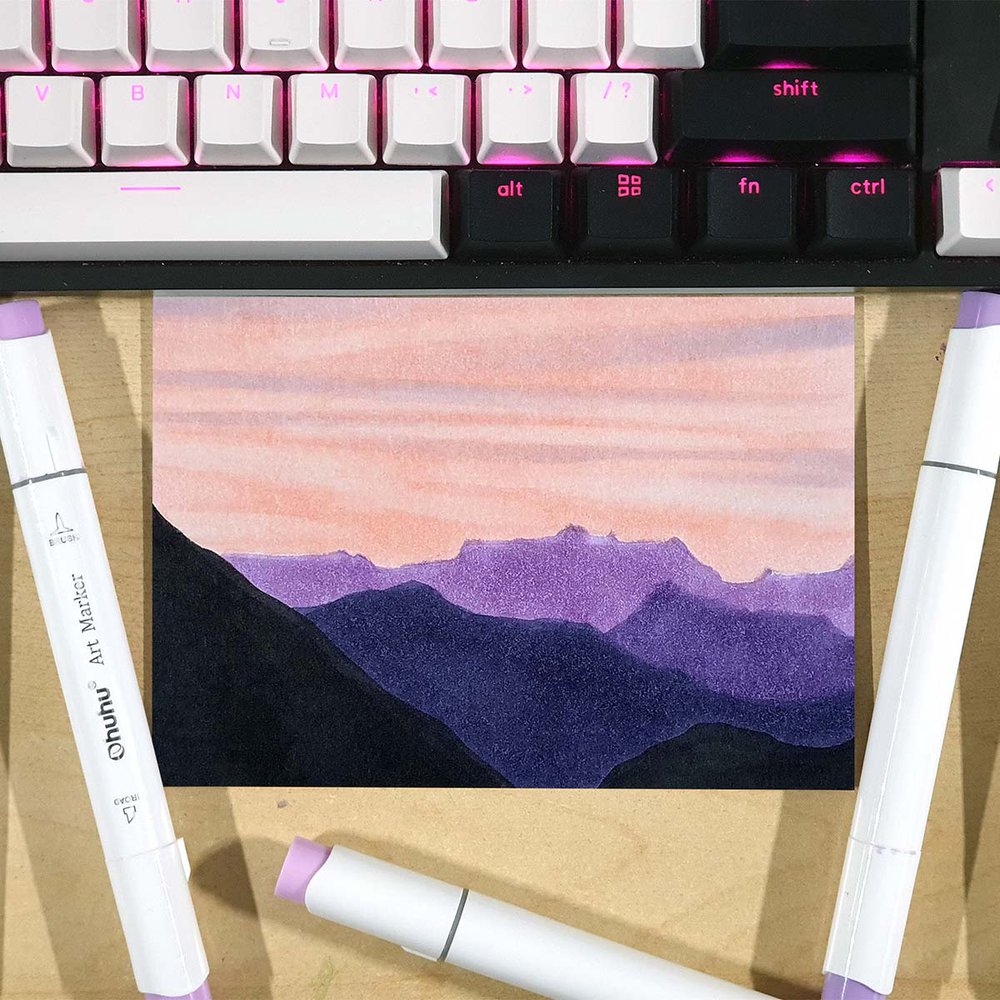
Step 4: Color The Mountain Range With Markers
After that, I colored in the mountain range. I wanted to color the mountain landscape using colors that you'll see during sunset. To do this, I made the mountains purple.
I first colored the mountain layer furthest back as it is the lightest.
To do this I used a medium purple color: V050 Pearl Violet.

Next, I colored the small mountain on the right with V060 Amethyst.

And I colored the mountain layer in the middle with V450 Dark Lavender.

Lastly, I colored the mountains in the foreground with 120 Black.

Step 5: Color The Sky
After that, I colored the sky.
As I wanted to colors to look more sunset-like, I colored the sky orangy pink using E030 Pink Flamingo.

I then added some lighter cloud shapes in this orangy pink using the colorless blender. The ink of the blender pushes the orange ink away creating lighter spots.

Lastly, I added some shadows on the clouds in the top half of the sky using V322 Rain Flower Purple.

And that's how I drew this mountain landscape during sunset.
I hope you found my tutorial helpful!
I'll see you in my next step-by-step tutorial.
Tags
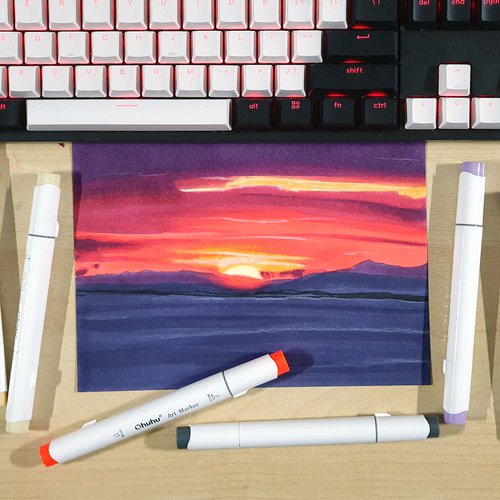
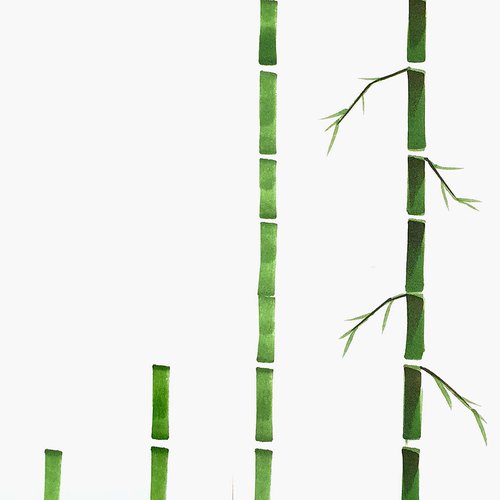
Articles You Might Also Like


I love bringing cars to life with alcohol markers and colored pencils.
Whether you're just starting out or looking to improve your skills, I'm here to help!
Click here to learn more about me.


Be the first to comment!
Comments
There are no comments yet.