Draw a Ferrari 812 Superfast in 13 Easy Steps
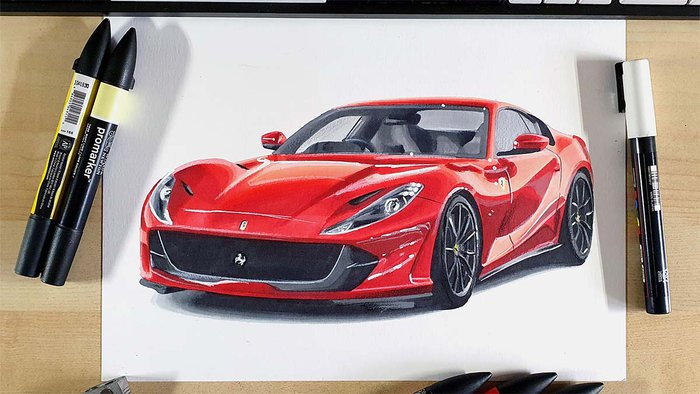
In this week's car drawing tutorial, I'll show you the exact steps of drawing my dream car: the Ferrari 812 Superfast.
Let's get started!
Disclaimer: In the name of full transparency, please be aware that this blog post contains affiliate links and any purchases made through such links will result in a small commission for me (at no extra cost for you).
Drawing Supplies I Used in this Tutorial
To draw the Ferrari 812, I used the following art supplies:
- A4-sized Canson Illustration Manga paper (by far the best paper for alcohol markers in my opinion);
- A graphite pencil, a ruler, a kneaded eraser, and a regular eraser;
- Winsor & Newton Promarkers in the colors Ice Grey 1 (IG1), Ice Grey 2 (IG2), Ice Grey 4 (IG4), Ice Grey 7 (IG7), Blue Black (XBB), Black (XB), Canary (Y367), Soft Lime (Y828), Pastel Pink (R738), Salmon Pink (R547), Lipstick Red (R576), Red (R666), and Burgundy (R424);
- Derwent Coloursoft pencils in the colors White, Dove Grey, and Black;
- And a white Posca PC-3M.
Reference Photos I Used to Draw this Ferrari 812
To make this drawing, I used 3 reference photos. 1 for the proportions and the perspective, 1 for the lighting and the reflections, and 1 for the color.
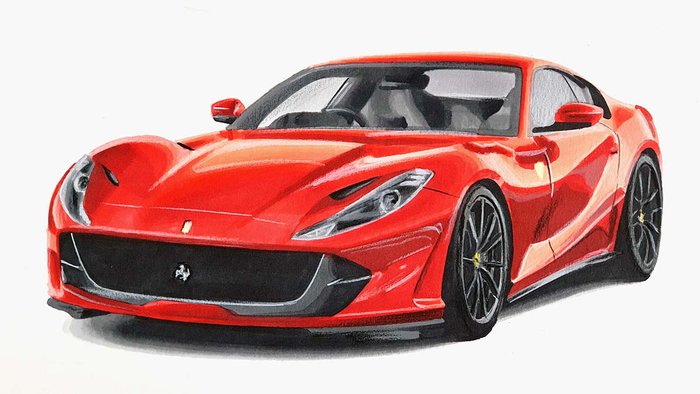
I used this photo for the perspective.
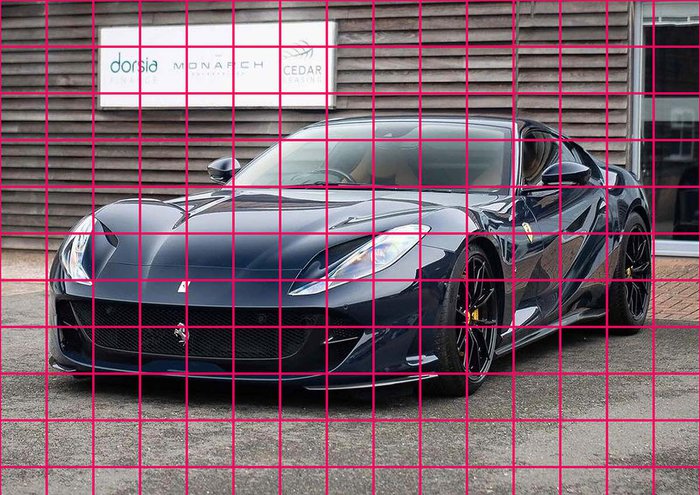
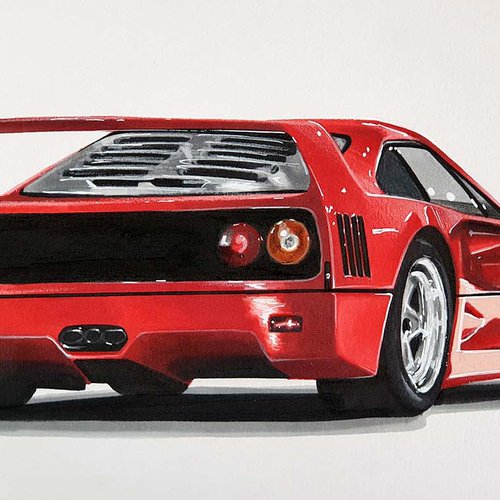
I used this photo (4th slide) for the reflections.
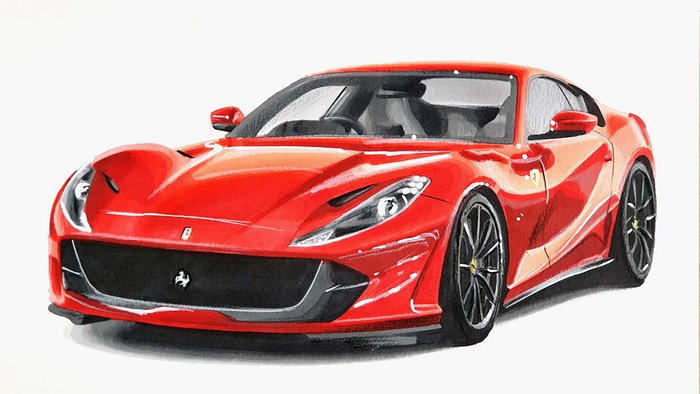
And I used this photo as a color reference.
How to Draw a Realistic Ferrari 812 Superfast?
To make a realistic drawing of a Ferrari 812 Superfast, I first gathered a few reference photos for the perspective, proportions, lighting, reflections, and color.
After that, I created a sketch of the outline of the car using the grid method.
Next, I colored the car with alcohol markers starting with the black and the grey parts, before moving on to the main body of the 812.
Lastly, I added some details with colored pencils and highlights with a Posca paint marker.
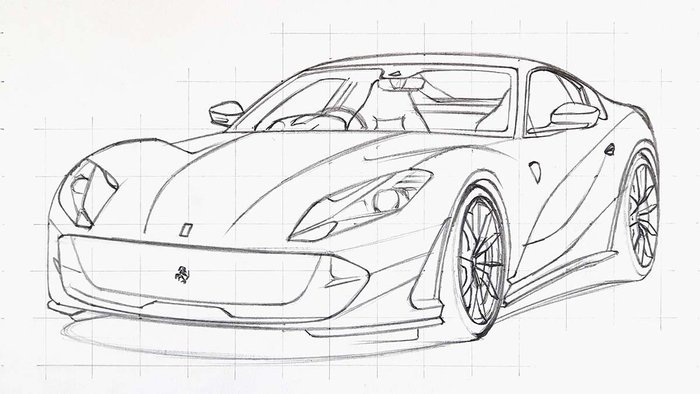
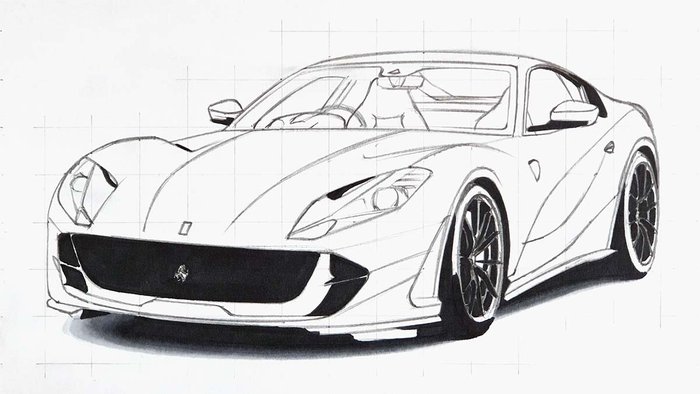
Step 1: Sketch the Outline of the Ferrari 812 Superfast
To start off the Ferrari 812 drawing, we need to make a sketch first. This is probably the most difficult part, but luckily some techniques make sketching a car accurately easier. For this tutorial, I'll be using the grid method. If you're not familiar with this technique, check out this article I made that explains what it is and how you use it.
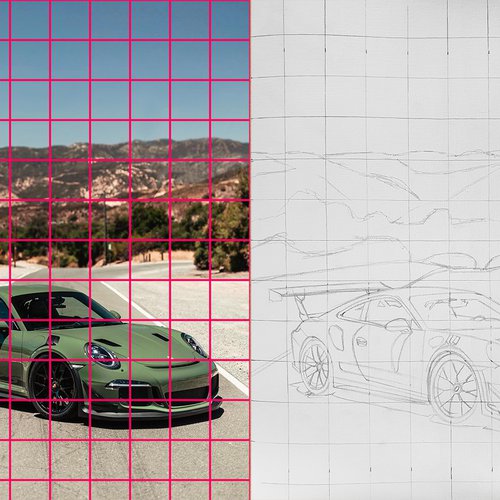
The first thing I did was resize the reference photo for the perspective to have the same aspect ratio as my piece of paper. The paper I'm drawing on is A4-sized and has an aspect ratio of approximately 7:5. So I resized the photo to have the same aspect ratio.
Next, I overlayed a grid pattern on the photo with 15 by 10.5 squares. This number of squares works well with the size of paper that I'm using. Each square will be 2 by 2 cm.
Next, I recreated that grid of 15 by 10.5 squares of 2 by 2 cm on my piece of paper.
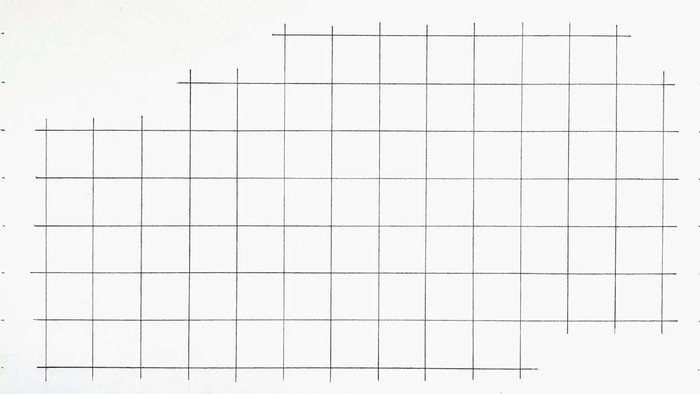
Now it's finally time to start sketching.
I first sketched the basic outline of the Ferrari 812. Then, I sketched all the details.
You need to make sure your sketch is accurate for the drawing to turn out realistic. So take your time and constantly check if your sketch is correct.
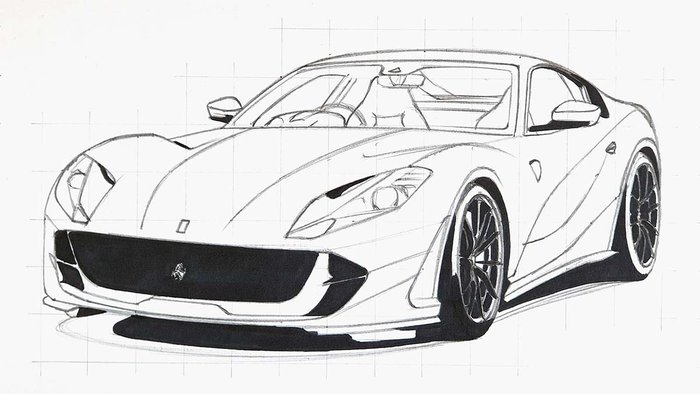
Step 2: Color All Pure Black Parts of the Ferrari 812
After some work the sketch is now done and it's time to start coloring the first bits.
I like to start coloring all pure black parts first as this simplifies the drawing a lot. To do this I used the Black Promarker.
Step 3: Color the Shadow Underneath the 812 Superfast
Next up, I colored the shadow of the car.
I started by coloring the remainder of the shadow with Ice Grey 1 first.
After that, I added a border of Ice Grey 4 between the black and the IG1.
Lastly, I softened the gradient by bending the edges.
I first used Ice Grey 7 to blend the black into the grey. Next, I used Ice Grey 4 to blend the edge of the Ice Grey 7. Then I used Ice Grey 1 to blend the edge of the Ice Grey 4.
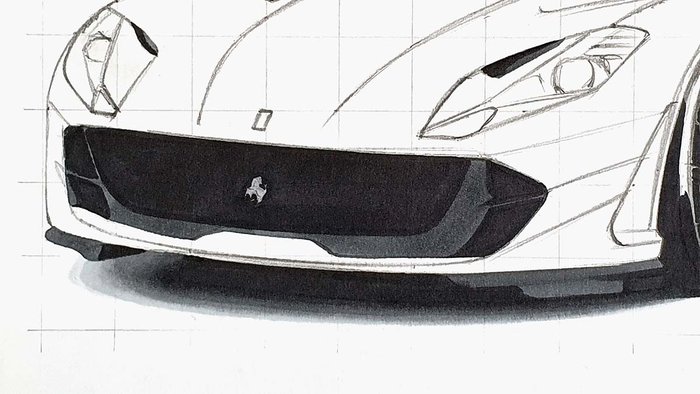
Step 4: Color the Front Grill of the Ferrari 812 Superfast
After that, I colored the grill of the 812 and the aero parts on the bottom of either side of the front bumper.
For this, I used Ice Grey 7, except for the prancing horse in the center of the grill. I colored that with Ice Grey 2.
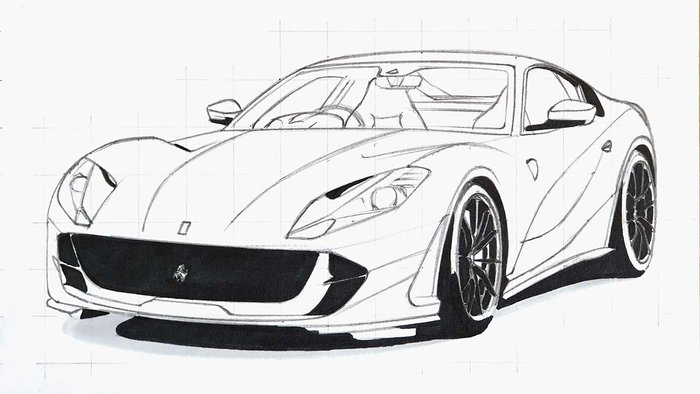
Step 5: Color the Wheels of the 812 Superfast
Next, I colored the wheels of the Superfast.
I started by coloring everything except for the spokes with Ice Grey 4.
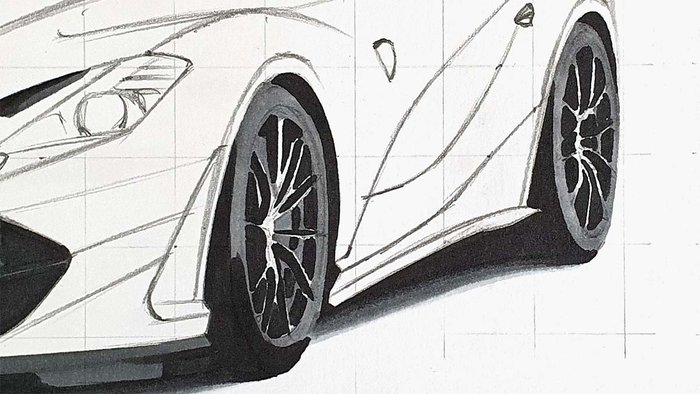
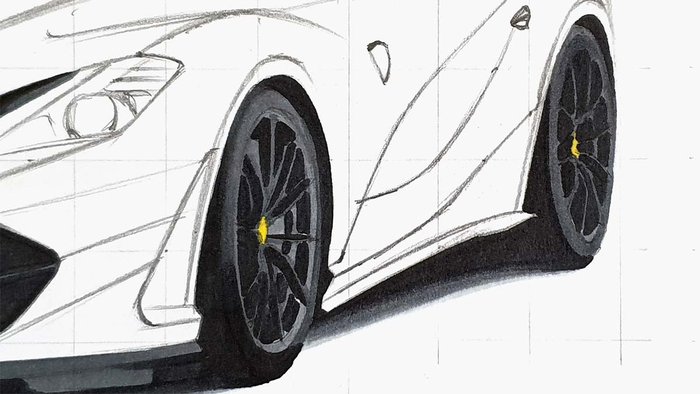
Next, I used Ice Grey 7 to color the spokes and to darken most of the tires and the rim. I also colored the center caps with Canary.
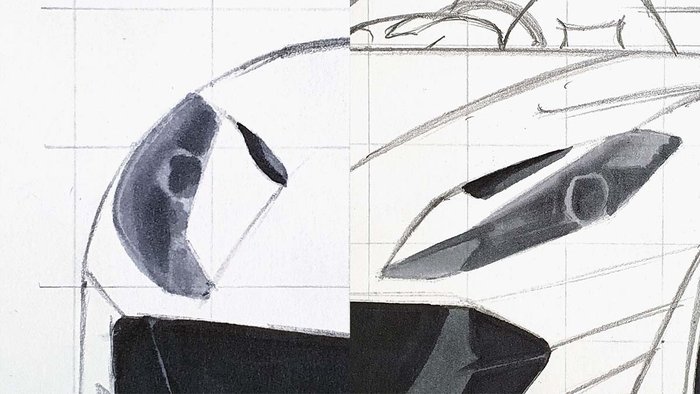
Step 6: Color the Headlights of the Ferrari 812
After that, I colored both headlights.
I started by coloring them with Ice Grey 2.

Next, I used Ice Grey 4 to darken some parts and add details.
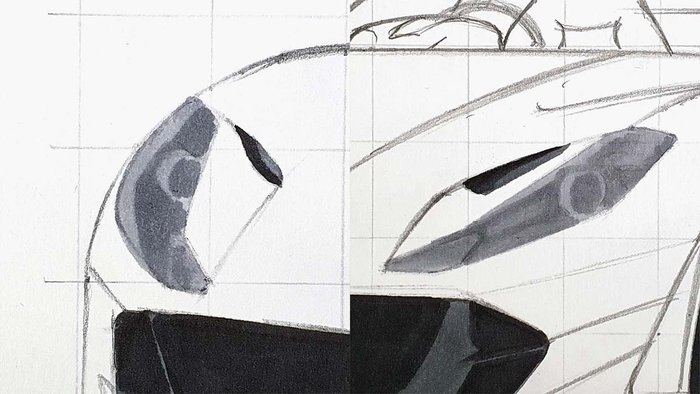
Lastly, I used Ice Grey 7 to color the darkest parts of both headlights.
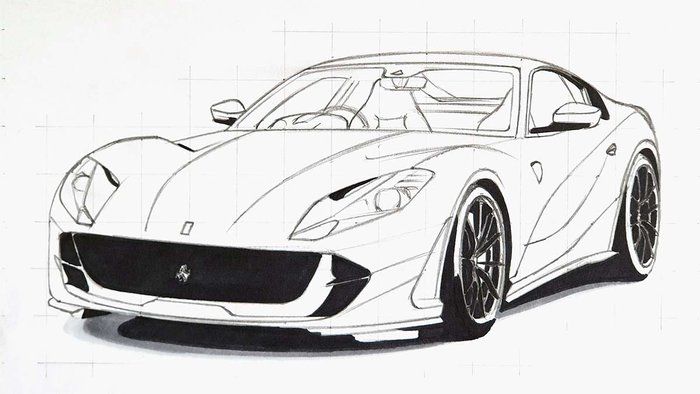
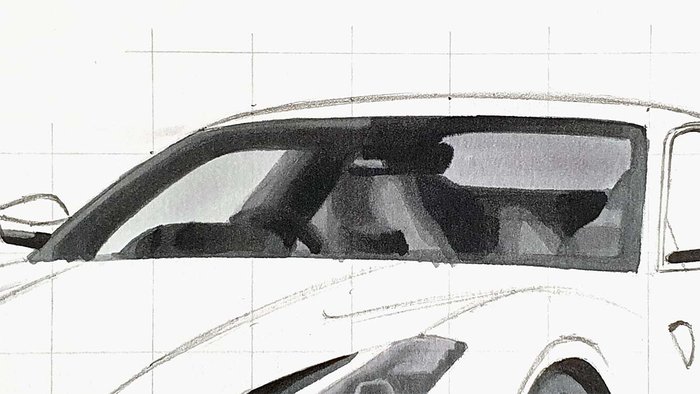
Step 7: Color the Windshield and the Interior of the Ferrari 812 Superfast
Next, I colored the interior.
I started by coloring the darkest parts with Ice Grey 7.
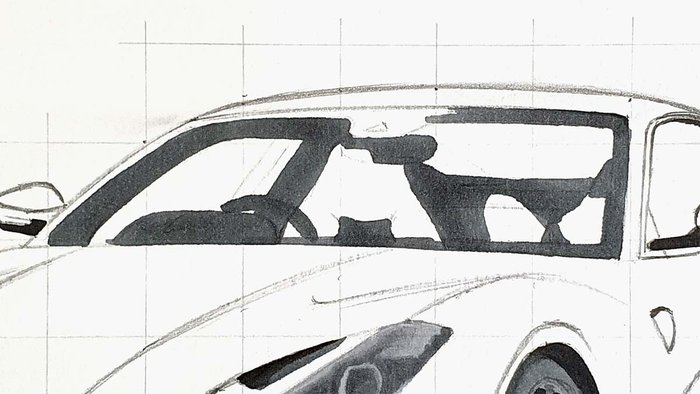
Then, I used Ice Grey 2 to color the seats and the light bit behind the seats.
And after that, I used Ice Grey 4 to add some darker spots to those parts.
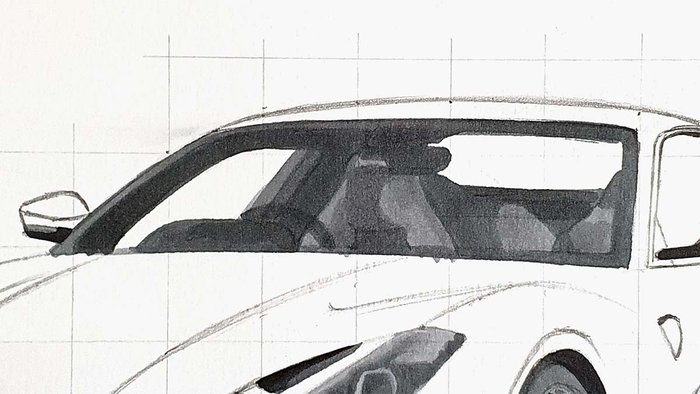
Lastly, I colored the side window with Ice Grey 1 and the rear window with Ice Grey 2.
I also used Blue Black to darken the rearview mirror and some bits around the left seat. I blended the black with Ice Grey 7 to smoothen the edges.
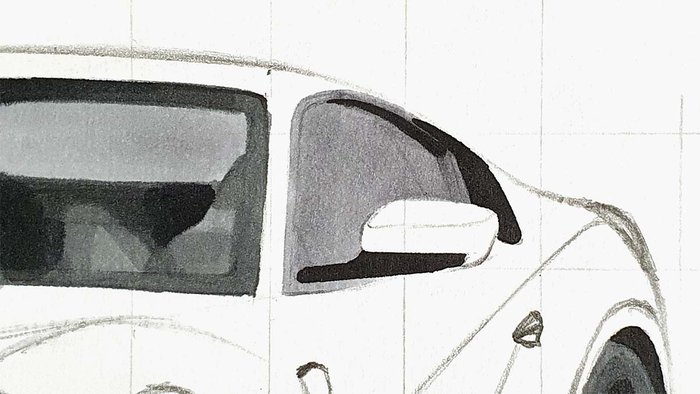
Step 8: Color the Side Windows of the 812 Superfast
Next up, I colored the side window with Ice Grey 2.
Step 9: Color the Ferrari Logo and Shield of the 812
The last things to color before the main body are the Ferrari logo on the front and the shield on the side of the Ferrari 812 Superfast. For this, I used Soft Lime and Canary.

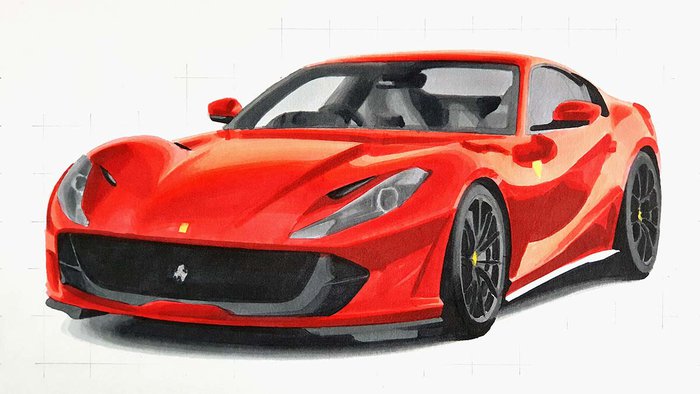
Step 10: Color the Main Body of the Ferrari 812 Superfast
Now that all black and grey parts are done, it's time to color the biggest part of the 812: the main body.
I started off with the lightest parts and colored those with Pastel Pink.
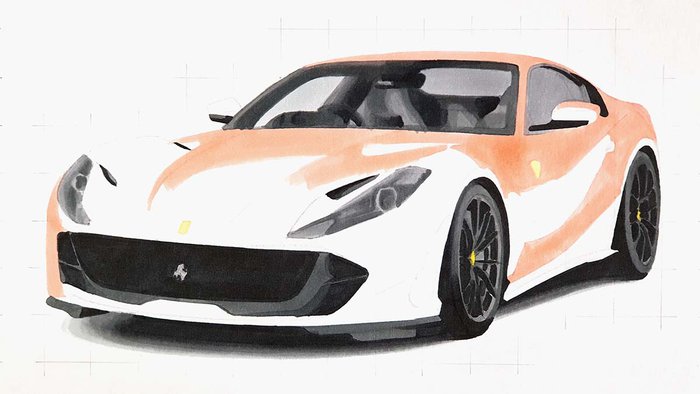
Next, I used Salmon Pink to color the parts that are a little darker and blended this into the Pastel Pink.
After that, I colored the rest of the main body of the 812 with Lipstick Red.
And lastly, I added some darker red tones with Red and Burgundy to refine the shape of the body and add depth.
Step 11: Color the Side Skirt of the 812
Remember I said the main body was the last thing to color? Yeah, I forgot to color the side skirt... So let's do that now.
I first colored the side skirt with Ice Grey 2.
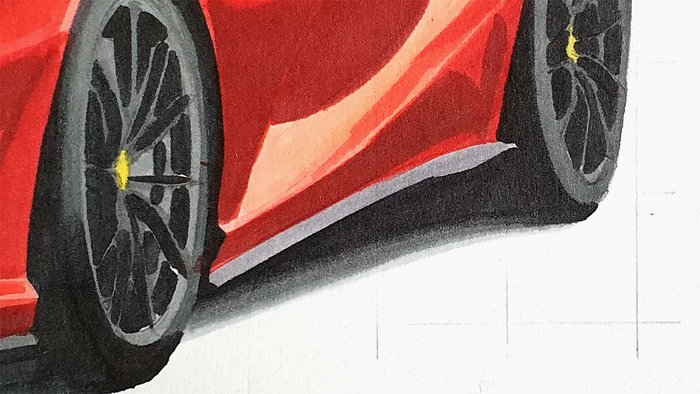
Next, I used Ice Grey 4 and 7 to darken the middle of either end of the side skirt.
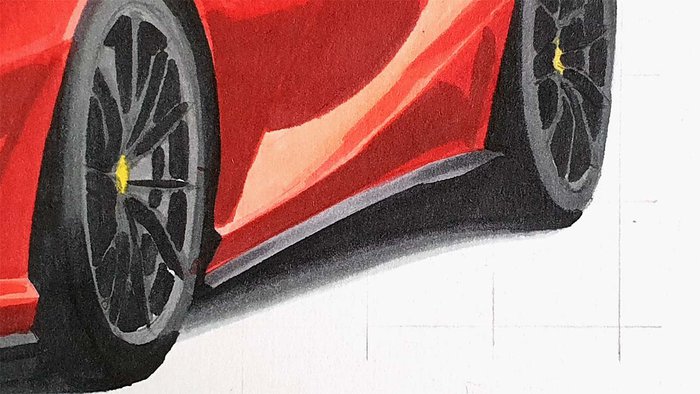
Step 12: Add Details to Your 812 Superfast Drawing
Now that the Ferrari 812 is fully colored, it's lacking some of the finer details. So let's add those with the White, Dove Grey, and Black Coloursoft colored pencils.
I used the Dove Grey to refine the spokes and the rims and add a few greyish reflections to the body.
I used the white to highlight panel edges, add light reflections to the body, refine the wheels a bit, and add details to the headlights.
And I used the Black to color some of the panel gaps, add details to the headlights, and refine the wheels more.
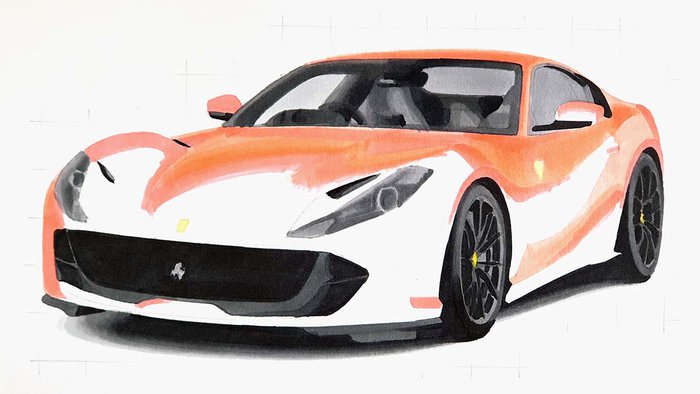
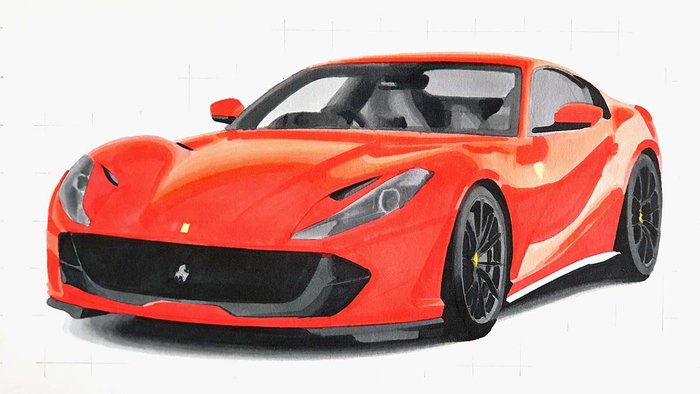
Step 13: Add White Highlights to Finish Off Your Ferrari 812 Superfast Drawing
The Ferrari 812 Superfast drawing is almost done. It only needs some bright white highlights to finish it off.
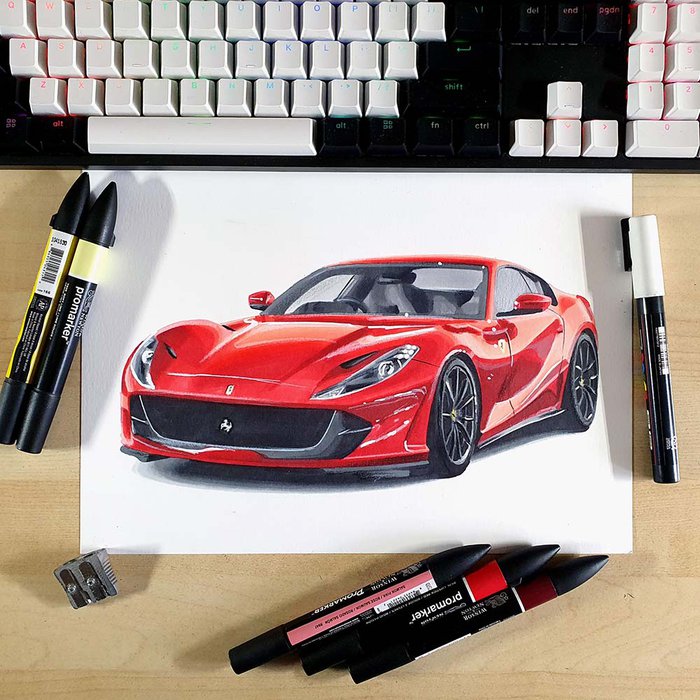
And That's How I Draw Cars Like the Ferrari 812 Superfast
It's finished! I'm really happy with how this drawing came out. I hope yours turned out great too!
I hope you found this tutorial useful! If you did, please consider sharing it with others who might enjoy it. It would mean a lot to me!
If you followed my tutorial and want to share your drawing, please tag me on Instagram (@luukminkman). I'd love to see your work!
Have a wonderful day!


.jpg__500x500_q85_crop_subsampling-2.jpg)


Be the first to comment!
Comments
There are no comments yet.