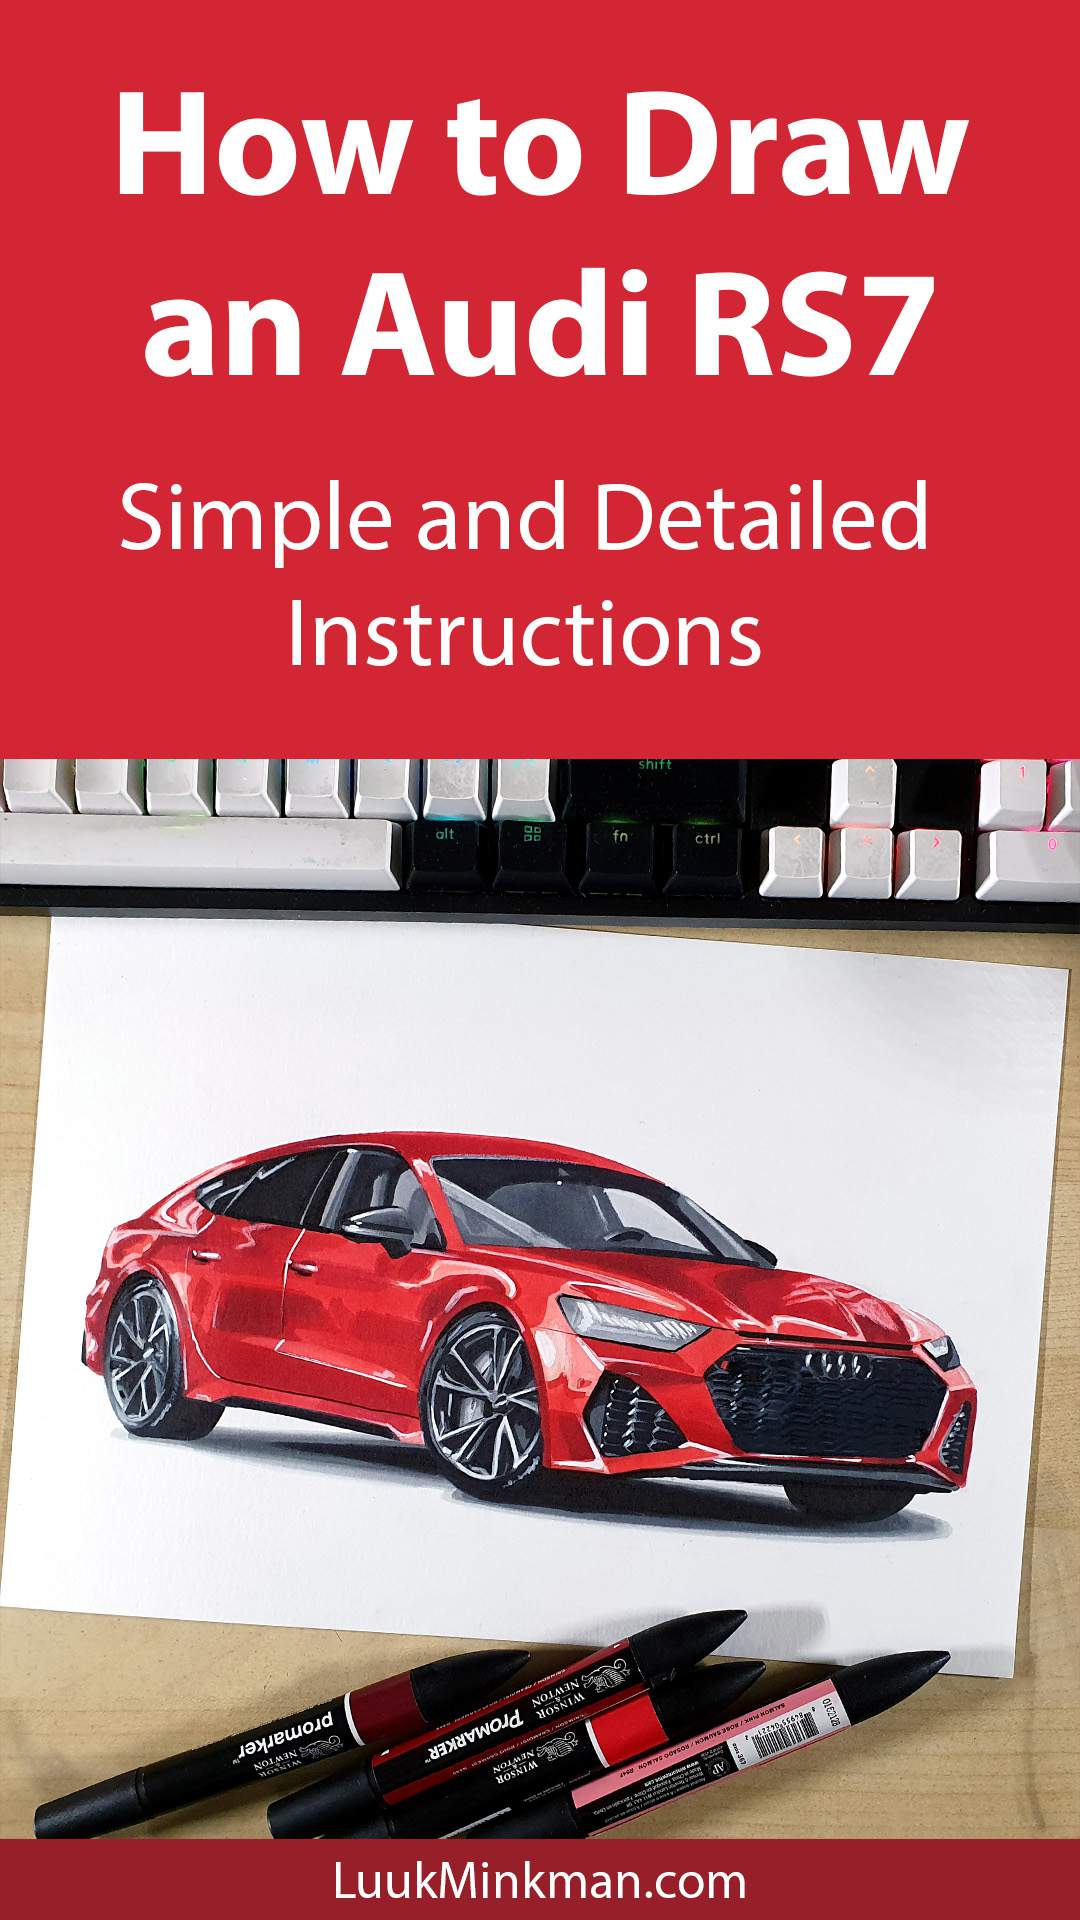
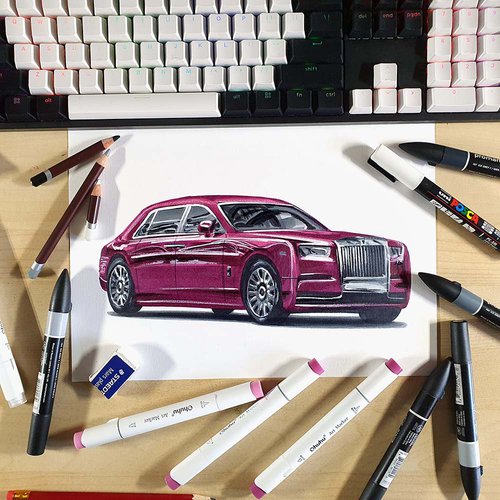
How to Draw an Audi RS7 - Easy Step-by-Step Tutorial
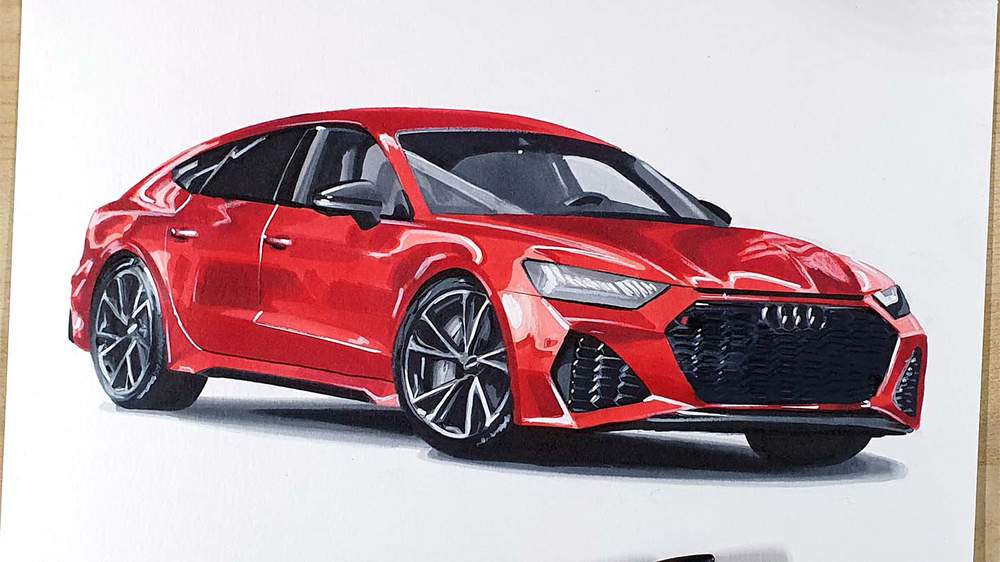
In this car drawing tutorial, I'm going to show you how to draw an Audi RS7 (2020) in red.
I've broken this drawing up into simple and easy-to-follow steps so you can (hopefully) draw this Audi RS7 as well as I did.
Disclaimer: In the name of full transparency, please be aware that this blog post
contains affiliate links and any purchases made through such links will result in a
small commission for me (at no extra cost for you).
Tools I Used for this Tutorial
I used the following art supplies to make this drawing:
- A4-sized Canson Illustration Manga paper;
- A graphite pencil, a ruler, and a kneaded eraser;
- Winsor & Newton Promarkers in the colors Ice Grey 1 (IG1), Ice Grey 2 (IG2), Ice Grey 4 (IG4), Ice Grey 7 (IG7), Black (XB), Soft Peach (O138), Salmon Pink (R547), Lipstick Red (R576), Red (R666), and Burgundy (R424);
- Derwent Coloursoft pencils in the colors White and Black;
- A white Posca PC-3M.
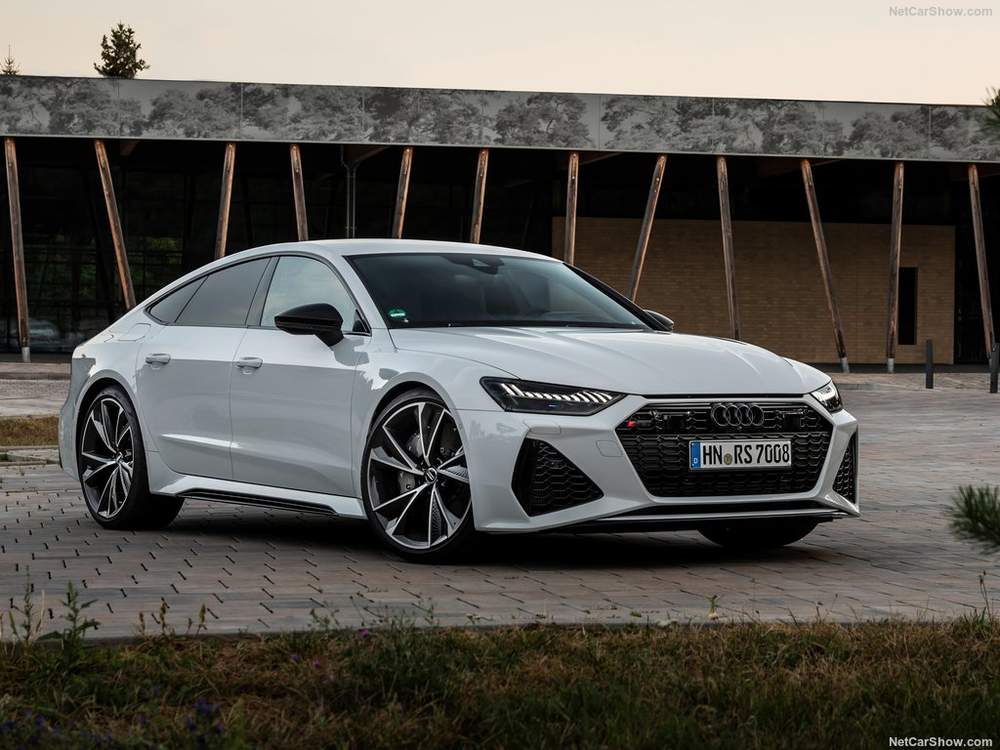
The Reference Photos I Used for this Tutorial
For this tutorial, we'll be using the image below that I found on netcarshow.com as a guide for the proportions. However, the reflections and the color will be different.
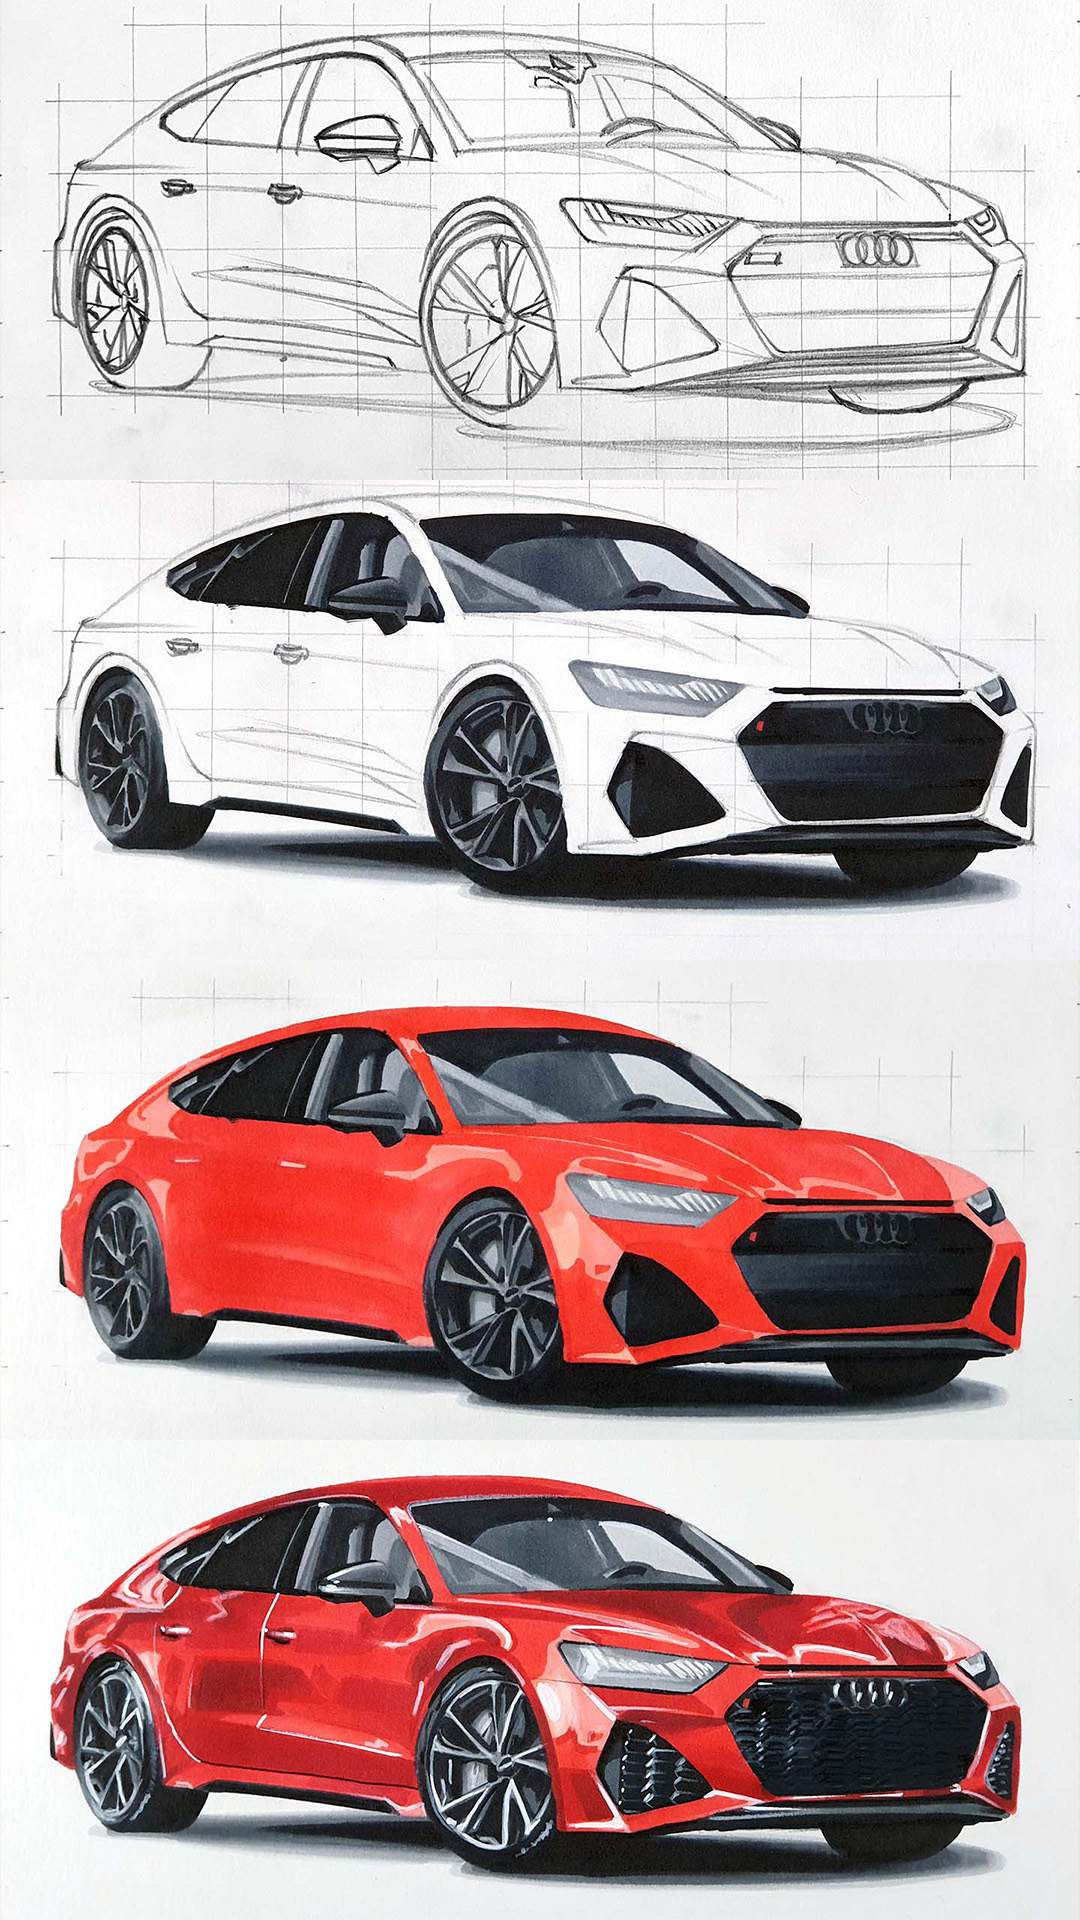
How to Draw an Audi RS7?
To draw an Audi RS7, I first sketched the outline using the grid method and paid special attention to the wheels. After that, I started coloring with alcohol markers. I first colored the black parts, then I colored the rest of the car. And finally, I added some details with a black and a white colored pencil and I added some white highlights with a Posca marker.
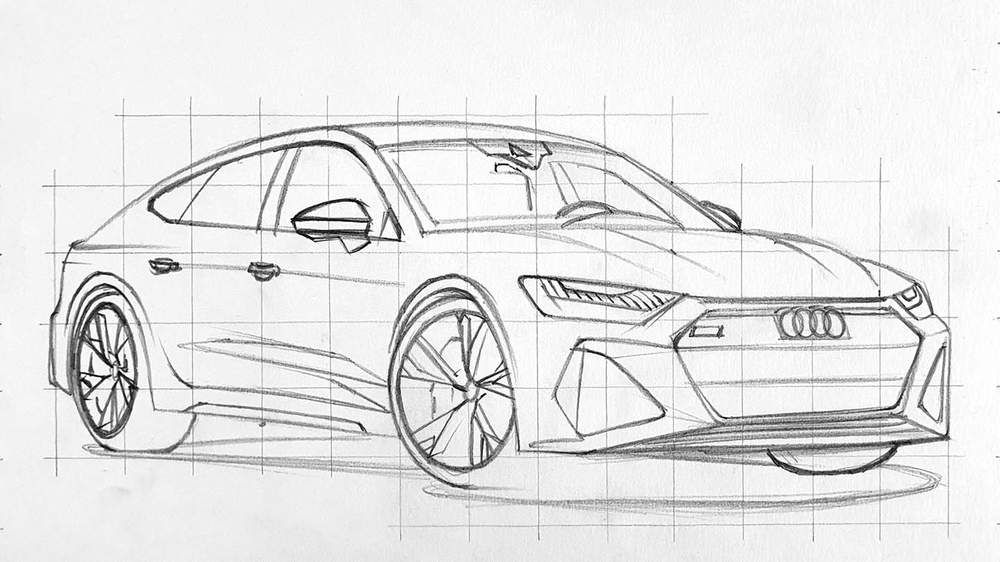
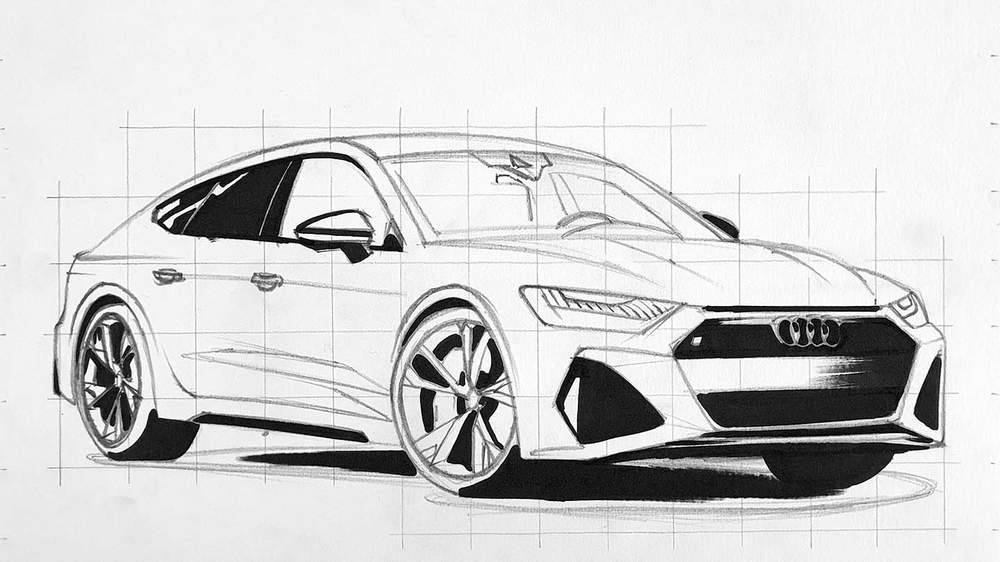
1. Sketch the Outline of the Audi RS7
If you want your drawing to turn out well, you need to make sure your sketch is as good as possible.
However sketching a realistic-looking car is quite difficult, especially if you're freehanding the sketch.
Luckily there are some techniques you can use to make sketching accurately a lot easier.
For this tutorial, I'm going to use the grid method which is my preferred method for sketching cars. But feel free to use any other method. Here is a list of 5 methods you can use to sketch cars more accurately.
To use the grid method, I first overlay a grid over the reference photo for the perspective in Photoshop.
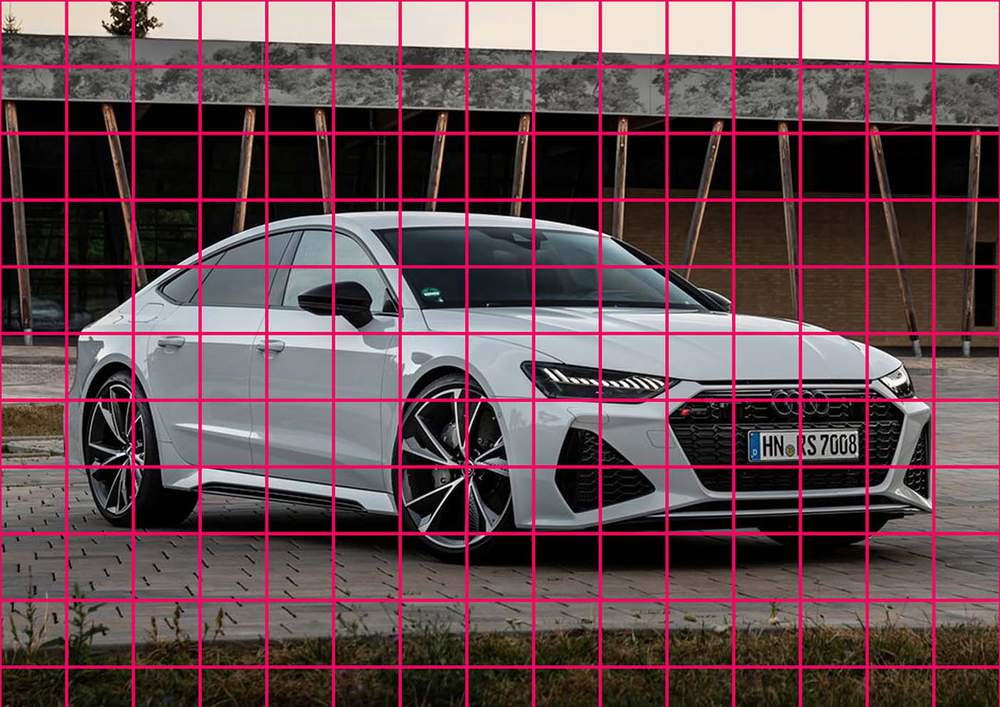
After that, I sketched the same grid on my piece of paper. The reference photo has a grid of 14 by 10.5 squares and my paper is roughly 30 by 21 cm which means that each square will be 2 by 2 cm.
I forgot to take a photo of the grid I sketched...
Now it's time to start sketching the Audi RS7. I usually start on the left and work my way up and around the car. And once the basic shapes are done, I add in all the details.
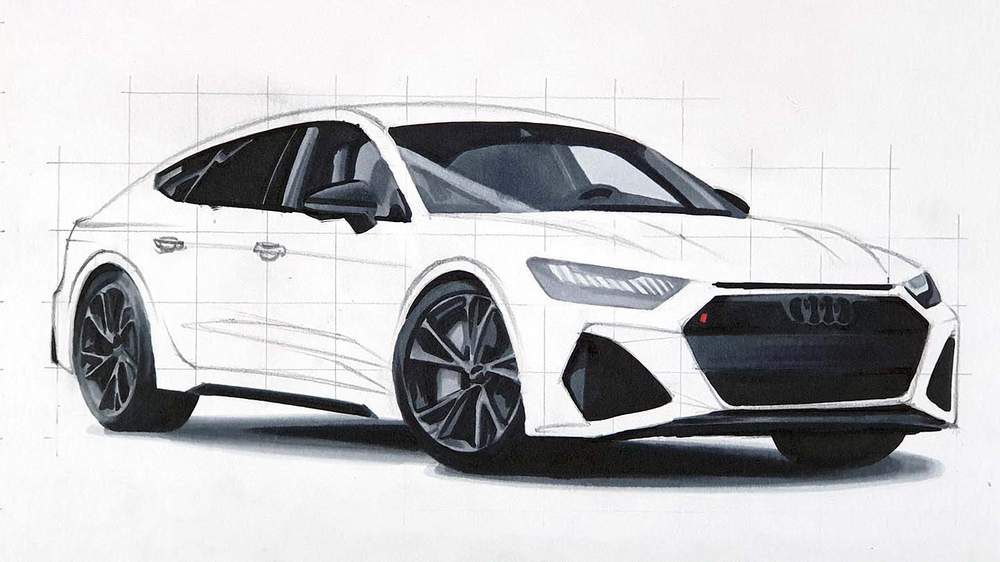
2. Color All Pure Black Parts
Now that the sketch is done it might look a bit overwhelming. But one simple thing we can do to make the drawing look a lot easier is to color all pure black parts. For some reason this makes the drawing look a lot more comprehensible for me.
To color all the black parts I used the black Winsor & Newton Promarker.
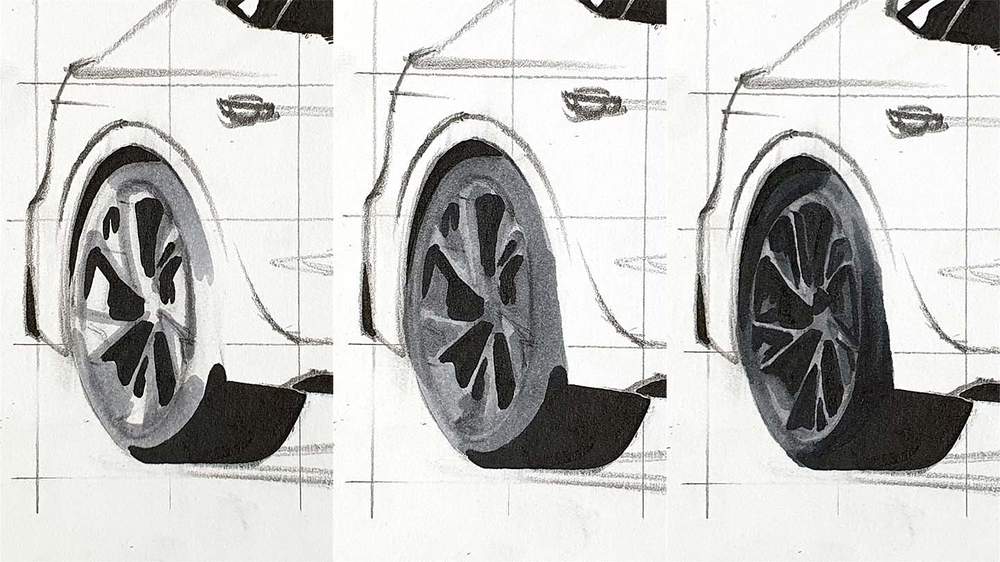
3. Color the Wheels of the RS7
Next up are the wheels.
Normally I'd say that the wheels are the most difficult part of a car, but as it's an Audi we're drawing the grill is the most difficult.
I started by coloring the lightest parts of the rear wheel with Ice Grey 2.
Then I colored the rest of the wheel with Ice Grey 4.
And lastly, I refined the spokes and the rim with Icey Grey 7 and Black.
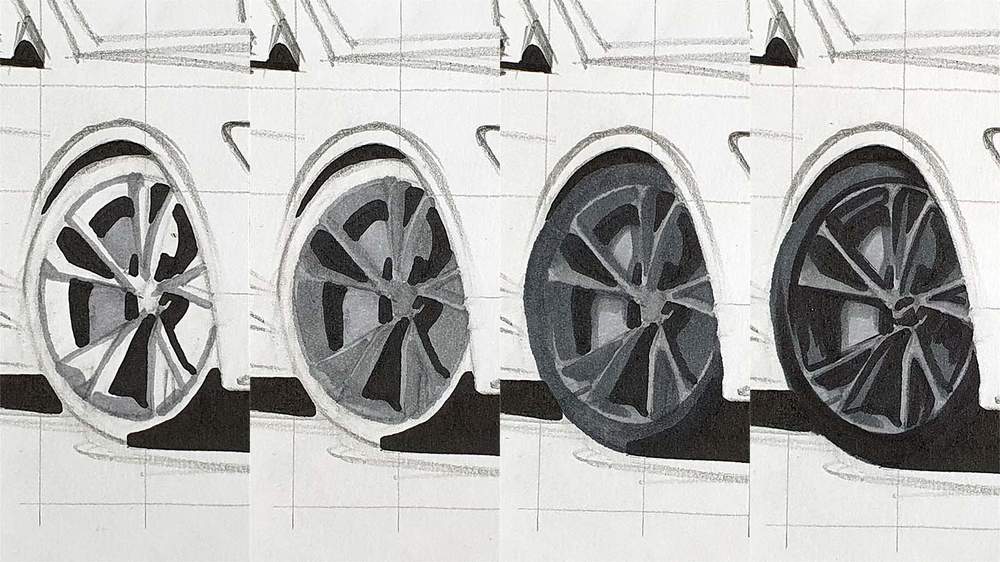
After that, I colored the front wheel. I again started by coloring the lightest parts (the rim, the spokes, and the brake caliper) with Ice Grey 2 and I colored the rest of the wheel with Ice Grey 4.
After that, I colored the tire with Ice Grey 7 and I darkened the inside of the spokes and the rim, the brake disc, and the edge of the brake caliper.
Lastly, I used black to add a few details and refine the shapes of the spokes more.
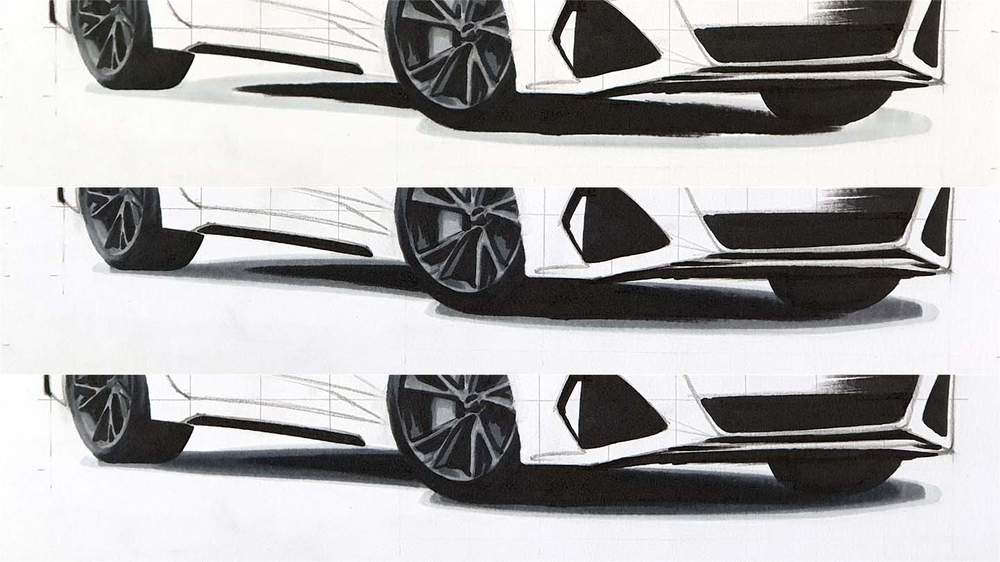
4. Color the Shadow
Next up is the shadow underneath the car.
Most of it is already black, but now we're going to make the edges blend into lighter shades of grey.
I first colored the remainder of the shadow with Ice Grey 1.
Next, I Colored Ice Grey 4 in between the Ice Grey 1 and the Black.
And lastly, I used Ice Grey 7 to blend the Ice Grey 4 into the black a bit better.
You could also use Ice Grey 2 to blend the Ice Grey 1 into the Ice Grey 4 better, but for some reason I kind of like the slightly not blended look.
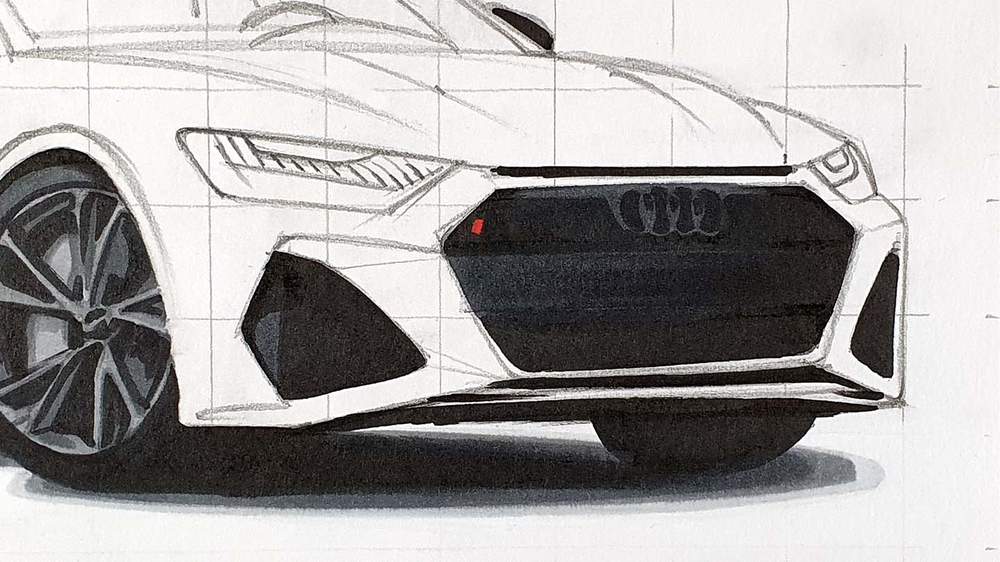
5. Color the Front Grills of the Audi
After I colored the shadow, I started working on the front grills.
I colored the middle rectangular part with Ice Grey 7 and the top part including the logo with Ice Grey 4 I think (it's been a while since I made this drawing and I didn't take any notes...).
I also colored the red parallelogram shape of the "RS7"-logo with Red.
Next, I colored the remaining part of the lower grill on the left with Ice Grey 7 and I added a curvy shadowy shape with black.
6. Color the Headlights of the Audi RS7
Next, it's time to color the headlights and luckily the headlights are surprisingly simple as they don't contain any reflections or too many details.
I started by coloring the headlight on the left. I first colored the light parts with Ice Grey 1.
Then I colored the rest of the headlight with Ice Grey 2, including the line between each light source.
Lastly, I darkened the top half with Ice Grey 4 and I added some darker lines on the left and the bottom.
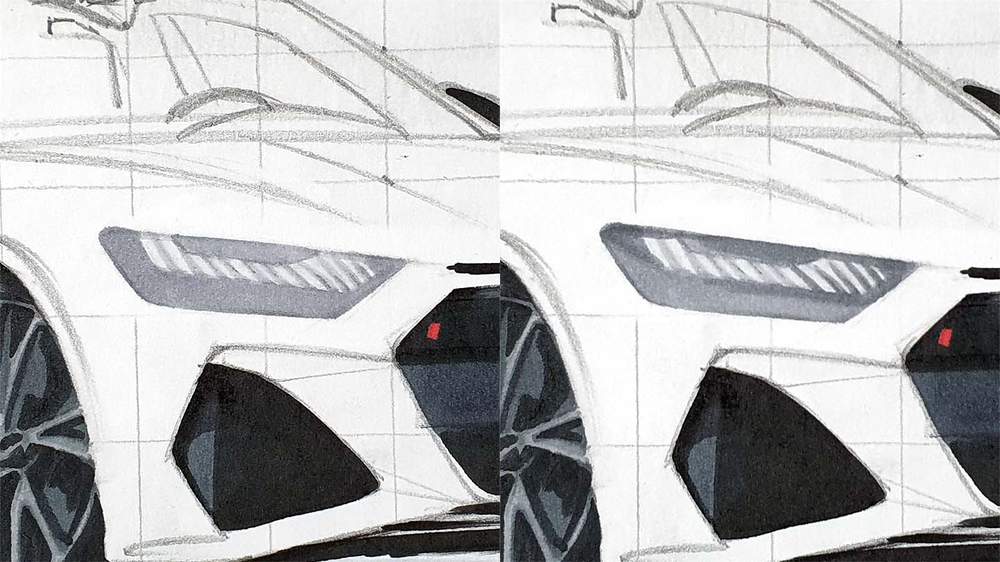
Next, I colored the right headlight. I again made the lightest part Ice Grey 1 and I colored the part just above and in between that with Ice Grey 4.
After that, I colored the bottom part with Ice Grey 7 and I darkened the top half of that part with black. I also added a black line at the bottom of the headlight.

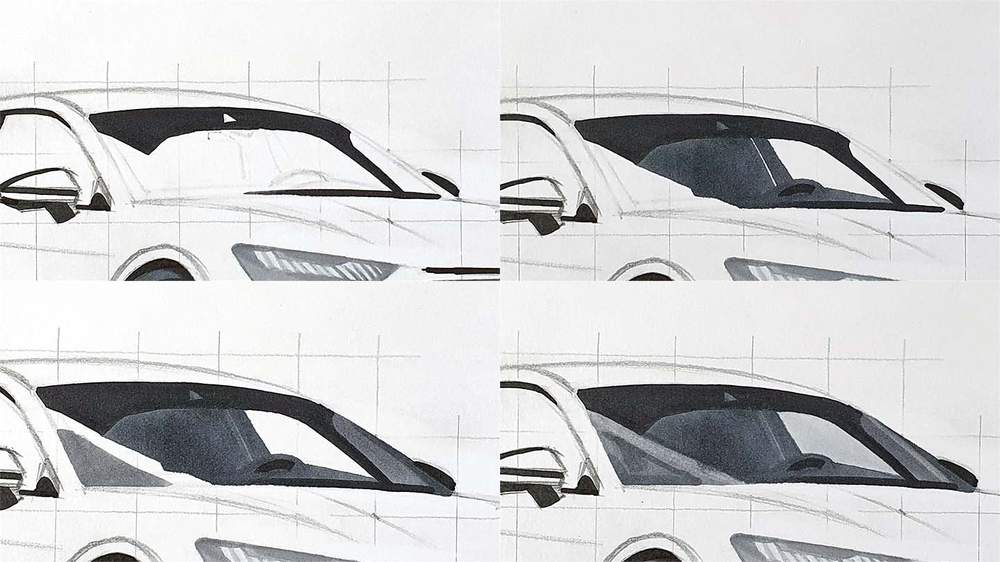
7. Color the Windshield of the Car
Next up is the windshield which also isn't too difficult.
I started by coloring the darkest parts with Ice Grey 7. This includes most of the interior to the left of the reflections that will be in the bottom right.
Next, I colored the A-style on the right with Ice Grey 4 and I also colored the bottom left of the windshield with Ice Grey 4.
The last thing to draw is the diagonal line across the lower left part of the windshield which I colored with Ice Grey 2.
8. Color the Side Windows
After coloring the windshield it's time to color the side windows.
I started by coloring the lightest parts with Ice Grey 2. Those parts include the continuation of the light reflection running down toward the mirror, a line just to the right of that reflection, and a line to the right of the B-style.
Next, I used Ice Grey 4 to color the reflections on the rear side windows as well as the parts to the right of the lighter reflections on the front side window.
After that, I used Black to color in the remainder and Ice Grey 7 to add some details and darken a few bits here and there.
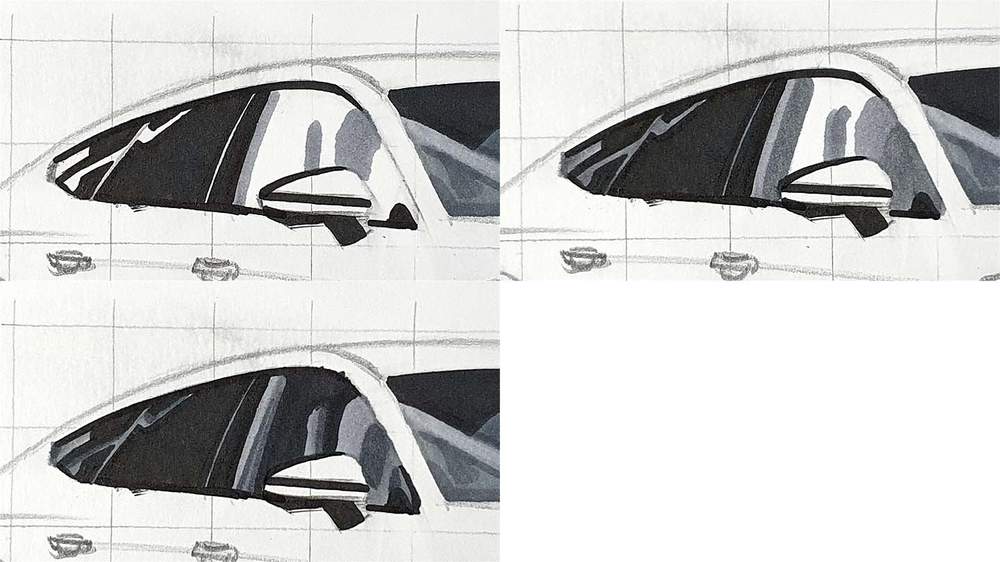
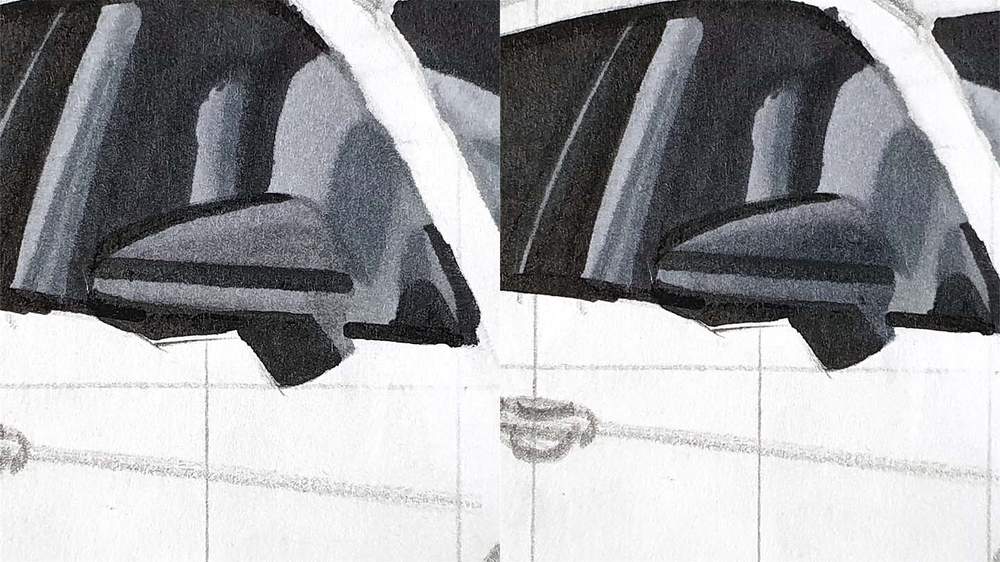
9. Color the Door Mirrors
The door mirrors are next on the list. But as the right one is already drawn, we only need to color the left one.
I first colored the left mirror fully with Ice Grey 4.
Then I darkened the middle with Ice Grey 7.
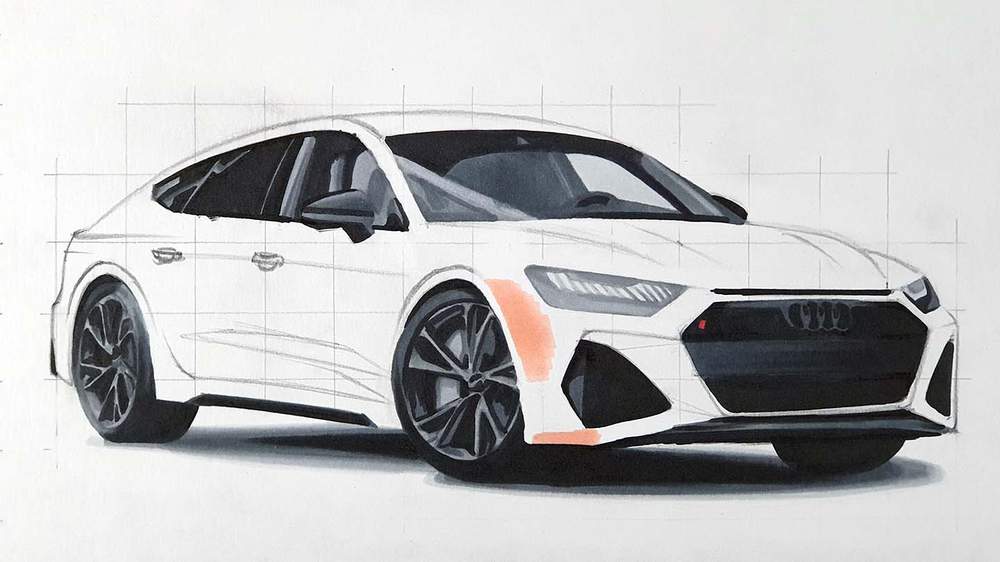
10. Color the Front Splitter
Next up is the front splitter. I actually would've done this way earlier, probably before I colored the grills, but I forgot to color it so we're doing that now.
To color the front splitter I first colored it fully with Ice Grey 4.
After that, I used Ice Grey 7 to color the right half and I blended that into the lighter Grey.

11. Color the Main Body of the RS7 Red
Now that all the grey parts are done, it's finally time to add some color.
I started out by coloring the two lightest parts of the main body with Soft Peach.
Next, I colored the second lightest parts with Salmon Pink. This includes most of the front except for some parts on the bonnet/hood, a few bits here and there on the side, and most of the rear. You don't need to color as much as I did as most of it will be covered in the next step.

Now it's time to color the rest of the main body of the Audi RS7. And for that, I used Lipstick Red. As mentioned before, I also colored over some of the lighter pink parts.

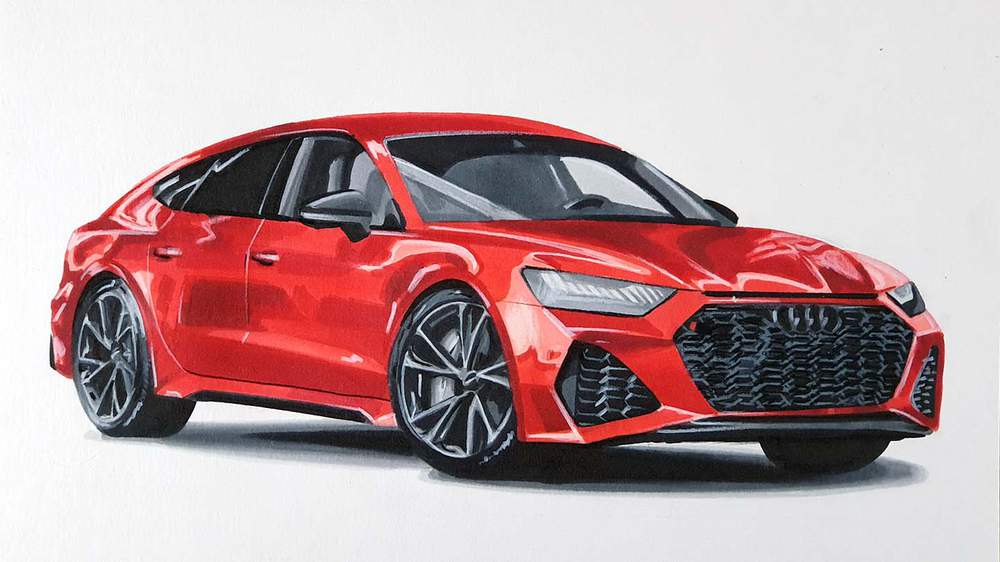
Now that the main body is fully colored, it's time to add some more depth to the red paintwork. I first used Red to darken some reflections on the hood, the roof, the side, and a few bits on the front.
And for the really dark red parts I used Burgundy, but I was careful not to overuse this color as it can get too dark very quickly. I used it to darken a few reflections on the hood and on the front. I also used it to darken a bigger part on the side and a few little reflections on the rear. And I used it to darken the part of the roof just above the rear side windows.
12. Add Some Details with Colored Pencils
Now the car is fully colored, but it lacks some details and refinements. For that, we're going to use a white and a black colored pencil.
I used Derwent Coloursoft colored pencils as they work well with the paper I used and they give off the pigment really easily, especially the white one.
I used the white pencil to add in some light on the wheels, mainly the spokes and some reflections. And I used the black to refine the shape of the spokes and the rim more.

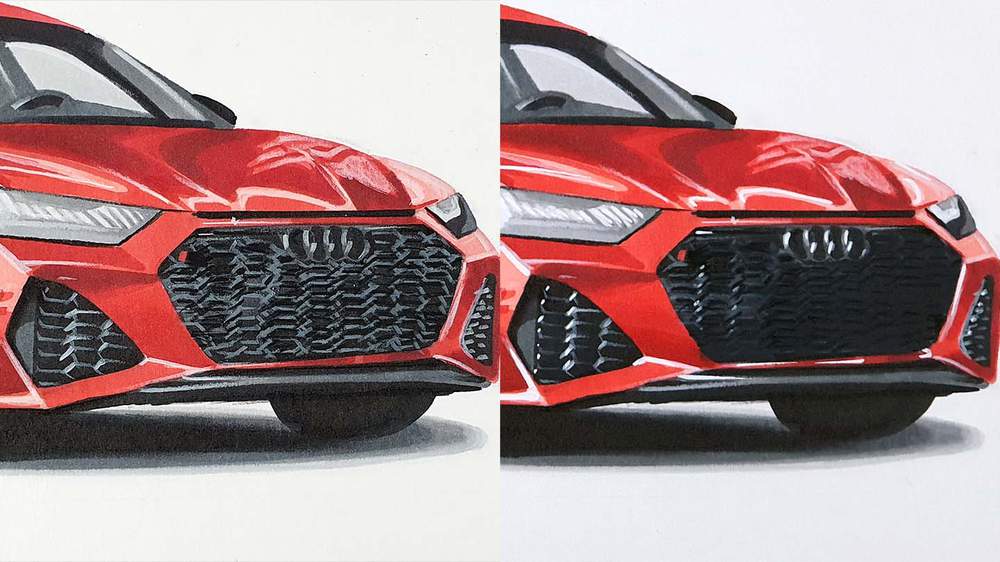
I also used the pencils to draw the iconic hexagonal-shaped Audi grill. I first lightly sketched out each hexagon and then refined them. However, I really disliked how the grill turned out so I darkened half of it with the Ice Grey 7 marker which made it look a whole lot better.
I also used the colored pencils to add some details in other places, but these were the most important ones.
13. Add Bright White Highlights with the Posca Marker
And lastly, we're going to add the finishing touches to the Audi RS7 in the form of a few bright highlights. For this I used the Posca PC-3M paint marker.
I added some highlights to some spokes on each wheel and I used it to add in the bright white in the headlights.
I also added some highlights on the logo on the front and in a few other places around the front.
Lastly, I added some highlights on the door gaps and on some reflections on the rear of the car.
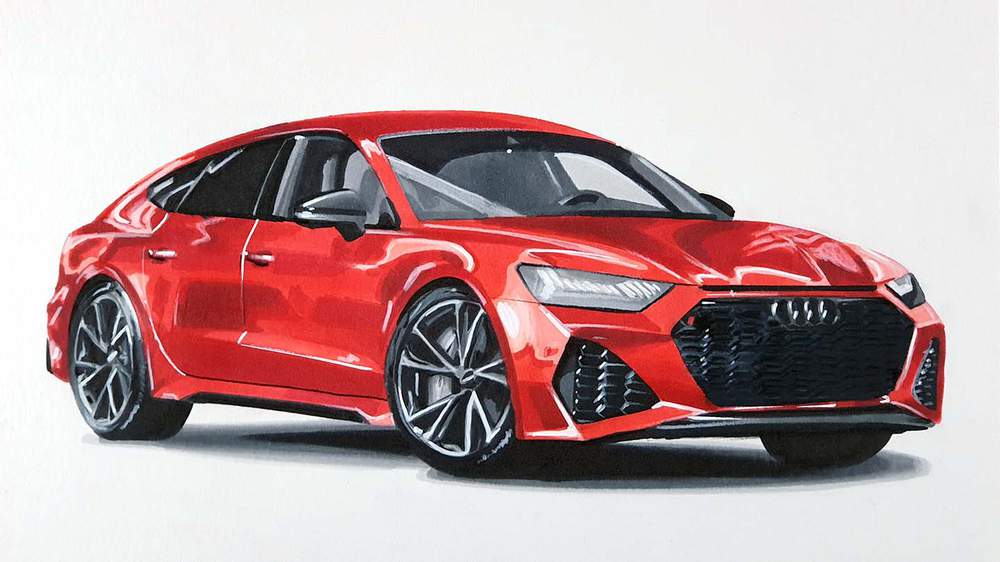
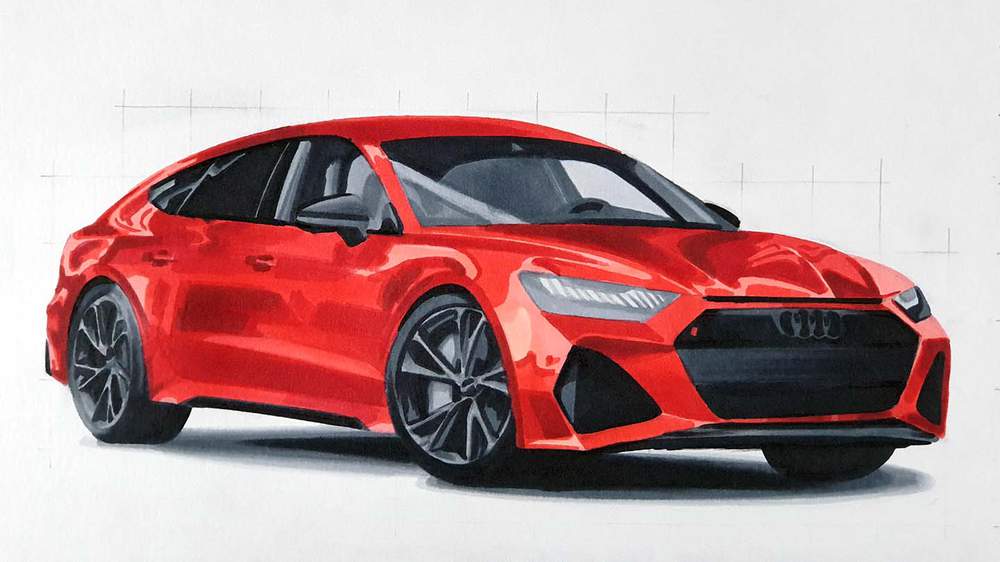
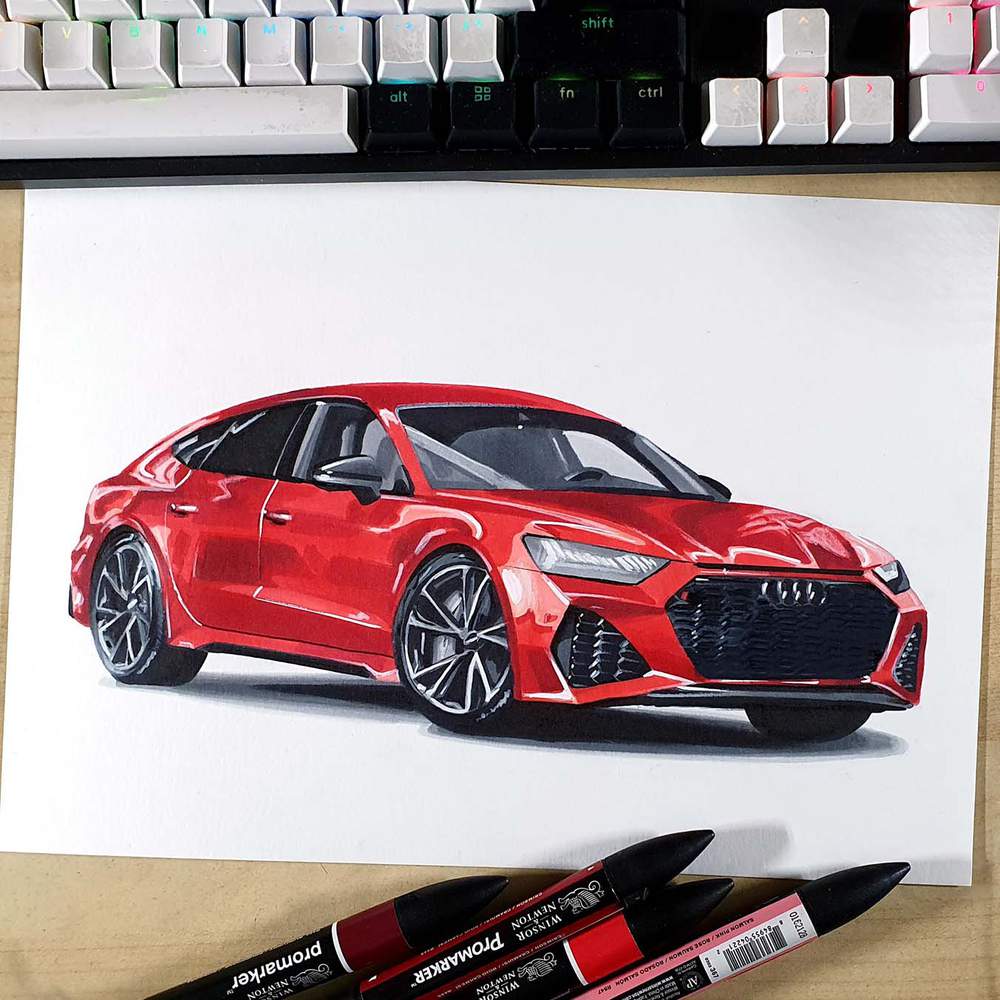
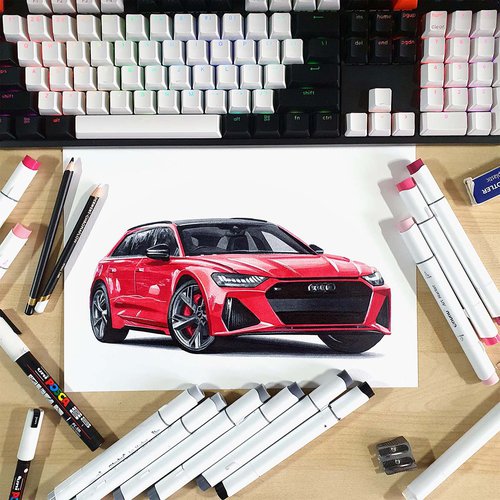
Your Audi RS7 Drawing is Done!
After multiple hours of drawing the Audi RS7 is finally done!
I hope you liked it as much as I did and I hope yours turned out well too.
If you followed along I'd love to see how yours turned out. You can tag me (@luukminkman) on Instagram.
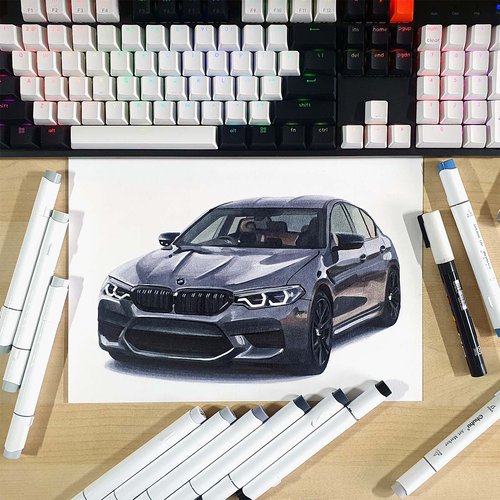
Articles You Might Also Like

 in red. I've broken this drawing up into simple and easy-to-follow steps so you can (hopefully) draw this Audi RS7 as well as I did.)

I love bringing cars to life with alcohol markers and colored pencils.
Whether you're just starting out or looking to improve your skills, I'm here to help!
Click here to learn more about me.


Be the first to comment!
Comments
There are no comments yet.