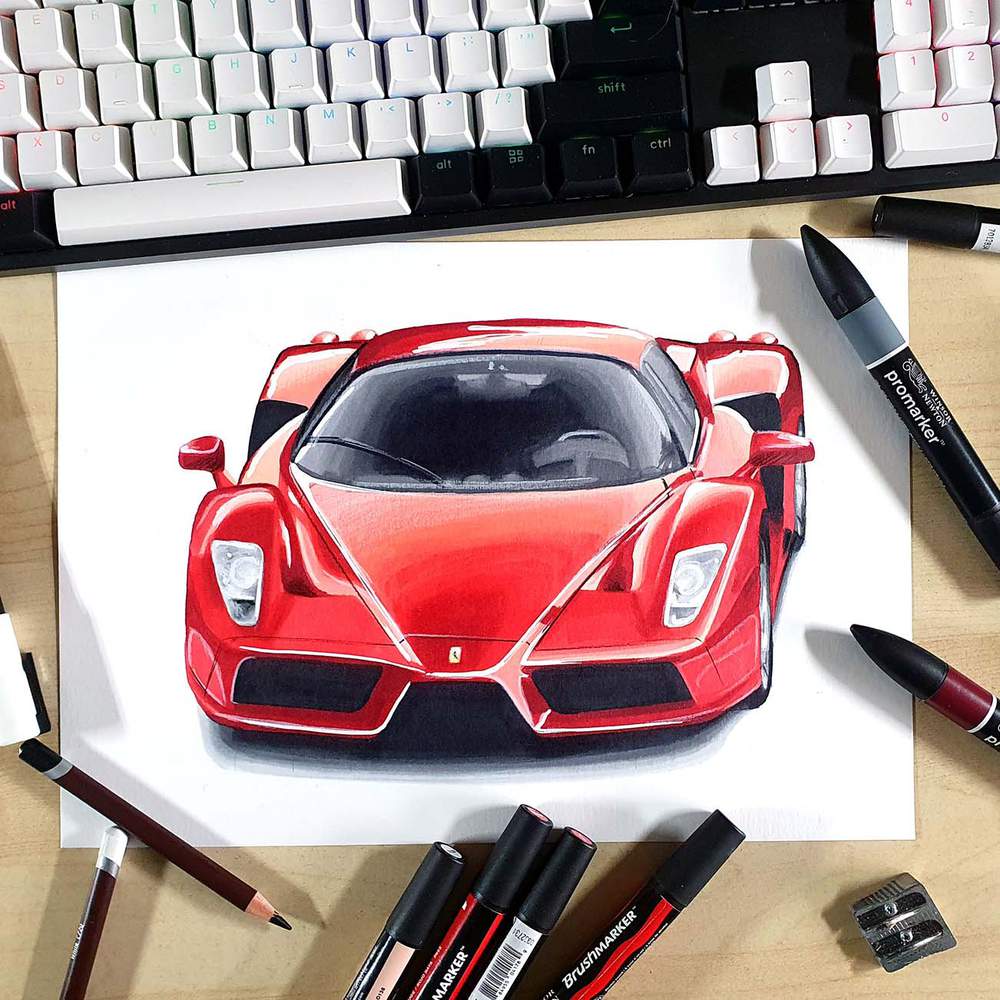
How to Draw a Ferrari Enzo Step by Step
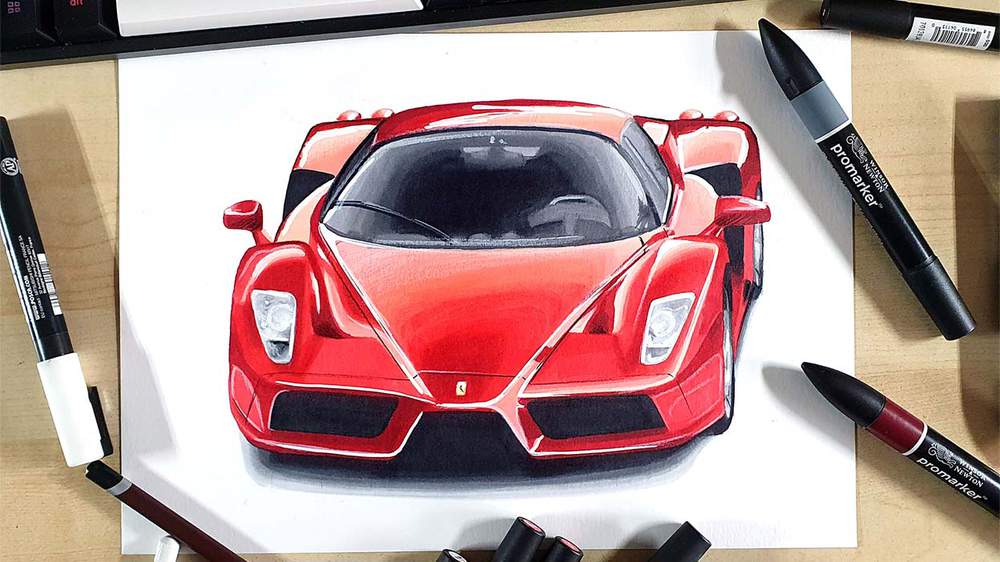
In this tutorial, I'm going to show you how to draw the legendary Ferrari Enzo in Rosso Corsa.
I've made it as easy as possible for you to follow along and create your own realistic Ferrari Enzo drawing.
Let's get started!
Disclaimer: In the name of full transparency, please be aware that this blog post contains affiliate links and any purchases made through such links will result in a small commission for me (at no extra cost for you).
Drawing Supplies I Used in this Tutorial
To draw the Ferrari Enzo, I used the following art supplies:
- A4-sized Canson Illustration Manga paper (by far the best paper for alcohol markers in my opinion);
- A graphite pencil, a ruler, a kneaded eraser, and a regular eraser;
- Winsor & Newton Promarkers in the colors Ice Grey 1 (IG1), Ice Grey 2 (IG2), Ice Grey 4 (IG4), Ice Grey 7 (IG7), Blue Black (XBB), Black (XB), Lemon (Y747), Pastel Pink (R738), Salmon Pink (R547), Lipstick Red (R576), Berry Red (R665), and Burgundy (R424);
- Derwent Coloursoft pencils in the colors White and Black;
- And a white Posca PC-3M.
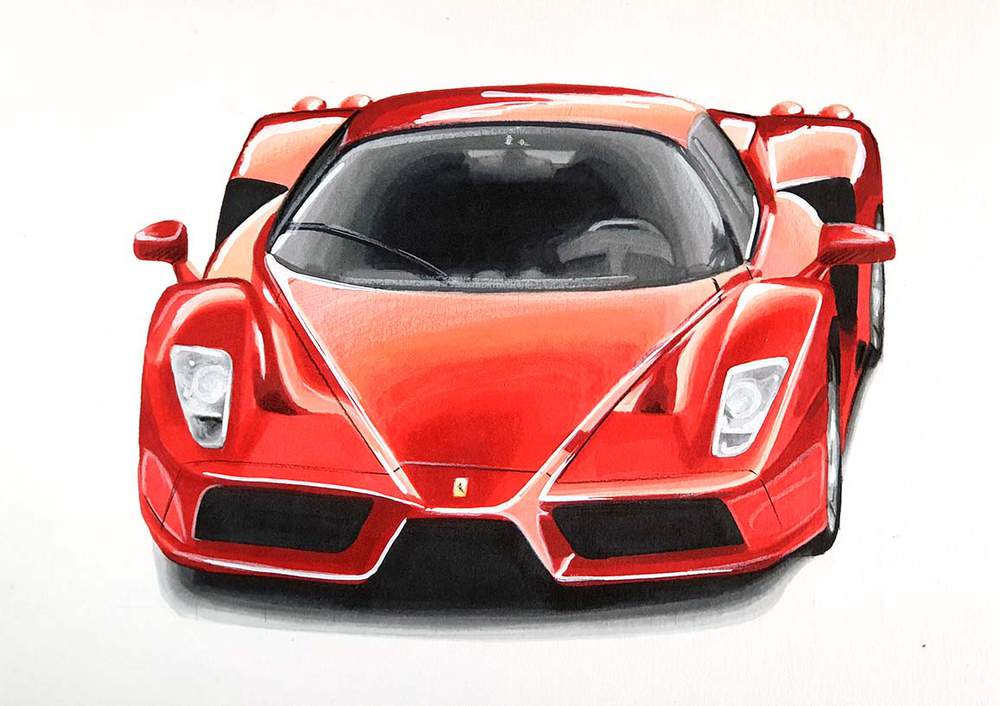
Reference Photos I Used to Make this Ferrari Enzo Drawing
To make this drawing of the Ferraro Enzo, I used 2 reference photos.
I used the photo below to get the proportions right.
I used this photo (slide 4) for the reflections and the lighting.
How Do You Draw a Realistic and Easy Ferrari Enzo?
To make a realistic drawing of the Ferrari Enzo, I first gathered a few reference photos for the perspective, proportions, lighting, reflections, and spec.
After that, I created a sketch of the outline of the car using the grid method.
Next, I color the car with alcohol markers starting with the black and the grey parts, before moving on to the main body of the car.
Lastly, I added some details with colored pencils and highlights with a Posca paint marker.
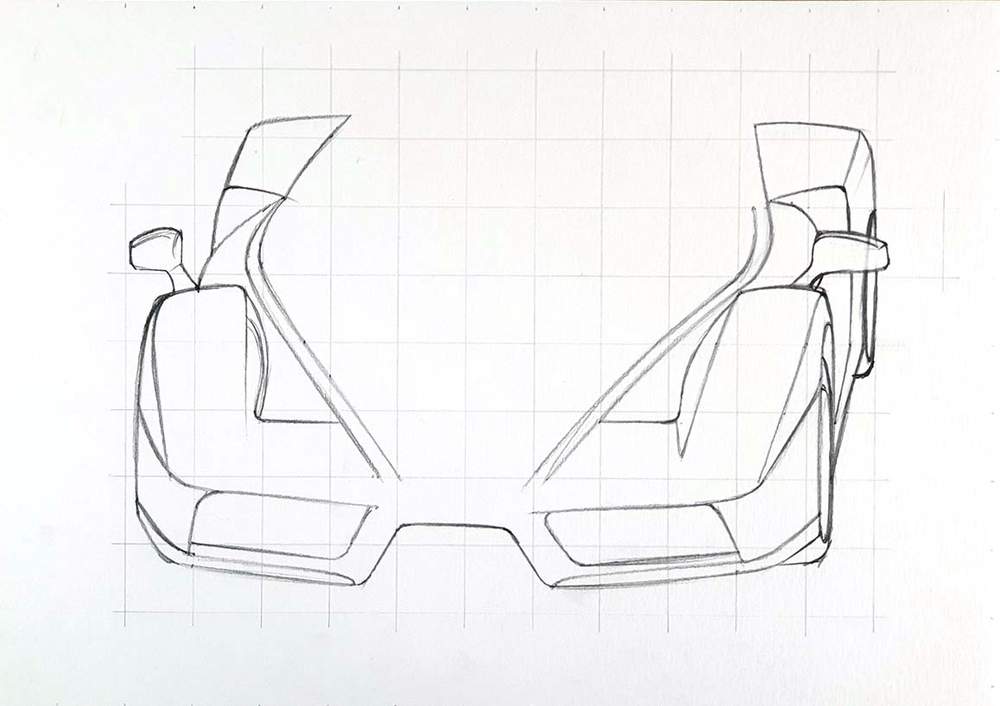
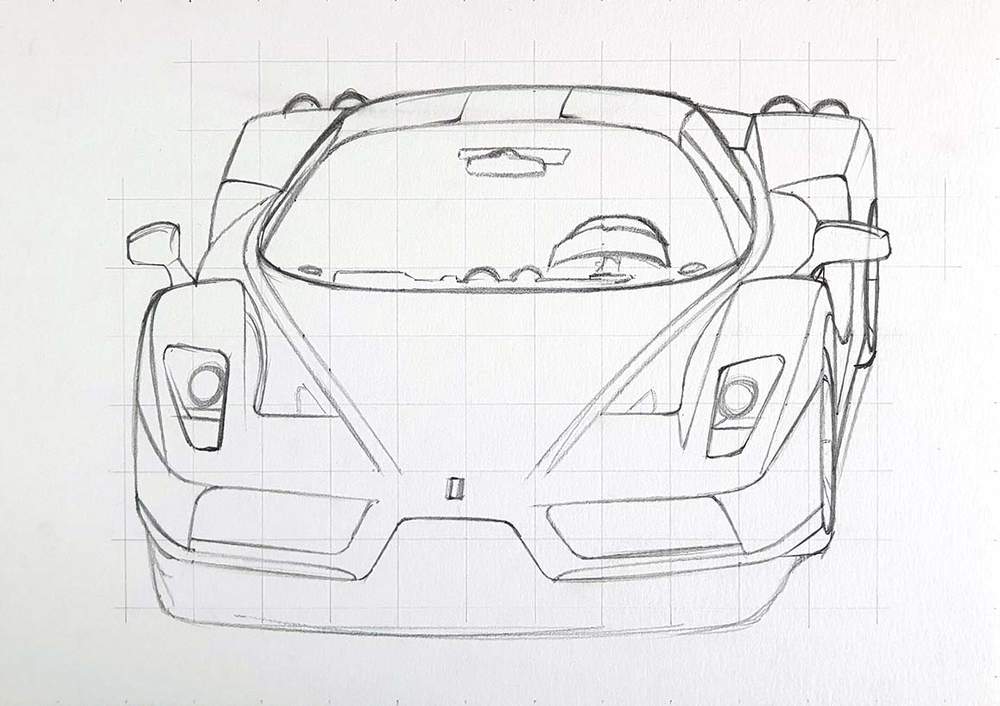
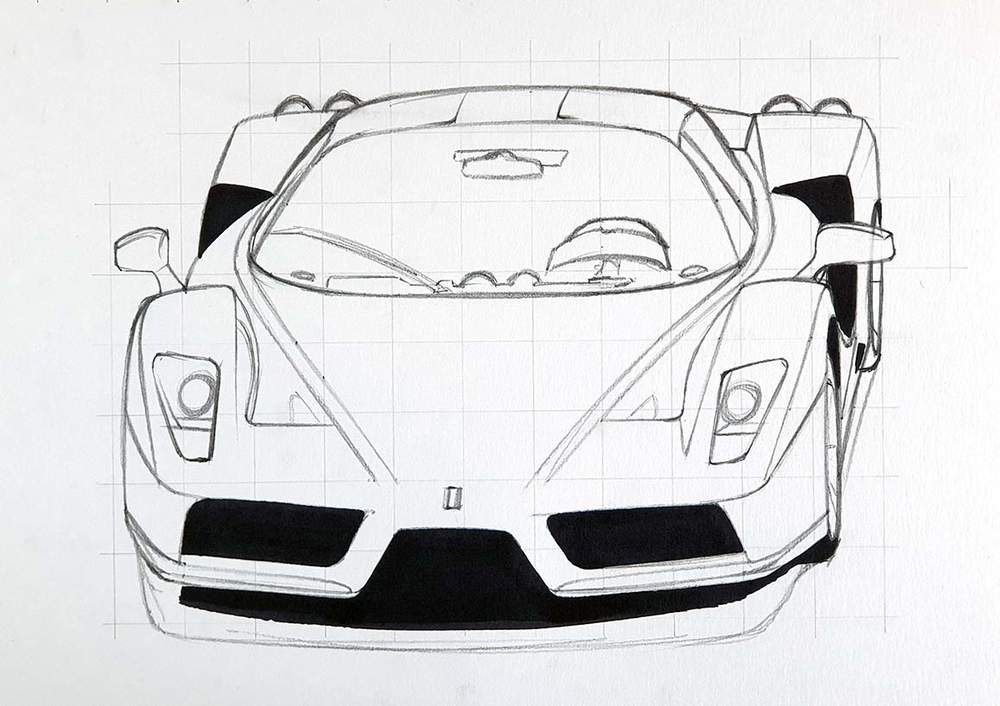
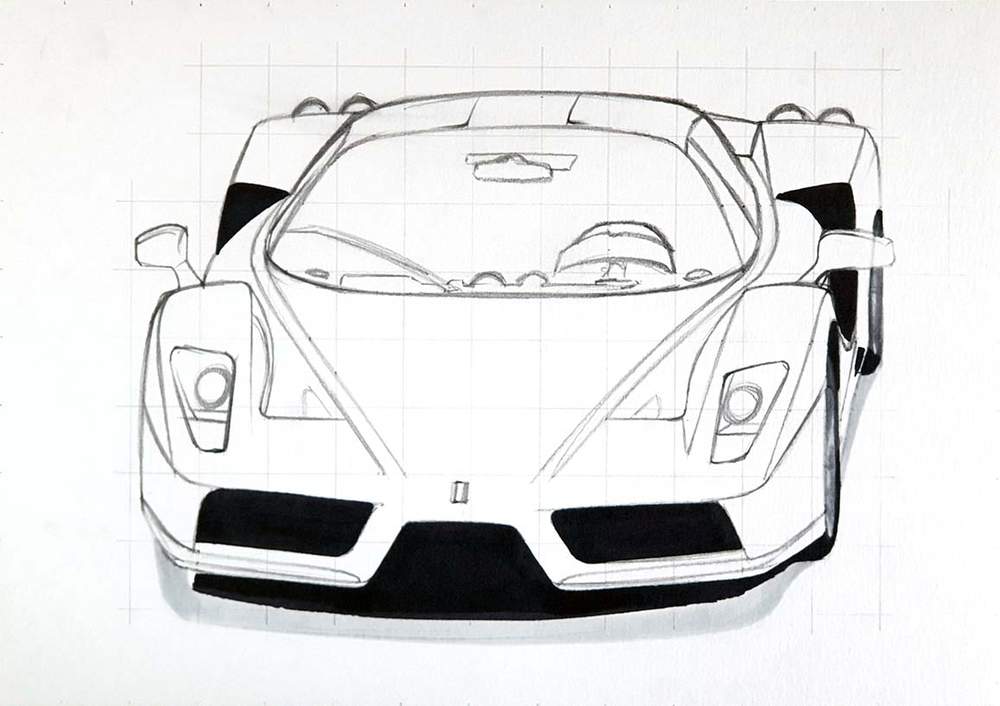
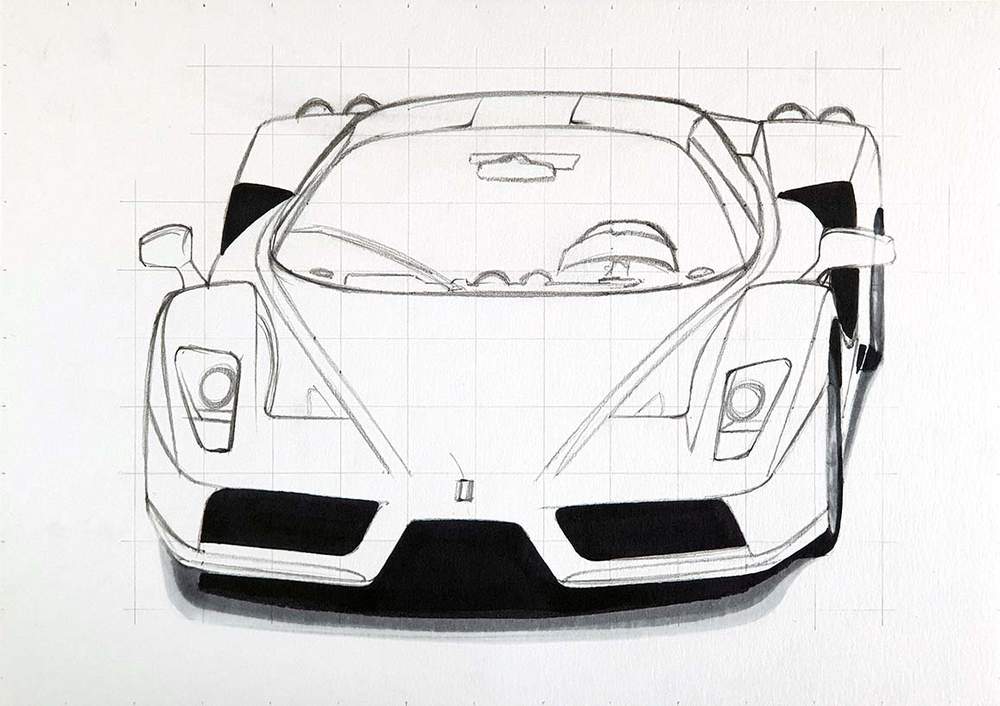
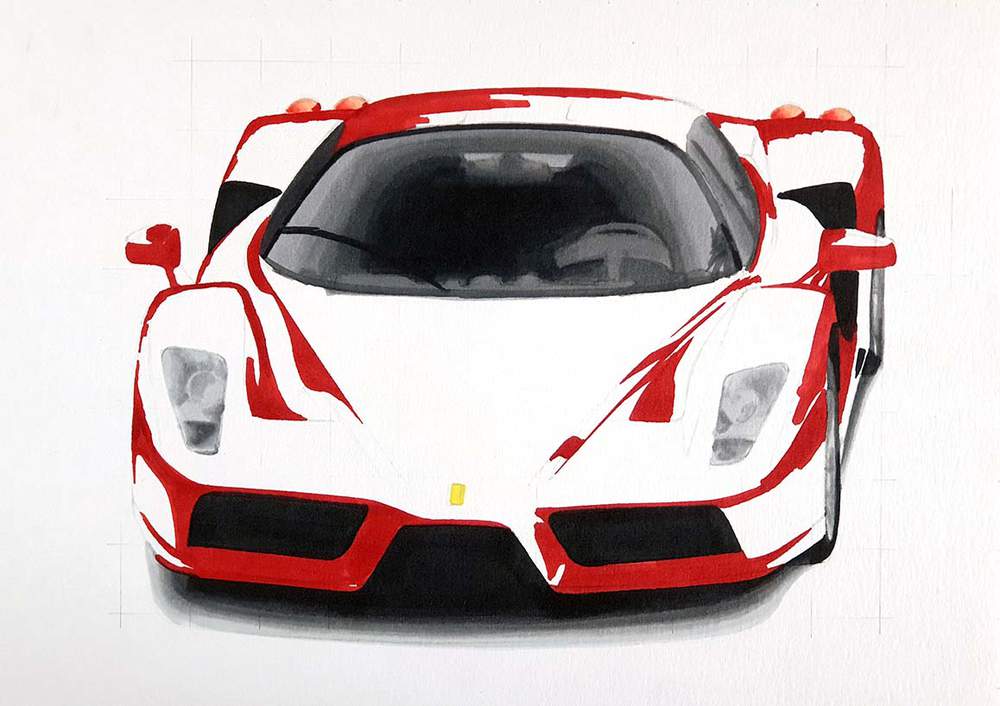
Step 1: Sketch the Outline of the Ferrari Enzo
Sketching a car can be difficult, that's why I like to use the grid method.
Using this method I can more accurately sketch the car in less time. But if you don't like this technique, here are a few others you can use.
To use the grid method, I first resize the reference photo to be the same size as my paper which is A4-size.
Once, I've done that, I overlay a grid of 15 by 10.5 squares on top of the photo.
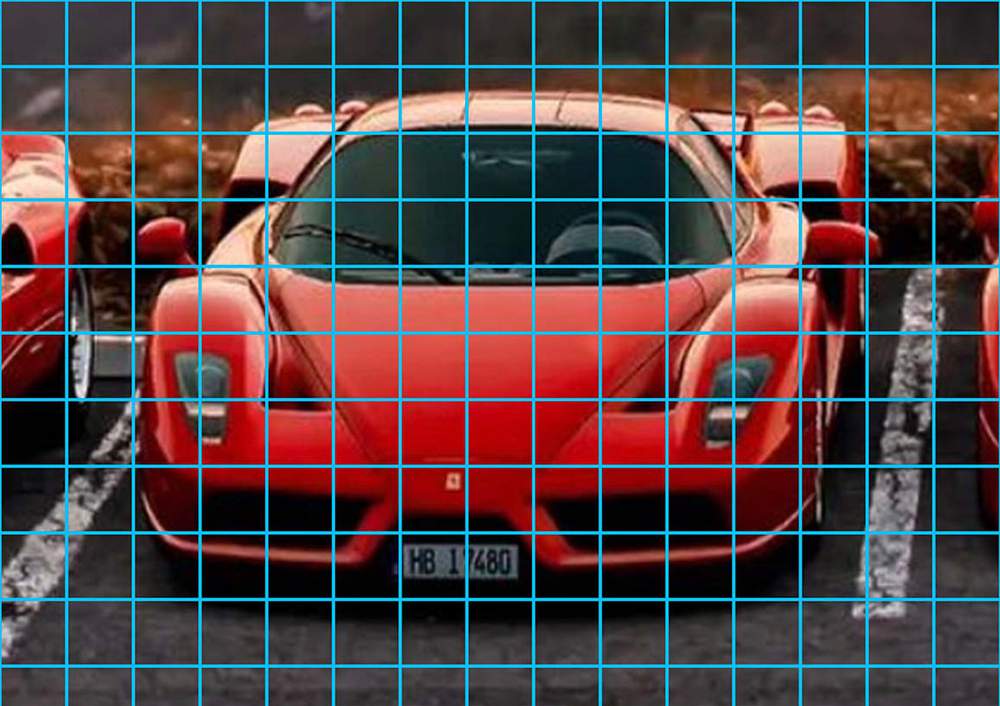
Next, I recreated that same grid on my paper. All grid lines will be 2 cm apart starting from the left and from the top.
Now that the grid is done I started sketching the car.
I started on the top left and worked my way around to the bottom and around the Enzo.
I first sketched the basic shape of the car before adding in the details like headlights, taillights, interior, etc.
This car is relatively easy to sketch compared to other drawings I've made for tutorials.
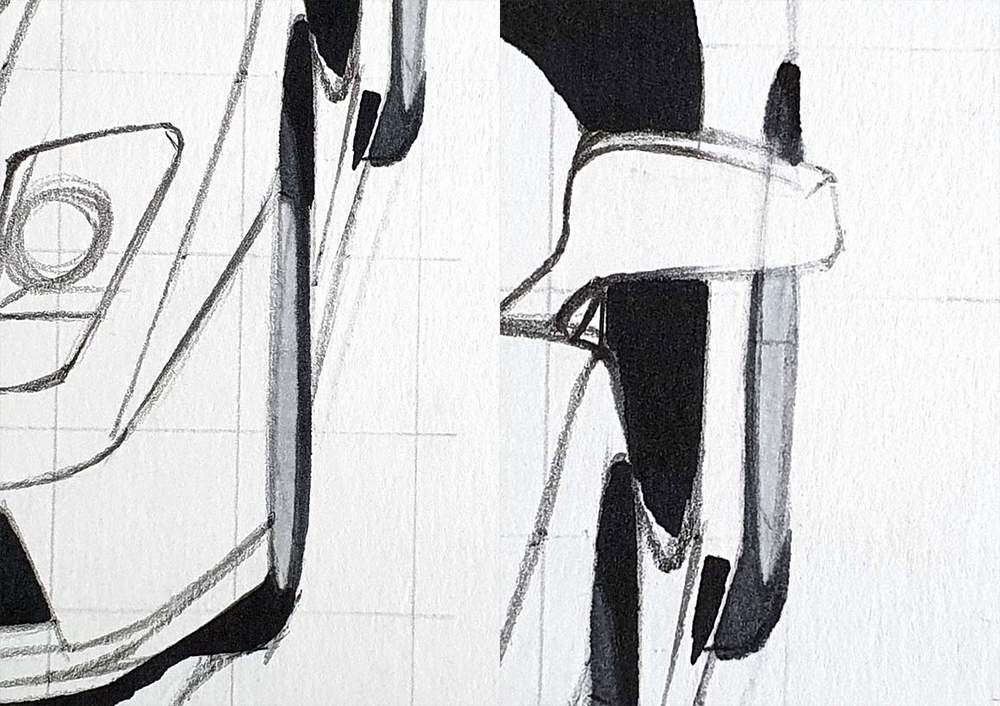
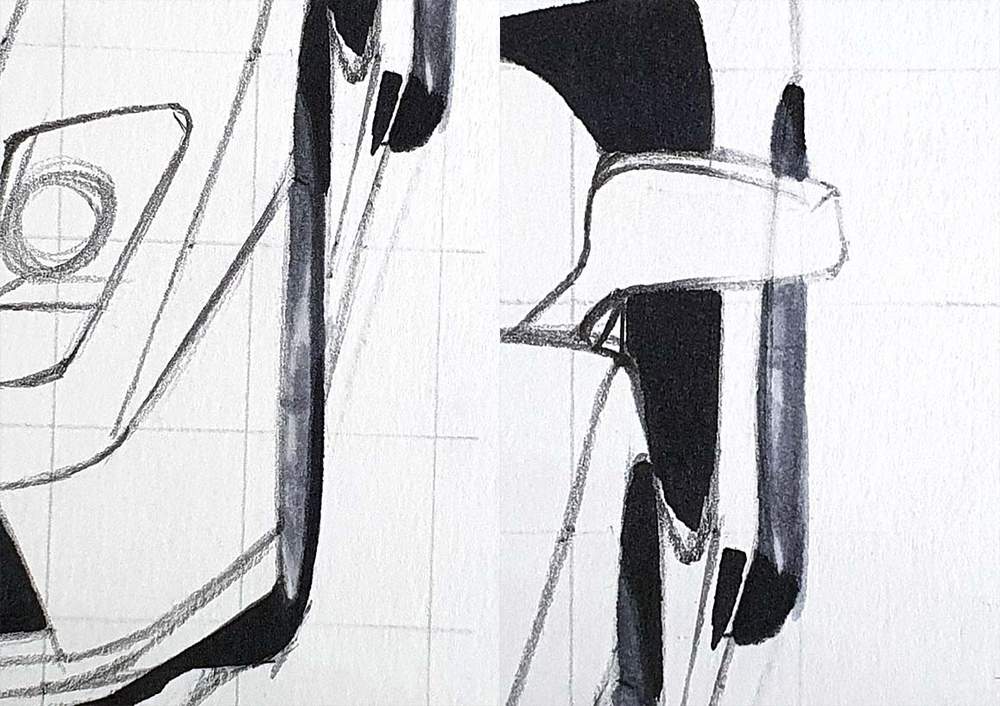
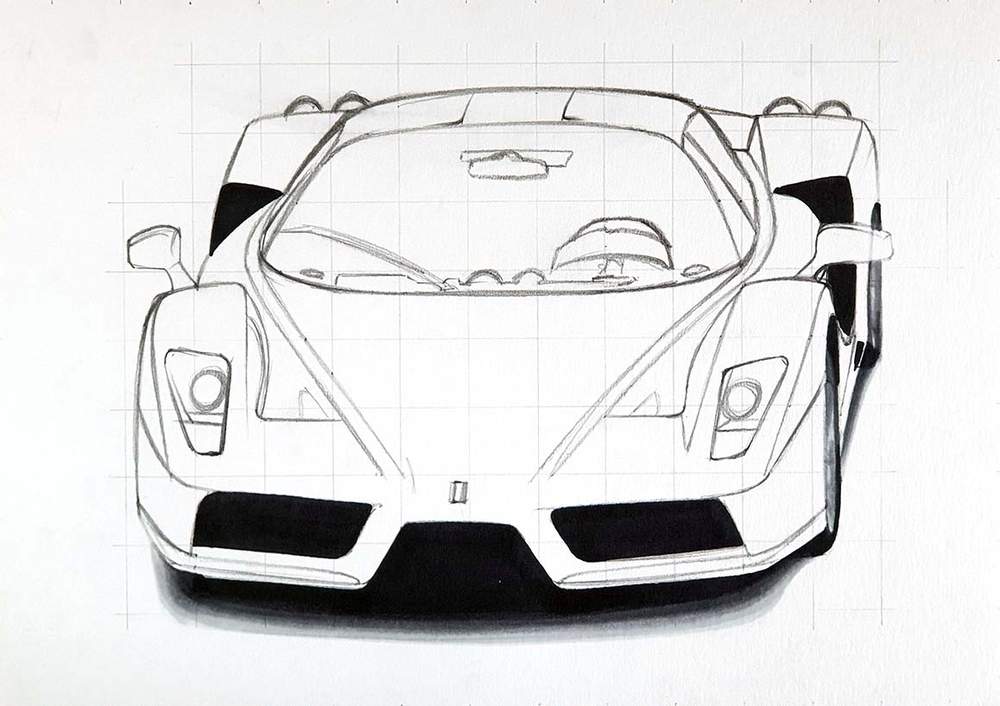
Step 2: Color All Pure Black Parts
Now that the sketch is done I like to color all black parts first.
This makes it look a lot easier for me for some reason.
Step 3: Color the Wheels of the Ferrari Enzo
The next thing to color is the wheels. And luckily you can't really see them.
I started by coloring both wheels with Ice Grey 1 and I colored the tires with Ice Grey 7 and Blue Black on the bottom of the rear wheel.
After that, I colored some indications of the spokes using Ice Grey 2 and 4.
Step 4: Color the Shadow of the Ferrari Enzo
After coloring the wheels, I colored the shadow.
I started by coloring the whole shadow with Ice Grey 1.
Next, I used Ice Grey 4 to color in between the IG1 and the black and I darkened the left bit of shadow on the right side of the car.
Lastly, I made the gradient of the shadow smoother by blending the edges. I first blended the edge of the lightest shade of grey to the mid-tone grey by coloring over the edge with Ice Grey 1.
After that, I did the same for the other edge, But this time I used Ice Grey 4 and 7 to color over the edge.
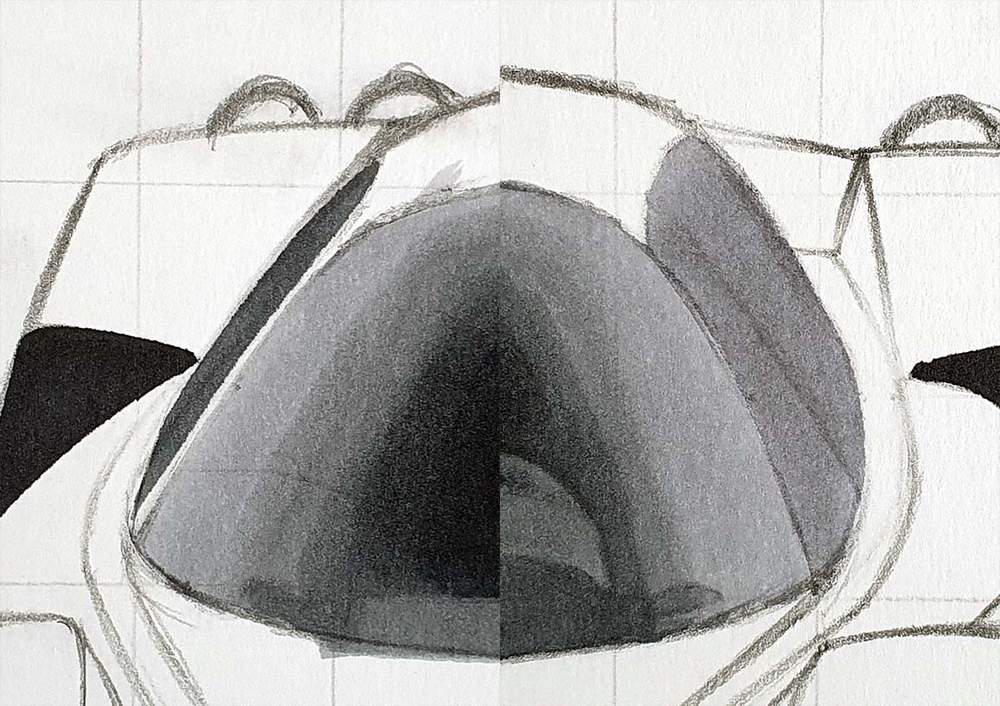
Step 5: Color the Headlights of the Ferrari Enzo
Next up, I colored the headlights of the Ferrari Enzo.
I started by coloring both headlights with Ice Grey 1.
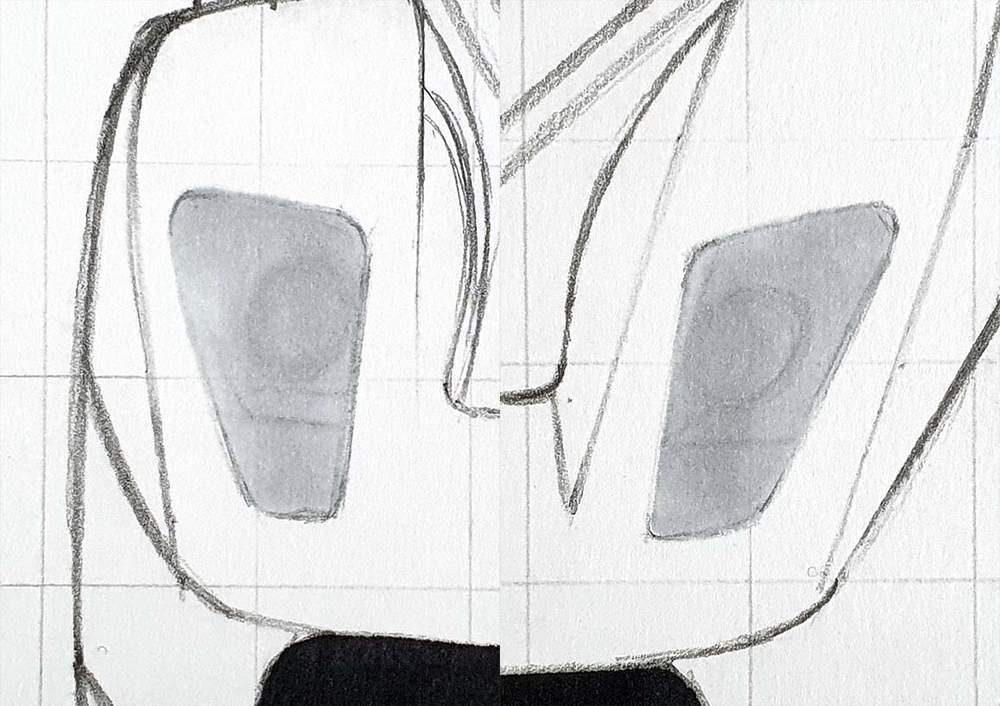
Next, I added some details and nuances with Ice Grey 2, 4, and 7 (I only used 7 on the left light).

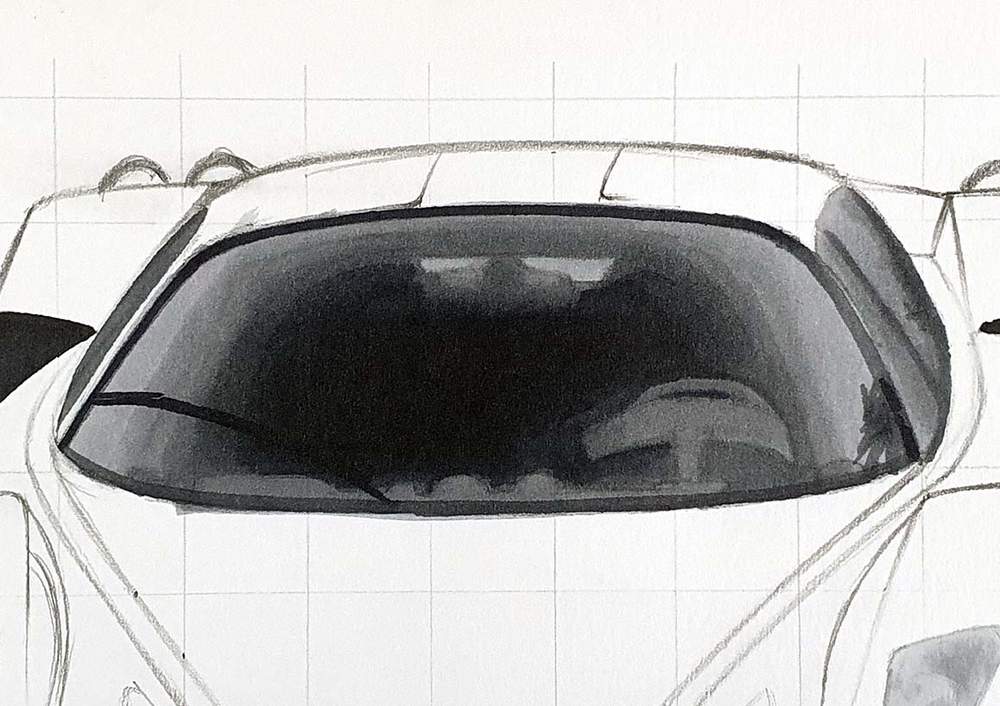
Step 6: Color the Windshield and the Interior of the Ferrari Enzo
Once I was done with the headlights, I started working on the windshield.
For some reason, I started by coloring the mid-tone grey parts of the windshield and the interior with Ice Grey4.
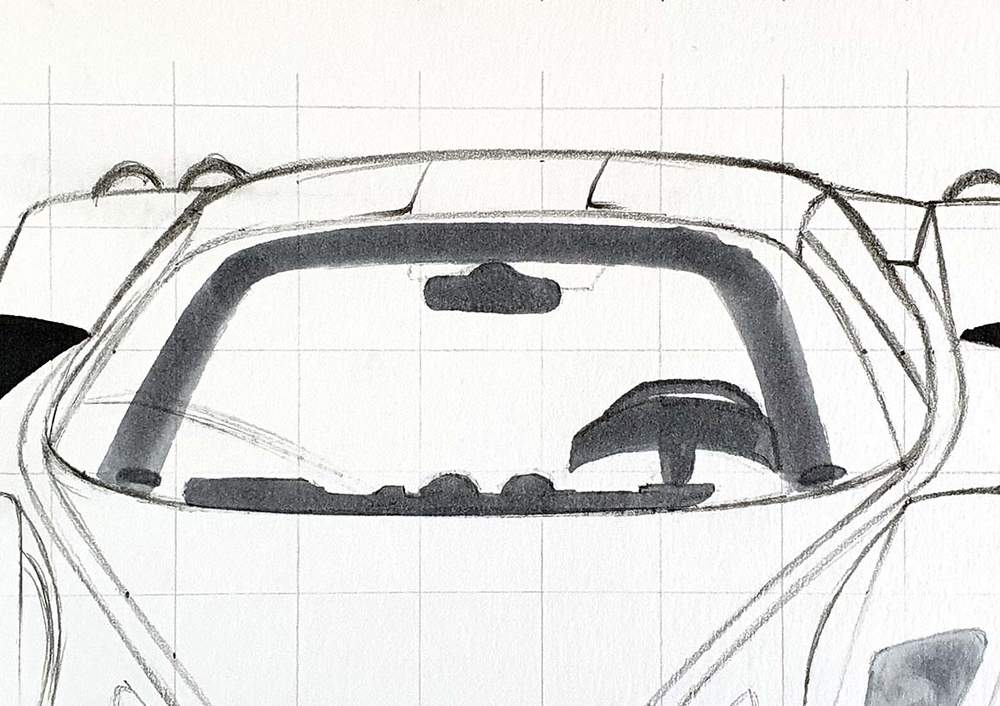
After that, I used Ice Grey 7 to color the darkest parts (the center) of the interior,
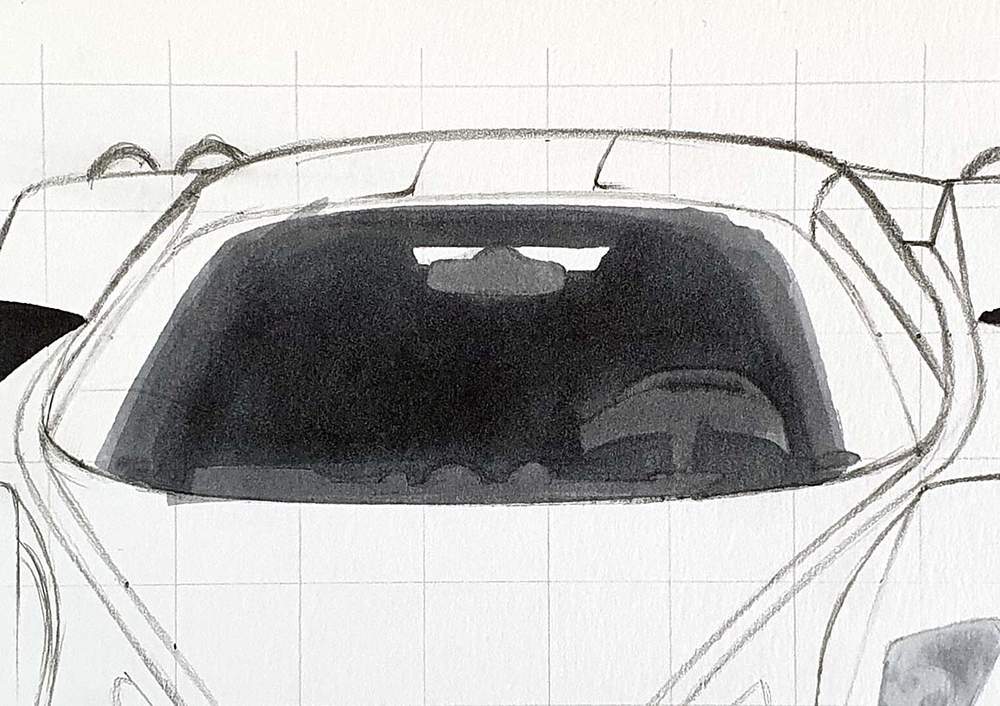
And lastly, I used Ice Grey 2 to color the lightest parts (the side of the window and the bit above the rearview mirror) and I used Blue Black to make the center really dark.
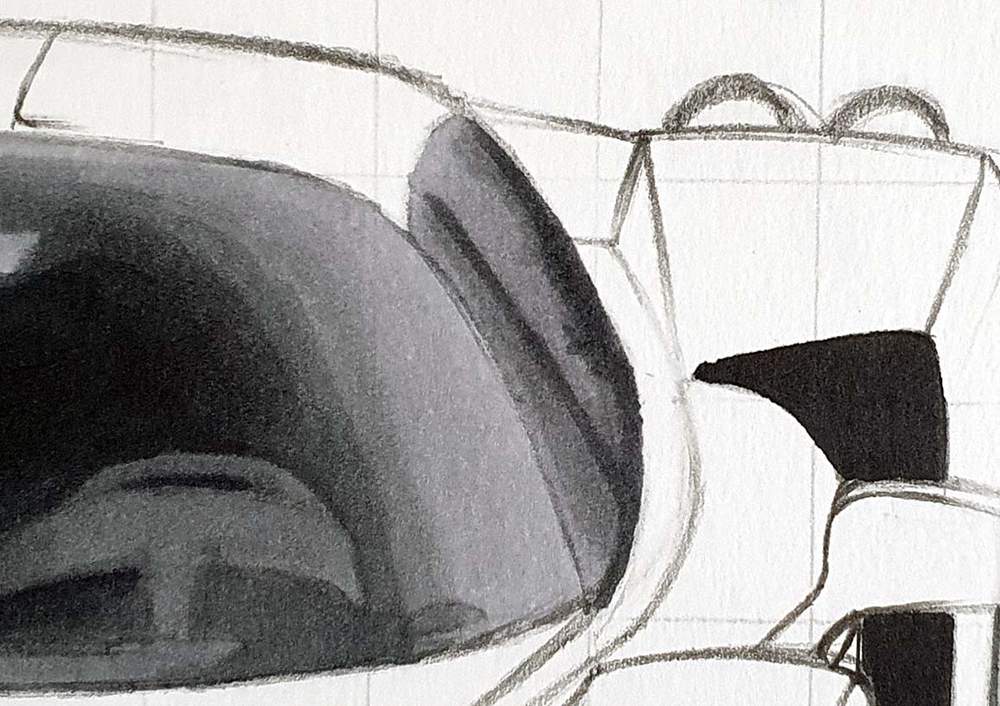
Step 7: Color the Side Windows of the Ferrari Enzo
After coloring the windscreen, I colored the side windows.
I first colored the left window with Ice Grey 7 and the right one with Ice Grey 2.
And to finish the right window off, I used Ice Grey 4 to add some color nuances and I used Ice Grey 7 to add some details and reflections.
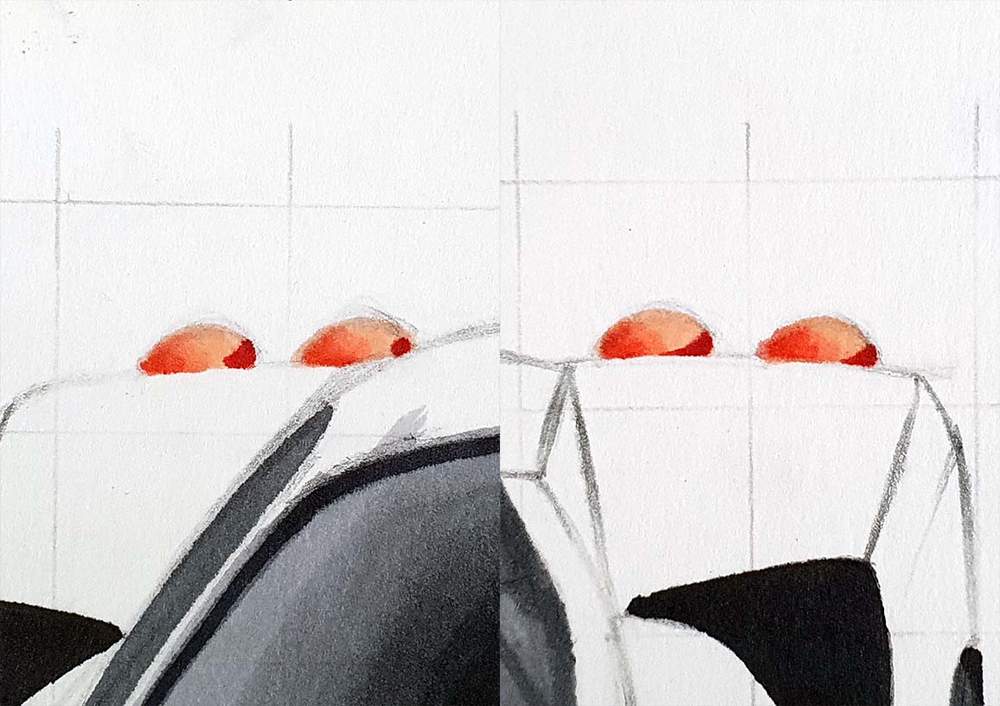
Step 8: Color the Taillights of the Ferrari Enzo
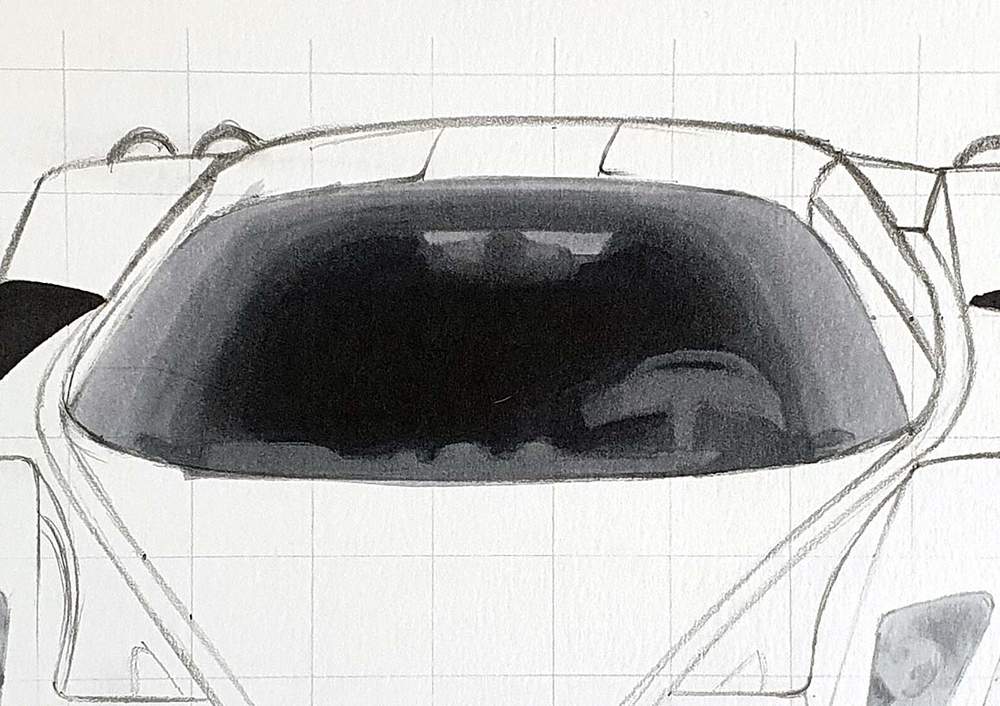
Actually, before I moved onto the taillights, I added some details to the windshield tat I forgot to add earlier.
I added a dark edge around the windshield with Blue Black. I also added a small reflection on the bottom right and I colored the windshield wiper with Blue Black.
Now that that is done, I colored all 4 taillights with Pastel Pink.

After that, I used Berry Red to add a small dark reflection on the bottom right of all lights. I also used Lipstick Red to color the bottom left side of each light and blended that into the light pink with Salmon pink and Pastel Pink.
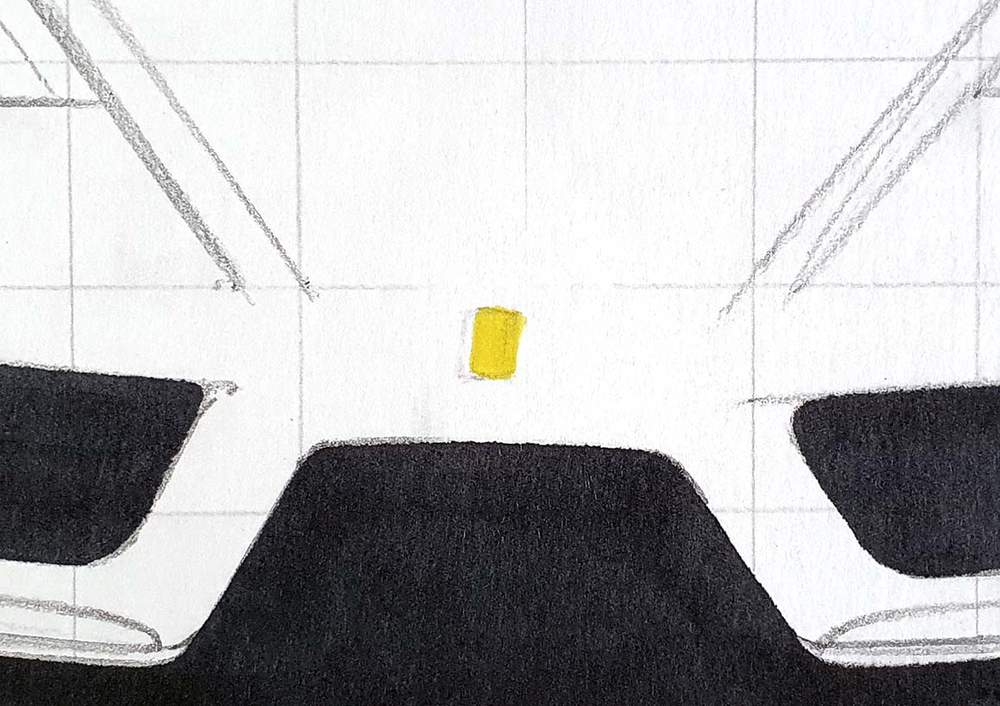
Step 9: Color the Logo on the Front of the Ferrari Enzo
And the last thing to color before coloring the main body is the logo on the front of the car.
This is probably the easiest step.
I colored the logo with Lemon.
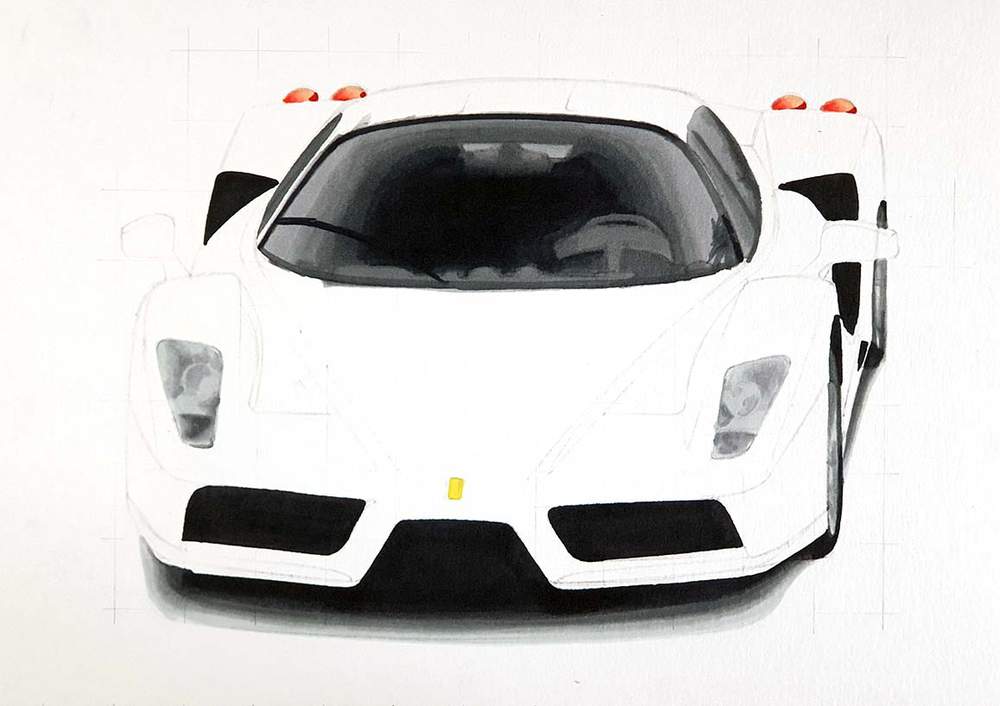
Step 10: Color the Main Body of the Ferrari Enzo
Now it's time to color by far the biggest part of the Ferrari Enzo: the main body.
Honestly, it's not that difficult.
I started by coloring the second darkest reds first. And for that I used Berry red.
I usually start with the lightest colors, but my light reds and pinks were almost empty, so I wanted to use them as little as possible.
Next, I colored the mid-tone red parts with Lipstick Red. Most of this was on the front and the side of the car.

Next, I used Salmon Pink to color all the second-lightest parts.
I colored most of the front, but I left some edges and other bits uncolored that needed to be lighter. I also colored the bottom half of the roof and the bits above the side intakes.
On the triangular shape bit on the front, I blended the pink into the red by going over the edge of the red a bit a few times until the edge softened.
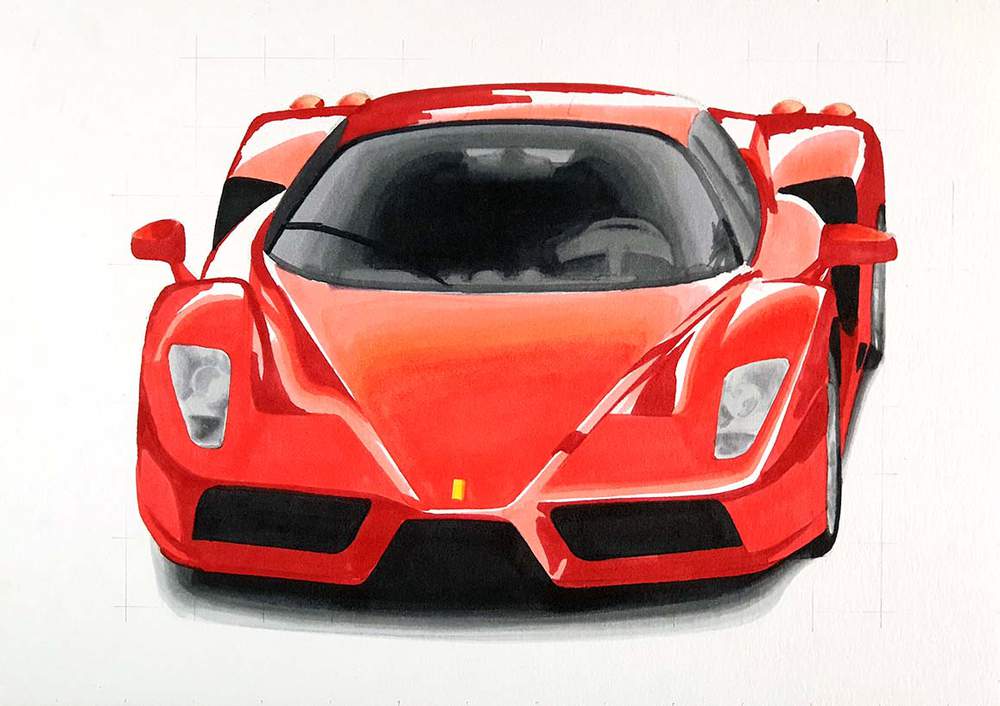
Lastly, I used Pastel Pink to color all the lightest parts (the parts that are not colored yet) and I used Burgundy to darken a few parts around the front of the Ferrari.
I also added a darker red spot around the logo with Berry Red and attempted to blend that into the lighter red shades.
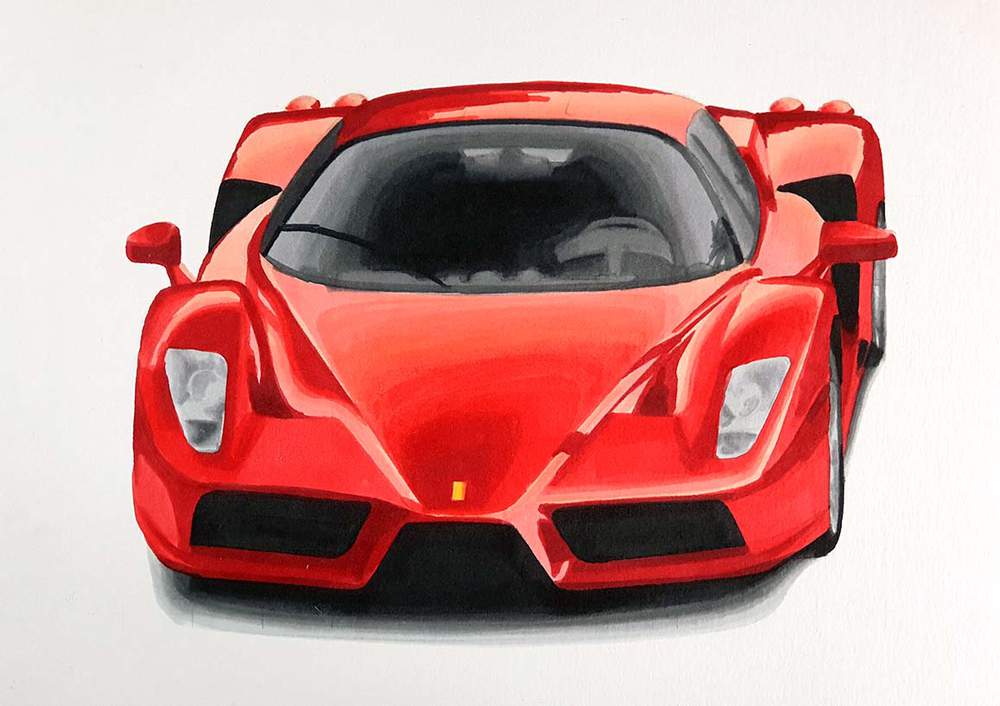
Step 11: Add Details on the Ferrari Enzo Drawing with Colored Pencils
Now that the Ferrari Enzo is all colored, it's lacking some details.
To add all the details of the Enzo, I used the Black and White Derwent Coloursoft colored pencils.
I first used the white pencil to add in the lightest details, especially in the headlights and on some edges of the bodywork. I also used it the lighten the left and right side of the windshield and the top left of the front triangle shape.
Next, I used the black pencil to add darker details, mainly the panel gaps on the front of the Ferrari.
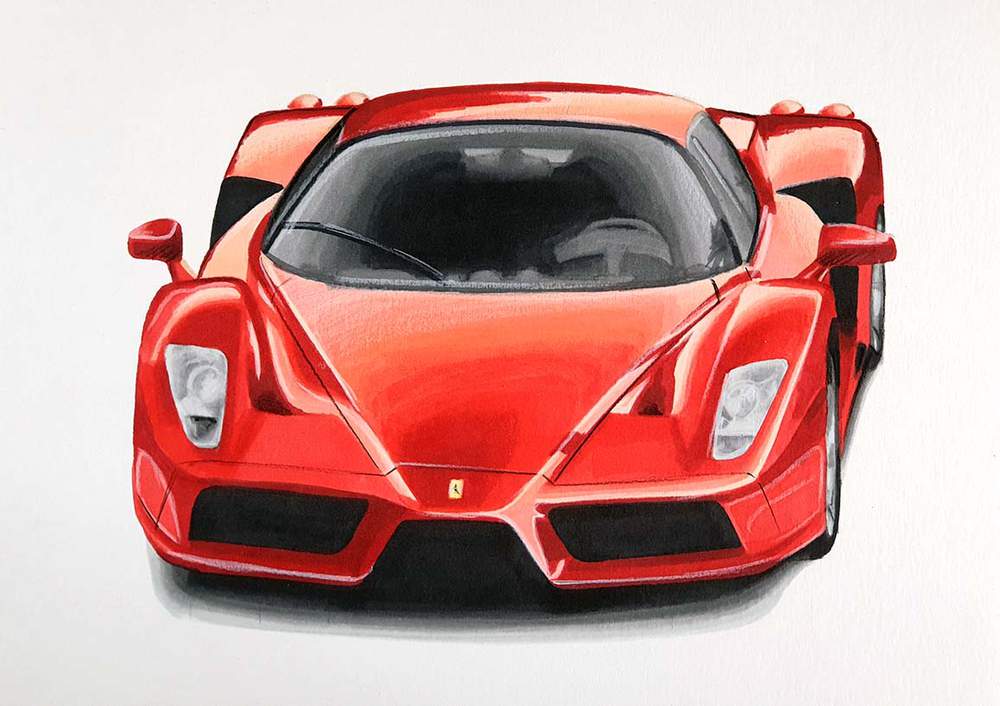
Step 12: Add White Highlights on the Enzo Ferrari Drawing
The drawing already looks pretty good, but to make it look even better, I used a white Posca paint marker to add some pure white highlights.
I added those highlights mainly in the headlights and just wherever I felt they'd fit.
And That's How I draw a Simple AND Realistic Ferrari Enzo
If you’ve enjoyed zooming through the steps of drawing the iconic Ferrari Enzo with me, why not spread the artistic adrenaline?
Tell your friends about the sleek lines and vibrant colors you’ve brought to life, and invite them to join the creative pit stop at my blog.
Your shares not only fuel my passion but also help our community of budding artists grow.
Together, let’s race towards a world filled with more art and inspiration. Share this tutorial and let’s make the internet a more colorful place!
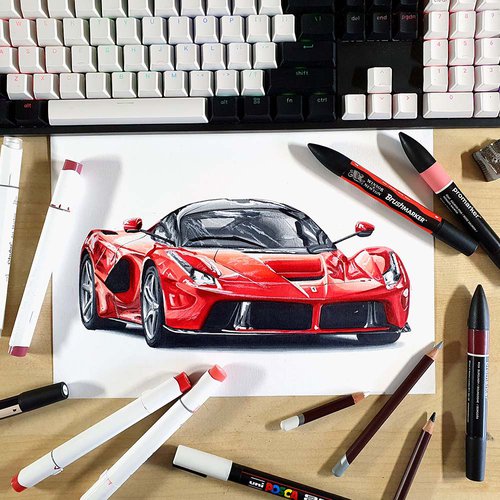
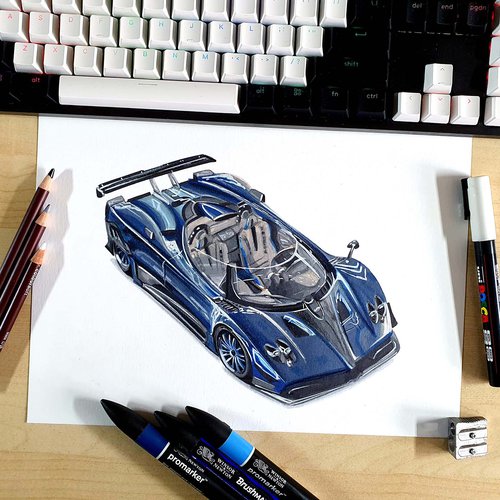
Articles You Might Also Like
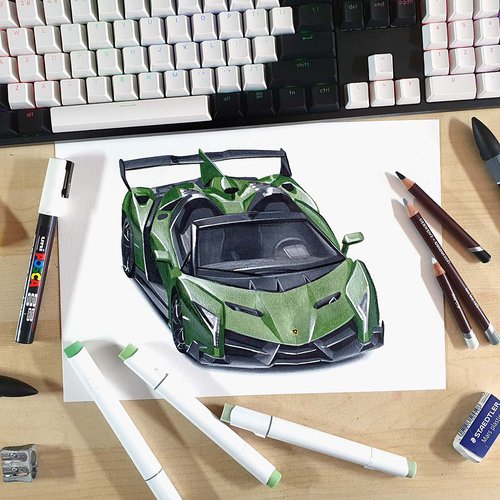

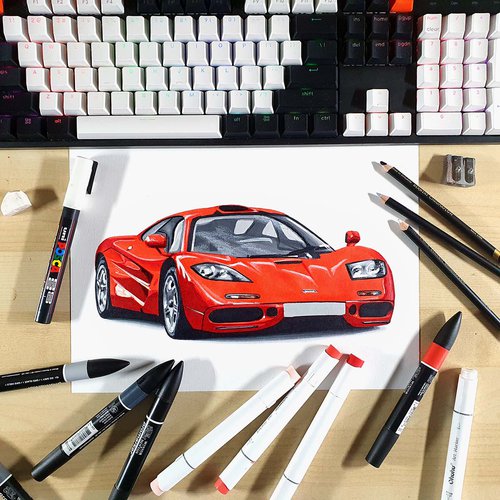
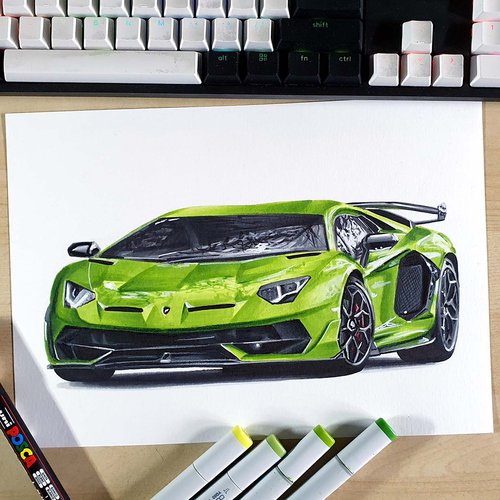
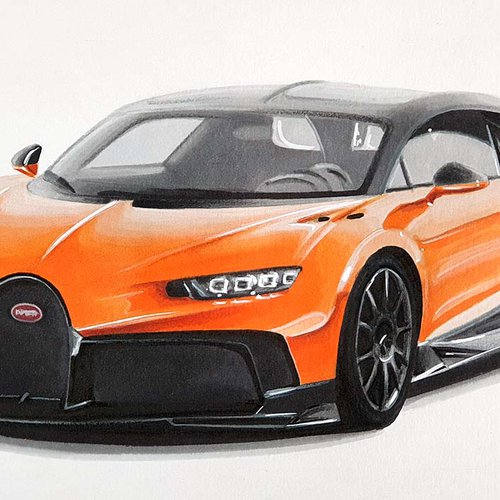


I love bringing cars to life with alcohol markers and colored pencils.
Whether you're just starting out or looking to improve your skills, I'm here to help!
Click here to learn more about me.


Be the first to comment!
Comments
There are no comments yet.