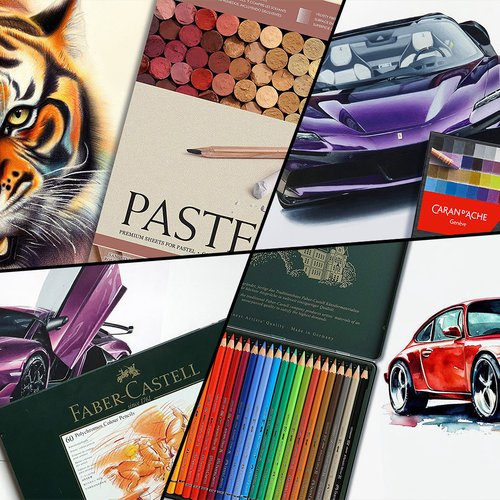
11 Colored Pencil Tips That Are Actually Helpful

Embarking on the journey of colored pencil art? Here are some essential tips to help beginners navigate the colorful world of drawing and ensure a smoother, more fulfilling artistic experience.
Tip 1: Paper Matters A Lot

One crucial element that's often overlooked by beginners is the paper. While it might be tempting to start on any piece of printer paper you have around, the quality and type of paper you use can dramatically affect the outcome of your work.
Why is Paper So Important?
Colored pencils, unlike regular graphite pencils, deposit waxy or oily pigment onto the paper. The texture or "tooth" of the paper plays a vital role in how this pigment adheres. A paper with a good tooth provides a grip, enabling the colored pencils to release their color more efficiently.
What Should You Consider When Choosing Paper?
Weight: Heavier papers (measured in pounds or grams per square meter) can handle more layers and are less likely to tear or get damaged.
Texture: Depending on your style, you might opt for rougher papers for more textured effects or smoother papers for detailed work.
In this guide I wrote on how to choose the right paper for colored pencils you can get a better understanding of what to look for when choosing a brand of paper.
Tip 2: Wax-based vs. Oil-based Colored Pencils

Understanding the type of colored pencil you're working with can significantly impact the techniques you employ and the final look of your art piece. Colored pencils primarily come in two types: wax-based and oil-based. Let's break down the differences and nuances of each:
Wax-based Colored Pencils
Characteristics: These pencils have a core made up of color pigments mixed with a wax binder. They tend to be softer and lay down color smoothly.
Pros: They blend easily, allowing for a wide range of shading and gradient effects. The softness of the core is excellent for layering colors.
Cons: Some brands can leave a "wax bloom" - a faint white film over the drawing - after some time. This can be wiped away, but it's something to keep in mind. Due to their softness, they are not great for drawing details.
Oil-based Colored Pencils
Characteristics: As the name suggests, these pencils use an oil binder. They tend to be harder than their wax-based counterparts.
Pros: They offer a smooth application without the worry of wax bloom. Their harder texture allows for sharper lines and more detailed work.
Cons: They might not blend as effortlessly as wax-based pencils, and layering might require more effort.
Here is a full list of all the differences between these 2 kinds of colored pencils.
Advice for Beginners: Before committing to a large set, try a few pencils of each type to understand their behavior on paper. This experiment will give you a clearer idea of which type resonates with your drawing style.
If you're not sure which colored pencils to buy, check out this article listing the best options for beginners.
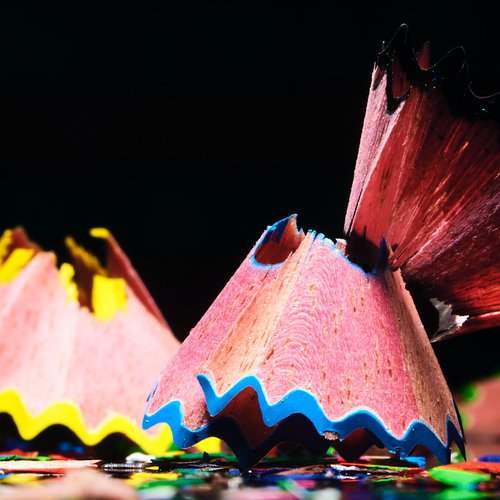
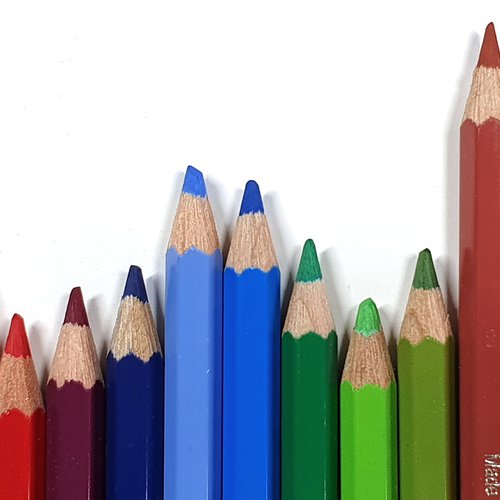
Tip 3: Keep Your Pencils Sharp

Maintaining a sharp tip on your colored pencils is more than just an aesthetic preference; it's pivotal for precision and consistency in your artwork.
Why Does Sharpness Matter?
Detail Work: A sharp point allows you to work on intricate details and fine lines, essential for aspects like facial features, textures, and patterns.
Even Color Application: A blunt or uneven pencil tip can lead to patchy coloring, while a sharp tip ensures uniformity in color distribution.
Layering: When layering colors, a sharp pencil gives you more control, ensuring you deposit pigment only where you want it.
- Filling in the grooves of the paper: When using sharp colored pencils it is a lot easier to fill in the tooth of the paper leaving no white shining through. And by keeping them sharp, you don't need to use much pressure at all to do this.
Sometimes pencils can be hard to sharpen and they break easily. In that case, make sure to check out this article on how to prevent colored pencils from breaking when sharpening.
To summarize, a sharp colored pencil not only makes drawing more comfortable but also enhances the quality of your artwork. Regular maintenance and mindful sharpening habits can significantly extend the life of your colored pencils and elevate your drawing experience.
Tip 4: Hold Your Pencil Toward the End for Smooth Coloring and Closer to the Tip for Detailed Work
The way you hold your colored pencil can impact the quality and texture of your strokes. While there's no "one-size-fits-all" approach, some general guidelines can help beginners achieve more consistent results.
Why Does How You Hold Your Pencil Matter?
Pressure Control: Holding the pencil correctly helps regulate the pressure you apply, ensuring even shading and reduced risk of breaking the pencil tip.
Stamina: A comfortable grip allows you to draw for extended periods without experiencing hand fatigue.
Versatility: Different grips enable various techniques, from fine detailing to broad shading.
Holding Techniques
Closer to the Tip: Holding the pencil near the sharpened end gives more control for detailed work. This grip is ideal for intricate designs and tight spaces.
Towards the End: Holding the pencil towards the back end allows for broader strokes with lighter pressure. This method is beneficial for initial layers or backgrounds where even, soft coloring is desired.
Experiment with different grips to find what feels most natural and yields the best results for your style. Remember, flexibility in your grip can open doors to diverse coloring techniques.
Tip 5: Start Light and Layer Up
Layering is a cornerstone technique in colored pencil art. It involves applying multiple layers of color to achieve depth, richness, and nuanced shading. Starting with a light hand is crucial to mastering this technique.
Why Should You Start Light?
Control: It's easier to add more pigment than to remove it. Starting light ensures you don't overcommit to a particular shade or intensity.
Flexibility: Light initial layers serve as a foundation. You can adjust the color, blend different shades, or increase the depth by adding subsequent layers.
Preserve Paper: Applying too much pressure too soon can damage the paper's tooth, making it harder to add additional layers later on.
In essence, layering with a light hand is a gradual process that offers greater control and versatility. By being patient and methodical, you can achieve depth and richness in your artwork that's hard to replicate with a single layer.
Tip 6: Layering is Key

Layering, one of the most essential techniques in colored pencil art, can transform a flat-looking drawing into one bursting with depth and dimension. It's all about adding colors in stages to create rich, complex shades and textures.
Why Does Layering Matter?
Depth and Dimension: Multiple layers can give an illusion of depth, making your artwork pop off the page.
Versatility: By layering different colors, you can create hues that might not be available in your pencil set.
Texture Creation: Layering can help emulate textures like fur, skin, and foliage more realistically.
Some Layering Techniques
Gradual Buildup: Start with light pressure and gradually build up the intensity. This method maintains the paper's tooth, allowing for more layers.
Burnishing: This involves applying heavy pressure in the final layer using a light-colored or colorless pencil, giving a polished, glossy finish.
Cross-hatching: Apply layers in intersecting directions. This method creates a woven texture that can add depth.
Remember, while layering, it's crucial to maintain the paper's tooth. Overworking an area can make it resistant to more layers.
Tip 7: Experiment Before You Start Your Drawing

Like any art form, practice and experimentation are key. Before diving into your main artwork, take the time to test out colors, combinations, and techniques.
Why Should You Experiment?
Color Testing: Different colored pencils can appear differently on paper than they do on their casings. Testing ensures you pick the right shades for your piece.
Technique Mastery: Trying out various techniques on scrap paper helps hone your skills and lets you discover what works best for your style.
Avoiding Mistakes: By testing beforehand, you can foresee potential issues and avoid them in your final piece.
Some Experimentation Tips
Swatch Cards: Create swatch cards for all your pencils. This reference helps in quickly choosing the right colors.
Technique Journal: Keep a journal of different techniques you've tried, noting down what you liked or disliked about each.
Feedback: Share your experimental pieces with peers or mentors. They might provide insights or tips you hadn't considered.
In summary, think of experimentation as a rehearsal before the main performance. It gives you confidence, knowledge, and a clear vision for your final piece, ensuring your artwork turns out just the way you envision it.
Tip 8: Use Circular Strokes for Smoothness
The way you move your pencil on the paper can greatly affect the texture and finish of your artwork. One of the most recommended stroke techniques for beginners (and even advanced artists) is the circular stroke.
Why Should You Use Circular Strokes?
Eliminates Streaks: Moving your pencil in continuous circular motions can help avoid the linear streaks that often appear when using back-and-forth strokes.
Uniform Coverage: Circular strokes allow for more even coverage, which is especially important when filling in larger areas.
Blending: The round motion aids in seamless blending of colors, making transitions between shades smoother.
How to Perfect the Circular Stroke
Wrist Movement: Use your wrist to guide the pencil in round motions, ensuring fluidity and consistency in the circles.
Vary Pressure: Depending on the area and the effect you're trying to achieve, you can adjust the pressure while maintaining the circular movement.
Overlap Circles: Make sure to slightly overlap your circles, ensuring there are no gaps in between.
Incorporating circular strokes into your drawing routine can elevate the overall appearance of your artwork, making it look more polished and professional.
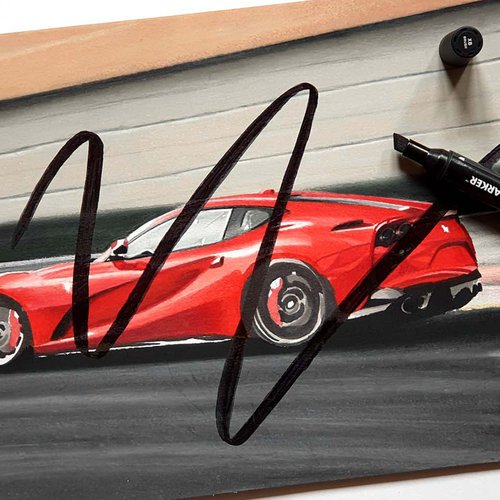
Tip 9: Embrace Mistakes as Learning Opportunities

Every artist, no matter how skilled, makes mistakes. Instead of viewing them as setbacks, perceive them as essential parts of your learning journey.
Why are Mistakes Valuable?
Growth: Every mistake is a lesson in disguise. Analyzing what went wrong helps you avoid repeating the same errors in the future.
Creativity: Sometimes, mistakes lead to unexpected results that can be surprisingly beautiful. They can inspire new techniques or artistic directions.
Resilience: Learning to handle mistakes cultivates patience and resilience, crucial traits for any artist.
How to Deal with Mistakes
Step Back: Before trying to correct a mistake, take a break. Returning with fresh eyes often provides clearer perspectives on fixes.
Use Tools: Erasers, blenders, or even additional layers of colored pencils can often help in rectifying errors.
Document Them: Keep a sketchbook or journal of your mistakes and jot down what you learned from each. Over time, you'll see how much you've evolved as an artist.
In essence, mistakes aren't failures; they're stepping stones. Embracing them with an open mind can significantly accelerate your growth and development in the world of colored pencil art.
But if you still want to remove mistakes, here are 2 articles that might help you:
How to Remove Colored Pencil from Paper
How to Fix Mistakes when Drawing with Colored Pencils
Tip 10: Don't Rush the Process
Colored pencil art is a form that thrives on patience. Each piece, whether a simple sketch or a detailed masterpiece, is a culmination of numerous strokes, layers, and techniques.
Why Should You Take Your Time Matters?
Quality Over Quantity: Slow and steady strokes often lead to more precision and better overall results compared to hasty scribbles.
Mindfulness: Engaging deeply with your artwork promotes relaxation, turning each session into a meditative experience.
Learning: By not rushing, you give yourself time to understand the behavior of the pencils, the reaction of colors, and the texture of the paper.
Some Tips for a Patient Approach
Set Realistic Expectations: Understand that a detailed piece might take hours or even days. Break your work into sessions if needed.
Enjoy the Journey: Instead of focusing solely on the end result, savor each moment of the creation process.
Practice Regularly: The more you practice, the more intuitive and fluid your process will become. This doesn't mean speeding up, but rather becoming more efficient over time.
Art is as much about the process as it is about the final product. By giving yourself the gift of time, you enhance not only the artwork but also your personal connection to it.
Tip 11: Never Give Up - Persistence Pays Off
Every artist, regardless of their medium, faces challenges and periods of doubt. The key to growth and mastery in colored pencil art, as in any discipline, is perseverance.
Some Benefits of Persistence
Skill Development: The more you draw, the better you get. Every piece, even the ones you're not fully satisfied with, contributes to your growth.
Finding Your Style: Consistent practice will help you discover and refine your unique artistic voice.
Building Confidence: Every hurdle you overcome reinforces your belief in your abilities.
How to Stay Motivated
Set Small Goals: Instead of aiming for a masterpiece every time, set achievable targets. Celebrate small victories.
Seek Feedback: Share your work with peers, mentors, or online communities. Constructive feedback can offer new perspectives and boost motivation.
Remember Your 'Why': Reconnect with the reason you started drawing. Whether it's a passion, relaxation, or any other motivation, let it drive you through challenging times.
In the world of art, resilience often distinguishes those who achieve their goals from those who abandon them. Stay inspired, believe in your journey, and remember that every stroke, both on and off the paper, brings you closer to the artist you aspire to be.
Tags
Articles You Might Also Like
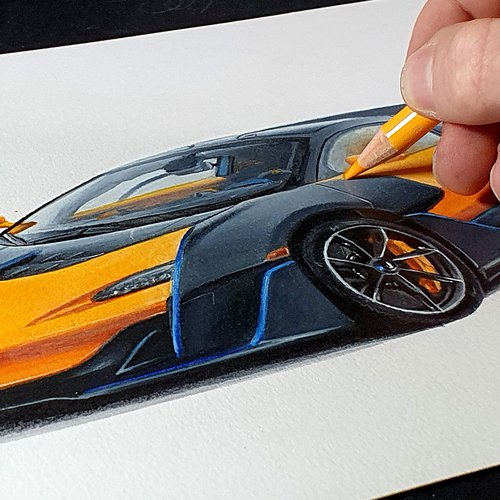

I love bringing cars to life with alcohol markers and colored pencils.
Whether you're just starting out or looking to improve your skills, I'm here to help!
Click here to learn more about me.


Add a comment
Comments
Hi Thank you for the 'tips for beginners' i have learnt a lot and found yyou very inspiring , lol there is hope for me yet to be an artist and maybe show some talent, BIG thank you kind regards Angela X
Excellent material! REALLY appreciate your work. Thanks 😃