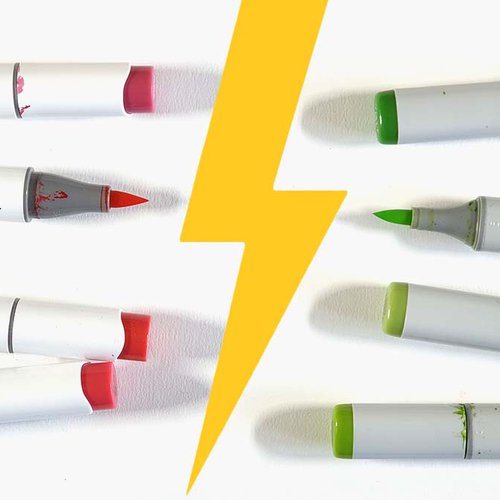
How to Use the Colorless Blender Marker - 7 Techniques
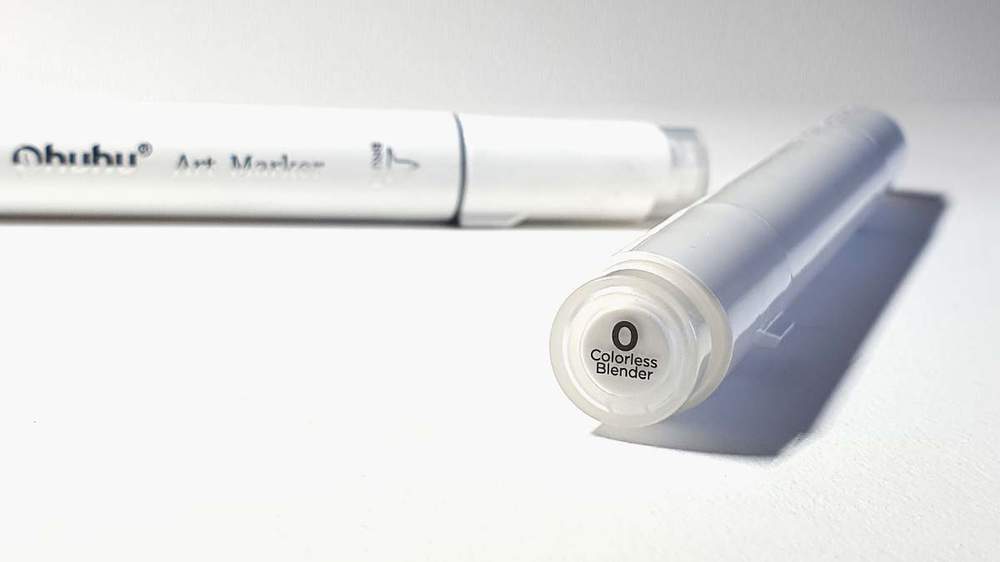
With most alcohol marker sets you get this marker called the colorless blender.
Why would you even need that?
Well, the colorless marker is actually quite handy to achieve some effects and textures. Plus, you can even use it to remove mistakes from your paper.
Let me show you some ways you can use this colorless marker.
Disclaimer: In the name of full transparency, please be aware that this blog post contains affiliate links and any purchases made through such links will result in a small commission for me (at no extra cost for you).
What Can You Do with the Colorless Blender Marker?
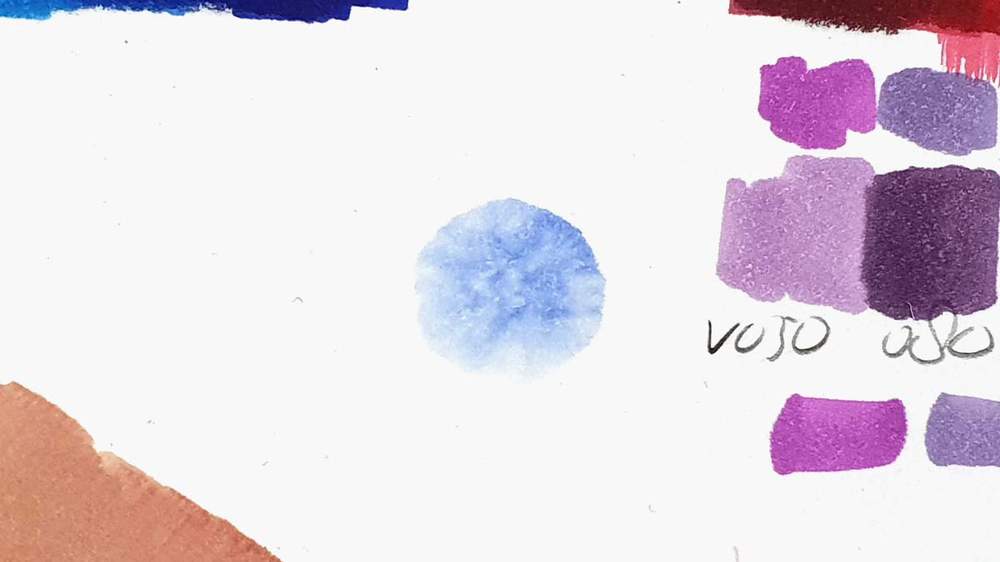
1. Creating Lighter shades
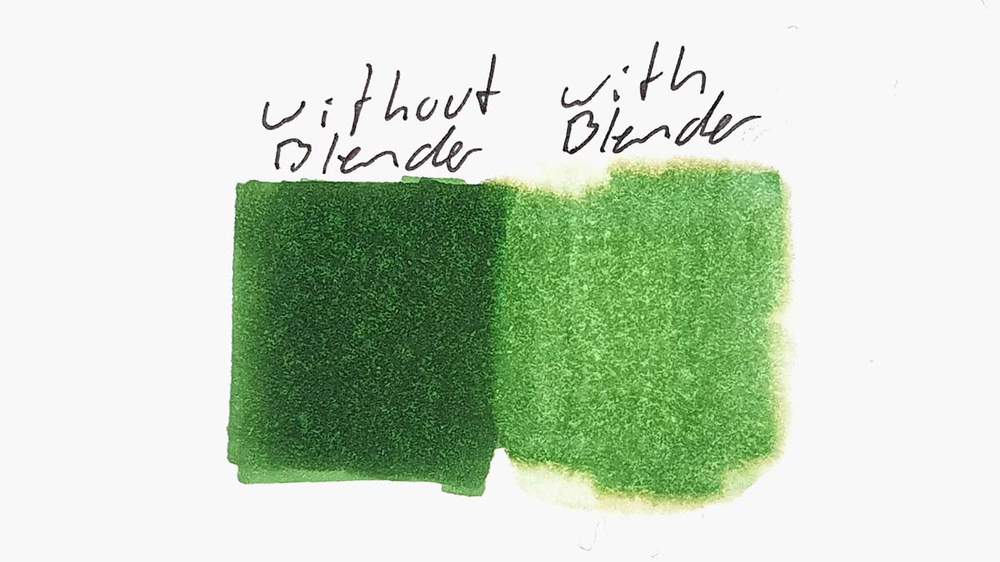
When first starting out with alcohol markers I came across this technique where you use the colorless blender marker to create lighter shades of a color.
I used this technique a lot as I didn't have many colors back then.
Here's How It Works:
1. You first choose a color marker for which you want to create the lighter shade.
2. Then, you color the whole area on your piece of paper that you want to make this lighter shade with the colorless blender. Make sure the paper is fully saturated and the colorless ink is evenly spread.
3. After that, you quickly color over that area with the colored marker. This results in a lighter shade of that color as the ink mixes with the colorless ink on the paper.
Some Things to Keep in Mind
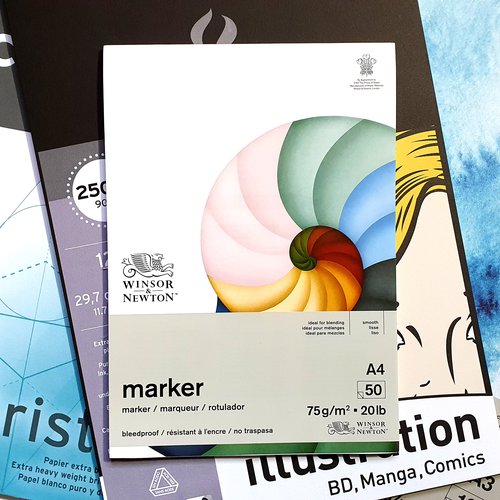
This technique works on all types of paper. However, it works best on thin bleed-proof marker paper like the Winsor & Newton Marker paper. This paper doesn't absorb much ink as it has a sealed layer on the back.
After you've colored the area with the colorless blender you need to be very quick with coloring over it with the colored marker for the best result.
This technique can create some random darker or lighter spots as it's not fully in your control how the ink behaves. So make sure to experiment before using this technique in your drawing.
Apart from this, it is a fun technique that you can use to create a variety of values just from a single marker color.
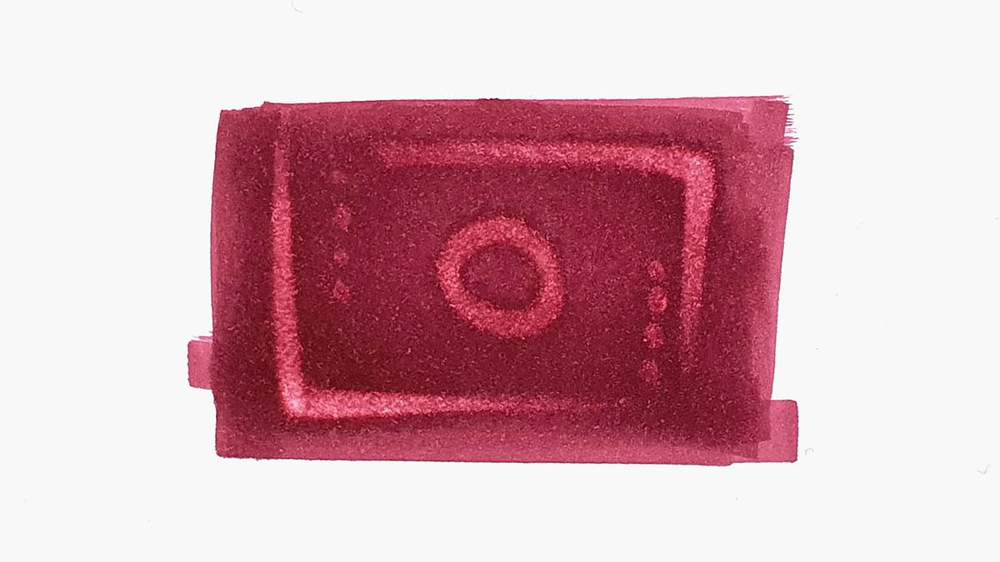
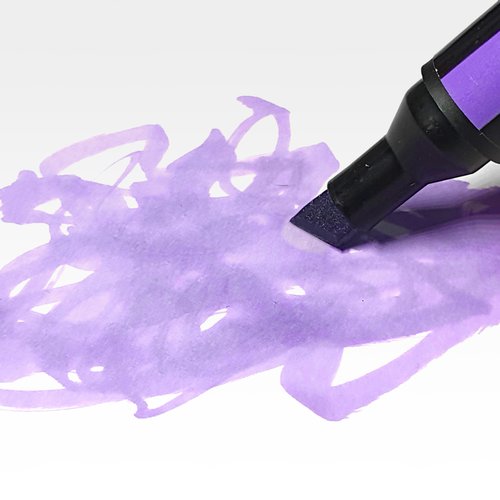
2. Creating Patterns and Effects
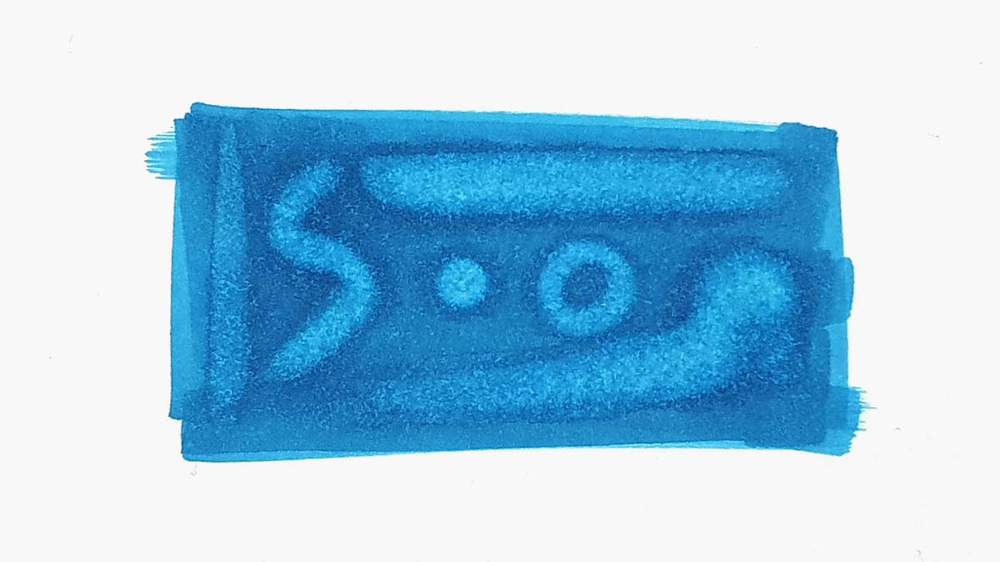
You can also use the colorless marker to create fun and interesting effects in your drawing.
Here's How to Do That:
1. First, you just color your drawing as you usually would.
2. Then you use the colorless blender to color over some parts of your drawing. You can draw lines, circles, dots, anything you like.
After a short while these things will show up in your artwork as the colorless ink diluted and pushed away the colored ink to leave a lighter mark.
Use Cases for this Technique
This technique can be quite useful if you want to create the fabric texture in your fashion designs, to create the scales or fur of an animal, to create patterns for abstract work, and many more.
Some Things to Keep in Mind
This technique does not work on all types of paper. You need thicker paper for this to work well like Canson Illustration Bristol or Illustration Manga paper.
When you color with the colorless marker over a colored part it will push the ink away creating a darker line around where you used the blender.
3. Correcting Mistakes
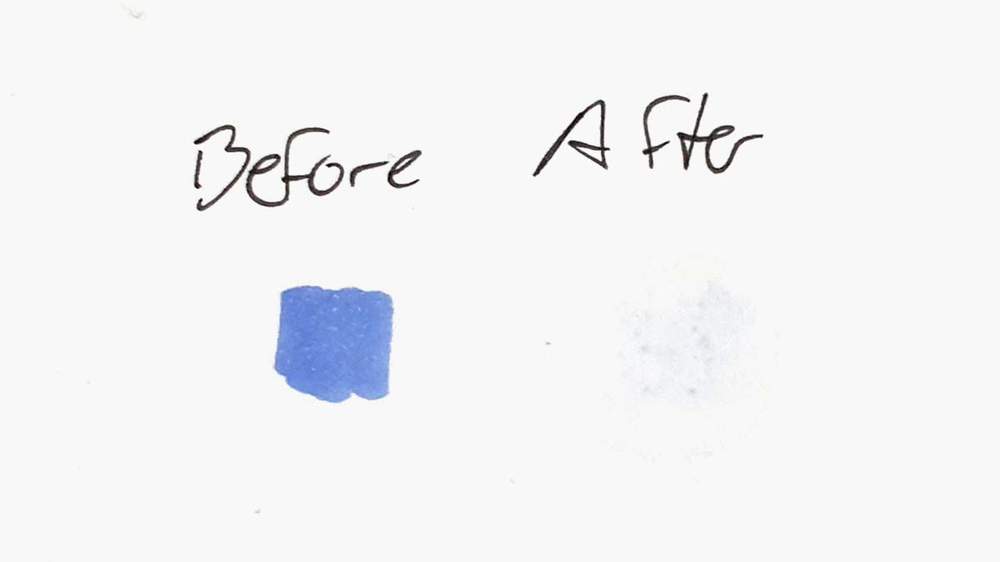
The colorless blender is also quite useful for correcting mistakes. I do this all the time.
Here's How:
1. First, well, you need to make a mistake like accidentally coloring an area you didn't want that color, or sometimes alcohol markers will just leak a drop or two.
2. Place another piece of paper below your drawing to catch the ink.
3. Then, you color over your mistake with the colorless blender. Don't press hard and don't go over it too many times to prevent damaging the paper. This will push the ink deeper into and through the paper. The piece of paper underneath your drawing will catch the ink that's pushed through.
After a while, you'll see that the color lightens and sometimes it'll go away completely.
Some Things to Keep in Mind
This works best on thicker paper like the Canson Illustration Manga and Bristol paper. It won't work on thin bleed-proof marker paper.
Darker colors won't go away, but lighter colors might.
If you try to correct a darker color using this technique it will become more visible as the ink is very saturated and will bleed. So it's best to only use this technique for lighter colors.
Always experiment first on a scrap piece of paper to see if the color can be removed using this technique.
As you're lightening the mistake, the colorless blender will pick up some color with the tip. To prevent this from spreading and creating more mistakes, use the blender to color on a scrap piece of paper until all the color is gone from the nib.
If you constantly make mistakes when drawing (like me), check out this article which outlines more ways you can fix alcohol marker mistakes.
4. Fading to White
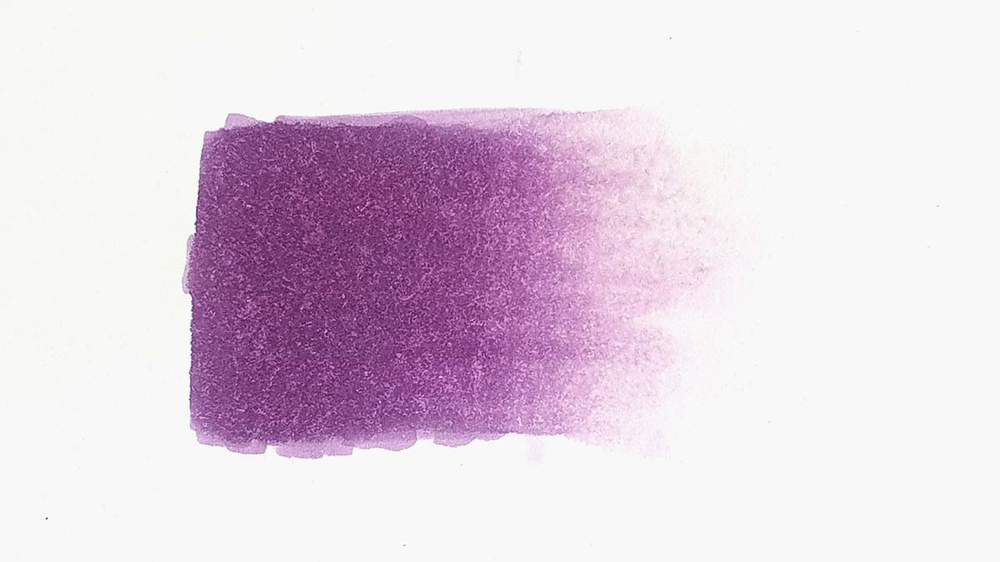
Maybe you're drawing clouds, light reflections, or what I use it most for, shadows, you might want to blend a color into the white of the paper. This might seem impossible, but luckily the colorless blender can actually help you achieve this.
Here's How You Do It:
1. First color the area you want to fade into the white of the paper. This works best with lighter colors.
2. Next, you use the colorless blender to blend out the edge. This will lighten it and fade it out a bit.
You might need several layers of color and colorless blender for the transition to look as smooth as you want.
Something to Keep in Mind
This technique doesn't work well on thinner paper. Instead, use thicker paper like the Canson Illustration Manga and Bristol paper.
5. Creating Highlights
The colorless blender can also be used to add highlights to your drawing. I use this all the time as I'm too impatient to color around the highlights.
Here's How To Do It:
1. Just color your drawing as you usually would.
2. Then you in with the colorless blender and "color" the parts you want to highlight.
After a while, you'll see the colors lighten where you added those highlights.
You might need a few layers to make the highlights as bright as you want.
Some Things to Keep in Mind
This technique works best with thicker paper like the Canson Illustration Manga and Bristol paper. It doesn't work well on thinner paper, especially thin bleed-proof paper.
When adding highlights the tip of your colorless blender will pick up some of the darker ink. You can get rid of this by coloring on a scrap piece of paper until all the color is gone.
6. Diluting Colors

Sometimes when you've just colored an area of your drawing the color turns out darker than you would've liked. This happens to me sometimes.
You could just live with it and leave it as is.
Or you could use the colorless blender to lighten the color.
Here's How You Can Do That:
1. Accidentally color an area of your drawing with a color that's darker than you would've liked.
2. Look at it and go "Oh, that's too dark."
3. Color over that area with the colorless blender. Try to color as evenly as you can. Don't go over and area more times than other parts.
After a short while, you'll see that the color looks slightly lighter.
If you want to color to be even lighter, just go over it multiple times until it's light enough.
Some Things to Keep in Mind
Again, this technique works best on thicker marker paper like the Bristol and Manga paper. It doesn't work well on thinner paper.
If you add many layers of colorless blender you might need to place a scrap piece of paper underneath your drawing to catch the ink.
If the color of the ink you want to dilute is dark your colorless blender will pick up some of that ink. To prevent accidentally creating a mark on your drawing when you're going to use the blender next time, color on some scrap paper to get rid of the picked-up ink in the nib.
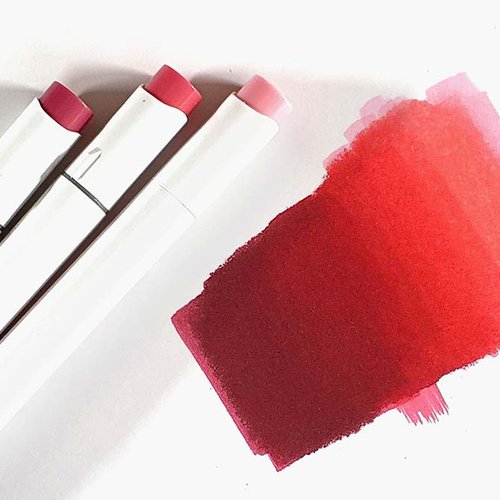
7. Creating Watercolor Effects
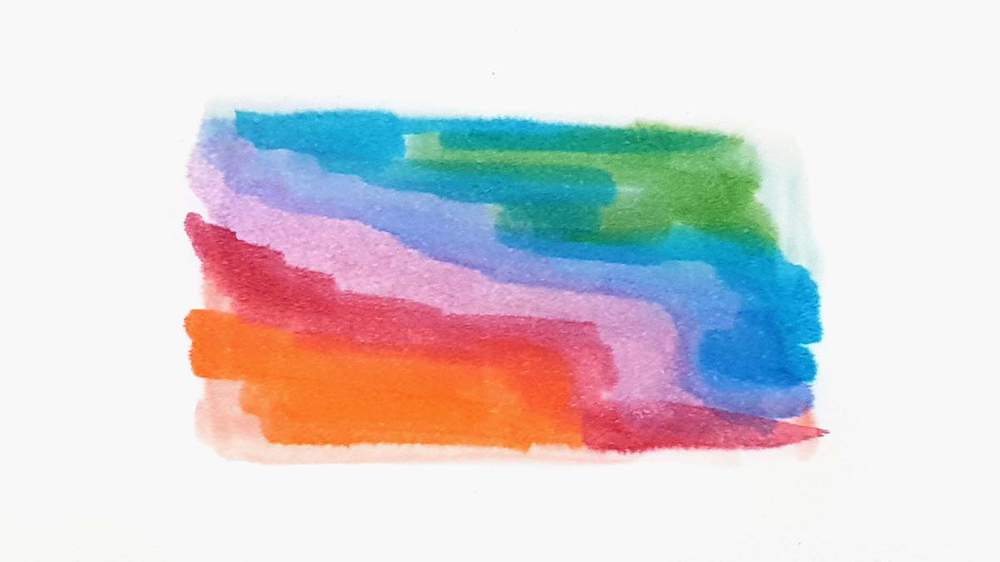
One last thing you can do with the colorless blender marker is create watercolor-like effects.
Here's How:
1. Saturate the area of the paper you want to color by coloring it with the colorless blender.
2. Use a few colored markers to add ink spots on the paper and watch them bleed like watercolors.
If the colorless ink has dried too much you can just add another layer of it onto your drawing before adding more watercolor-like splatches.
Something to Keep in Mind
Unlike most of the previous methods, this one works best on thin marker paper that has a bleed-proof seal on the backside like the Winsor & Newton Marker paper. This seal prevents the ink from bleeding through, and since the paper is thin, the colorless ink tends to stay on the surface rather than being absorbed. This makes the paper stay wet longer.
Tags
Articles You Might Also Like


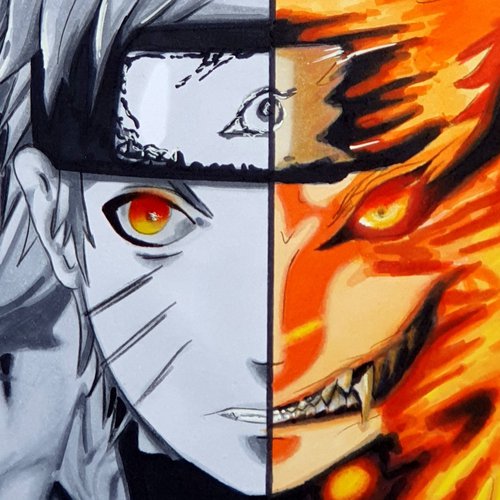


I love bringing cars to life with alcohol markers and colored pencils.
Whether you're just starting out or looking to improve your skills, I'm here to help!
Click here to learn more about me.


Be the first to comment!
Comments
There are no comments yet.