6 Ways to Fix Alcohol Marker Mistakes (+ Tips)
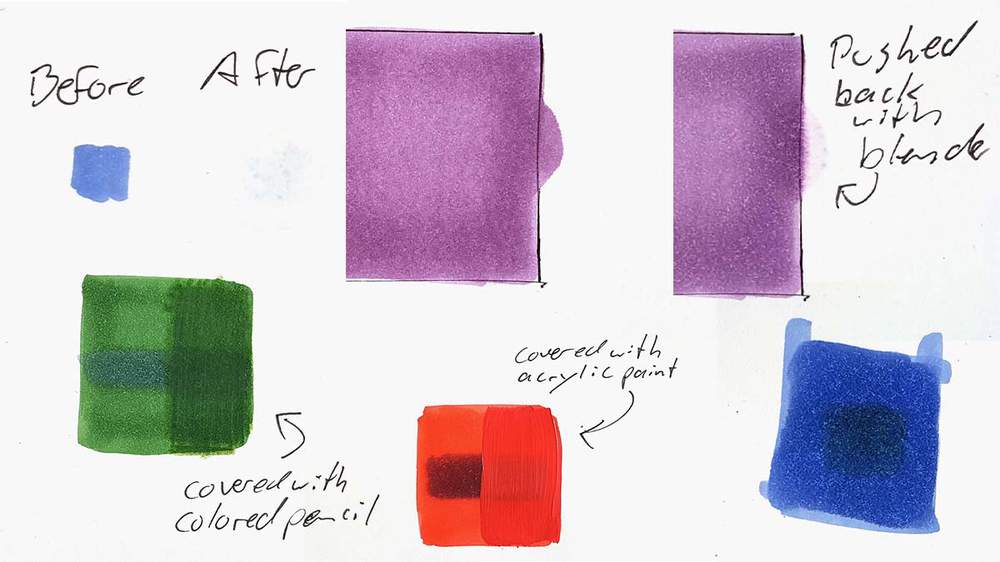
If you're using alcohol markers, you've probably made plenty of mistakes...
At least I have... And it sucks. Every time.
However, in the past 8 years of using alcohol markers, I found some very useful techniques to correct most mistakes.
I explain all of them in this article, so let's dive in!
Disclaimer: In the name of full transparency, please be aware that this blog post contains affiliate links and any purchases made through such links will result in a small commission for me (at no extra cost for you).
How Do You Fix Alcohol Marker Mistakes?
1. Blending and Lifting
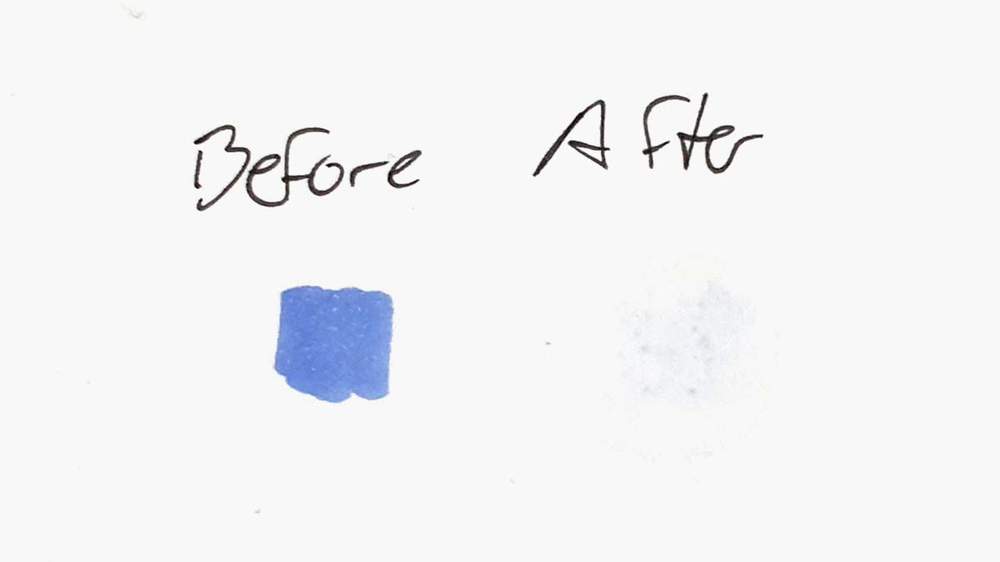
Some alcohol marker mistakes can easily be removed using a colorless blender marker.
When coloring over your mistakes with the blender, you can dilute the pigment making it lighter or even disappear.
I use this technique when some stupid marker decides to drop some ink drops onto my paper.
Here's How To Do That:
1. First, place a scrap piece of paper underneath your drawing. This will absorb the ink that's pushed through your paper.
2. Next, use your colorless blender to color over the mistake a few times.
The transparent ink of the blender will spread the colored ink and push it deeper into and through the paper.
3. If your mistake is still obvious, add more layers with the colorless blender.
Some Things to Keep in Mind
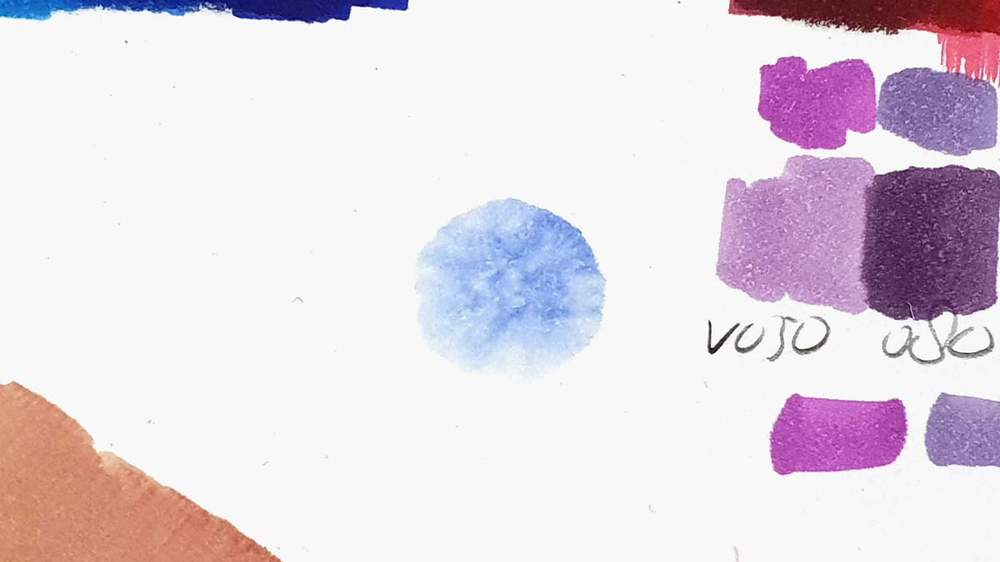
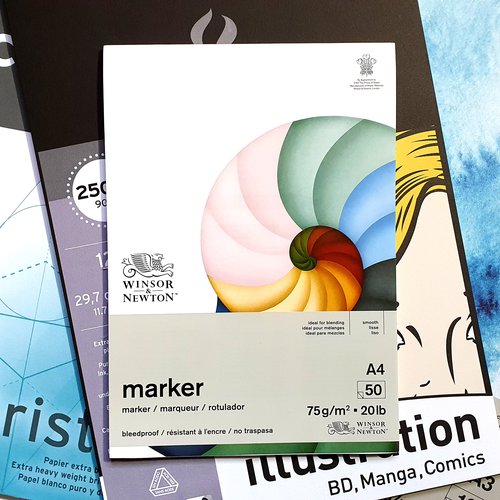
This technique works best with thicker marker paper like the Canson Illustration Bristol and Manga paper. It does not work with thin marker paper with a bleed-proof seal on the back.
To prevent damaging the paper, don't apply too many layers while it's wet and use very light pressure. If your mistake is still visible, first let the ink dry again, then add more layers with the blender.
This technique doesn't work well with darker colors. They will only get more noticeable when you try to lighten it.
2. Pushing the Color

The colorless blender can also be used to push the color of the mistake away toward a piece of your drawing. This is especially useful with bleeding marks.
Here's How You Do That:
1. Use your colorless blender marker to color over the bleed spots. Start on the part furthest away from your drawing and move closer and closer to the edge of your drawing. By doing this you'll push the colored ink back toward your artwork.
2. Repeat this process a few times until your mistake has faded enough for your liking or is completely gone.
Some Things to Keep in Mind
Again, this technique only works with thicker marker paper like the Bristol and Manga paper and doesn't work well on thinner paper.
This technique can be a bit tricky when trying to push back darker colors.
Apart from fixing marker mistakes, the colorless blender is useful for a handful of other things.
3. Layering and Mixing

If your mistake is on a part you are going to color, it might be worth it to try to blend it out or cover it instead of trying to lighten it. This will in most cases make it less obvious or even unnoticeable.
I use this technique all the time to make my mistakes less obvious.
Here's How:
Use a colored marker to color over your mistake.
If the color you picked is darker than the color of the mistake, you can almost always cover it with one layer.
If the color of your mistake is darker, however, you'll need more layers to lighten it.
Some Things to Keep in Mind
You can't lighten a color by covering it with a color lighter than your mistake on thin bleed-proof marker paper. You can use a darker marker to cover it.
This technique works best on thick marker paper like the Illustration Bristol and Manga paper as it allows the ink to be pushed and bleed.
If the color you want to use to lighten your mistake is much lighter, it won't work well. If that's the case you might be better off trying another method.
4. White Gel Pen or Paint Marker
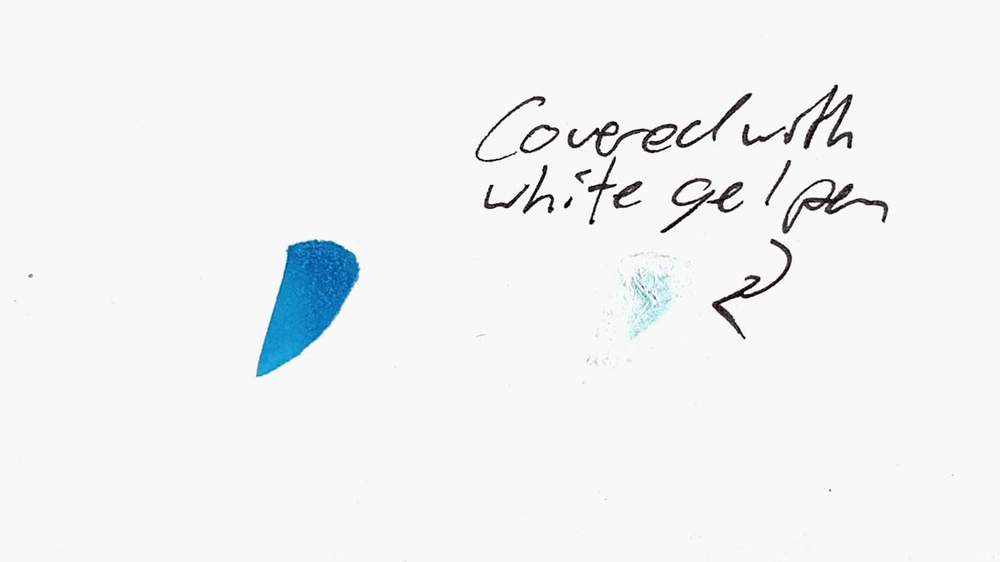
White gel pens and paint markers are great for hiding small mistakes. I use it all the time to clean up the edges of my card drawings.
Here's How To Do This:
Grab your white gel pen or paint marker and just color over your mistake.
Sometimes you'll need to let the white ink dry before adding another layer for better coverage.
Some Things to Keep in Mind
This works best with small mistakes like ink drops or bleeding around the edges.
In my experience, paint markers like the Posca PC-1MR or the PC-3M work way better than any gel pen.
Most white gel pens and paint markers are not perfectly white. So if you're trying to cover a mistake, but your paper a pure white, you'll still be able to see it a little bit.
Canson Illustration Manga paper is the same off-white color as most white gel pens and paint markers. If you use this paper your mistake will be almost invisible. You'll still see it in some lighting as the white ink/paint reflects light differently.
5. Colored Pencils
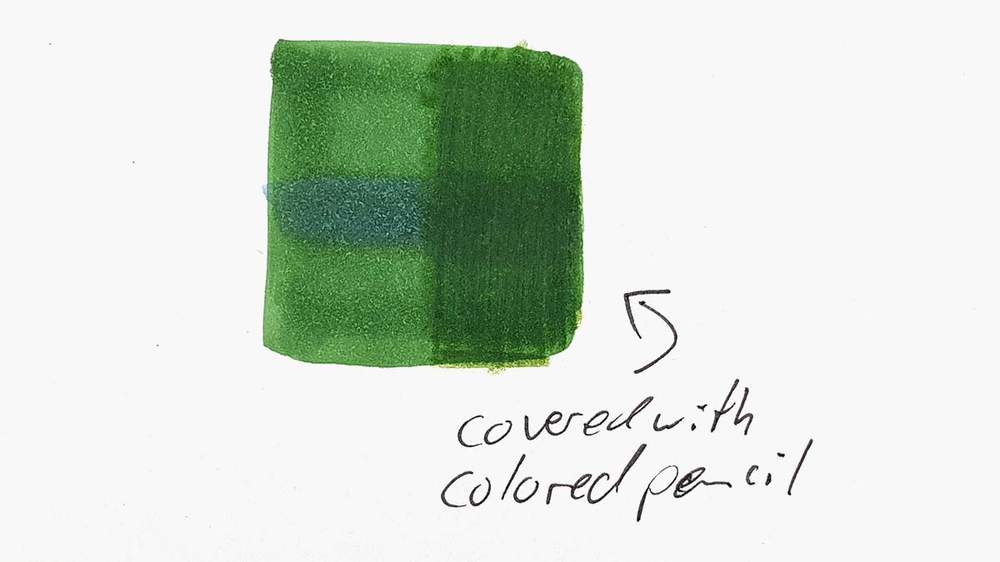
If your mistake can't be fixed using the previous method, you can always try to cover it with colored pencils.
I mostly do this when I already tried to blend it out using another color but it's still too obvious.
Here's How To Do It:
1. Find a colored pencil that's as close to the color of the area of your drawing where the mistake is located.
2. Use the colored pencil to color over the mistake. If the pencil pigment is too noticeable, you can also color the whole area to make it look more even.
Some Things to Keep in Mind
Not all colored pencils have good coverage. Some are very transparent while others are very opaque. Some of the most opaque colored pencils you can use are the Prismacolor Premier Soft Core pencils.
The pigment of the colored pencil will reflect light differently than the ink of the markers, so you will be able to see the part you corrected. But this is often better than leaving the mistake in.
Since you can't use alcohol-based markers on top of colored pencils, it's best to fix mistakes after your drawing is finished.
6. Acrylic Paint
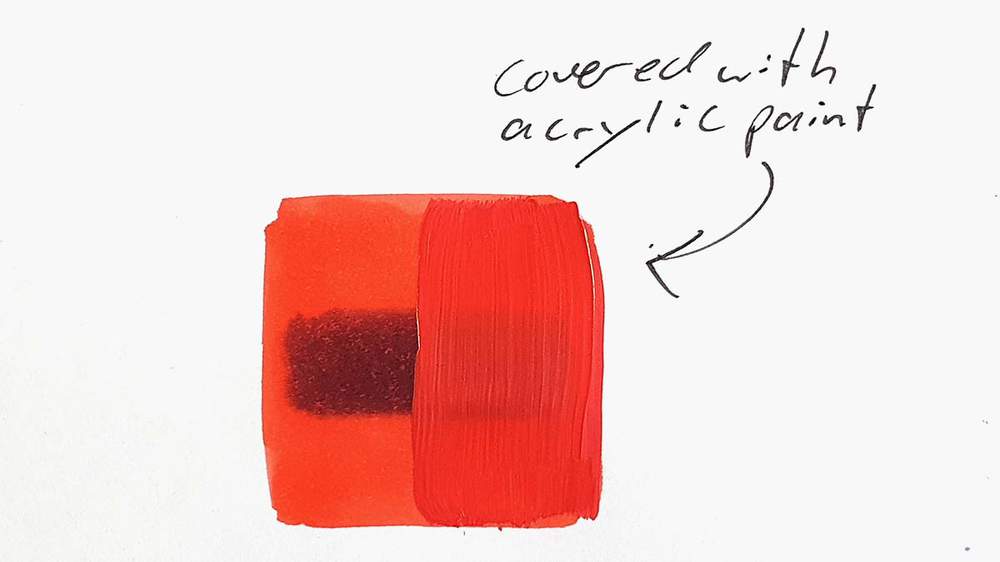
If all else fails you can always cover the mistake with acrylic paint.
Here How To:
1. Mix the exact color of the area your mistake is in.
2. Apply the paint with a paintbrush onto the mistake and cover it completely.
3. Add more layers of paint to fully cover it.
Some Things to Keep in Mind
Most papers don't handle acrylic paint well, but if you're applying just a little bit on a small area it won't warp the paper. Thicker paper can handle more paint before it starts to warp.
Just like colored pencils, some paint colors are very transparent like yellow and orange. You'll need many layers to hide a dark mistake when trying to cover it with a less opaque paint color.
Finish your drawing first before adding acrylic paint over your mistake as you can't color over paint with alcohol markers very well.
Just like colored pencils, acrylic paint reflects light differently compared to ink, so you'll be able to see where you used it to correct a mistake.
Just Leave Your Mistake As It Is
Sometimes it's better to just leave your mistake as it is. Especially if it's just a small ink drop or a small part accidentally colored with the wrong color.
In those cases, I just leave the mistake as it is and finish my drawing.
Most times when the mistake is in an area I was already planning to color, it'll lighten enough to not be so noticeable. Or it would just blend in with all the details and color variations that you barely see it.
Tips to Prevent Making Mistakes When Drawing with Alcohol Markers
To prevent needing to start a drawing over because you made a mistake that's too big to correct or just to avoid the hassle of correcting a mistake, here are some tips to prevent making alcohol marker mistakes.
1. Choose the Right Paper
Using the right paper is essential when using alcohol markers.
Some papers bleed a lot, while others can handle much ink and still not bleed.
My favorite papers are the Canson Illustration Bristol and Manga paper. These can handle a lot of ink with minimal bleeding.
2. Plan Your Colors
I always plan my colors.
If you know what color goes where in your drawing you're less likely to accidentally color a part the wrong color.
And before you're going to use a color, look at the marker first to see if it's the color you intend to use. I've had many times where I thought I picked up the color I wanted but turned out to be the black marker instead...
3. Work from Light to Dark
Working from dark to light enables you to correct mistakes more easily as you can just cover it with a darker shade or lighten it with the colorless blender.
For all of my drawings, I start from light to dark. I first color the lightest bits, then the mid-tones, and lastly when I know where the darks go I color them.
I also try to be very conservative when using dark colors as it's pretty difficult to lighten them, but you can always add more dark.
4. Be Careful Around Edges
Almost all brands of marker paper allow for a bit of bleeding, so be careful around the edges.
Don't layer or blend excessively close to an edge. It will bleed.
If you want to add more layers or you're creating a gradient, let the ink dry when you notice it's getting pretty wet before adding more layers.
5. Control the Ink Flow
When coloring the edges of your drawing you need to be careful. If you color too slowly, the ink might bleed.
That's why you need to control the ink flow when drawing.
To prevent bleeding, use quicker strokes instead of very slow ones. But if you go too quick the ink will look streaky.
To find the perfect speed, just test on a scrap piece of paper and see at what speed to color still saturates the paper well enough to not streak and also not bleed.






Be the first to comment!
Comments
There are no comments yet.