Common solvent blending mistakes to avoid when blending colored pencils
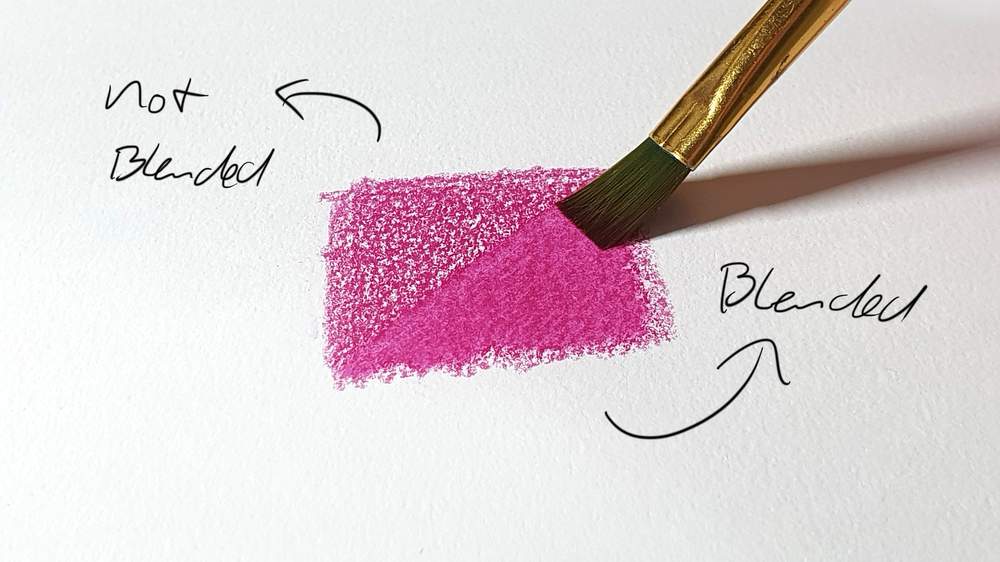
Blending colored pencils with solvent is a great way to create smooth transitions, realistic shadows, and vibrant colors in your drawings.
But it can also be tricky and frustrating if you don't know how to do it right.
In this blog post, I will show you some of the most common mistakes that beginners make when blending colored pencils with solvents, and how to avoid them.
By following these tips, you will be able to improve your blending skills and achieve stunning results with your colored pencil art.
If you want to learn more about how to blend colored pencils with solvents, you can check out this article covering all the steps involved.
1. Using too much solvent
Using too much solvent to blend colored pencils is a common mistake that can ruin your artwork.
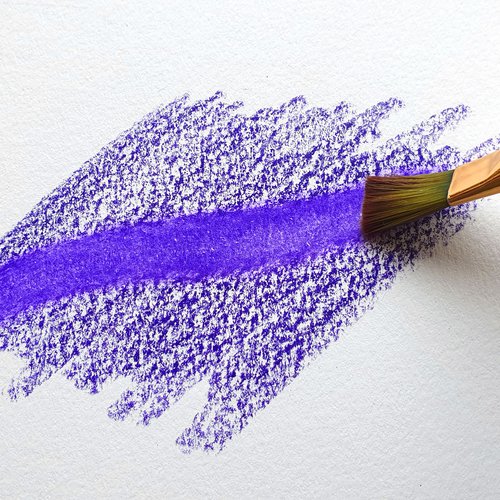
Solvent dissolves the pigment in the pencils and allows you to create smooth gradients and blends. However, if you use too much solvent, you can end up with several problems.
First, you can damage the paper by making it too wet and causing it to buckle or tear.
Second, you can lose the vibrancy and saturation of your colors by diluting them too much.
Third, you can create unwanted stains and blotches by spreading the pigment unevenly.
To avoid these issues, you should use solvent sparingly and carefully.
A good tip is to tap off the excess solvent onto a piece of paper towel before applying it to your drawing. This way, you can control the amount of solvent and prevent it from soaking the paper.
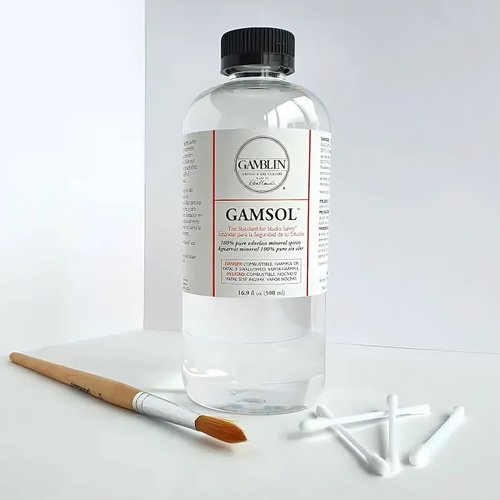
You can also use a small brush or a cotton swab to apply solvent precisely and gently. By using solvent correctly, you can enhance your colored pencil drawings and achieve stunning effects.
2. Not having enough pigment on the paper
One of the most common mistakes when using colored pencils with solvent is not having enough pigment on the paper.
This can lead to several problems, such as:
- The solvent will not dissolve the pigment enough to create a smooth and even blend.
- The paper will show through the pigment, creating a washed-out and dull look.
- The pigment will not adhere well to the paper, making it prone to smudging and fading.
To avoid this mistake, you need to layer more pigment onto the paper before applying the solvent. Here are some tips on how to do that:
- Use a sharp pencil and apply light pressure to create thin and even layers of pigment.
- Build up the layers gradually, starting with the lightest colors and moving to the darkest ones.
- Use a circular or cross-hatching motion to fill in the gaps and create a solid coverage of pigment.
3. Using solvents that can't blend colored pencils
Using solvents that can't blend colored pencils is a common mistake that can ruin your artwork.
Some solvents are too weak to dissolve the wax or oil binder in the colored pencils, which means they won't blend the pigment properly. This can result in streaky, uneven, or dull colors that don't look realistic or vibrant.
To avoid this problem, you need to use solvents that are strong enough to break down the binder and loosen the pigment.
Some of the best solvents for blending colored pencils are odorless mineral spirits, turpentine, and alcohol markers. These solvents can help you create smooth, rich, and seamless blends that enhance your drawings.
Here's a full list of solvents you can use to blend colored pencils.
However, you also need to be careful with these solvents, as they can damage your paper or your health if used incorrectly.
You should always use a heavy paper that can withstand the moisture and pressure of the solvent (watercolor paper works really well for this). You should also work in a well-ventilated area.
4. Blending colors in the wrong order
Blending colored pencils with solvent is a great way to create smooth and realistic effects in your drawings. However, if you do it in the wrong order, you might end up with a mess.
Here's why:
When you blend colored pencils with solvent, you dissolve the pigment and spread it over the paper. This makes the colors more vibrant and less grainy. But it also makes them more prone to mixing with each other. If you start blending from the darkest areas and then move to the lighter ones, you will drag some of the dark pigment along with your brush or cotton swab. This can result in muddy colors and unwanted stains on your drawing.
To avoid this problem, you should always blend from light to dark.
Start with the lightest areas of your drawing and then gradually move to the darker ones. This way, you will preserve the brightness and clarity of your colors. You will also have more control over the blending process.
5. Not cleaning your brush
One of the most common mistakes when blending colored pencils with solvents is not cleaning your brush properly.
This can lead to muddy colors and a loss of vibrancy in your artwork.
When you blend with a dirty brush, you are mixing the colors on your paper with the colors on your brush, creating a dull and muddy effect. This can also ruin your color harmony and make your drawing look messy and unprofessional.
To avoid this, you should clean your brush regularly or use a different tool for each color.
You can use a paper towel or a rag to wipe off the excess pigment from your brush after each use.
If you are using cotton swabs to blend, you should use a different side that is still clean for each color. If there are no clean sides left, you should use a new cotton swab.
This way, you can keep your colors pure and vibrant and achieve smooth and even blends.




Be the first to comment!
Comments
There are no comments yet.