How to Prevent Colored Pencils from Smudging

Smudging can be a frustrating obstacle that stands in the way of creating clean, polished artwork.
But with the right techniques and a little bit of practice, you can prevent smudging and take your colored pencil drawings to the next level.
In this article, we'll dive into what smudging is, how it happens, and share four easy tips to help you keep your artwork smudge-free. Let's get started!
What Is Smudging and How Does It Happen?
Smudging occurs when the pigments from colored pencils are unintentionally transferred to unwanted areas of your artwork, creating a blurry or messy appearance.
This can happen for various reasons, such as excessive pressure applied while drawing, accidental rubbing or brushing against the artwork, or simply the build-up of pigment dust on the paper's surface.
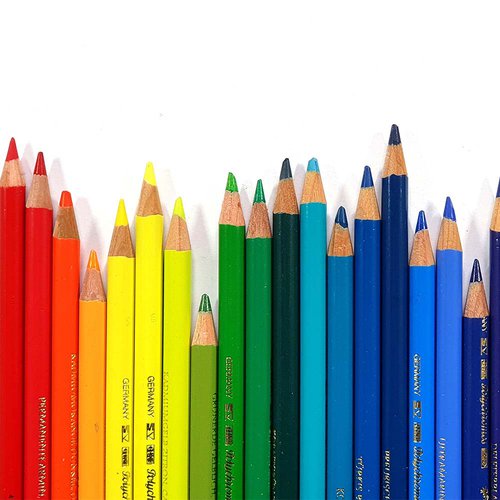
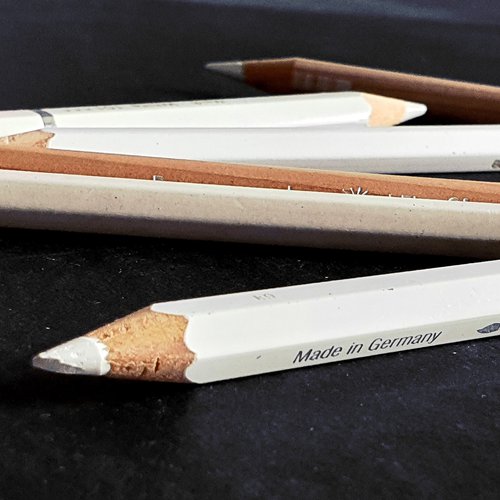
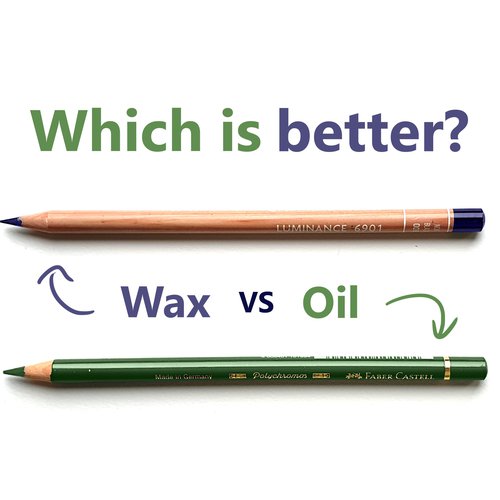
One of the main factors contributing to smudging is the type of colored pencil being used. Some brands tend to smudge more than others. For example, my Polychromos tend to smudge a bit more than the Caran d'Ache Luminance. But on the other hand, the Luminance create way more pencil dust compared to the Polychromos.
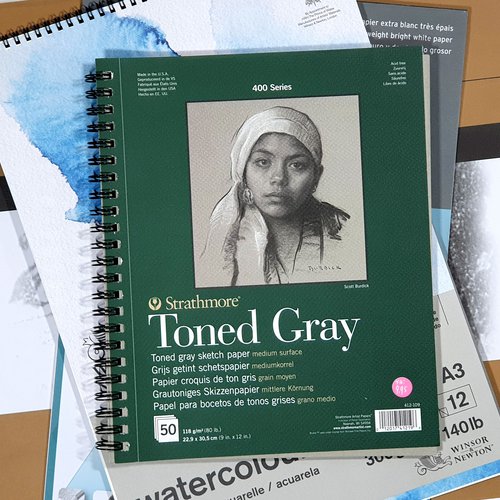
Another factor is the quality of the paper you're using. Rougher, more textured papers tend to hold the pigment better, reducing the chances of smudging. However, smoother papers may cause the pigments to slide around more easily, making it harder to prevent smudging.
Now that we have a better understanding of what smudging is and how it happens, let's dive into four easy-to-follow tips that can help you prevent smudging in your colored pencil artwork.
What Can You Do to Prevent Colored Pencils from Smudging?
1. Work from Left to Right (or Right to Left for Left-Handed Artists)
One of the most effective ways to prevent smudging is by being mindful of the direction in which you work.
For right-handed artists, it's best to start drawing on the left side of the page and gradually move toward the right. This ensures that your hand won't accidentally rub against or rest on areas where you've already applied colored pencil pigments.
If you're left-handed, simply reverse the process by starting on the right side of the paper and moving toward the left. By working this way, you can significantly reduce the chances of your hand coming into contact with previously drawn areas, keeping your artwork free from unwanted smudges.
It may take some time to develop a habit of working in a particular direction, but once you do, you'll notice a considerable improvement in the cleanliness and overall appearance of your colored pencil artwork. Be patient with yourself, and remember that practice makes perfect!
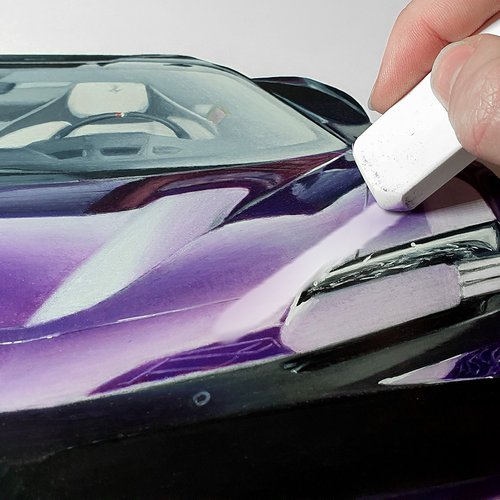
2. Place a Scrap Piece of Paper under Your Hand
Another helpful trick to prevent smudging is to use a scrap piece of paper or a protective sheet under your hand while you draw. This simple yet effective method creates a barrier between your hand and the artwork, minimizing the chances of any pigment transfer.
When selecting a scrap piece of paper, choose one that is clean, smooth, and slightly larger than your hand. This will ensure that it covers the entire area where your hand will rest and glide across the paper. As you progress through your drawing, remember to move the protective sheet along with your hand to maintain the barrier.
Not only does this technique help to prevent smudging, but it also protects your artwork from any oils, sweat, or dirt that may be present on your hand. By keeping your hand from coming into direct contact with your artwork, you'll maintain the vibrancy and clarity of your colored pencil drawings.
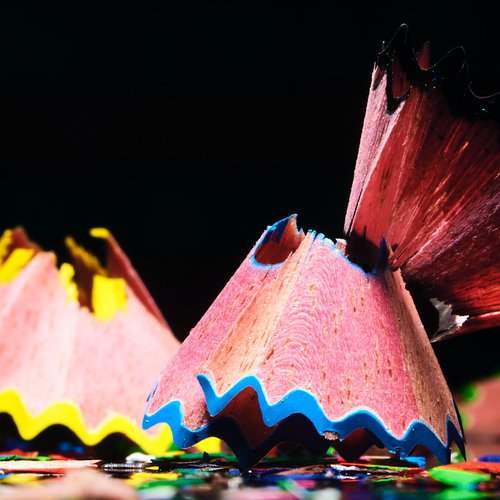
3. Regularly Wipe Pencil Dust Away
As you work with colored pencils, it's common for pigment dust to accumulate on your drawing surface. This dust can easily be smudged, compromising the crispness and cleanliness of your artwork. To counter this, just regularly wipe away any pencil dust as you draw.
To do this, use a clean, soft brush or just use your hand (but be very careful). Gently sweep away the dust from your drawing, being careful not to press too hard or rub the paper's surface, as this could inadvertently cause smudging.
By routinely removing the excess pigment, you'll significantly reduce the chances of it smearing across your artwork.
It's also a good idea to keep your colored pencils sharp. This helps to create cleaner lines and minimize the amount of dust produced during the drawing process.
4. Use Lighter Pressure
The amount of pressure you apply while drawing with colored pencils can greatly impact the likelihood of smudging. By using lighter pressure, you'll not only reduce the risk of smudging but also make it easier to layer and blend colors effectively.
When you press too hard with colored pencils, more pigment is deposited onto the paper, making it more susceptible to smearing. Instead, try building up your colors gradually with light, even strokes. This technique allows you to create smooth transitions and rich hues without over-saturating the paper.
If you're looking to achieve darker or more vibrant colors, consider applying multiple layers of the same color or using a combination of colors to achieve the desired effect and keep your pencils sharp. This will give you greater control over your artwork and help to maintain the integrity of the paper's surface.
By practicing these lighter pressure techniques, not only will you prevent smudging, but you'll also improve your overall colored pencil skills and create more refined, polished artwork.
Tags
Articles You Might Also Like
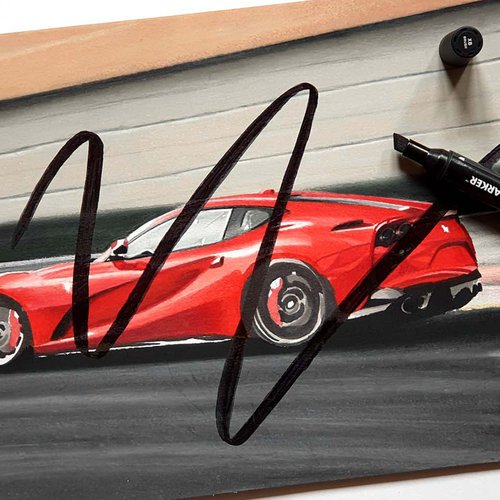


I love bringing cars to life with alcohol markers and colored pencils.
Whether you're just starting out or looking to improve your skills, I'm here to help!
Click here to learn more about me.


Be the first to comment!
Comments
There are no comments yet.