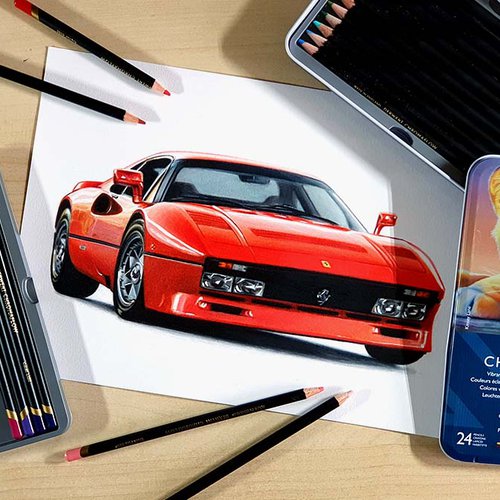
How to Make Colored Pencils Look Like Paint

Have you ever wondered how to make your colored pencil drawings look like they were painted?
Well, you're in the right place! In this article, we'll explore some awesome techniques that will help you transform your colored pencil art into a painterly masterpiece.
We'll cover layering and burnishing, using a solvent, and working with a colorless blender alcohol marker.
So, let's dive in and unleash your inner artist with these simple methods!
How Can You Make Colored Pencils Look Like Paint?
To mimic paint with colored pencils, use layering and burnishing, apply solvents, or utilize a colorless blender alcohol marker. Experiment with these techniques to find your favorite method.
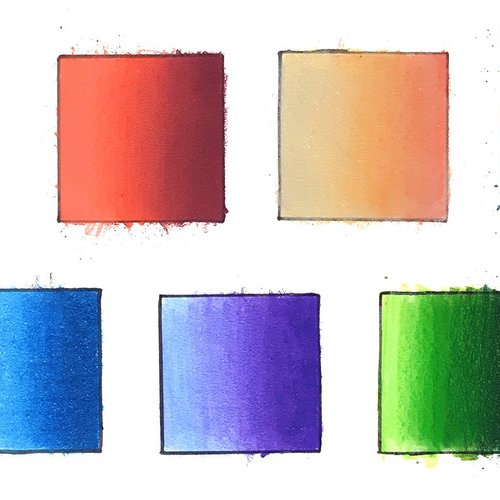
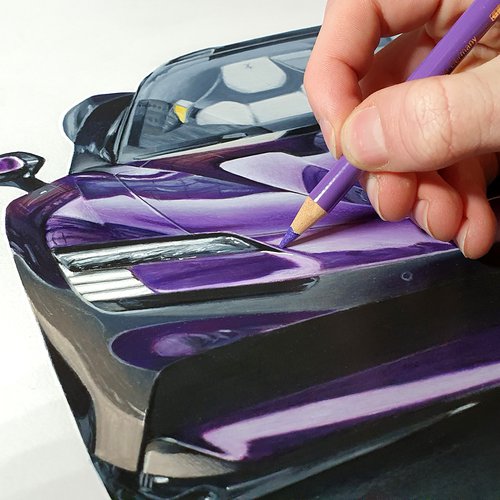
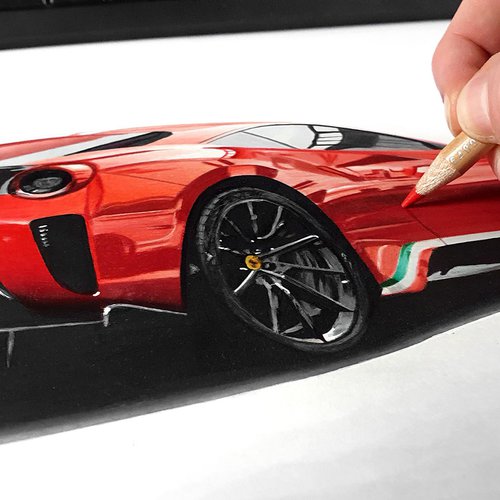
1. Layering and Burnishing
This technique is a game-changer when it comes to making your colored pencils look like paint!
Let's break it down step by step:
Start by lightly layering your colored pencil strokes, gradually building up the color. This will create a solid base for your masterpiece.
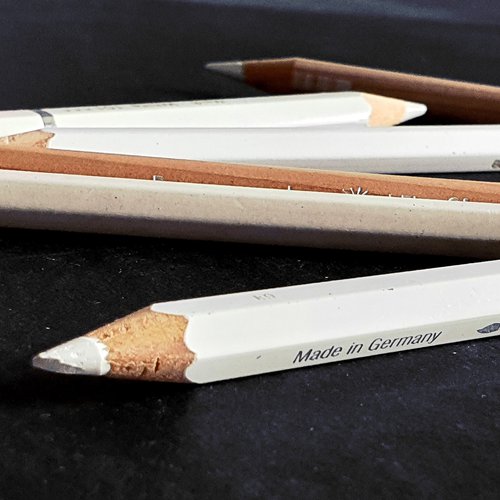
Once you've got a few layers down, grab a lighter shade or even a white pencil, and gently "burnish" the layers together by pressing firmly and blending the colors. This will give that smooth, painterly effect we're after.
Repeat the process with more layers and additional colors, always burnishing between layers to keep things looking seamless.
Here are some tips to make your layering and burnishing even more effective:
- Use a sharp pencil for more precise and smooth blending.
- Practice different pressures to find the perfect balance between color intensity and blendability.
- Experiment with various paper types, as some surfaces can greatly affect the final outcome.
With a bit of patience and practice, you'll be amazed at the stunning, paint-like results you can achieve using layering and burnishing!
For a more in-depth guide on how to burnish colored pencils check out this article.
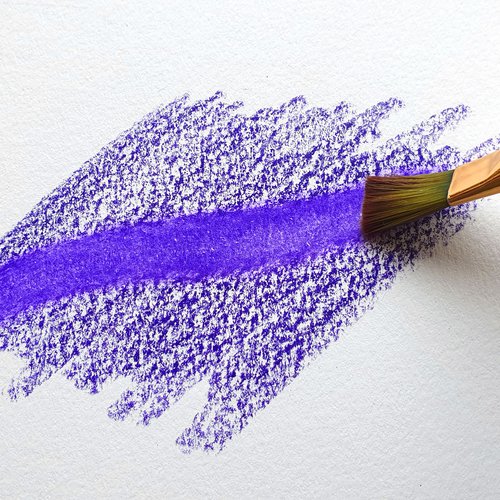
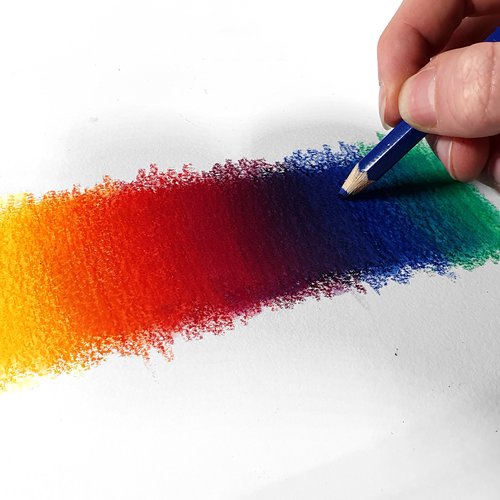
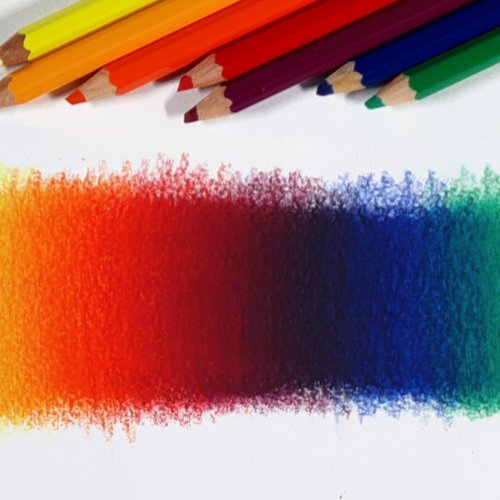
2. Using a Solvent
Solvents can break down the wax or oil binder in colored pencils, allowing the pigments to blend seamlessly, creating that dreamy paint-like effect. Here's a step-by-step guide:
First, create your colored pencil base by layering colors on your artwork. Make sure you have enough pigment on the paper before starting the next step.
Dip a small brush (a round or Filbert brush works great) or a cotton swab into your solvent of choice, like odorless mineral spirits or Zest-it Pencil Blend.
Gently brush the solvent over the colored pencil layers, blending the colors together. Be careful not to use too much solvent, as it can make your paper soggy.
Keep these tips in mind for a successful solvent blending experience:
- Always test the solvent on a scrap piece of paper with the same colored pencil and paper you're using for your artwork, to ensure compatibility.
- Work in a well-ventilated area, especially if using a stronger solvent like turpentine.
- Allow the solvent to dry completely before adding more layers or details to your piece. This mostly takes around 20 minutes depending on the solvent you use.
With a little practice and the right solvent, you'll be on your way to creating stunning, paint-like colored pencil artwork in no time! But to give you a head start I made a guide on how to use solvent to blend colored pencils.
3. Using a Colorless Blender Alcohol Marker
If you haven't heard of colorless blender alcohol markers, prepare to have your art game leveled up! These magical tools can create a smooth, blended effect that will make your colored pencil work look just like paint.
Let's walk through the steps:
- Begin by layering your colored pencil colors, just like you would for the other techniques.
- Now, grab your colorless blender alcohol marker (brands like Copic or Promarker are popular choices), and gently apply it over the colored pencil layers.
- Watch as the alcohol in the marker breaks down the colored pencil pigments and blends them together, creating a smooth, paint-like finish.
- Work from light to dark to prevent muddying the colors.
- Clean the nib on a scrap piece of paper.
Keep these tips in mind to make the most of your colorless blender alcohol marker experience:
- Apply the marker in a circular motion or small overlapping strokes for optimal blending.
- Remember that the alcohol in the marker can cause some paper types to bleed, so test it out first on a scrap piece of the same paper.
- Be patient and let the marker dry before going in with additional layers or details.
With a bit of practice and a trusty colorless blender alcohol marker by your side, your colored pencil art will look like it's been painted in no time!
Tags
Articles You Might Also Like


I love bringing cars to life with alcohol markers and colored pencils.
Whether you're just starting out or looking to improve your skills, I'm here to help!
Click here to learn more about me.


Add a comment
Comments
fantastic blog some brilliant tips on blending love the use of colourless alcohol marker for blending. white pencils wow