How to draw textures with colored pencils
Drawing textures like grass can be very tedious is you want it to look good, but that doesn't have to be the case. In this article I will show you how to draw wood, grass, fur, cobblestones and asphalt using some very easy and quick techniques.
What different types of textures are there?
There are essentially 4 types of textures: actual, implied, simulated and invented texture. Actual and implied are opposites of a spectrum, just as simulated and invented.
Actual and implied texture
Actual texture is texture that you can feel and see, real texture. The texture on your wall is an example of that, just like your keyboard, a photo collage, etc.
Implied texture is something you can only see, you can't feel it. When drawing a texture you are almost always drawing implied texture as you can't really easily draw in 3d on a piece of paper. You draw how a texture looks.
Simulated and invented texture
Simulated texture is a visual representation of an actual texture. It looks just like the actual texture, it only lacks the physical element.
On the other hand invented texture is texture that is more simplified. It gives an impression of the texture. This is often easiest to draw and it is very useful to draw hair, fur, asphalt, anything with lots of details.
Most of the techniques used in this article tend more towards the invented side as there are easy and quick techniques I will show you to draw textures like grass and asphalt.
How to draw the following textures and surfaces?
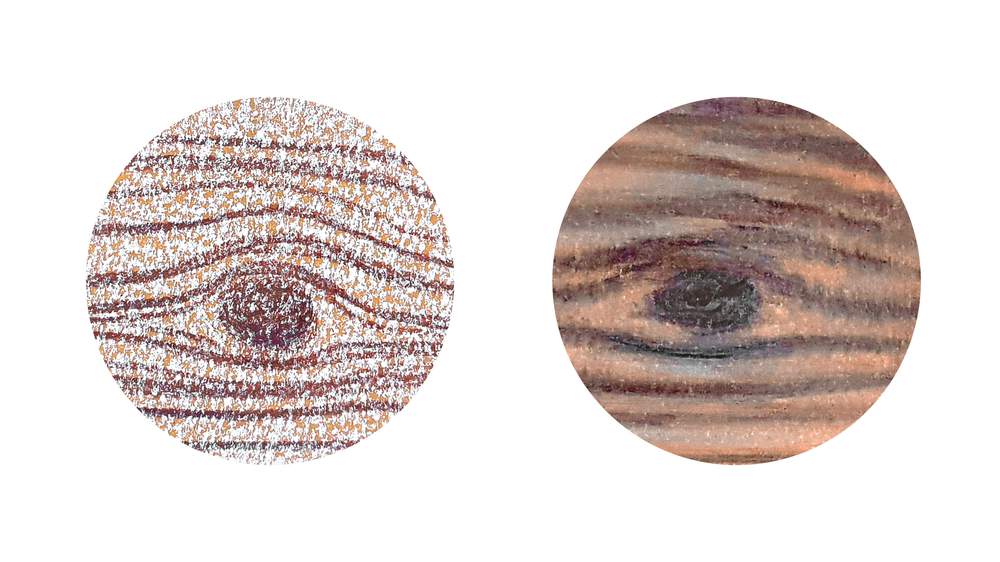
1. Wood
If you've ever looked at a wooden plank you've probably seen the darker lines, the wood grain, in the wood. The grain in the wood is the most import feature to get across when drawing wood. The grain generally is narrow when it goes in straight lines, but when it curves it gets wider. The grain also curves around every knot in the wood. Knots are also a unique feature of wood. So when drawing wood these two things are very import to get across well.
To draw wood you start of with the basic wood color and color the whole wooden area that color.
Once you've done that it's time to add the wood grain and the knots. If you want to have knots you just pick one or more, but not too many, places where you want them to be and color those areas darker brown.
Now you can indicate where the grain is with the same darker brown pencil. Keep in mind that the knots kind of push the grain away, making them curve around the knots and squeezing them a bit.
When you're satisfied with the placement of everything you can start coloring the grain and the knots.
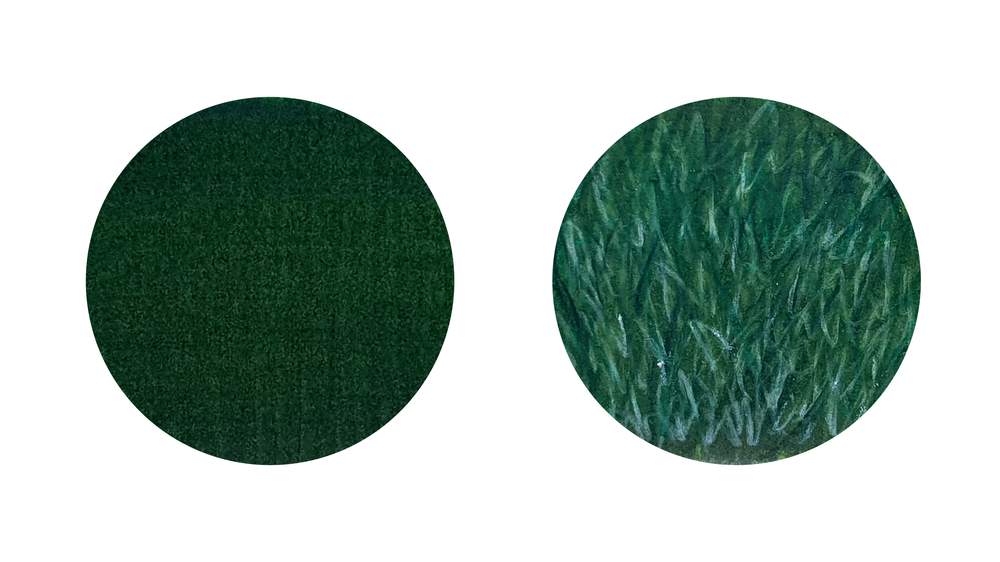
2. Grass
Grass has lots of blades pointing in many different directions. If you only want an impression of grass it is very easy to draw, but when you want it to look more realistic it can be difficult. But luckily there is a short cut that'll make it a lot simpler.
The first method is just drawing grass blades pointing in every direction starting with the light green colors and then the darker greens. This is easy and quick, but it might not give the result you wanted.
Grass often has dark space between every blade. You can of course color in all the darker space little by little, but I'm way too impatient to do that. So that's why I've included a second method.
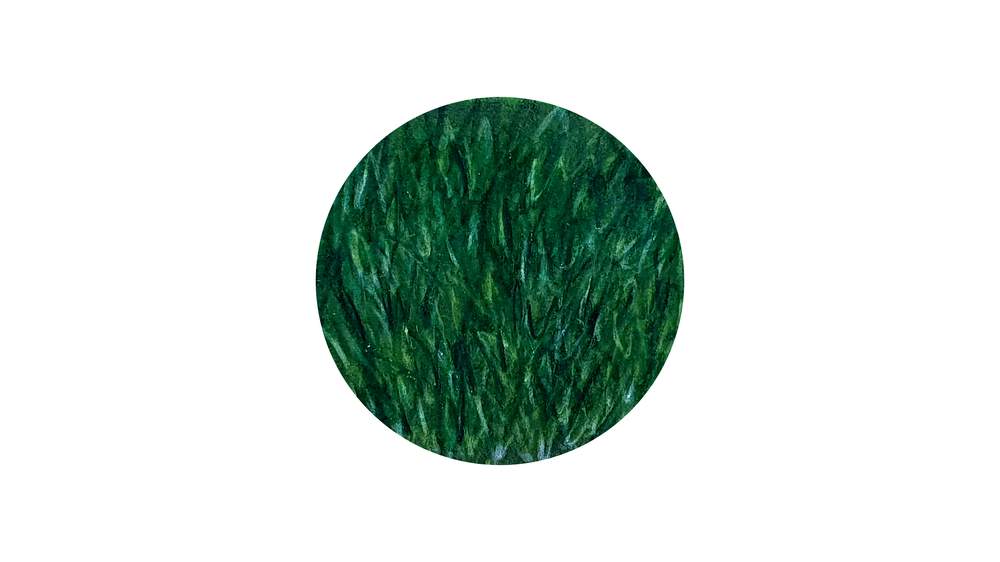
The second method uses alcohol based markers. These are great because you can really easily draw on top of them.
With a dark green alcohol marker you color in the space where you want to draw grass. Now every dark spot between the grass is already colored so you don't have to worry about that.
Now You start drawing the grass blades with colored pencils, but this time starting with the darker colors and building your way to the lighter colors.
Don't press to hard with the dark colors otherwise you can't layer the lighter colors very well on top of them.
3. Fur
The hair of the fur often has a specific direction to it. To make it look the best you need to follow that direction when drawing hair strands. This makes the shape of what your drawing clearer and more dynamic. But make sure there are also enough fly away hairs that don't follow the fur direction perfectly.
Fur is kind of a more organized grass texture that follows a specific form.
With colored pencils it is again easier to first color everything with a marker. Sometimes the fur has different colored spots, so when coloring the dark tones with alcohol markers you already decide where those spots are. For the black spots you can use a black marker, for the brown spots a brown marker and for white fur a medium light warm grey.
Once you've colored the whole area with markers you slowly build up the fur by drawing a lot of individual hair strands in the corresponding colors.
When the fur you're drawing has multiple colors make sure you overlap the different colored hair strands to make it a bit of a gradual transition between the spots.
Make sure to use at least 2 different values of each shade of fur. A highlight and a shadow color to give it more depth. Otherwise it'll look very flat.
Kirsty Partidge made a really good video about this technique on YouTube.
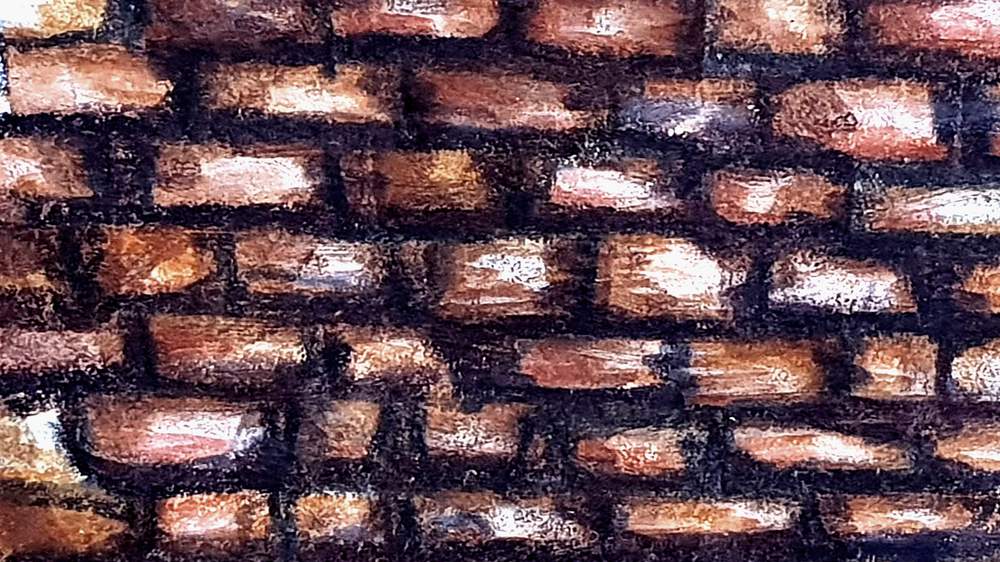
4. Cobblestones
Cobblestones are all individual stones with darker lines between them. Many cobblestones have darker or lighter spots in them and they are not perfectly flat.
Depending on the type of stones, each stone has a different color. Some are darker, others are more orange or yellow and some are just grey.
Drawing cobblestones is again easier and it will give a better result when using alcohol markers first.
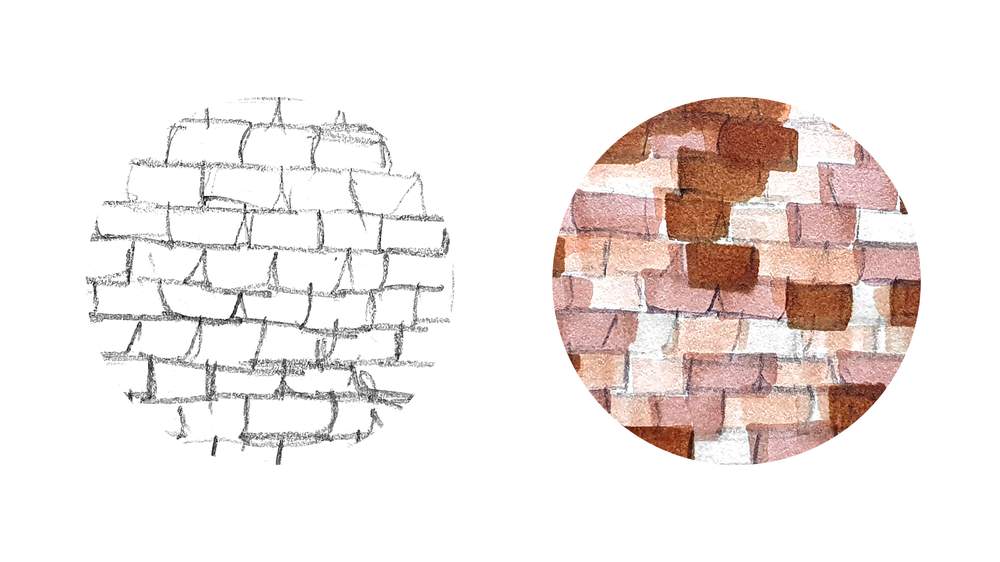
But the first thing you need to do is sketch the shape of every stone. You can do this with a dark colored pencil.
Then you color every stone with an alcohol marker. You can best use a mid tone to for this. Vary a bit in color, don't make them all the same grey tone, but make some lighter and other darker.
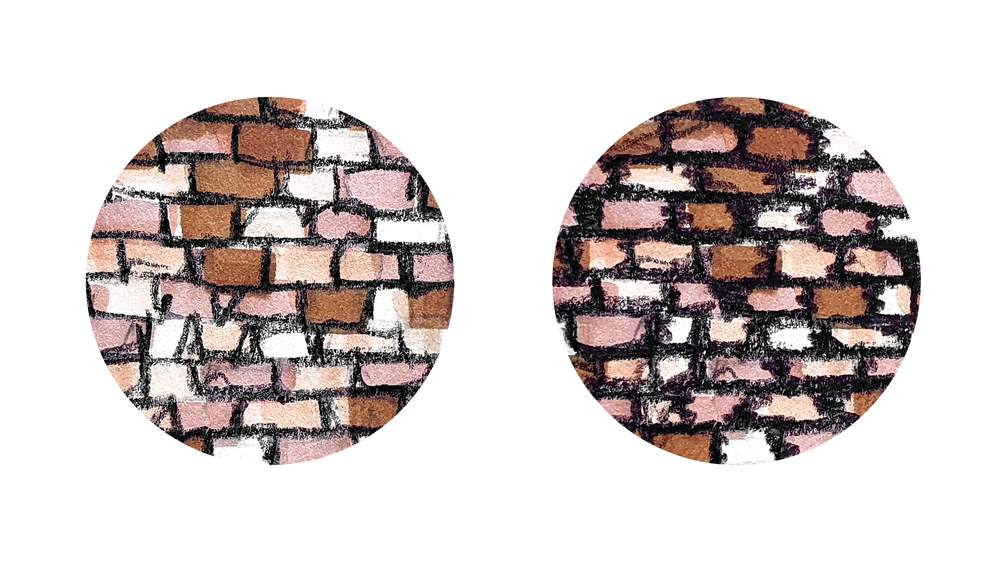
Now it's time to draw the shadow and highlights. As stones are a bit rough you can use the grain of the paper to your advantage.
The bottom edges of the cobblestones are often darker then the rest, so you can blend them a bit into the dark lines between each stone with a dark pencil. Also add dark spots where needed.
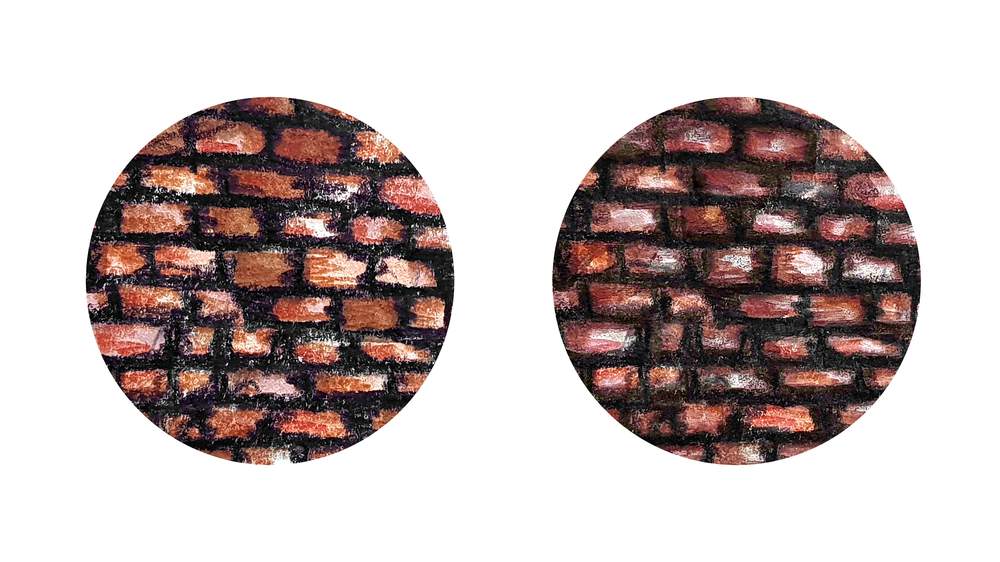
Now it's time to add the highlights with a light pencil. And that's it.
5. Asphalt
Asphalt is a fun texture to draw. That's because there is a nice short cut to draw it.
Asphalt is often dark grey and it has a lot of dark spots and some highlights.
You can of course draw all those spots and highlights individually, but that's very tedious and time consuming. I like to use the texture of the wall to draw asphalt.
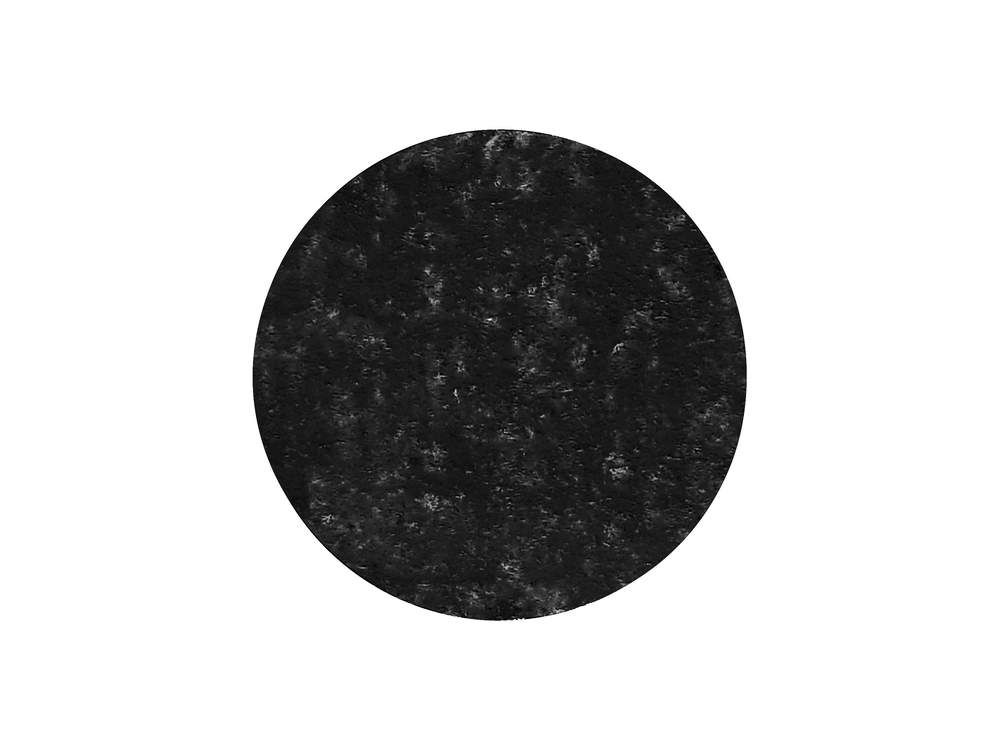
First you color the road with a dark grey pencil or marker. And again alcohol markers work best for this as you can easily add highlights on top of them with colored pencils.
Now it's time to place your drawing against the wall and color the asphalt with a black pencil. Use the side of the pencil to draw more evenly. And don't use to much pressure.
After the first layer of black pencil, move the paper a bit and Color the asphalt again with the black pencil. By doing this you add more black spots of there aren't enough yet.
Then you do move the paper to a slightly different position again and you do the same with a light grey pencil.

I love bringing cars to life with alcohol markers and colored pencils.
Whether you're just starting out or looking to improve your skills, I'm here to help!
Click here to learn more about me.


Be the first to comment!
Comments
There are no comments yet.