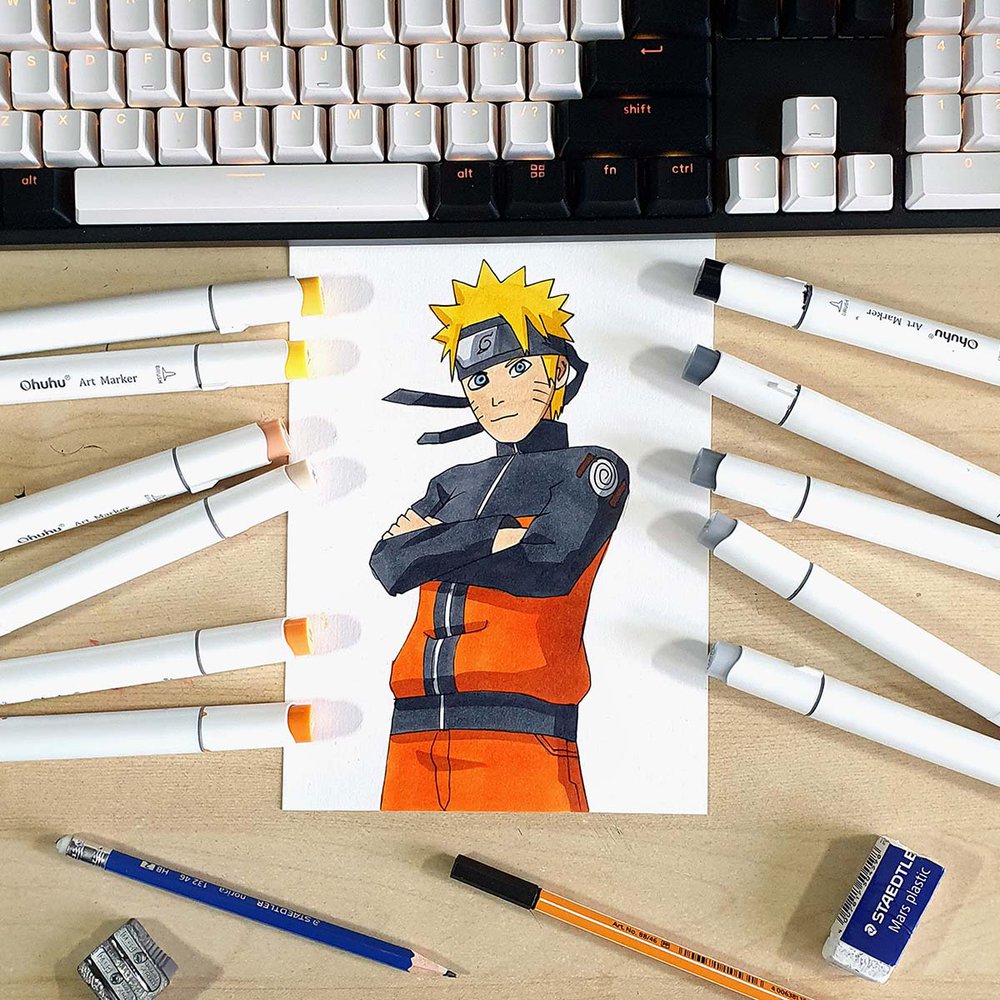
How To Draw Naruto - Easy-To-Follow Step-By-Step Guide
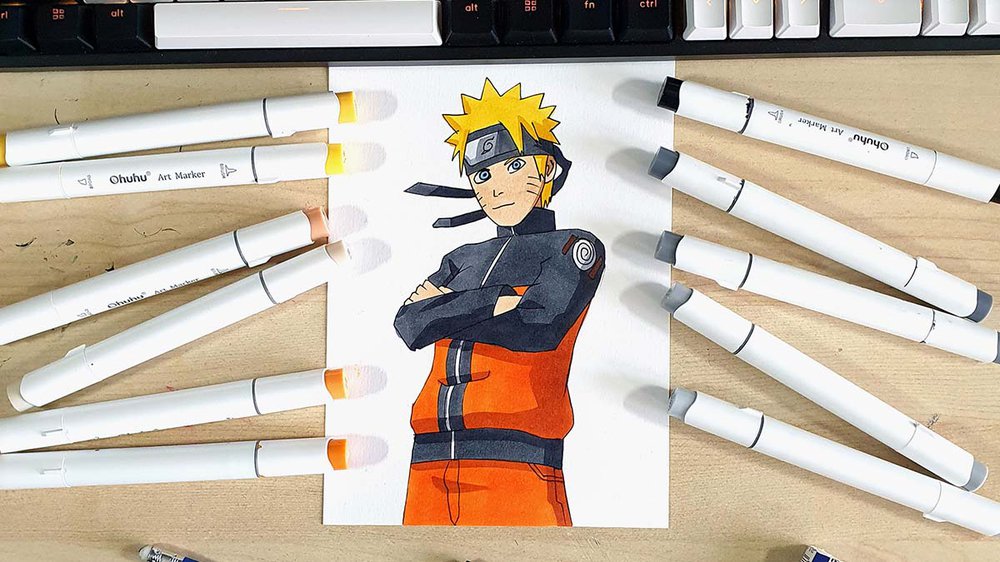
In today's drawing tutorial, I'm going to show you how to draw Naruto.
I've broken the whole process from sketching to coloring up into simple steps so you can easily follow along and create your own Naruto fan art!
Let's get started!
Disclaimer: In the name of full transparency, please be aware that this blog post contains affiliate links and any purchases made through such links will result in a small commission for me (at no extra cost for you).
Drawing Supplies I Used In This Tutorial
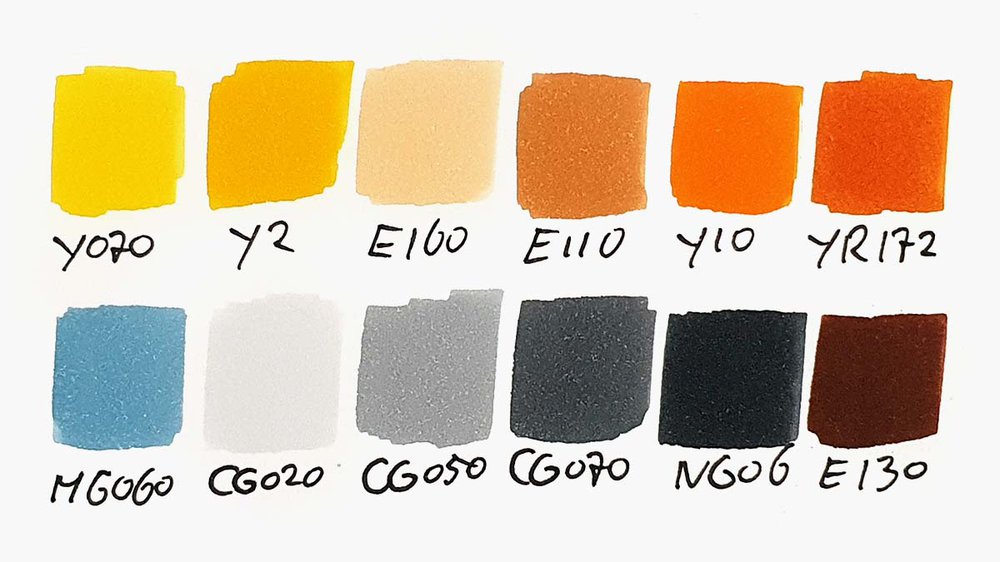
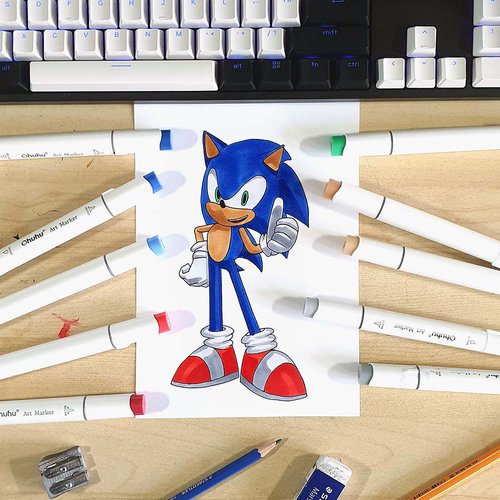
To make this Naruto drawing, I used Ohuhu Honolulu markers in the colors Blue Grey 06 (MG060), Acid Yellow (Y070), Sunflower (Y2), Soft Sun (E160), Dark Suntan (E110), Apricot (Y10), Tiger Lily (YR172), Neutral Grey 02 (CG020), Neutral Grey 05 (CG050), Neutral Grey 07 (CG070), Neutral Grey 6 (NG06), and Copper (E130).

My go-to alcohol markers for blending, rich color payoff, and amazing value. The brush tips feel super natural to draw with — a must-have for smooth gradients and realistic shading!
- Brush + chisel tips
- Great for beginners & advanced artists
- Budget-friendly alternative to Copics
I also used a black fineliner, a graphite pencil, and an eraser.
And I made this drawing on Canson Illustration Manga paper, which I cut in half.
How To Draw Naruto?
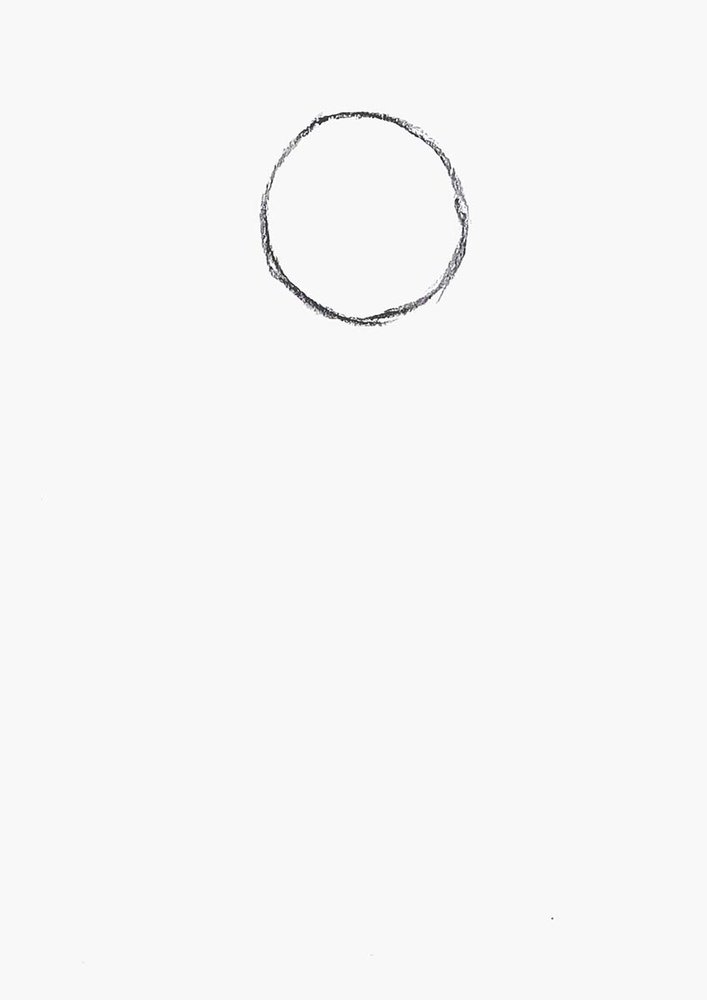
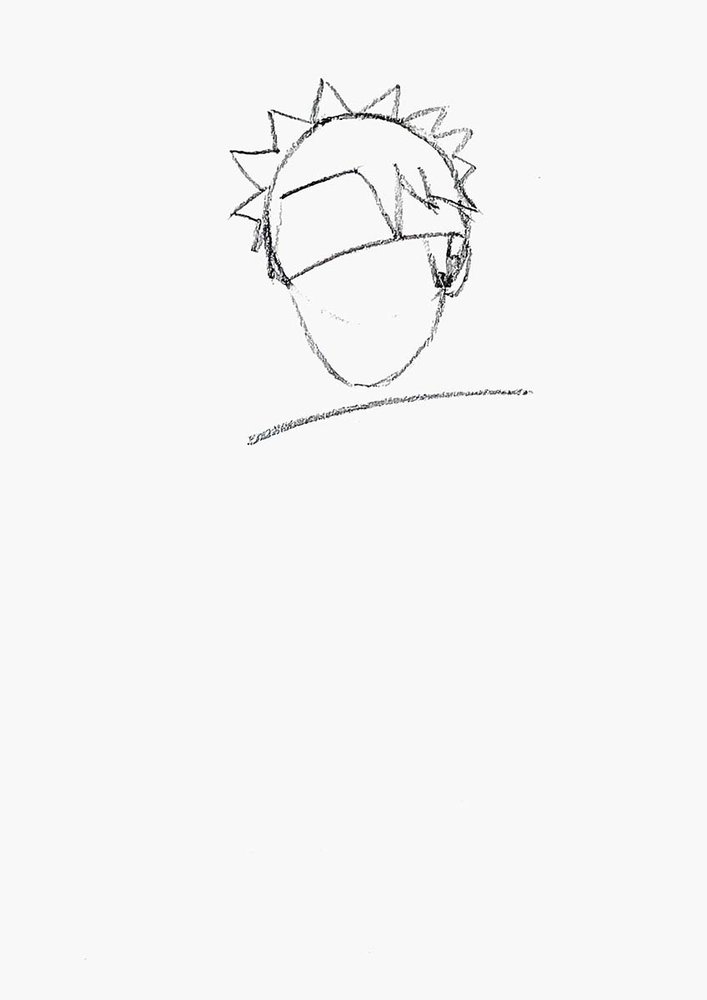
Step 1: Sketch A Circle
To start sketching Naruto, I first sketch a rough circle at the top of the paper.
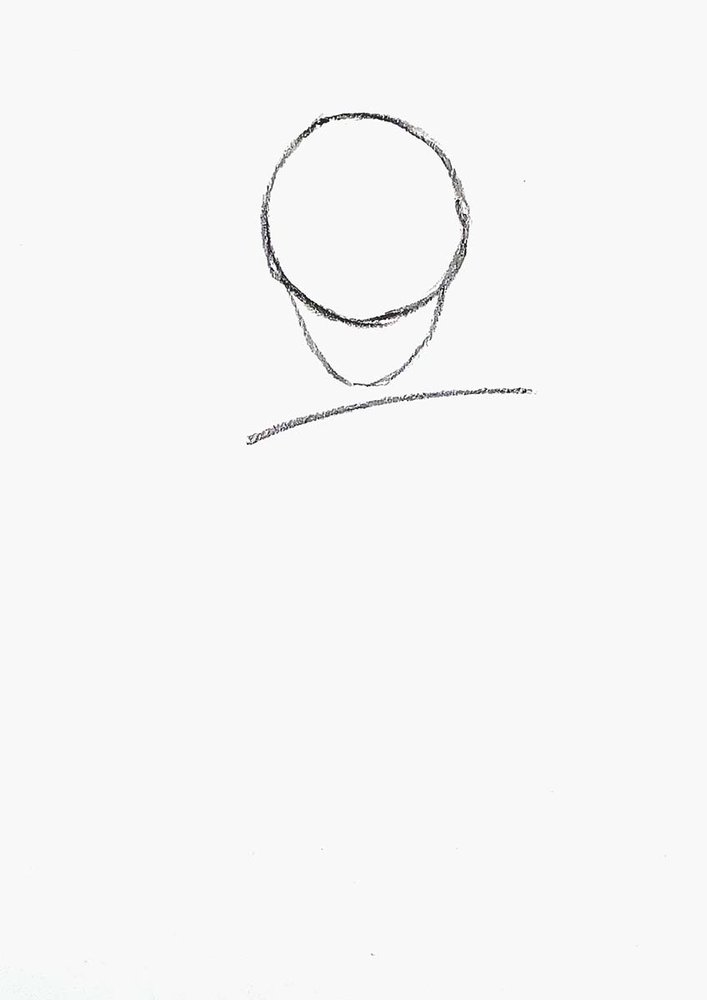
Step 2: Sketch His Chin & Shoulder Line
Next, I sketched his chin below the circle and his shoulder line below that. The shoulder line curves downwards a bit as he has relaxed shoulders.
Step 3: Sketch Naruto's Hair & Headband
After that, I sketch his headband. It's about a third of the height of the circle and covers the center third. The left edge is a bit lower and the right edge is a bit higher.
His hair consists mostly of triangular spikes which I added on the outside of the top half of the circle. I also added a few coming down either side of the headband.
I also sketched his ear on the right, essentially just a mirrored C-shape.
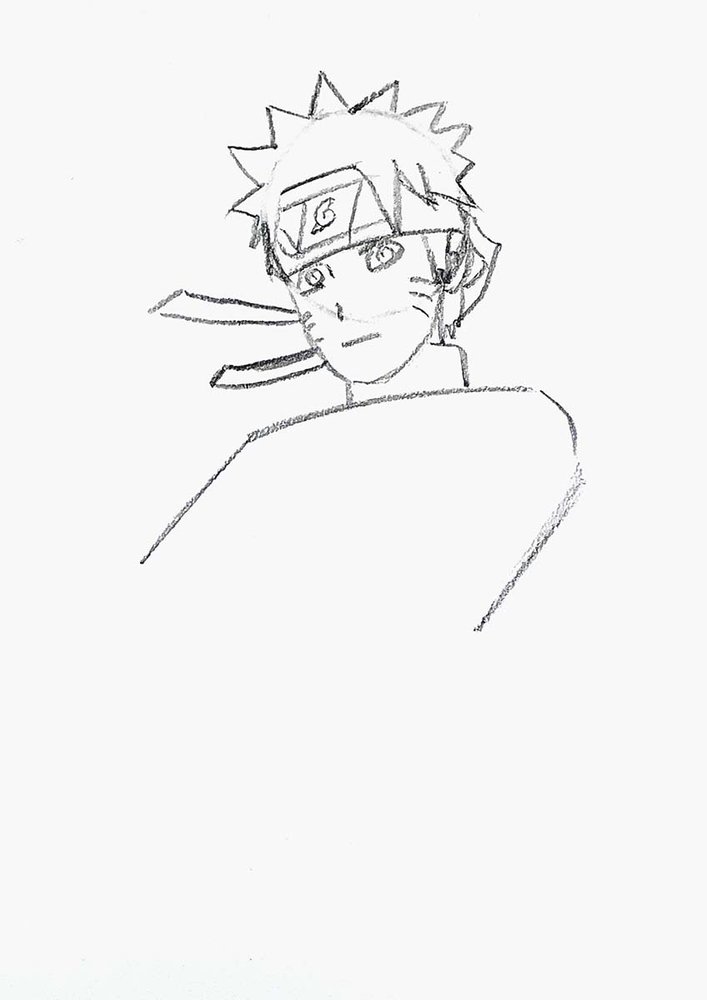
Step 4: Sketch Naruto's Face & His Upper Arms
Next, I sketch his upper arms. On the left, it's just one line going diagonally down to the left from the end of the shoulder line. On the right, I added a curve from the right edge of the shoulder line pointing down first before adding the diagonal line.
I also sketched Naruto's facial features, well most of them.
I sketched his eyes, which were probably the most difficult to position right. His is just one tiny vertical line and his mouth is one straight horizontal line.

Step 5: Sketch Naruto's Neck, Whiskers, and The Details Of His Headband
Next, I sketched the details of his headband as well as the strings frying behind his head.
I also sketched his neck and his whiskers (which I forgot in the previous step...).
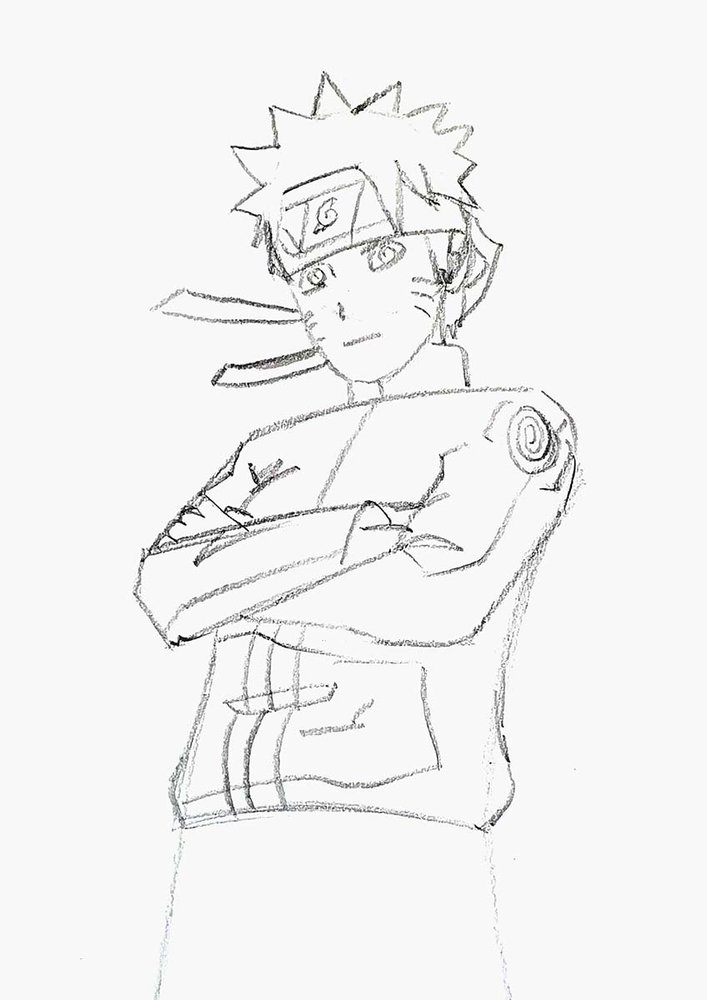
Step 6: Sketch Naruto's Arms
After that, I sketched the basic outline of Naruto's crossed arms.
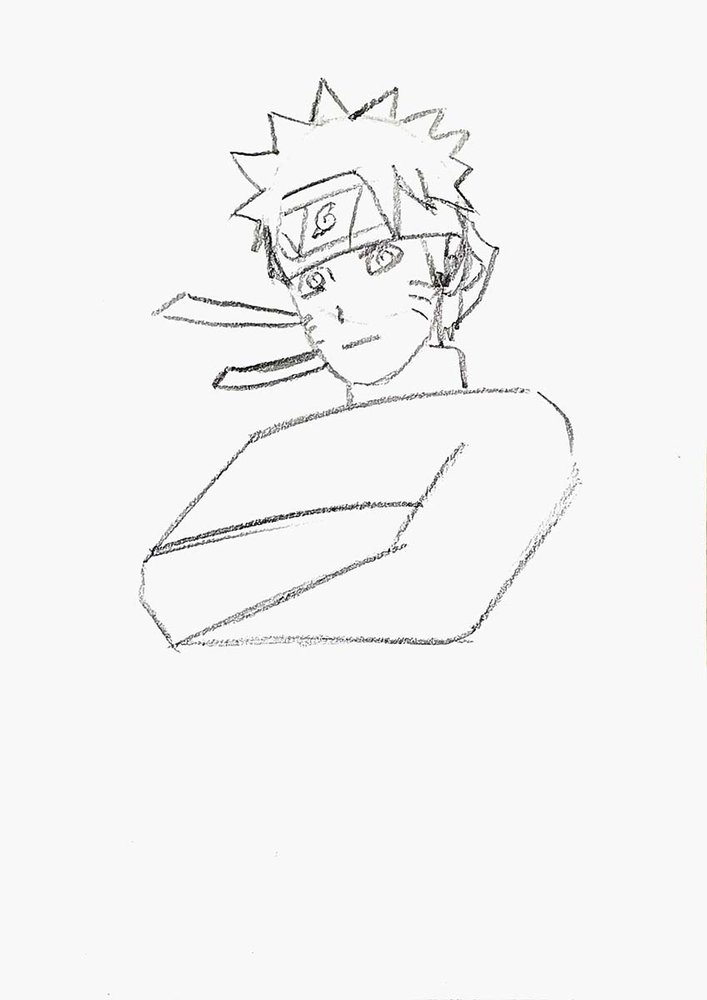
Step 7: Sketch The Basic Shape Of The Rest Of Naruto's Body
Then, I sketched the basic outline of the rest of his body. There are just 2 lines starting from both shoulders, pointing down and slightly curved to the left.
I also sketched the top edge of his pants/belt.

Step 8: Add Details To His Clothing
Lastly, I added all the details to his clothing like wrinkles, zippers, seams, etc.
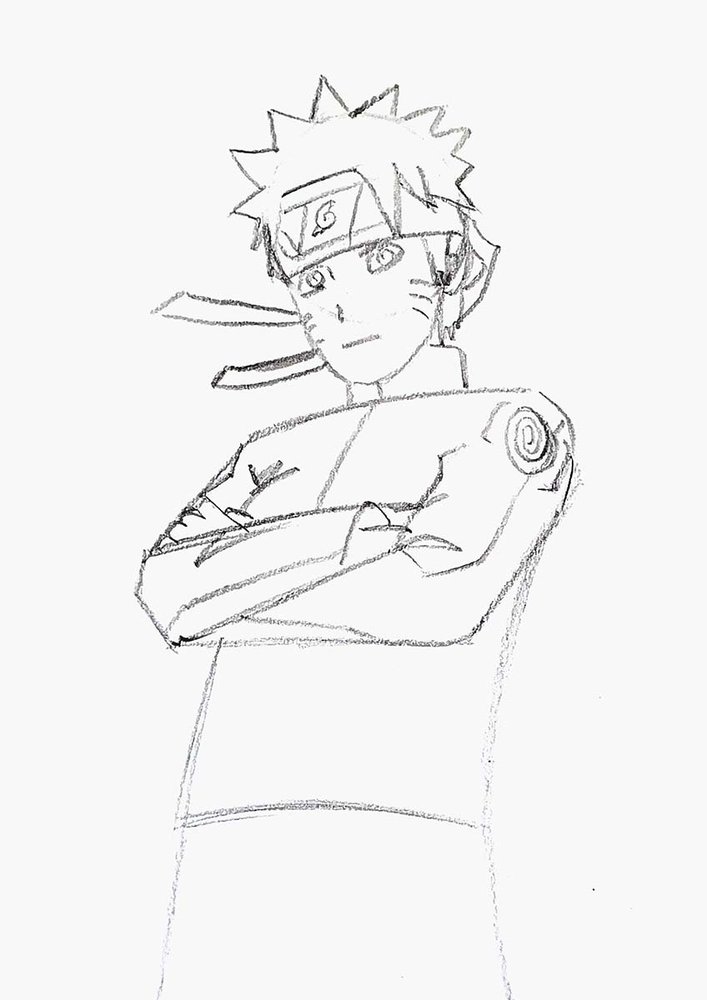
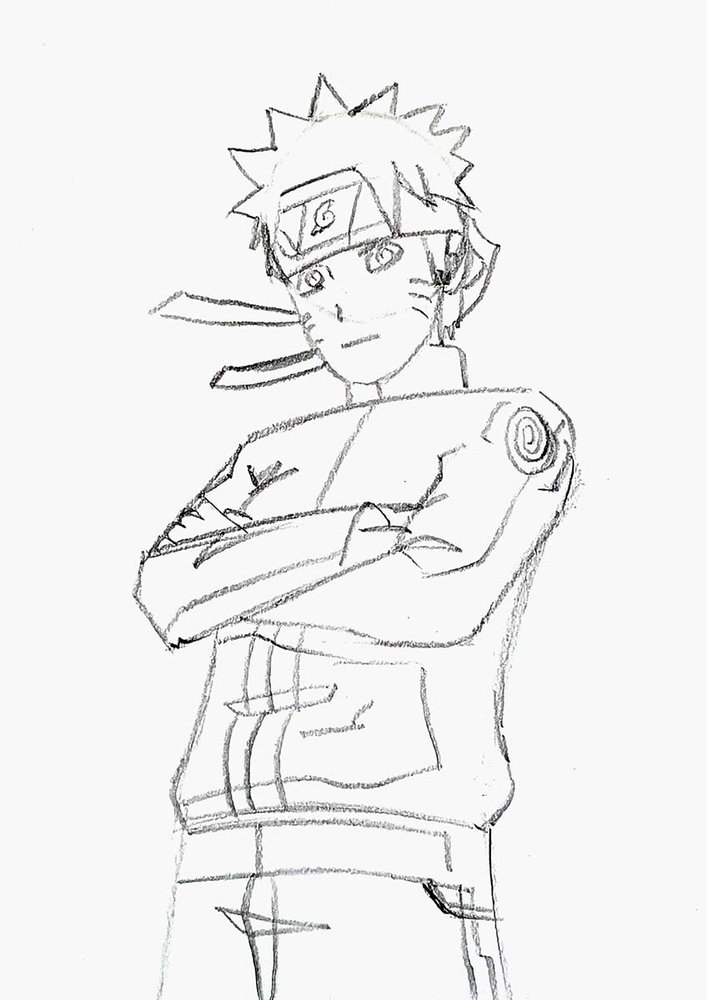
And this finishes of the sketch!
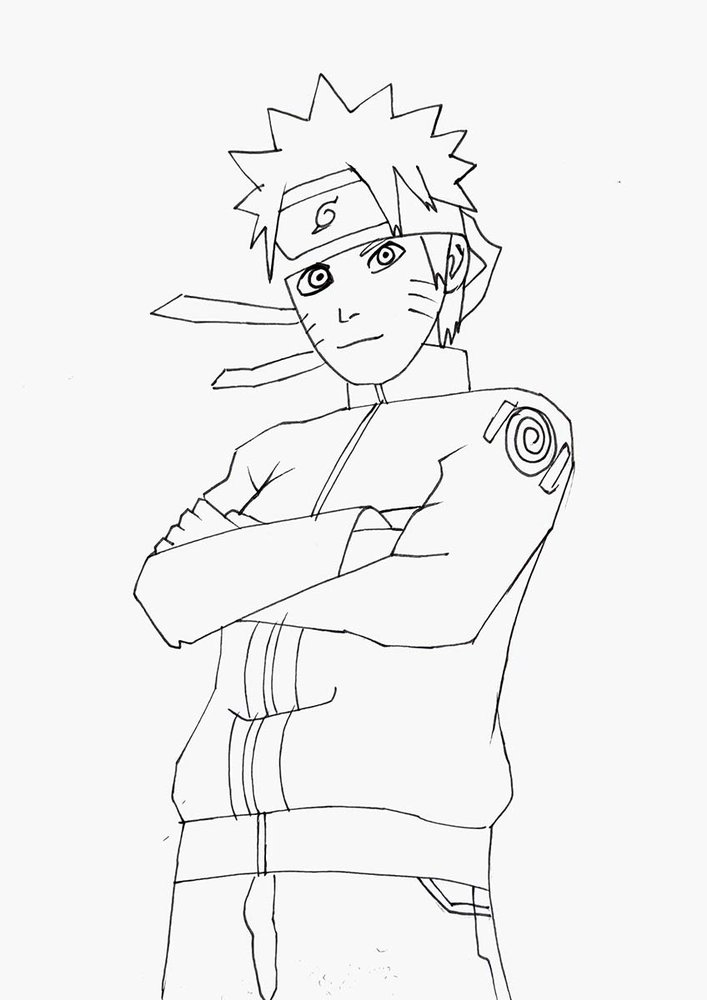
Step 9: Outline Using A Black Fineliner
To get the sketch ready to be colored, I like to first outline it using a black fineliner.
Once I'd done that, I erased the sketch.
Step 10: Color Naruto With Markers
Now all that's left is to color Naruto.
I first colored all the base colors.
I colored:
- his hair with Y070;
- the grey parts of his clothing and the dark grey of his headband with CG070;
- the light parts of his headband, the thing on his shoulder, and the zipper with CG020;
- the leather bits on his shoulder with E130;
- his eyes with MG060;
- his skin with E160;
- the orange of his clothes with Y10.

Next, I added all the shadows.
I used:
- Y2 for the shadows in his hair;
- CG050 for the shadows on the light grey part of his headband, shoulder piece, and zipper;
- NG06 for the shadows on the dark grey parts of his clothing and headband;
- YR172 for the shadows on the orange parts of his clothing;
- E110 for the shadows on his neck and the top half of his ear.
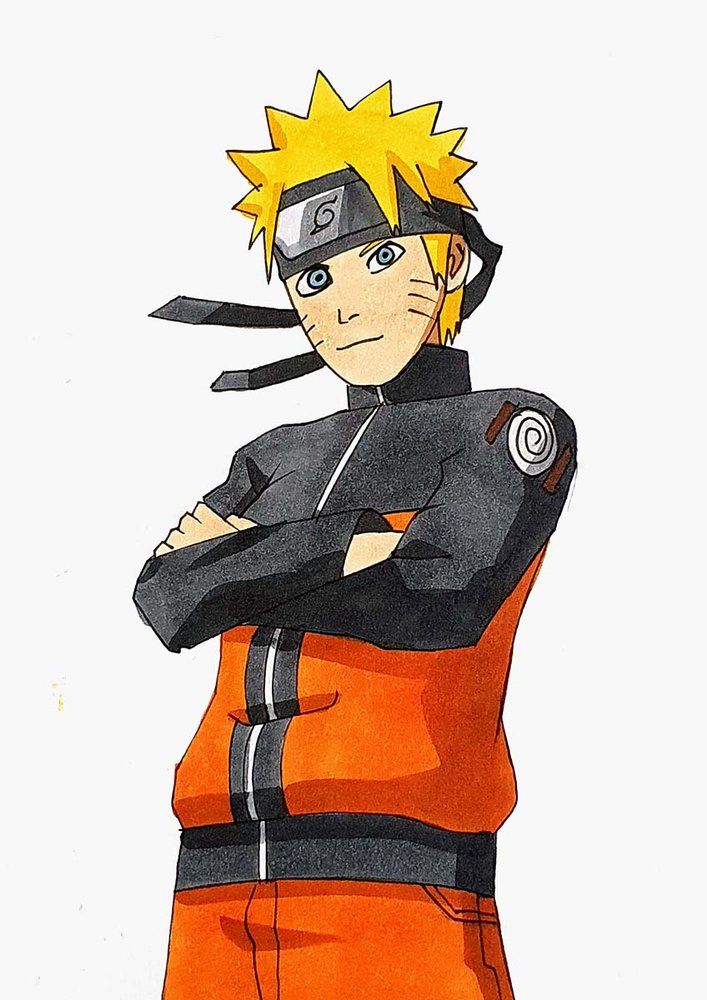
And that's how you draw Naruto!
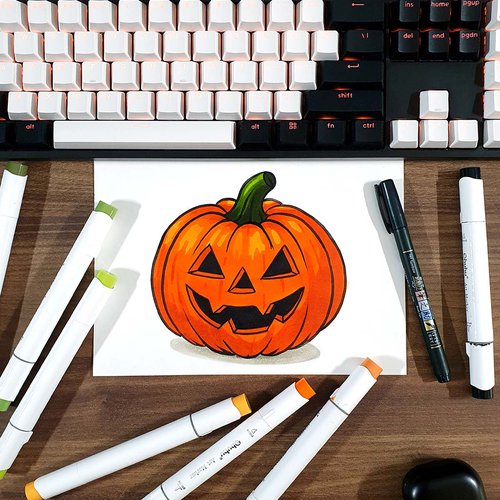
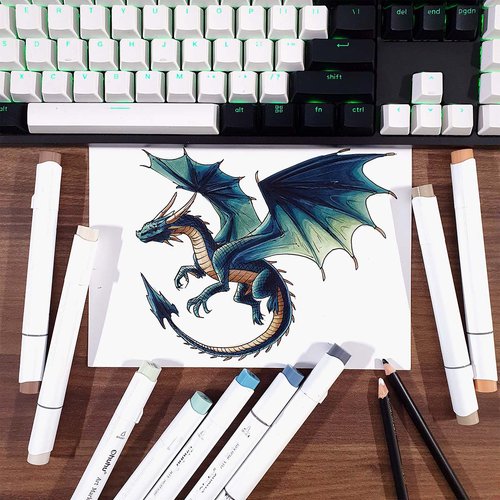
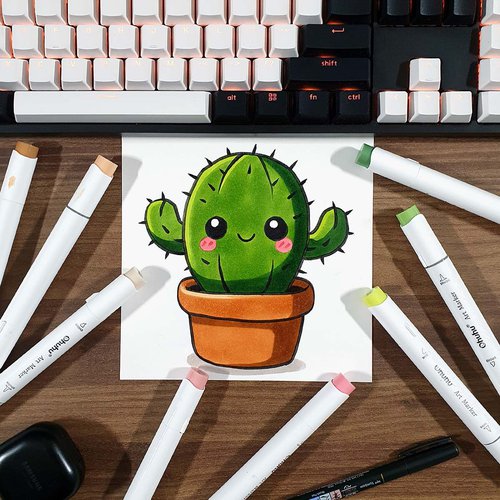
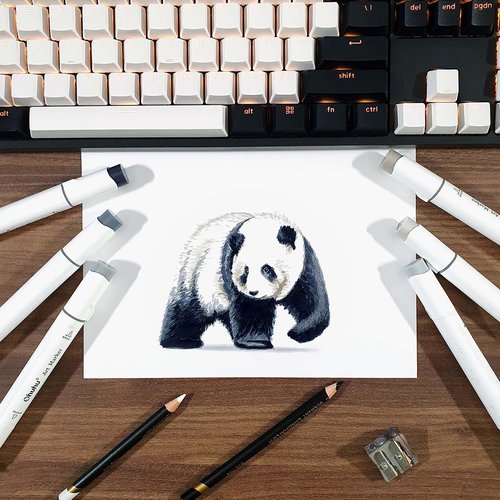
I hope you enjoyed this tutorial. If you did, below are a few more you might find interesting.
Tags
Articles You Might Also Like


I love bringing cars to life with alcohol markers and colored pencils.
Whether you're just starting out or looking to improve your skills, I'm here to help!
Click here to learn more about me.


Be the first to comment!
Comments
There are no comments yet.