How To Draw A Sunflower - Simple & Realistic Step-By-Step Guide
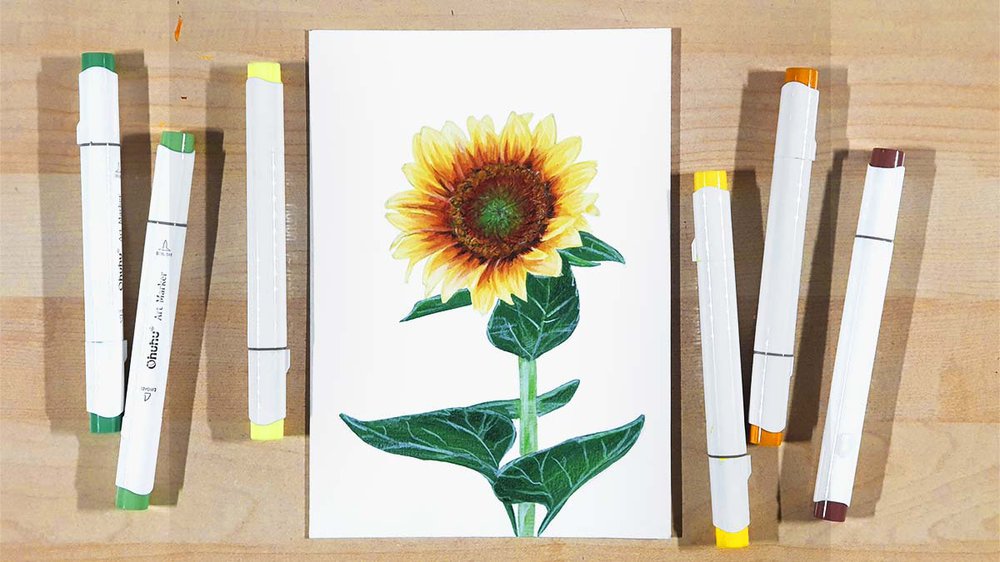
Want to draw a simple and realistic-looking sunflower?
In this tutorial, I'm going to show you step-by-step how to draw a sunflower that is simple and looks realistic.
Let's get started!
Disclaimer: In the name of full transparency, please be aware that this blog post contains affiliate links and any purchases made through such links will result in a small commission for me (at no extra cost for you).
Drawing Supplies I Used
To make this sunflower drawing, I used a combination of alcohol markers and colored pencils.
I used Ohuhu Honolulu markers in the colors Y040 Calamansi, Y070 Acid Yellow, Y140 Nugget, YR172 Tiger Lily, E130 Copper, G260 Apple Green, G470 Pine Green, and Y180 Shallow Orange Cafe.
If you're on a tighter budget, these Caliart markers seem like a good and cheap alternative.
I also used Chromaflow colored pencils in the colors 2400 White, 2300 Black, 0200 Amber Gold, 1900 Burnt Sienna, 2000 Raisin, and 1800 Grass Green.
And I made this drawing on my favorite marker paper: Canson Illustration Manga. For this drawing, I cut one sheet in half to make it A5-size.
The Reference Photo I Used
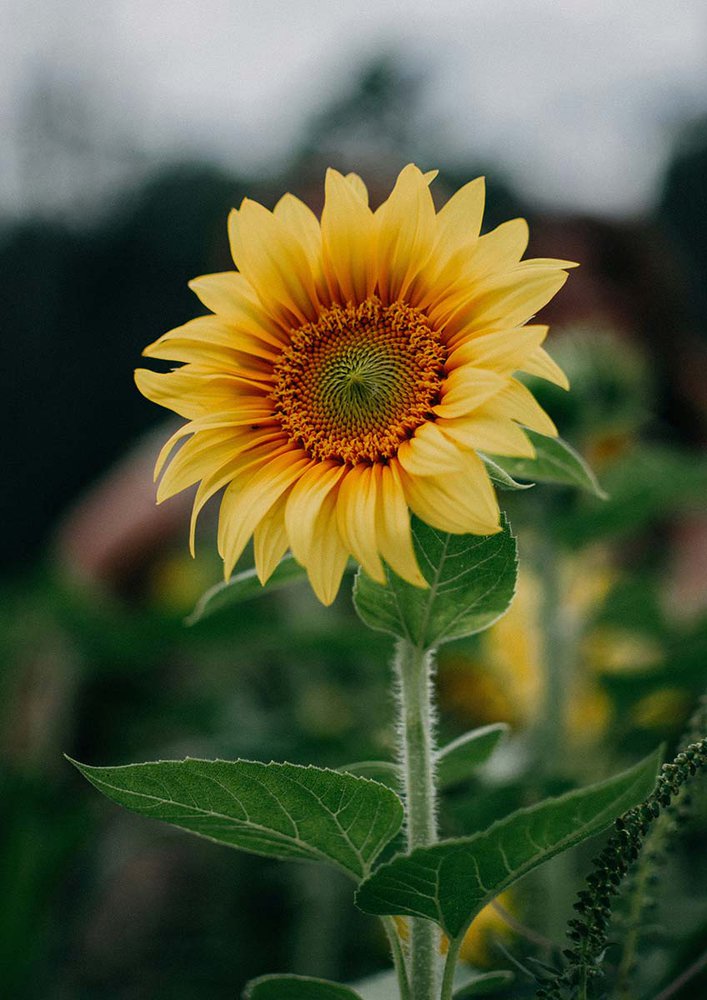
When drawing realism, it's always good to use a reference photo. This makes it easier to get the shapes, the colors, and the details accurate.
To make this drawing, I used this image I found on Unsplash as a reference.
How To Draw A Sunflower - All Steps
To make a drawing of a sunflower, you start by sketching the basic shape of the flower. Then refine your sketch by adding the individual leaves and then the details. Next, use markers to color the whole flower and work from light to dark. Then you add details with a few colored pencils.
Step 1: Sketch The Basic Shape Of The Sunflower
I first marked the top, left, bottom, and right edges of the flower.
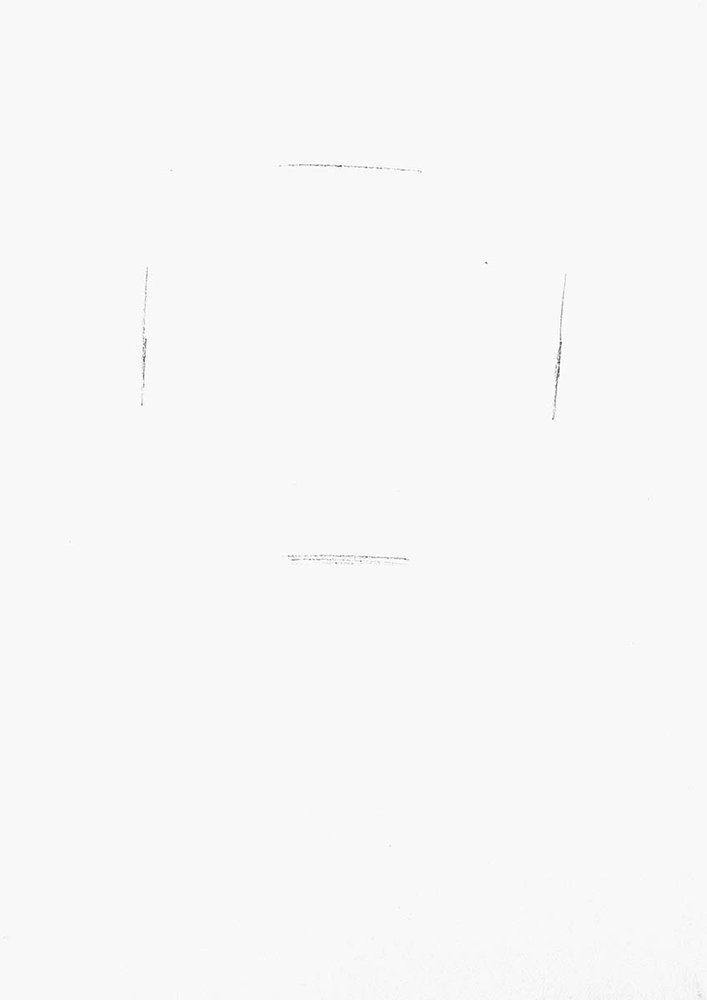
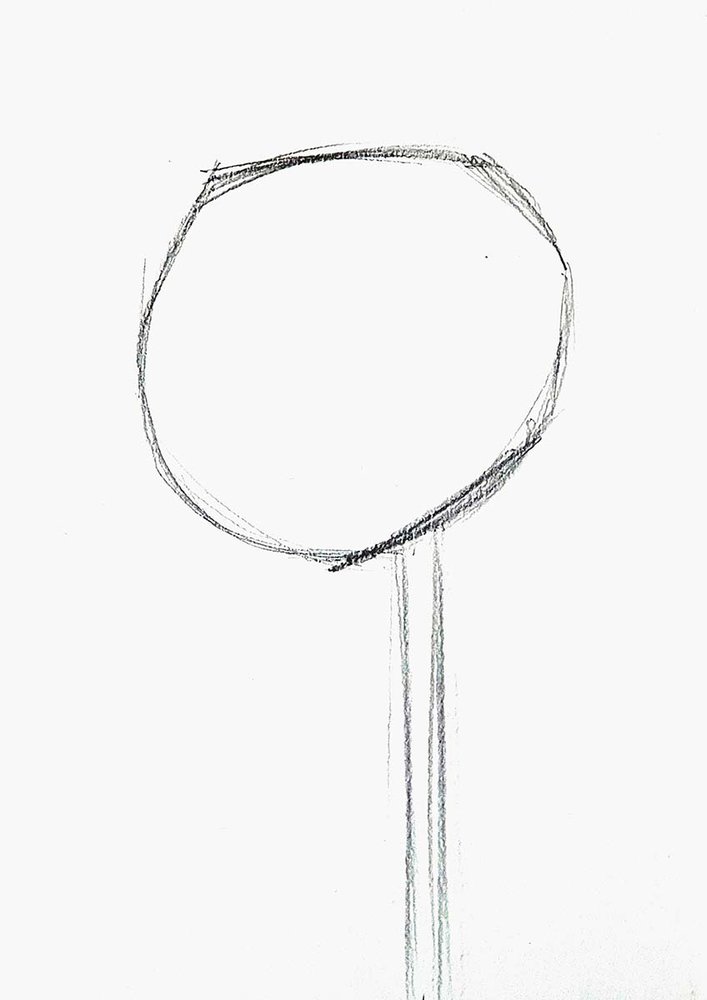
Based on those markings, I sketched the outline of the flower and I sketched the base of the stem.
I didn’t make the flower shape completely round as it isn’t perfectly round in the reference. It had some flat edges and it’s a little wonky.
For example, the top is quite flat, as are the next 3 sections after it. The part on the left, however, is pretty rounded.
Step 2: Sketch The Leafs & The Petals
Next, I roughly sketched the leaves on the stem of the sunflower.
To do this, I looked at the overall shape of each leaf, marked some key points like the point of the leaf, and then sketched the outline.
It doesn’t have to be an exact replica of the one in the reference, but I tried to keep the overall proportions similar so that it doesn’t look stretched out in one direction.
Apart from that, it doesn’t really matter as long as they look sort of leaf-shaped.
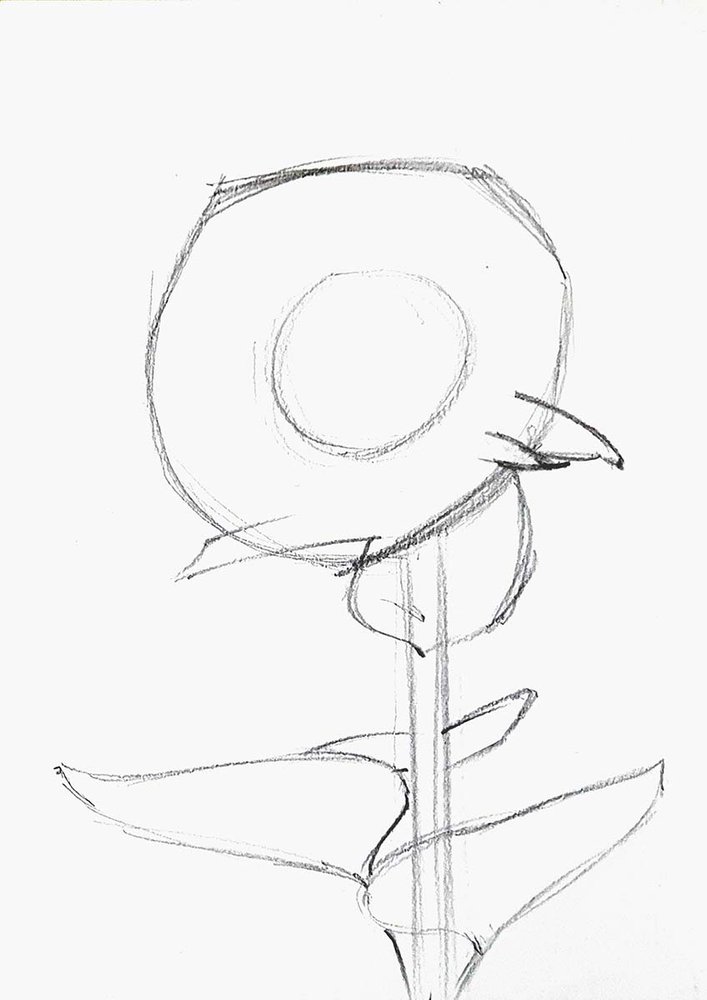
After that, I started sketching each petal one by one, starting with the easiest ones of course.
In this case, the petal in the top left corner was easiest as it was in the corner and in front of the other petals.
I first looked at the reference to see how the edges were shaped and then I tried to replicate a similar shape on my sketch.
From that starting point, I continued to add more petals to the left of it. Until I got stuck on some more difficult ones.
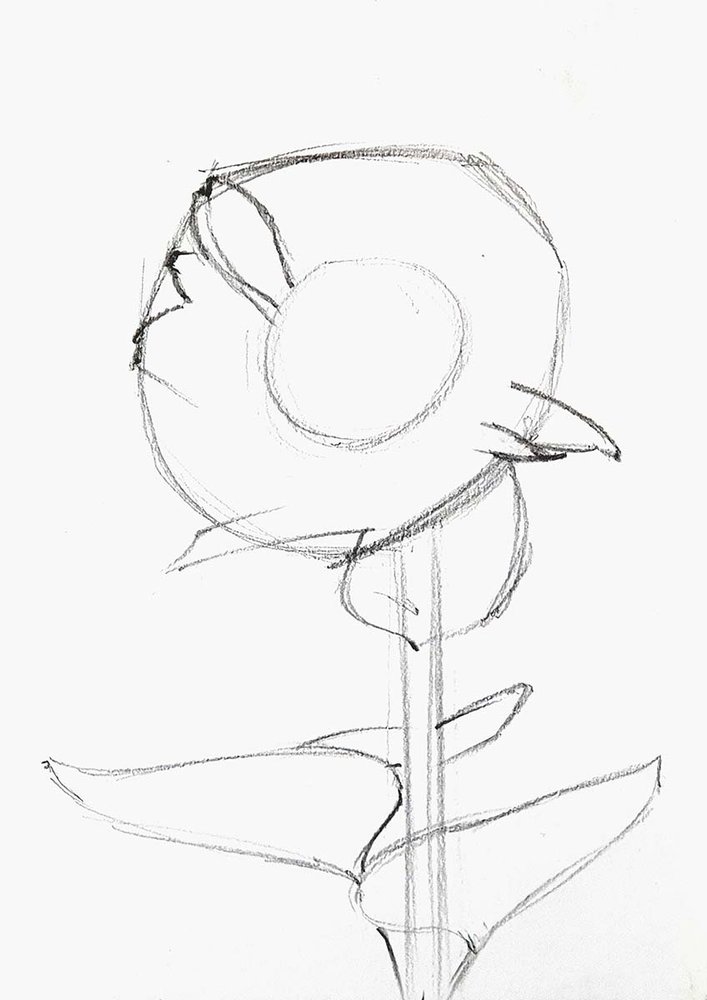
I decided to add some more petals to the top. Again, first the petals in the foreground, then the ones partially hiding behind them.
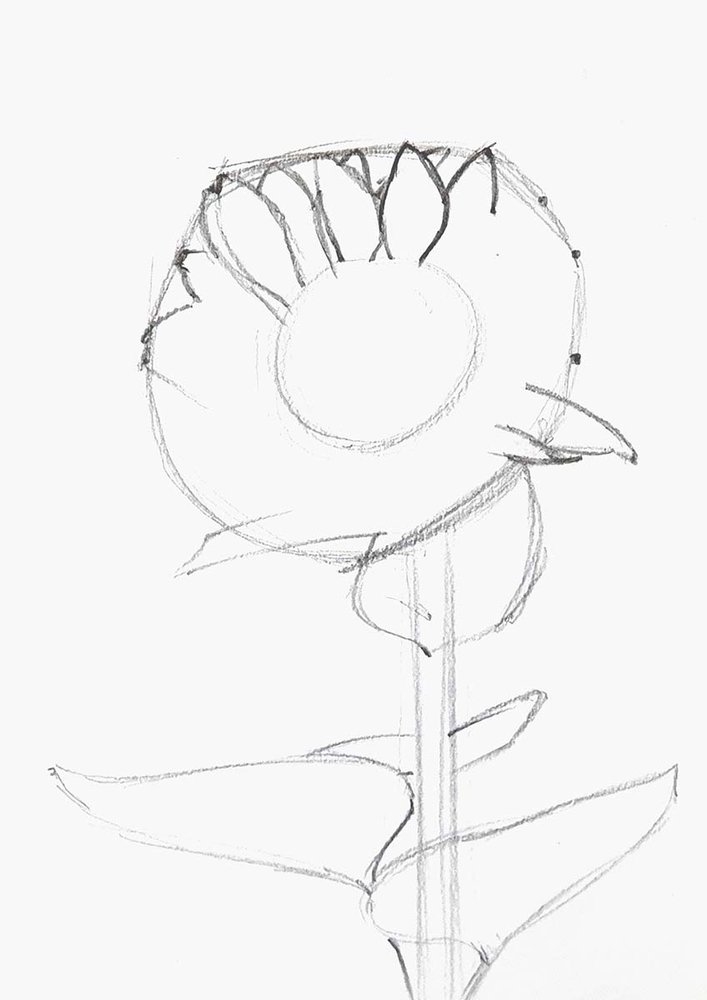
The next section was a bit more complex as there were so many petals overlapping.
To make it look somewhat similar to the reference photo, I based the placement of each next leaf on the ones I had already sketched.
For example, some petals overlap others. I look at the spot where one overlaps the other and mark it with a point on my sketch. From there I start sketching the next petal.
I also mark the tip of each petal before I sketch both sides.
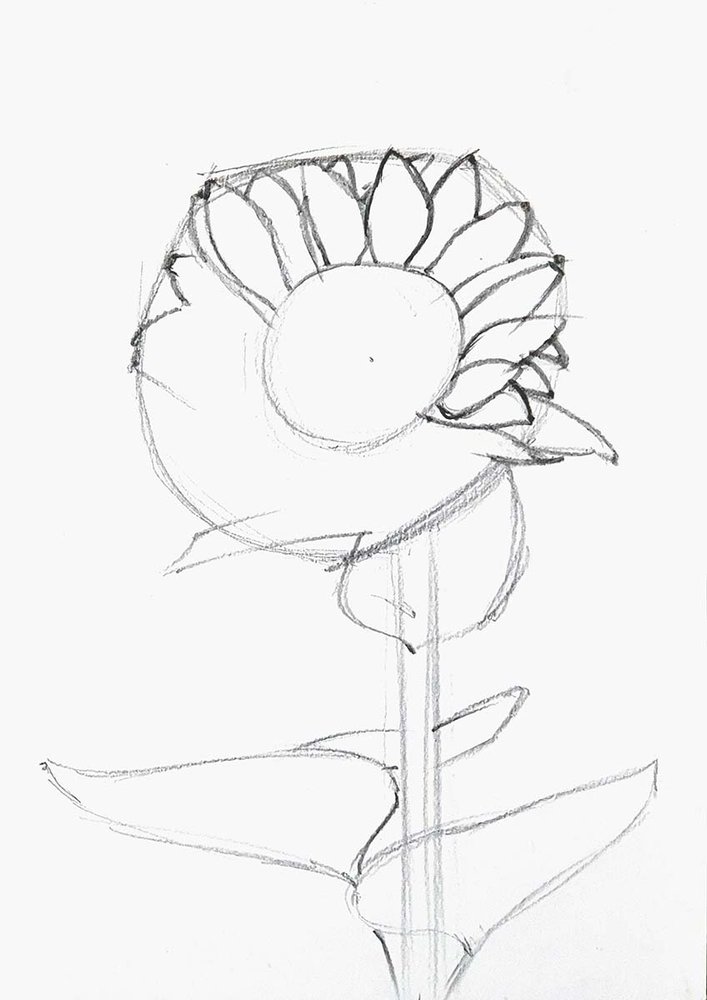
I continued this until I had sketched all the petals.
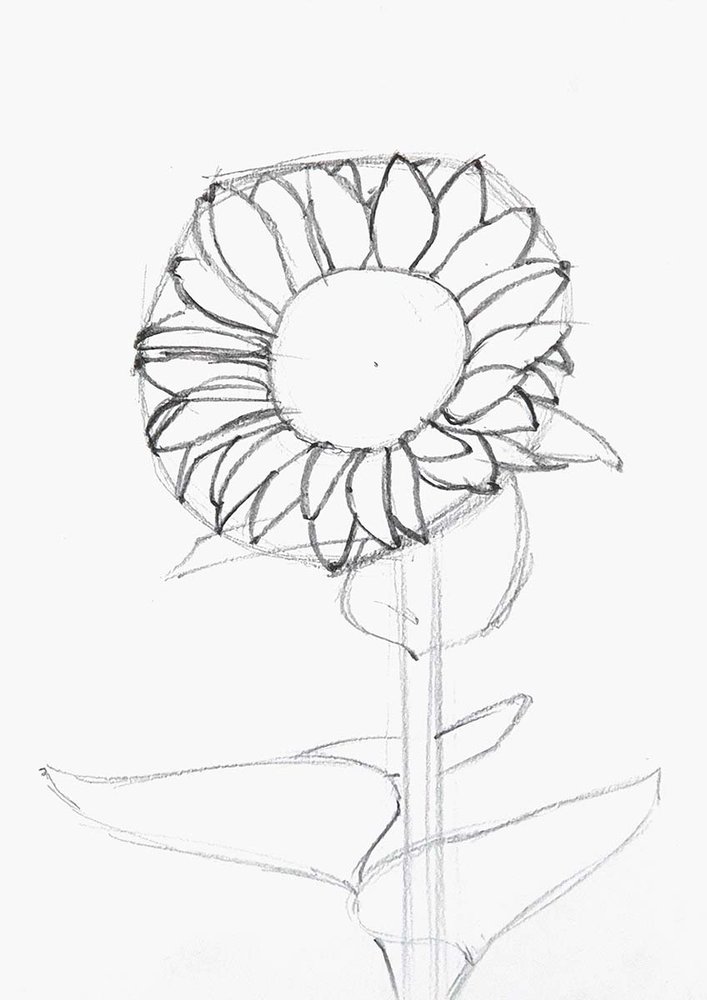
Lastly, I roughly marked the so-called disk florets on the outside edge of the center.
And that's the sketch all done.
It doesn't have to look perfectly like the reference. You can leave out some leaves if they don't fit in your sketch.
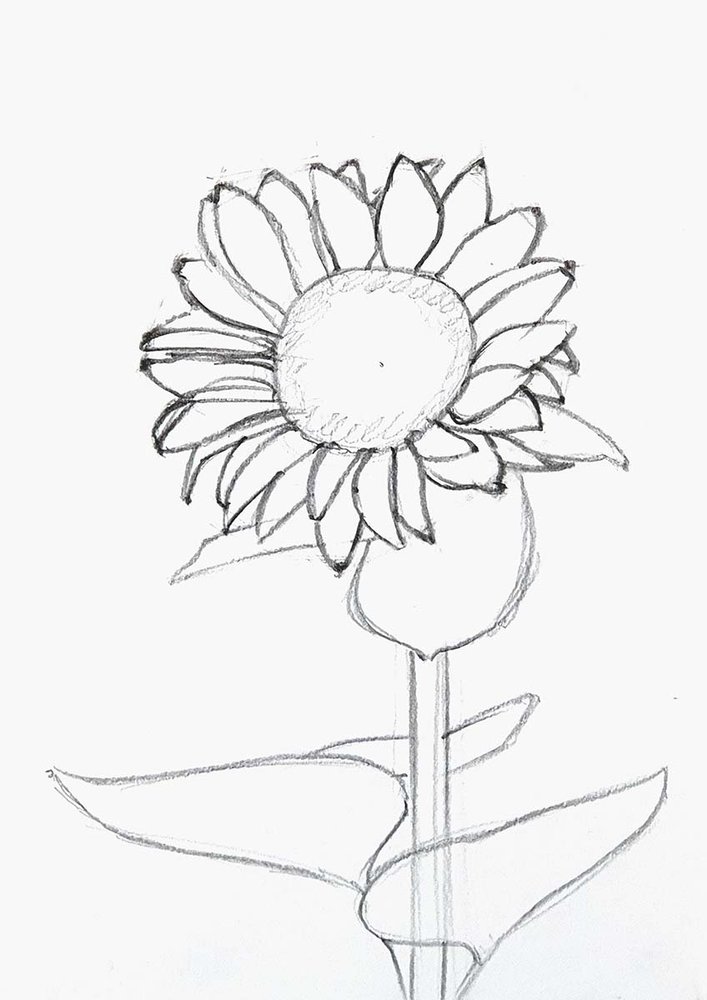
Step 3: Color In The Sunflower
Now that the sketch is all done, it’s time to start coloring the sunflower using some alcohol markers.
But before we do that, you’ll need to erase your sketch until you can just about see the sketch lines.
This prevents your sketch from showing through the ink.
Now that that’s done, we can start coloring.
I started by coloring the petals with Y040.
Yes, I did accidentally color a leaf yellow that was supposed to be green... But that's an easy fix for later.

Next, I used Y180 to color the disk florets and I colored the seeds in the center with G260.

After that, I used YR172 to color the remainder of the center. I blended that color into the green by first coloring over the edge with Y180 and then with G260.

Next, I colored the stem and the leaves on the stem. I used G260 to color the stem and G470 to color the leaves. I also fixed my mistake from earlier.

Step 4: Add Depth To The Leaves
Now that the base colors are in, we can add more depth to the leaves.
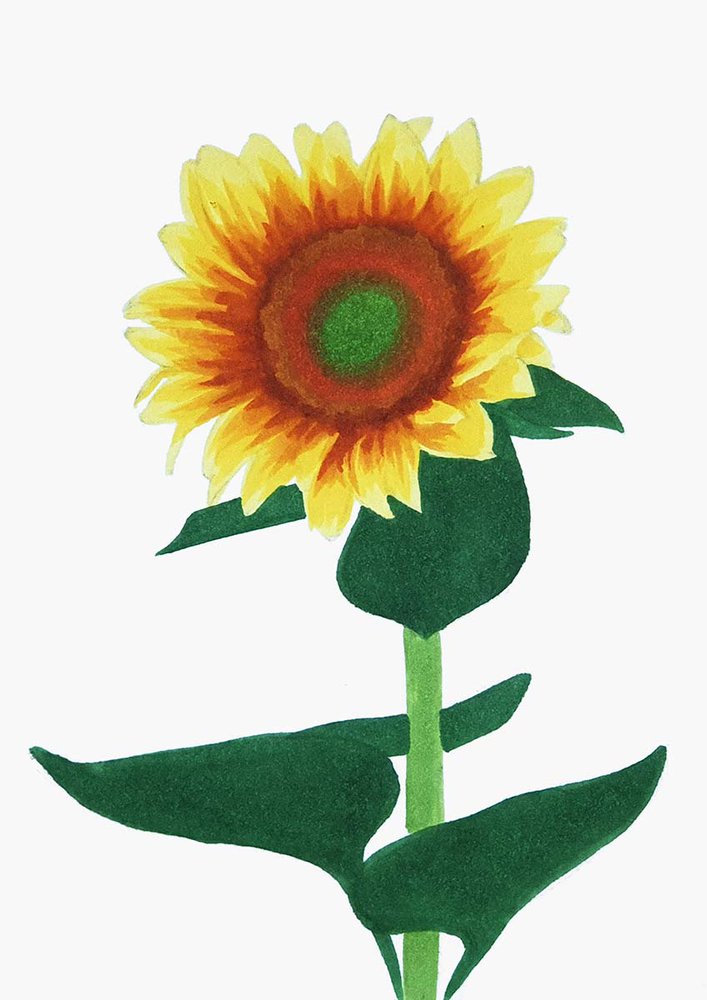
I first used Y070. I colored each leaf one by one.
I looked at the reference to see where the lightest parts were that needed to stay light yellow. Next, I used Y070 to color the rest of the leaves that needed to be darker. I used the brush nib and colored from the base of each petal to the tip to somewhat replicate the ridges in the petals.
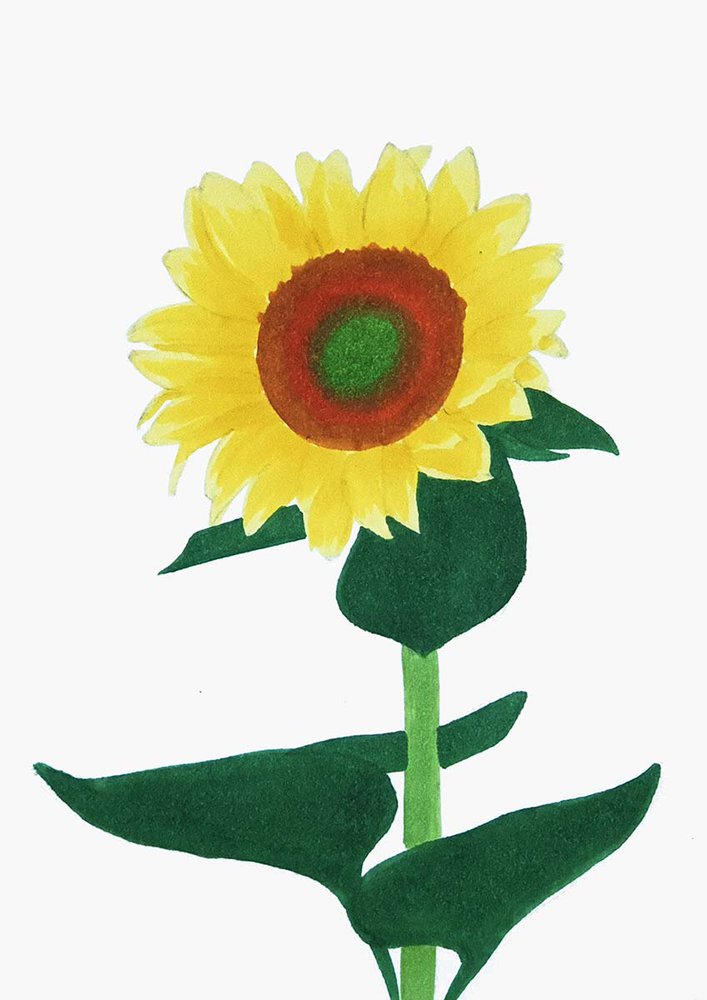
Then, I used Y140 to color the next darkest parts using the same technique.
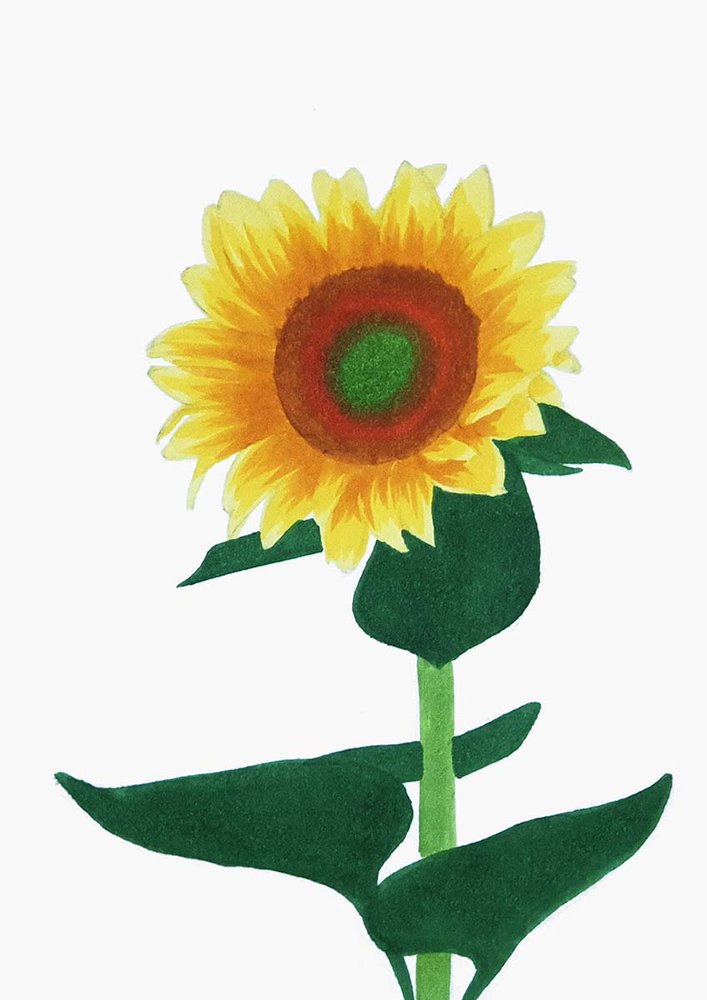
And I did the same for YR172 next.
Step 5: Add Final Details To The Flower
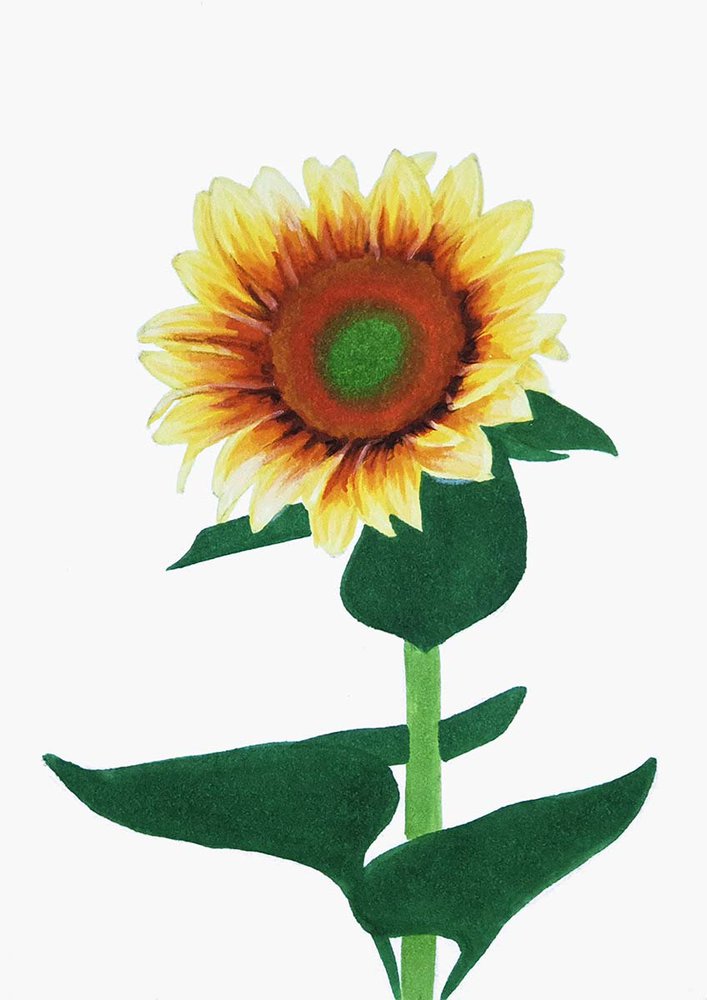
In the previous step, I forgot to color the base of the bottom and right petals with E130... So I did that in this step.
I also added some details to the ridges in the petals with the white Chromaflow pencil. To do this I colored lines that follow the shape of the petal from the tip to about halfway.

Next, I used black to add some really dark and short ridges at the base of the bottom and right petals.
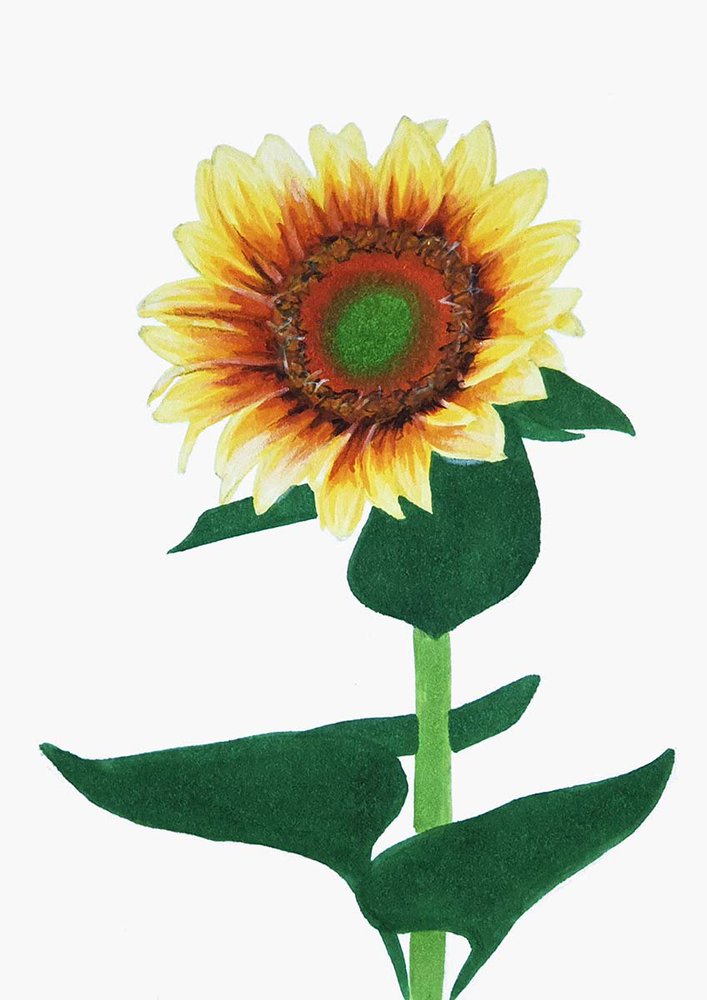
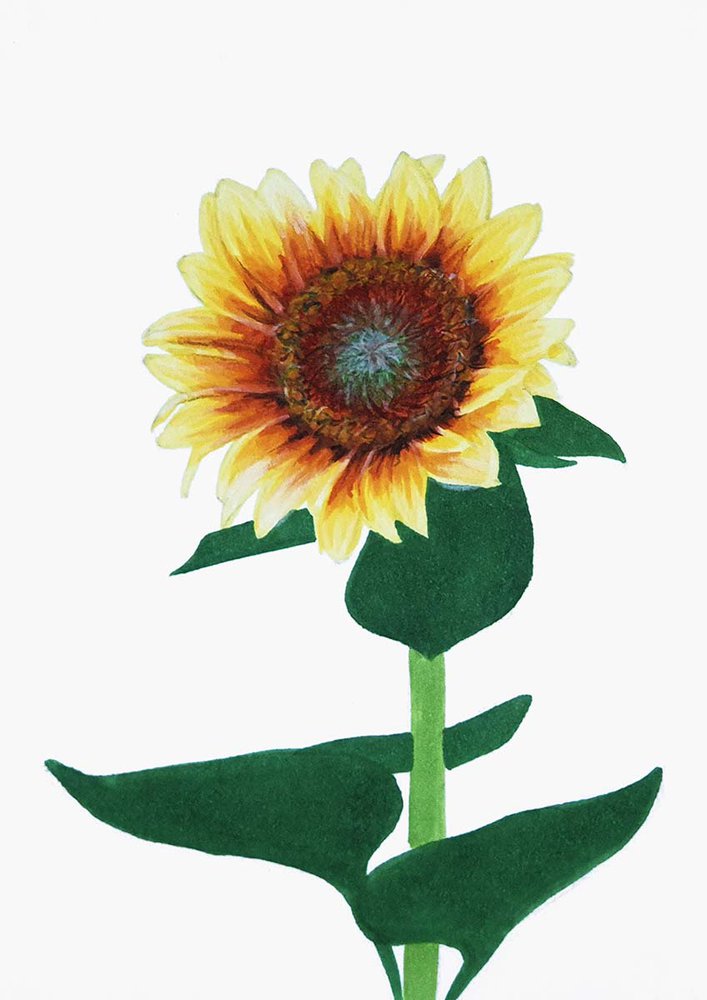
After that, I used Amber Gold, Burnt Sienna, and Raisin to color the disk florets. I colored a ton of very short lines in all directions. I first used Amber Gold, then Burnt Sienna, and lastly Raisin. I used Raisin more sparsely as it is quite a dark color.
I messed this up a bit, but I fixed it using this technique later on.
Next, I attempted to color the seeds.
I started by coloring spirals in both directions.
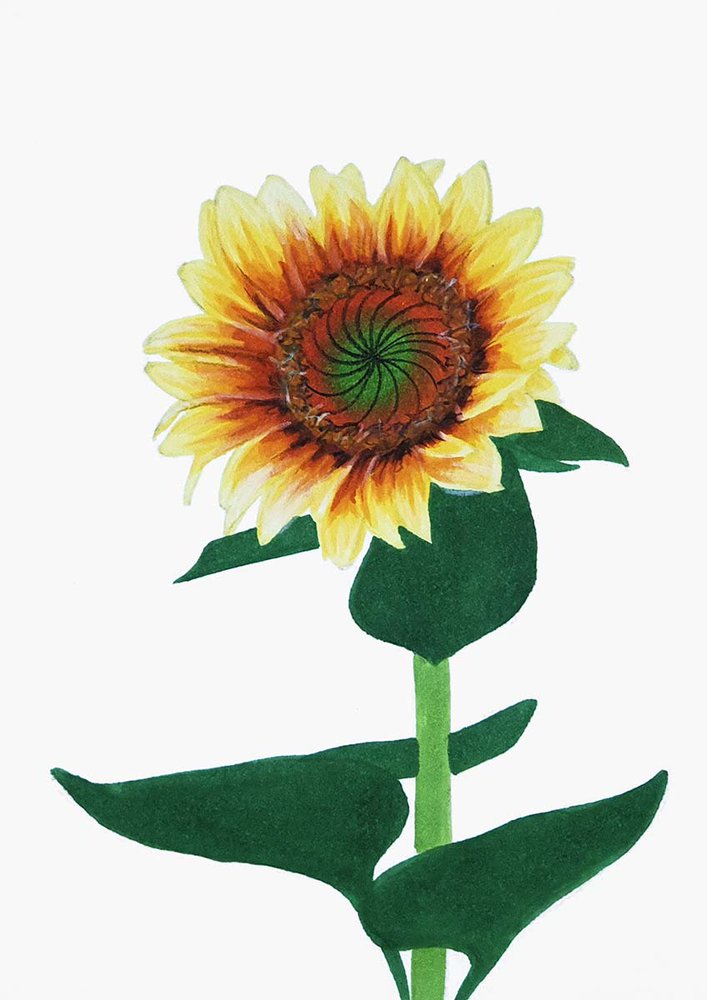
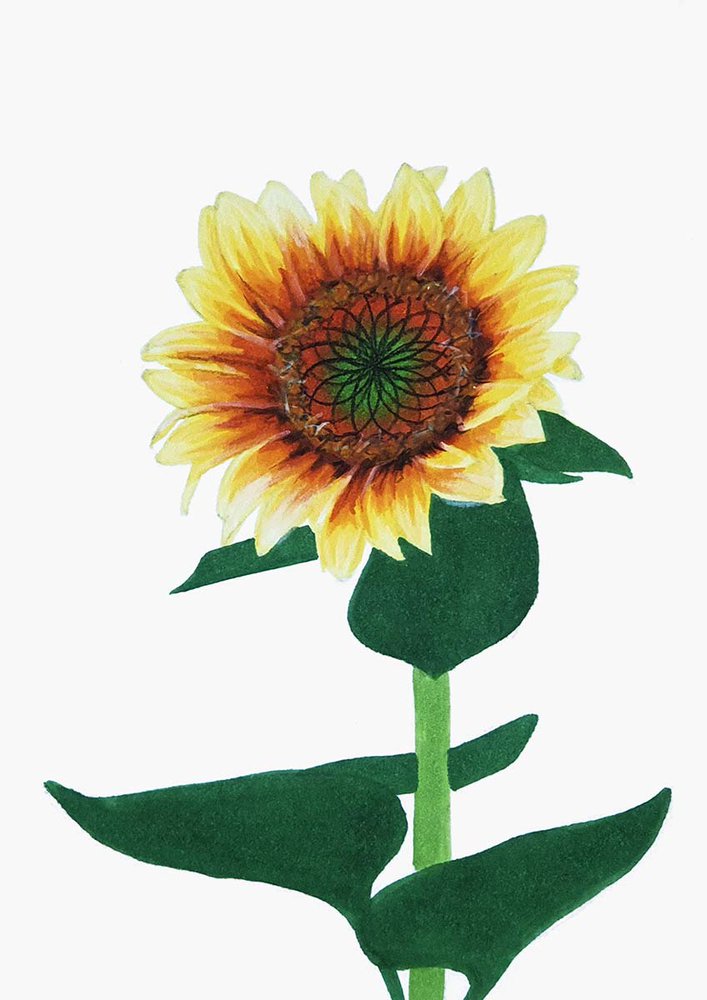
I really disliked how it looked, so I erased as much of it as I could...
Then I decided to add tons of short lines sort of following these spiral lines (or at least of what's left of them).
I used Raisin on the outside half. Next, I used Burnt Sienna more toward the center. And I used White to do the center seeds.
Step 6: Add Final Details To The Stem
After that, I moved on to the stem.
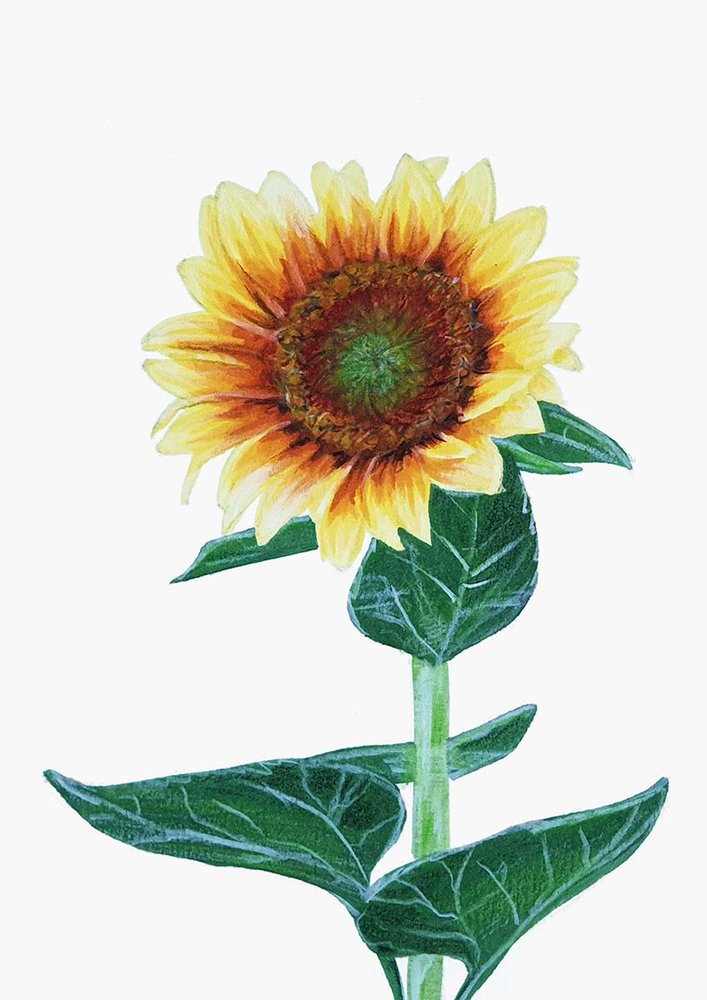
I first looked at the reference photo to see how the veins in the leaves were shaped. Then, I used my White pencil to replicate them in my drawing.
I also used the white the add some lighter spots all over the stem and the leaves that are more behind the flower.
I then used the Grass Green pencil to add some lighter green shading on the lighter parts of the leaves and I used it to color the center of the flower as it looked way too white.
I also used Black to add some darker shading on the leaves on the stem. I used it just lightly.
And That Is How You Draw A Realistic Sunflower
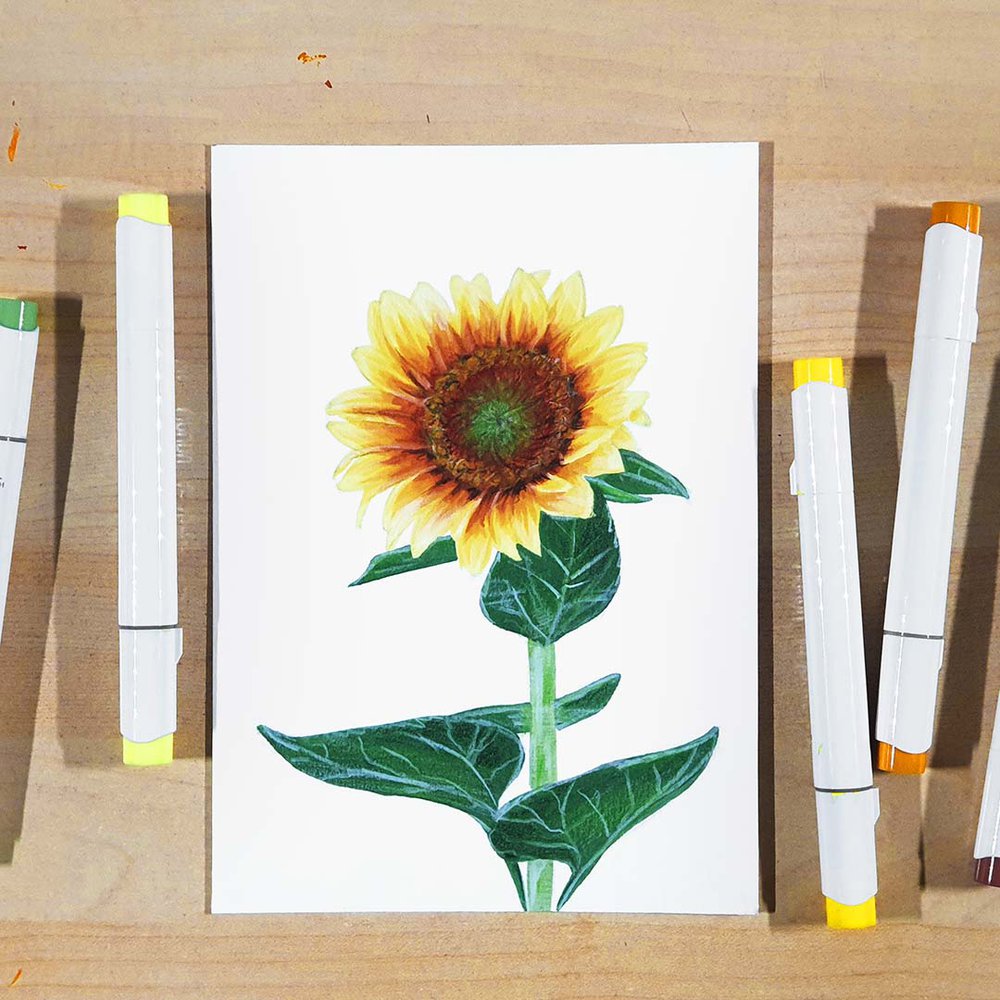
I hope you enjoyed this tutorial and were able to follow along to create your own sunflower drawing.
Let me know how it went and if any parts could be explained better.
Thank you!



Be the first to comment!
Comments
There are no comments yet.