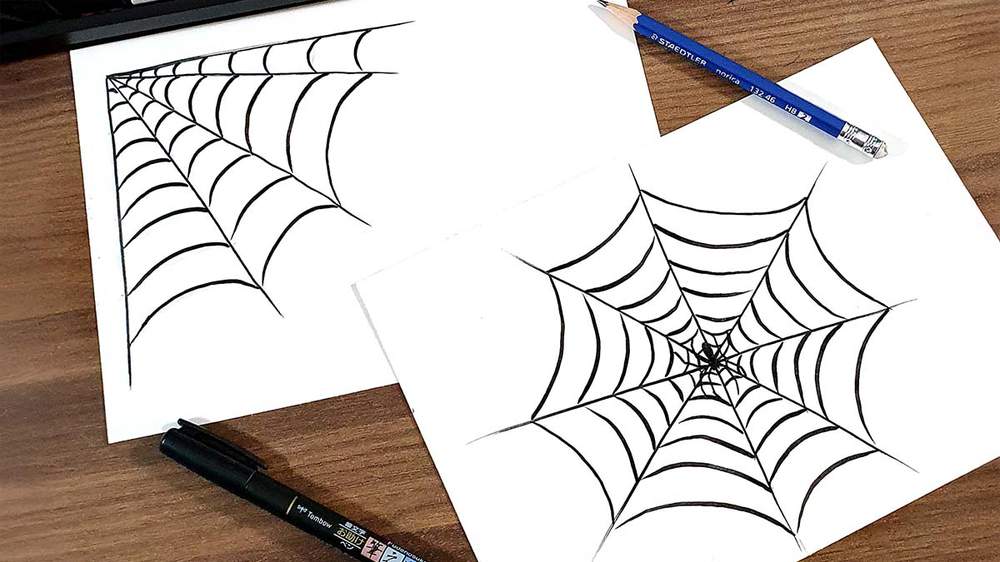
How To Draw A Spider Web Step By Step (With A Spider!)
Want to draw a spider web that actually looks cool and realistic?
In this tutorial, I’ll show you how to draw two different spider webs step by step: a classic round web with a spider in the center, and a web hanging in the corner of a page, perfect for Halloween-themed art or creepy sketches.
All you need is a pencil, pen, and some paper!
Disclaimer: In the name of full transparency, please be aware that this blog post contains affiliate links and any purchases made through such links will result in a small commission for me (at no extra cost for you).
Art Supplies I Used To Create These Spider Web Drawings
To make these drawings, I used a regular graphite pencil to sketch and a black Tombow Fudenosuke Brush Pen to outline the sketch.
I made this drawing on printer paper.
Part 1: How Do You Draw A Round Spider Web With A Spider On It?
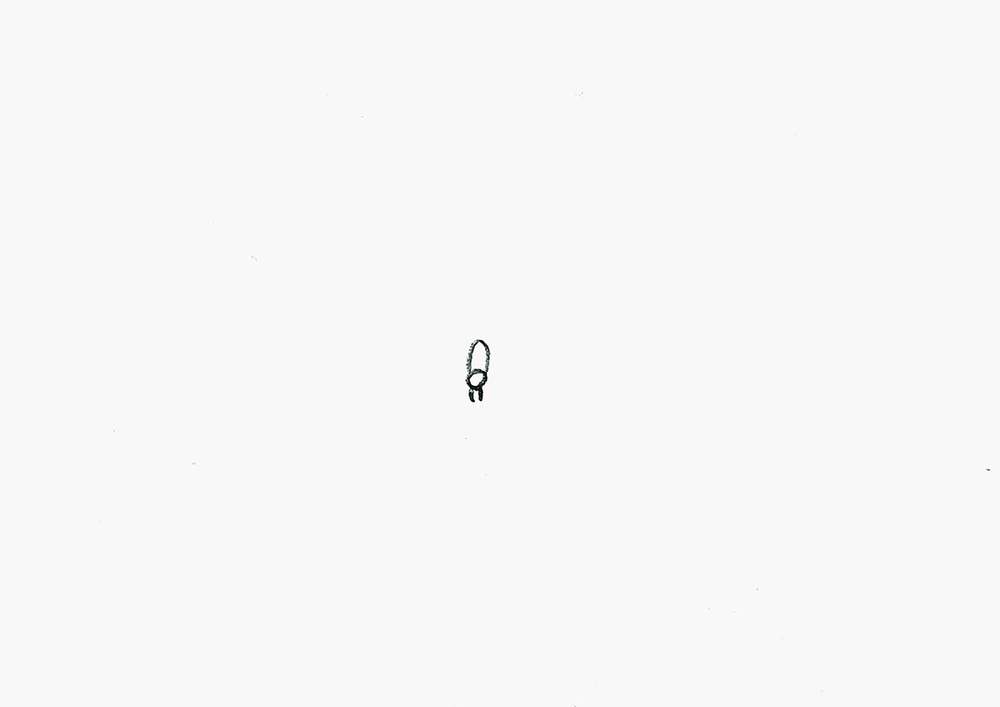
Step 1: Draw The Spider’s Head With A Small Circle
We’ll start by sketching the spider.
I started by sketching a small circle in the center of my paper. This circle will be the head of the spider.

Step 2: Add The Spider’s Body And Jaws
After that, I added an oval shape on top of the small circle, which is the rear part of the spider.
I also added 2 short lines on the bottom of the small circle, which are the spider's jaws.
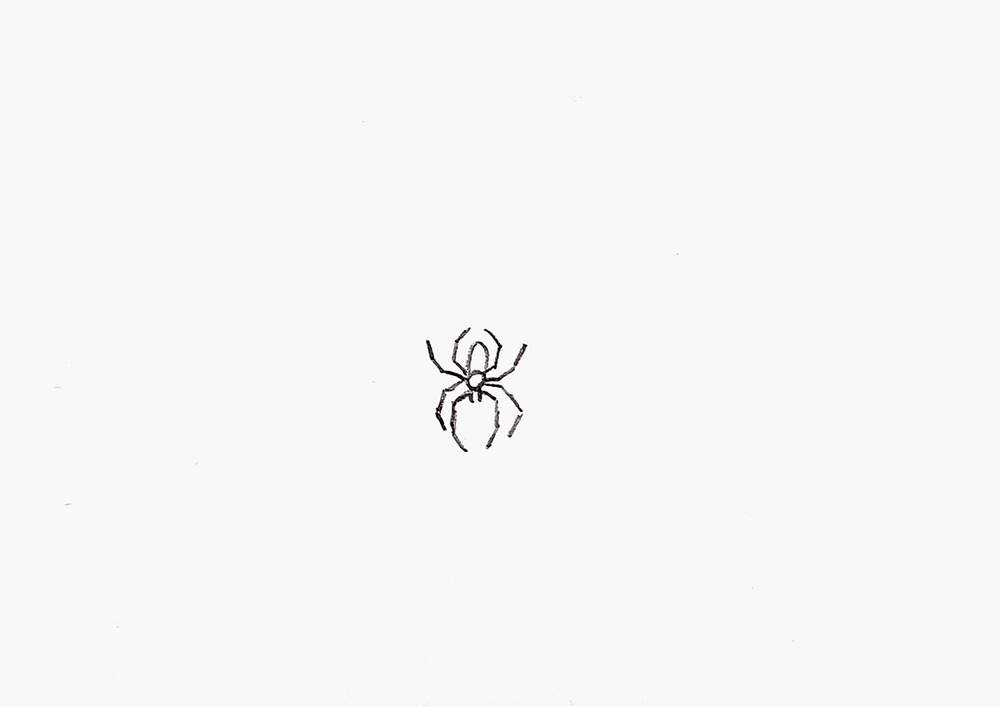
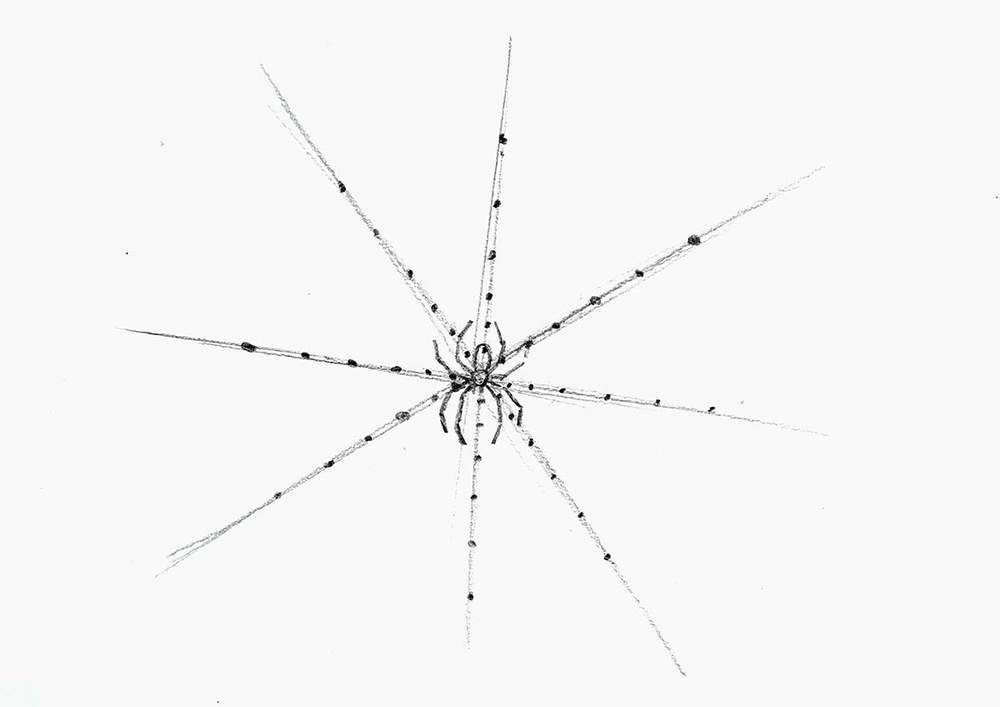
Step 3: Sketch The Eight Legs Using Simple Lines
Next, I sketched the 8 legs of the spider.
The upper 4 curve upwards and the bottom 4 downwards.
Each leg has 3 segments. Draw them as short, angled straight lines to show the spider’s leg joints.
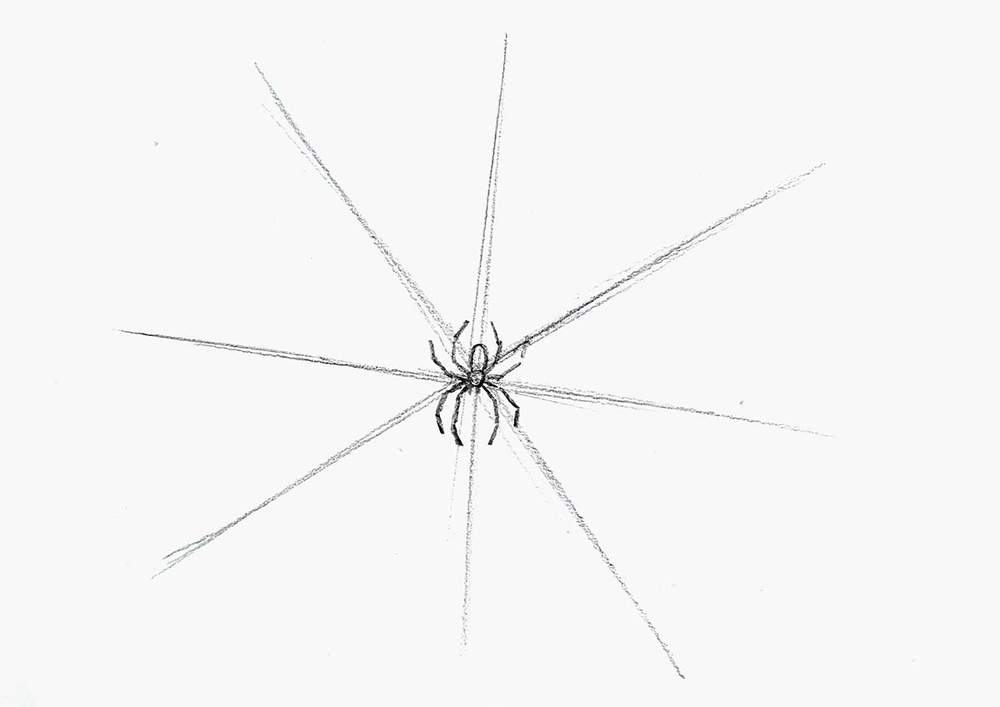
Step 4: Draw 8 Radial Lines Extending From The Spider
After that, I sketched the web, which is in this case an orb-weaver spider web, aka a regular round web.
I first sketched 8 lines straight outwards from the center of the spider.
You can add more if you want, or less. But I found 8 to look the best.
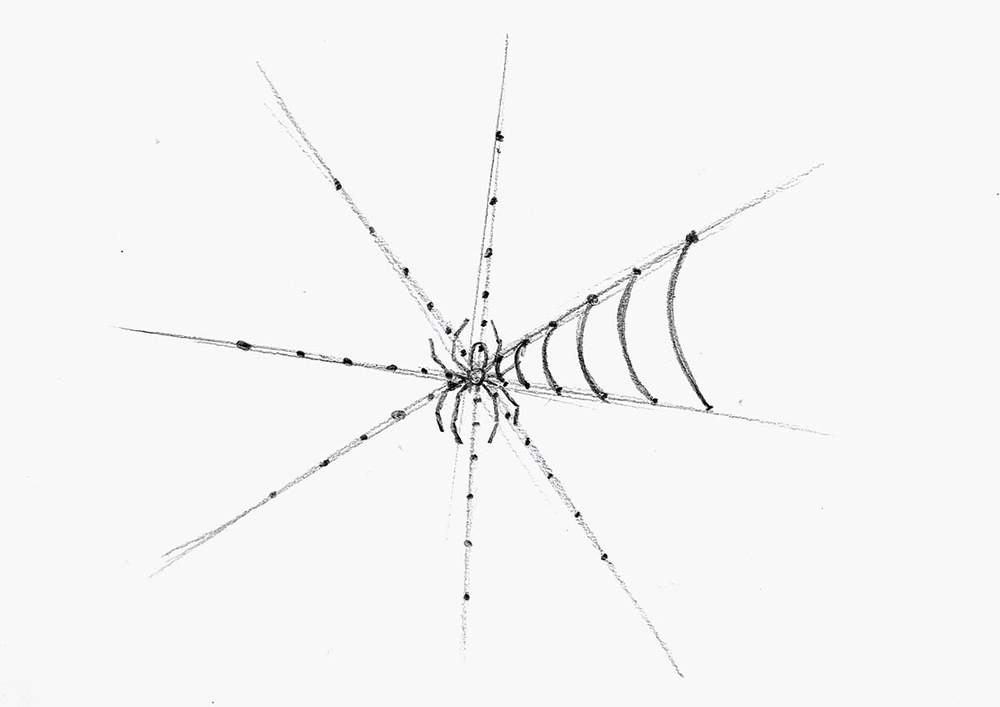
Step 5: Mark Spiral Connection Points Along The Radial Lines
Next, I marked where all the lines connecting the radial lines will go (the spiral lines). These will make the spider web look webby.
I placed the dots closer together at the center of the web, with them becoming farther apart as they move away from the center.
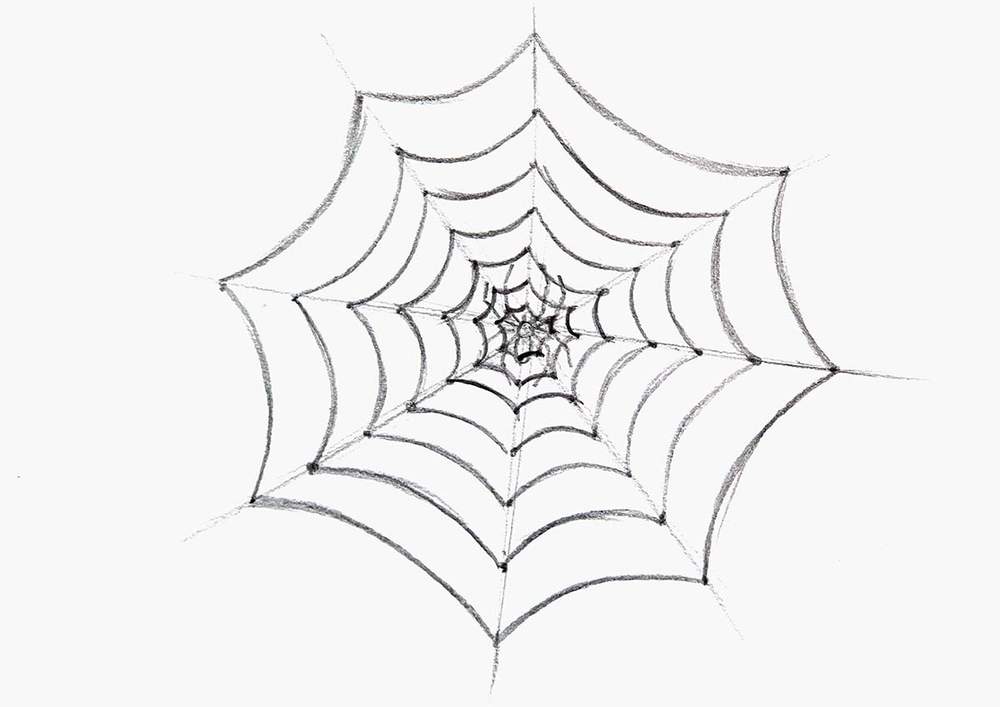
Step 6: Connect The Dots With Curved Spiral Lines
Then, I sketched the spiral lines. I like them to be quite curvy.
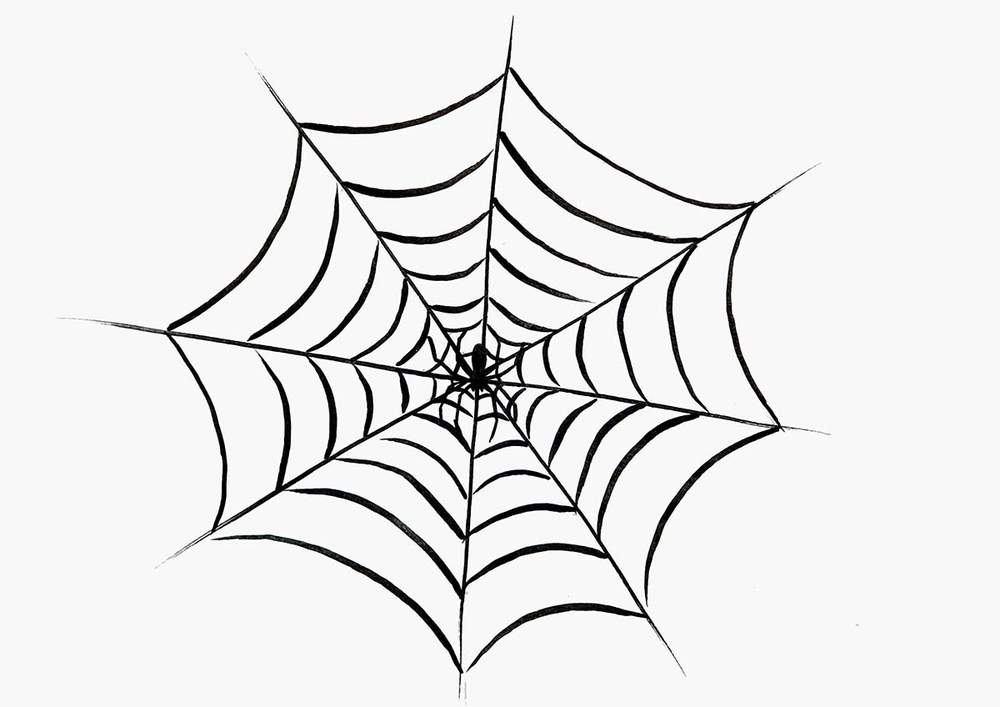
Step 7: Outline The Web And Color The Spider With A Black Brush Pen
To complete the round spider web drawing, I colored the web and the spider with a black brush pen.
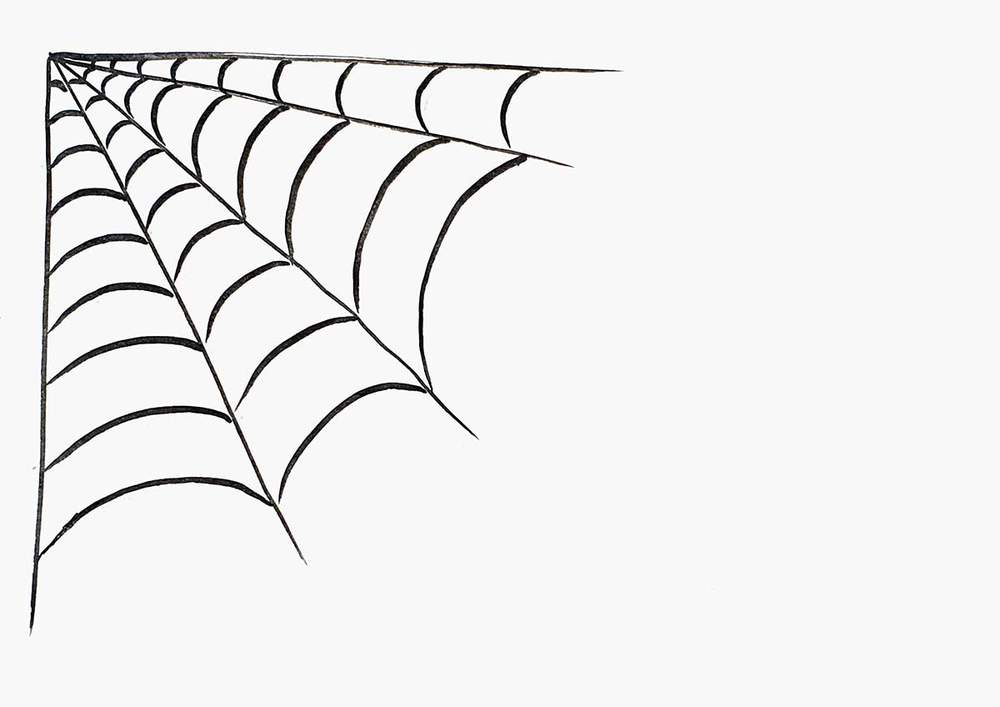
Part 2: How Do You Draw A Corner Spider Web?
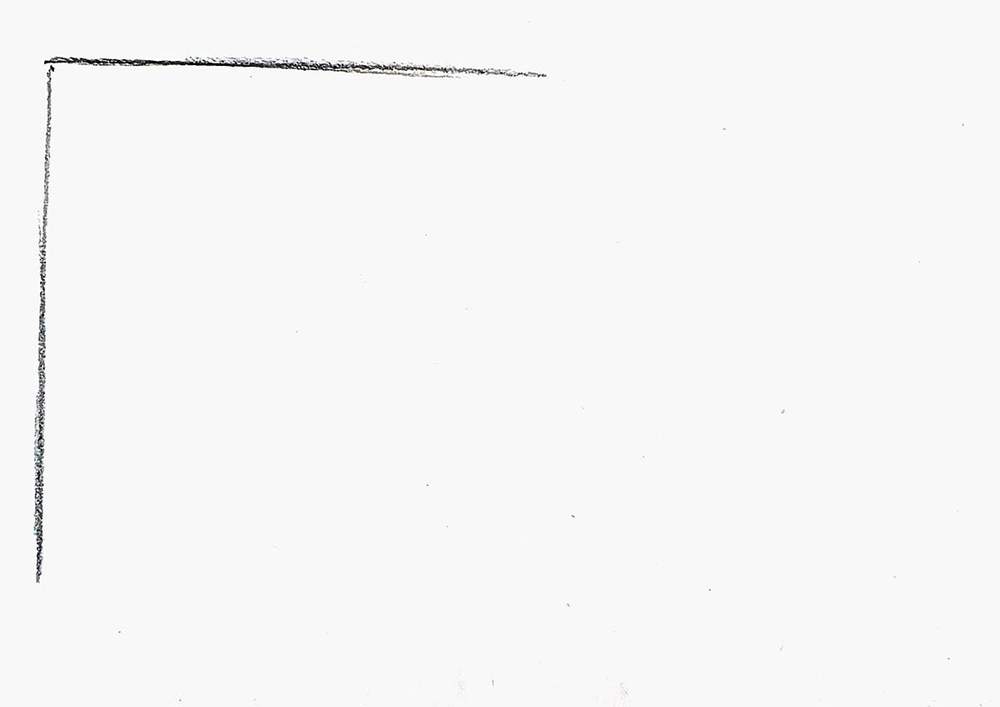
Step 1: Draw Two Lines That Form A Right Angle In The Corner
To sketch a corner spider web, I first sketched 2 lines in the top left corner of my paper that form a 90 degree angle.
These are the first 2 radial lines of the web.
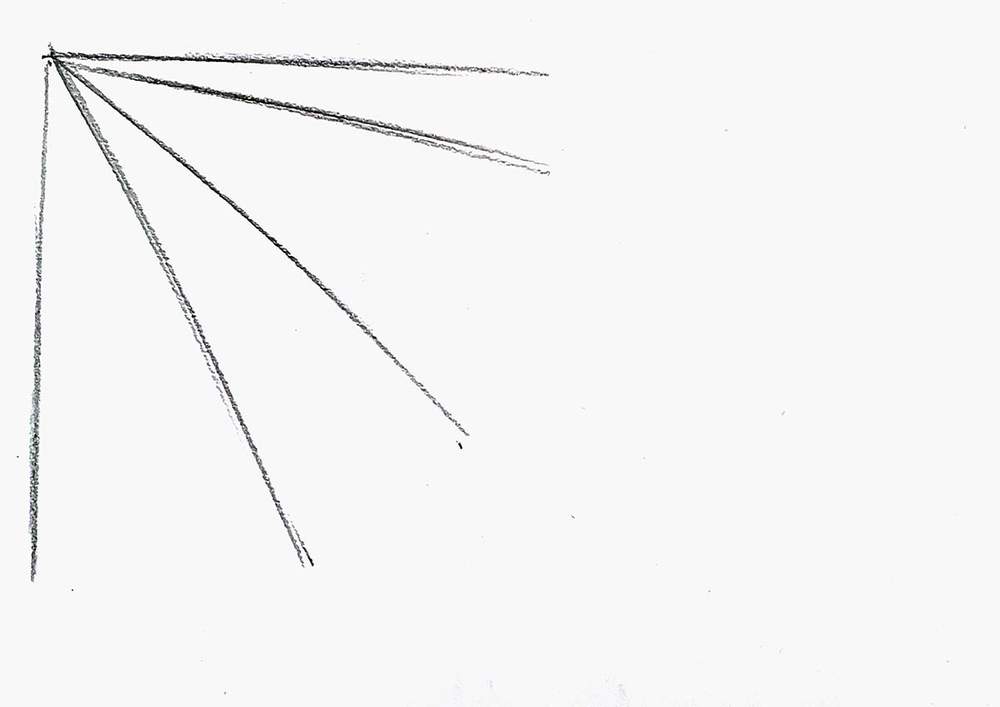
Step 2: Add Three More Radial Lines To Build The Web Structure
Next, I added 3 more radial lines.
Again, you could add more or less, but 3 looked the best, imo.
Step 3: Mark And Draw Curved Spiral Lines Connecting The Radial Lines
After that, I marked where each of the spiral lines will connect to the radial lines with dots.
I forgot to take a photo of this... But you can see it in the next image.
Next, I added the spiral lines, connecting the dots.
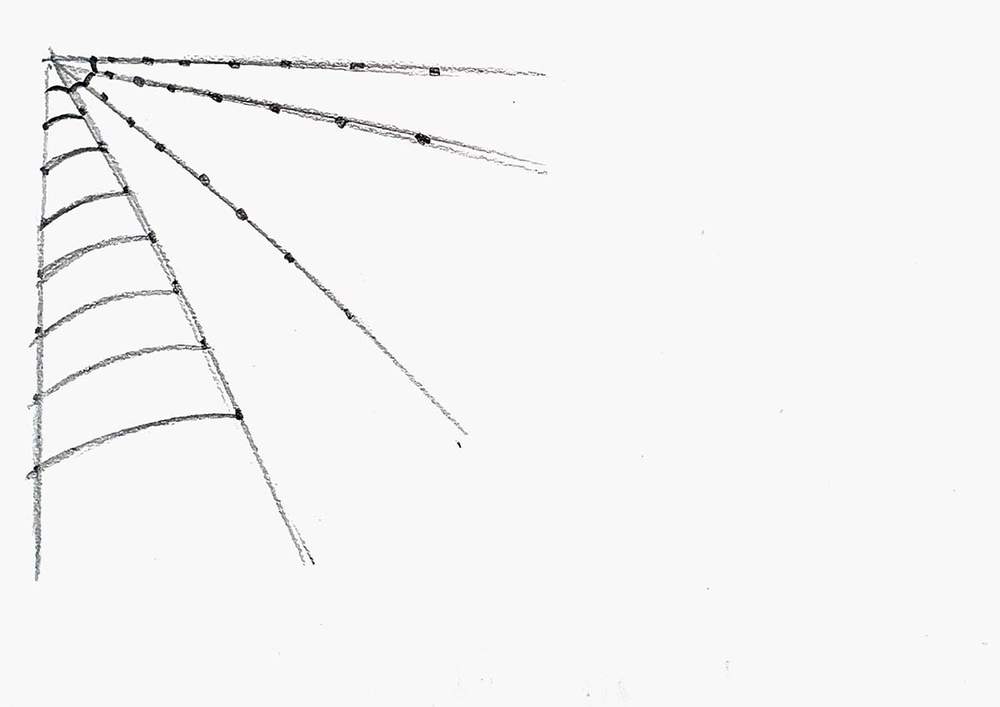
I like them to be more curved, but for some reason, I didn't. But it still works.
I did end up adding one extra row of spiral lines as the web looked a bit small.
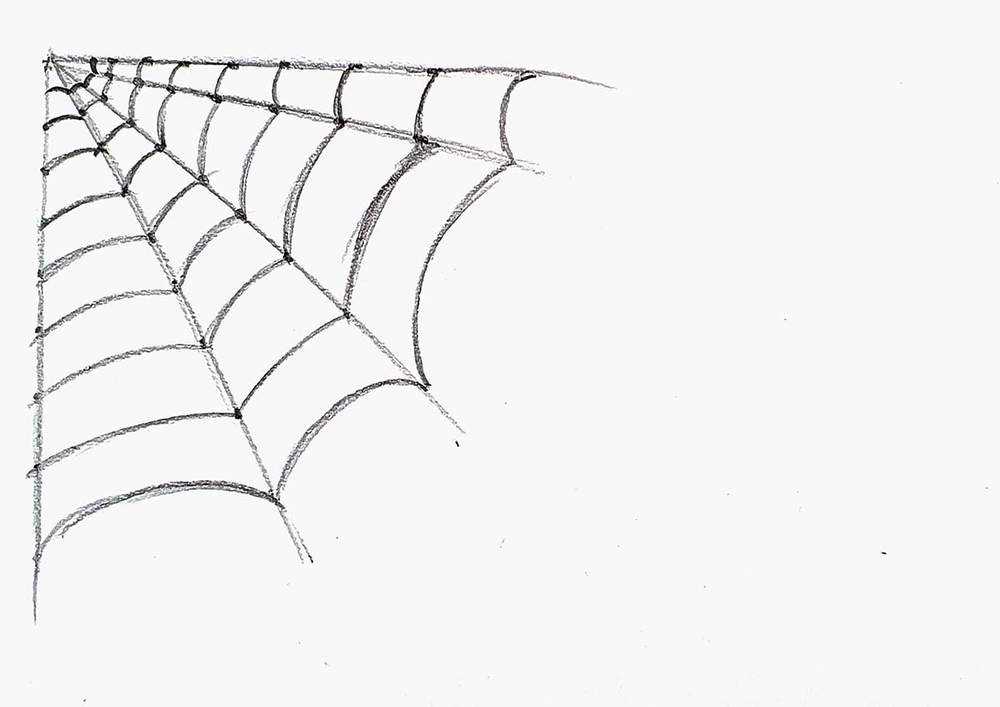
Step 4: Color The Final Web Using A Black Brush Pen
To finish the corner web, I colored it with my black brush pen.
Final Results
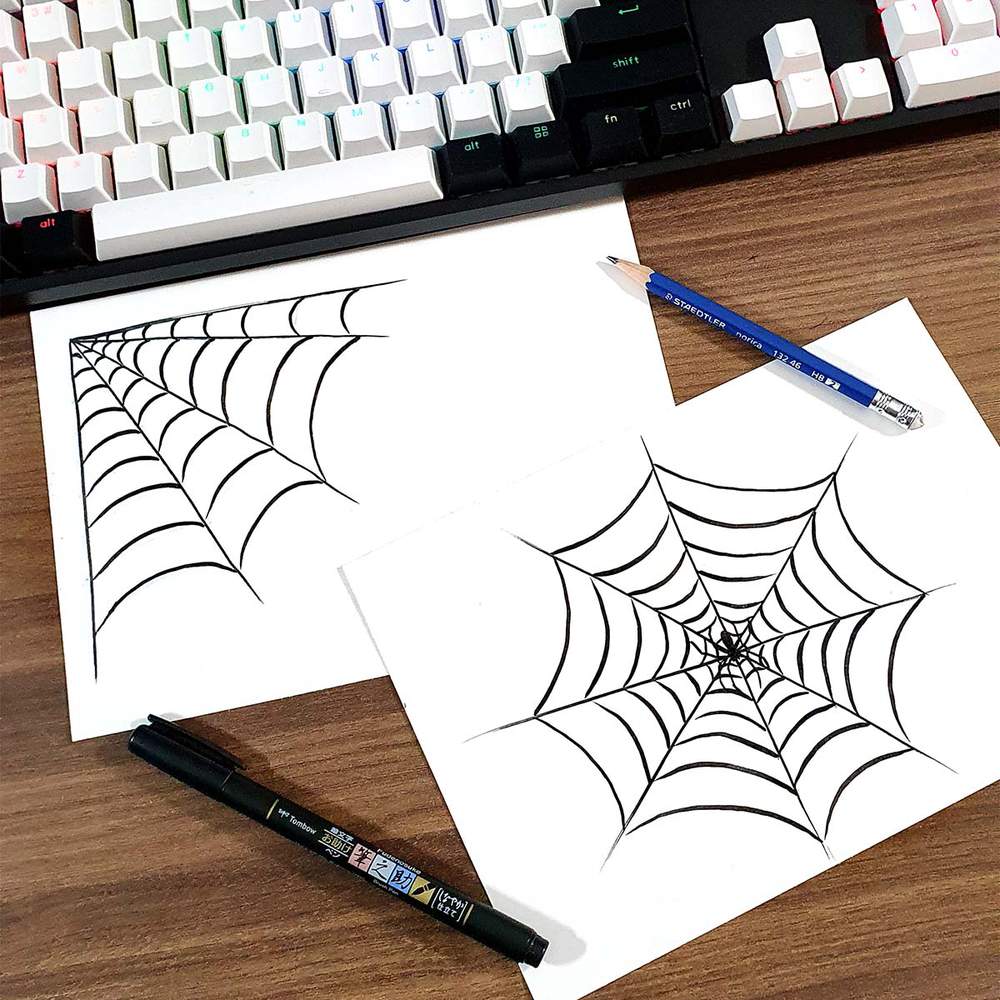
That’s it! you now know how to draw two different spider web styles!
Whether you're going for spooky vibes, decorating a Halloween drawing, or just practicing line work, spider webs are fun and surprisingly easy to draw with just a few steps.
If you enjoyed this tutorial, check out some of my other step-by-step drawing guides, and don’t forget to share your drawing with me if you give it a try (@luukminkman on Instagram)!
Articles You Might Also Like


I love bringing cars to life with alcohol markers and colored pencils.
Whether you're just starting out or looking to improve your skills, I'm here to help!
Click here to learn more about me.


Be the first to comment!
Comments
There are no comments yet.