How To Draw A Spider (That Looks Kinda Cute!)
Spiders might seem scary to some, but they’re actually really fun to draw, especially if you like adding texture and detail.
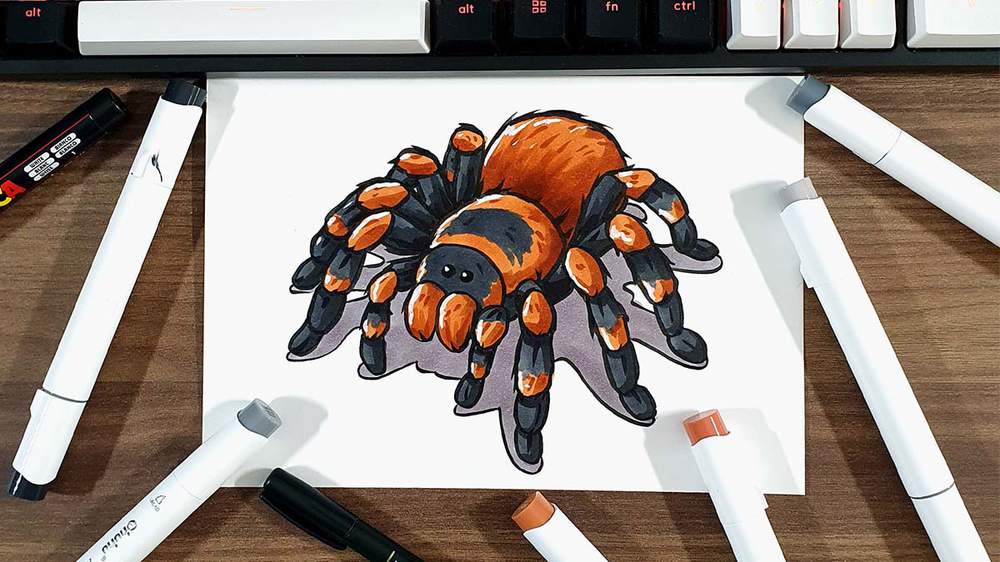
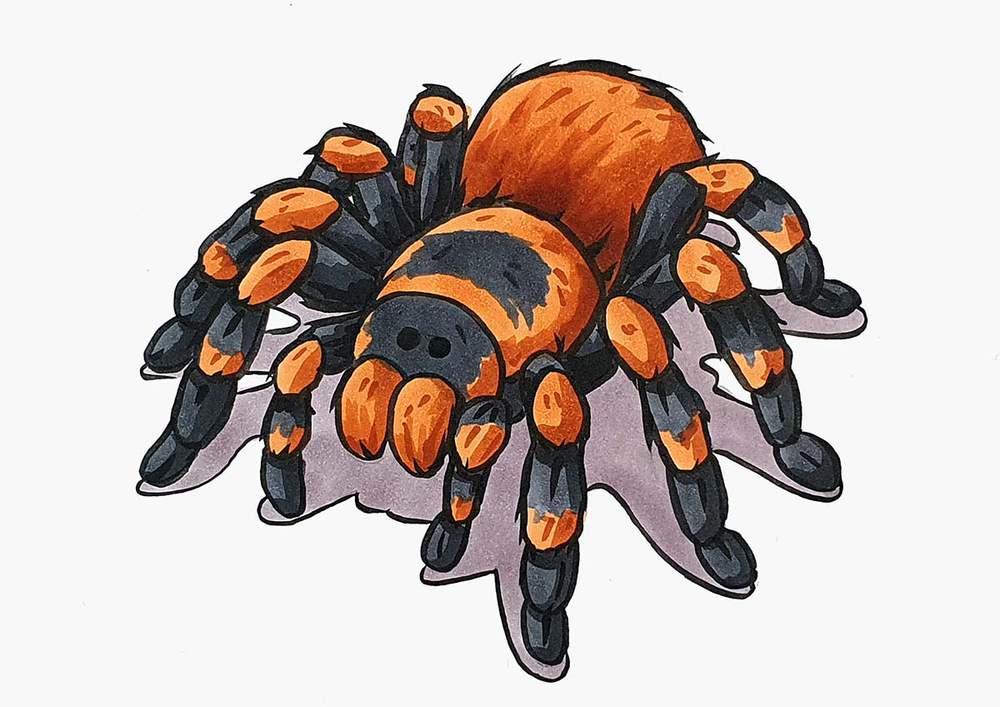
In this tutorial, I’ll show you exactly how I drew this cute (yes, cute!) tarantula, step by step.
From sketching the legs and fuzzy details to adding rich shadows and highlights with markers, you’ll learn how to create a spider that’s full of personality.
Don’t worry, it’s easier than it looks!
Disclaimer: In the name of full transparency, please be aware that this blog post contains affiliate links and any purchases made through such links will result in a small commission for me (at no extra cost for you).
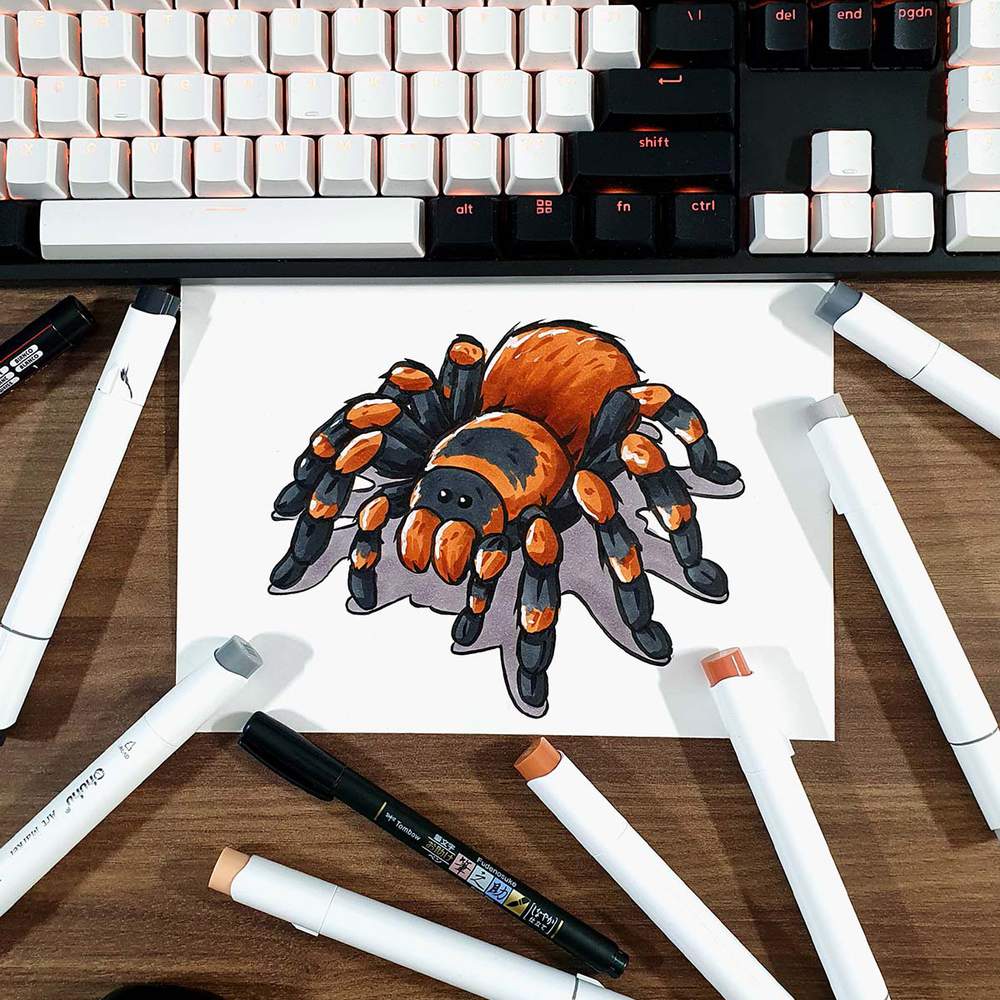
Drawing Materials I Used To Create This Spider Drawing
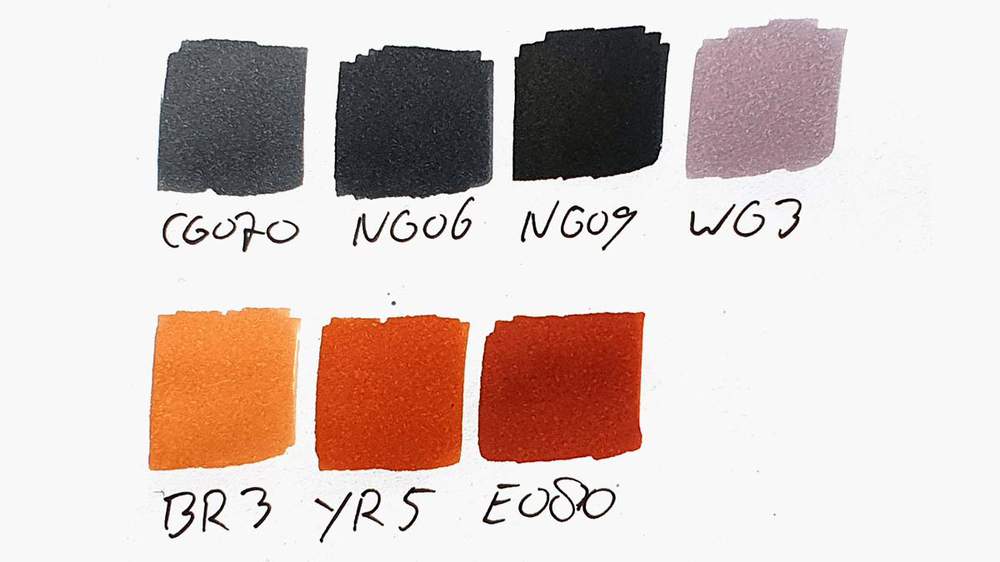
To make this spider drawing, I used Ohuhu Honolulu markers in the colors Neutral Grey 07 (CG070), Neutral Grey 6 (NG06), Neutral Grey 9 (NG09), Rose Beige (BR3), Terra Cotta (YR5), Praline (E080), and Warm Grey 3 (WG3).
I used a Tombow Fudenosuke Brush Pen to outline the sketch.
I used a white Posca PC-3M paint marker to add white highlights.
And I made this drawing on Canson Illustration Manga Paper.
How Do You Draw A Spider?
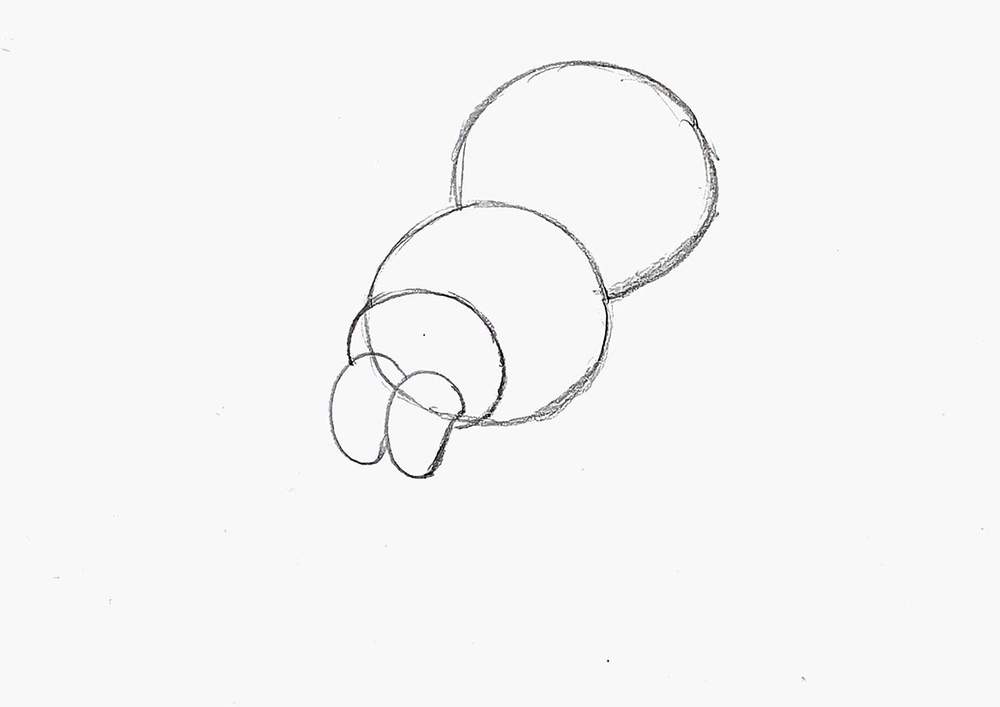
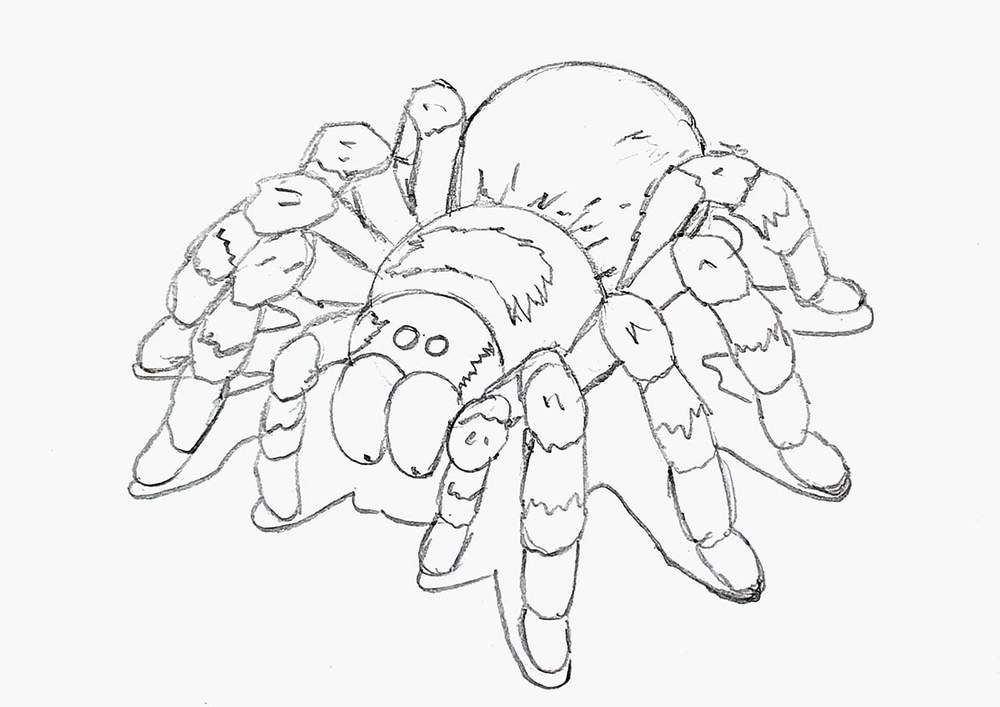
Step 1: Sketch 2 Overlapping Circles
To draw this spider, I started by drawing 2 circles of the same size towards the top of the paper that overlap slightly.
These will become the spider’s front and back body sections.

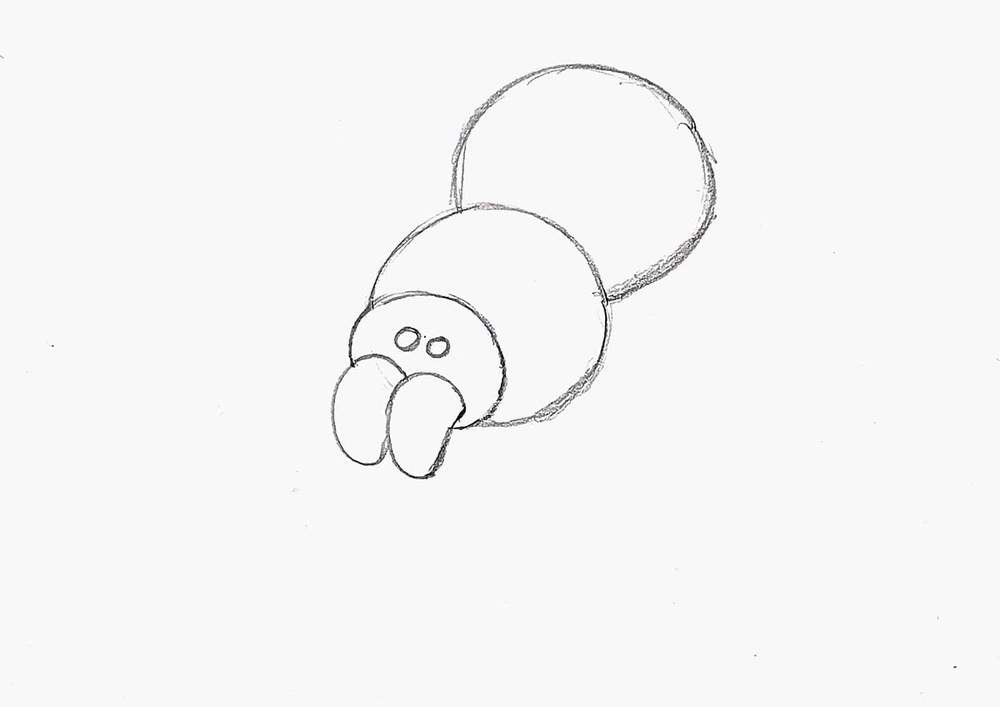
Step 2: Sketch The Head & The Jaws
Next, I sketched the head onto the front circle with two big chelicerae.
Not quite sure how to pronounce that, but they are the jaws of the tarantula, and they contain the fangs the spider uses to bite.
I then added 2 small circles above the jaws to represent the spider's eyes.
Step 3: Sketch The Spider's Legs & Palps
Now, we can start sketching the tarantula's legs.
Fun fact: spiders have 8 legs, but also 2 pedipalps, which look like tiny front legs!
The legs consist of 5 parts. The first goes upwards from the body to the highest point of the legs. The second one is short and pretty much horizontal. The third one points diagonally down. The fourth one goes straight down. And the fifth bends outwards again.
Just in front of the first pair of legs, I also drew the pedipalps. These are shorter, leg-like appendages that spiders use to sense their surroundings and help with feeding.
The left palp is made up of three simple lines: one going out, one going down, and one curving slightly inward.
The right one is just one straight line as we view it from straight on.
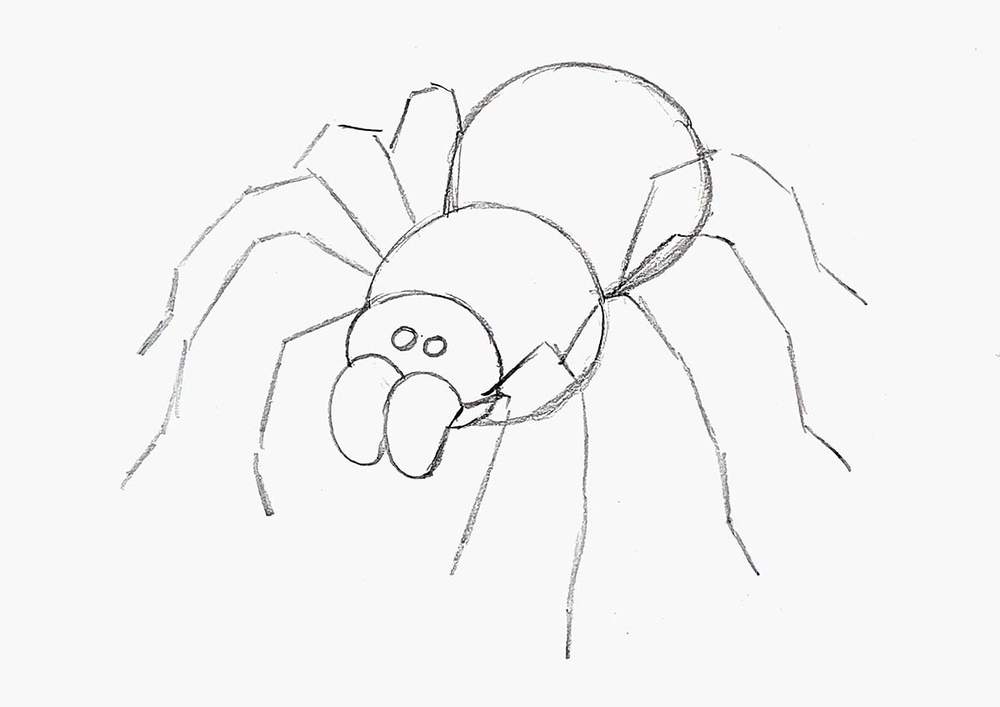
Now that the base of all 8 legs and the palps are done, I added the thickness by adding a similarly shaped line below each leg.
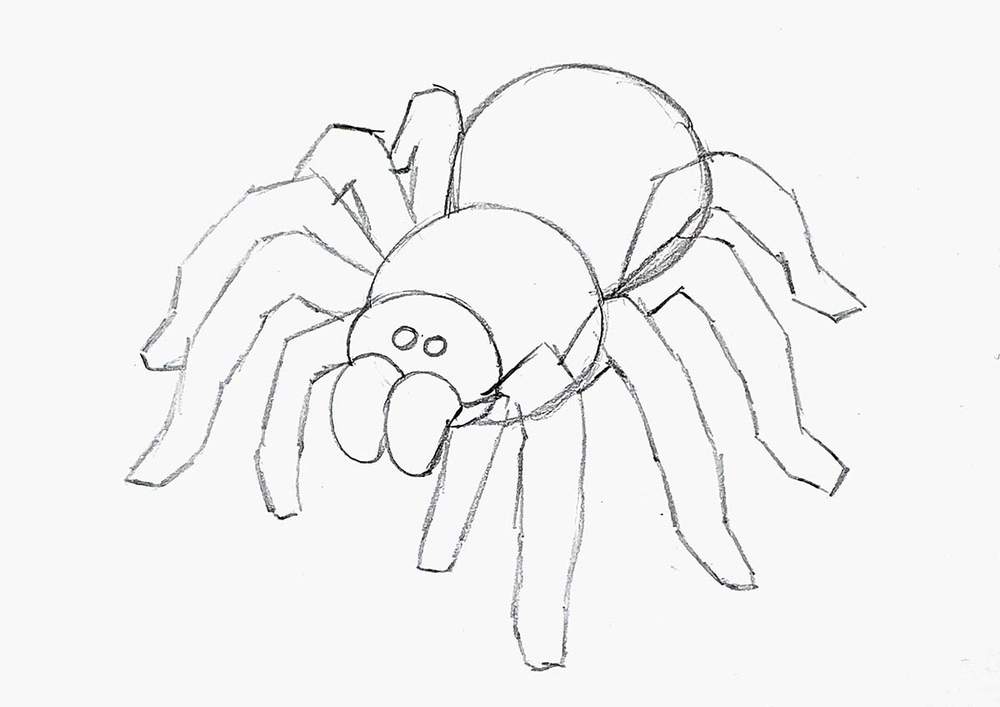
Lastly, I divided each leg and pedipalp into bean-shaped sections.
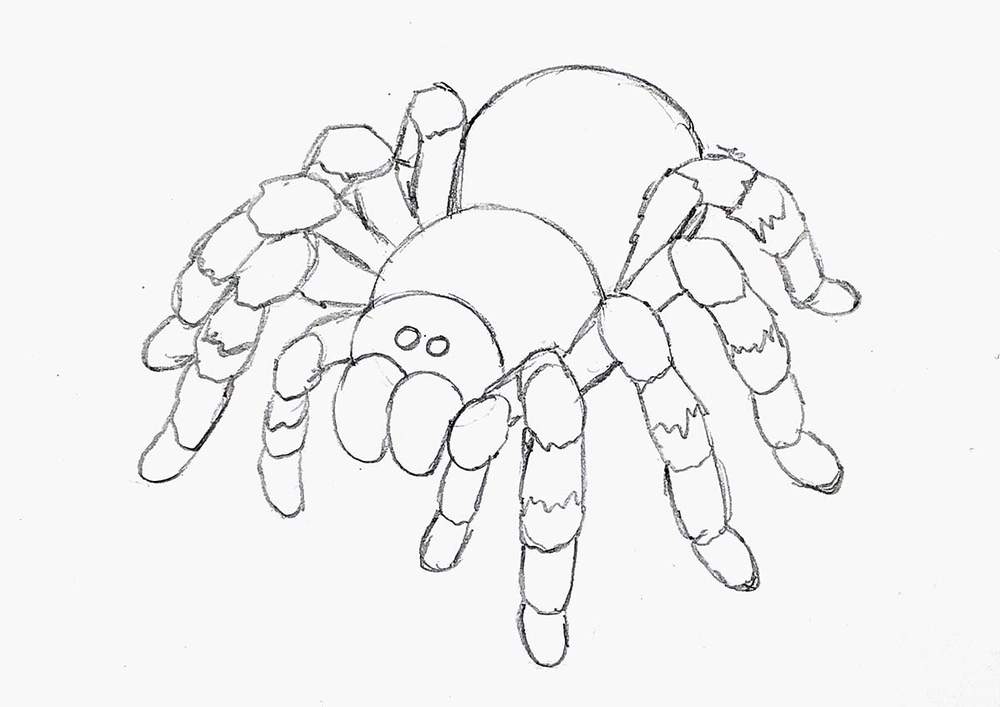
Step 4: Add The Hairy Texture To The Spider
With the legs and palps now done, I added the hairy texture of the tarantula.
I marked out the patterns on the head and added short lines on the "knees" and the back part.
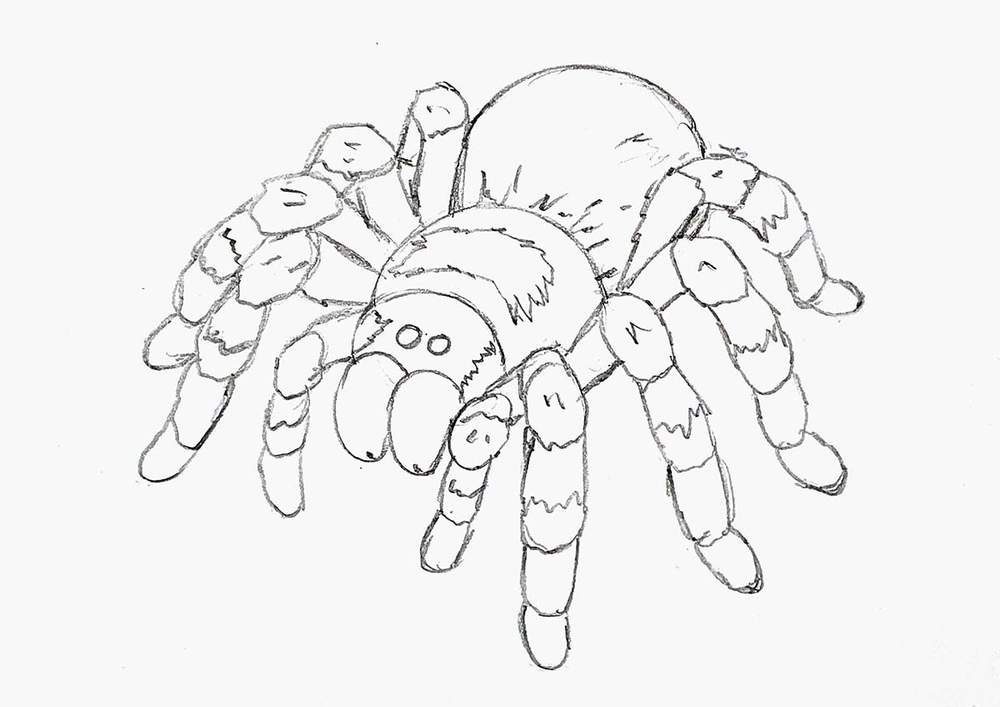
Step 5: Mark Where The Shadow Below The Spider Will Be
To finish off the sketch, I sketched the outline of the shadow below the spider.
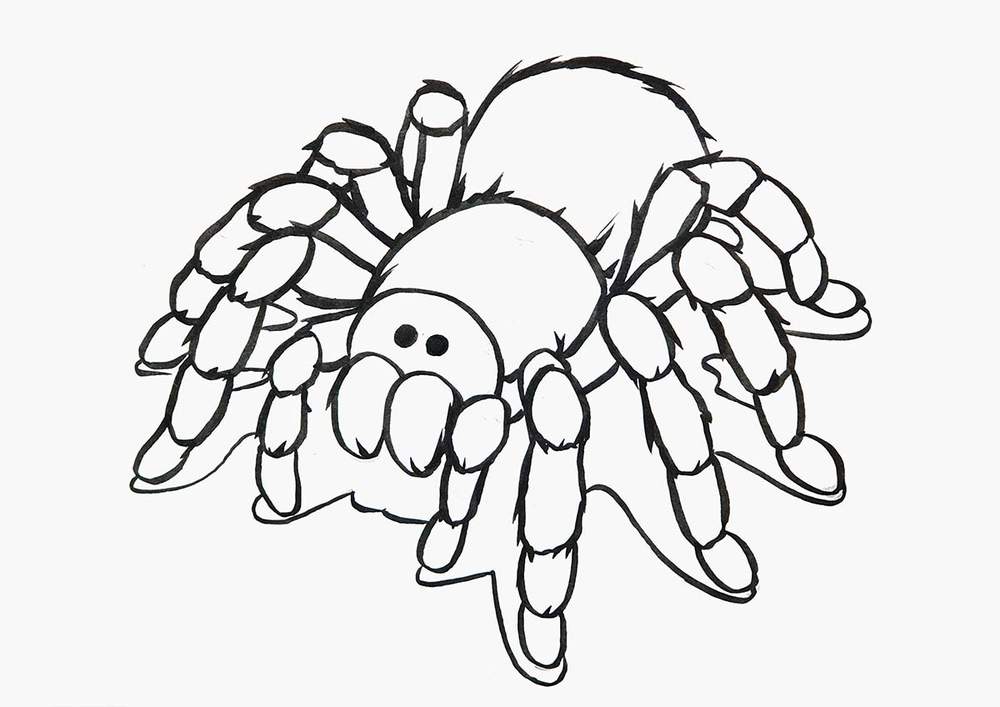
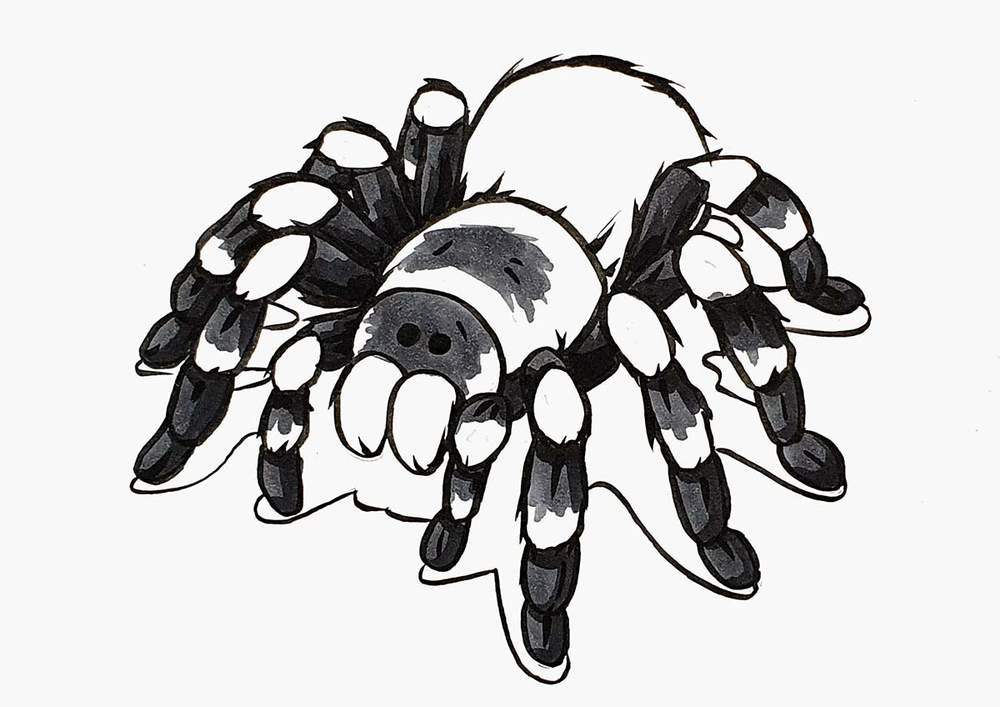
Step 6: Outline The Spider Sketch
To prepare it for coloring, I added a black outline with my black Fudenosuke brush markers.
The brush tip of the markers made it super easy to create this hair-like texture on the outline.
I did not outline any of the patterns.
Step 7: Color The Spider With Markers
Now onto my favorite part: coloring it!
I started by coloring the grey parts with Neutral Grey 07 (CG070) first.
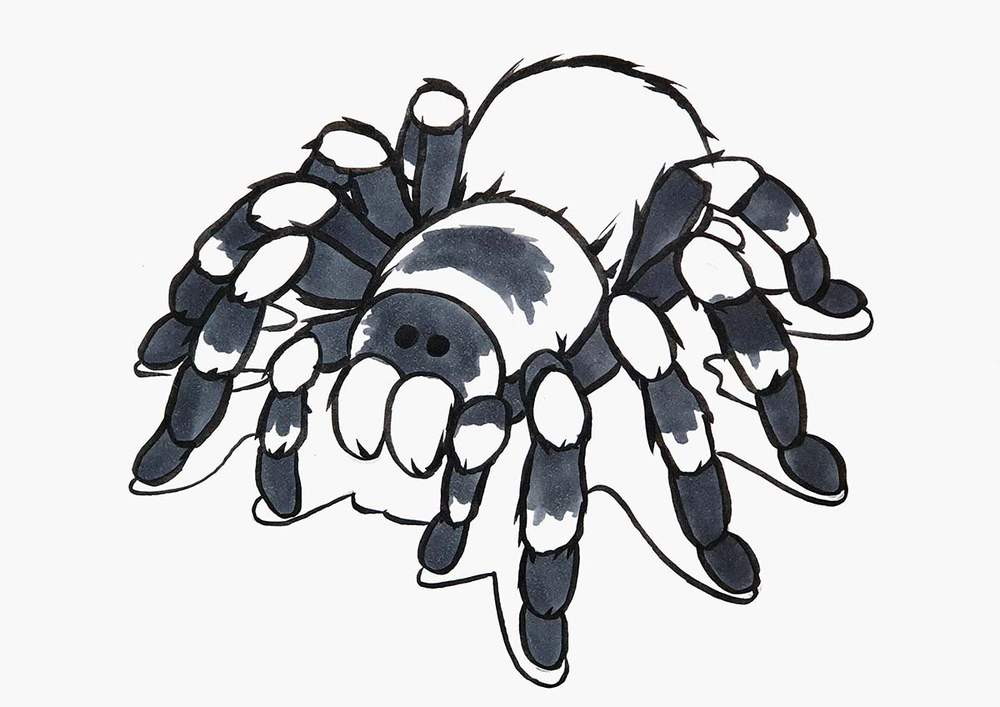
Then, I added shadows to these grey parts with Neutral Grey 6 (NG06).
Lastly, I used Neutral Grey 9 (NG09) to create some texture by adding a few short lines here and there.
Next, I colored the brown parts, starting with Rose Beige (BR3).
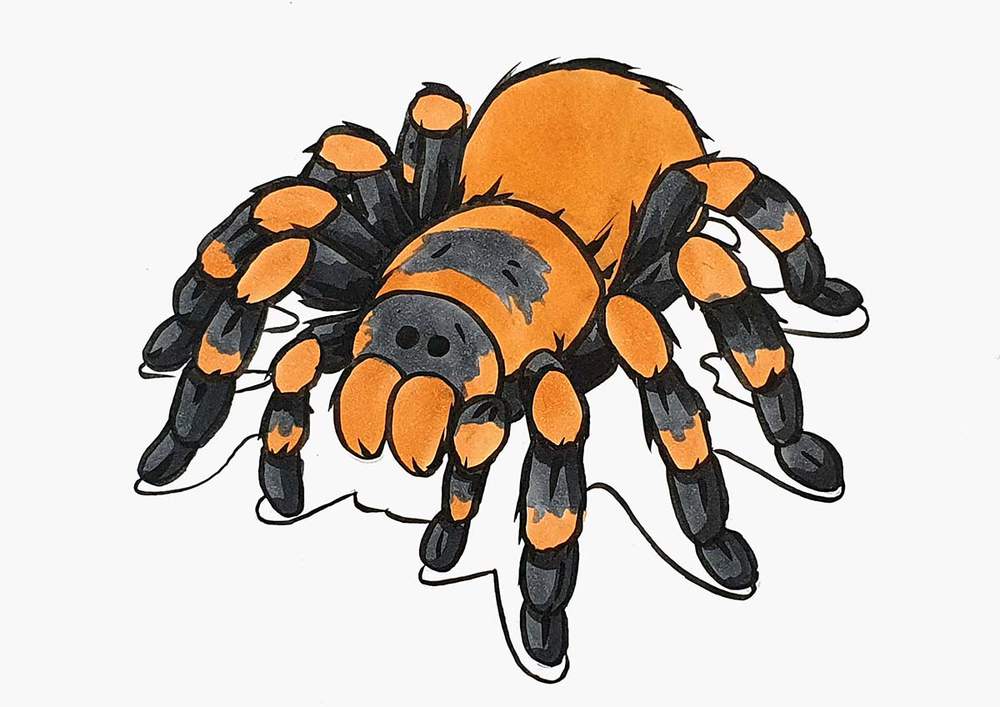
Then, I added the shadows and a little bit of texture with Terra Cotta (YR5).
Finally, I used Praline (E080) to add texture by drawing some short lines on the brown parts and to darken the bottom of the back part.
Lastly, I colored the shadow underneath the tarantula with Warm Grey 3 (WG3).
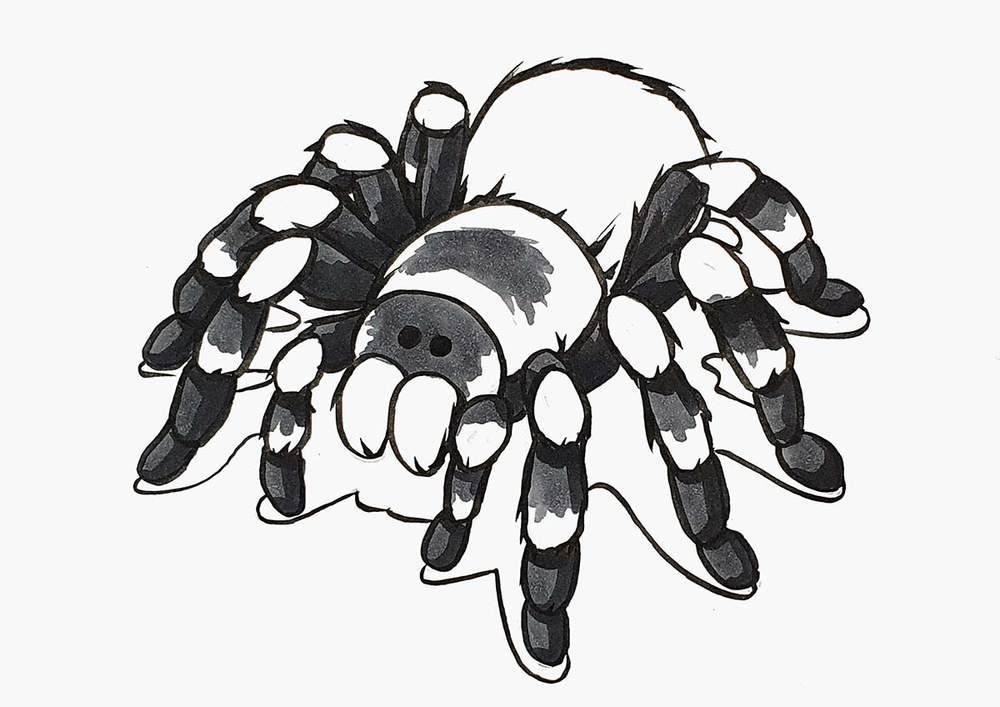
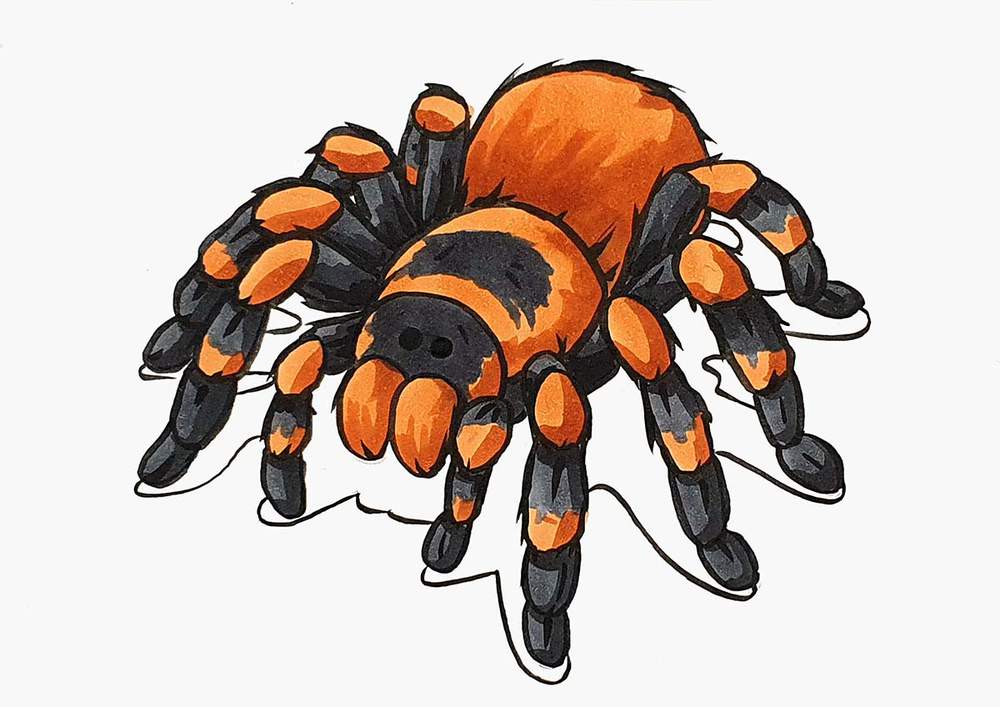
Step 8: Add A Few White Highlights To Your Spider Drawing
The spider drawing already looks really nice, but there is one more thing I would like to do before calling it done: adding white highlights.
To add the highlights, I used my white Posca PC-3M paint marker.
I was initially only going to add the sparkles in the tarantula's eyes, but I ended up adding highlights on the edges of the brown parts.
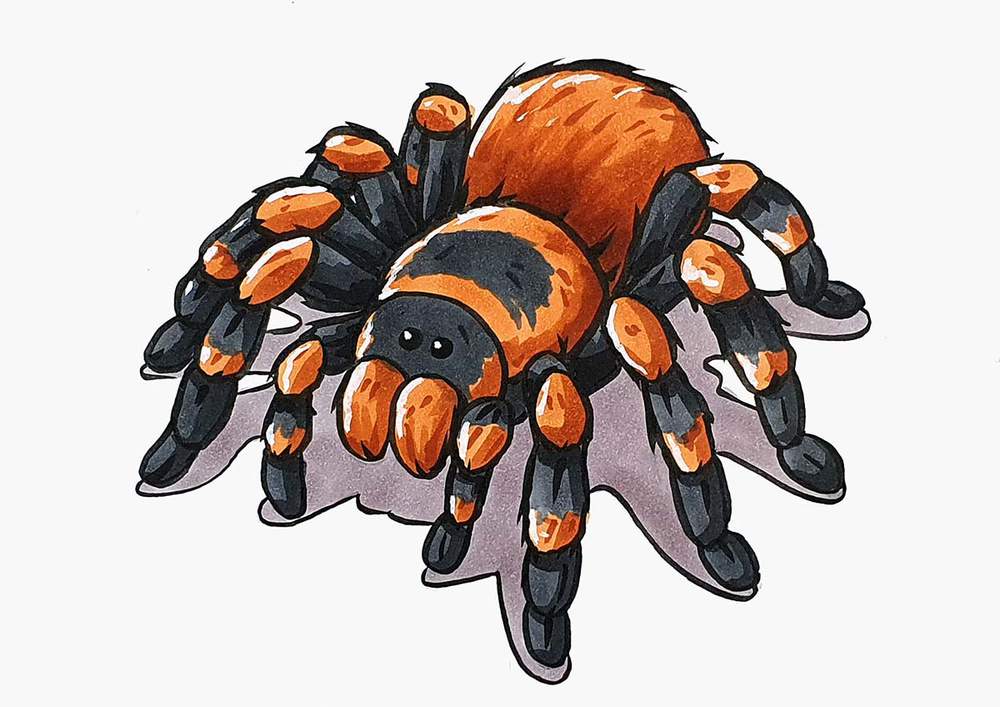
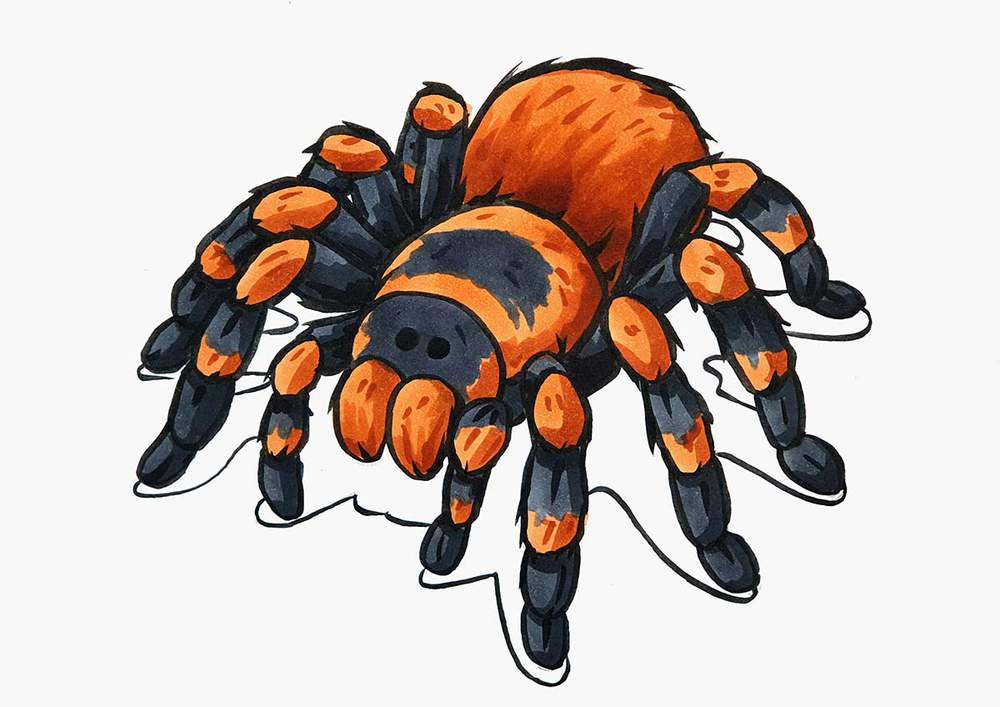
And that's how I drew this spider. And dare I say it, it looks adorable!
If you enjoyed this tutorial, feel free to tag me on Instagram (@luukminkman). I’d love to see what you create!
Thank you!
Tags
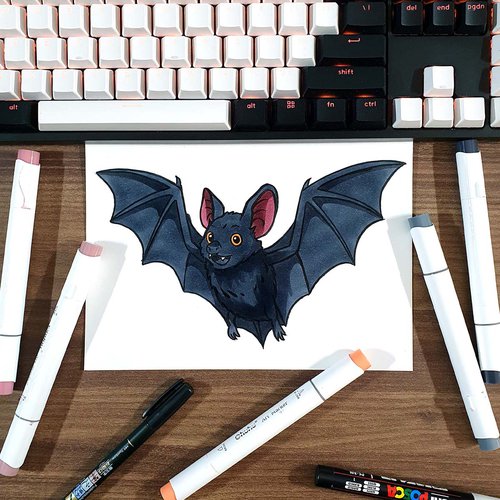
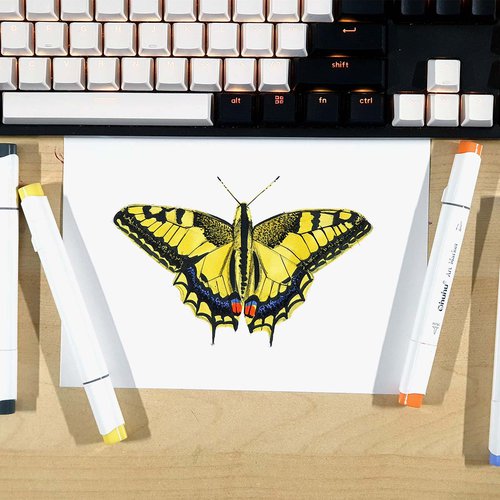
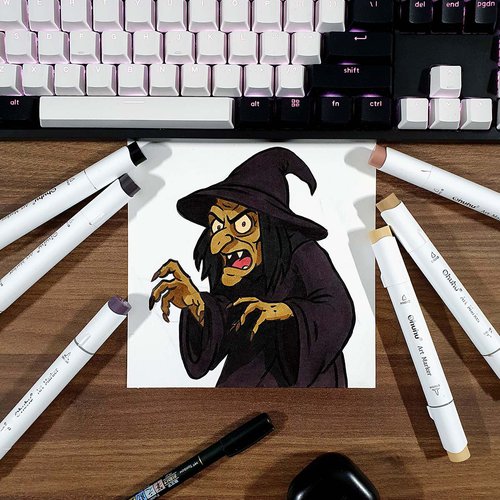
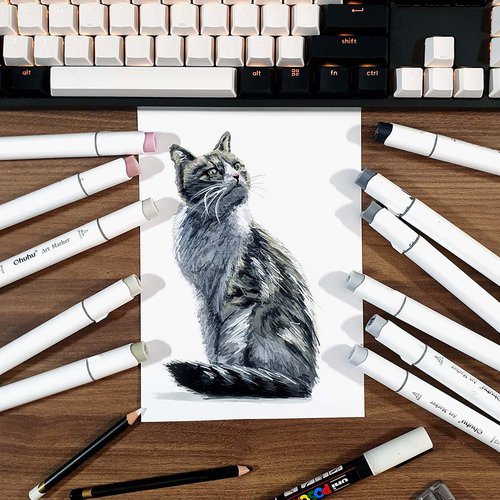
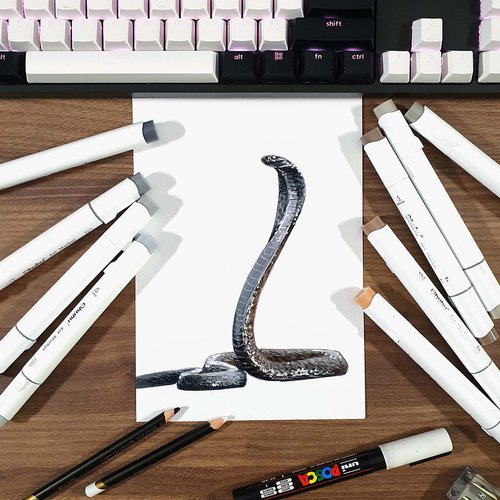
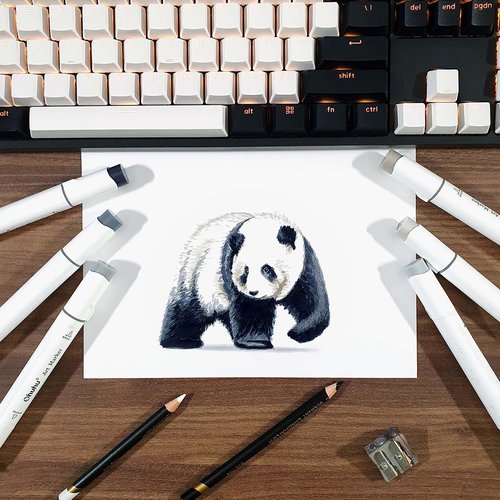
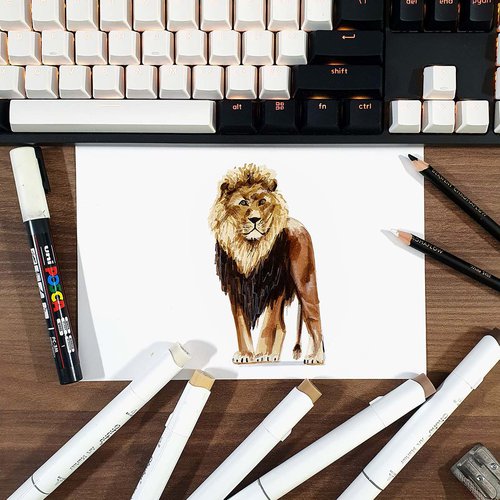
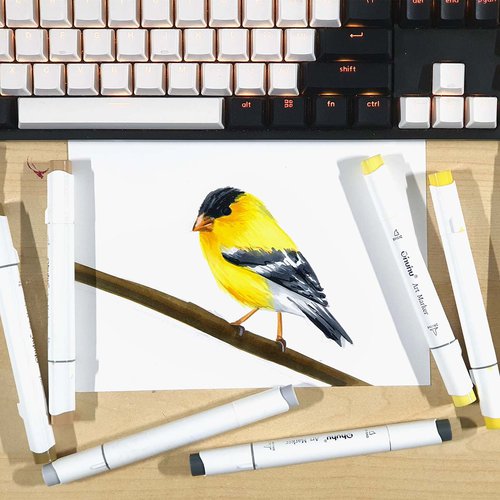
Articles You Might Also Like


I love bringing cars to life with alcohol markers and colored pencils.
Whether you're just starting out or looking to improve your skills, I'm here to help!
Click here to learn more about me.


Be the first to comment!
Comments
There are no comments yet.