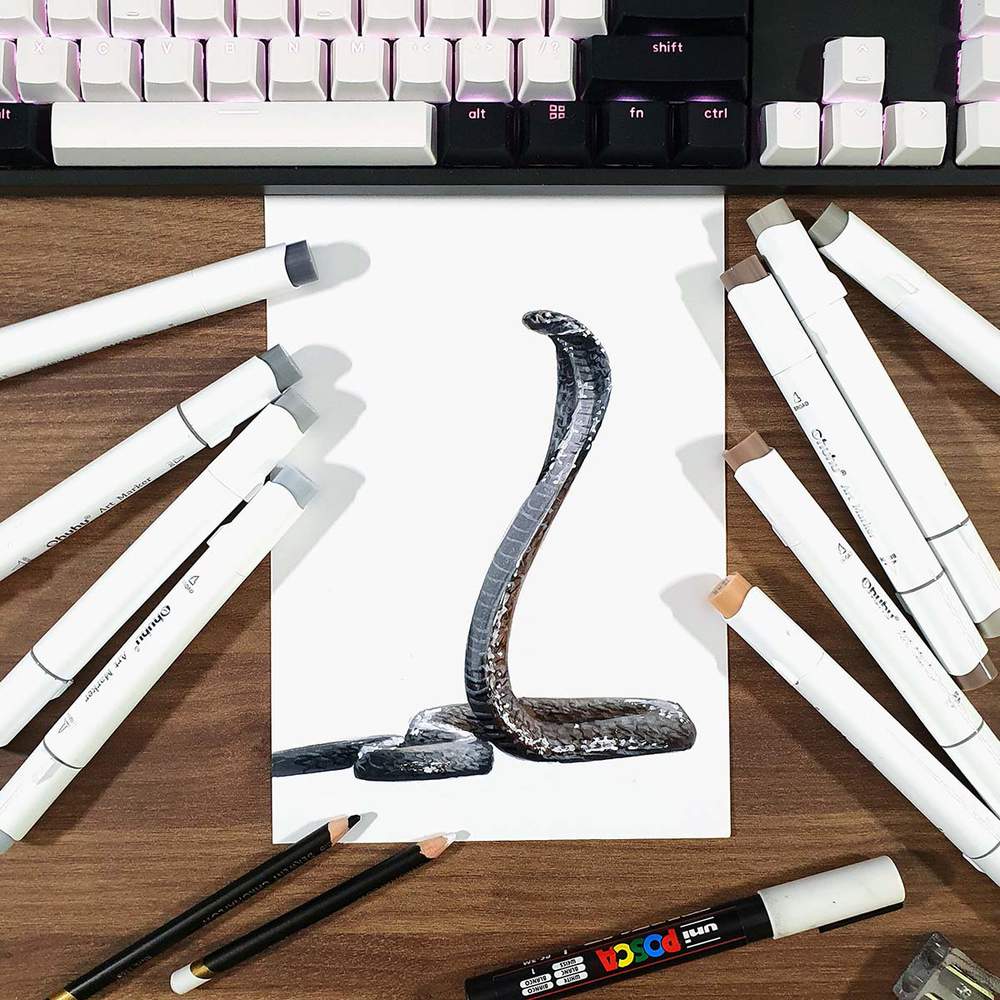
How To Draw A Snake That Looks Real – Step By Step Cobra Drawing
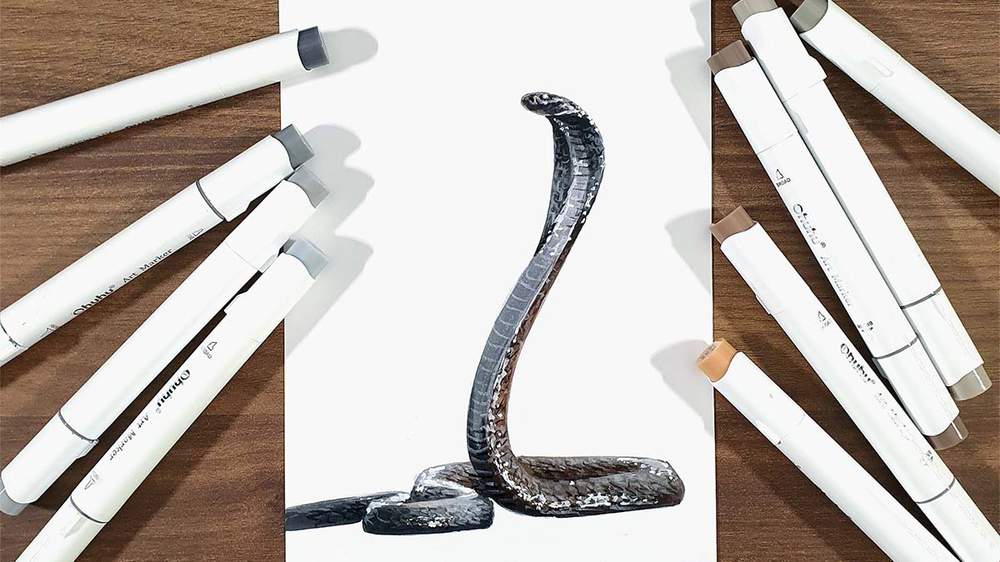
In this drawing tutorial, I’m going to show you how to draw a realistic cobra, step by step.
Cobras have such a cool and unique shape, with their wide hood and sleek body — I’ve always wanted to draw one! This drawing may look detailed, but I’ve broken the process down into simple and easy-to-follow steps, so you can confidently draw your own cobra too.
Whether you’re drawing snakes for the first time or want to take your skills to the next level, this easy snake drawing guide has got you covered.
Let’s get started!
Disclaimer: In the name of full transparency, please be aware that this blog post contains affiliate links and any purchases made through such links will result in a small commission for me (at no extra cost for you).
Drawing Supplies I Used To Make This Snake Drawing
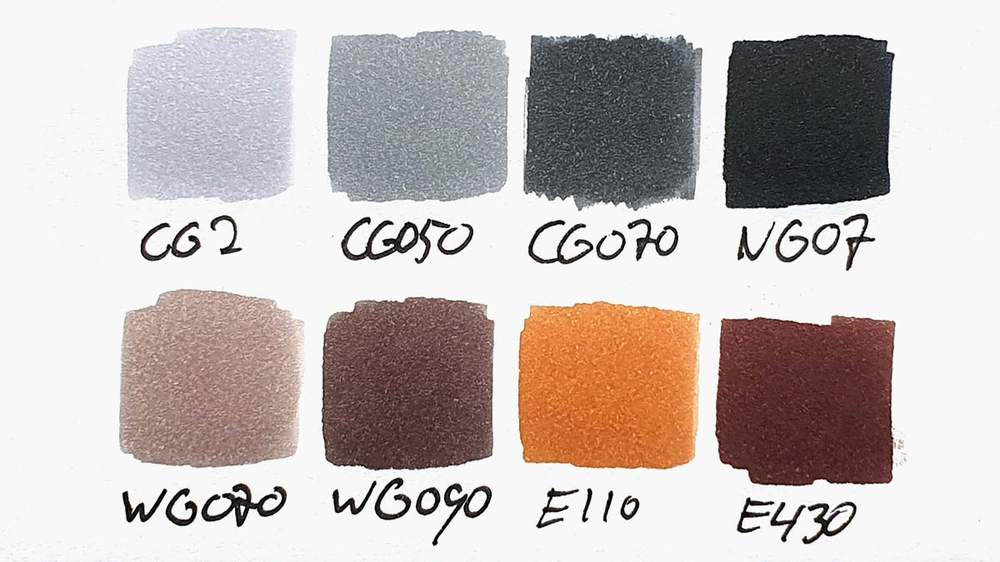
To make this drawing, I used Ohuhu Honolulu markers in the colors Cool Grey II 2 (CG2), Neutral Grey 05 (CG050), Neutral Grey 07 (CG070), Neutral Grey 7 (NG07), Warm Grey 07 (WG070), Warm Grey 09 (WG090), Dark Suntan (E110), and Pecan (E430).
I also used some Derwent Chromaflow colored pencils to add details. I used the White 2400 and Black 2300, and to add white highlights, I used a white Posca PC-3M paint marker.
And I used an HB pencil and an eraser.
I made this drawing using Canson Illustration Manga Paper.
How Do You Draw A Realistic Snake?
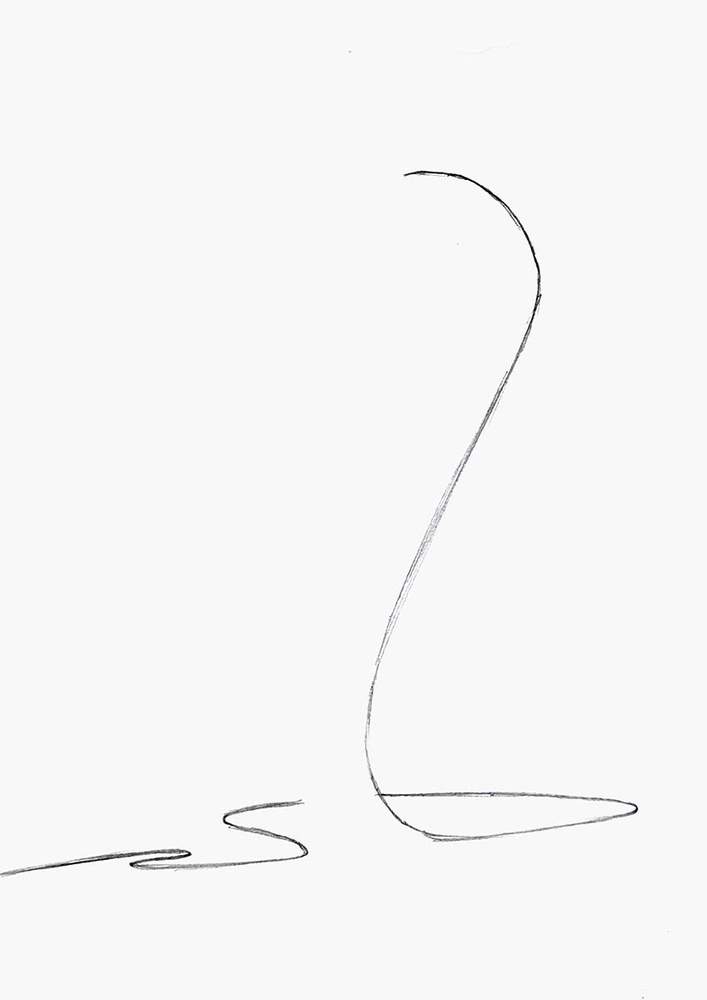
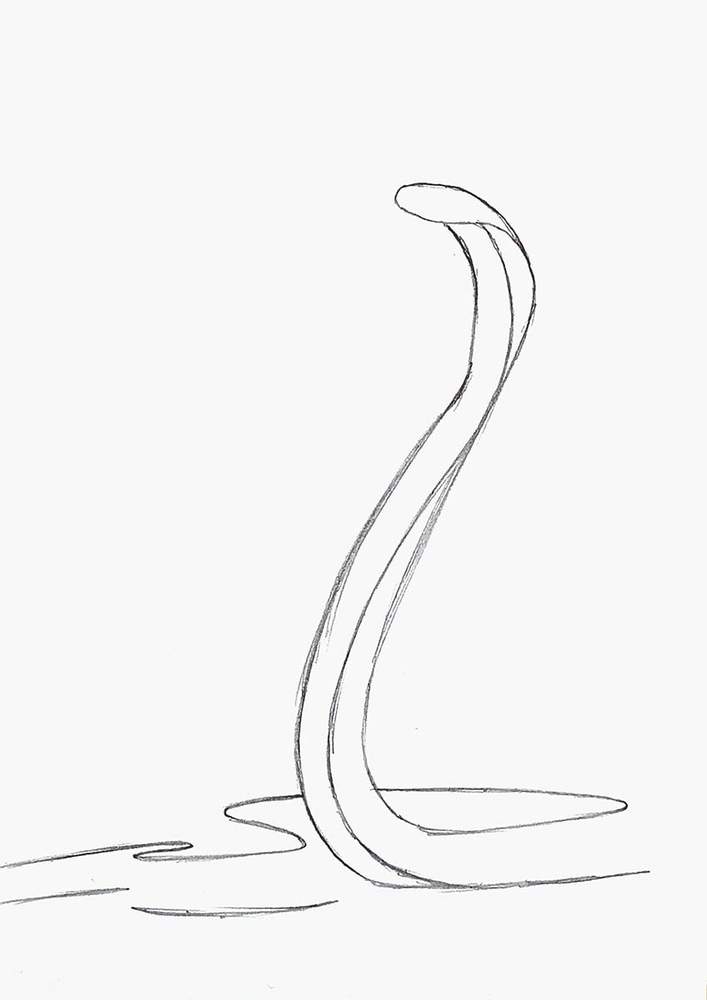
Step 1: Sketch The Spinal Line Of The Snake
To sketch a snake, I like to start with the spinal line. This is the line that shows where the spine of the snake will be in the drawing.
In this case, I'm drawing a cobra, which is known for its upright posture (rearing).
To make the cobra look like it's rearing, I start my sketch at the top of the paper at the head, then curve down like a mirrored S-shape.
The rest of the body of the snake is lying flat on the ground. And because of our side-view-like perspective, the curves of the snake's body become more squashed.
I left some gaps where the body of the cobra overlaps with other parts.
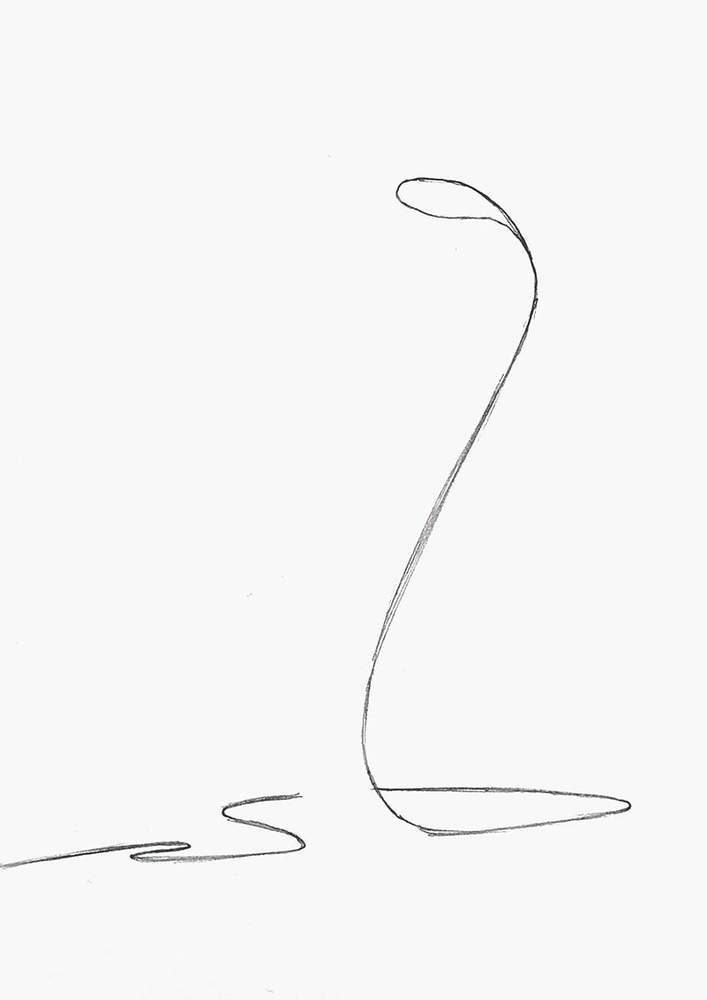
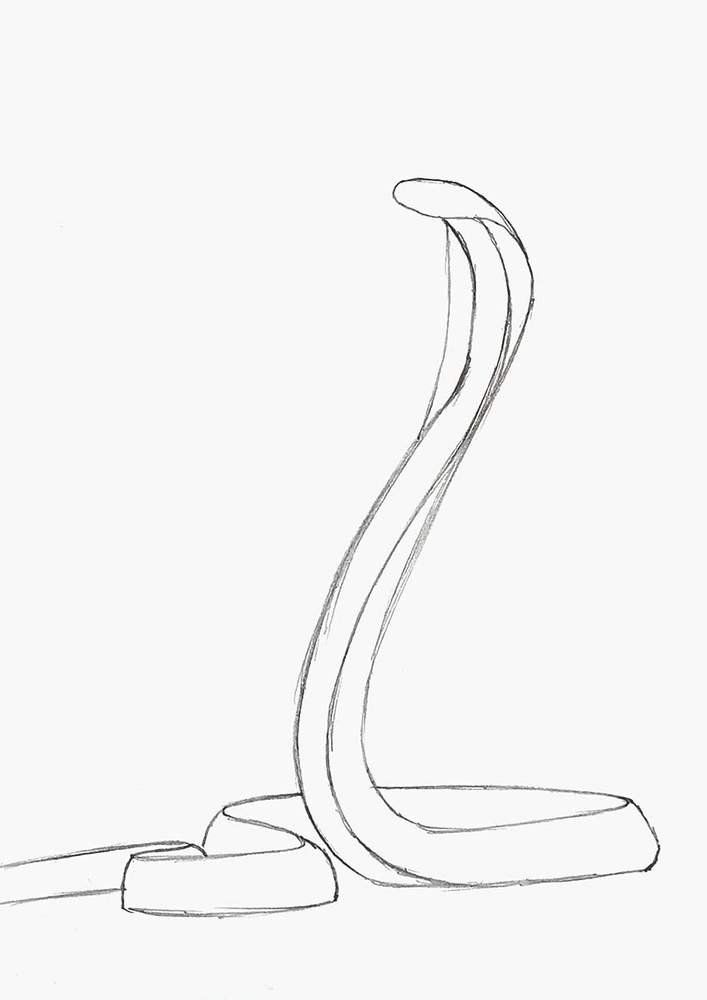
Step 2: Sketch The Outline Of The Snake's Head
Next, I sketched the shape of the cobra's head, which looks kind of like a very rounded rectangle where the right side merges with the spinal line.
Step 3: Add Dimension To The Snake Sketch
After that, I added some dimension to the shape of the body of the snake.
I did this by adding the separation line between the upper body and the belly of the snake. This line is also the underside edge of the part of the snake that lies flat on the ground.

Next, I added the left edge of the belly of the snake's upright part.
And lastly, I added the left hood (the flat part of the skin in the cobra's neck), and I sketched the sides of the snake's body.
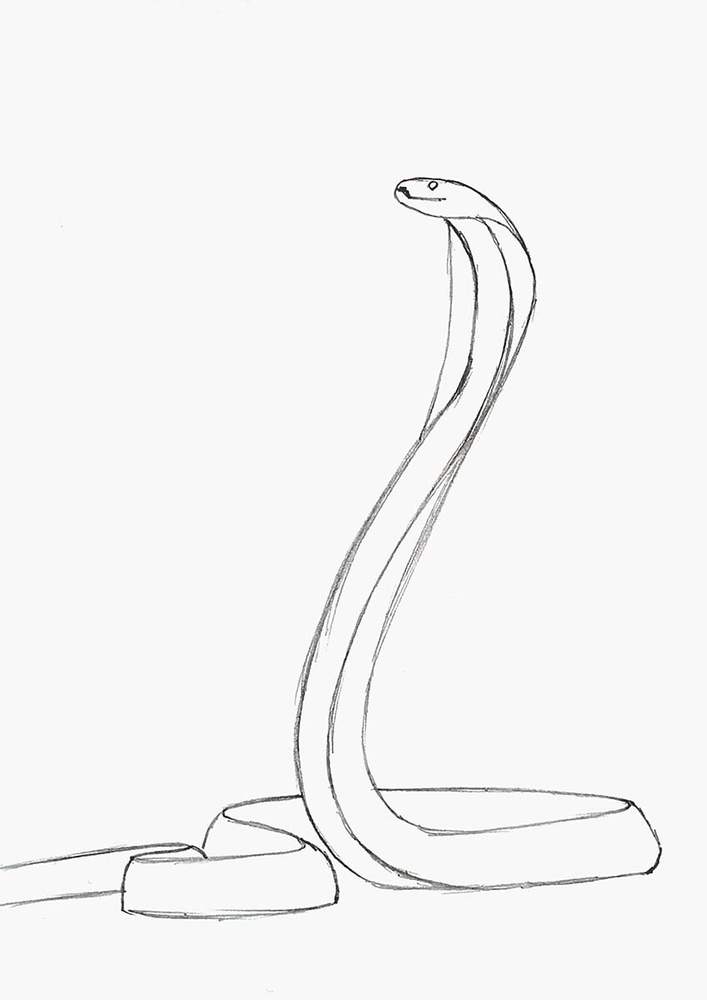
Step 4: Sketch The Snake's Face
To finish the sketch off, I added his mouth and eye.
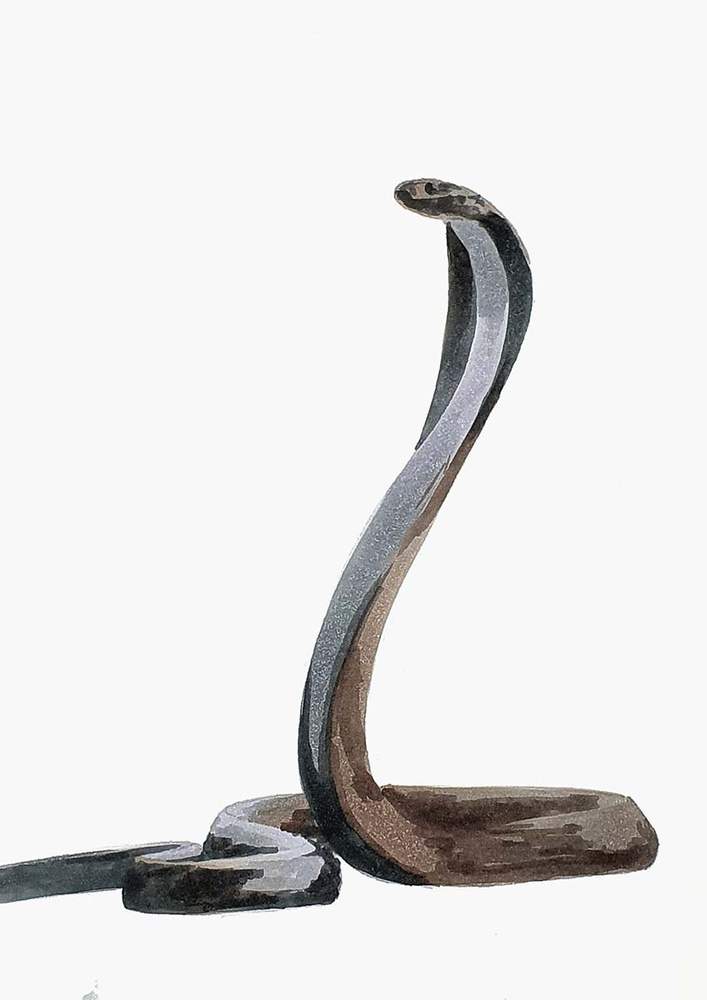
Step 5: Color The Snake With Markers
Next, I lightened the sketch and colored the brown parts with Warm Grey 07 (WG070).

Then, I used Cool Grey II 2 (CG2) to color the lightest cool-toned grey parts.
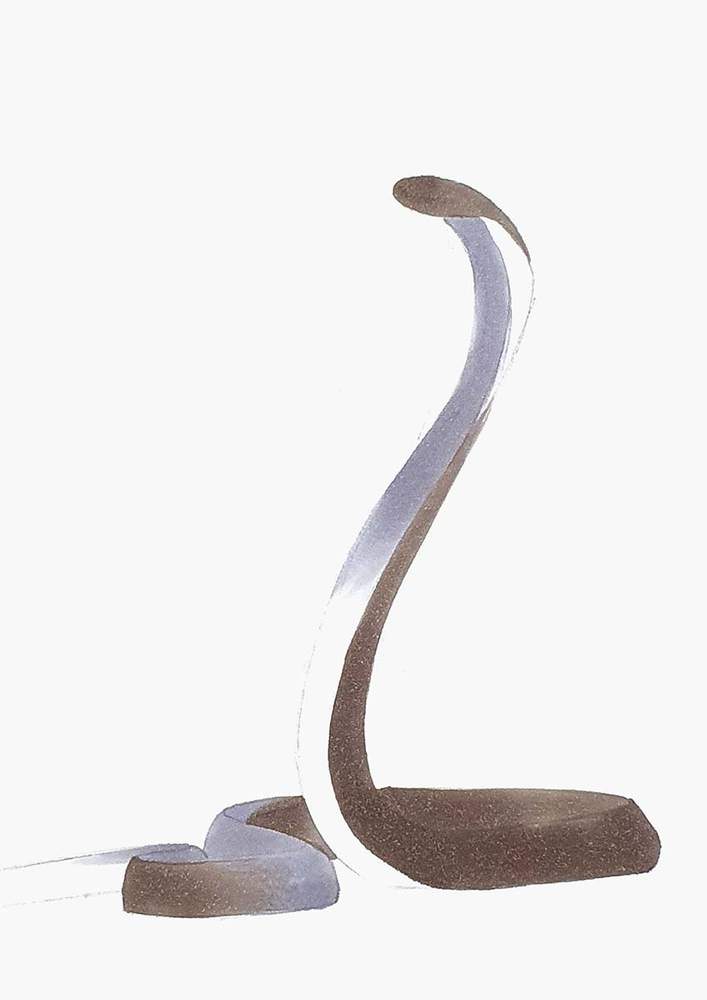
After that, I used Neutral Grey 05 (CG050) to color the rest of the snake's belly and the upper body. I also added some darker shading on the lighter grey parts.

Next, I used Warm Grey 09 (WG090) to add darker shading on the more brown parts of the cobra.
I used Neutral Grey 07 (CG070) to color the cobra's hood (the flattened skin in its neck), add some shading to the left side of the body and bottom of its belly, color some scale-like shapes on its head, and color its eye.
Then, I used Neutral Grey 7 (NG07) to add shading to the top and bottom sides of the hood, the bottom of its belly and the underside of its body, and the part of the body on the left.
I also used it to color its eye, snout, and some scales.

Lastly, I used some more brown tones to add some more color and shading.
I used Dark Suntan (E110) to add this more orange shading to the upright part of the cobra's body.
And I used Pecan (E430) to darken the edge between the belly and the upper body of the snake.


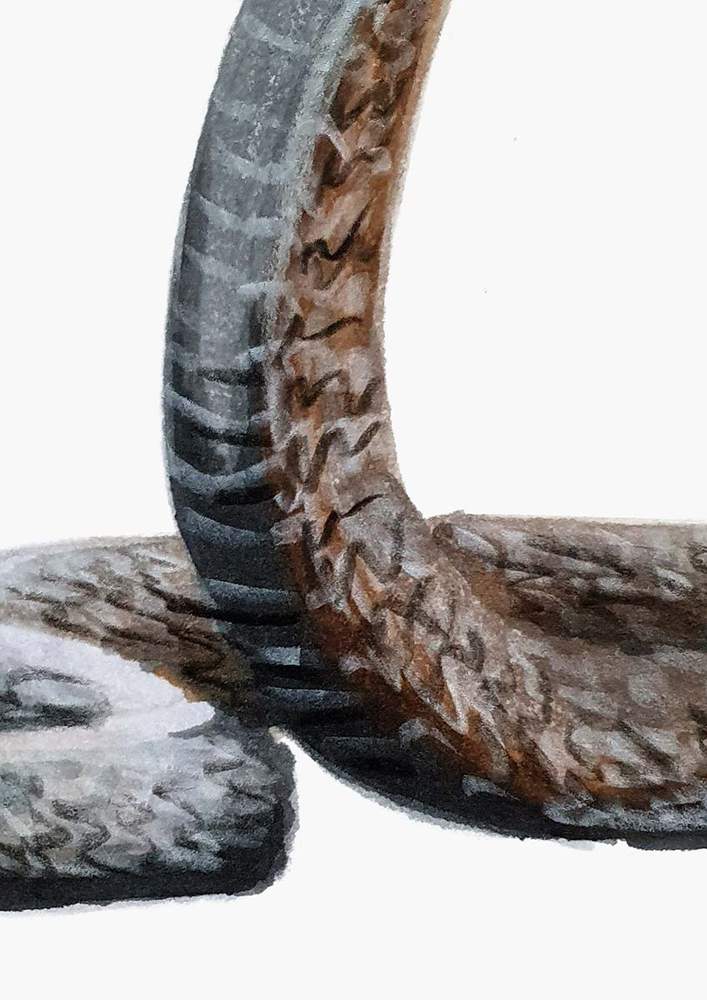
Step 6: Add Details To The Snake Drawing With Colored Pencils
To add details to the snake's body, like the scales and segments, I used a black and a white colored pencil.
I used the white pencil to add the lines between the different segments on the belly of the snake and to add highlighted edges of the scales.
And I used the black pencil to add the darker shadowy edge of the scales.
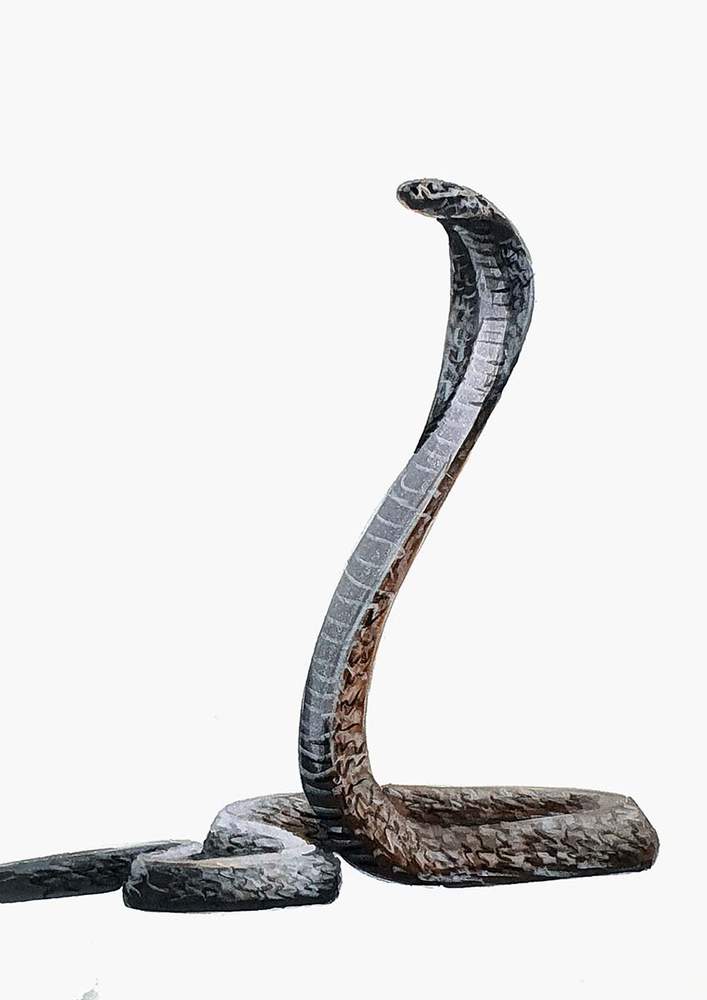
With both the white and the black pencil, I created the squiggly lines to represent the scales, while not spending hours on getting it to look perfect.
From a slight distance, it looks quite convincing in my opinion.
Step 7: Add Highlights On The Scales Of The Snake
To finish the snake cobra drawing, I added some white highlights as the scales of the snake are pretty reflective.
After adding all the highlights, I thought they looked too bright, so I colored over them with the Warm Grey 07 (WG070) marker.
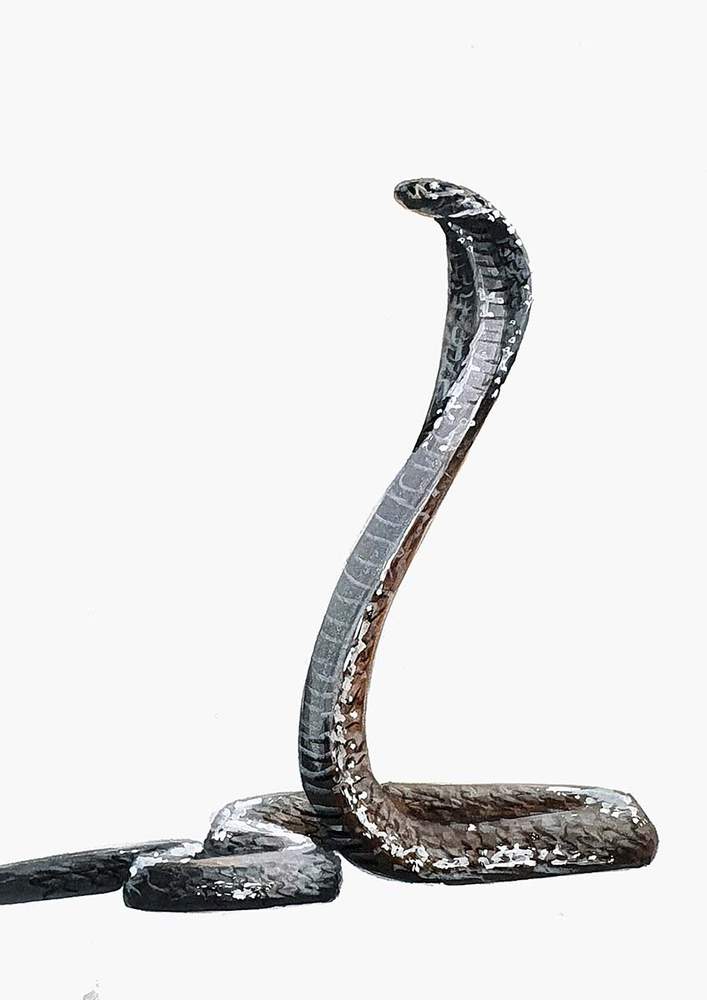
And that's how I drew this simple yet realistic-looking snake.
I think it turned out really well. And hope you liked this step-by-step tutorial!
Thank you!
Tags
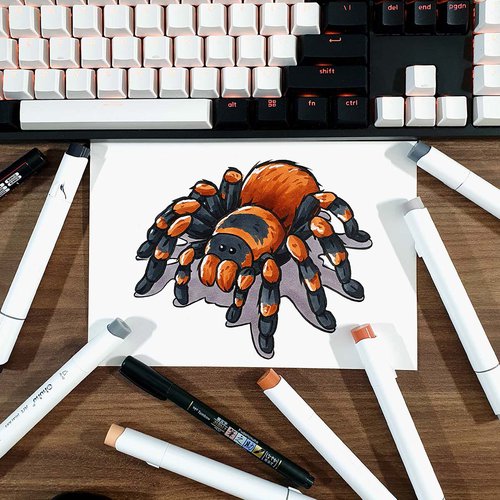
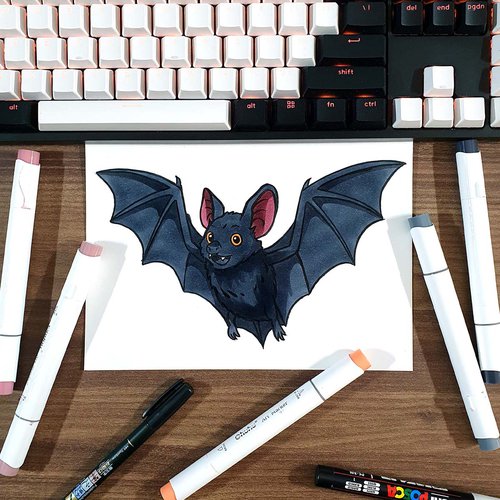
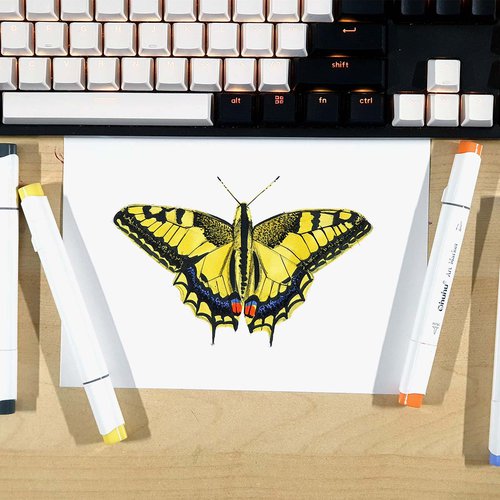
Articles You Might Also Like


I love bringing cars to life with alcohol markers and colored pencils.
Whether you're just starting out or looking to improve your skills, I'm here to help!
Click here to learn more about me.


Be the first to comment!
Comments
There are no comments yet.