How To Draw A Panda – Simple Realistic Step By Step Guide for Beginners
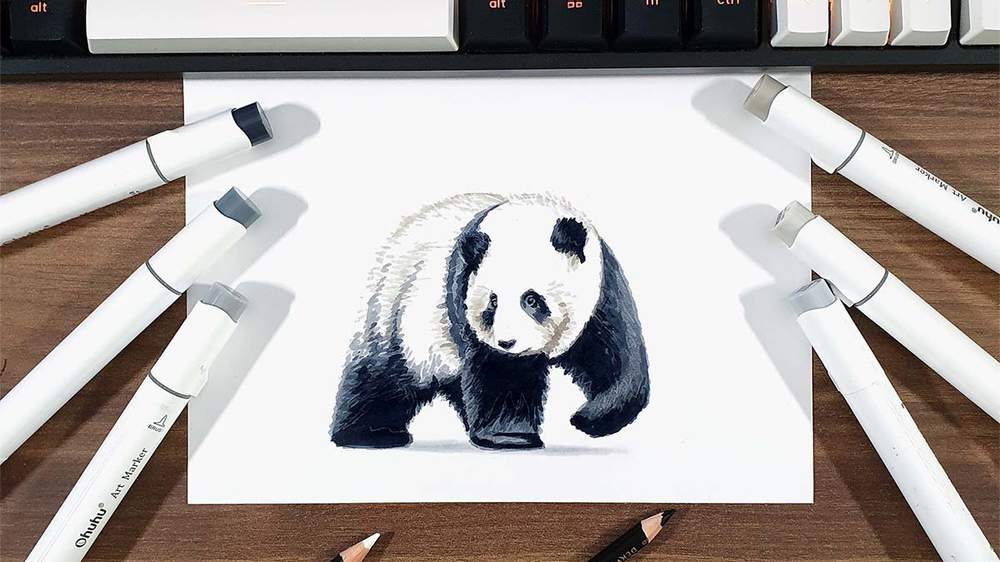
Pandas are some of the cutest animals out there, and in this tutorial, I’ll show you how to draw one step by step!
I kept this drawing simple and beginner-friendly, but also gave it a realistic look by using markers and a few colored pencil details.
So grab your favorite art supplies, and let’s draw this adorable panda together.
Disclaimer: In the name of full transparency, please be aware that this blog post contains affiliate links and any purchases made through such links will result in a small commission for me (at no extra cost for you).
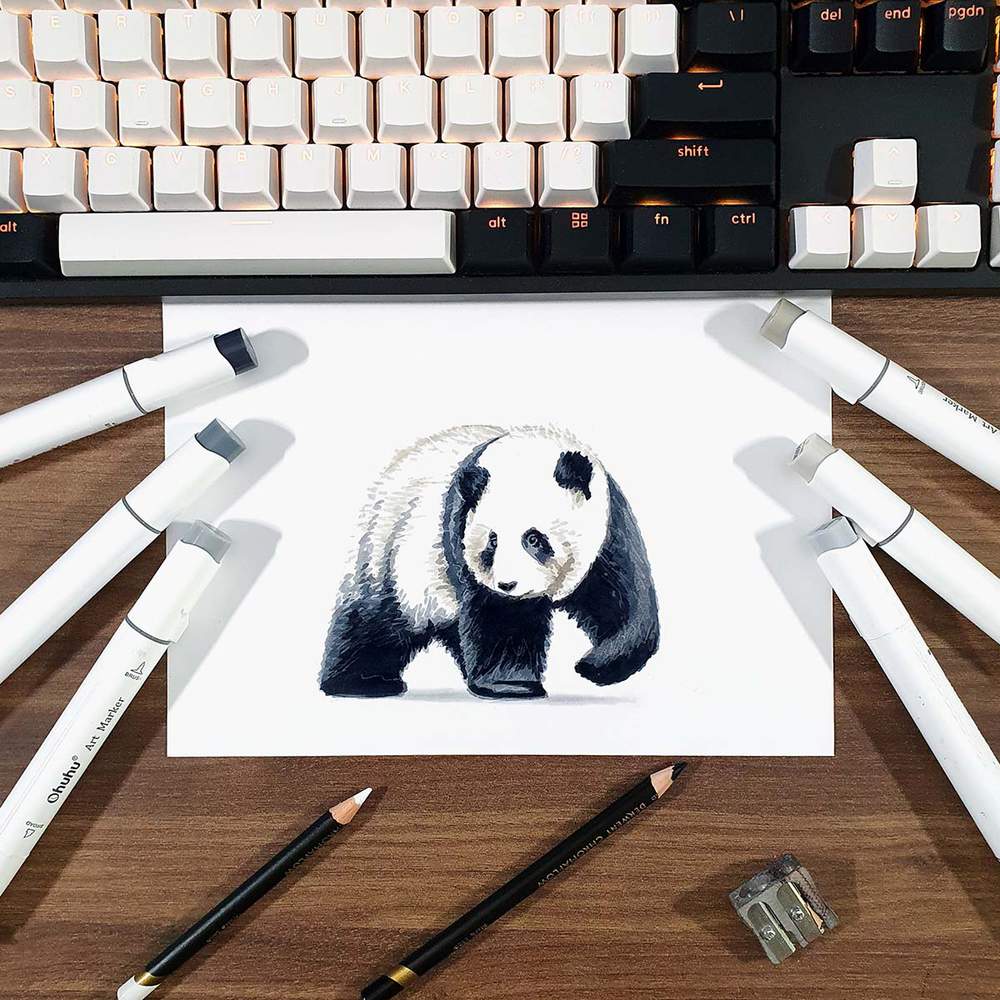
Drawing Supplies I Used To Create This Panda Drawing
To make this drawing, I used Ohuhu Honolulu markers in the colors Warm Grey 05 (WG050), Warm Grey 07 (WG070), Neutral Grey 03 (CG030), Neutral Grey 05 (CG050), Cool Grey II 7 (CGII07), and Cool Grey II 09 (CGII09).
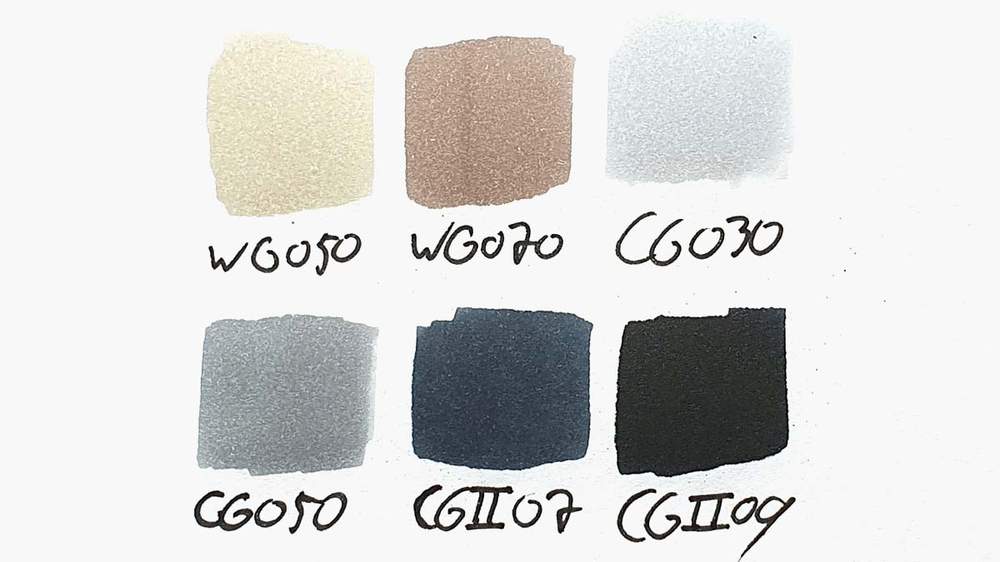
I also used some Derwent Chromaflow colored pencils to add details. I used the White 2400 and Black 2300.
And I used an HB pencil and an eraser.
I made this drawing using Canson Illustration Manga Paper.
How To Draw A Simple & Realistic Panda
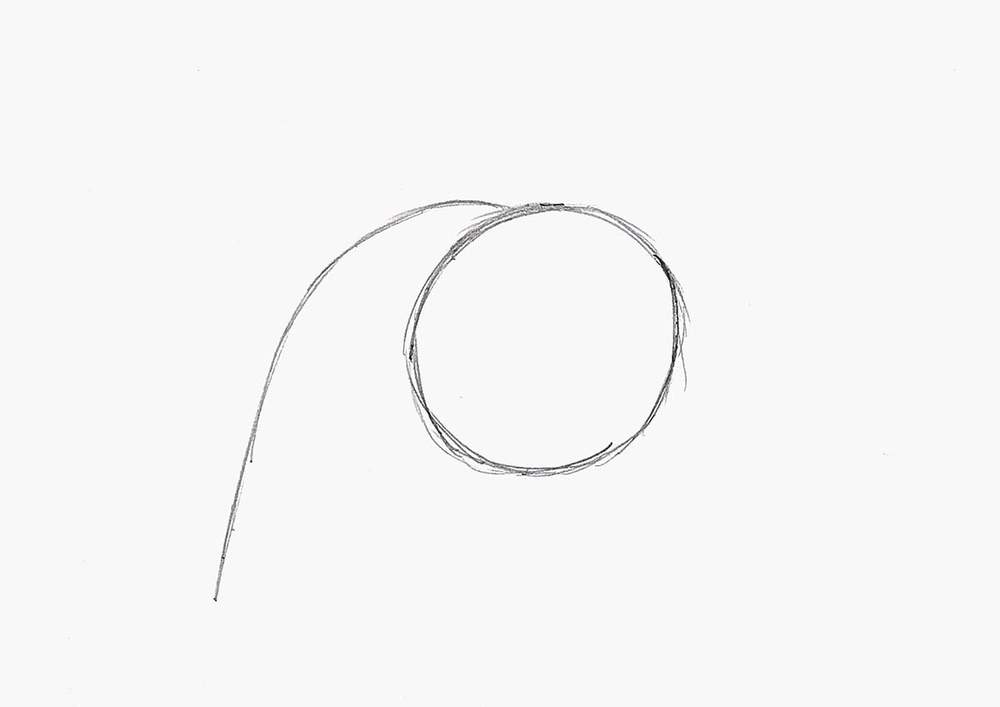
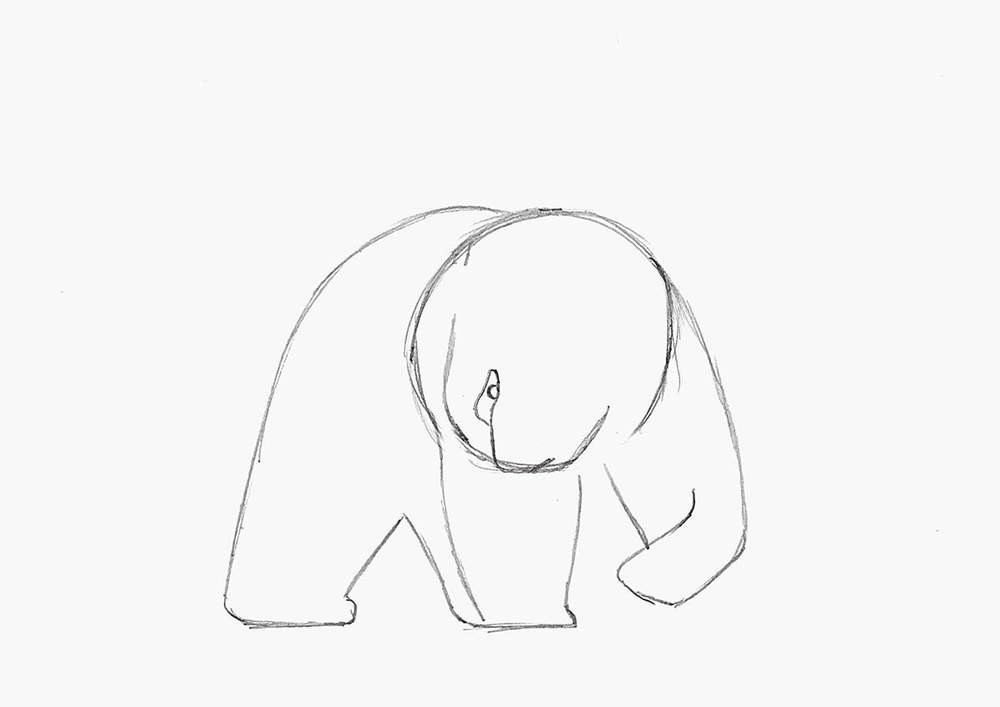
Step 1: Sketch A Circle
To draw a panda, I started by sketching a big circle slightly to the right of the center of the paper, which will be turned into the panda's head later on.

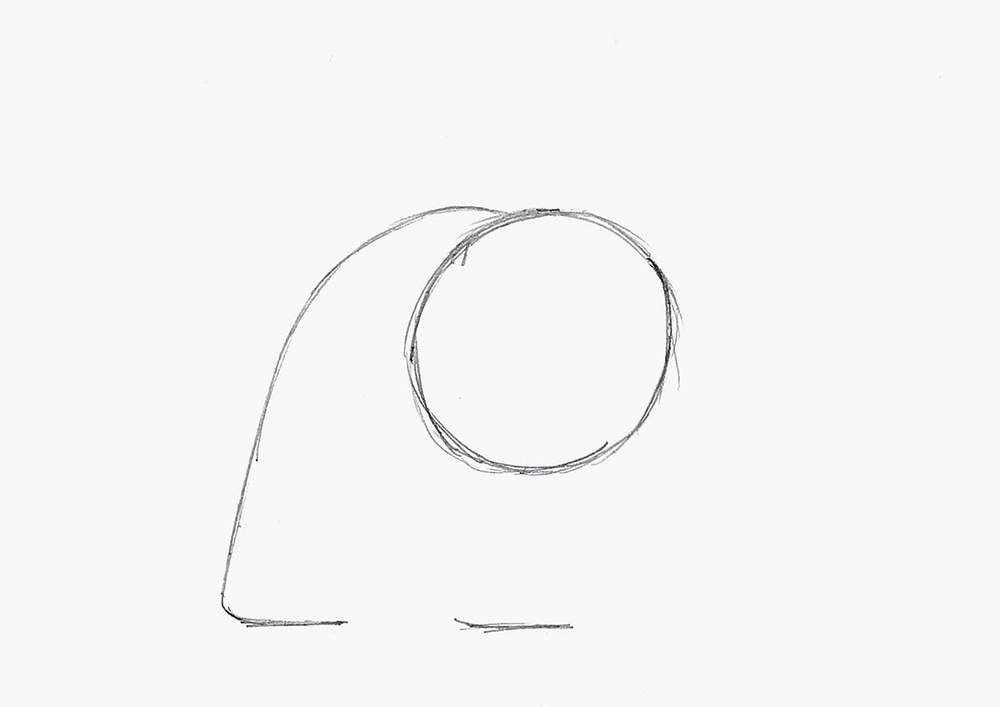
Step 2: Sketch The Panda's Legs
With the position of the head in place, I started sketching the legs of the panda.
I started by sketching the top of its back and the back of its hind legs.
This is just one big candy cane-like line.
Next, I added the underside of the panda's paws that are resting on the ground.
I sketched one horizontal line below the head and one connecting to the candy cane shape on the left.
Then, I added the right edge of his front leg and hind leg.
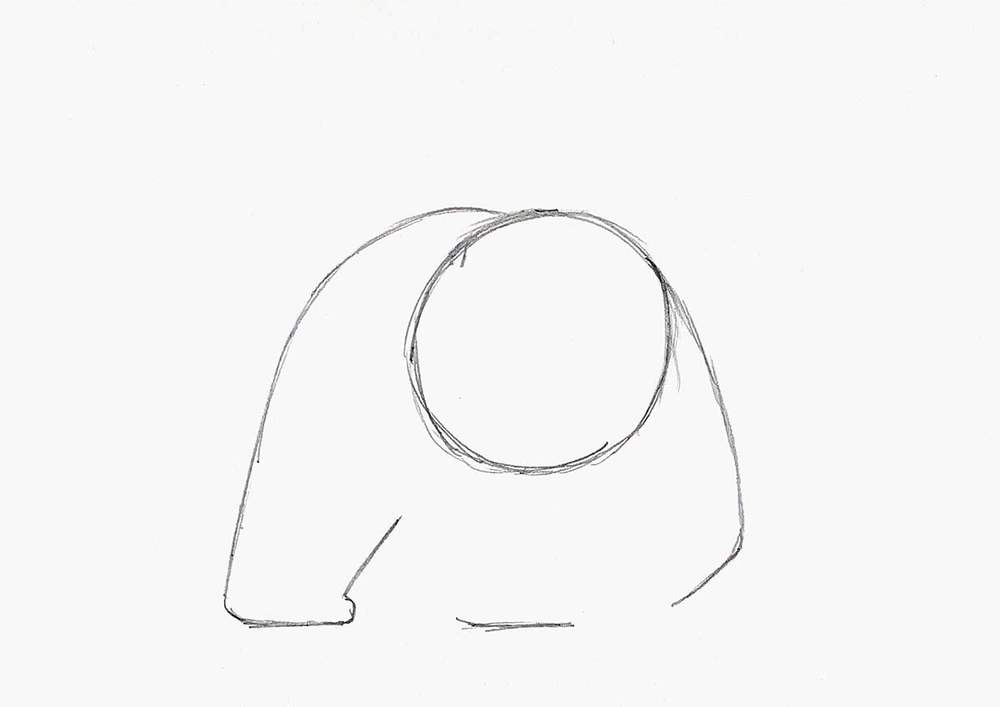
And after that, I sketched the left edge of his other hind leg, which is just a slightly curved line that connects the paw to the top of the other hind leg.
I also sketched the paw of his front leg.
Lastly, I sketched the outline of the panda's front leg, which overlaps the hind leg, and the left edge of his right front leg.
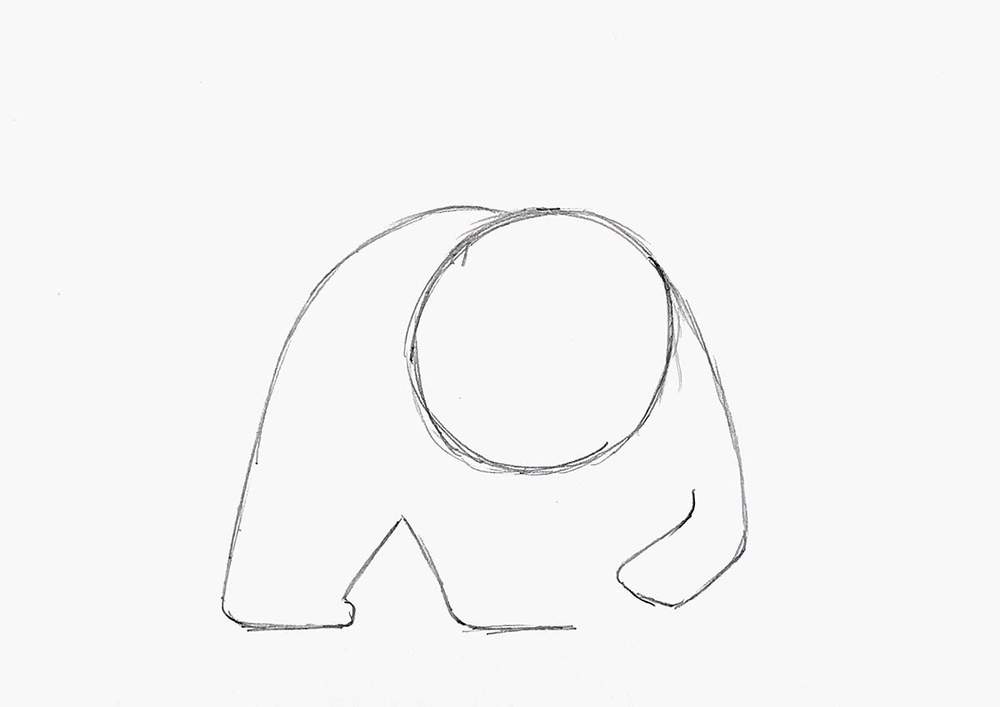
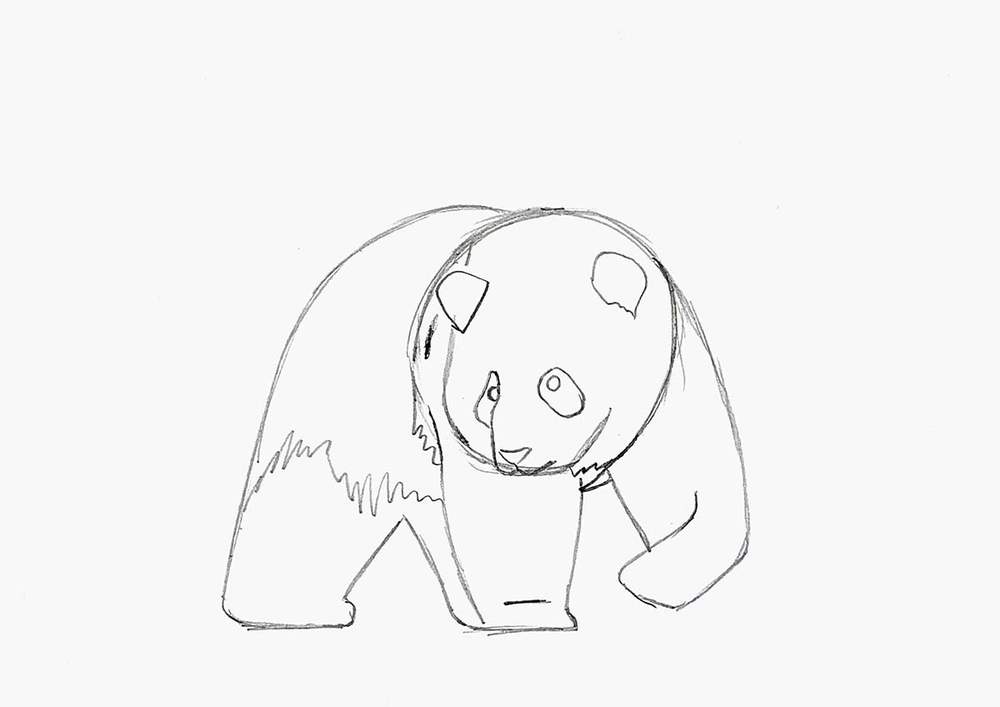
Step 3: Sketch The Head Of The Panda
Next up, I started working on the panda's head.
I changed the circle shape to mark the left side of its head.
Then, I sketched the snout of the panda and added one eye to the top left of it.

After that, I sketched the heart-shaped nose and the flat W-shaped mouth of the panda, as well as its other eye and a little bit of fur between both front legs.

And to finish the panda's head, I added its ears toward the top of the circle shape.
I also added a horizontal line on the left front leg to mark the top of his paw.

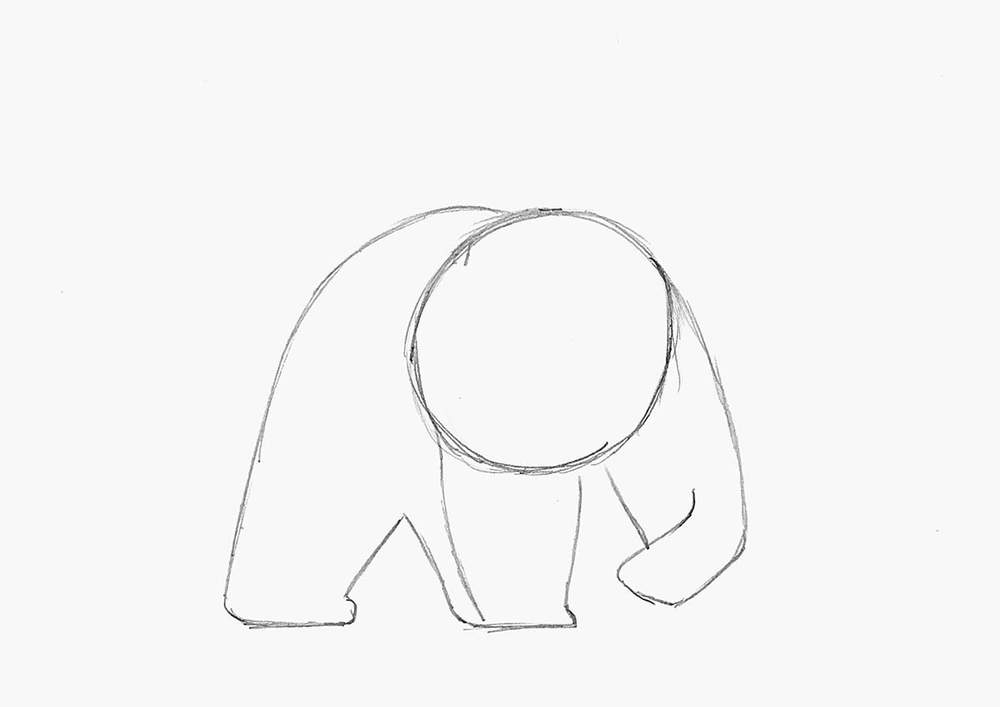
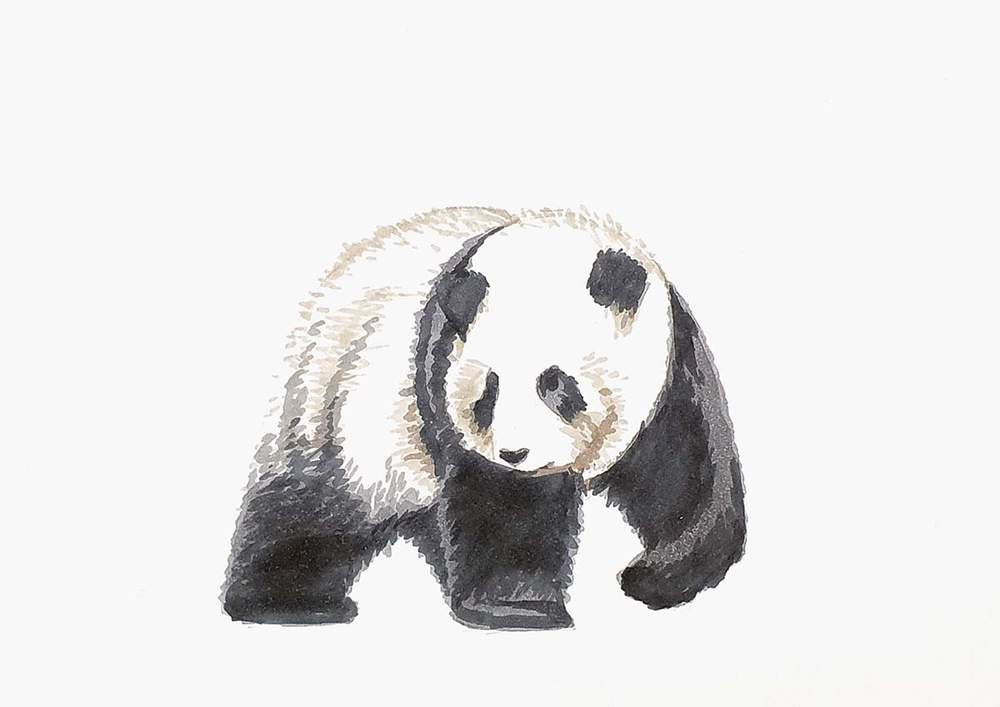
Step 4: Mark The Edges Between The Different Colors Of Fur Of The Panda
After that, I marked the edges between the black and white areas of the panda's fur, which are mainly behind its head and the lower half of its body.
I sketched these parts with squiggly fur-like lines to suggest the fluffy texture of the panda’s fur.
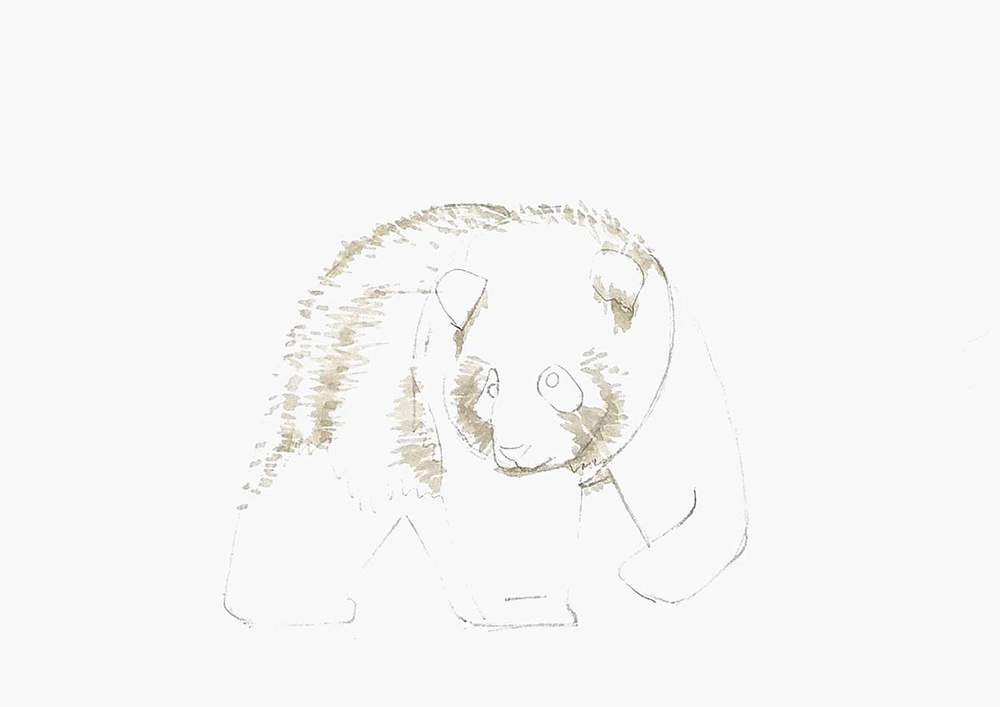
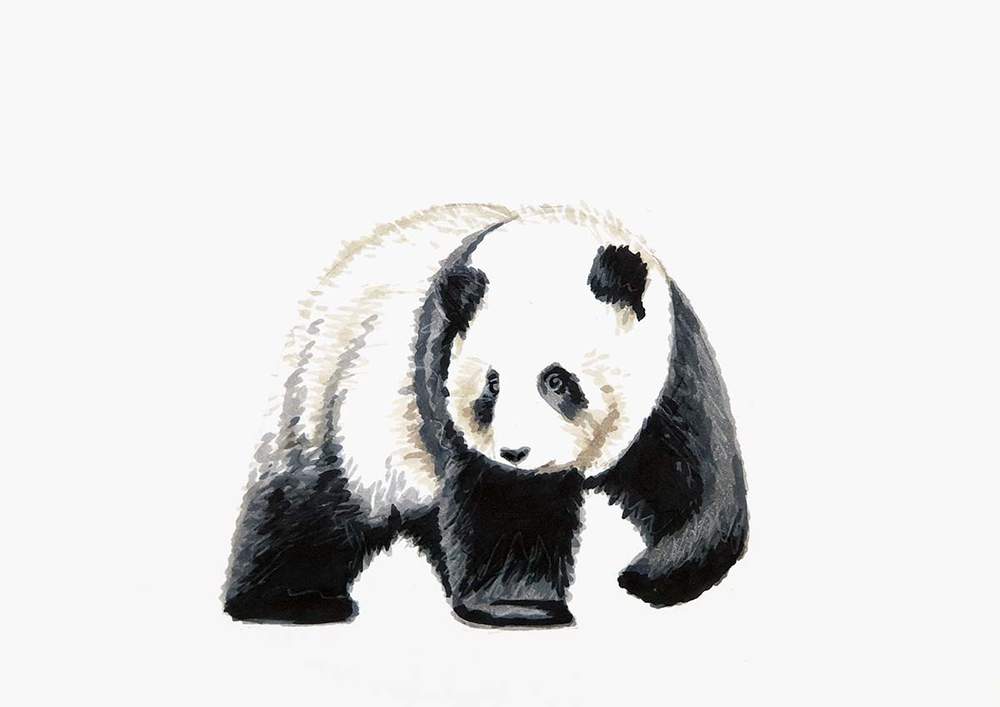
Step 5: Color The Panda With Markers
Now it's time to color the panda with markers.
The top half of the panda's fur is white, but leaving it white would blend it into the paper.
To make the top edge of the panda not disappear, I used a light warm grey marker, Warm Grey 05 (WG050), and colored these short lines poking diagonally outward.
I did this using the short, sharp-pointed flat side of the chisel nib.
I also added some fur texture to the darker parts of the white fur and on the edges of the black and the white fur.
Next, I used Neutral Grey 05 (CG050) to color the black parts of the fur and its eyes, and I used a little bit of Warm Grey 07 (WG070) to color the darkest parts of the white fur, which are mostly on the edges between the light and dark fur and the right edge of its snout.
I did all this and the rest of the fur texture using the short flat side of the chisel nib.
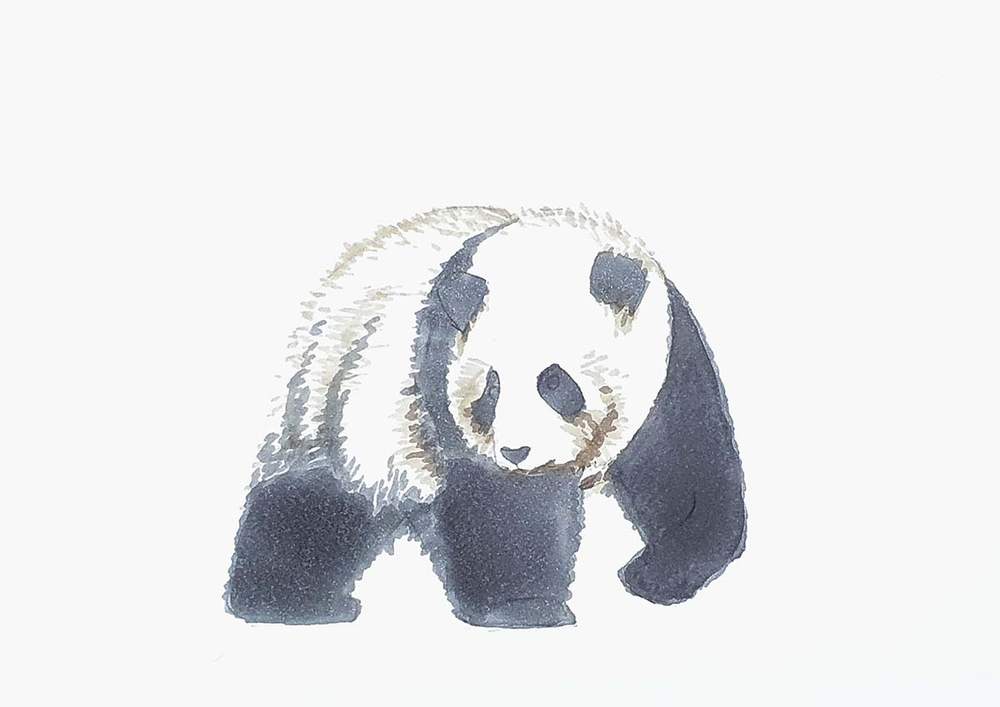
Next, I used Cool Grey II 7 (CGII07) to add darker shading on the black fur and colored its eyes.
And lastly, I used Cool Grey II 09 (CGII09) to add the darkest, almost black shading to the black fur.

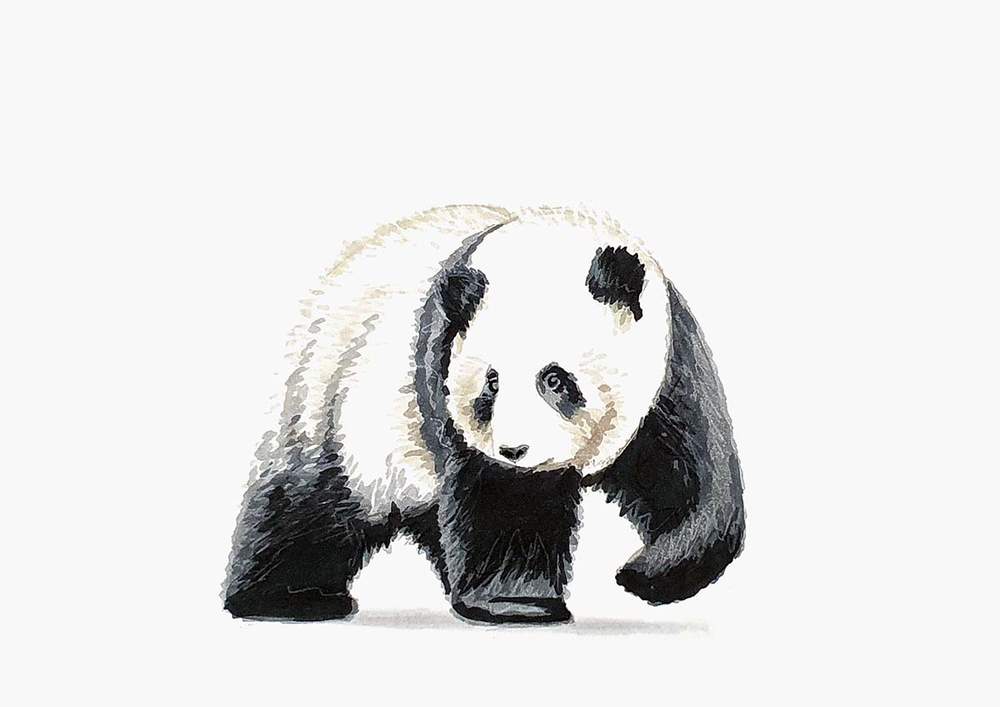
Step 6: Add A Few Details To The Panda Drawing With Colored Pencils
After that, I added just a few details to the fur with a white and a black pencil.
I used the black pencil to add squiggly lines on the lighter grey parts and the black pencil on the edges of the black parts.
I also used the white pencil to refine the details around the panda's eyes.
I was about to call it done, but the more I looked at it, the more I felt like something was missing...
And then I saw it: it had no shadow!
Step 7: Add A Light Shadow Below The Panda
So to finish the panda drawing off, I used Neutral Grey 03 (CG030) to color a light shadow below its body.
This made it look so much better!
And that's how I drew this realistic yet easy panda step by step.
I hope you enjoyed this tutorial and learned something.
Thank you!
Tags
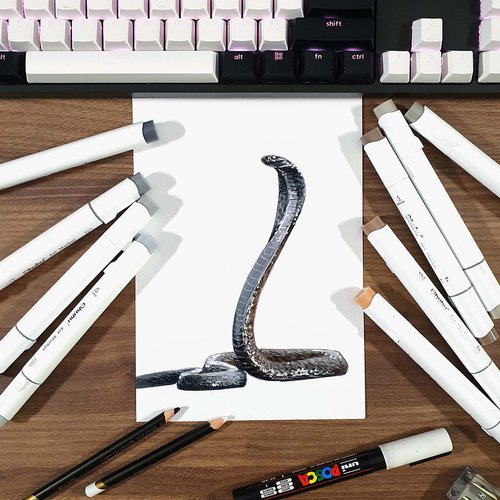
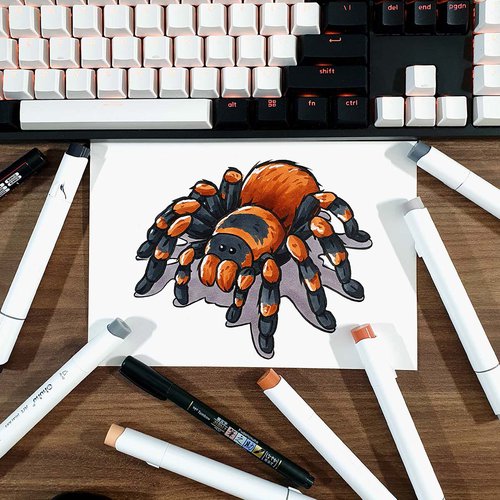
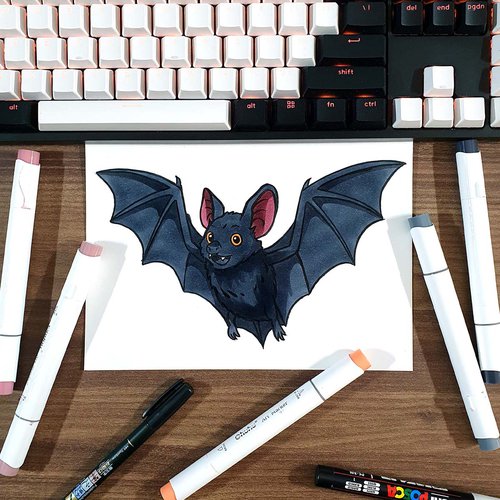
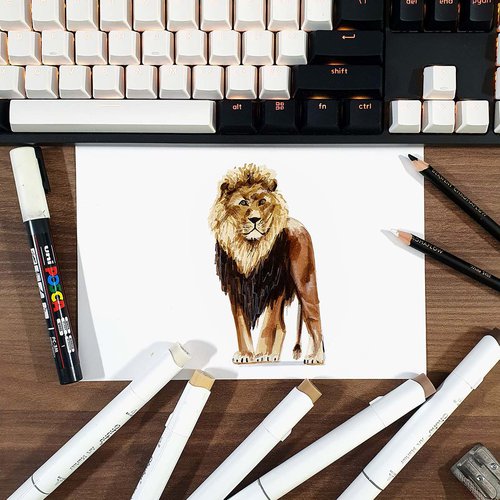
Articles You Might Also Like


I love bringing cars to life with alcohol markers and colored pencils.
Whether you're just starting out or looking to improve your skills, I'm here to help!
Click here to learn more about me.


Be the first to comment!
Comments
There are no comments yet.